

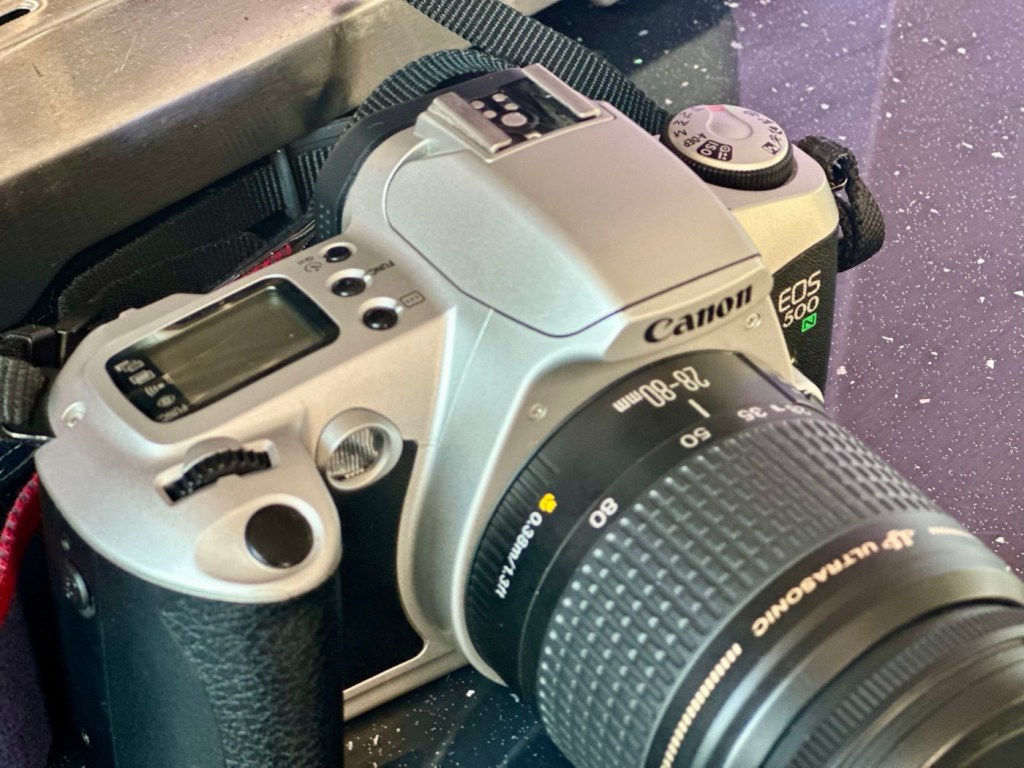
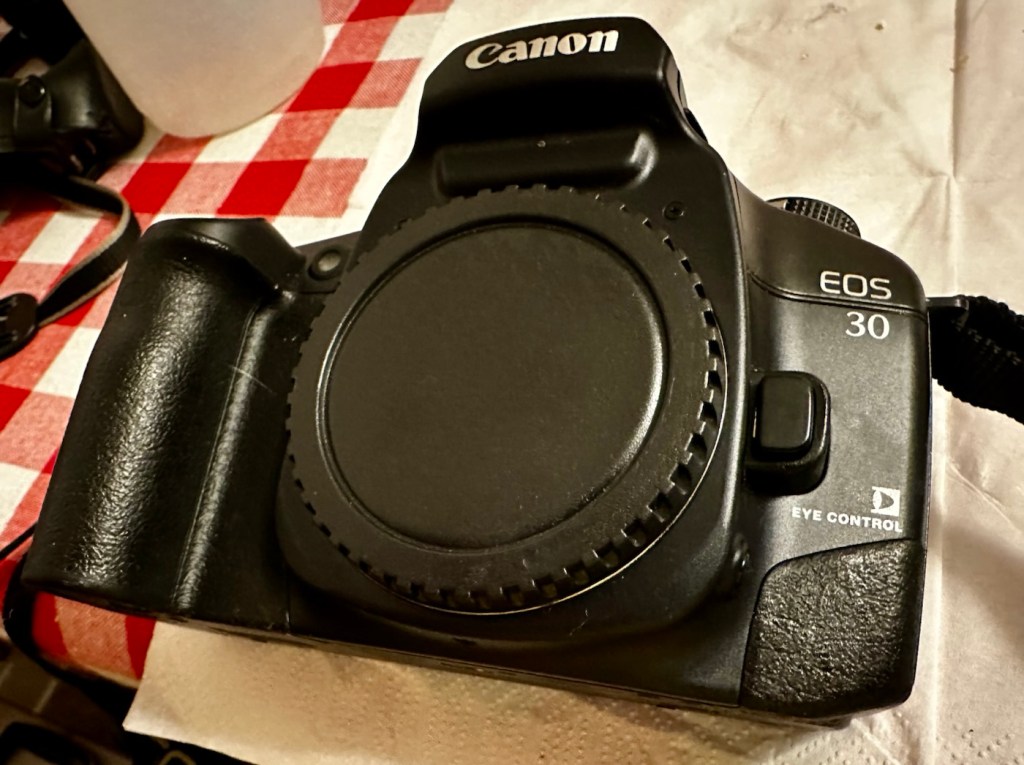
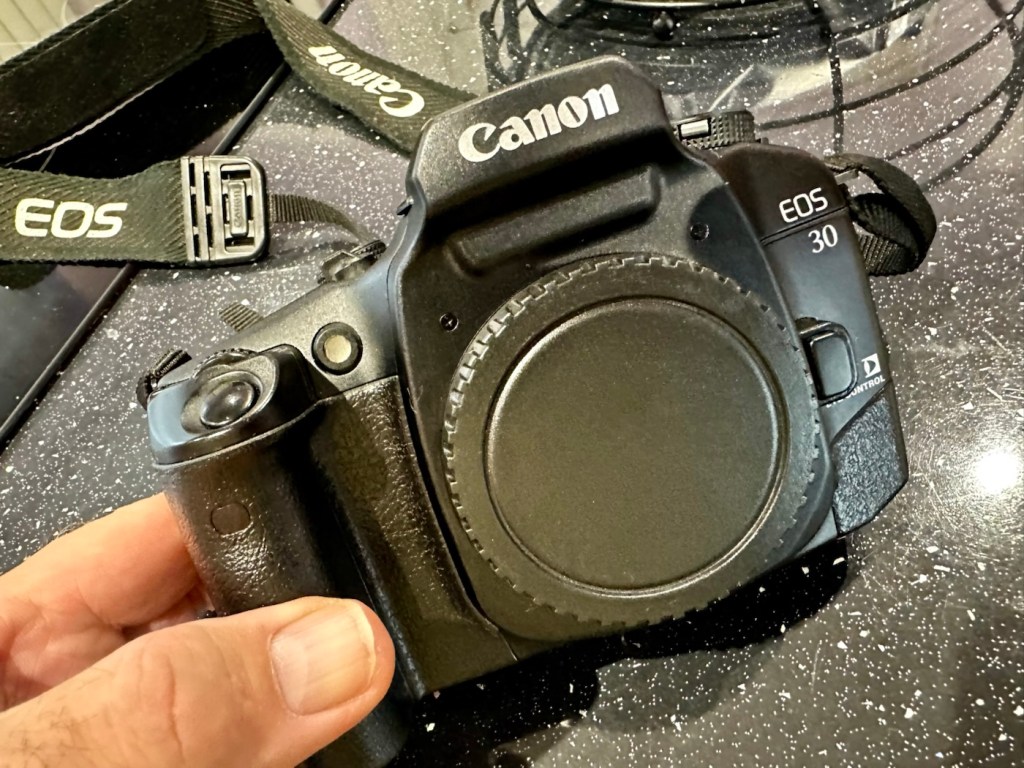
Here I have a very basic, entry level camera made by Canon. Produced between 1996-9 this camera is currently between 26 – 29 years old. These cameras don’t have the traditional identification number printed within the film spool holder that the older cameras had, hence the precise manufacturing date is difficult to confirm.

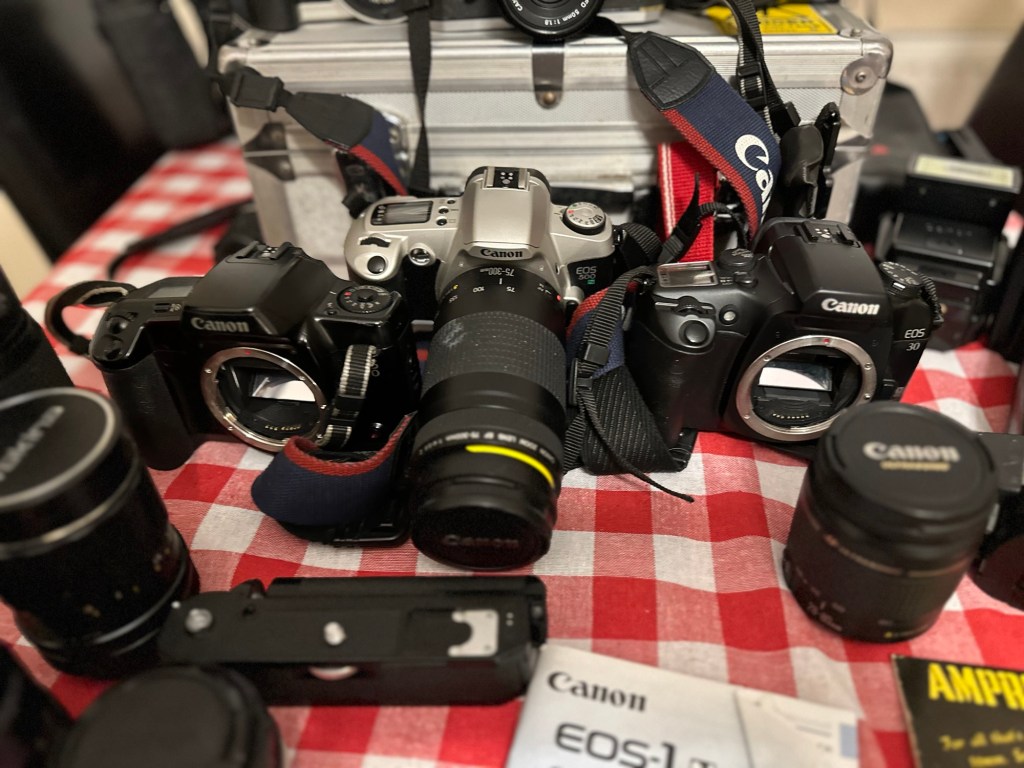
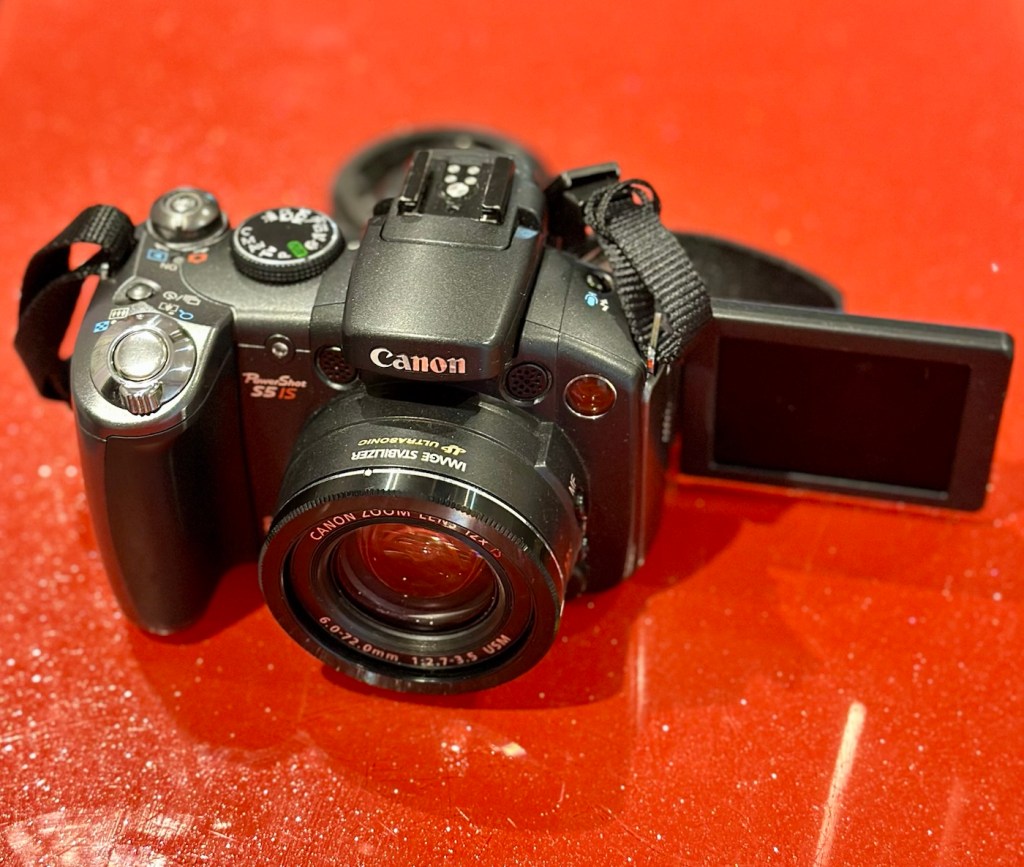
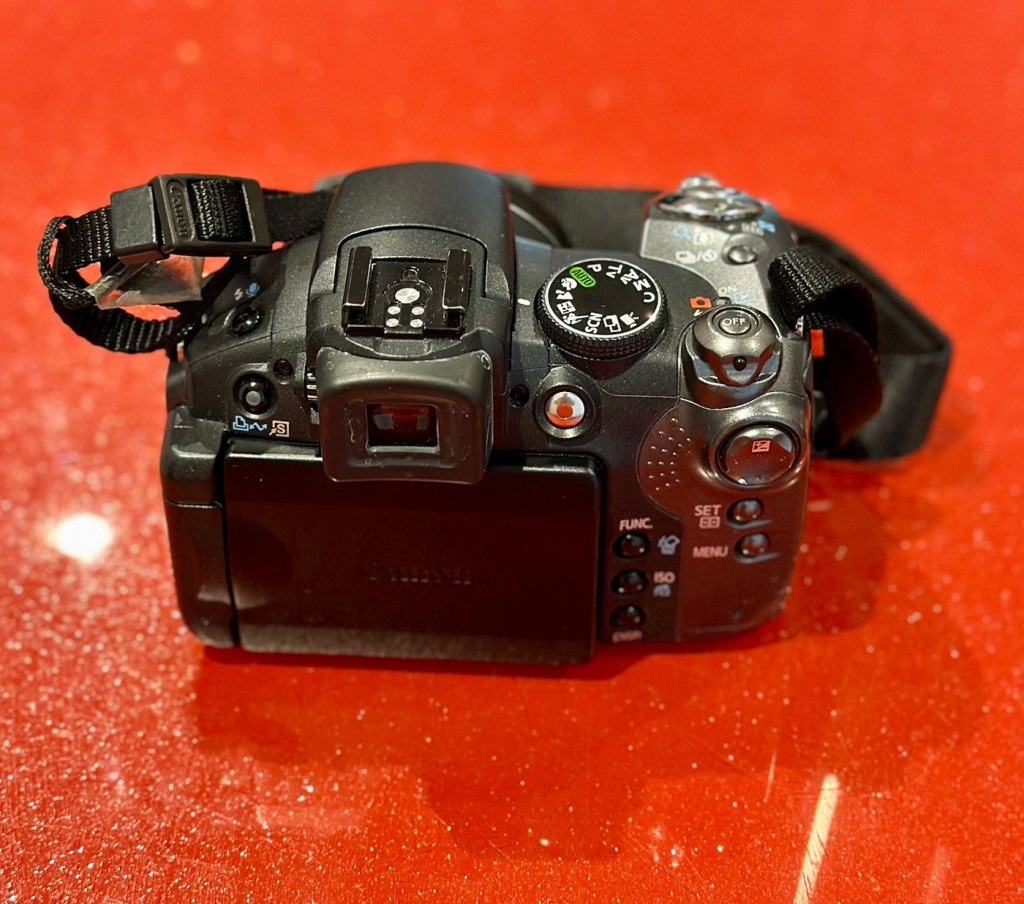
This is a camera passed onto me by a good friend and professional photographer, Jon, as can be seen in this post: Cameras…i need more!
I believe this camera was previously used by a large photographic organisation, to teach staff and students wishing to learn traditional 35mm film photography techniques. It was a training camera, at entry level specs.
It is a very good example of this model of camera, and despite its simplicity, low cost appearance and feel, it is in a very good condition cosmetically.
Here’s a little information about this camera:
The Canon EOS 500N is also known as the EOS Rebel G in the Americas or the New EOS Kiss in Japan. Sometimes it’s referred to as the EOS Kiss 2 as it followed the release of the EOS Kiss in Japan. This camera was released in 1996 and replaced the EOS 500. The Japanese version of the camera had the date back as standard. Its successor was the EOS-300 / REBEL2000 / Kiss III, released in 1999.
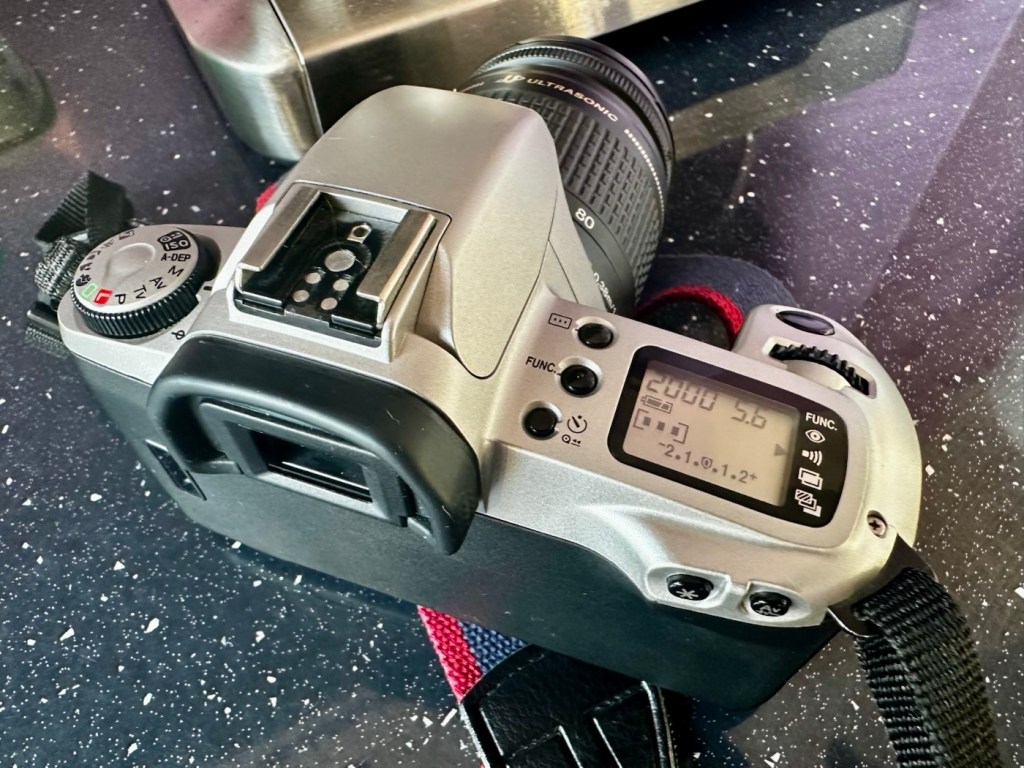
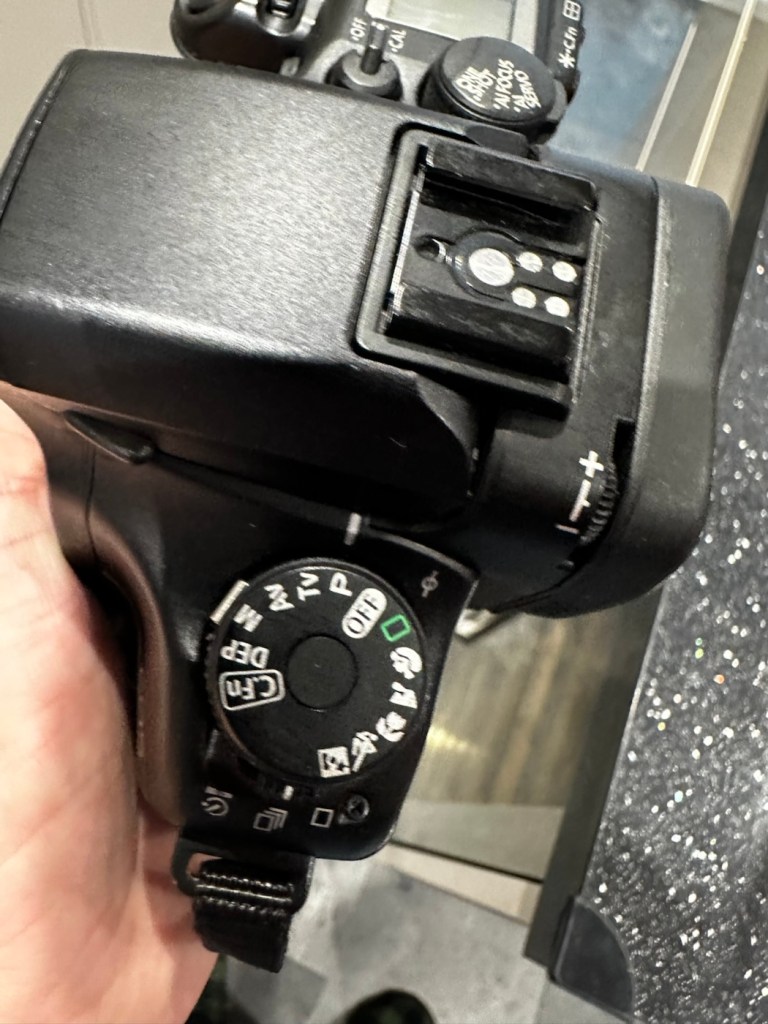
The body of the Rebel G is plastic, weighing 370 g (13 oz). The only colors available were black or a mix of silver and black. The Rebel G has an EF lens mount making it compatible with any EF lens. The viewfinder offers a 0.7x magnification, 90% coverage, center auto focus, wide auto focus and many more. The Rebel G shooting modes consisted of 6 basic modes, full auto, portrait, landscape, macro, sports and night scene. It also has 5 advanced modes, P, Av, Tv, M, A-DEP. These modes would continue on in the Rebel G series. The camera features a built in flash, and can shoot at 1 fps. The fastest shutter speed with flash was measured at 1/90 of a second.
A few new features include compatibility with ETTL type flash. It still has the same 1/90 of a sec sync speed of the previous model, but when equipped with a Canon Speedlight such as the 380EX, 220EX it can be used at 1/2000 of a sec. Focus has improved a bit as as a AF assist light is now available. Auto Exposure Bracketing (AEB) can be use from -2 to ++2 in 1/2 stop increments. The command dial now has an easier to access night scene mode. The body is able to use the BP-8 vertical grip that can also accept four AA batteries.
Camera-Wiki.org / Wikipedia
Assessment:
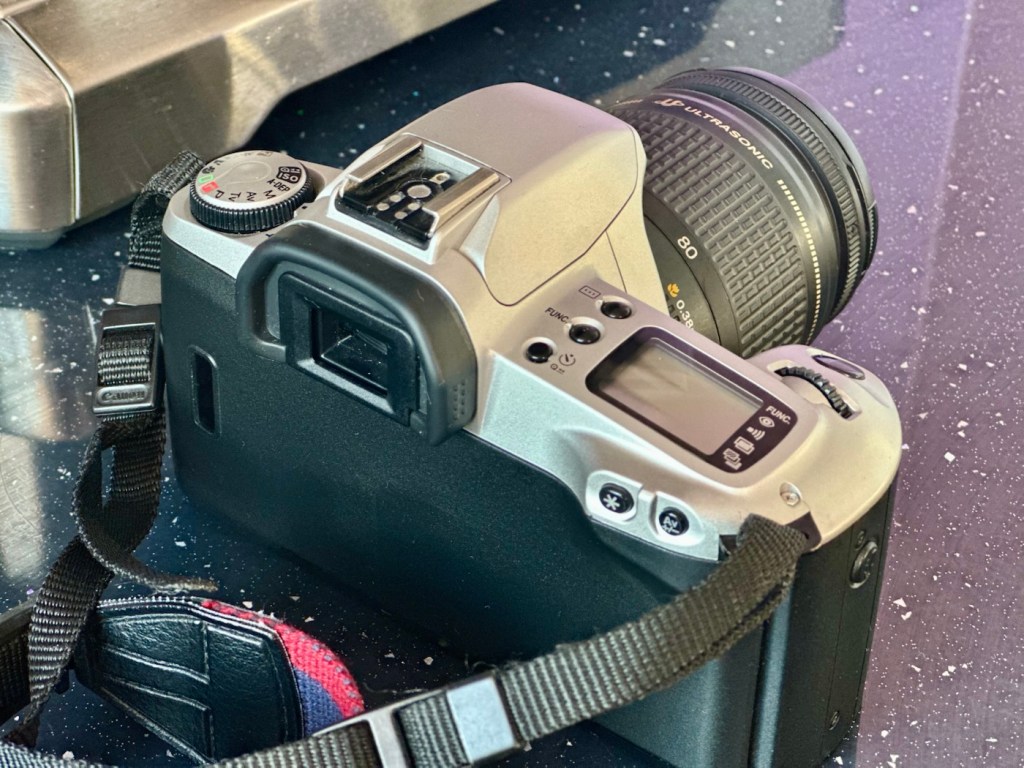
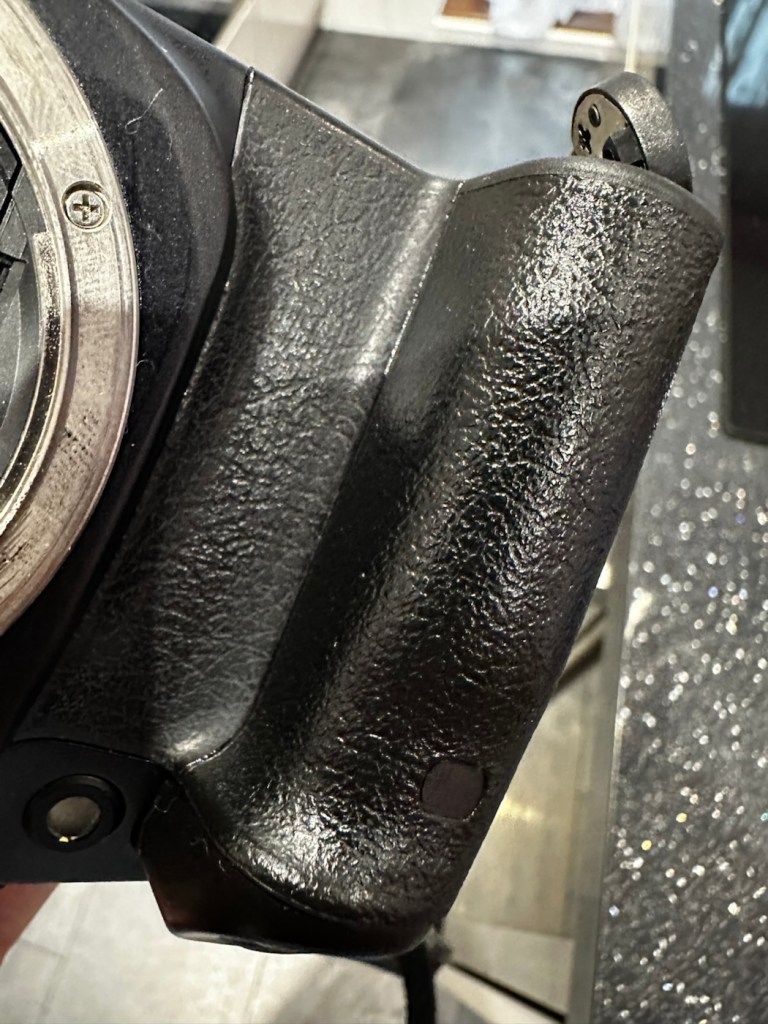
As Stated, this camera is in a good cosmetic condition with no sign of dents, dinks or wear. Considering this was a camera used in training I can only presume the students were extremely careful and respectful, or it was lightly used. Having worked with some of these students myself, i very much suspect, it’s more than likely going to be the latter option.
There is another such unit I have of this very same camera however that is damaged with a faulty screen that requires replacement and that will be dealt with in a future post. Meanwhile, let’s get back to this one.
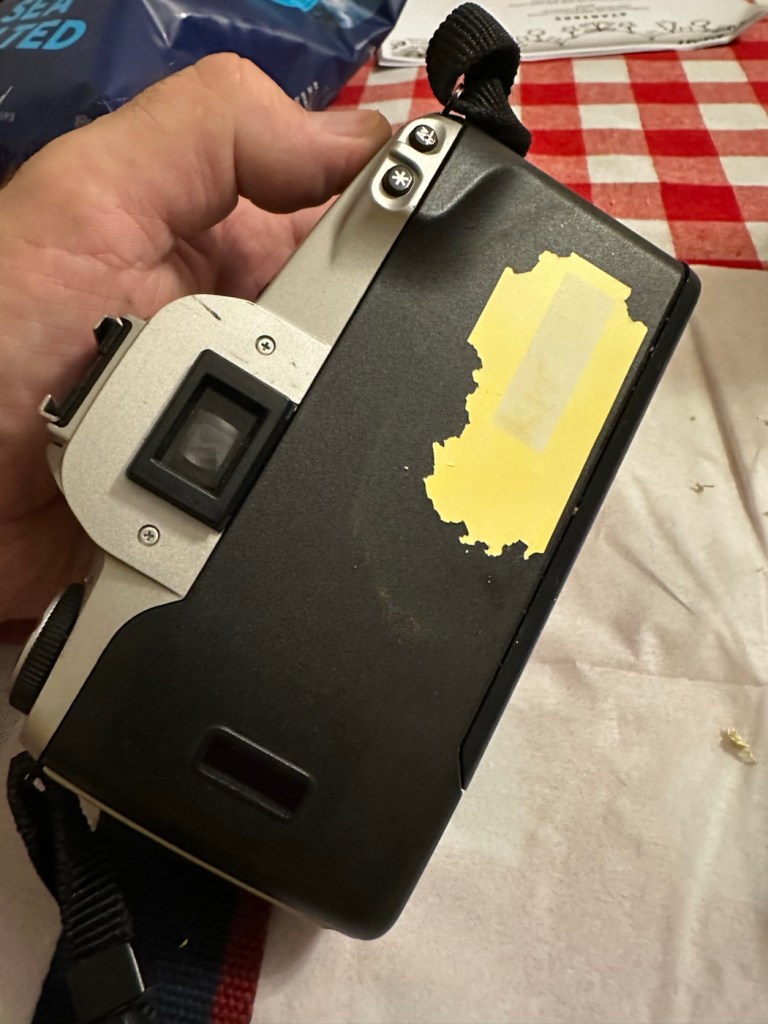
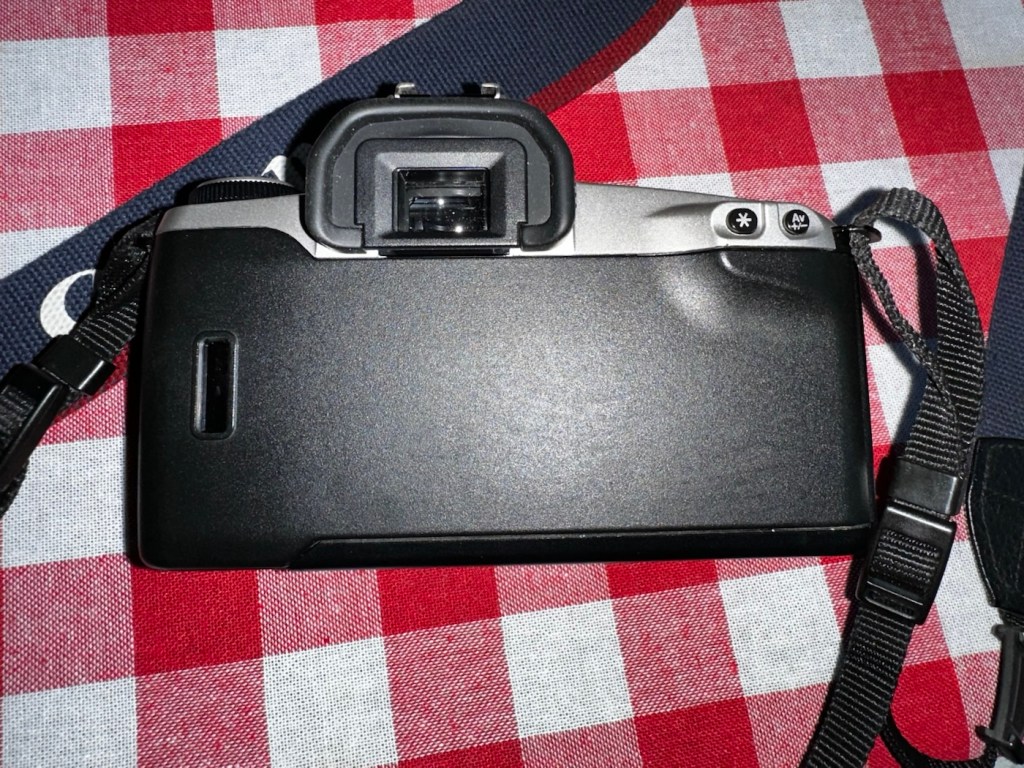
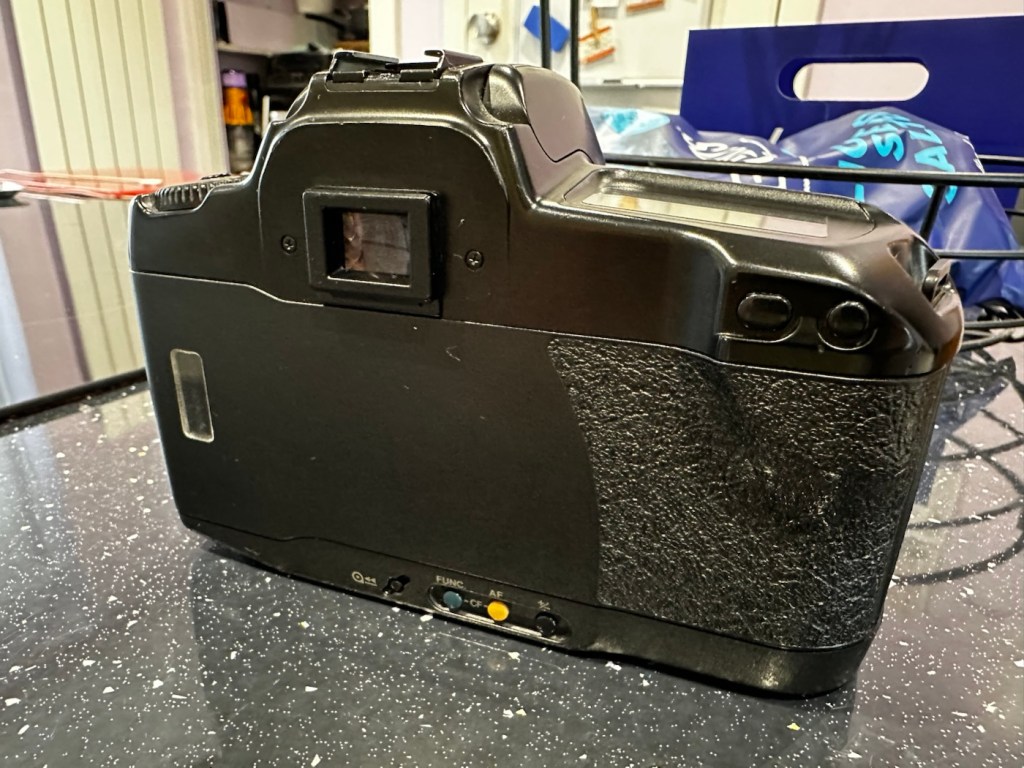
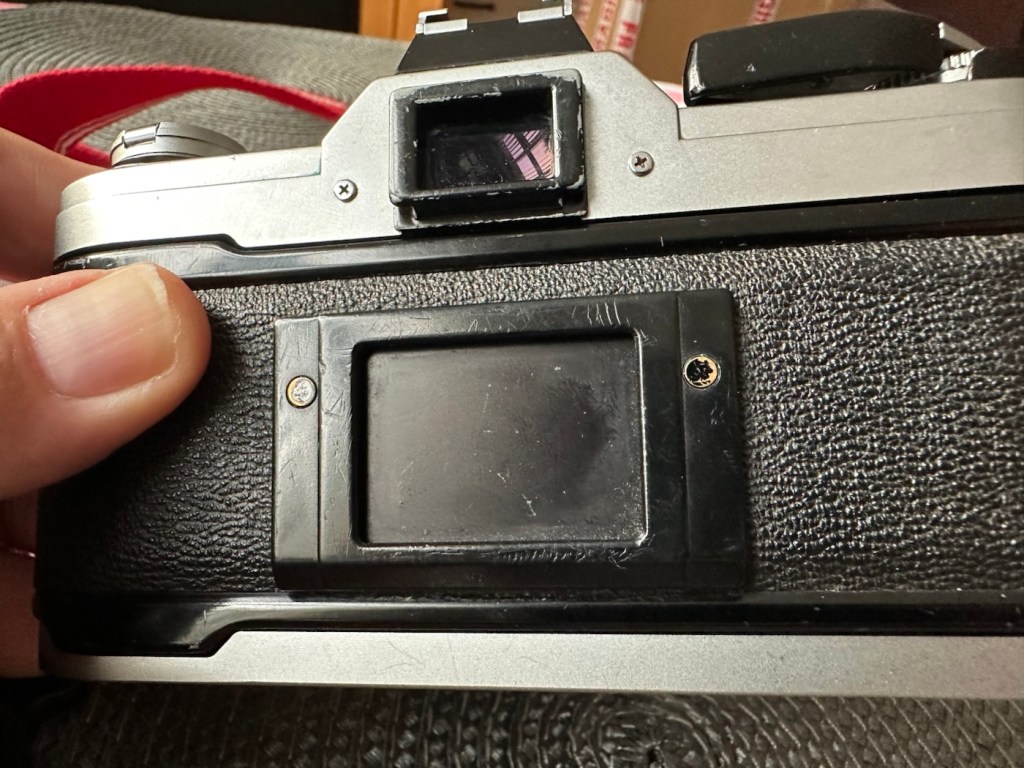
There is an old ownership sticker on the rear and this is one of those old vinyl type ones that will be able to be removed, but just may take a little while, as they are brittle and break off into lots of little pieces that go everywhere.
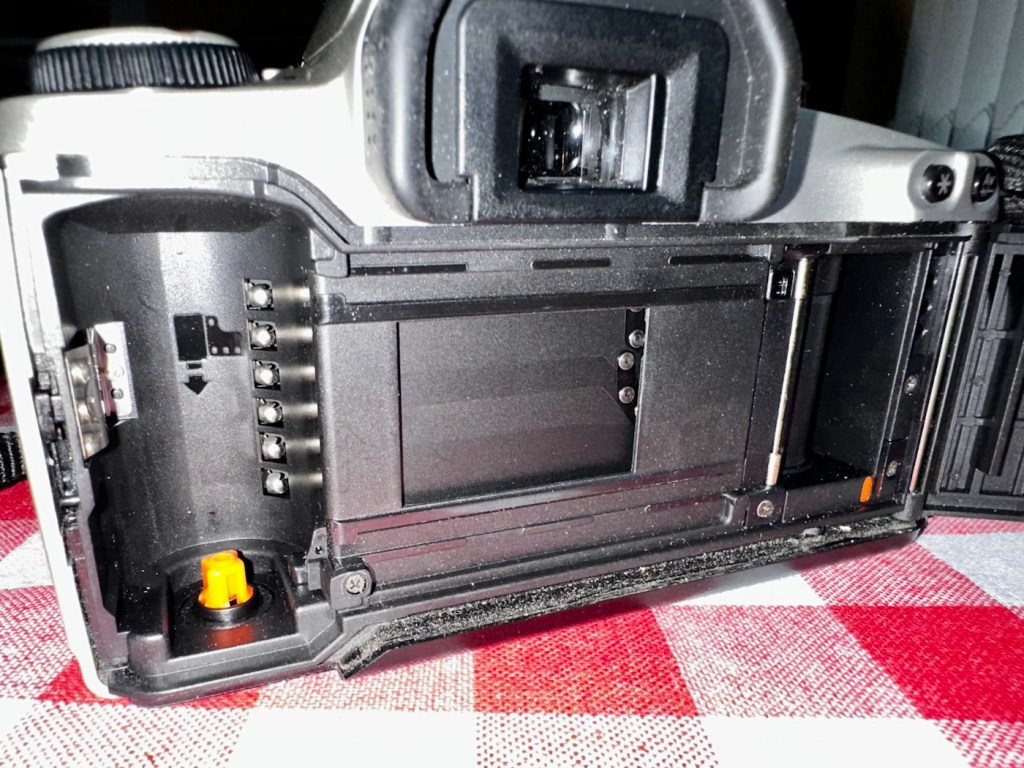
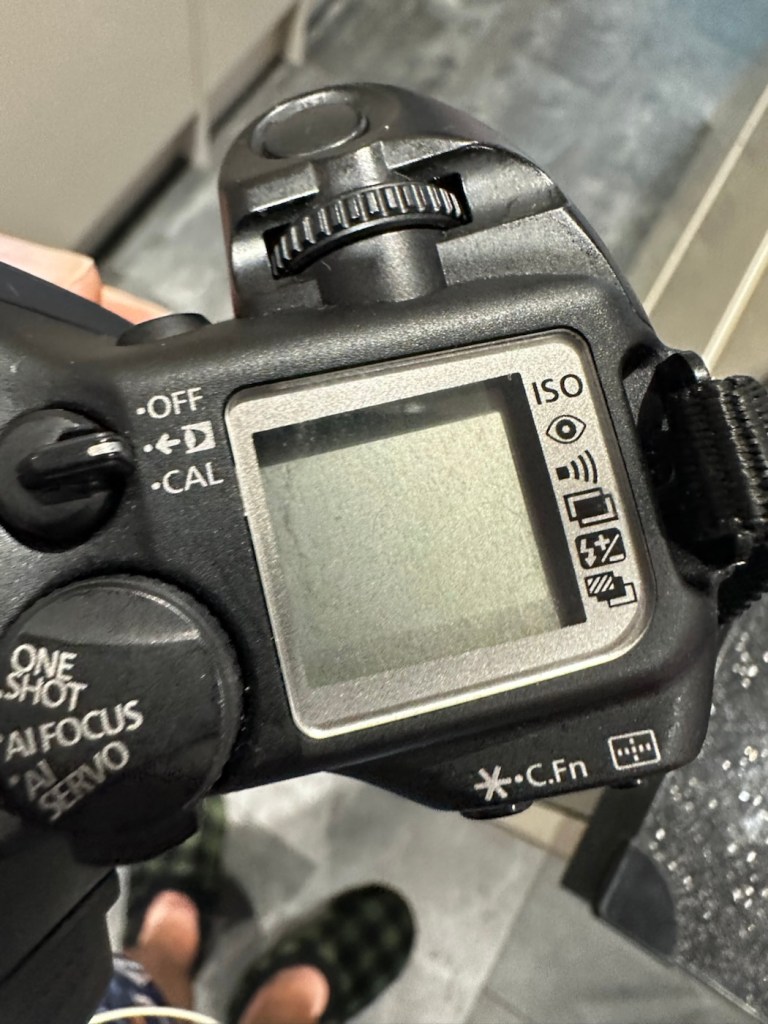
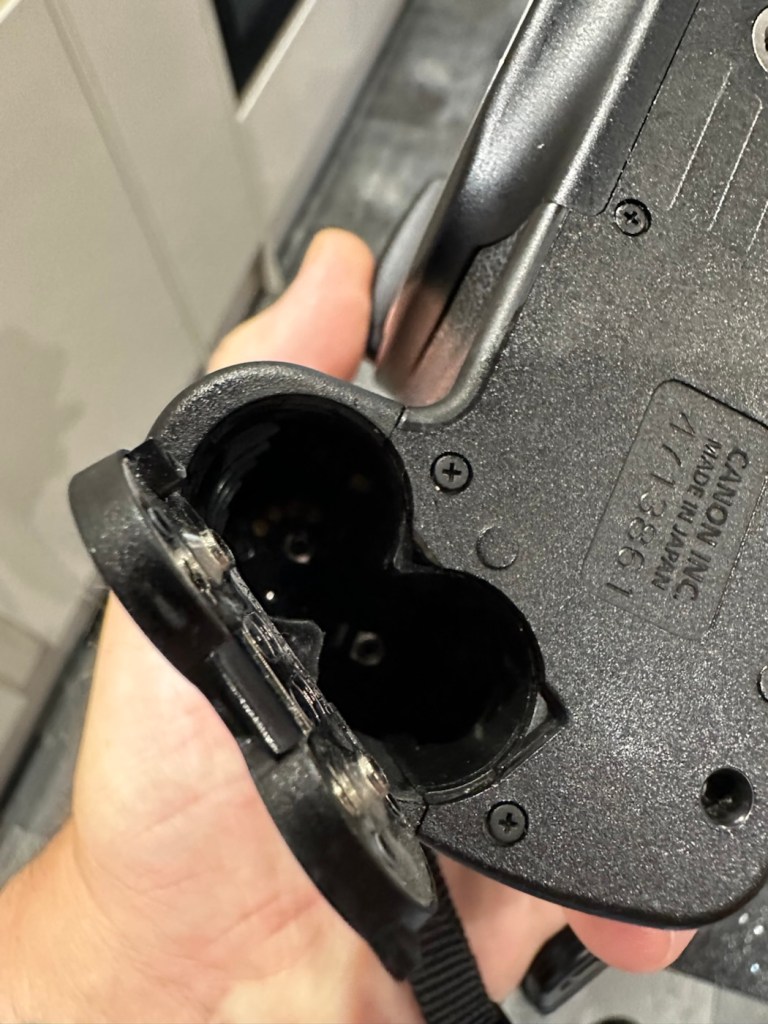
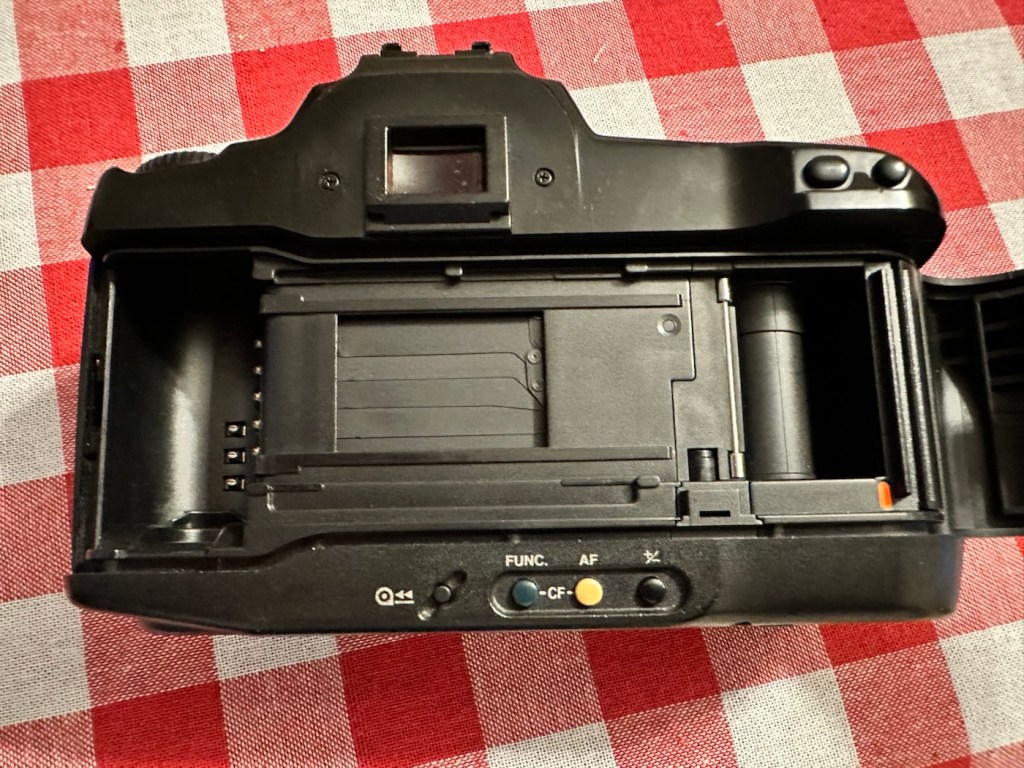
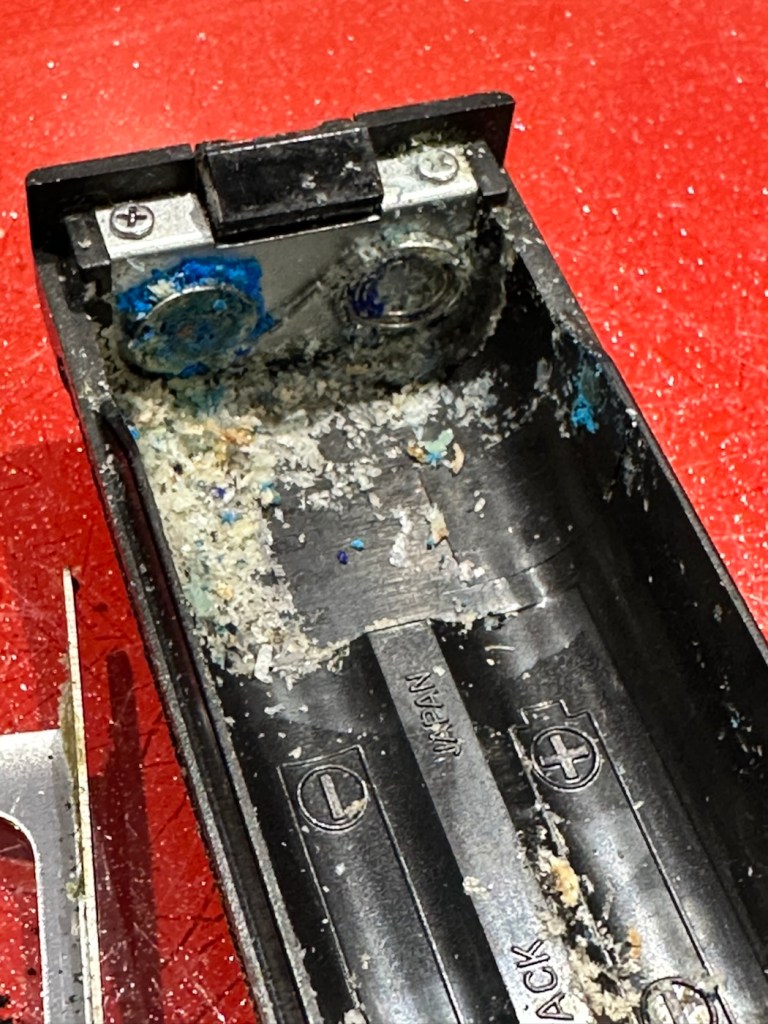
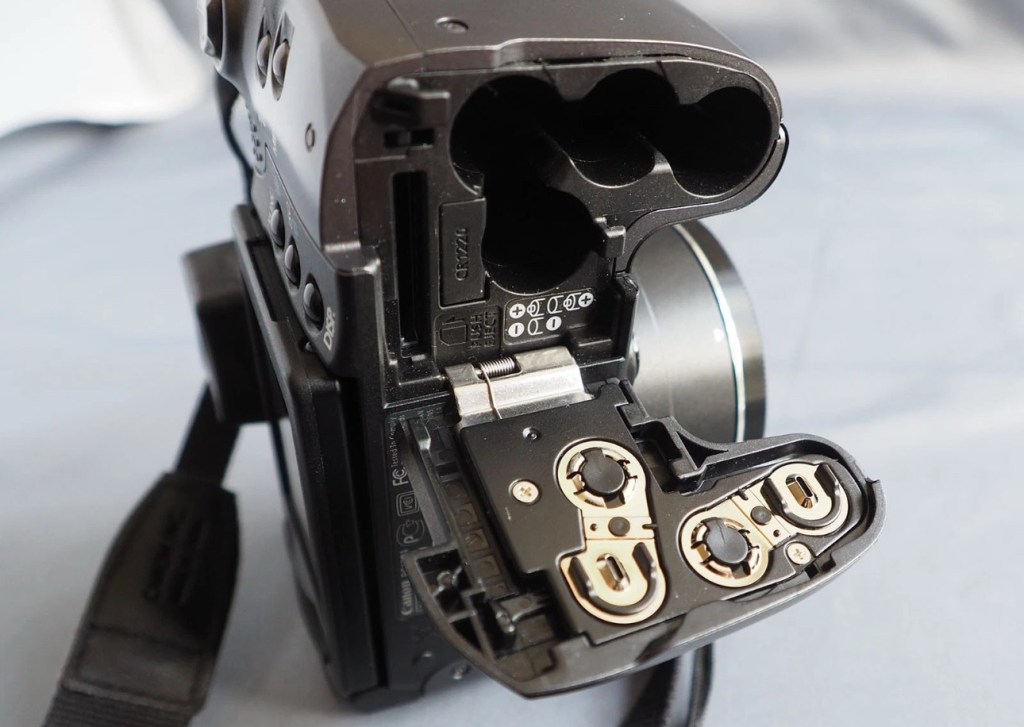
The battery chamber is clean and there are no signs of contamination. The screen is clear and does not show any bleed, though I haven’t powered it up just yet.

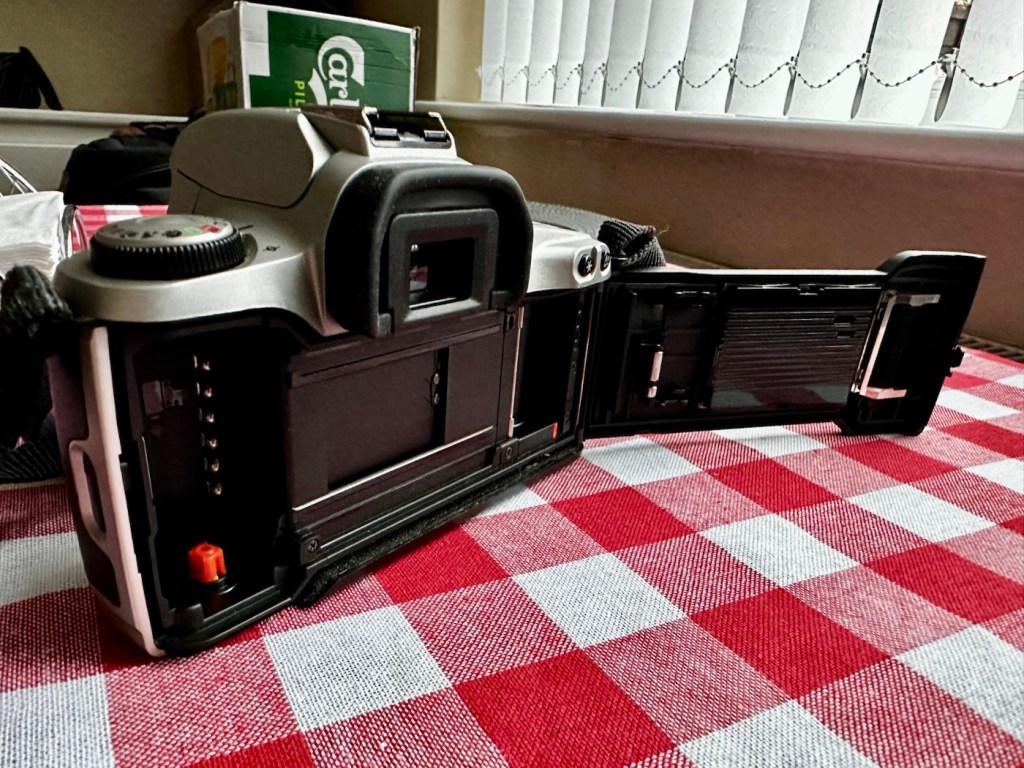
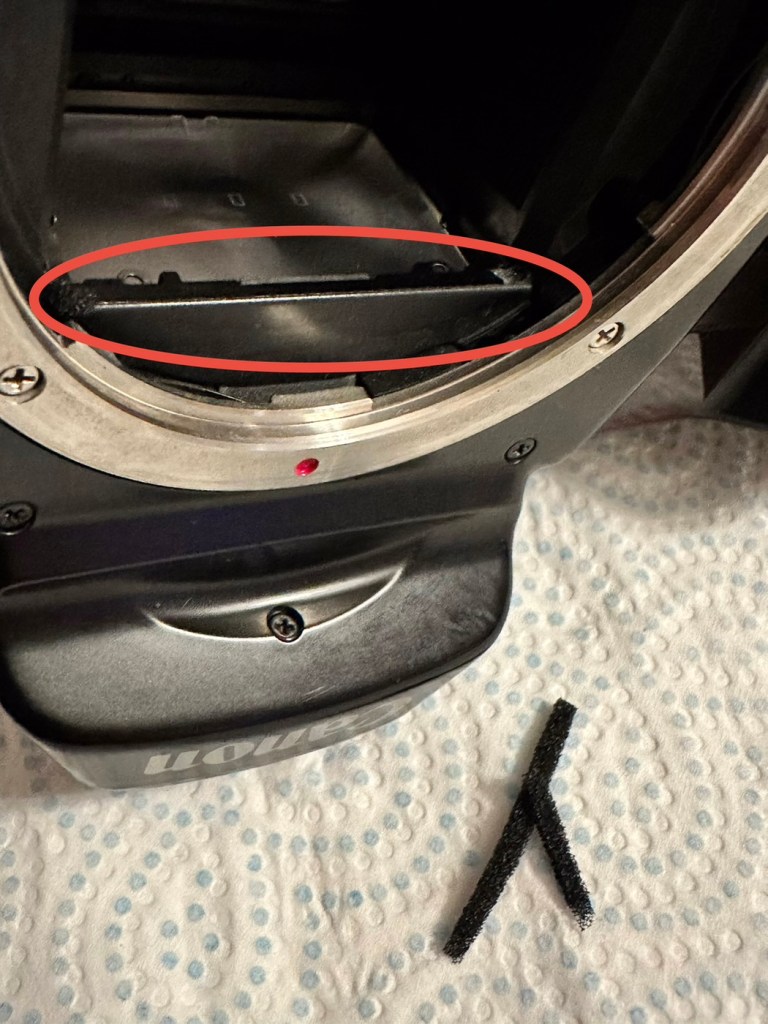
The film chamber, back pressure plate and shutter curtain all appear to be in good order. Again I will further test this when I put some batteries in and run a dummy film to check transport.
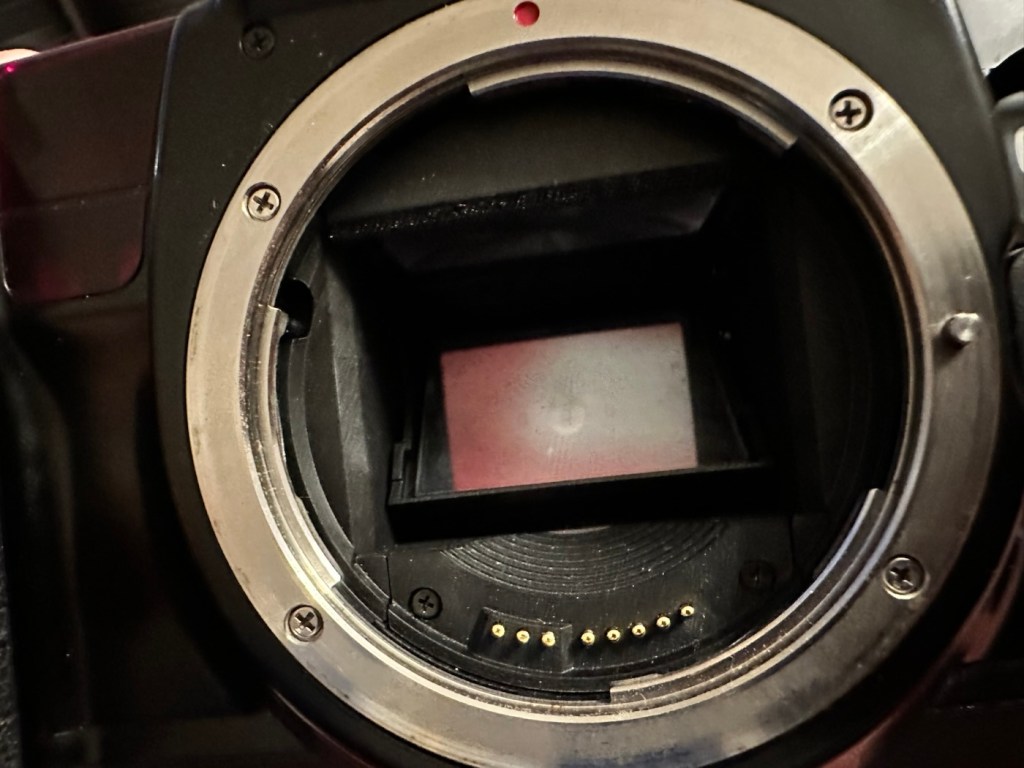
The unit is quite grubby and dusty, the mirror is dirty and the prism is as well. initially all looks good. Batteries, and the dummy film might tell us something different.
Repair:
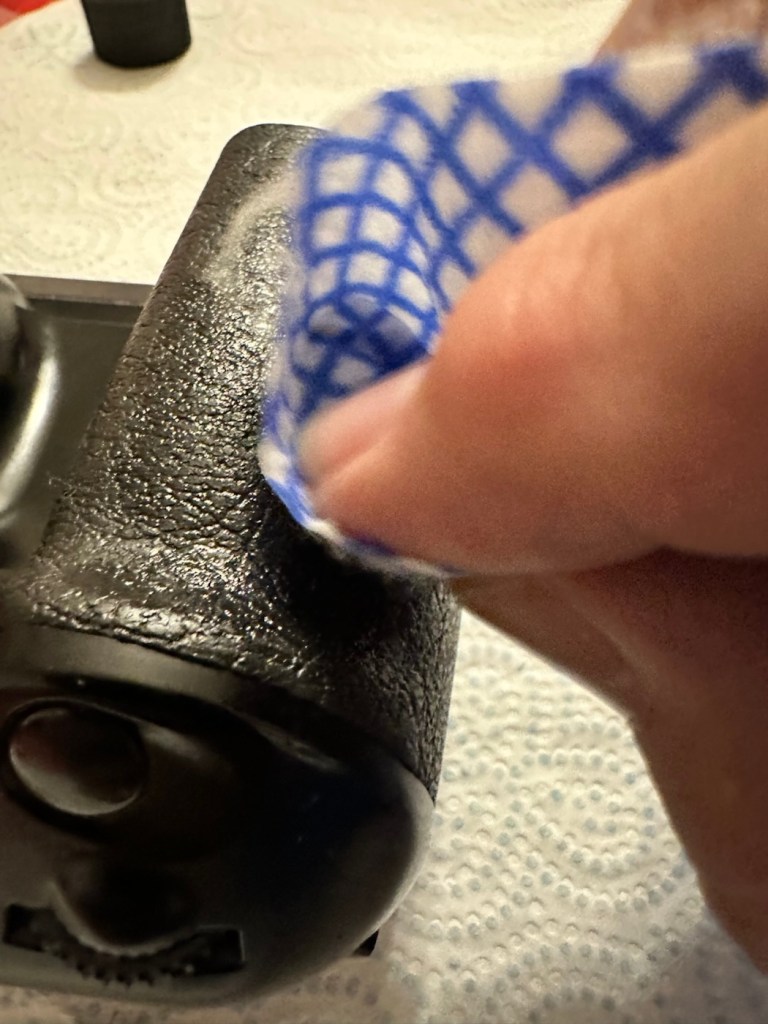
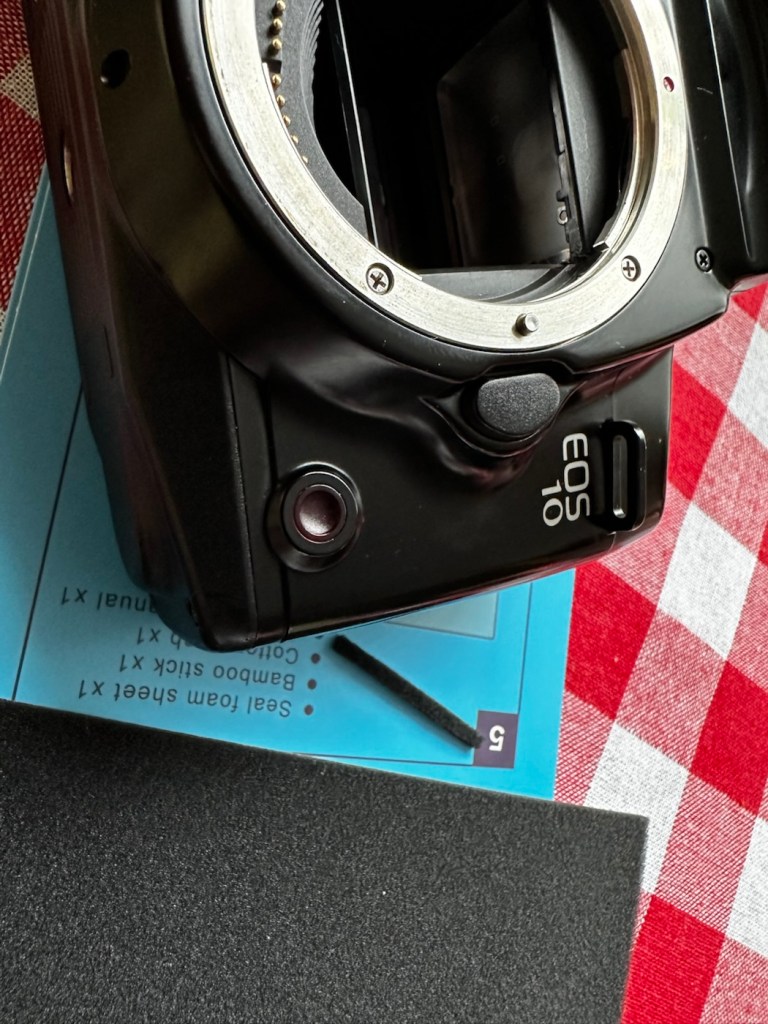
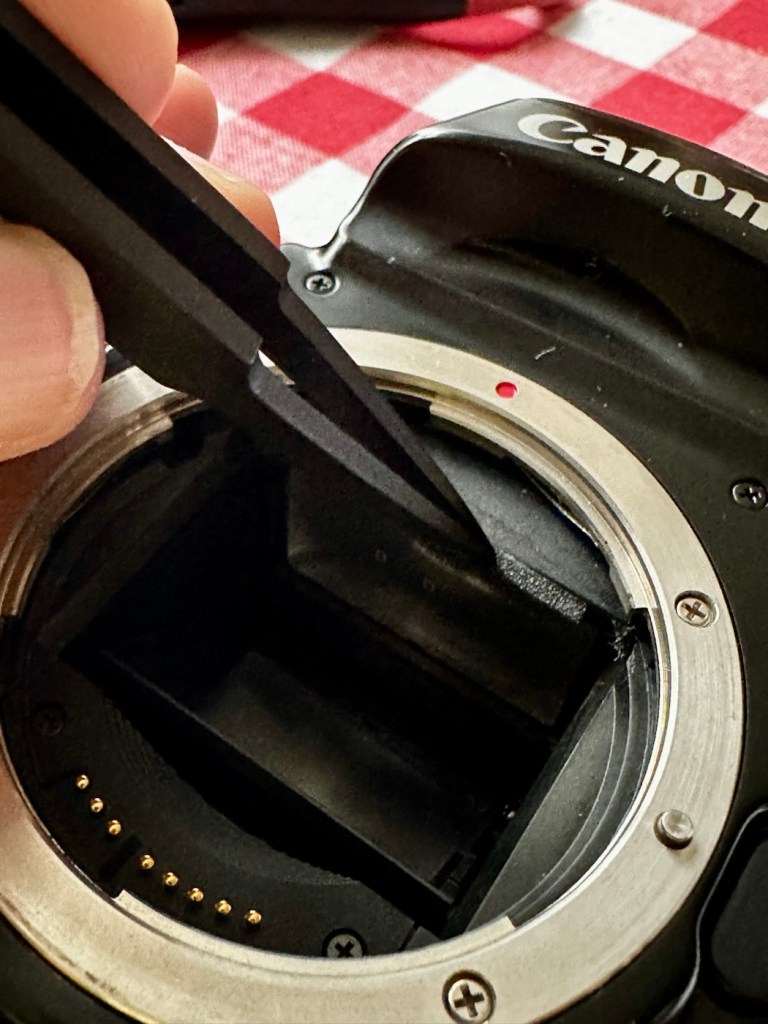
Let’s get that sticker off the rear, a little soak in IPA to soften things up, and then using a small plastic modelling spatula to gently get under the label, I was able to remove the sticker relatively easily. If I’d used the metallic option I may well have scratched the casing. I’m happy that this option has worked well for me. A final clean at the end with some car cockpit cleaner should bring the detail out nicely.
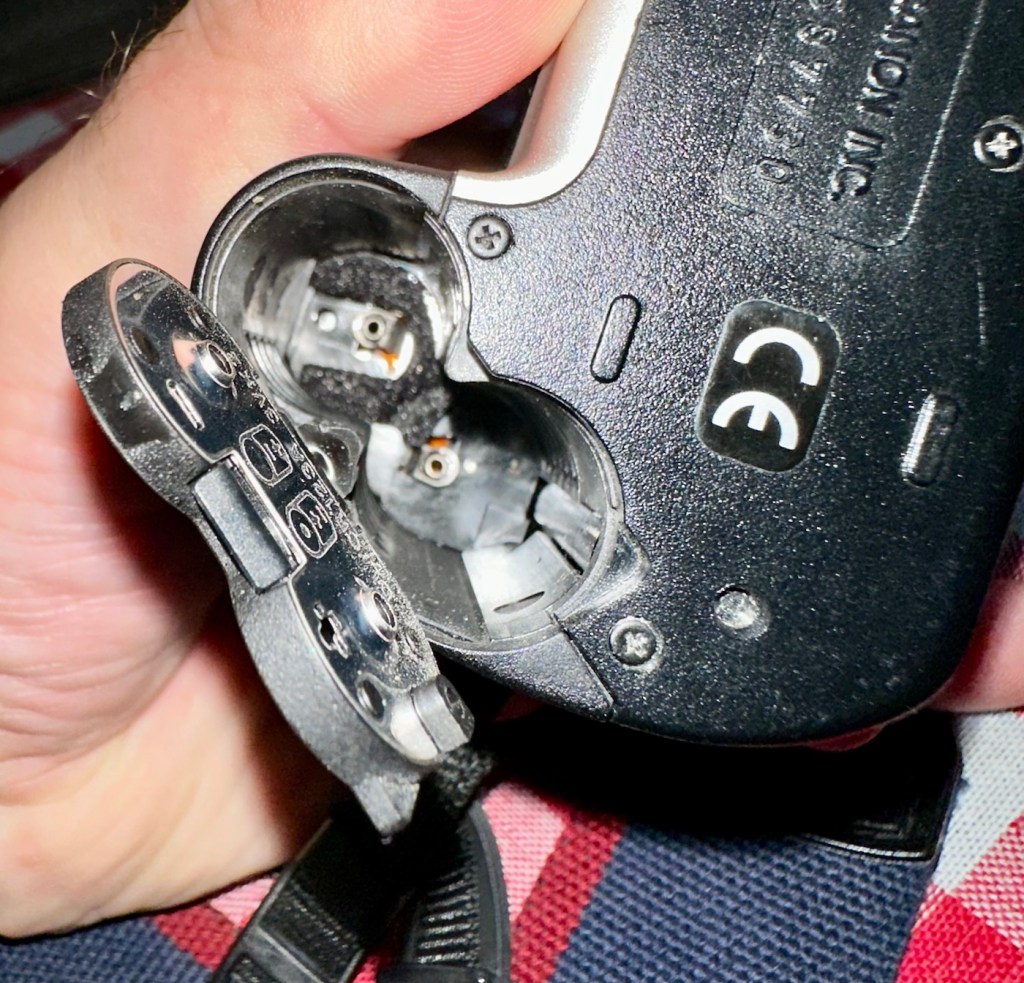
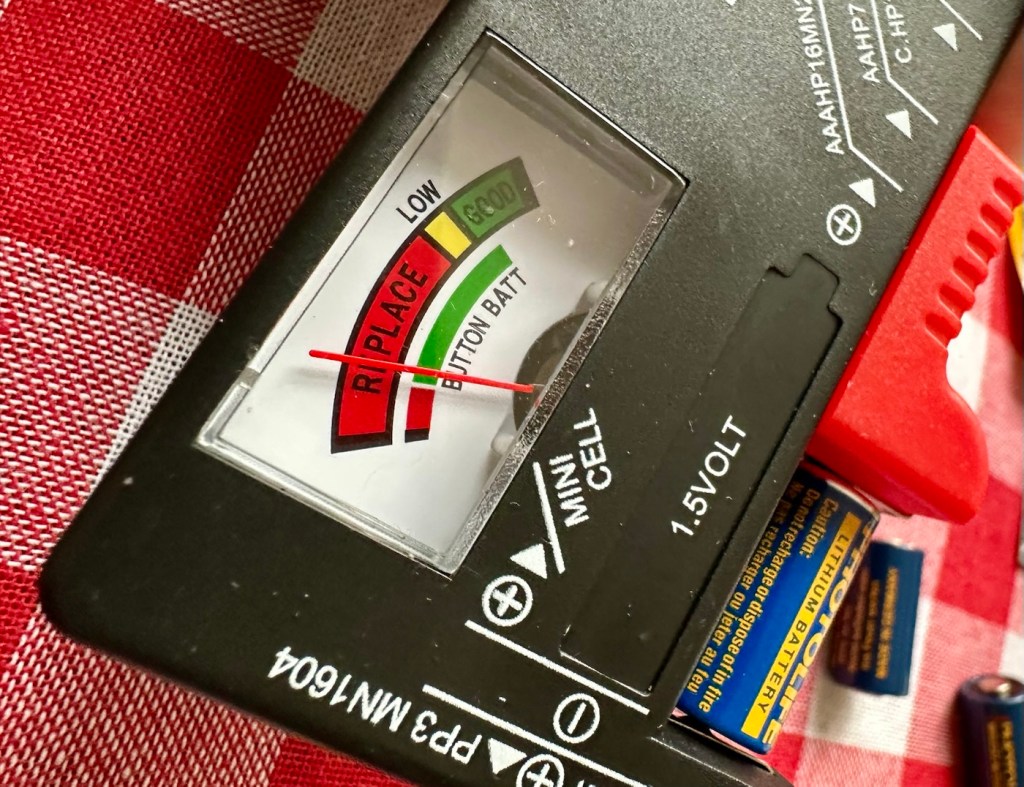
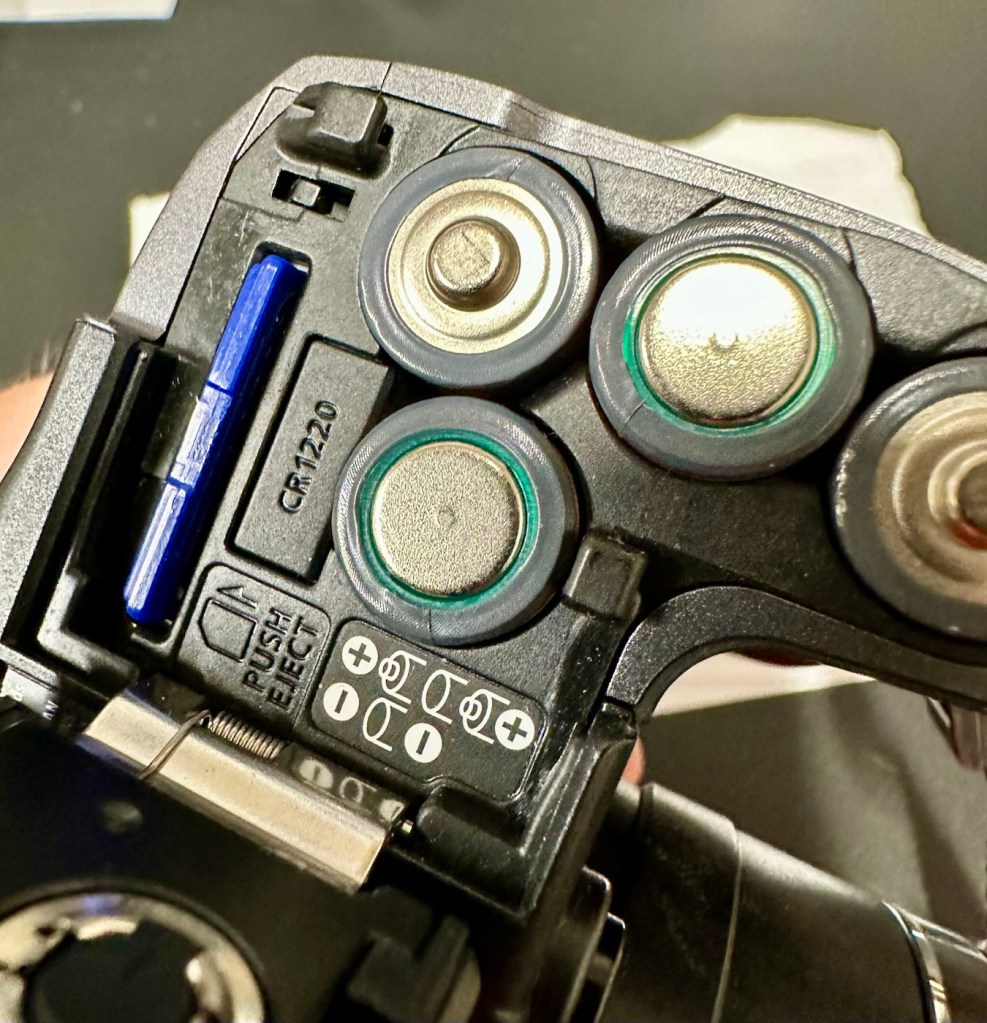
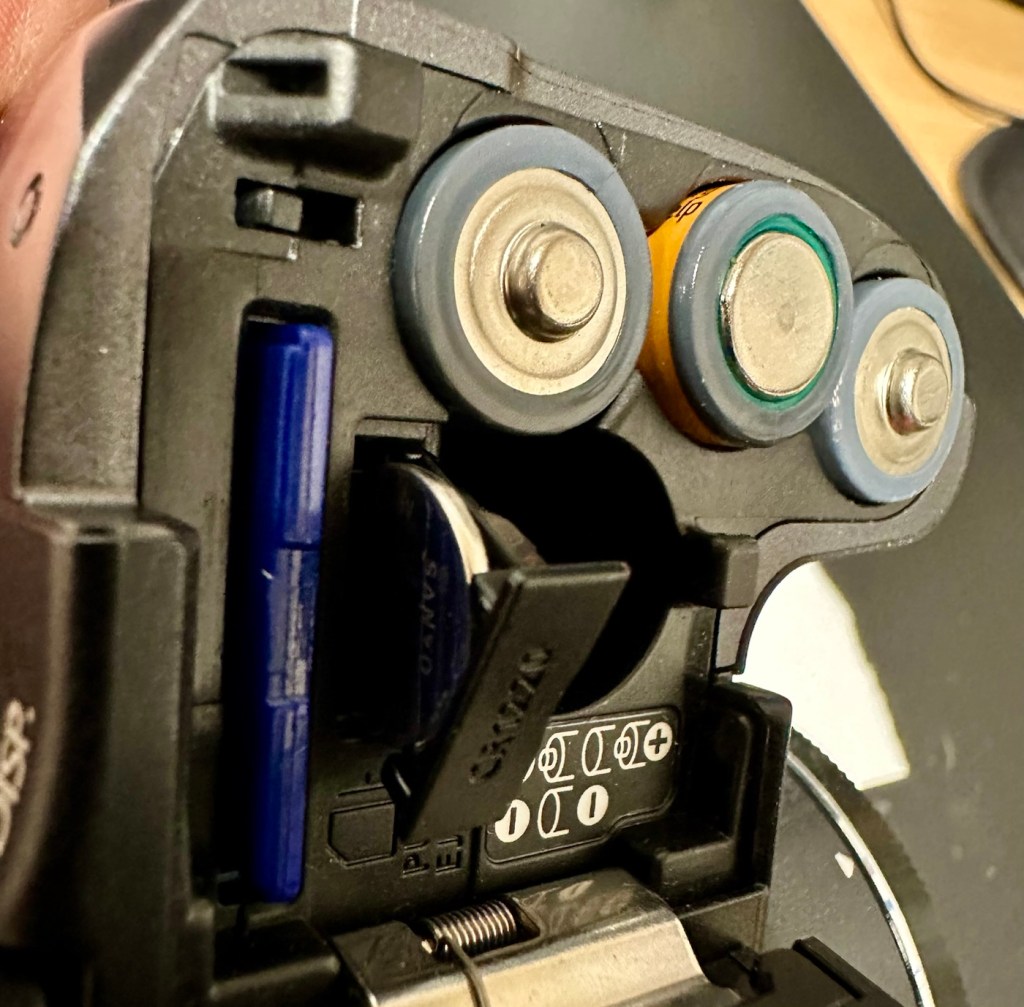
Let’s get some power in, and fire this unit up. It takes two CR123A 3v lithium batteries.
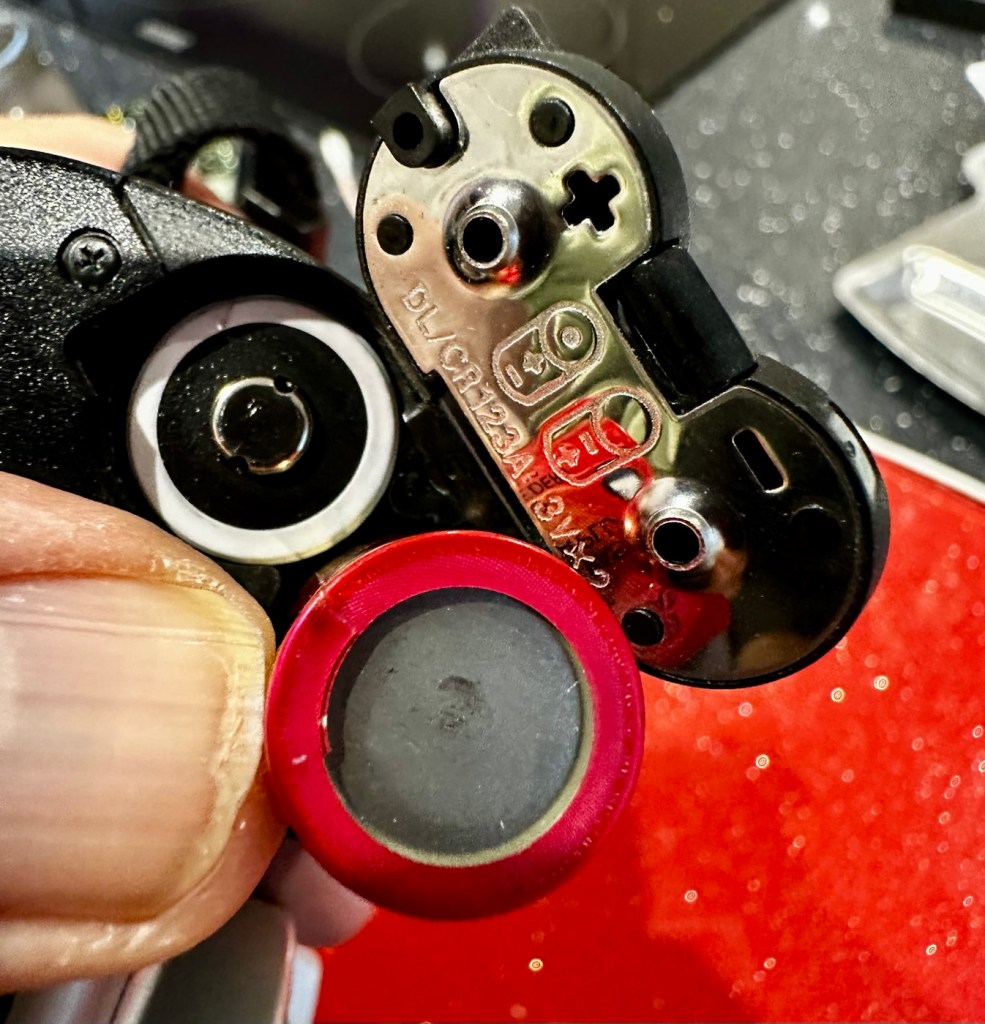
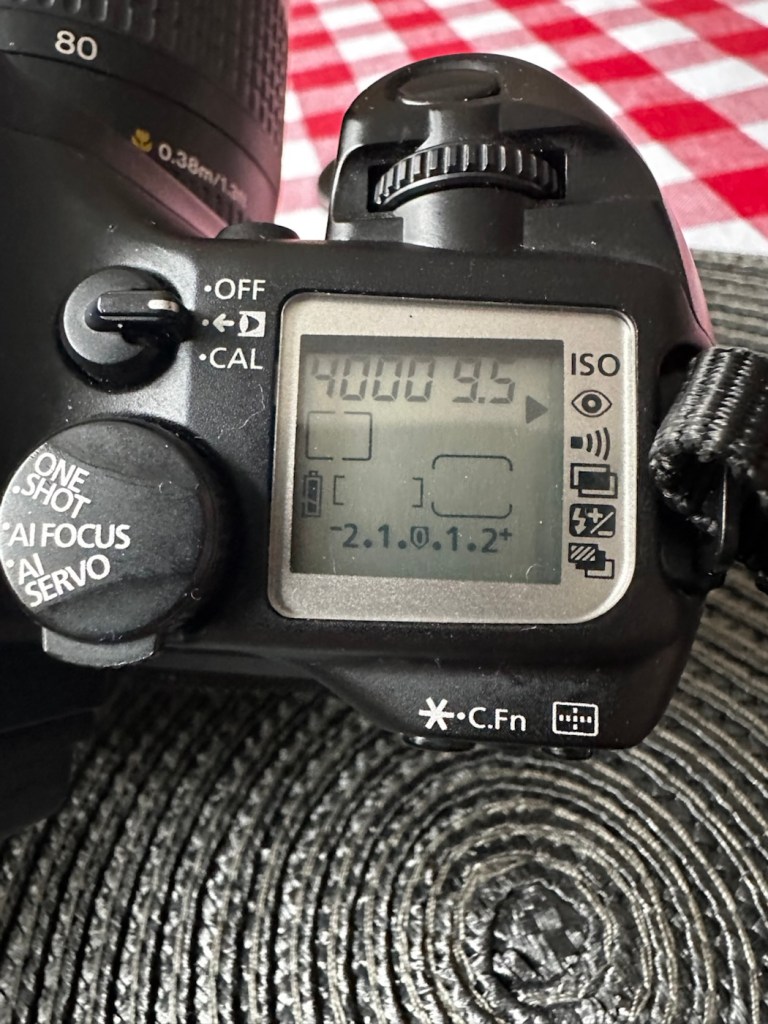
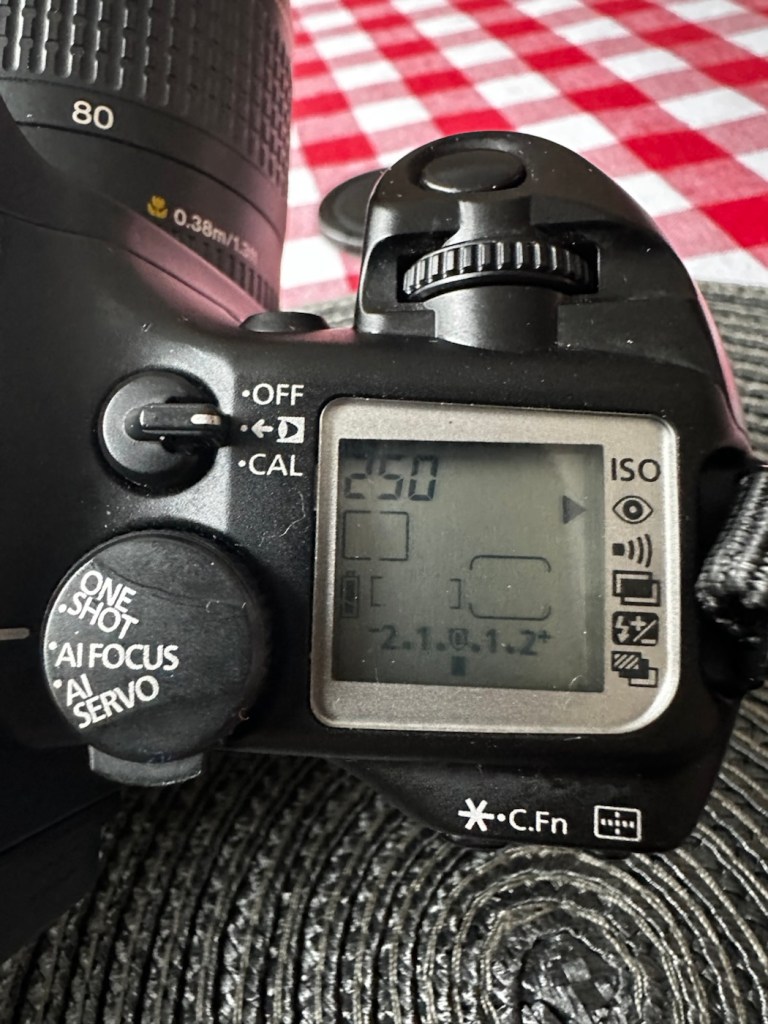
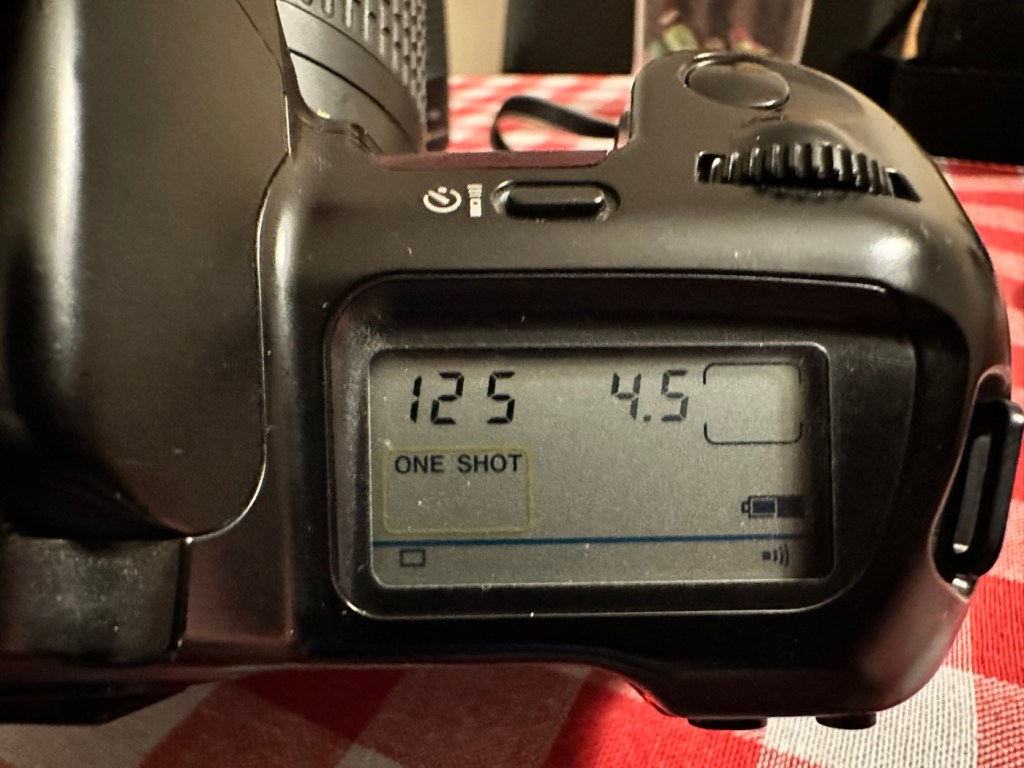
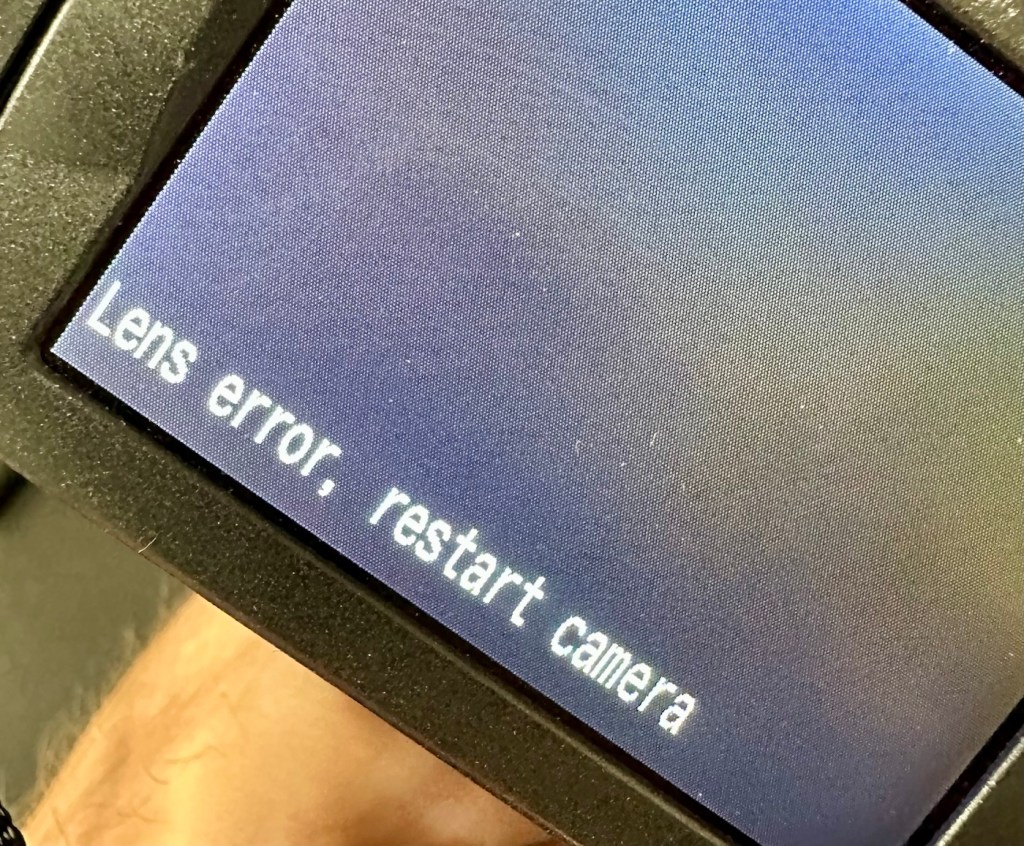
Batteries in, and everything lights up, all menus function and as stated earlier their is no bleed from the LCD screen.
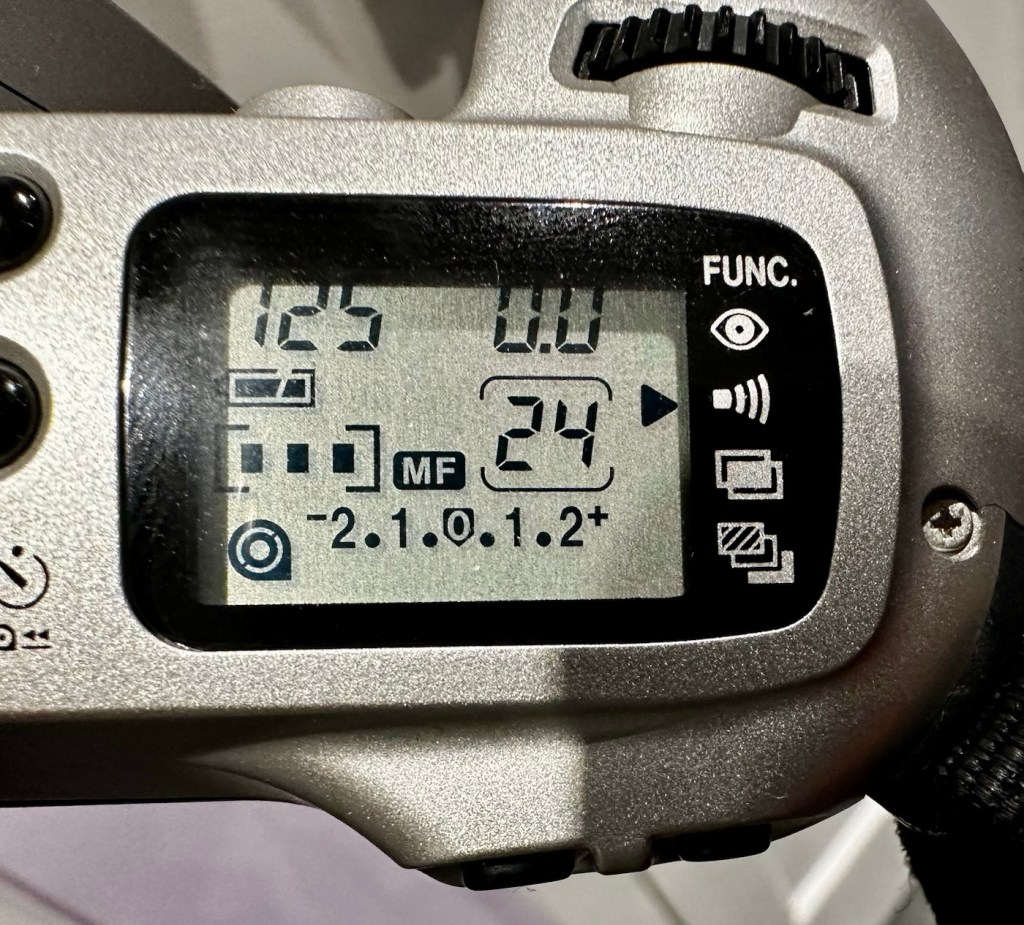
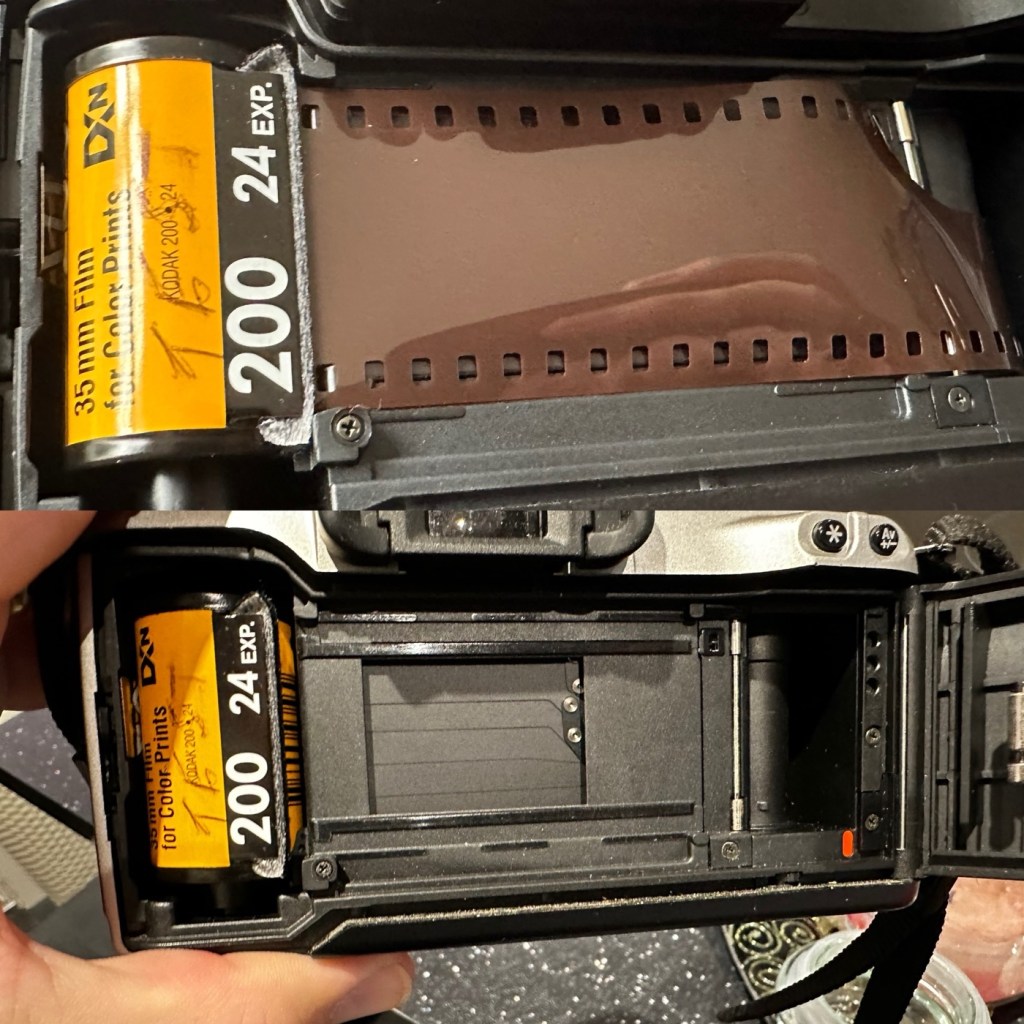
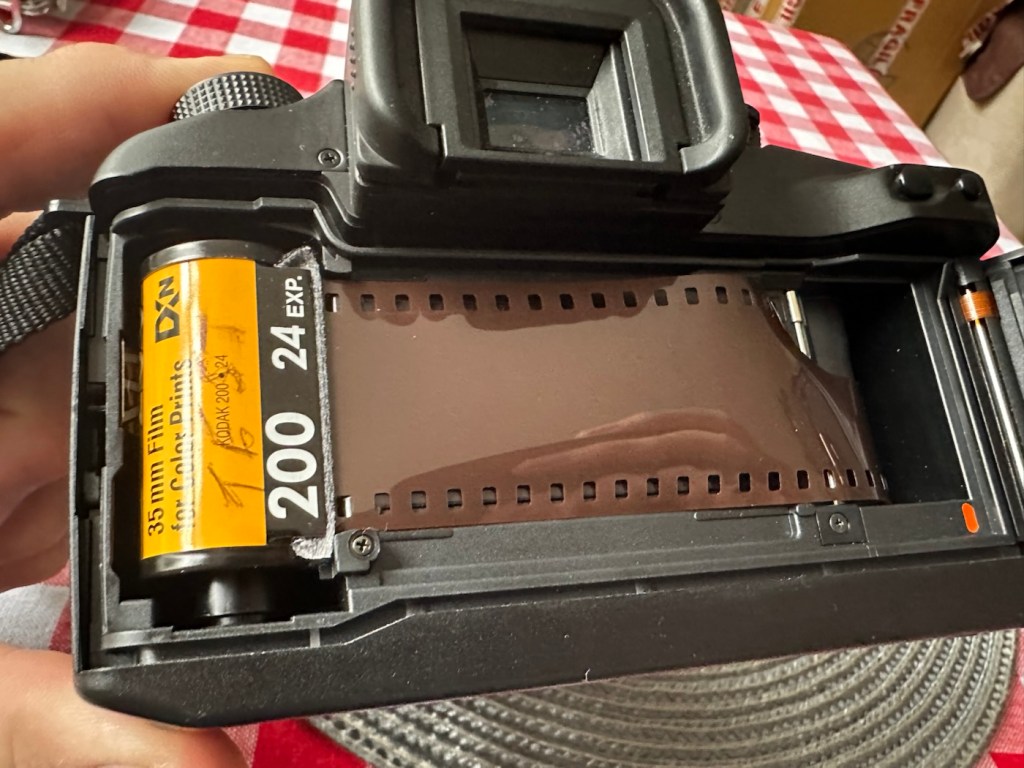
I load the film in and it instantly winds the whole film on to the take up spool. Here on the display, you can see that this roll is 24 exp and it has wound fully on to the take up spool. I fire off these 24 exposures to check the shutter and that fires fine, film transport also works well and the final rewind of the film at the end also works. In a nutshell, this camera works!
I clean the prism and the mirror with a soft swab and you can just see the dust and dirt lift. A final brush over with a bulb blower completes this task. The internals are now clean.
It just needs a very thorough exterior clean and polish.
Result:
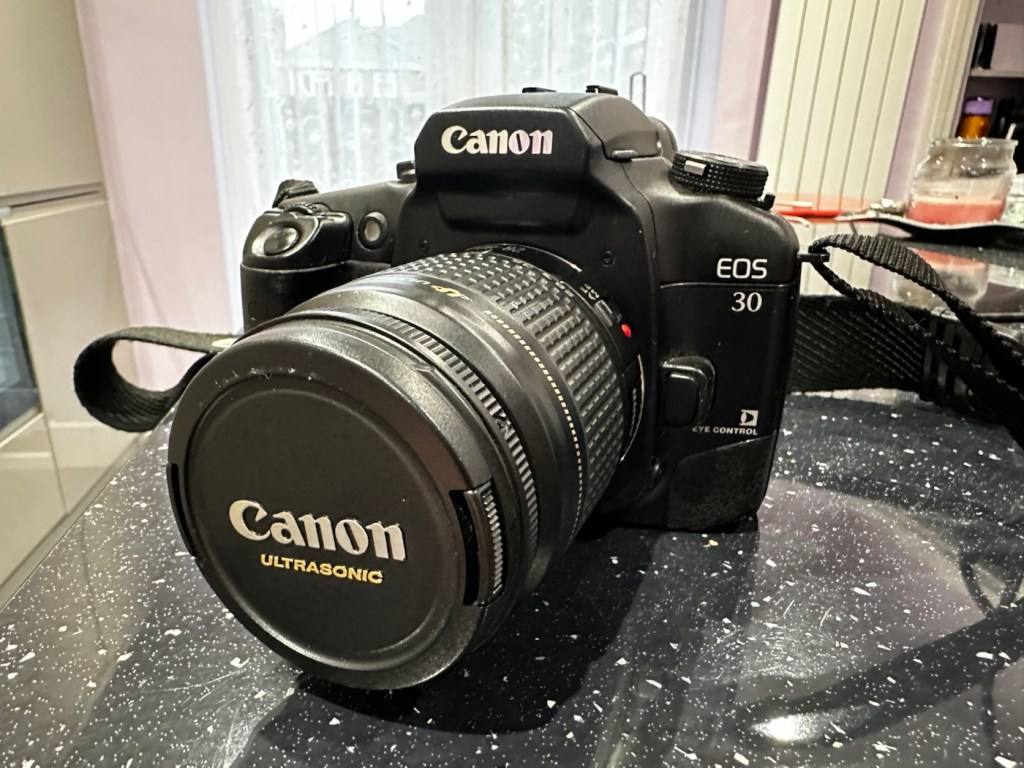
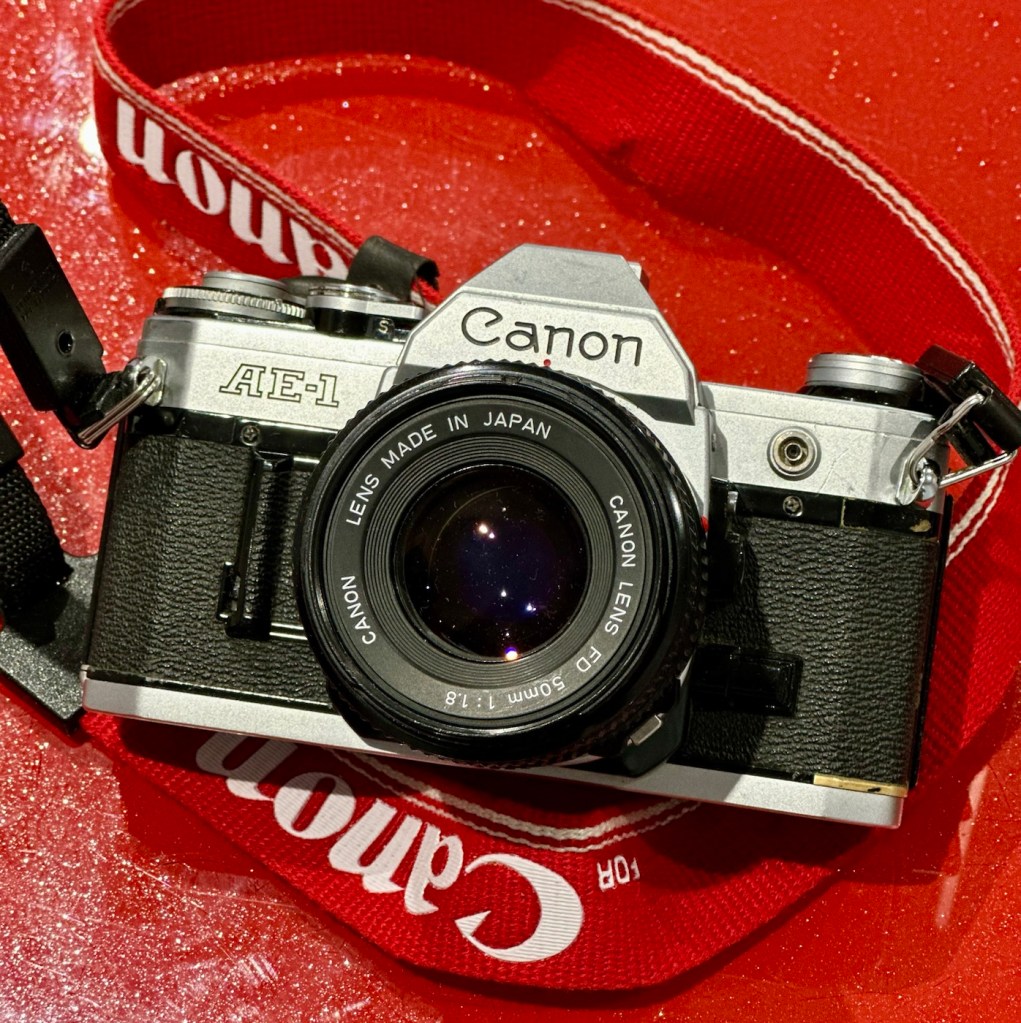
I’ve cleaned the exterior and used some ceramic cockpit polish to finish it off, I must admit it’s looking very good.
Here I have a nice little camera packed with features that will make a great camera for someone to learn the basics of traditional photography with. However, it’s remaining in my collection for the while.

I’ve cleaned the camera throughout and used compressed air to finish the clean prior to sealing it from the elements. It’s yet another camera that I need to test, another one that needs to have a film put through it for its final test, however I am 100% confident of it’s capabilities and the fact that it operates just fine and all its settings, buttons and controls are doing exactly what they should. When I do get to put a film through, I will link to it here.
Another successful restoration and return to use of another old camera that had been put to one side. Not that this one really required a lot of attention, just a bit of servicing and tlc.
Thanks for passing by. It’s always very much appreciated.


You must be logged in to post a comment.