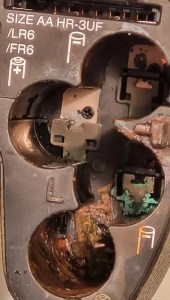
I like a challenge like most people. But this listing note above should have put me off, but no, I have the equipment, I have the time but do I have the patience to see this repair through. The guy wanted more than I was prepared to pay for such a camera, I got him down to less than a quarter of his original asking price paying just £6 gbp for this camera. Hopefully if it all goes bottoms up I’ll at least have some spares that can be used, if the corrosion has got to the circuitry it might be a different story.
Fuji Finepix S1500
On the market in 2009 this camera was amongst the digital assault from the far east that earned the title of being a “Bridge Camera”. Unfortunately this was not one of the better versions but however was well received by the casual snap shot photographer. I had one back in the day and that was my introduction to digital photography. This particular camera will go to a young family member who is getting into photography, if I can get it working.
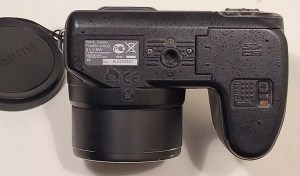
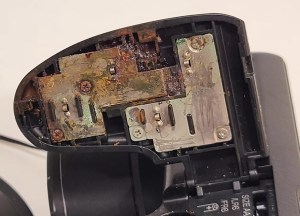
Battery compartment corrosionFuji Finepix S1500 base Battery cover corrosion
The plan with this one is to get it open and do a full review on just how deep the “serious battery damage” goes. I’m not too hopeful, but sometimes luck does go your way.
Keep an eye out for updates when it is received and the work I will be doing to restore it to working order.
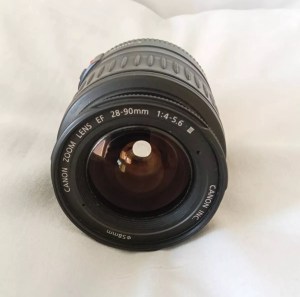
Canon EF 28-90mm Lens Working Then Produces Err99. Reduced to sell at a bargain price will be easy fix
EBay
Canon EF lens 28-90mm
The dreaded err99. It’s a general error code that seems to annoy many Canon owners, and can be a simple fix or a tedious one. I wonder what it will be for me? I’ve seen a good article on Improve Photography’s website that explains some of the steps that can be taken to remedy this error, you can read that article HERE.
I now have the lens in front of me so here is what I can see. Overall the lens is in good order for its age and mounts to the camera ok. All manual focus and zoom works and the lens is clean with no sign of fungus or haze so I’m happy with that. I’m still waiting for the camera battery to arrive so I can’t really comment yet on the error code. I’m not cleaning anything just yet as I want to see for myself if the error shows on one of my cameras, if it does then i’ll start the process of cleaning the contacts which is what I would of attempted first off.
The battery has now arrived and I have now commenced further testing. I have placed it into auto mode and all seems well. I have tried the lens in 4 different camera bodies and have had no sign of the Err99 error code. The only issue I have noticed that may not be contributed to the lens is that when connected to an Eos5 body there is a fair drop in battery power. Again this has been noted in the past as something than can be connected to dirty contacts on the lens, so as a precautionary measure I shall be using some IPA and a fibre glass scratch pen to clean those up.
Using a fibre glass scratch pen
I’m unable to recreate the advertised fault as everything about this lens is working fine as far as I can see. I’m going to wrap this one up as complete now.
I’ve really enjoyed working on these two cheap damaged lenses that I originally purchased just to test my old SLR kit. They are now both working fine and i believe the invested effort shows in the end result.
The batch of cameras I purchased the other day, all old SLRs / DSLRs have now arrived… with a bonus.
I was expecting 10 cameras but I’ve trumped that with 12 and a lot of spares as well. The guy I purchased the Nikons from has thrown in two more D70 as spares, with loads more spare parts. He was having a clear out so I guess he’s funneled that stock my way…thanks old chap.
So I have received today
One Canon 5 SLR – stuck mirror, missing some small Connection covers and like a lot of these old cameras has a sticky rubber covering that was well known back In the day.
One Canon EOS 50E – damaged curtain, faulty lock and again sticky.
One Canon EOS 1000F – cosmetically sound no other visible issues.
One Canon EOS Elan 2 – cosmetically sound, just sticky.
Two Nikon D70S DSLR – missing battery covers and some other small accessory covers, both sticky.
Six Nikon D70 DSLR – all missing battery covers, or other accessory covers, one missing a CF card reader and all sticky.
And two sizeable bags of D70/D70s spares
And then there were 12
I’ll be starting with a good clean to get rid of that stickiness and then I’ll power each up individually to see what other issues lie in wait. I’m hopeful I can get most of them up and running, I’m confident that the majority of the DSLRs will be repairable.
I’ll feature the repairs once I’m in a position to donate the time to them. I’m a busy boy at the moment what with work and the wife’s growing list of things that need doing around the house.
Canon 5D Mark II DSLR Camera – Body Only – Spares or Repairs
We have tested this camera and found the following fault:
The camera powers up, however the sensor is damaged and images are recorded either blank or unusable, and so we are describing this item as FAULTY / SPARES / REPAIRS.
Shutter Count: 69,970
EBay
90% off. What have I brought?
I noticed this 5D on sale earlier for £109 Gbp. It’s from a supplier who has a good reputation who I have used before, however he suddenly drops the price by 90% and I snap his arm off for this. It has sensor issues and that’s at least a £70 price just for that part. Considering how much these cameras usually retail for it’s a price I could absorb…but I think something else must have come to light for him to change his pricing. The body is pretty beaten up, again I’m not too bothered with that, the usb port might be damaged by the looks of it and again that’s something I can sort.
Eos 5D Mk2Eos 5D Mk2Eos 5D Mk2Eos 5D Mk2
I guess I’ll just have to await its imminent arrival. In any case for a total of £9.99 GBP I’ll make more from this just for spare parts.
Needs opening cleaning and fixing sounds like something loose so selling as a repair project cheap.
EBay
Canon EF lens 35-80mm
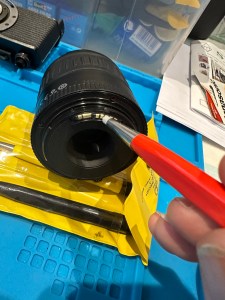
No error code so in theory this should be an easier fix, however the fact that something is moving about inside tells me there could be more wrong with it than expected.
I now have the lens in front of me so here is what I can see.
Shake rattle and roll
Well, it certainly does rattle, something quite significant is moving about inside. When Connected to a camera you can’t focus or zoom so something in there is restricting movement. There is also fungus on the lens so this one will need to be carefully dismantled and cleaned throughout.
Fungus in the rear of lensFungus from front of lens
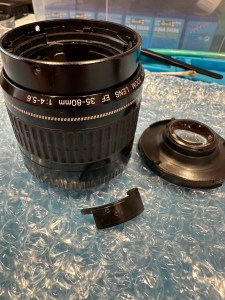
About 10 small screws later I am into the internal parts of the lens and the cause of all the rattling becomes apparent. A piece of the internal zoom mechanism has broken off stopping the zoom from smoothly operating through its range.
The piece that was broken
The part of the barrel that the item had snapped off was broken due to forceful action with the previous owner. There are two options here, junk the lens or see if it can be saved, I went for the latter. I mixed some epoxy resin and fixed the piece back into place also gluing it to a part of the mechanism that was not liable to hinder future movements. I left this for a couple of hours to cure.
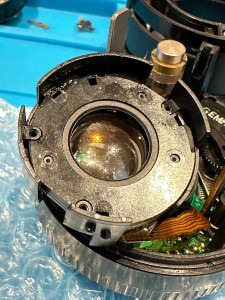
Epoxy resin and waitLens internals
Whilst waiting for the glue to cure I used a mixture of water and hydrogen peroxide to clean all the lens elements. I thoroughly dried them and gave a quick polish and reassembled them into the casing. The glue was dry now so I was careful to reassemble the lens not damaging any ribbon cables or contacts along the way. The lens looks lovely and clear of any fungus now.
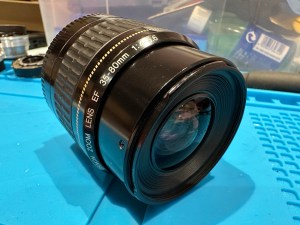
Fungus gone frontFungus gone rear
I’ve put the lens onto a test camera and it’s fantastic. I couldn’t get focus when I unpacked the lens but now I have the full range of action and a lovely clean working lens for very little outlay and probably just 2 to 3 hrs of maintenance. Well worth it in my opinion. I wanted a good cheap lens to test my old stock and I now have one that I can easily sell on at some point, on top of that I’ve learnt a lot from working on one of these lenses. I’m certainly going to attempt working on more in the future.
Double trouble here as I’ve purchased two of them.
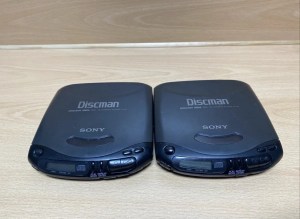
Sony Discman D-141 – double trouble
These variants are from 1994 just around the height of the capacitor plague problem. As I’ve already dealt with a D-121 version this week that was riddled with the issues and being only a year older, I’m not too hopeful that these two will be any different. They both have the same issue being that they turn off after about 10 seconds, this could be due to a number of issues, let’s get them unpacked and get an initial inspection done.
On initial inspection they both appear to be quite tidy considering they are 30 years old. One is missing a disc capstan however i do have a replacement from the old D-121 that was added to the spare parts box earlier this week.
Both start up, spin and then stop, sometimes showing a no disc error, sometimes not. The good news is there is no sign of corrosion on either unit.
Time to open them up….
One missing cd capstanCd capstan replaced
I used the old donor D-121 from earlier in the week to replace the missing capstan on one of the units.
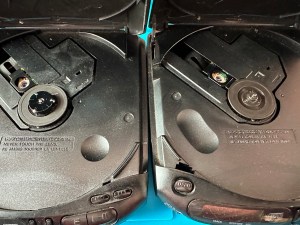
On opening of the cases the boards looked ok. No signs of corrosion or plague damage, this was a good sign and it was now time to look a little deeper.
Looking at the board
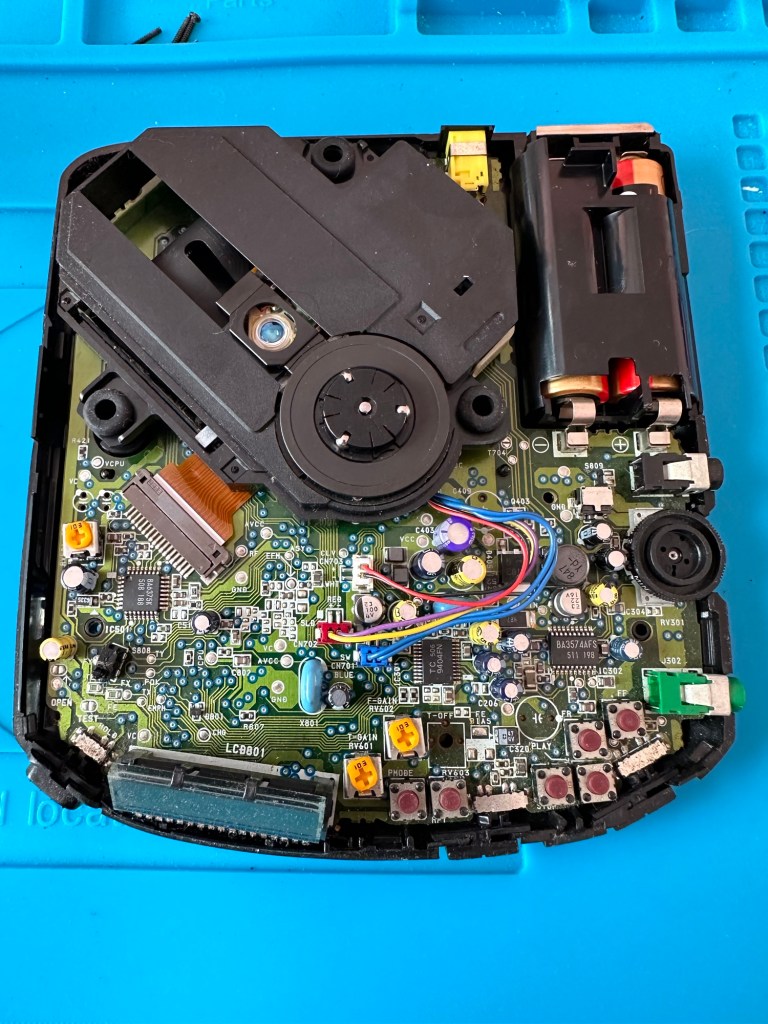
I did the standard clean of the lenses with IPA, I re greased the worm gears and rails but none of this alleviated the issue of the discs stopping just after start up. I did some continuity checks and component checks, all seemed ok. All buttons worked, all switches worked, something just wasn’t right. I decided to check the output of the laser adjustment pot and this was extremely low. I spent a good hour on the first unit and a similar time on the second trying to adjust the range up and down before realising that after 30 yrs both lasers seemed to be at fault. No adjustments improved the output.
Faulty laser assembly removed and replaced
I was facing the fact that I’d now have two more failed units to go with the D-121 earlier this week. Then I thought why not try the laser out of that failed unit?
It worked. The D-121 donor unit was compatible with the D-141 and after a few minutes adjusting the laser we were able to play an audio Cd.
We have life
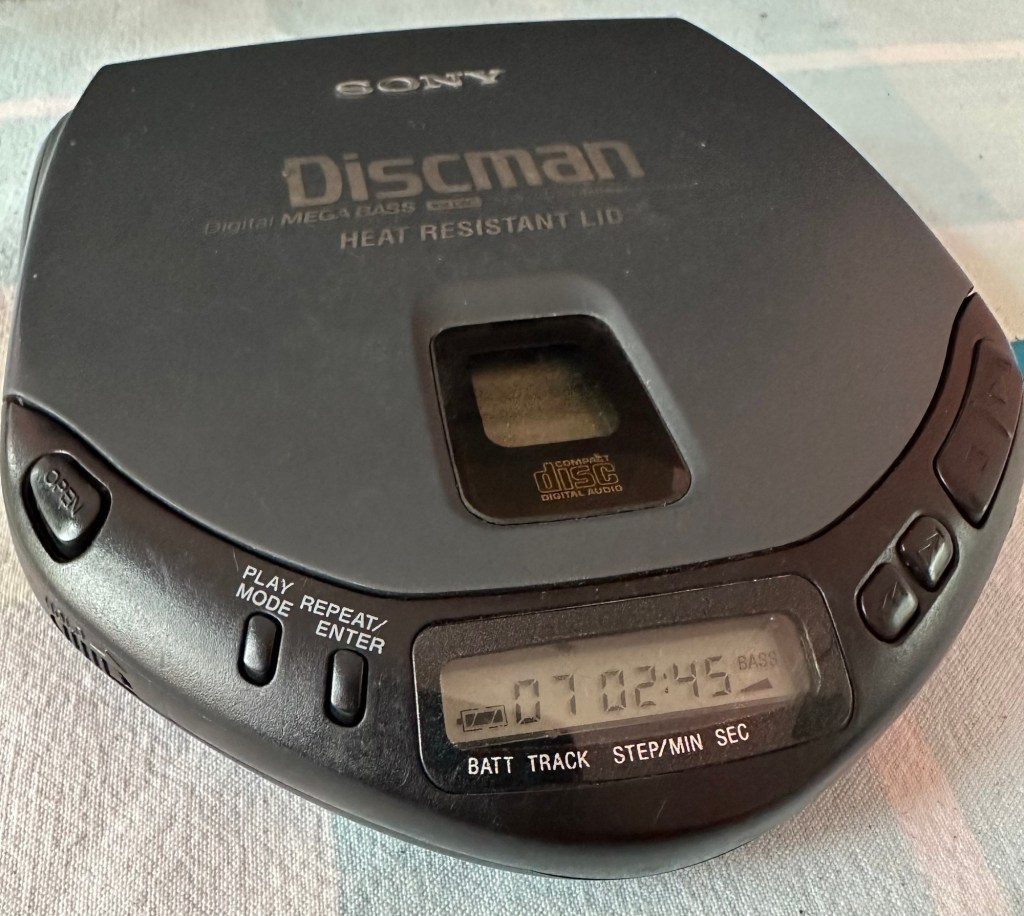
This week I have looked at 4 faulty units and managed to get 2 fully working with a third one needing a replacement laser sled when one becomes available. I have one spare redundant unit that has been indispensable for the repair of the other units, in theory i potentially have 3 out of the four available.
All dressed up
I won’t be wasting anymore time on Discmans in the foreseeable future. They had their time and digital sound has obviously pushed this medium in to the dark distant past. The units are becoming life extinct and it’s like performing knee surgery on an elderly individual, you are improving their quality of life for the moment until the ravages of old age take over. Bit of a crude analogy I know, what I’m saying is steer clear of these as they are going to be trouble, people seem to think they are worth a fortune and are charging ridiculously high prices for something that just about works.
It’s been fun though and I have learned a lot from it so it can’t all be bad.
These cameras were produced from the mid 50s until the late 60s. I’ve done some research on this particular one and the lens number and case number tie it to the year 1966.
Werra 1 front
I tend to buy cameras I like the look of, I just wish that I’d read into them a little deeper to find out the issues. This camera was so good looking when up against the boxy cameras of the 60s, it was a trailblazer in that the winder for the film was incorporated into the lens. A quick flick of the wrist on the inner lens ring and the film was advanced. Impressive….when it worked and didn’t jam!
Werra 1 topWerra 1 base
You can find out more about this camera by visiting Camera Wiki.org by clicking HERE
This unit is in great cosmetic condition apart from a little age related tarnishing. It has some rattles, the lens needs cleaning and the view finder needs attention. The lens rings are stiff so a little lubrication may be required.
Werra 1 rearWerra 1 internals
When cleaned I will run a film through it to give a test, I may even reskin the camera to really bring some attention to it.
Please keep an eye out for updates as I will be commencing work on this really smart little antique very soon. It’ll give me a break from working on pesky Sony Discman players 🤦♂️
My latest purchase from EBay has arrived and god knows what is wrong with this one as the listing contained just one word “Untested”.
There is no one else to blame but me so let’s get this package open and have a look…here goes.
This unit is circa 1996, so there is a gap of 3 years between this and the D-121 that i recently attempted repair on that was badly affected by poor components. Hopefully technology has moved on slightly in those three years, and the plague of the past isn’t as prevalent in this unit.
All powers up Spinning as it should
Well, once in your life you buy something that restores your faith in your fellow man, unfortunately EBay isn’t always that place and you have to take your chances when purchasing using that platform. Today is a good day. The package was minimal and I didn’t hold out much hope. The first thing I did was to open the tray, good it’s working👍
Next I held my breath and opened the battery compartment…. Excellent no corrosion 👍
Batteries inserted I chose an old Bryan Adams album, put the volume about mid way and turned it on.
IT WORKED 😳
Ok, if tapped it jumps, so I will give the lens a clean and will lubricate the worm gear and rail and see if that helps, if not I might test the laser output and make a tiny adjustment but I’ll avoid that if I can.
All buttons have been used, wiggled about and are working fine, all menus are displayed and basically it’s all working pretty much as it should be apart from some little adjustments. The shell is un damaged but a little tatty so a good clean up will assist here.
A lot less components this timeLaser pot under microscope Trimming the laser pot
When taken apart the thing that strikes you is the lack of capacitors compared to the last item I worked on that was only 3 years older. I put some fine lubricant on the worm gear and the laser guide rail and also cleaned the laser lens with some Isopropyl (IPA)
I made a slight adjustment on the laser strength by using the Multimeter to get measurements across the laser pot.
Cd in placeNice and clean
The reading was very low, to what it would have been when new so, I made an adjustment to the higher end of the recommended scale but the unit didn’t like it and refused to recognise any Cd, so I’ve reduced it back to what appears to be it’s operating maximum, after 28yrs I guess the laser is approaching the end of it’s useful life.
Testing the laser
The sound quality has really improved, the unit still skips if it is knocked or shaken but as I’m intending to use the unit on a table or other surface I’m not really that concerned. It’s not as if I’m going to go jogging with it, no chance. To be honest I don’t think the anti jog system that was introduced for this purpose really came in until about 2000.
Put back together, I’ve now cleaned and buffed up the exterior, this is a nice little example of one of the lower end Discman units, but I’ve enjoyed working on it and getting to know a little more about how it works and fits together. I can put this one to bed now as a successful restoration, it’s going in my locker at work for listening to my old Cd collection whilst I’m doing the tedious paperwork or a night shift.
Thanks for passing by, I have another Discman post coming soon.
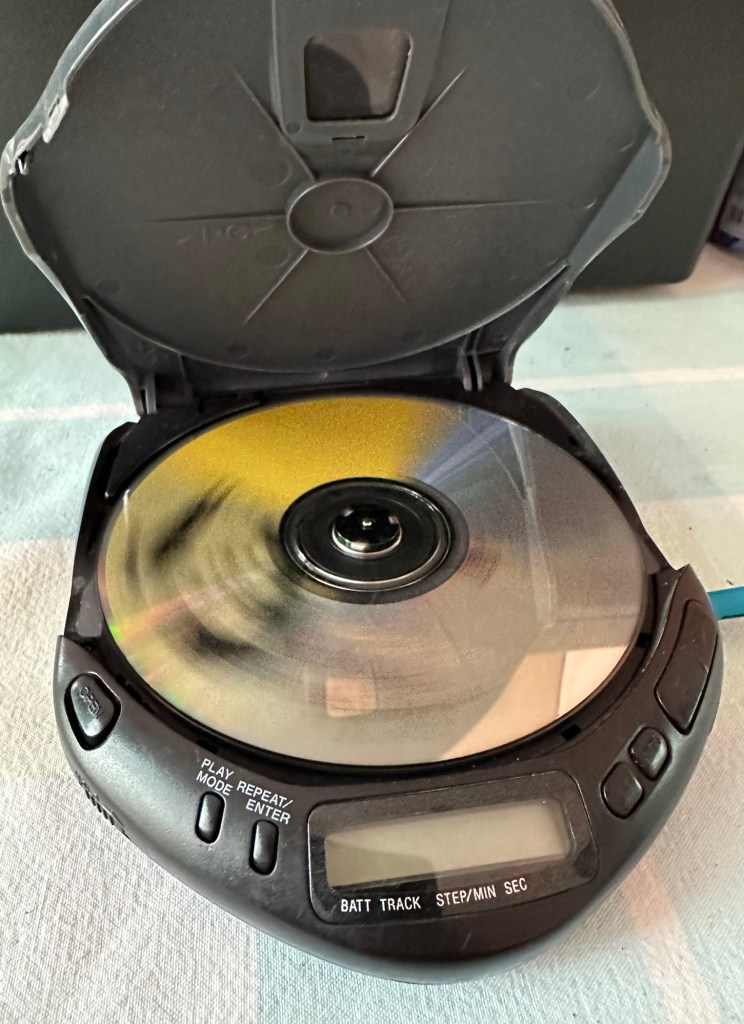
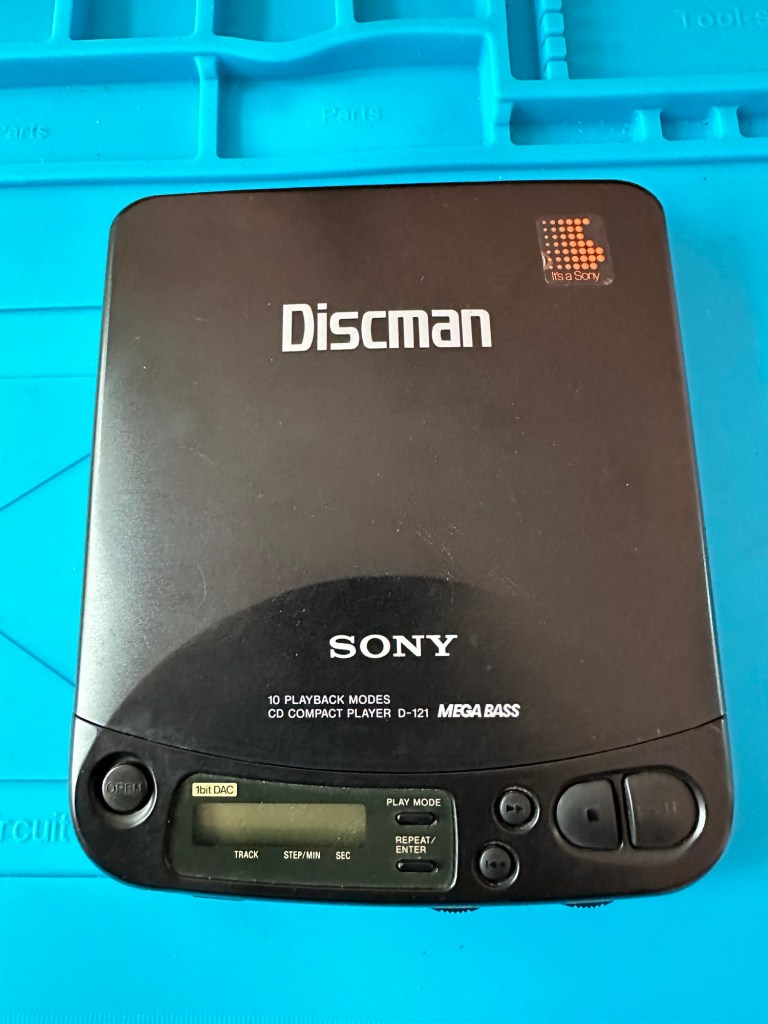
My recent purchase of a Sony Discman D-121 from EBay has arrived. Just as described it wasn’t really working so I decided to give it a once over to check condition.
Cosmetically sound
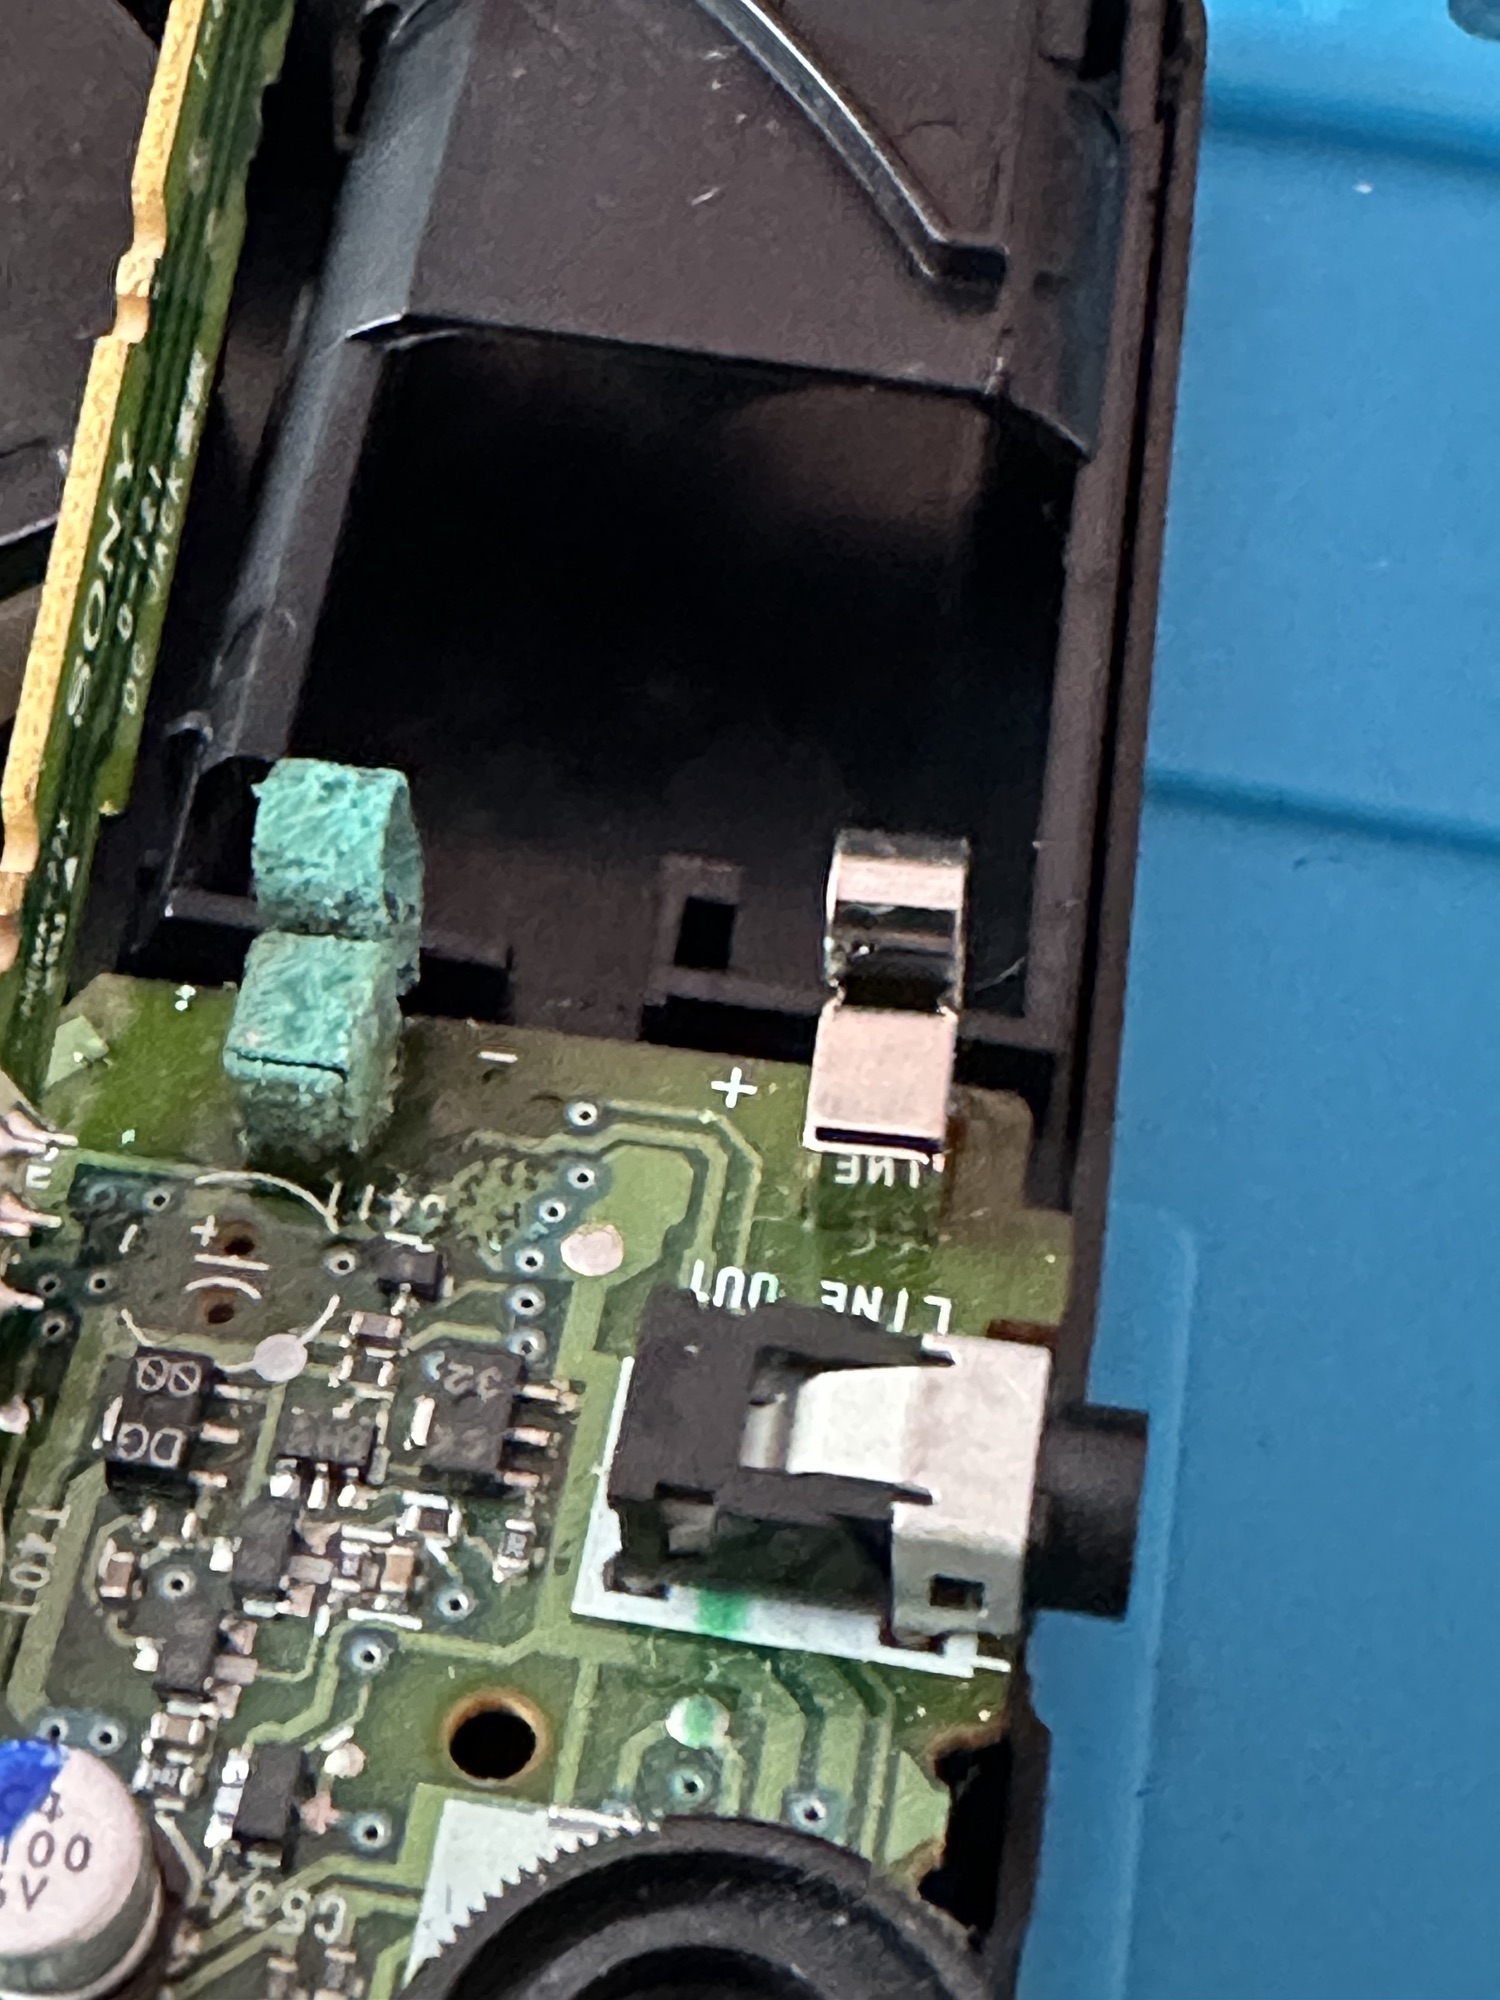
Cosmetically it’s in very good condition, open the battery compartment and it’s a different story, definite signs of corrosion and at this point I’m thinking the worst. I put two batteries in to check, the display comes on and shows some strange indication of “HI VOLTS” even though all I have are the two AA batteries in. Strange.
Corrosion on contactOn the board as well
I do manage to play one song but that’s it, any slight move and it skips and hops and shows a raft of other error messages that don’t Instil any confidence into me that this is going to have a good outcome. Then the CD drive motor breathes its last. That’s it….kaput.
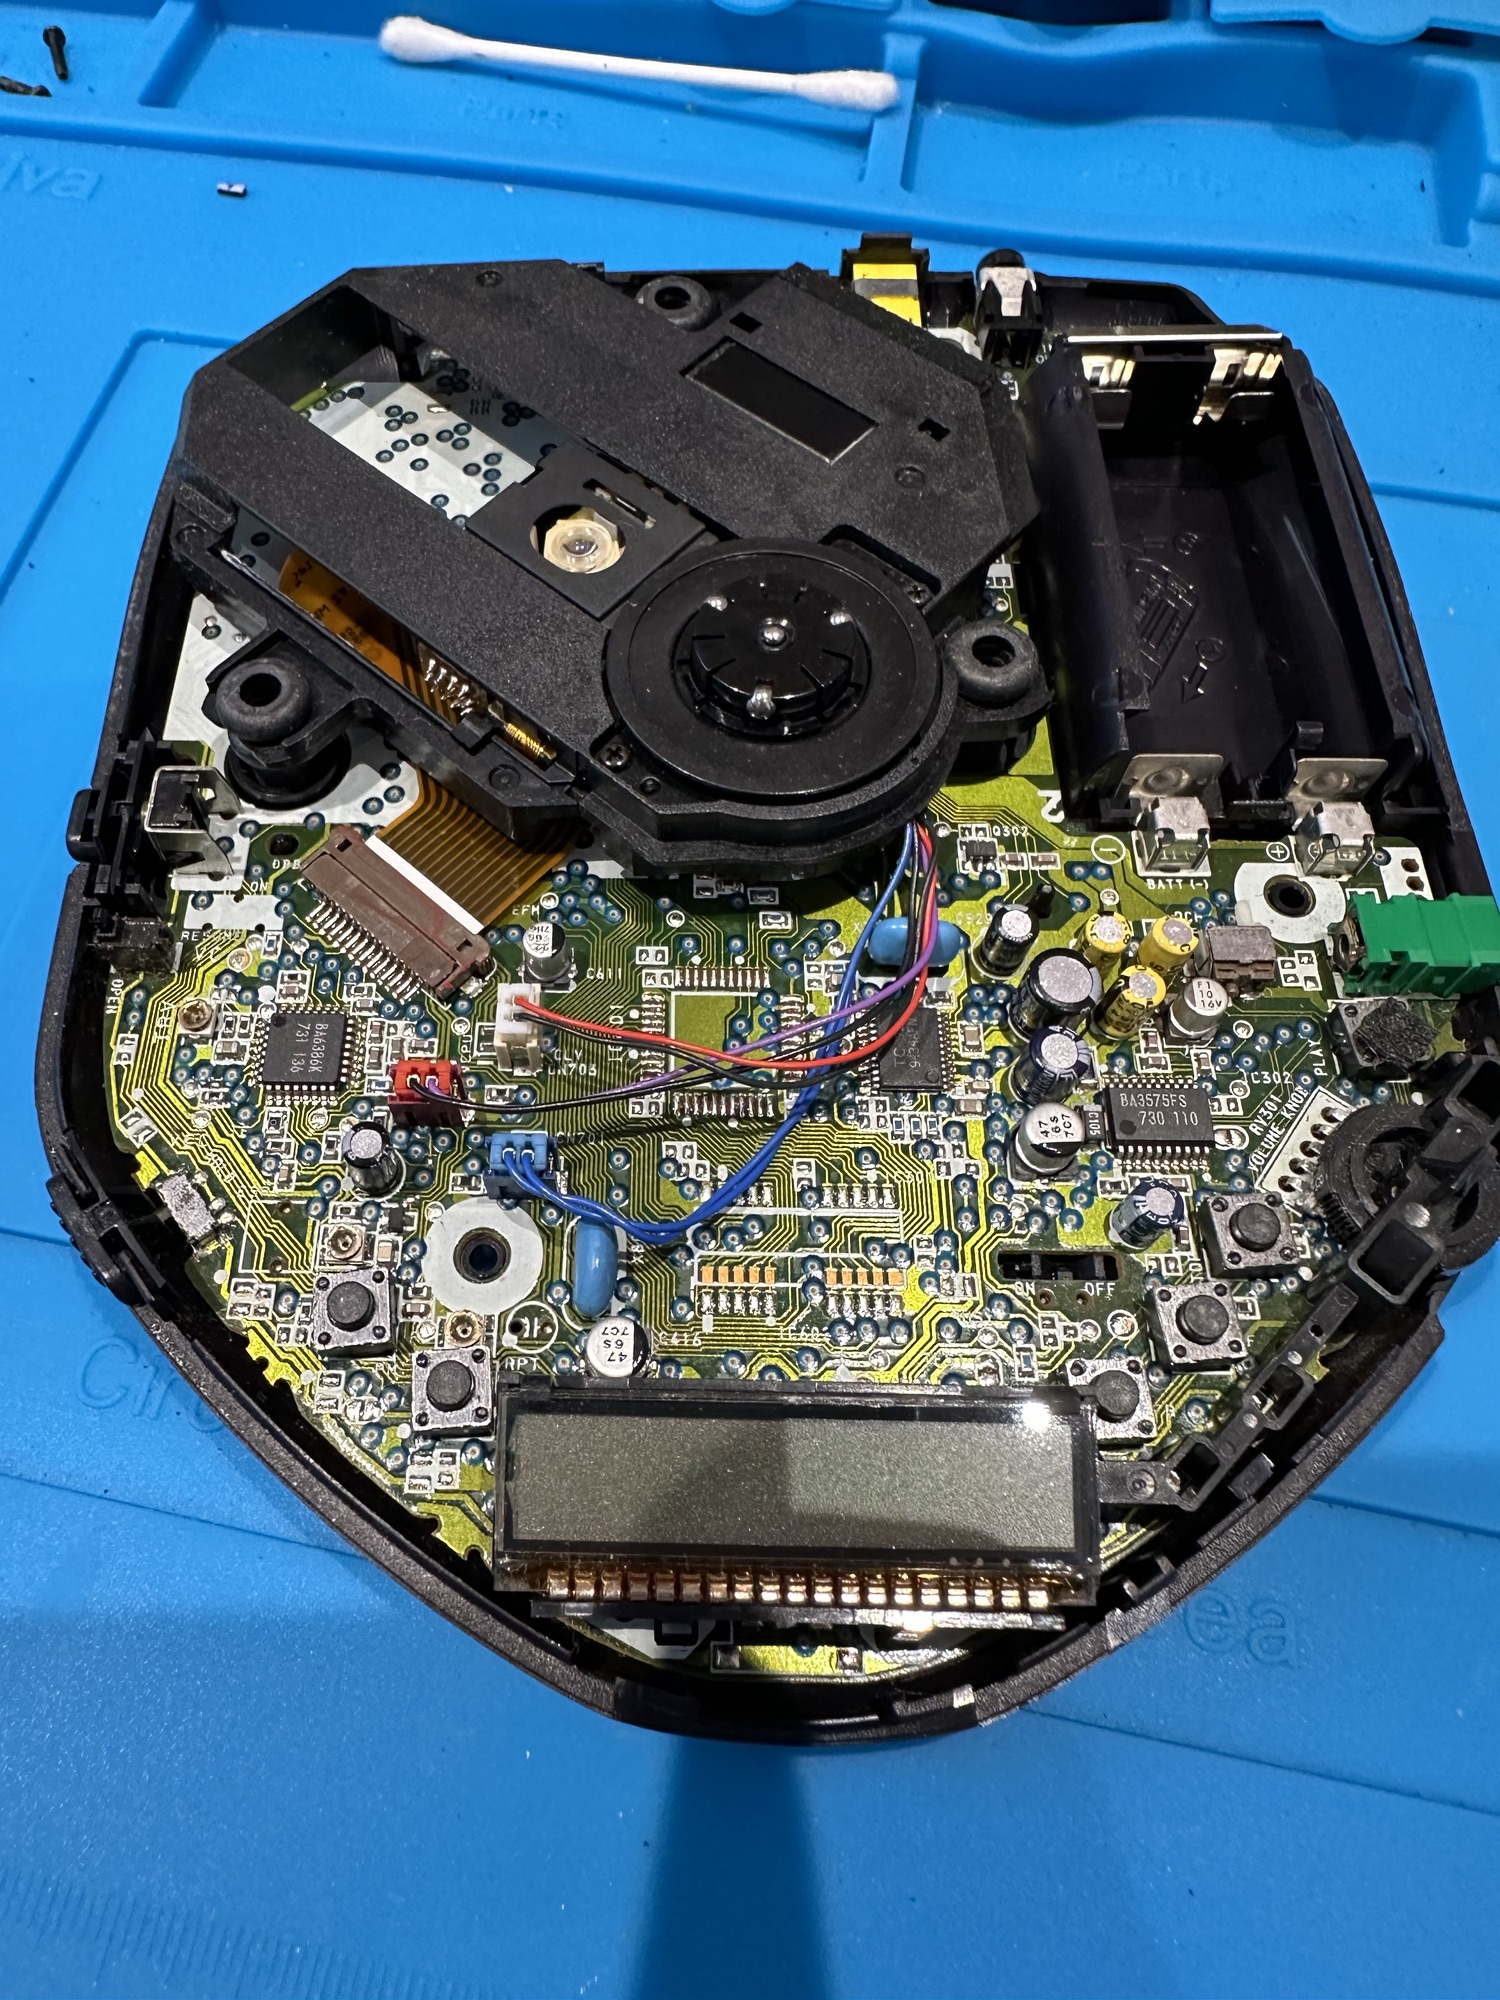
Greasing the worm gearStrip down
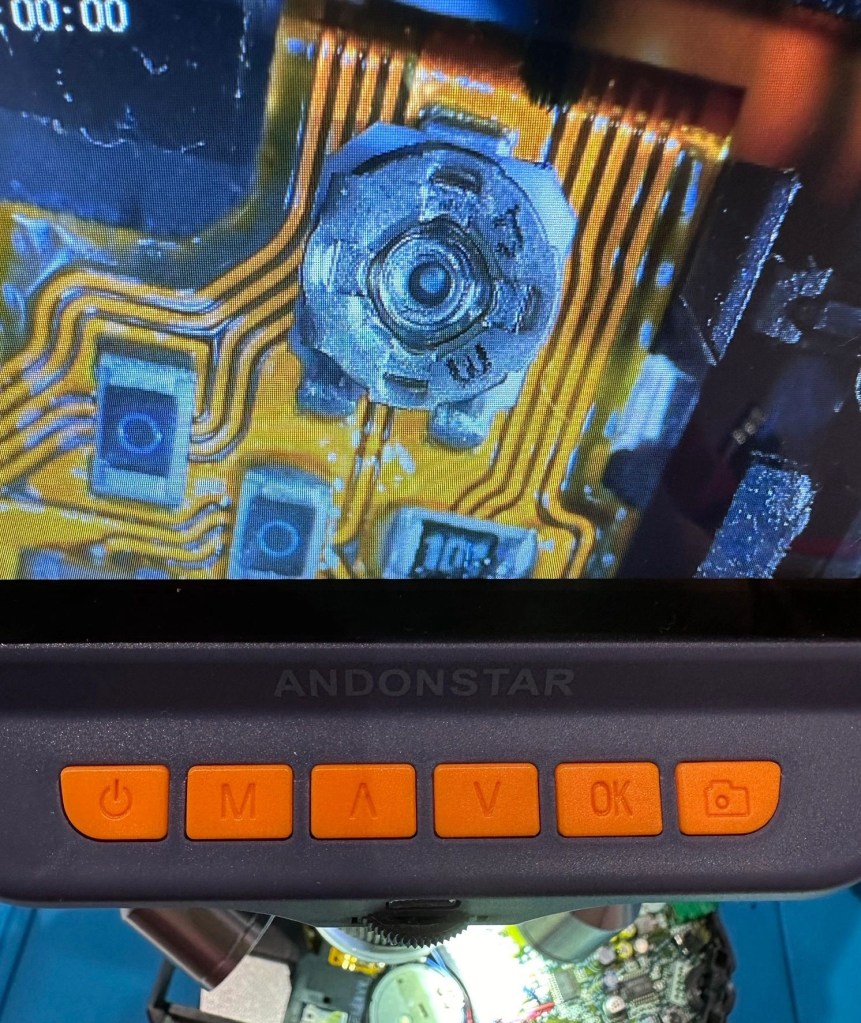
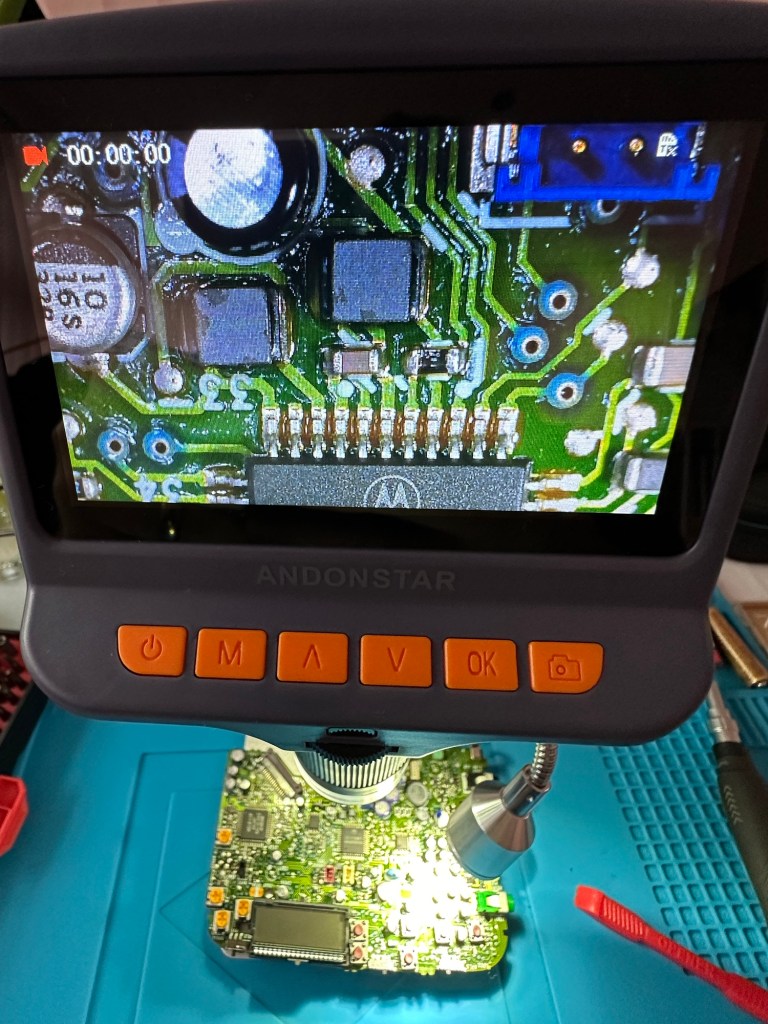
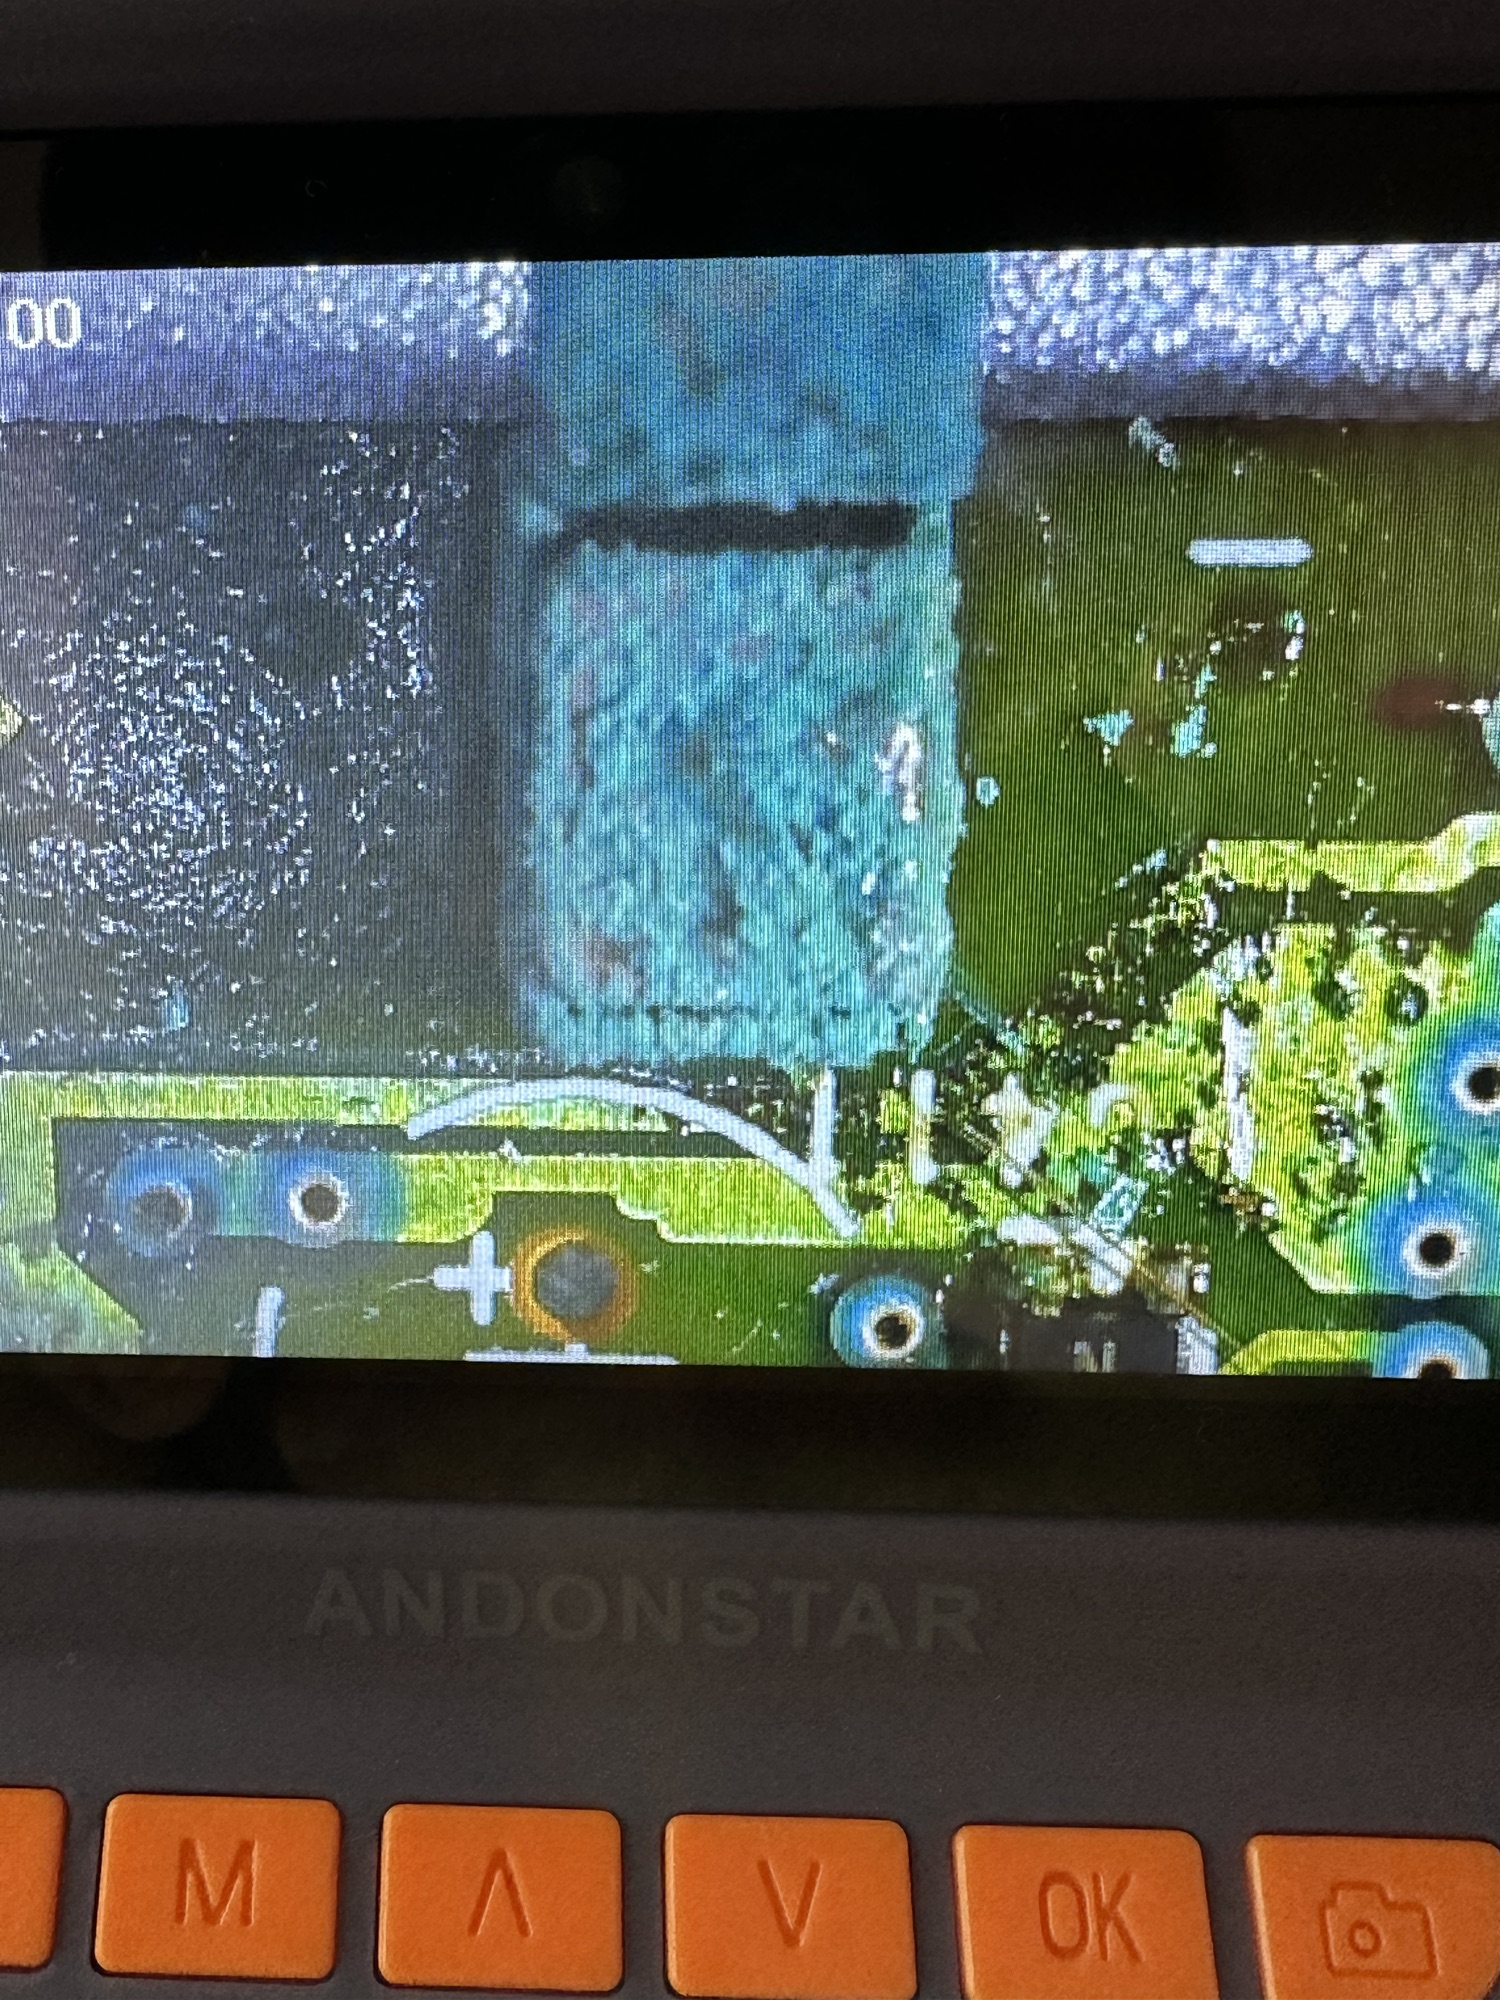
So I open up the unit, and put the circuit board under the microscope. The area around the corroded battery terminal has progressed on to the board and a couple of the circuit board tracks have been totally destroyed. A few components look to have issues and have some spurious test results. A check for continuity with the multimeter confirms that one track is dead and another is intermittent at the very least.
Under the microscope
I clean the offending section of the circuit board with IPA and this just confirms the issue, but at least it looks cleaner. If this had been the only issue I’d have happily soldered in a couple of thin wires to the undamaged track to ensure a reliable continuity.
Damaged tracksBad corrosion
A further look around the board, and there’s nothing blatantly obvious, but seeing this unit was produced in 1993 it’s now in its 31st year of use I also suspect the capacitors (of which there are many) may well be of that era of suspect capacitors I discussed on a previous post. Read here: Capacitor plague
The main drive motor is known to fail after time and a sure sign is if the CD jumps when moved off the horizontal, apparently this is due to bearings becoming misshapen due to use.
This unit therefore is beyond economical repair for me, and I’m not going to progress it any further. The good news is that I can use the unit for spares and as a number of these older units have interchangeable parts, I’m hopeful that as I have a few more units turning up later this week they may have a willing donor.
So the recycling goes on, and that’s always a good thing.
Anyone remember these? To say they were popular in my younger years is an understatement. Originally I had the Walkman (A cassette tape version) and I came to the Compact disc quite late in the 1990’s to be honest. Lately I’ve been looking at getting a Discman as I do still have an amount of discs at home and I like to listen to my old music whilst walking the dog. Yep I have my phone and Spotify so I guess I have access to pretty much everything there is out there but I just fancy trying a bit of retro and stepping back into my formative years.
Why not buy one that needs attention? I can kill two birds with one stone, get a repair on this site hopefully and the jobs a good one.
So off to EBay I trot and find this Sony Discman D121 that the seller agrees to sell to me for my offer of £10 GBP.
Sony Discman D121Sony Discman D121
I expect age related issues, as this particular model was produced sometime in the mid to late 90s. This one has an issue where the disc isn’t recognised and is intermittent. This range has a few known issues and to be honest I don’t think I will have too much trouble in getting this one going again (Famous last words 🤦♂️)
I’m expecting its arrival sometime in the coming week so I’ll come back to this post when it’s in my possession for an update on its condition.
Update: 9/3/24 23:11 – For some reason I’ve now purchased a damaged Discman D171 as well🤦♂️ I’m a glutton for punishment.
Sony Discman D171
Further update: 11/3/24 22:30 – Stop 🛑 🛑 just 🛑 😳
For some reason I’ve just brought another 2 faulty Discman. This time the D-141, two of them. That’s it I’ve got to stop now 😂 really I have to stop 🛑


You must be logged in to post a comment.