Yashica 35 ME

An old Yashica camera from 1972 with a non functioning light meter. Time to get it back into a working condition.

I purchased two vintage point and shoot cameras, and this post is related to the Yashica 35 ME. Both cameras were purchased for the princely sum of £4:99GBP and that equates to roughly £2:50GBP each. Both cameras were sold with the following sales statement:

This bundle includes a Yashica 35 ME and Ricoh Auto 35, two vintage 35mm film cameras ideal for collectors or those seeking parts for repair projects.

These cameras are being sold as faulty and for parts or repair only. They have not been tested for functionality and may have issues with their mechanical or electronic components.

Cosmetically, both cameras may show signs of wear consistent with age and previous use, such as scuffs, scratches, or dust. No accessories, batteries, or additional items are included, €”only the two cameras as pictured.

EBay

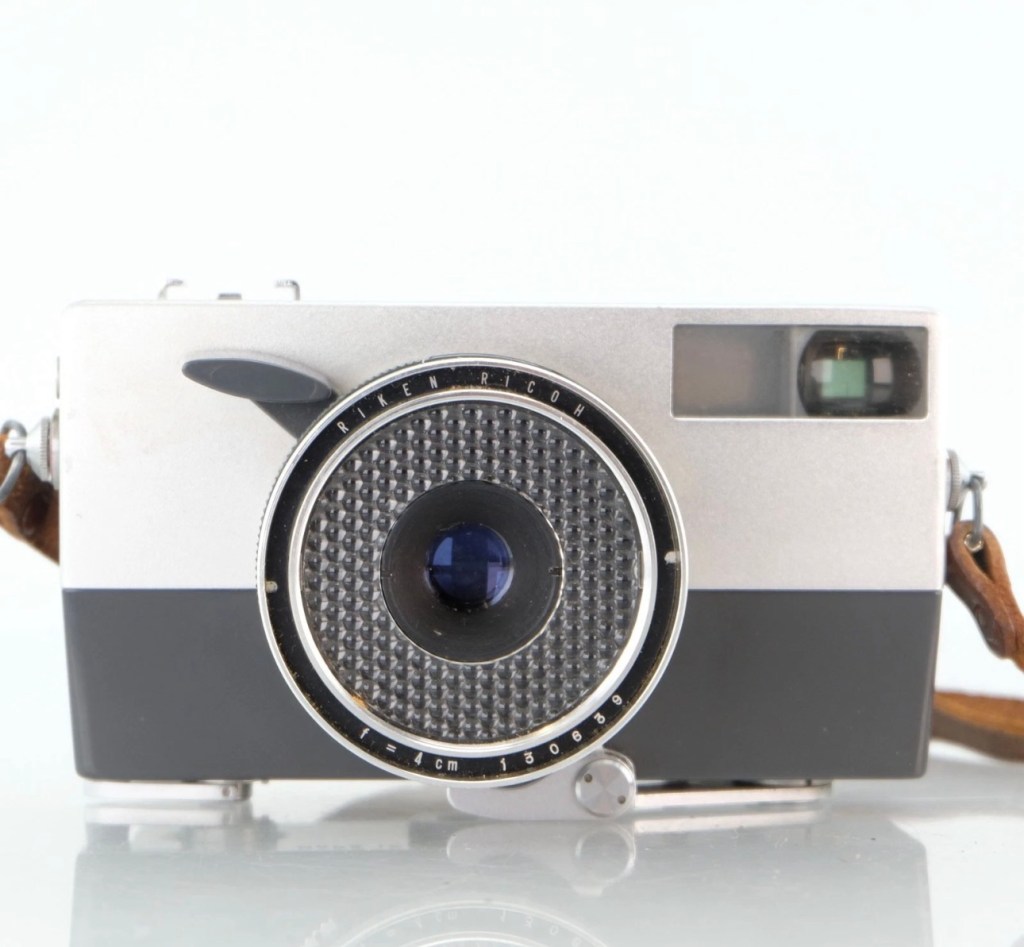
Having purchased from this seller before, I suspect the cameras themselves are in perfect working order mechanically, but as one camera – the Ricoh, is from 1960 and now in its 66th year of existence, I very much suspect the issue would be with it’s Selenium light cell that is more than likely now very dead. The Yashica however is from 1972 and has a CdS light cell that could also be an issue, more than likely related to the old Mercury 1.3v battery that used to supply it. Either way, even without the light sensors both cameras are very capable of doing what they were built for, however you’d just have to use a separate light meter or use the “Sunny 16” rule. Let’s wait their arrival so we can asses the issue. You can read more regarding the types of light metering used on these two cameras by reading a recent post of mine regarding their differences Photographic light sensors in older point and shoot cameras

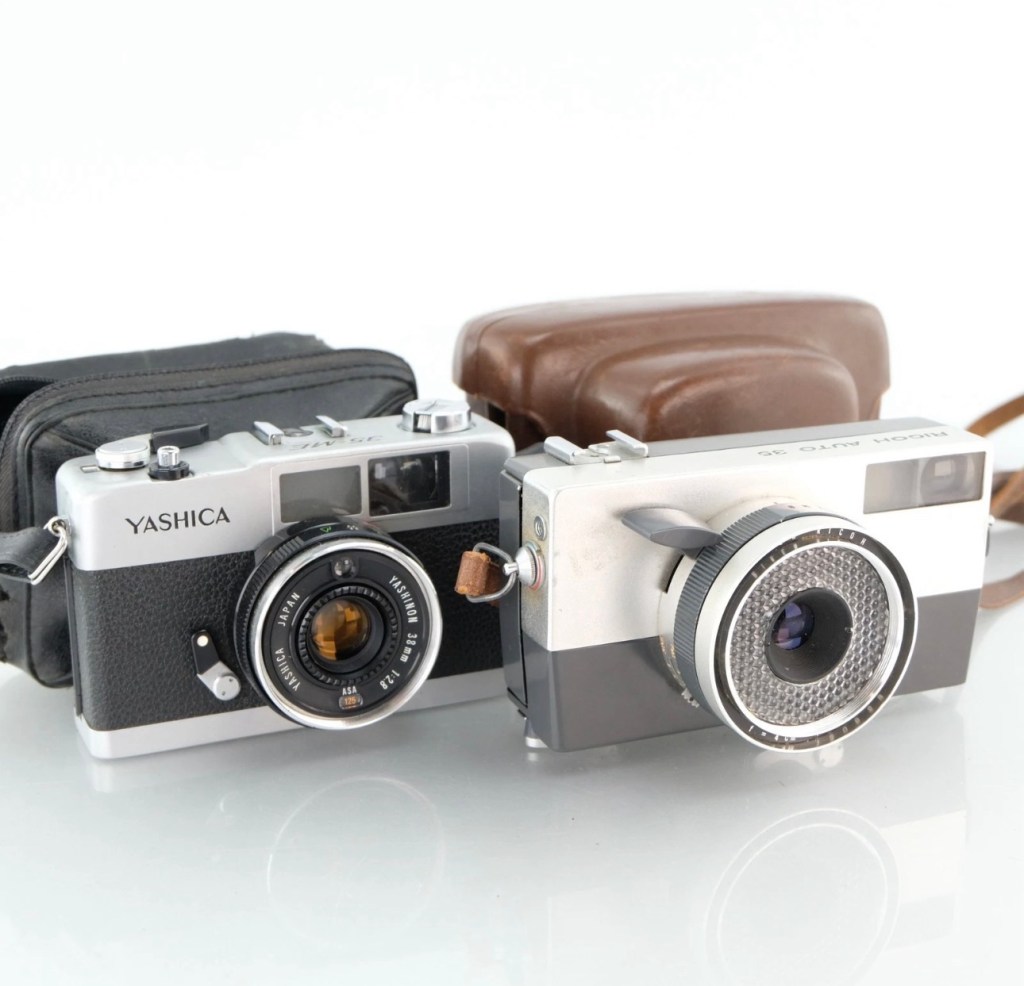
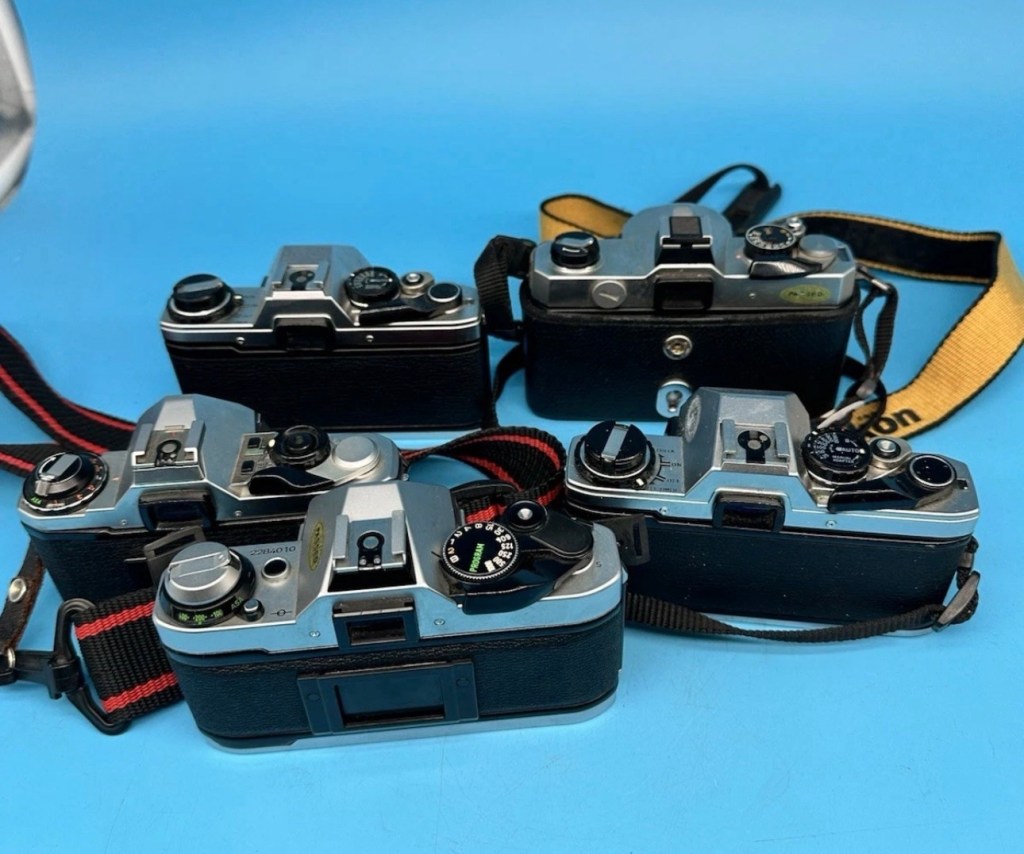
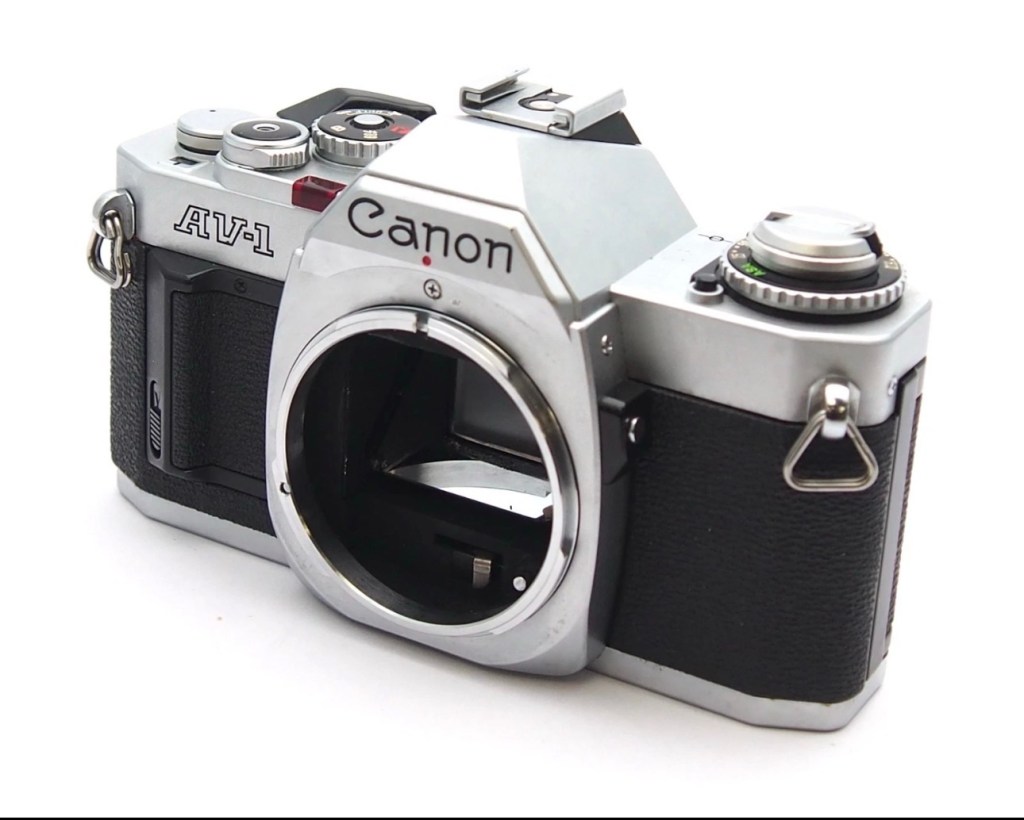
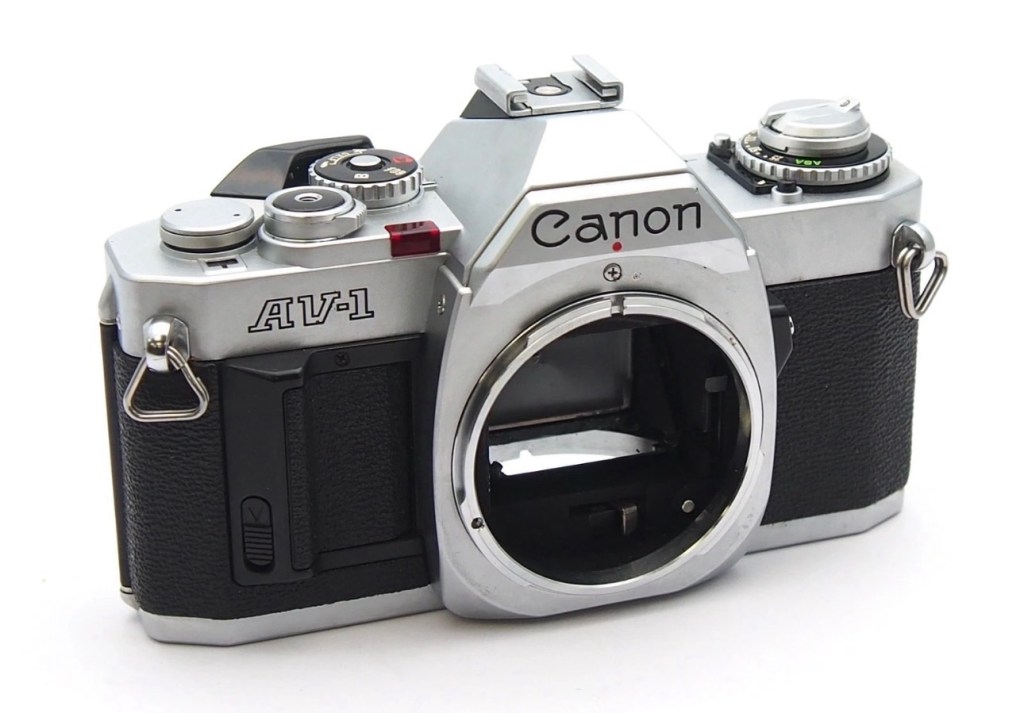
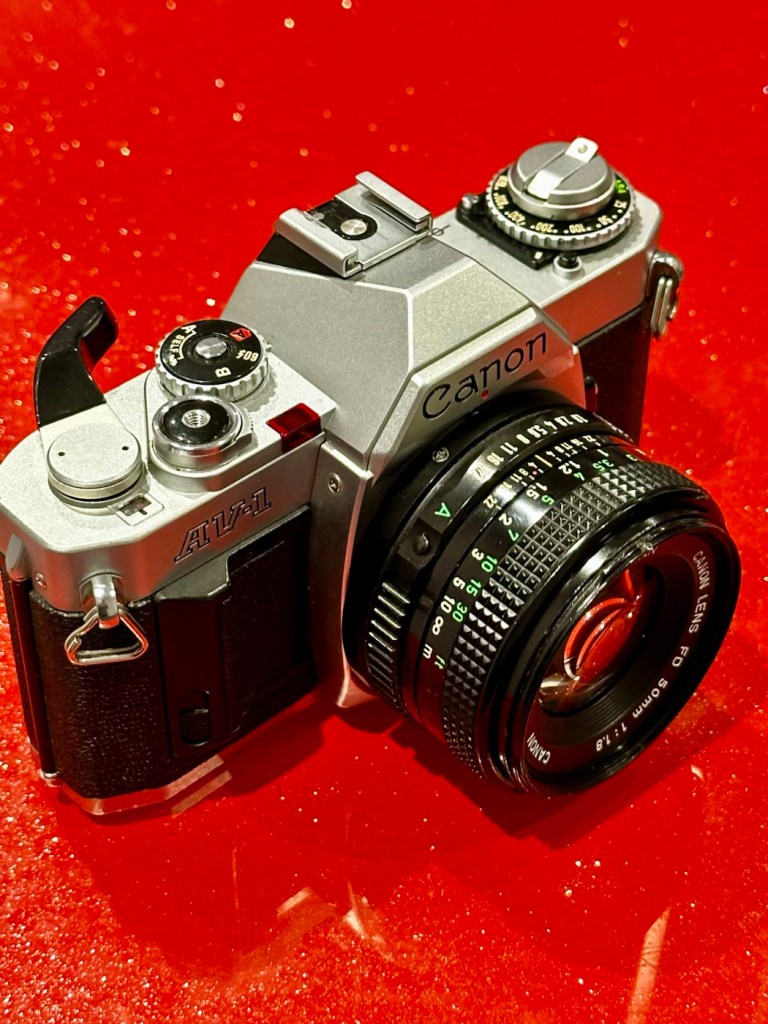
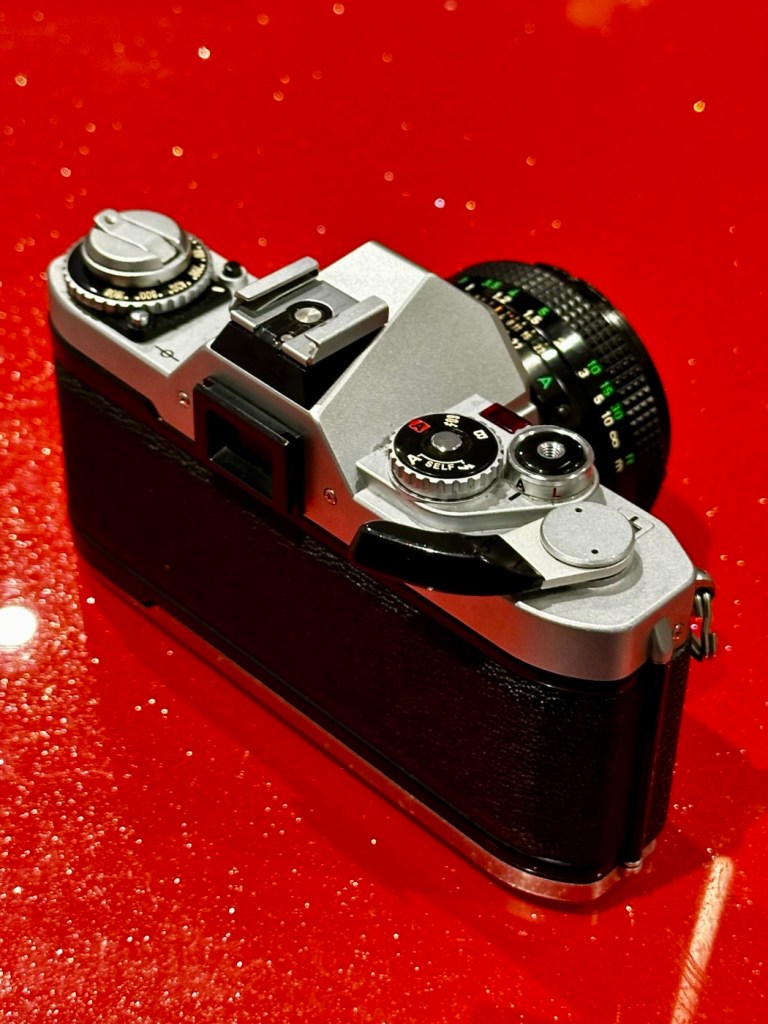
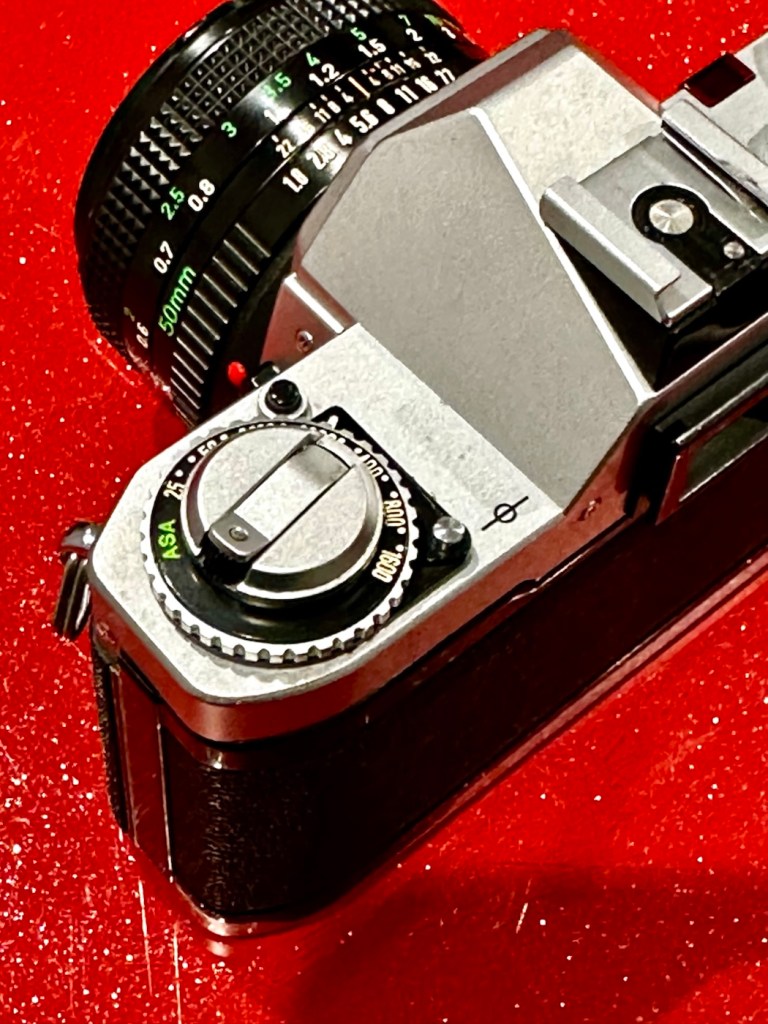
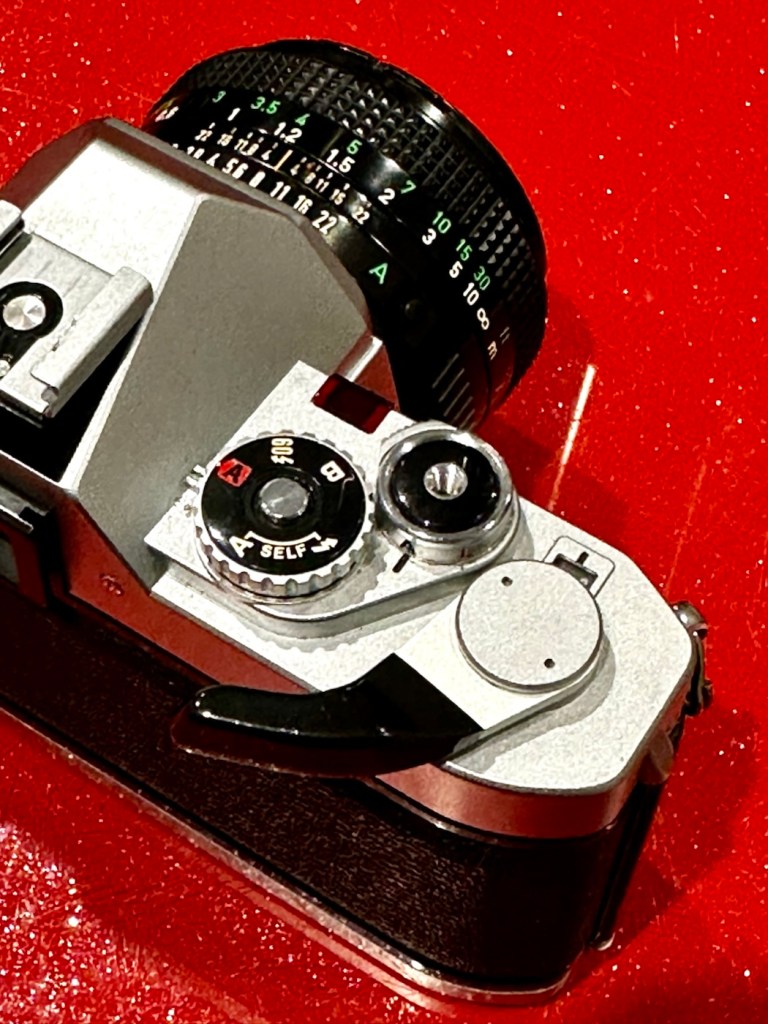
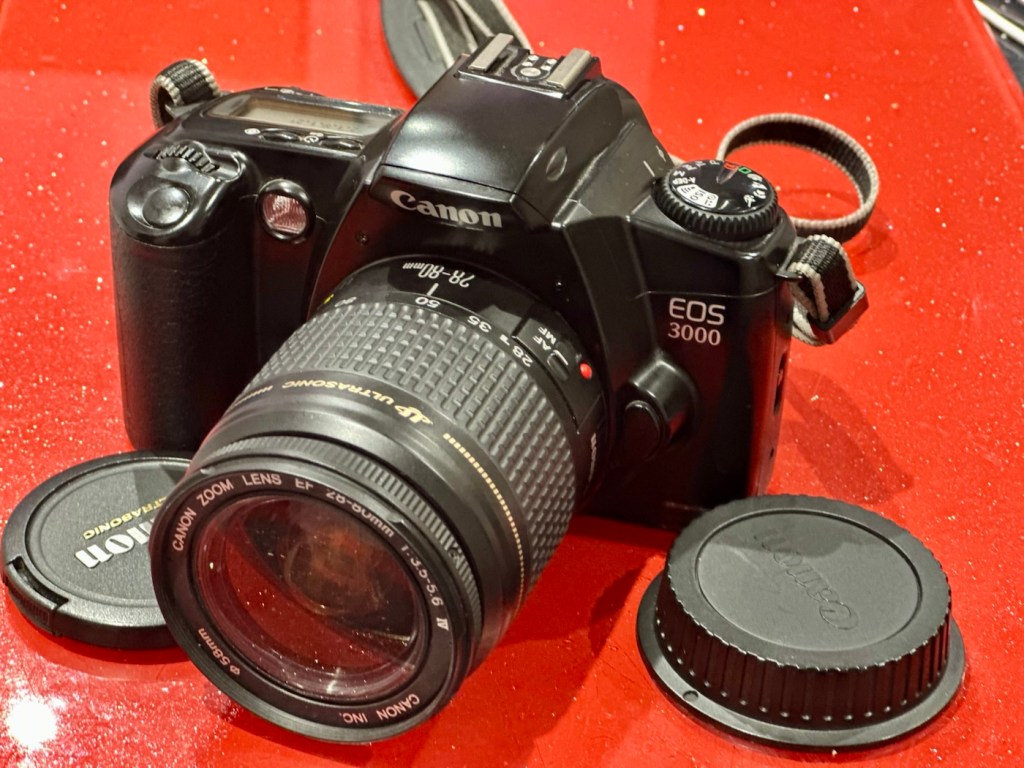
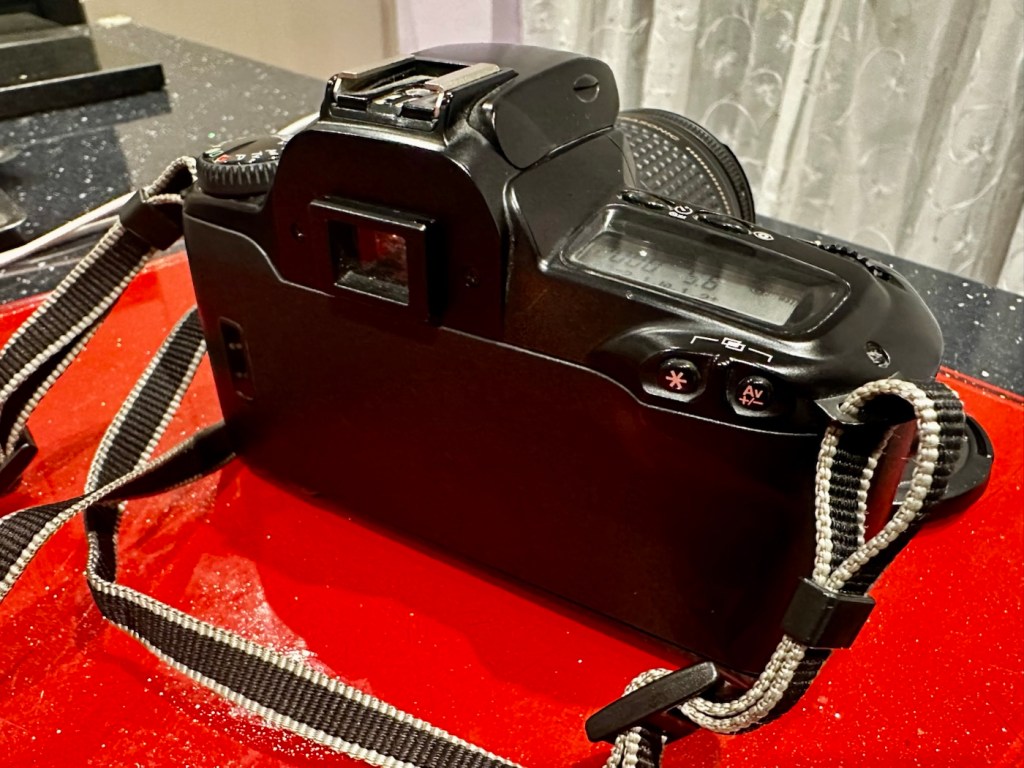
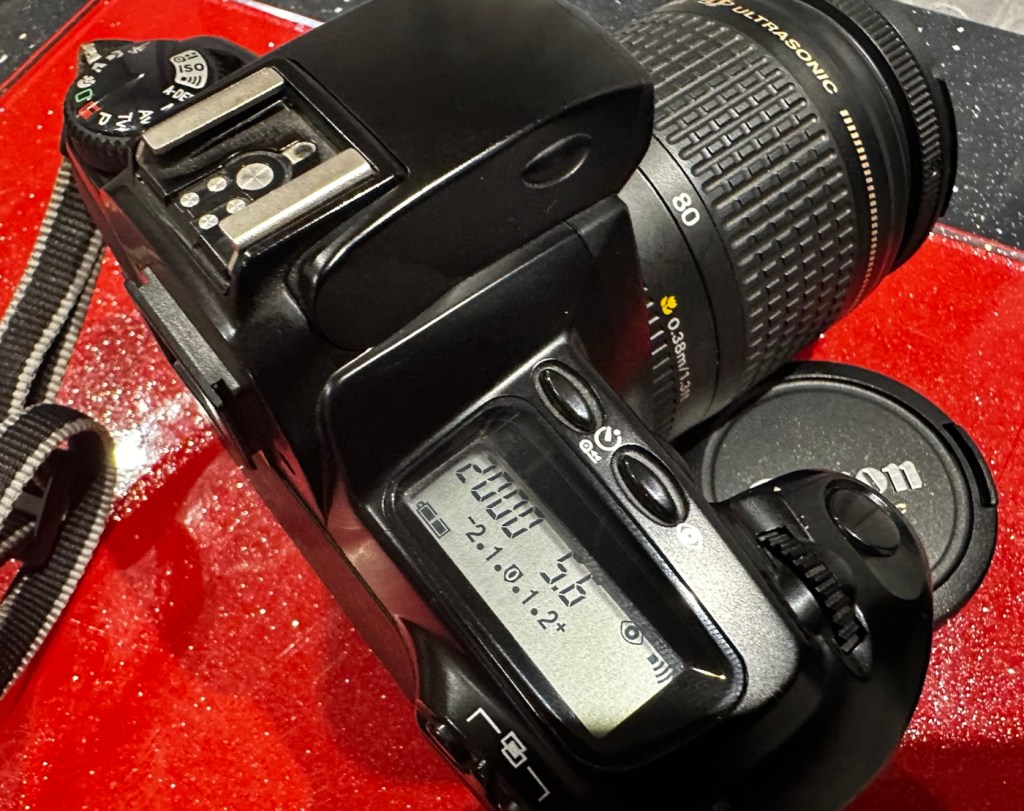
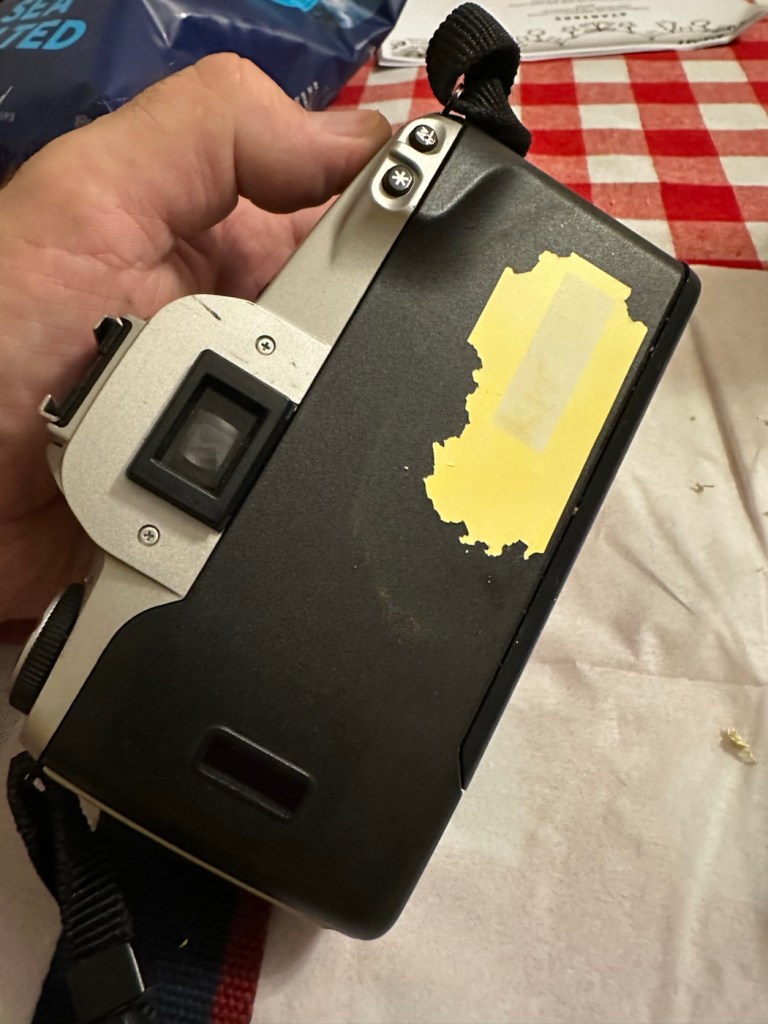
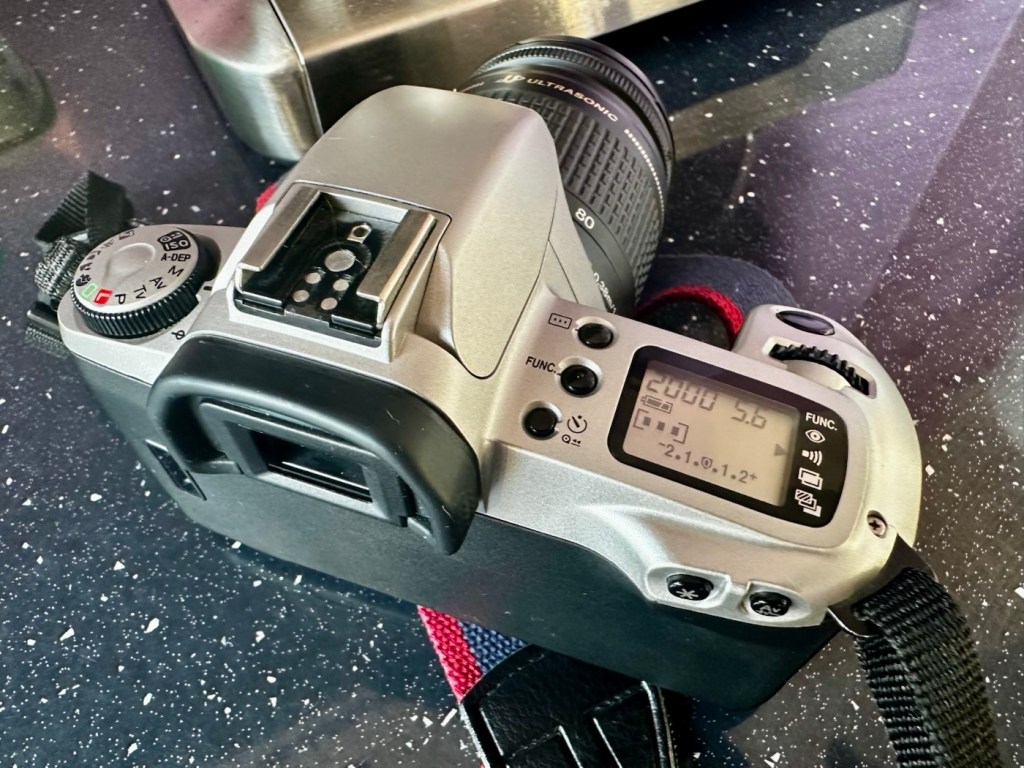
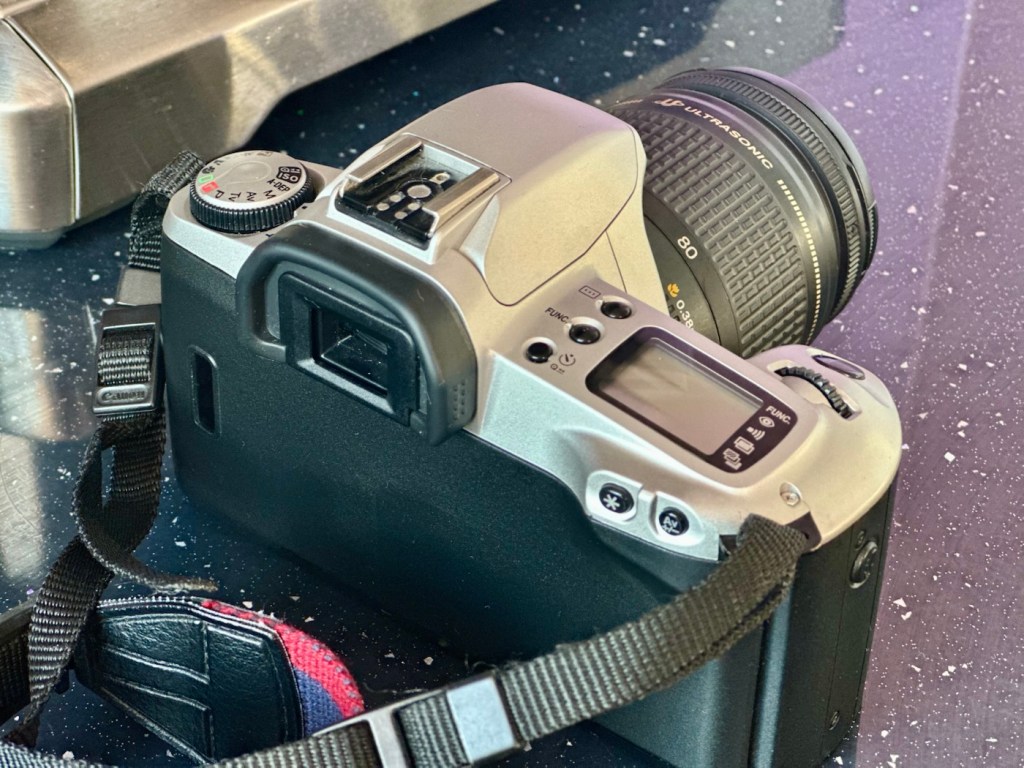
Some more photos from the seller:

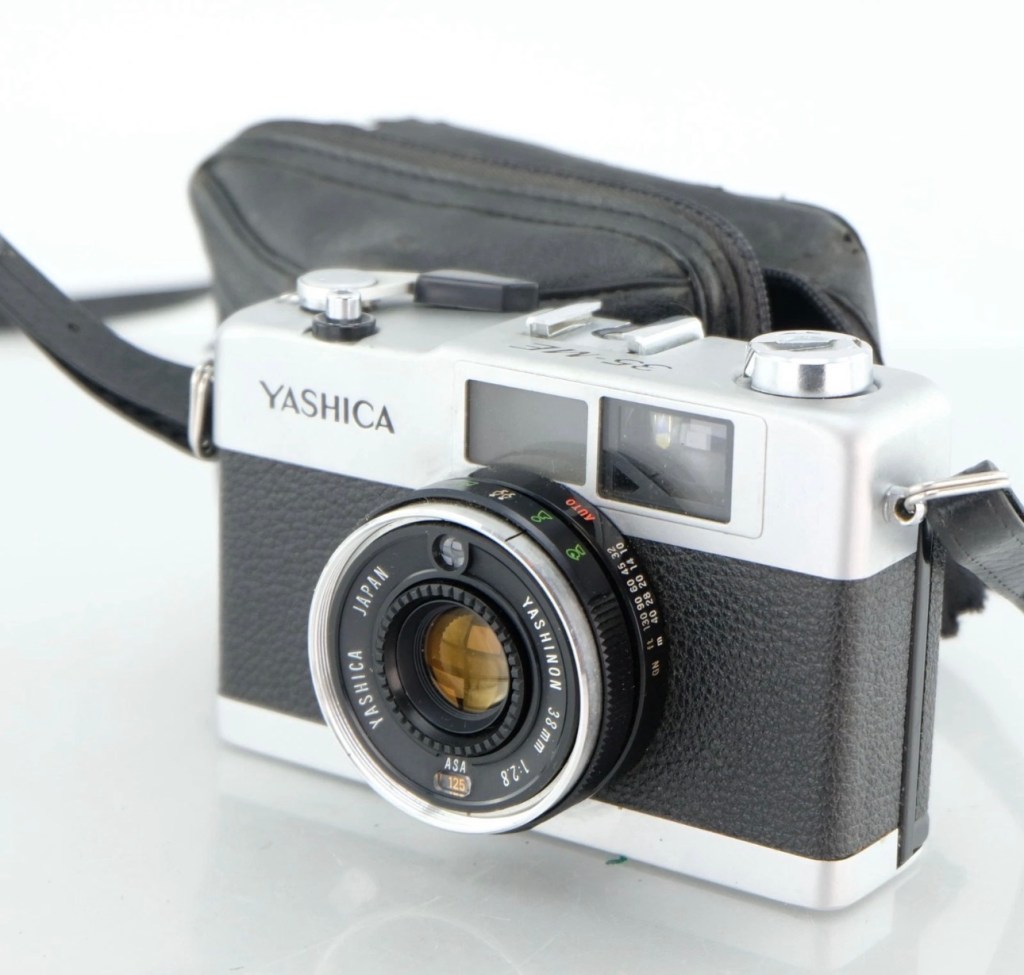
Whilst we await their arrival here is a little bit about the Yashica 35 ME:

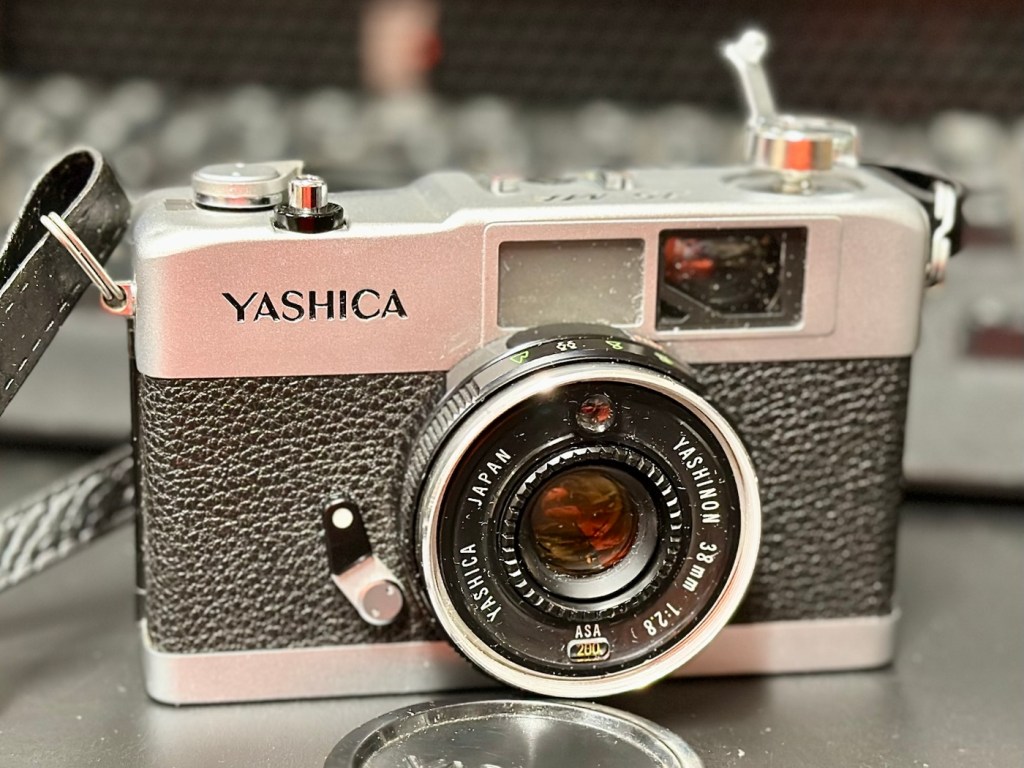
The Yashica 35-ME is a small, compact 35mm viewfinder camerawith auto exposure, made in Japan by Yashica, introduced c. March 1972. 

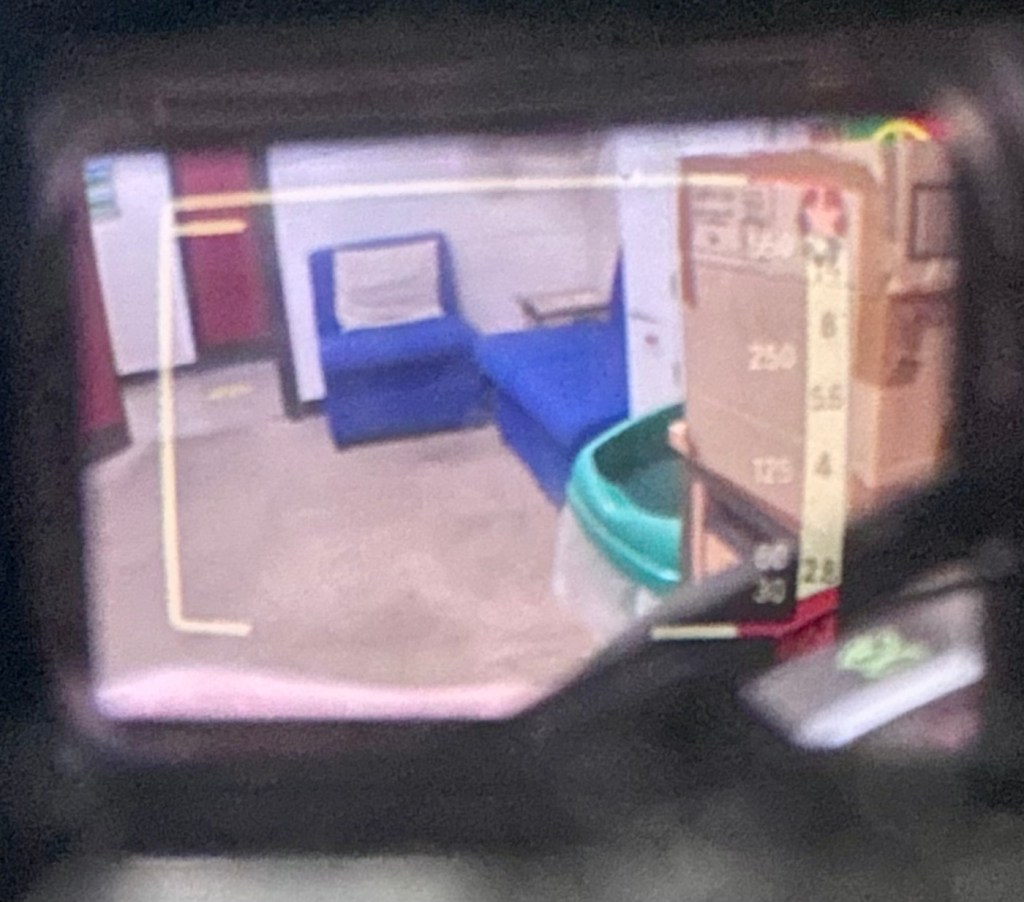
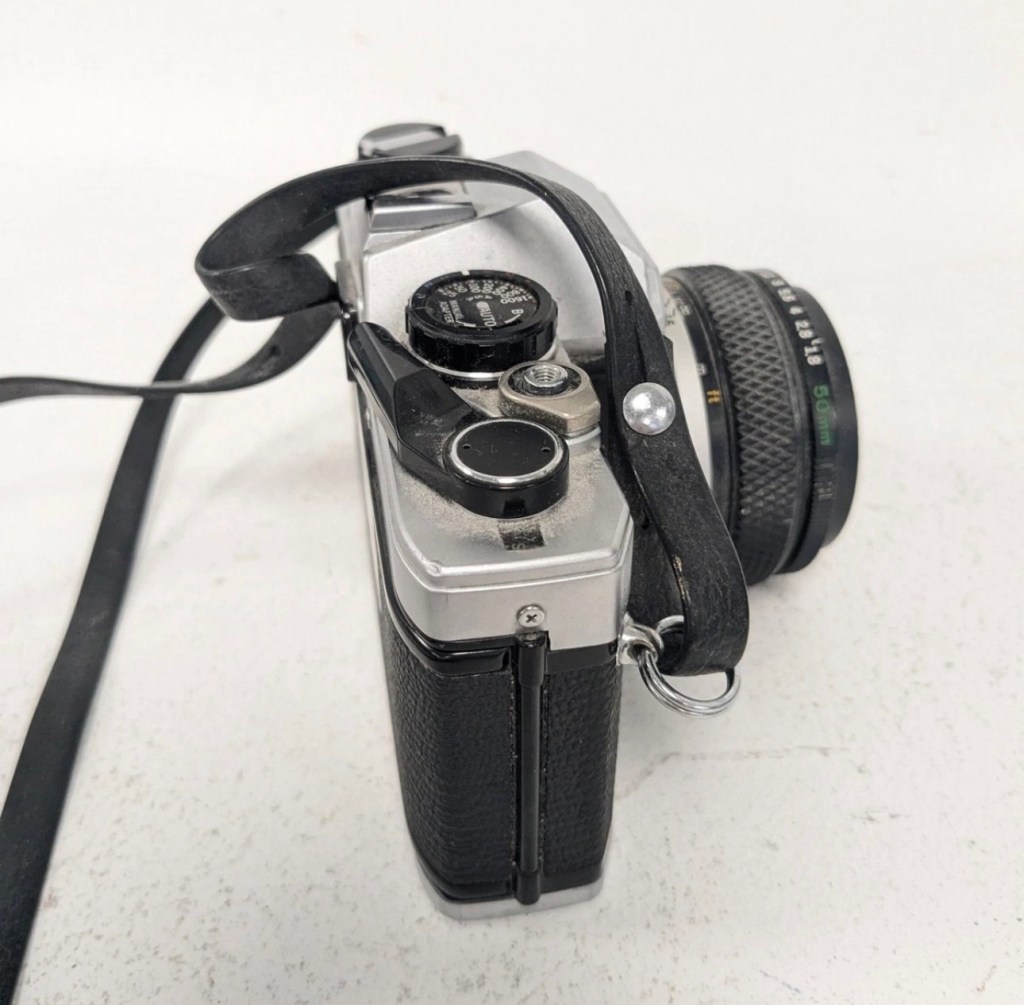
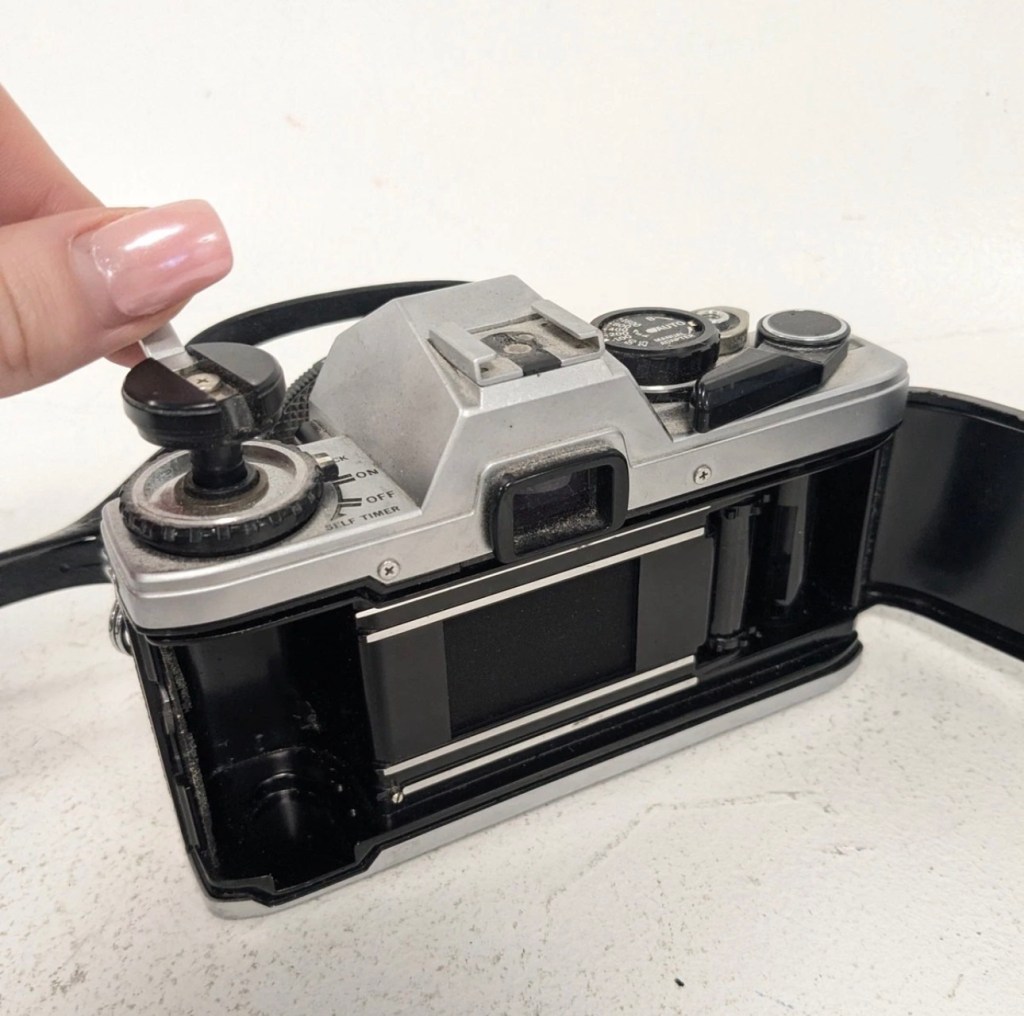
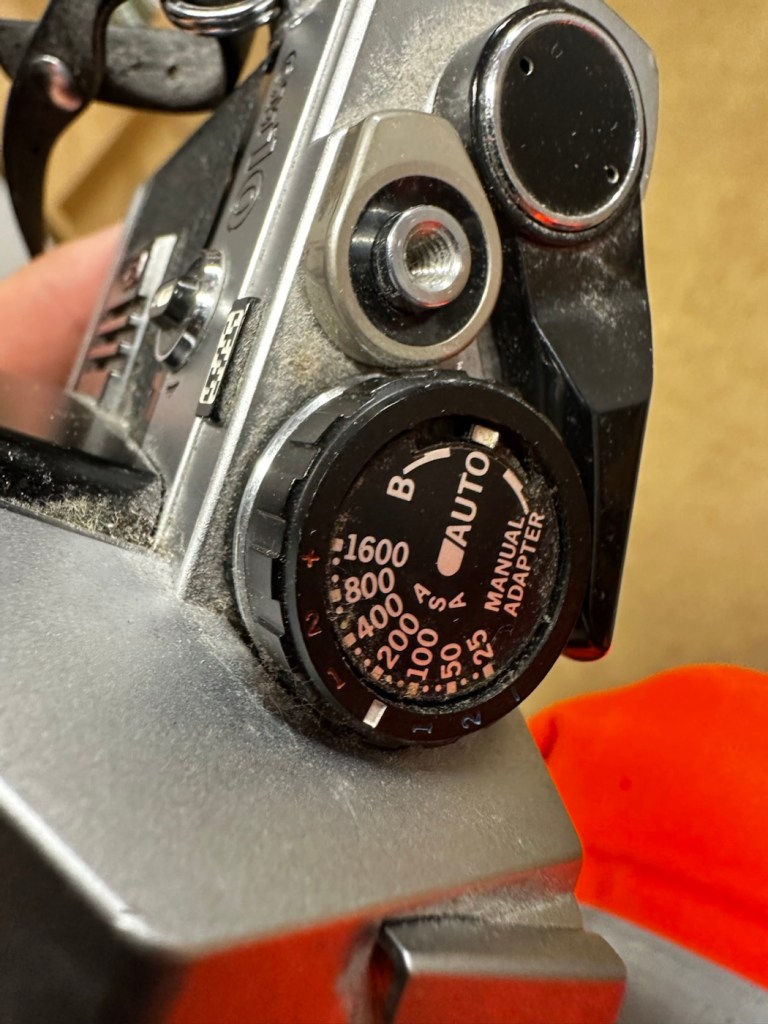
It uses a 38mm f/2.8 lens made of 4 elements in 3 groups with a screw-in filter size of 46mm. The film speedis set using a ring around the lens, with the setting window on the bottom face of the lens. The metering system uses a CdS sensor with a sensitivity of 8 to 17 EV. The viewfinder has bright line frames with parallax correction marks for focus distance of 1.5 meters or closer. The shutter display scale is on the right of the finder has speed markings 1/30, 1/60, 1/125, 1/250 and 1/650 of second. Aperture scale is also displayed at 2.8, 4, 5.6, 8 and 14. The setting for the meter uses a pointer type indicator. Correct exposure is assured when the pointer is in the yellow areas of the scales. Also in the finder scale is over exposure, under exposure zones along with symbols of the selected zone focusing settings. The top plate carries the shutter release, hot shoe and frame counter.

Specifications

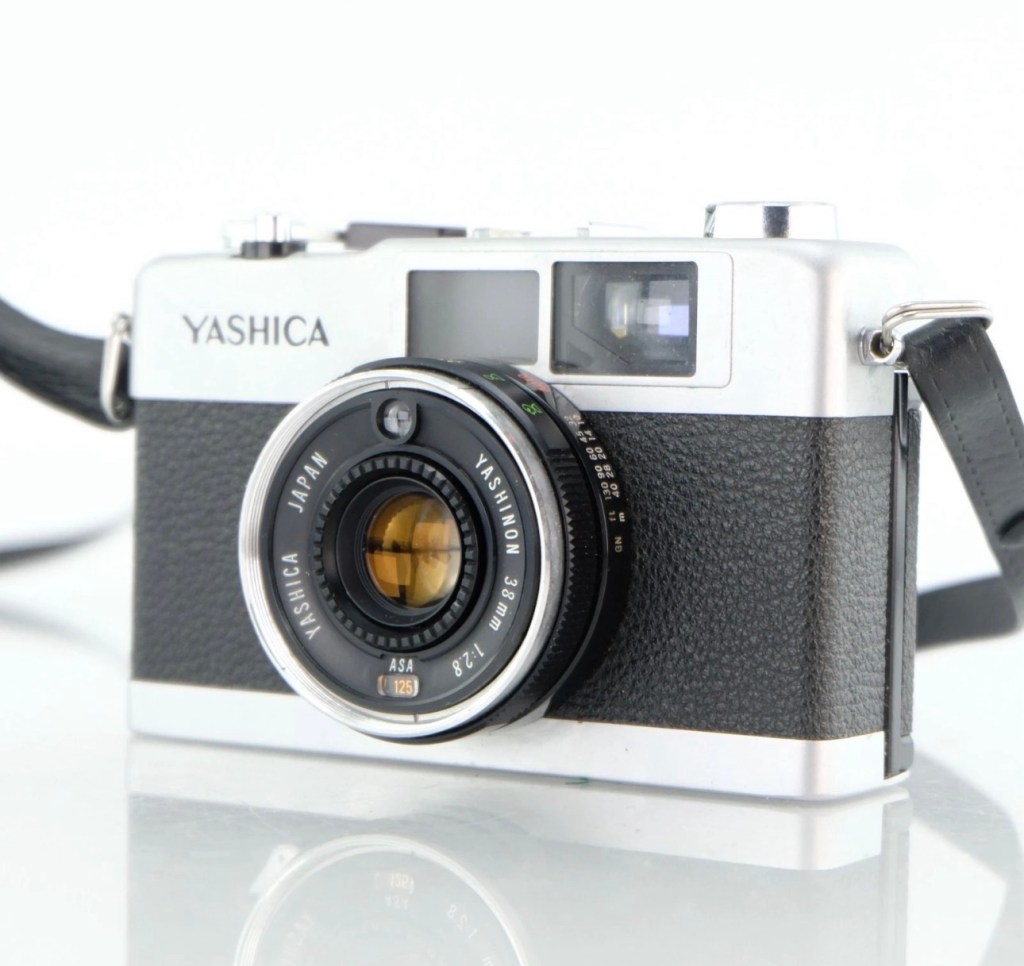
  • Lens: Yashica 38mm f2.8; zone and feet/metres scales
  • Shutter: Copal auto, speed set by metering, 1/30-1/650 sec.
  • Meter: CdS sensor
  • Film speed: 25 to 400 ASA
  • Flash: hot shoe, flash sync 1/25 of a sec.
  • Power: 1.3v mercury

Camera-wiki.org

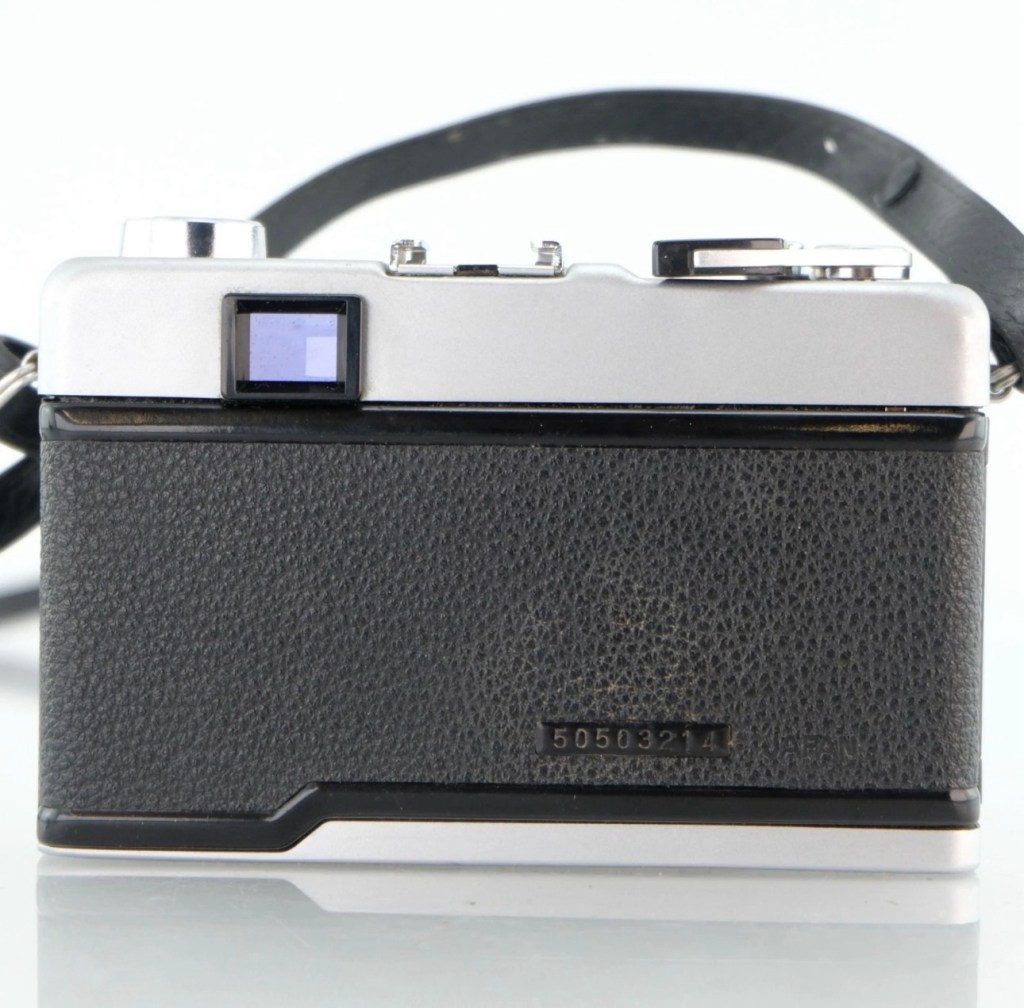
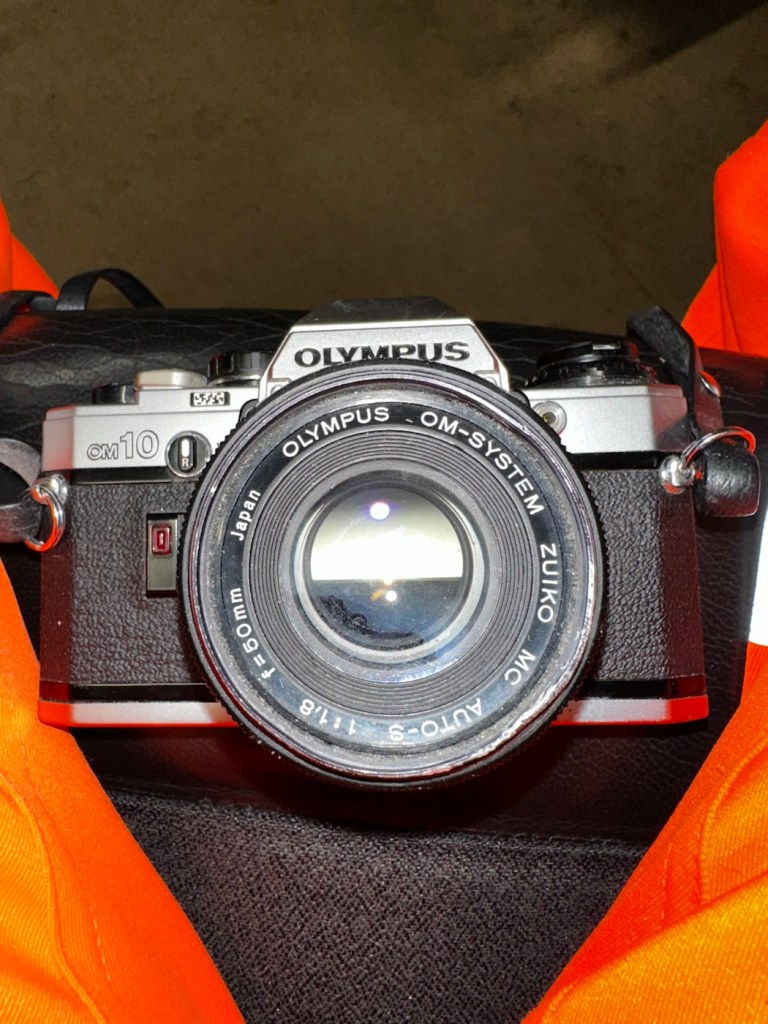
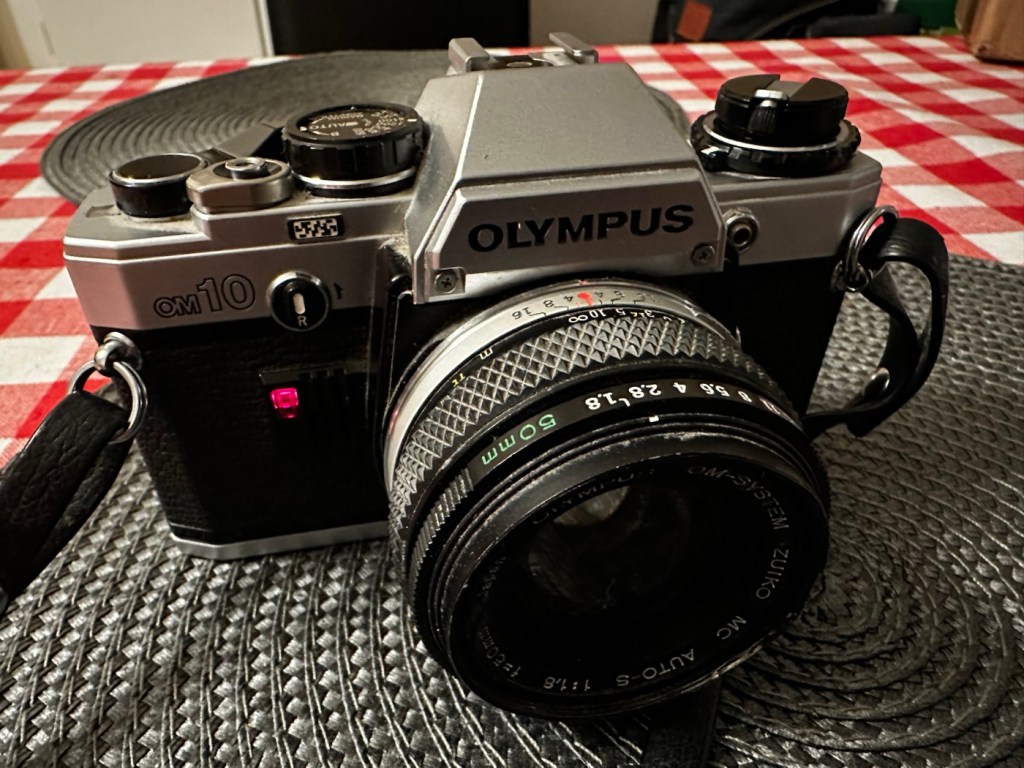
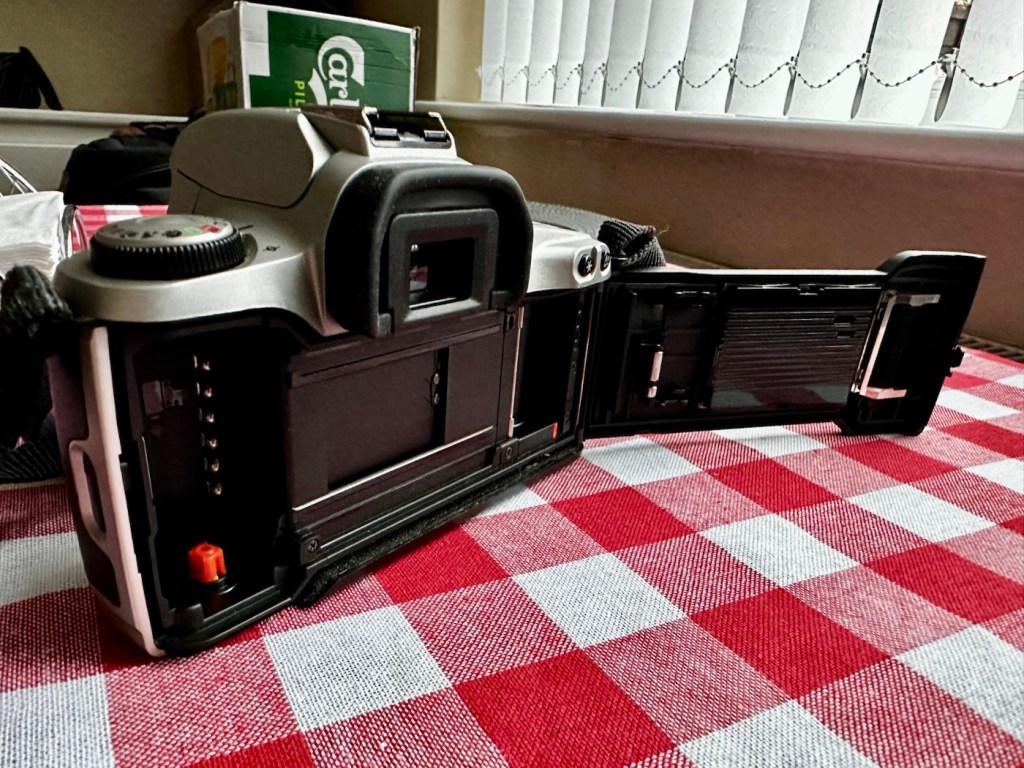
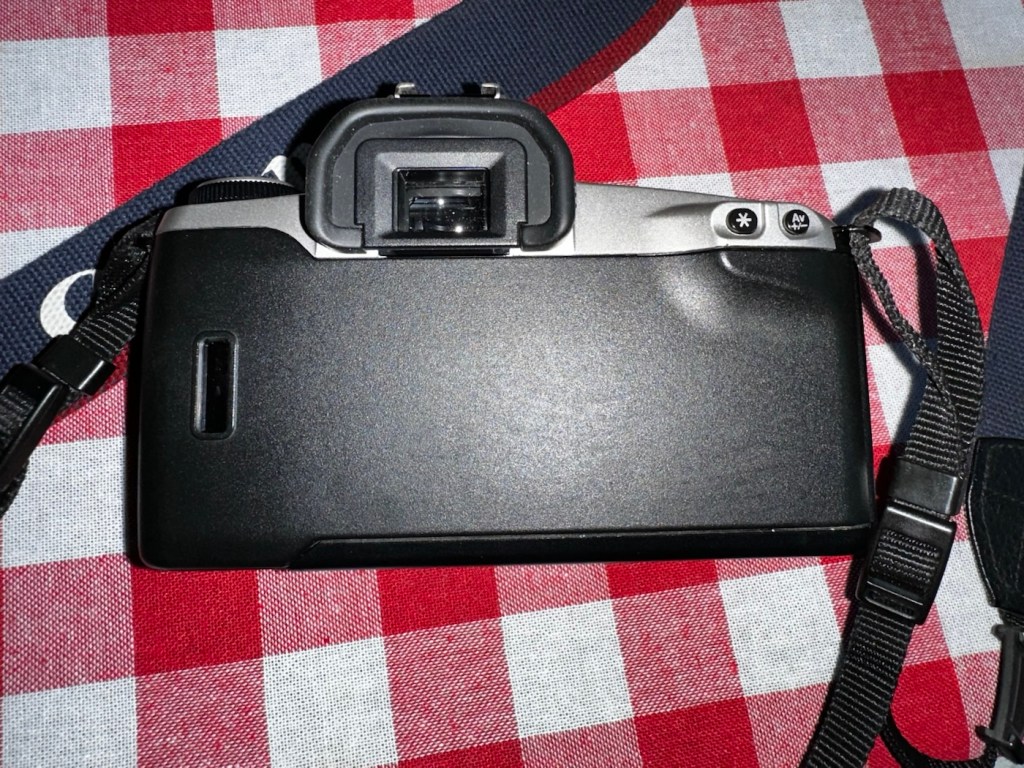
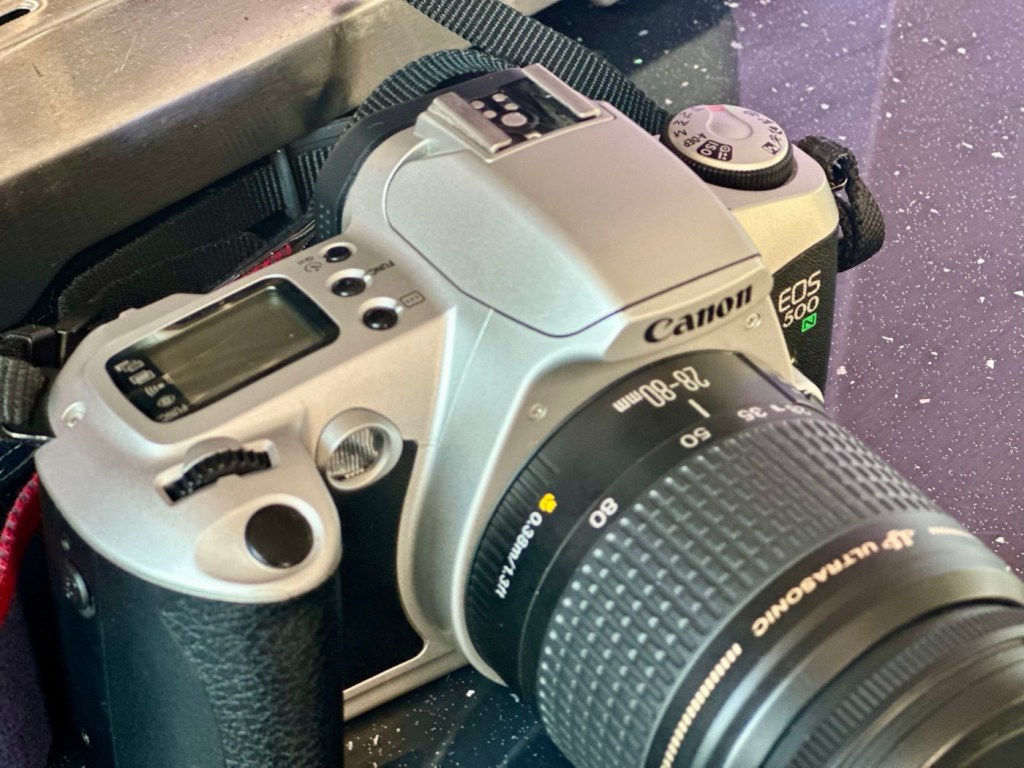
It’s arrived, it has that familiar aroma of age old mustiness, but looks a nice item, in good condition for a camera that is now 50+ years old.

Assessment:

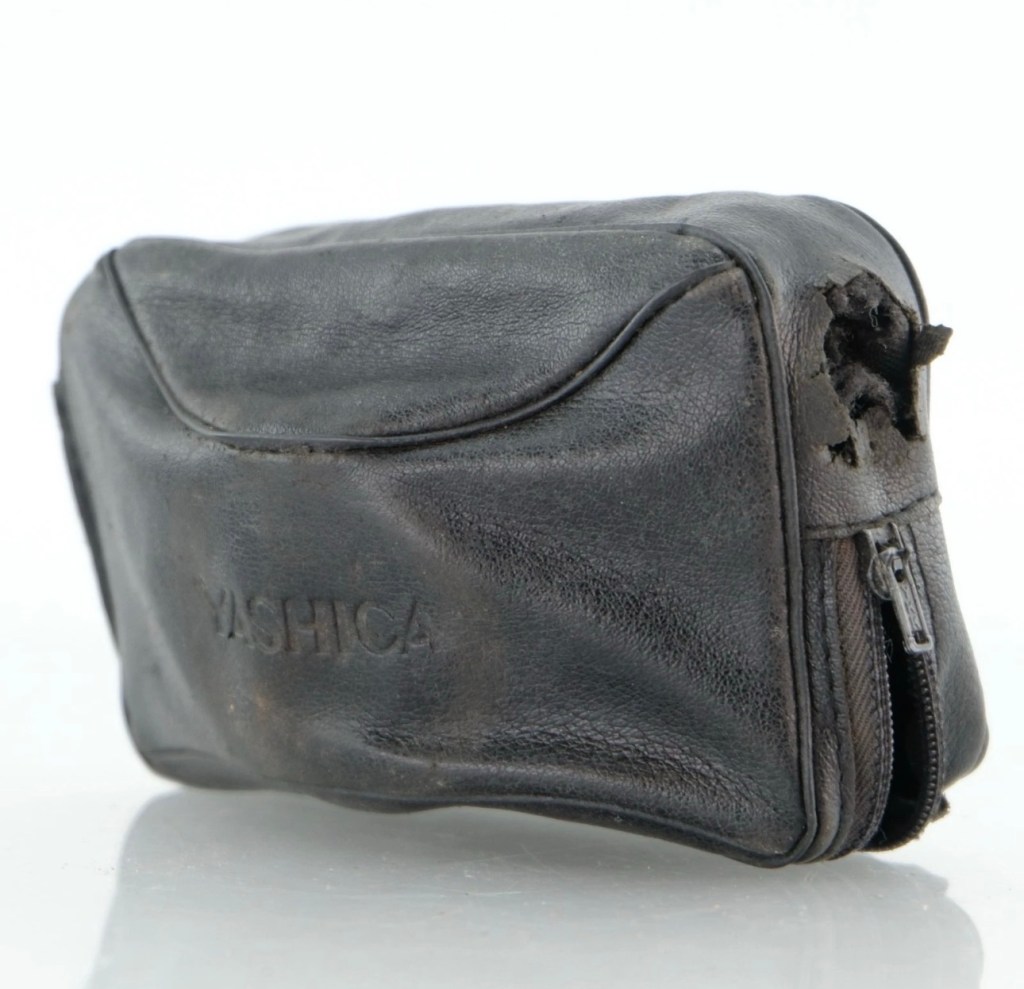
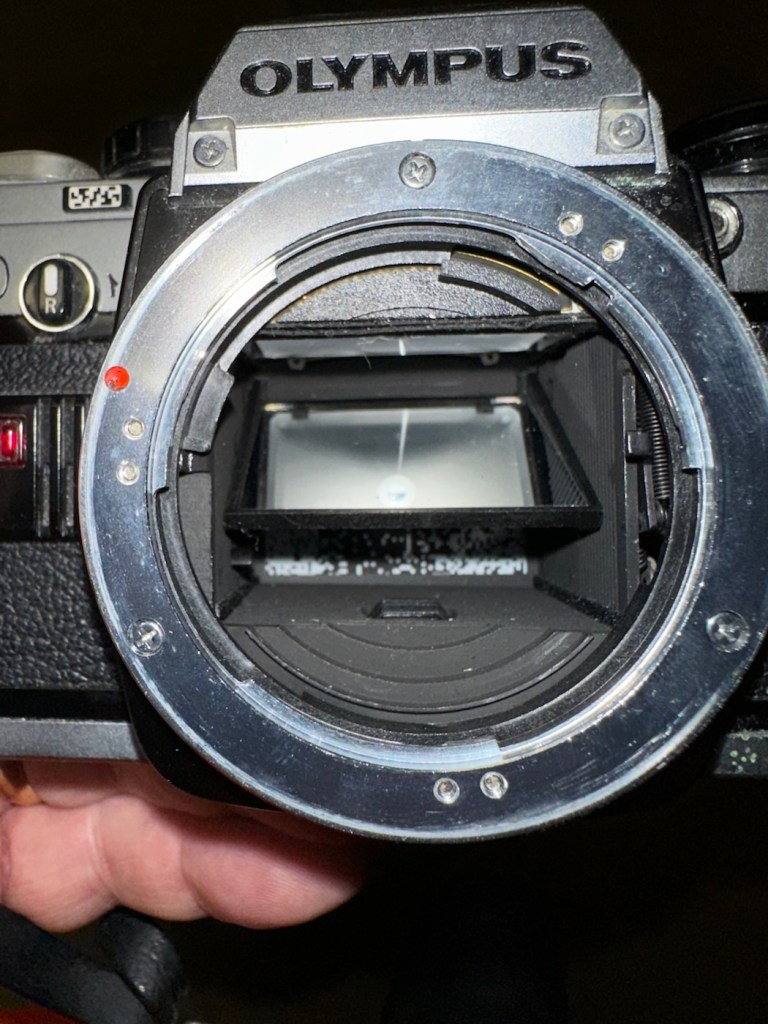
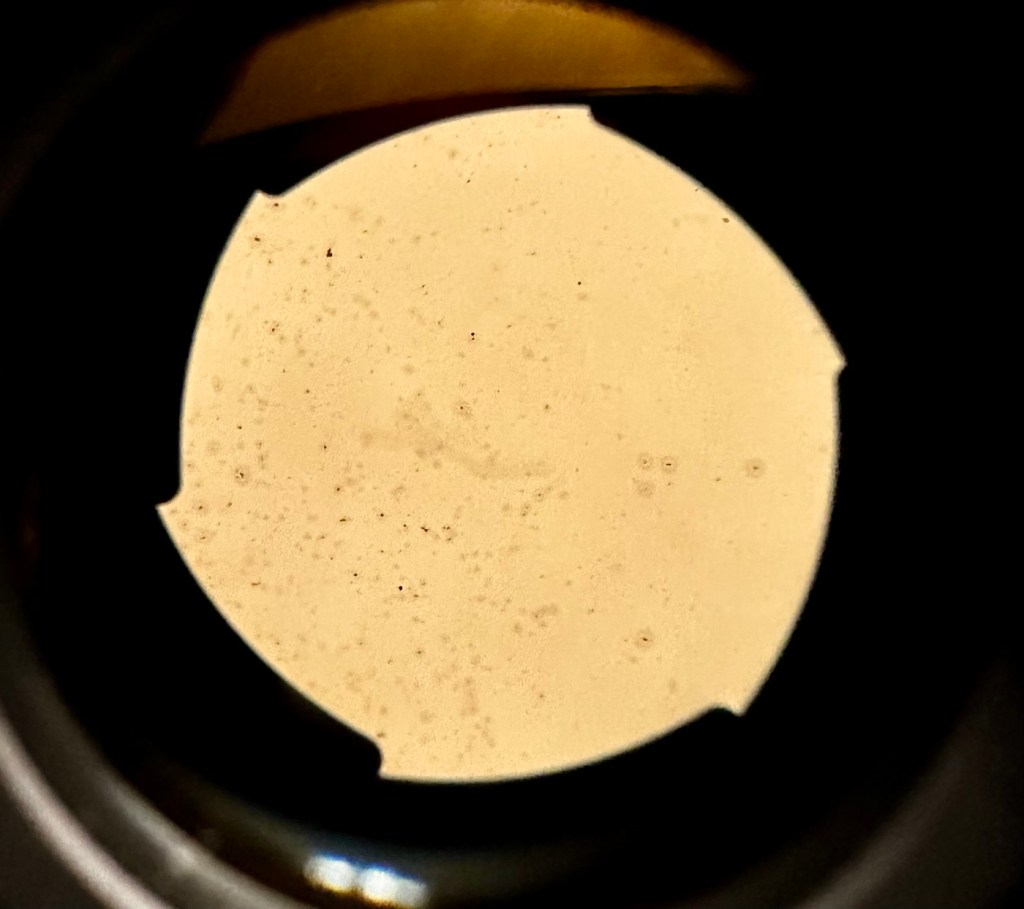
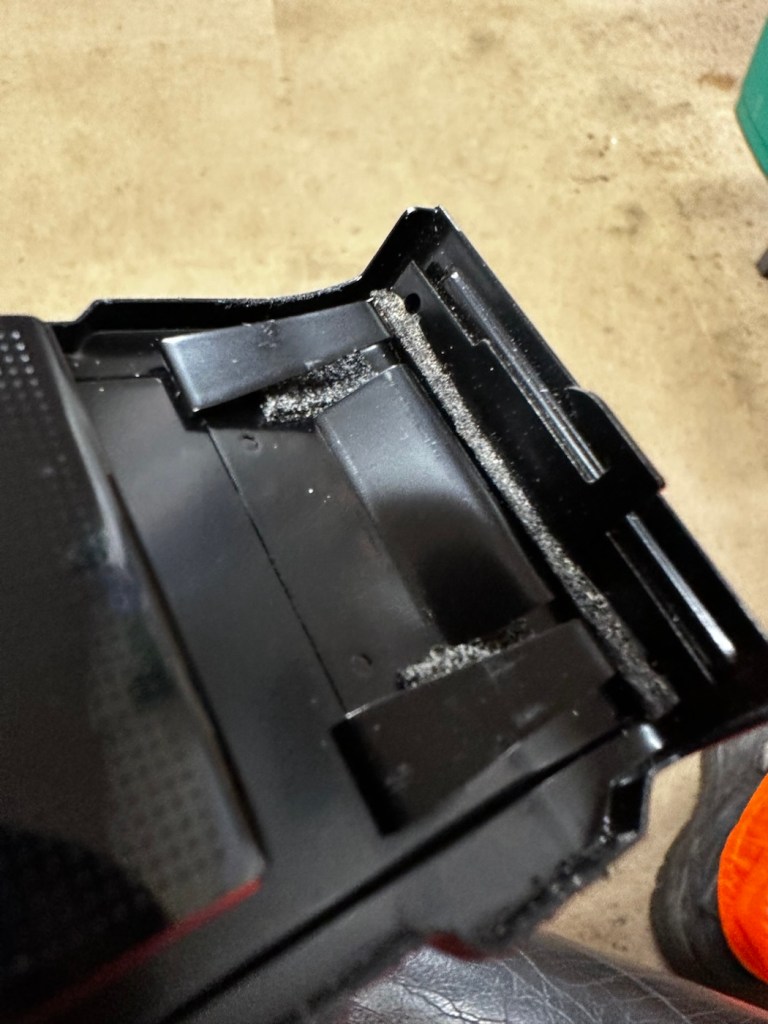
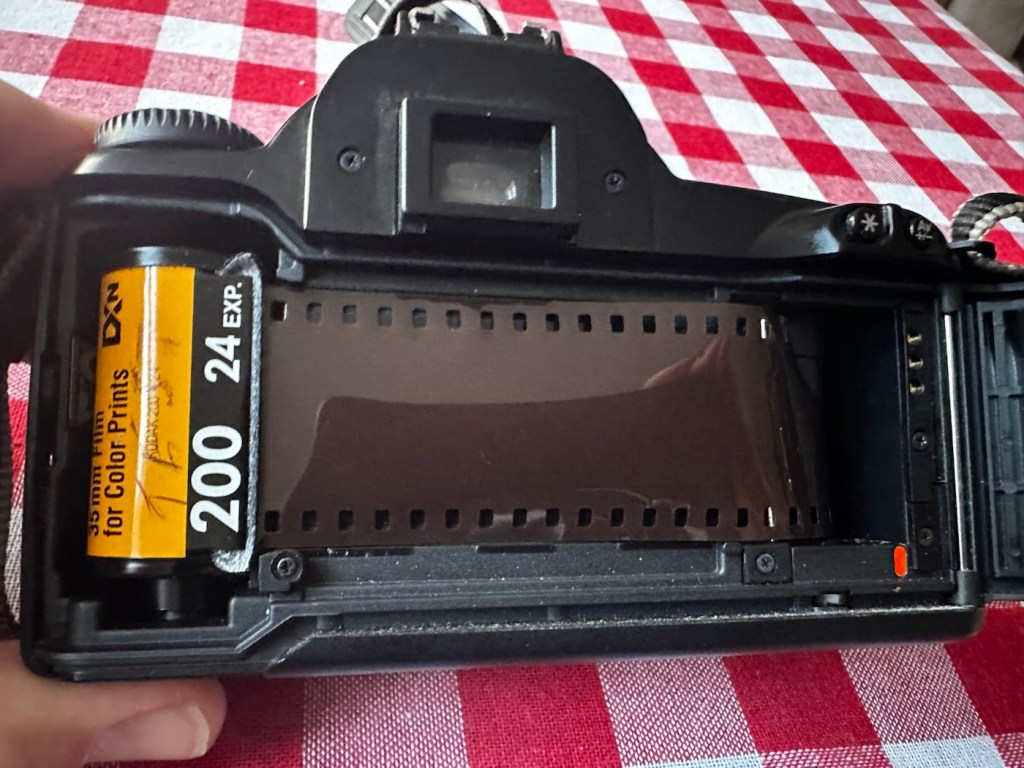
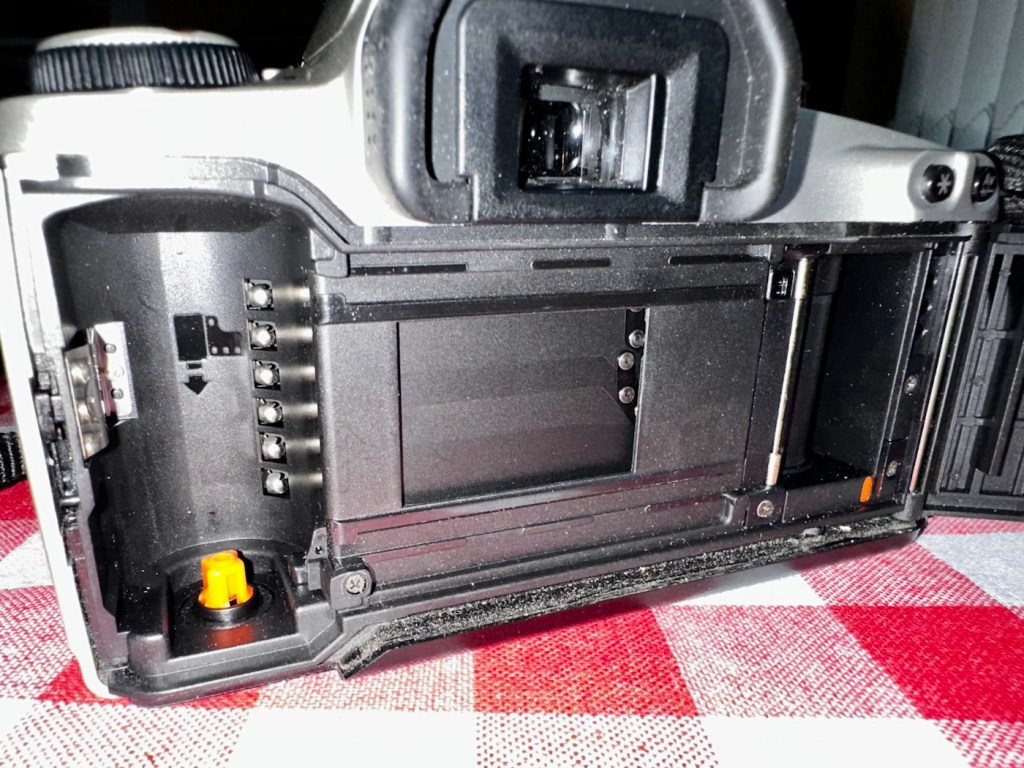
The case is quite tatty, but it does the job. The body is dusty but free of any dinks dents or scars. Inside the rear of the camera all is good, it’s clean and the light seals are ok. They will need replacing at some point, but currently they appear to be ok.

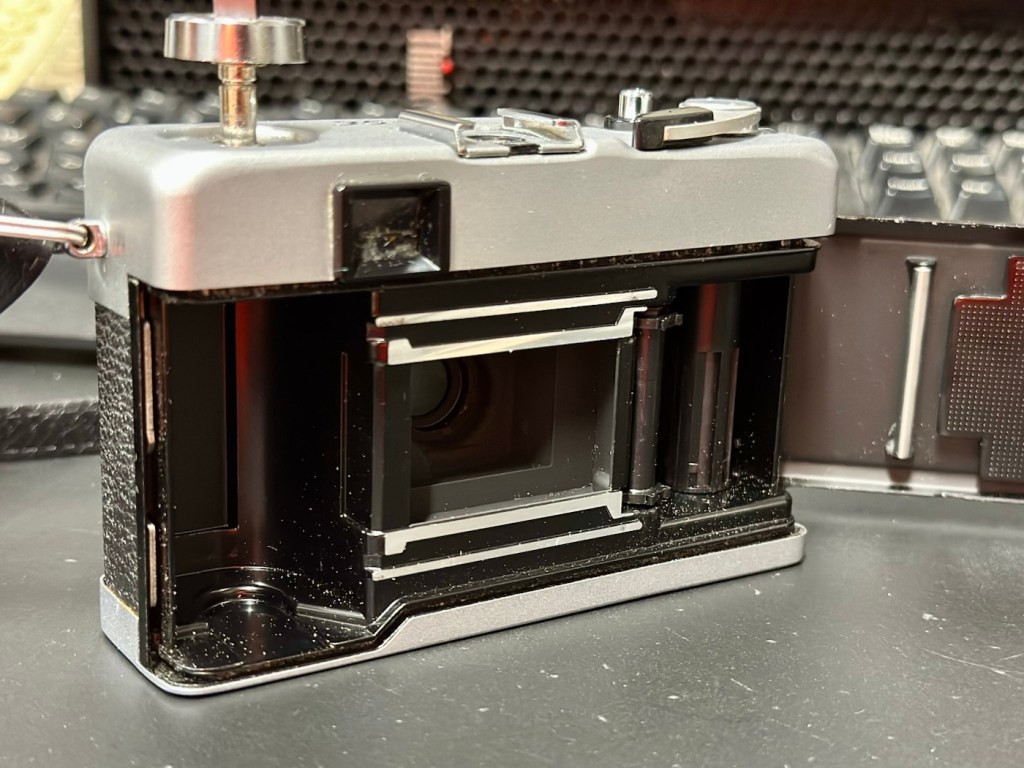
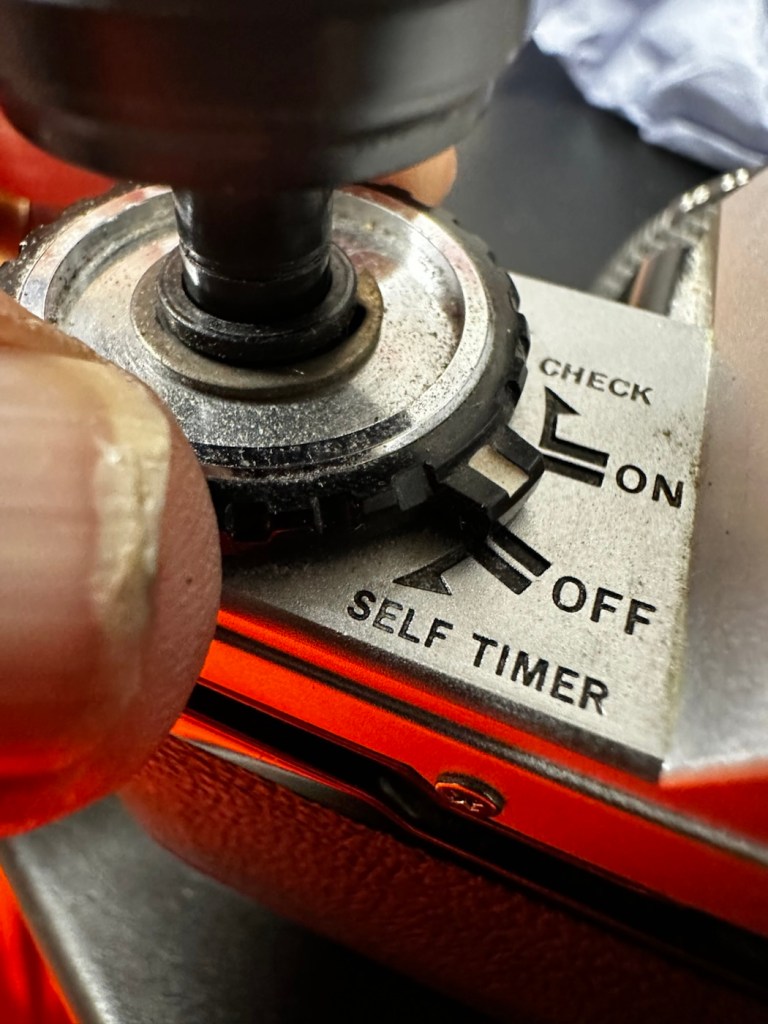
The winder works fine, the shutter fires and there is no sticking of the shutter leafs.

When you look through the viewfinder it’s a fairly clear view, however the exposure reading needle on the right is sitting firmly on the bottom of the scale. Moving the camera from light to dark makes no difference, the meter is not responsive. Let’s check the battery.

Meter reading does not move

Repair:

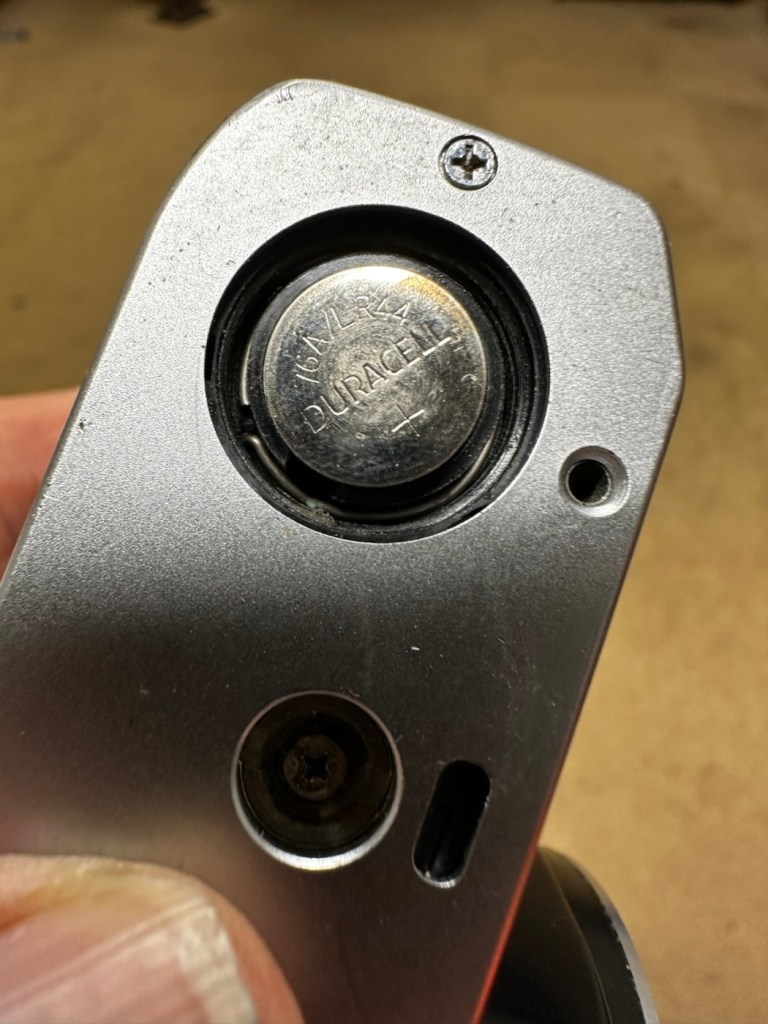
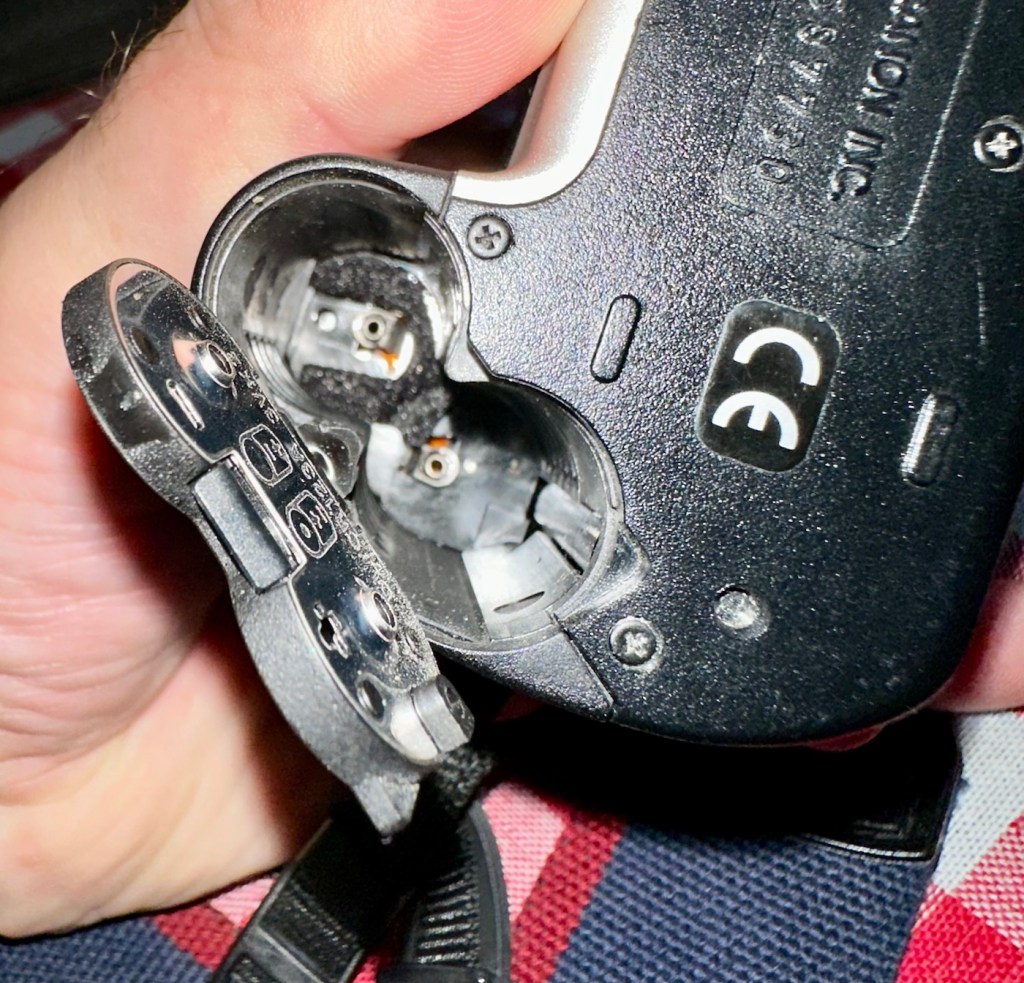
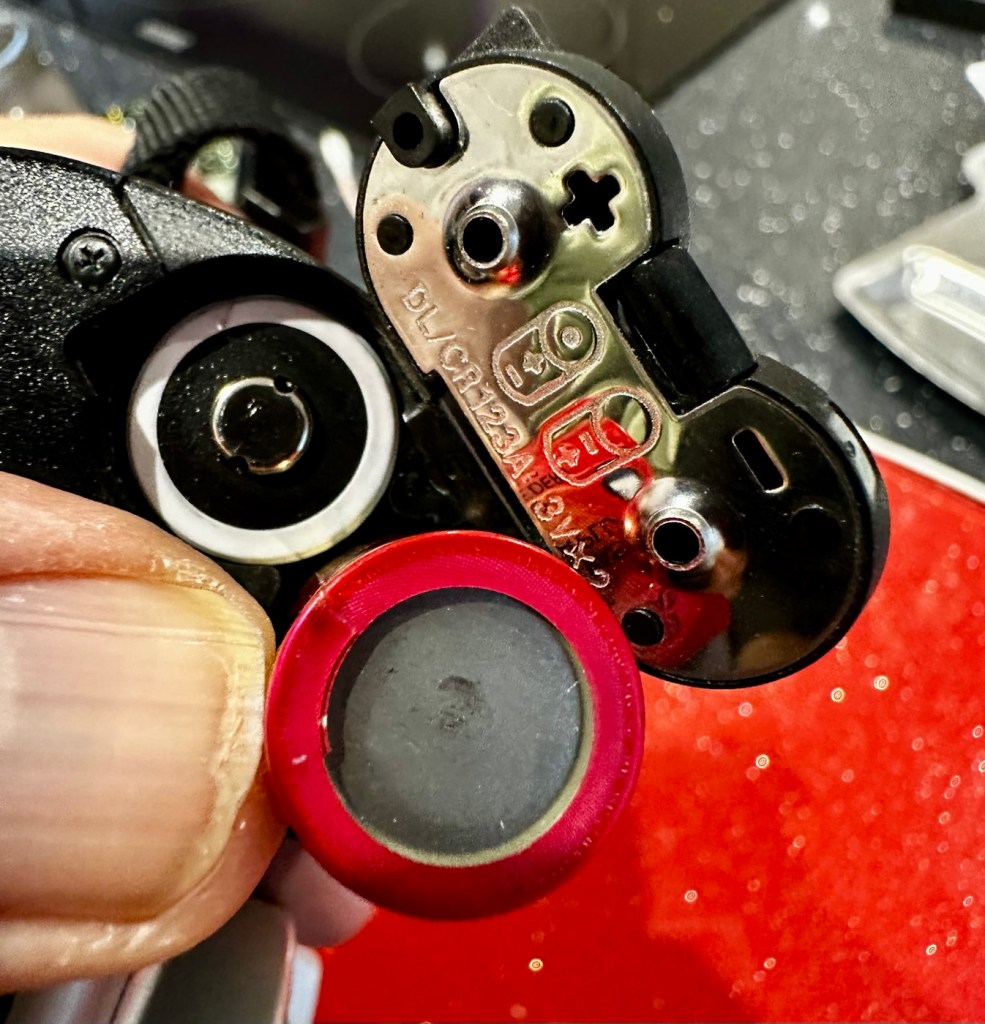
The battery that was used is an LR44 cell rather than the old Mercury 1.3v cells that used to be installed on these cameras. They are hard to come by nowadays and people tend to go with the more modern LR44 cells that have a slightly higher voltage of 1.5v. They work, however some have stated that they notice a slight overexposure of about one stop, personally I haven’t really had issues when I have made these battery changes in the past. Each to their own as they say.

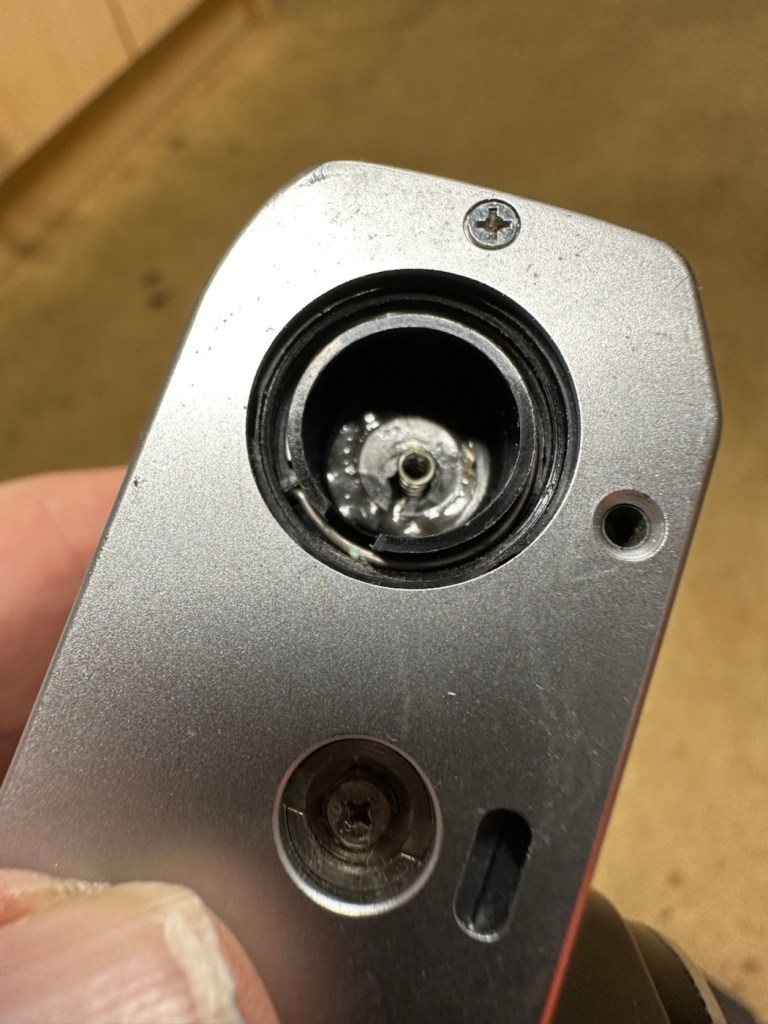
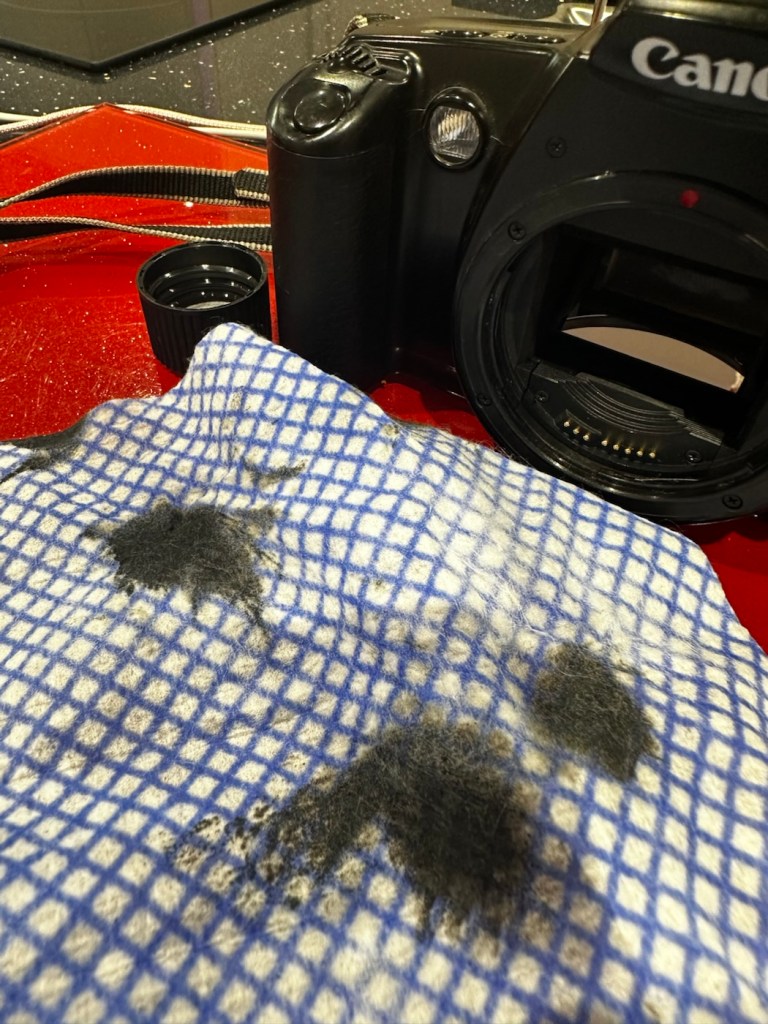
The battery currently in place was dead so I tried a new battery to no avail. When I opened the battery chamber again I then noticed some oxidation of the contacts, so a quick clean with some contact cleaner and they looked a lot different.

Before and after battery contacts

A new battery back in place, and hey presto the light meter is now working.

Light meter now working

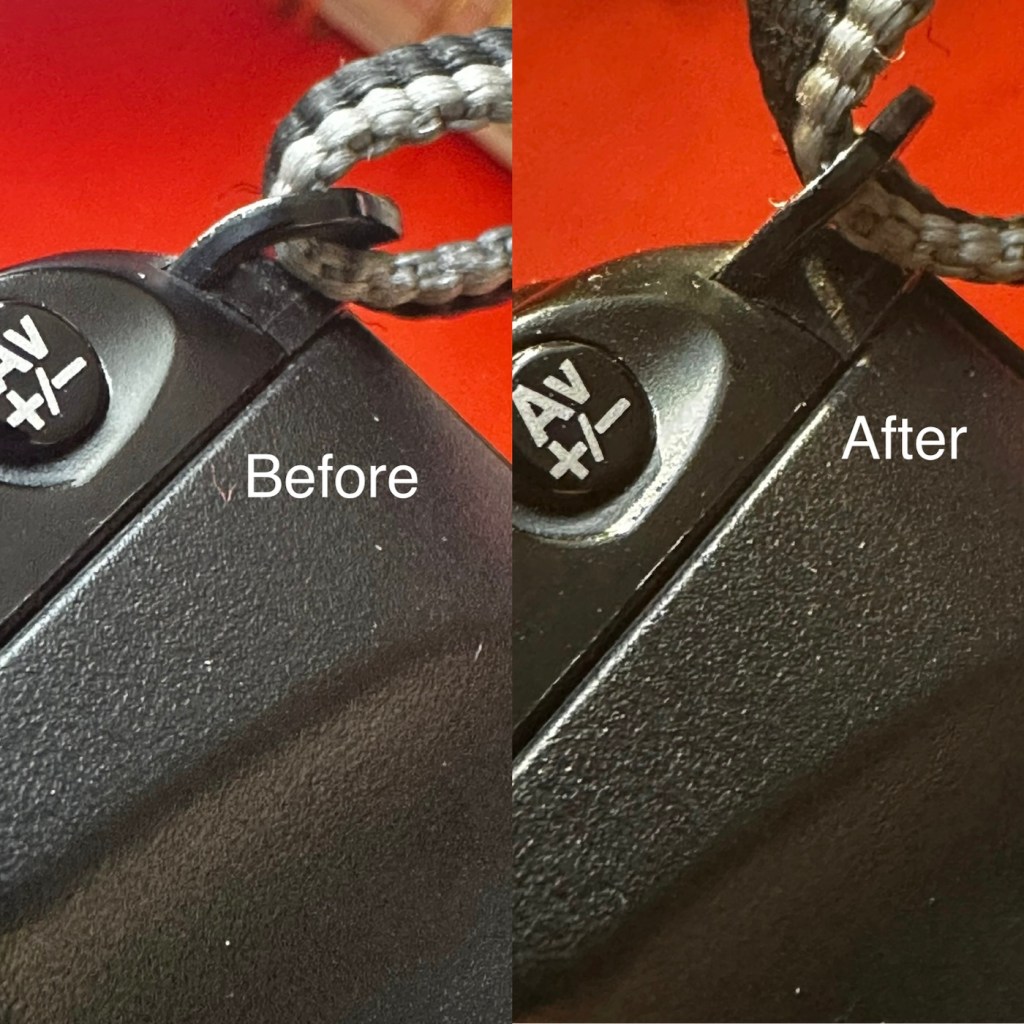
I’ve given a good disinfectant clean. Buffed up the case to make the best of a bad thing, and it all looks good. The only thing I can do now is run some film through it to give it a final test. I have some old out of date colour film at home, so I will use one of these to run a test roll. As I stated at the beginning there is not really a lot that can go wrong with these point and shoots, and I’m confident that the only issue was with the exposure meter as everything else seems to be fine. let’s get that film run through the camera to check things out.

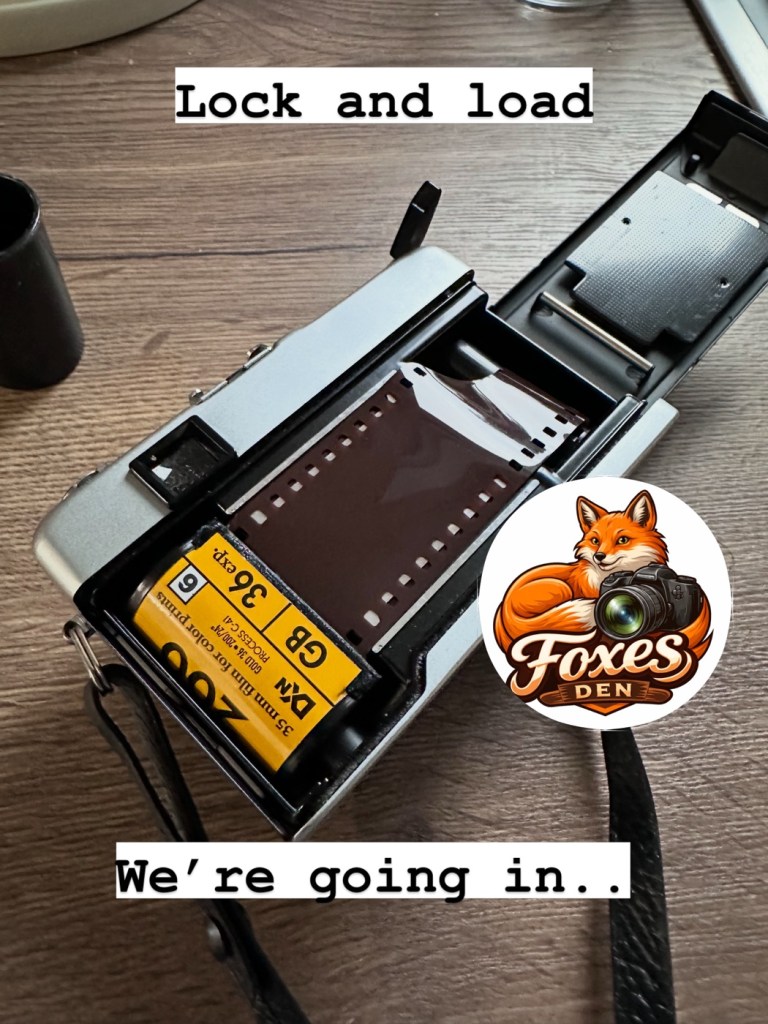
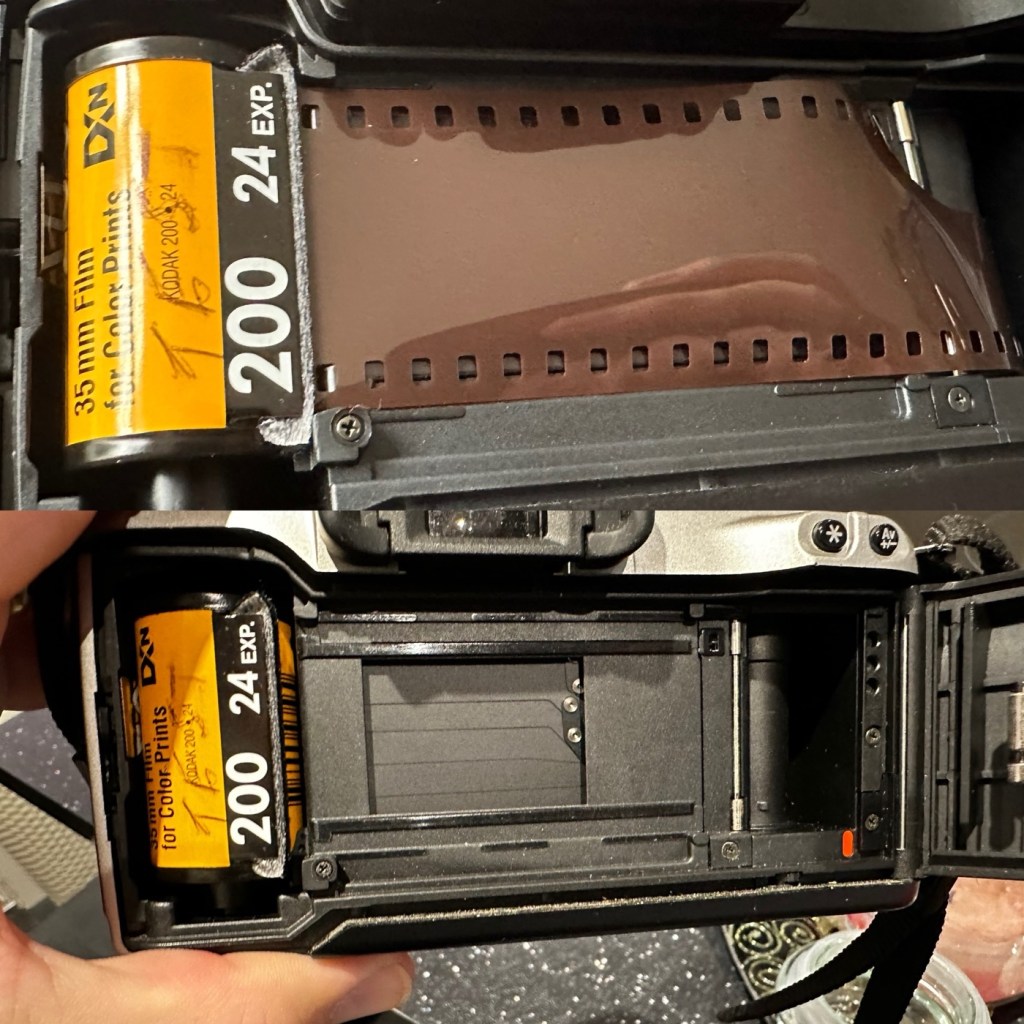
I’ve taken the film out of the fridge. It’s a roll of Kodak Gold 200ASA film, and it’s only 20 years out of date. I’ve tested a roll of this before, you can see that post here: 20yr old Kodak Gold.

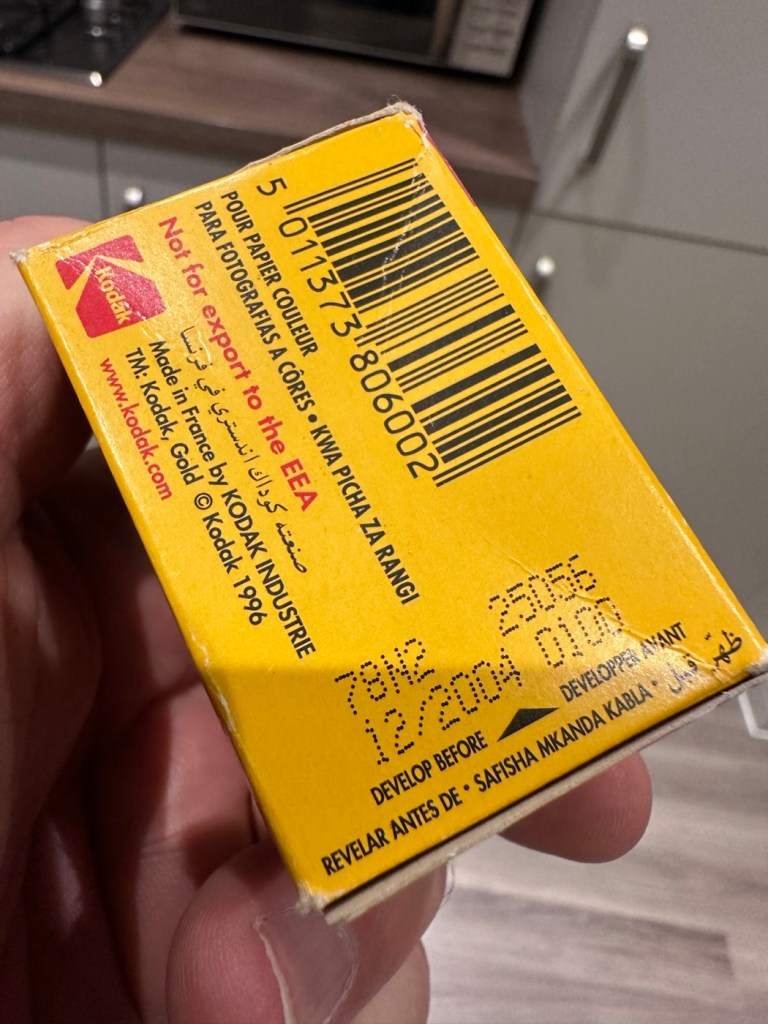
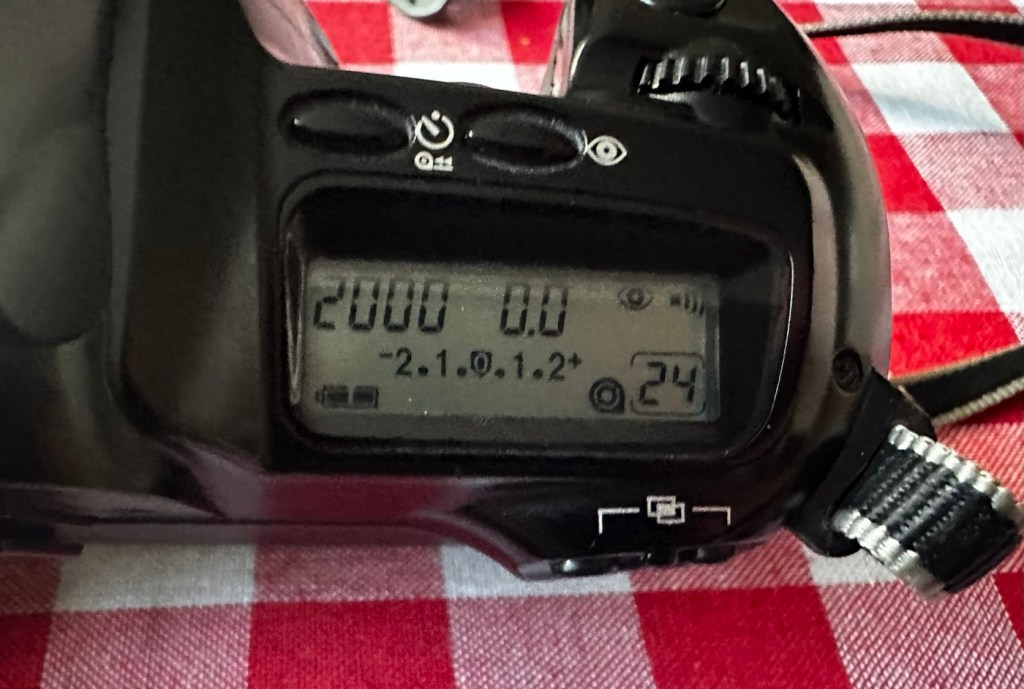
The results won’t be anything spectacular, it will be grainy, it will have a colour cast and in fact might not even work at all. After this period of time the sensitively Will have dropped so I’m going to over expose this roll by one stop to attempt to compensate a bit. This 200ASA film will be exposed on this occasion at 100ASA. When I’ve exposed this it will be off to a local film developer- Classic photo supplies – for them to do the developing and scanning. Read this post regarding my rationale behind using this film: 3..2..1 – 20yrs out of date.
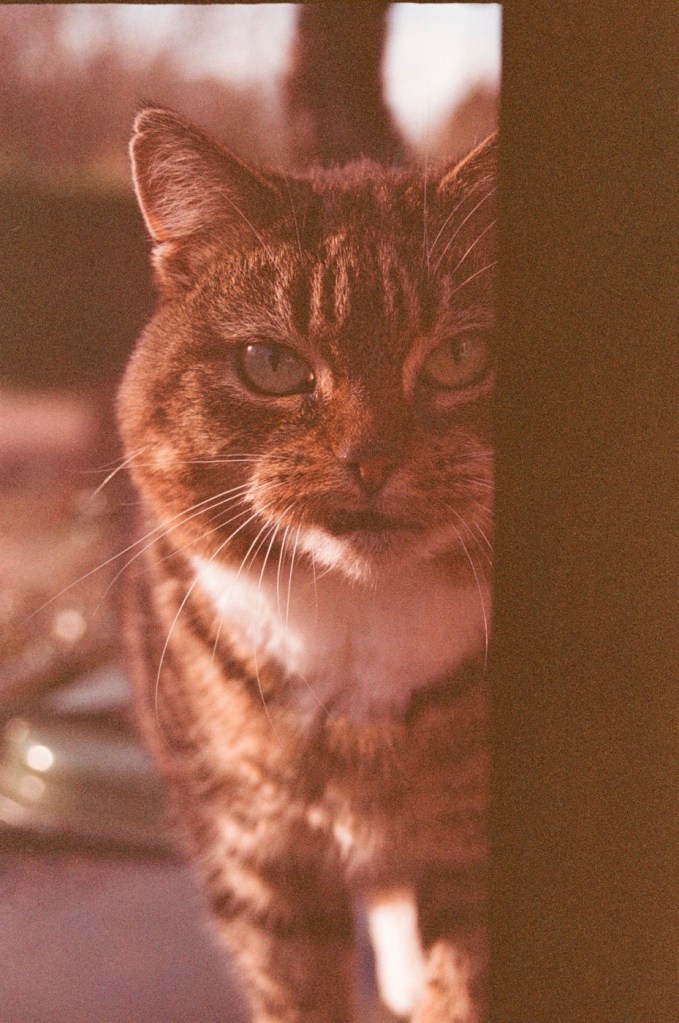
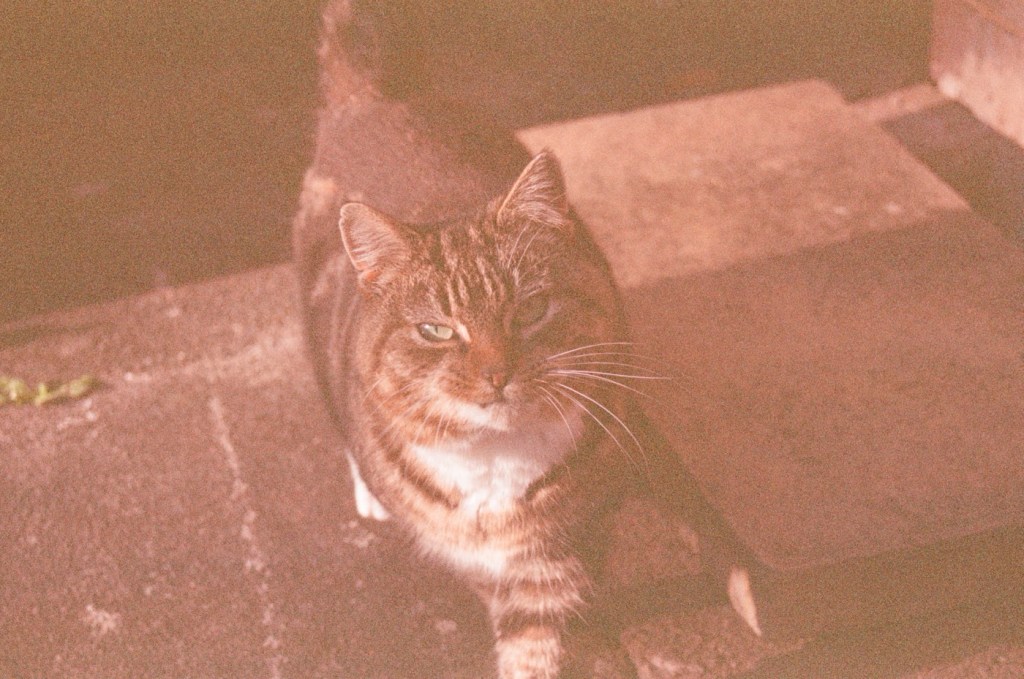
Result:

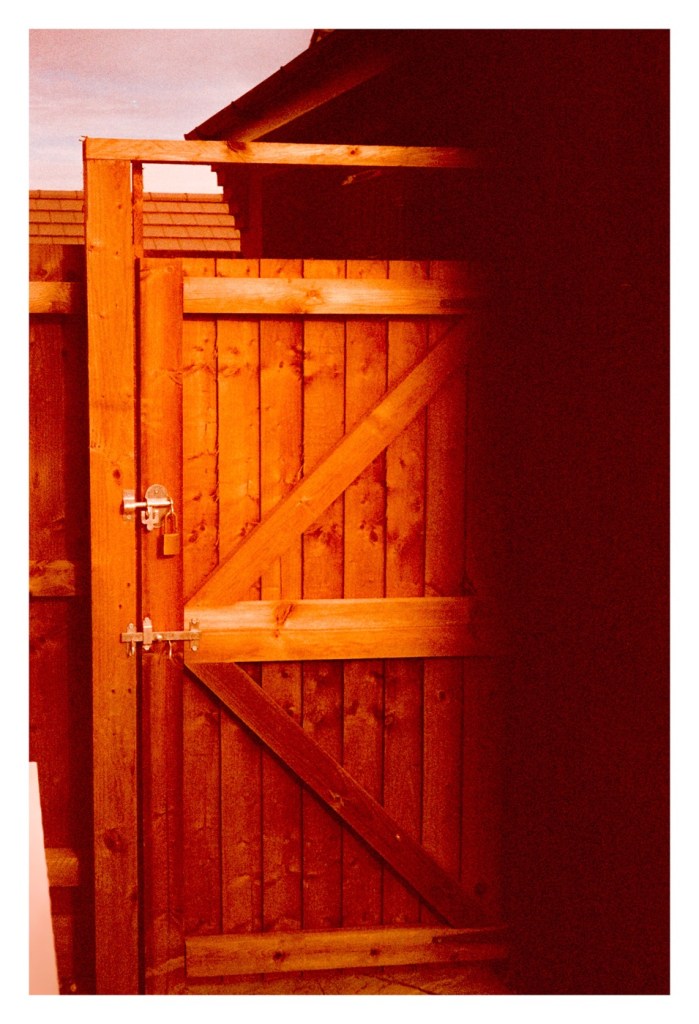
Well, the scans of the developed film have arrived back and it has proven a couple of things, one that the camera does actually work and two, that the film has definitely reached its limits, as the negatives show immense grain, and a colour cast due to the chemical structure of the film breaking down. I’m glad I only overexposed by one stop, I know that the recommended +2 stops would have been too much for this film. Below I have displayed a selection of pictures from this film, you can see the age related “colour cast” along with grain size if you zoom in. These aren’t the high quality pictures as the originals came back at about 30mpx each, and that would be far too high a resolution to show on this site, and I’d probably use up all of my photo allowance as well. So here are the greatly reduced results of those scans.

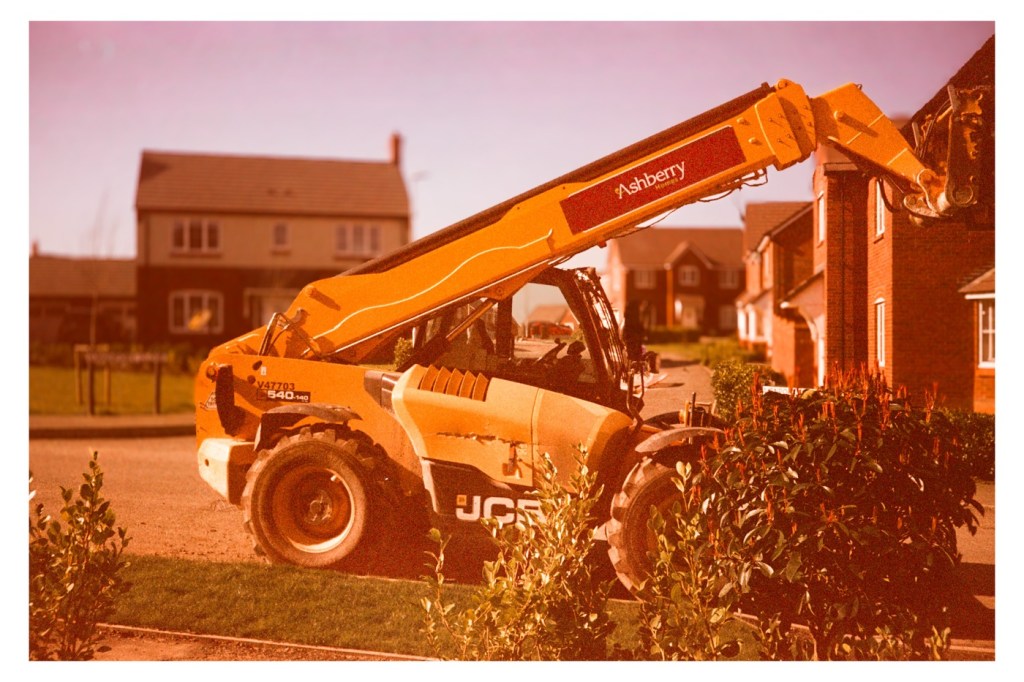
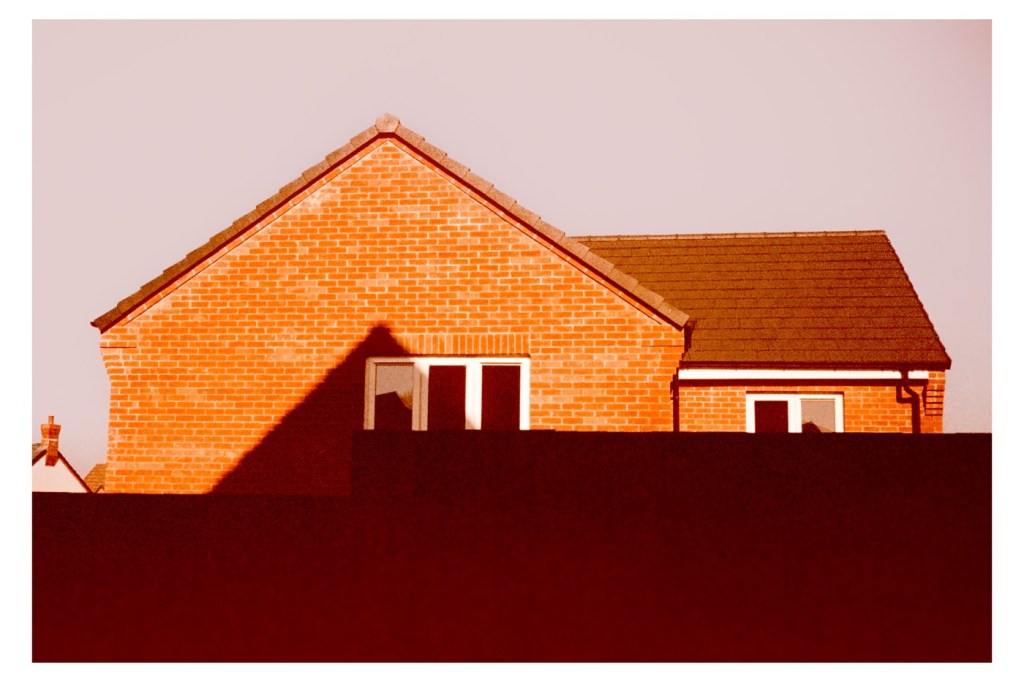
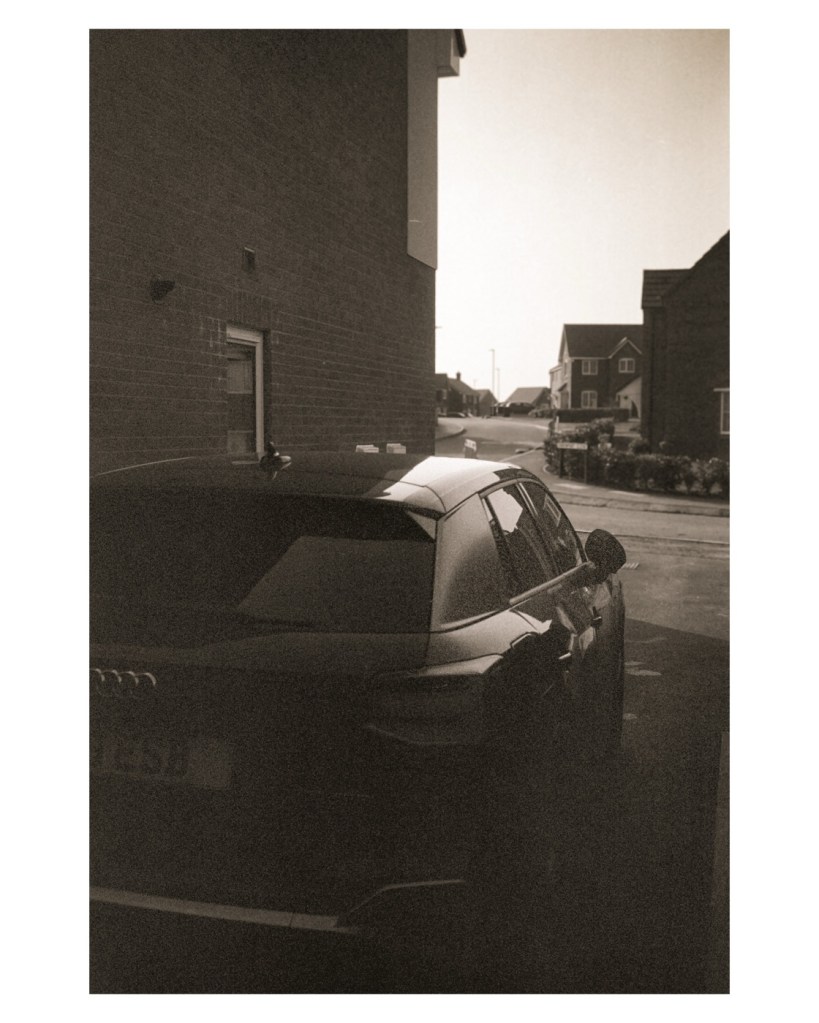
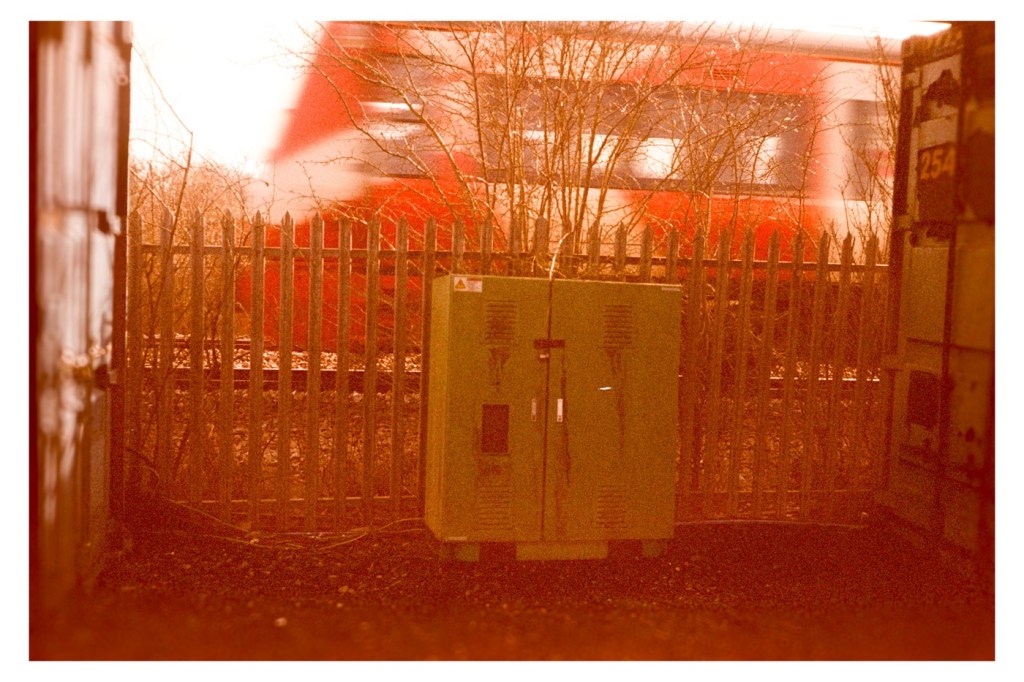
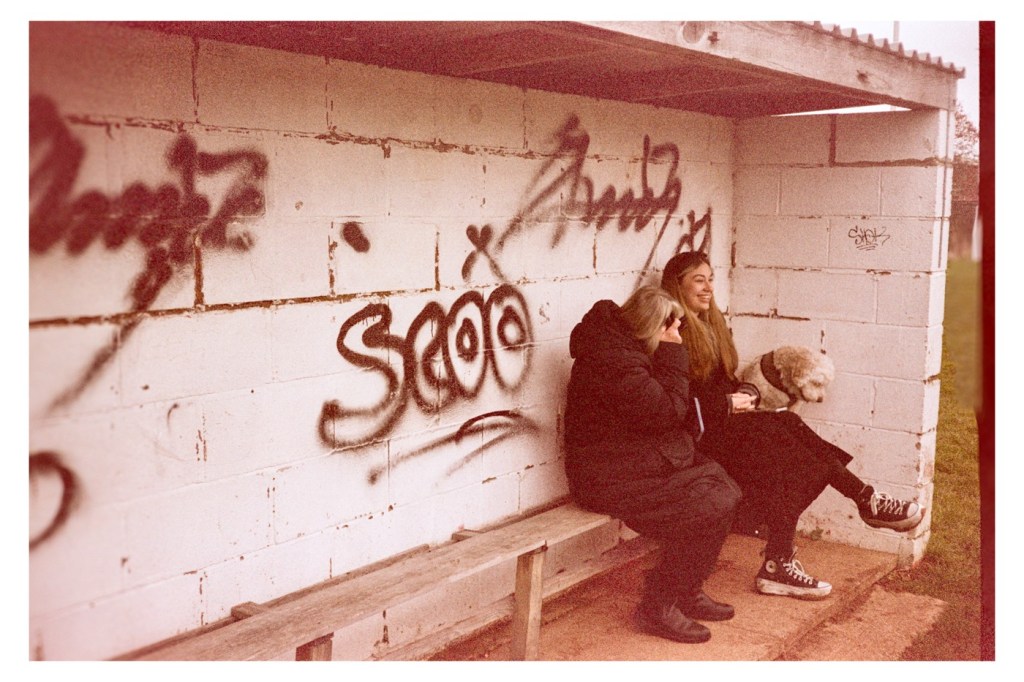
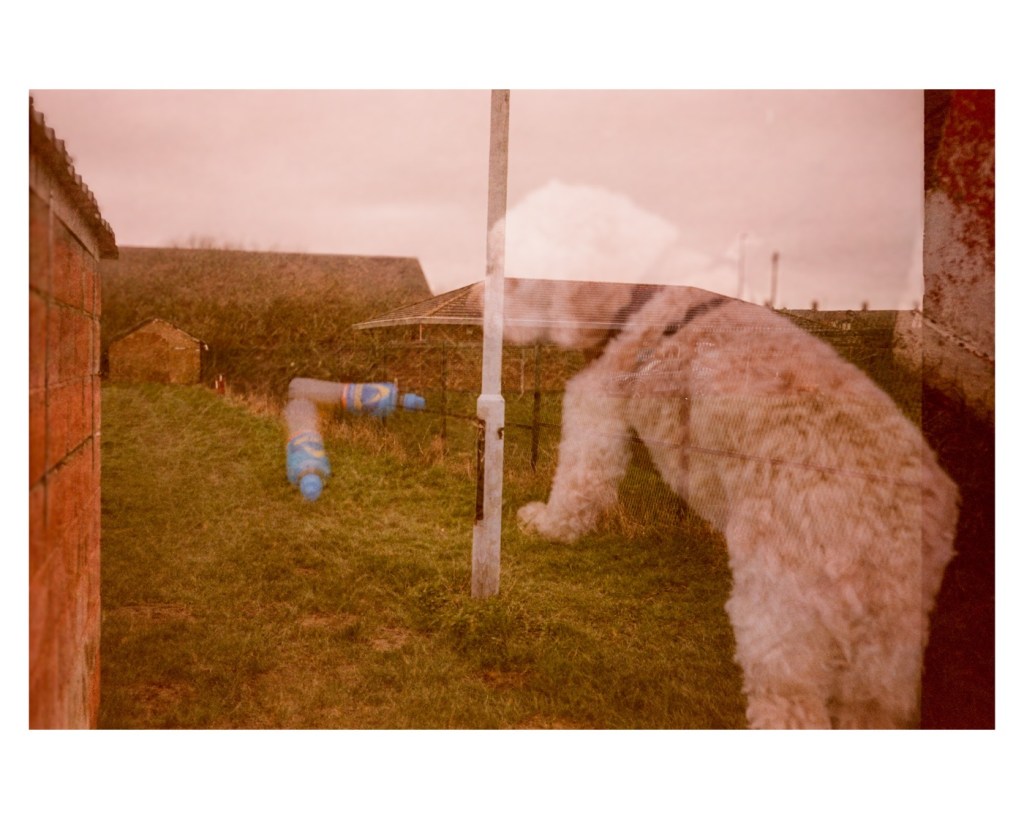
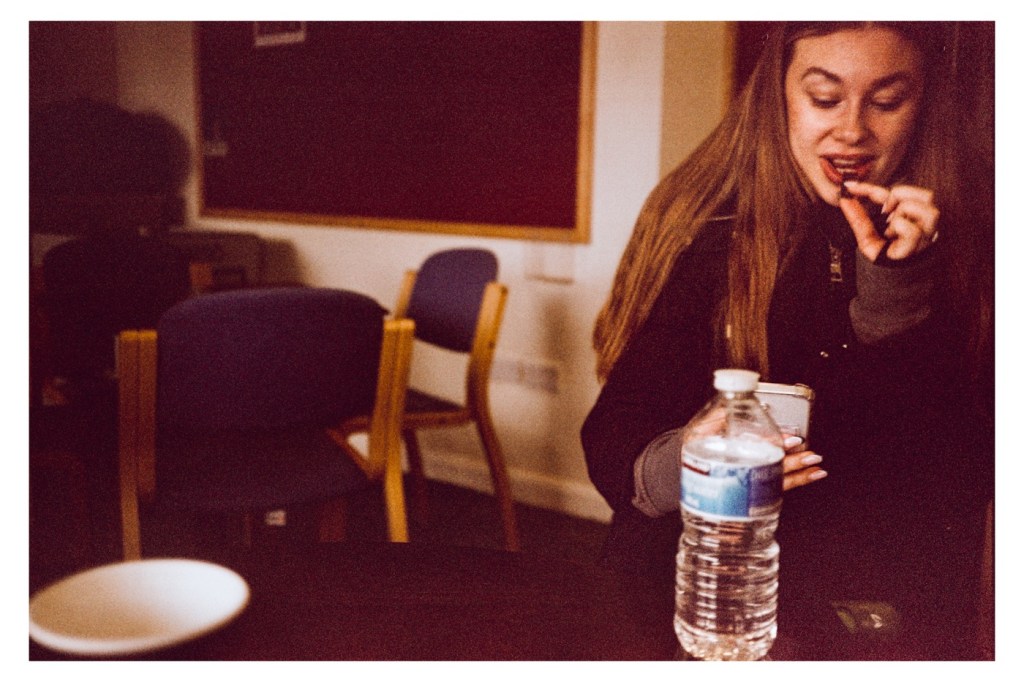
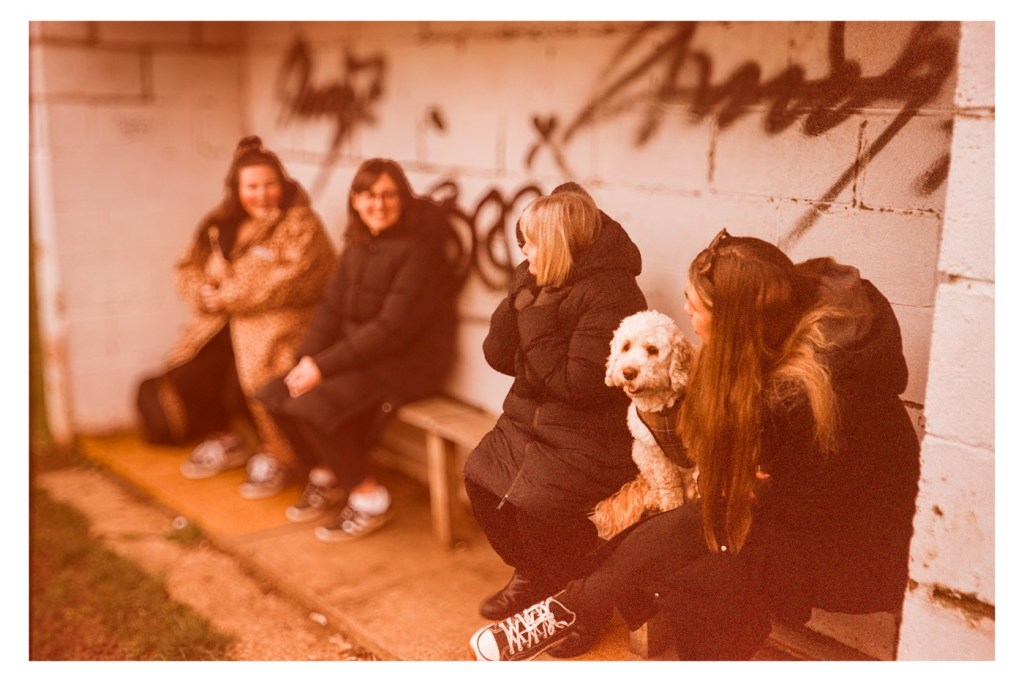
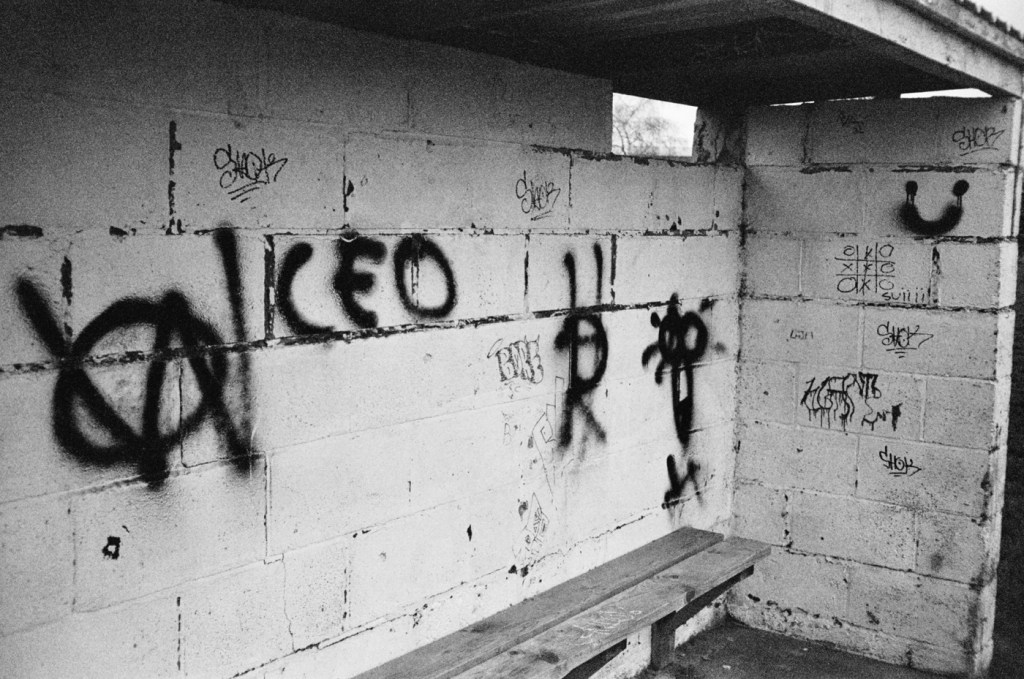
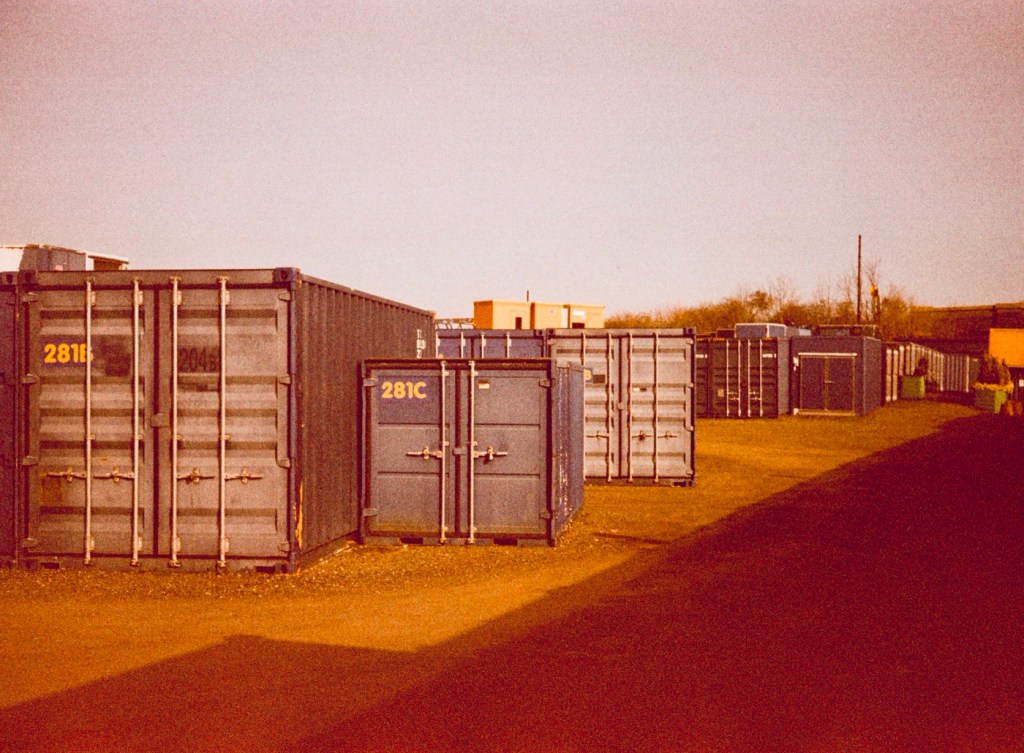
To be totally honest if you switch to B/W in editing mode, all the pictures come out fine and are completely presentable and maybe that’s the way to go with the next batch, don’t bother trying to get a good colour balance as that will never be achievable, just display in good old black and white, you can’t go wrong.

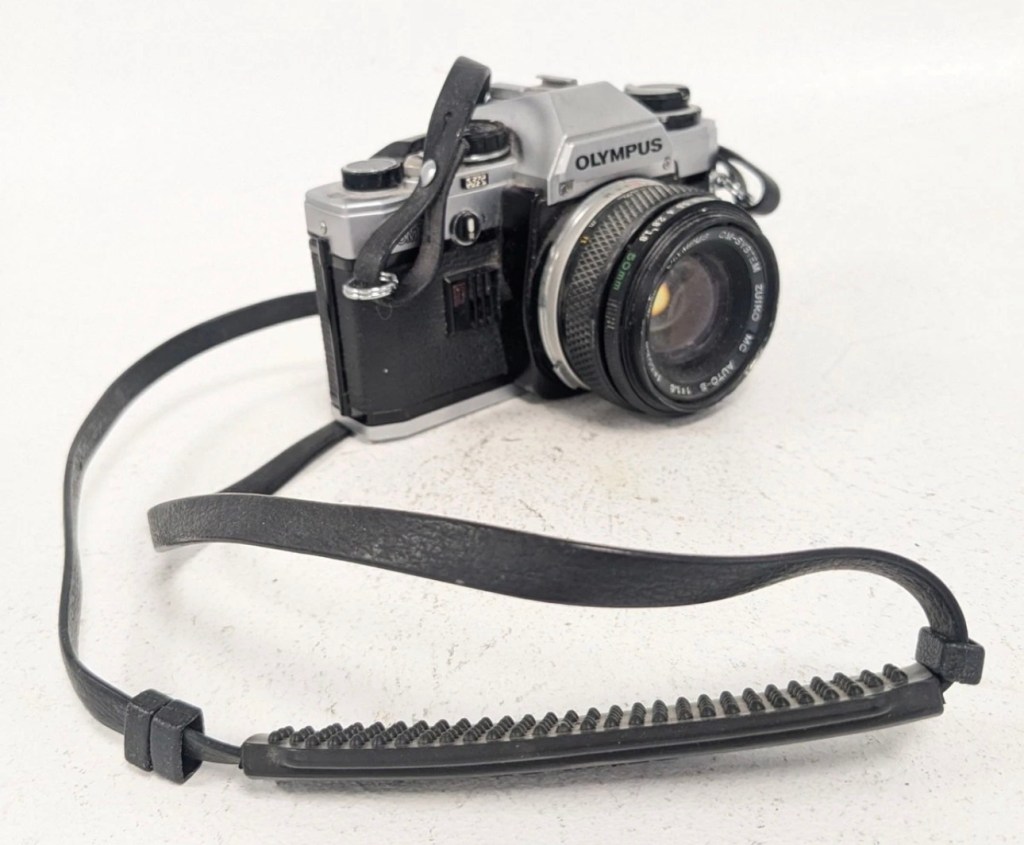
So the camera works, and this one will now be put aside until I decide how I’m going to move it on. It’s such a basic camera, the distance selections are questionable, but that’s just a remnant of the 70s technology behind it. It’s a good little point and shoot, but I do believe the likes of the Olympus trip totally outshone all other competitors in the point and shoot category.

Job done. Another old camera saved from the scrap heap, and given a new lease of life, and it probably took no more than 10 minutes to get it back in working order.

Thanks for passing by, it’s very much appreciated.

3..2..1 – 20yrs out of date.

Soon, I will
Post a report I have done of a repair on an old 1972 camera. But first I want to test it with some film that expired 22 years ago.

I recently purchased a 1972 Yashica 35ME. It’s an old point and shoot, from back in the day, similar in looks to an Olympus trip, but an Olympus trip it is not. A very basic 35mm camera, with a CdS light meter that was not working, it is now.

I shall have a post out soon about the camera but the final testing involves running a roll of film through it to test. And all I currently have is a few rolls of old Kodak film that all expired about 22 years ago in 2004. You may recall this post I wrote regarding my last involvement with this film stock a few months ago –20yr old Kodak Gold

As a result of that test you will understand why I am over exposing this film by only 1 stop, even though I’m being told by “Professional dudes” it must be at least 2 stops. I understand their reasoning, but I’ve tested this batch previously and they haven’t, so i’m sticking to my guns on this one. If I’m wrong I’m wrong, but I will have learned. Let me do things my way ok?

I’ve loaded up with Kodak Gold 200ASA that I will be overexposing at 100ASA, it expired in December 2004.

I’ve locked and loaded a roll into the camera today, but I’m just waiting for some good light. So I can get out and give the camera a real test taking random pictures, in various locations to give the camera a fair test.

Just awaiting some decent light.

I’ll post the repair on here shortly, hopefully with some pictures once the negatives have been processed and scanned.

But as we are waiting some nice conditions, and this is the East Midlands of the Uk, we could be waiting a little while yet.

The repair and photo results can be found here: Yashica 35 ME

Take care, stay safe. Thanks for looking in. 🙏

Photographic light sensors in older point and shoot cameras

A little explanation of the differences between the light sensors of two vintage point and shoot cameras produced 12 years apart

I’ve recently purchased two old point and shoot cameras as a lot. One was from 1960 and the other one was from 1972 only 12 years apart, but a world away in technology regarding light sensing ability and technology.

Yashica 35 ME & Ricoh Auto 35

These two cameras only cost me £4:99 In total, they were sold as spare parts, and I suspect the issues could be around the light metering, as to be honest there isn’t a great deal else that could go wrong with them. Here’s a quick breakdown of the metering methods on each camera, followed by a more complex explanation around just what each method of metering involves.

Ricoh Auto 35 – Circa 1960

The older camera, the Ricoh, dates from 1960 and just by looking at it, you can see its light sensing system is built around the face of the lens barrel, it’s that glass honeycomb concoction that is so typical of a number of cameras and light meters of this period. Here is a post I previously made regarding Selenium light meters – (Sangamo Weston Master V light meter) The meters were known as selenium meters, there was no electrical components such as batteries, it was a little bit of scientific magic, here we go with a little explanation….

How the Selenium Cell Works in This Camera:

A selenium light cell operates on the photovoltaic effect (similar principle to modern solar panels):

The cell contains a thin layer of selenium coated onto a metal base. A very thin transparent conductive layer (often gold or another metal) is placed on top. When light hits the selenium, it generates a small electrical current. That current directly drives a tiny moving-coil meter needle.

The honeycomb ring is the selenium cell, light hitting it generates a small electrical current of approximately 0.5v. That current directly moves a needle inside the camera, the needle mechanically links to the exposure system. On the Auto 35, the meter is coupled to the shutter/aperture system, meaning that in “Auto” mode, it helps set exposure automatically. In manual mode, you match the indicator.

No battery is used — it is entirely self-powered by light.

Expected life span:

The Ricoh’s selenium cell is now about 60+ years old, so condition varies.

Typical selenium lifespan:

Originally: ~20–30 years

Many survive 40+ years

After 60 years: often weak or dead, this one probably is

Common Conditions Today:

✅ Still accurate (rare but possible)

⚠️ Works but underexposes 1–2 stops

❌ Needle barely moves or is dead

They usually fade gradually rather than fail suddenly.

So that gives an idea of how 1960s light metering works, and to be quite honest it probably means that as this camera is now over 60 years old the metering cell is long dead. It does not mean the camera is useless though, it can be used manually using a third party light meter or you can always use the “Sunny 16” rule.

Yashica 35 ME – Circa 1972

Now moving on 12 years to 1972 and the selenium meters have now gone only to be replaced by the CdS system- Cadmium Sulfide sensor, otherwise known as an electrical photocell. The sensor can be seen at the top of the lens ring, a little glass bubble. The downside with these sensors are that they contained Cadmium which is a toxin, replacements are no longer available so modern cameras use photo diodes instead. Here’s the explanation of CdS technology:

Unlike selenium (which generates electricity), CdS works by changing resistance:

In bright light → resistance drops

In dim light → resistance rises

The camera contains:

A CdS photoresistor, A battery, A small electronic circuit, A meter or automatic exposure mechanism

The battery sends current through the CdS cell.

Light changes the resistance, which changes the current.

That signal controls the exposure system, and a 1.3v battery cell is required to power the meter.

Why CdS Was an Improvement:

Compared to selenium cells, the CdS photocell was much better in low light, it was smaller, more accurate and required a battery that could be replaced to extend life whereas the selenium cell in time would naturally just die away.

CdS cells generally last a very long time — often decades — and usually outlast selenium meters.

Hopefully this gives an explanation regarding the two types of metering sensors that were present between the 60s and 70s. It is always worth considering when purchasing such cameras that the light meters may not, and will probably never work again, the camera itself is probably fine, you’ll just have to find other ways to ensure your lighting conditions are sufficient, and that really is no big issue, it’s easy and second nature to most camera users. As stated earlier just use the “Sunny 16” rule. Just enjoy your photography, experimentation is half the fun.

Reviews on these cameras will be following soon.

Thank you for passing by, it’s always appreciated.

More camera odds & sods

Another bunch of photographic waifs and strays have arrived at my door. Can they be saved or are they beyond redemption?

What the listing stated:

Job lot of 5 slr film camera bodies 

Canon ae-1 program, Olympus om10 x 2, Pentax me super, Fujica stx-1 

Sold as spares and repairs only, all have some sort of fault 

Please see photos for condition

EBay

I’ve just purchased a job lot of old cameras all requiring repair, god knows what the real issue with them is, however they all do seem to have all knobs and buttons available which in many cases is quite a rarity. I’ve paid a grand total of £40:00GBP so if you break it down to a total of £8:00GBP per camera then I’m quite happy with that. Even at this price, i get some good spares, should that be all they are useful for.

The collective purchase

My intentions here are thus. The AE1 program is the only Canon camera I need to complete my “A” series collection so my main focus will be on that. The two Olympus OM10s I will be looking at repairing then selling on as I already have a good example of this camera. The Fujica and the Pentax I will possibly look at adding to my collection as I do not have either of these.

I have my fingers crossed that there’s nothing seriously wrong with this purchase, and i will be featuring their respective repairs over the coming weeks. Firstly I’m going to carry out a very basic assessment on their arrival, just to see whether or not I have purchased a collection of proverbial Christmas Turkeys.

Quick assessment:

Canon AE1- Program:

This is the one I’m most excited about as it could possibly be my last piece of the puzzle for my Canon “A” series collection. Cosmetically it’s ok, it’s grubby, it has a broken battery door and a missing winder cover from the base. All dials, buttons and levers are working as they should, and when a battery is installed everything is as it should be. The battery check audio is fine, all indications in the viewfinder illuminate as they should, the camera fires (with a little camera cough) but other than that all seems well. The mirror and prism need cleaning and there is possibly some ingrained marks on the prism but this will not affect picture quality. All light seals need replacing and a good CLA is required.

Is it a Turkey 🦃 no it isn’t. I’m convinced this camera will soon be back in good working order.

Olympus OM10 – No:1:

Olympus OM10 No:1

In really good condition, battery terminals have a slight corrosion due to old batteries being in place. However new batteries work fine and shutter fires and viewfinder is clean. To be honest, this camera is in a better cosmetic condition than the one I currently have. This is an excellent camera that requires little attention.

Is it a Turkey 🦃 ? Most definitely not.

Olympus OM10- No:2:

As with the first OM10 this is cosmetically a nice camera just a little more grubby, and missing the battery cover on the base. But it has a nice Nikon neck strap – strange. The battery chamber looks as if it has had some minor battery leakage but nothing too serious. Using the battery cover from No: 1 camera I’m able to test all the electricals, and there is no issues here, with the camera displaying the exposure in the viewfinder correctly, and the self timer and battery check all as they should be. Again a good CLA of the camera should have it back and working in no time at all.

Is it a Turkey 🦃 it most definitely isn’t. This is a good camera just needing some TLC.

Pentax ME-Super:

Again, cosmetically in good condition but missing the battery cover on the base. I was able to overcome this and load some batteries and had movement in the metering via the viewfinder. It’s quite dirty and the function dial on the top is jammed, I couldn’t get the shutter to fire. I suspect it needs a good CLA, and will make a good little project .

Is it a Turkey 🦃 ? I’d say not at this stage. It needs attention on the bench. It’s promising.

Fujica STX-1:

Fujica STX-1

The batteries were dead but the chamber was free of any contaminants. New batteries in place and the light meter in the viewfinder is working fine. Everything works, the shutter fires and winder operates without issue. This camera is in a good but grubby condition. Will require new light seals and a good CLA, but nothing beyond that.

Is it a Turkey 🦃? Absolutely not, this is a good sturdy camera just itching to get back to taking photographs again.

Conclusion:

So out of five cameras, I’m exceptionally pleased that every single one of them can be brought back to a working condition, with very little intervention. every single one of them will need a Clean, lubrication and adjustment (CLA) and also new light seals as the majority of them have turned to a dusty residue that gets everywhere. I need to buy some replacement parts, so I will get on with sourcing those items, and then I will also get some body caps to protect the cameras when I’m finished.

I will create individual posts to cover these repairs, and they will be delivered here on this site over the coming month or two. I’m in no real rush and to be honest, time is a rare commodity at the moment as I will be working as one of the “Orange army” (It’s a railway term) over the Christmas and New year periods, and on top of that we may also still be moving home, fingers crossed 🤞 in early January 2026.

Thanks for passing by. It’s most appreciated.

Olympus OM10

Always liked and wanted an Olympus OM10. 46 years later I now have one. Of course, it needed repair.

Much to the wife’s annoyance, and because I was feeling a little low and in need of some retail therapy, I’ve purchased this lovely little camera from the Barnardos charity. It looks like it’s been stored in a full Hoover bag, it is so dusty. It has a few dents and dinks, this one is going to be a challenge. I like challenges. I’ve paid the grand total of £17:67GBP for the camera and the standard Zuiko 50MM F1.8 Lens. I think that is an excellent price.

These cameras were produced between 1979 and 1987. I’m hoping I’ll be able to date this actual camera more accurately when I receive it.

This is what the original listing stated:

This listing is for a vintage Olympus OM-10 35mm Single-Lens Reflex (SLR) film camera, bundled with a Zuiko 50mm f/1.8 lens and a leather neck strap. This is a single bundle containing the camera body, lens, and strap, ideal for collectors or film photography enthusiasts.

UNTESTED. This sale is for spares/repairs. There are some marks and cosmetic imperfections. Please see images for more detail.

The standard untested post from the auction sites, but I’m not really bothered to be honest. It’s a charity, and I’m happy to pay for these items as the charity always benefits, and that’s all that matters to be honest.

I have some history around this camera and whenever I see one I think of Bruce Springsteen and here’s why.

1984, Bruce released this Album

Born in the USA was released in 1984, so I can kind of pinpoint the first time I’d ever really heard him, courtesy of my friend David K, when I used to live in a small town in Hertfordshire called Bushey. David had been a school friend, we were now in our mid to late teens, he was working in a restaurant whilst I was in a photographic lab. He introduced Bruce to me and for many months after he first purchased that album, we played it non stop and knew it off by heart, beat for beat, and word for word, we were totally smitten with it. It was the Bruce effect. At this time i would have been about 18-19 years old, and had a very basic Russian Zenit camera, it took some great photos. However, David had recently had a bonus payment at work and purchased himself the Olympus OM10. I was envious, who wouldn’t be? What a camera and this is where it all ties in with our hobby, we loved photography and used to always discuss it with Bruce in the background singing his heart out. It all ties in now, fantastic memories, and a single camera can bring back these memories. Amazing isn’t it?

Anyway here’s some pictures where you can see the amount of dirt, and what looks like some bumps on the outer edge of the lens.

Here’s some information regarding this camera:

The OM10 was the first consumer OM series body. Launched in 1979 it accepted the full line of OM lenses and most of the OM accessories for a lower price. The lower price was reflected in the construction of this camera and the features available, however, it was still a very competent performer and it reflected the elegant lines established by the compact OM-1 and 2 designs. Early production runs of the OM10 have known malfunction issues with electronics, metering, and shutter magnets. Olympus later changed the shutter to a ‘Type II’ design to correct the latter problem.

In its standard configuration the OM10 offered aperture priority automatic exposure, simple and accurate enough for a consumer camera in most lighting situations. It also offered exposure compensation for more complicated lighting situations and for more advanced users. A small plug-in manual adaptor was available as an accessory to enable manual control of shutter speed. The manual adaptor is possibly not as easy to use as the typical shutter speed ring around the lens bayonet on the OM-1.

While not well known to consumers, the focusing screen for the OM10 is indeed interchangeable, though not as easily as the OM-1. It shares the same focusing screen as the OM-1, but the extra protruding tab needs to be cut off as the OM10 doesn’t have a placeholder for it.

The OM10 can accept all the lenses of the OM system. 

The finder screen is fixed, as well as the back. It can accept the winder but not the motor drive. It existed in chrome and in black finish.

In 1980 the OM10 Quartz was released with a fixed databack (equivalent of a Recordata Back 3) to print the time or date on your pictures. The OM10 Quartz was only released in black finish.

The OM10 was sold in large quantities before production ceased in 1987 and many working examples are still being used today. Largely overlooked in favor of its more professional ‘single digit’ siblings, you can easily pick up a working example for $50. Try to find one that includes the manual adaptor though, as this accessory alone can fetch $30 at auction.

Camera-wiki.org

Assessment:

In a perfect world this camera would just need a clean. But this is me and to be honest I’d like a little bit more of a challenge, as a lot of the cameras I have worked with lately did not need a lot of maintenance because they’d been well looked after. This one may be different.

These cameras were renowned for electrical faults especially with their mirror motion magnets, very similar to the issues suffered on Canons earlier EOS cameras such as the 1N. But to be honest I am just surmising at this point as the camera is not yet in my hands. I need to be patient and await its arrival.

Well, it’s arrived so let’s have a look and see what’s good, what’s bad and what’s indifferent. It has dirt, yes, quite a bit of it, so it will require quite a deep clean as we need to get into all those little crevices, where the dust has settled.

Cosmetically it looks really good with no dinks, dents or scratches, so that is very much a positive. It’s in not too bad a shape for being 46 years old.

The capstan to open the camera film door, along with the operation dial are a little loose, so they will require tightening.

Batteries are long dead, this camera requires two LR44 button batteries to do even the basics, I have tested the batteries with a multimeter and they are so low that they hardly register, they are very dead indeed. The good thing however is that they have not leaked in anyway and the battery chamber is clear of corrosion.

The mirror is stuck in the halfway position, this could be purely to do with there being no battery in the camera. It would be good to see with new batteries installed, if the mirror magnets would then kick in, and then they’d be no further issue. However, knowing my luck they are probably inoperable as well, we will just have to wait. And for this same reason the winder is also stuck, again the batteries may well solve this problem 🤞

Good news is though that the mirror and curtain are in really good condition, because the old lens has been kept in place preventing any contamination getting into that area.

Viewfinder looks clear apart from a little dust build up

However the lens, does appear to have fungus in it, and will require a clean at some point along the way.

There are also a number of light seals that need replacing as they have perished.

To be quite honest, the easiest part of this camera to clean will be the standard plastic and rubber neck strap. This can just go in some warm soapy water to rejuvenate it. However, my first priority will be to get some batteries in place and see what occurs. I may have to rethink my approach to this camera dependent on the outcome of this simple action.

Repair:

Straight home and I’ve found a couple of LR44 batteries that had a little more power than the old ones. In they go….and nothing. There is a check position on the main dial that should light up and a buzzer should sound to confirm that there is sufficient power, obviously there isn’t in this case. I run all the other LR44 batteries I have through a tester ( I had a packet of 12 ) and they all show as low power, they’ve died during storage. I then pop over the road to see my brother in law who always has a good supply of batteries and bingo, he has a couple of spare LR44s.

We have the check light, and a little buzz…intermittently

With these in place I get an intermittent buzz and a light, it appears the capstan control and operation dial that I mentioned earlier was loose, and has intermittent contact issues, it will need removing and cleaning then reseating.

If I hold the capstan in place I do get a good signal, with both buzzer and light operating in the check position, and when I move the control to “On” position I can now cock the shutter lever. It will then fire but again only to the half way position as it did earlier. If I gently push the mirror down and let it spring back it will then fire. But you have to do this on every stroke of priming the advance lever. Not good.

This is pointing towards an issue with the magnets and I believe I’m almost there, and that’s when I have a eureka moment.

Eureka moment

In the bottom of the mirror and curtain bay on the base of the camera is where the mirror magnets are situated, along with a light sensor that takes a reading off the shutter curtain behind, that is checkerboard coloured. Something here didn’t look quite right for me as it did not look level, the base seemed quite uneven. I just simply put my finger in here, applied some light pressure on this base and it just clicked into position, nice and level and then the stuck mirror fired, just like that. Every single prime of the shutter and actuation since, has worked just perfectly, I wonder if this camera has been dropped at some time just knocking this part out of true configuration? Or has someone been here before me? I’m going to have to remove the base to check a few things anyway, so I can then make sure this issue doesn’t happen again. For now, I’m satisfied that the shutter and winder are working fine. I just need to make the contacts and the electrical continuity a little bit more reliable.

I’ve dismantled the faulty switch. Inside, the old tracks on the camera and the pickups on the switch were showing signs of tarnish so I used some contact cleaner go get these looking better. I’ve re assembled the switch and used a new circlip to hold it all together. It’s a lot more secure and responsive now with no interruption to the check signal. It’s quite solid as it always should be.

Here’s a small video regarding the switch repair.

Switch working as it should

With the switch sorted I’ve now removed the focus screen to give that a bit of a clean.

And after this I have gradually started to remove the old light seals in preparation for their replacement. They really are in quite a bad way and creating a lot of dust and dirt as they degrade.

Now to get the remainder of the old seals removed, clean the troughs they sat in, and then put the new seals in place.

With some IPA, and a large bamboo stick it’s time to remove the old seals

I’ve replaced all the seals on the camera body apart from the mirror damper. I need to get some adhesive first, to secure the plastic plate that sits above the damper. Hence I have to wait for this to be in place before I can finally put the damper in situ, i will do this in the next 24hrs.

Now, the plastic piece that covers the focussing screen access is now secured in place and the mirror damper has been installed, all light proofing has now been completed.

Mirror damper installed

The original lens that was suffering with fungus has been dismantled and given a clean, however because the top two optics are a sealed assembly, guess what? The fungus is within the sealed section and is unable to be accessed. Therefore the lens will never be cured of this issue, it has been improved by cleaning the other optics but it’s not in anyway good enough to use with film in the camera, I will therefore use the old lens purely for testing purposes, it works fine for that and will be just fine for testing other Olympus equipment. In the meantime I have purchased two further OM 50mm std lenses, one is an earlier “Silver nose” model with a single lens protective coating whilst the other is a later production “Black” MC (Multi coated) model. Both are in an excellent clean condition conducive for film photography.

The two new lenses – “Silver nose” to the right

I’m happy that the repairs have now been completed, all that is left now to do, is to give the unit a thorough clean, and to clean that original plastic/rubber camera strap with some warm water.

Result:

Here we present a fully cleaned and maintained Olympus OM10 35mm SLR camera from the 1980s looking quite resplendent after all the work on it has been completed.

All cleaned
Looking superb with a new lens

It’s been a lovely camera to work on. The make of this camera is superb, and back in the 80s Olympus were on a high note with the high end advertising, using many well known celebrities, and their cameras as a result became extremely popular. They are very well made and have stood the test of time. This one camera will go on to continue being used, and has many good years of life ahead of it. Another one saved from the scrap heap. As with all my cameras I have an immense backlog of units all awaiting the time when they have a roll of film run through them, and this one is no different. When I do pass a test roll through it I will post a link to the results here.

As always, thank you for passing by and glimpsing this post. It is always very much appreciated.

Canon Eos 10 test shots

Learnings from testing an old camera with expired film stock

Earlier in November 2025 i repaired a Canon Eos 10 camera from the 1990s and then took it out to test it with a roll of Kodak 400 asa film. You can find the repair here: Canon EOS 10

Canon EOS 10

The caveat is that the film expired in 2005, 20 years ago. As a result I have overexposed it at 200 asa to compensate for the deterioration in sensitivity from such a long storage period. It may work, it may not, previous tests on a 200 asa film showed that a one stop over exposure was quite sufficient. Fingers crossed 🤞 on this one.

I don’t expect anything much, I expect quite a bit of grain and a definite colour hue over the entire roll. Who knows there may be nothing on it at all 🤷‍♂️

I’ve sent the roll off to our local photo guys in Leicester : Classic Photo Supplies and hopefully something will be on the medium res scans that i have requested. If there are pictures below, then there was some success, if not, enjoy the blackness.

Well, the scans are back and to be quite honest this one is a bit of a disaster. As stated the film is over 20 years out of date and there appears to be two problems here. Underexposure is one issue, I over exposed this by one stop but I don’t even think that is enough. If I’d overexposed at 2 stops though I might have improved the brightness, the already heavy grain would have been even more exaggerated. I think it’s fair to say this 400 asa old film stock I have is passed its time and not really fit for use.

Look at the grain at plus one stop overexposure
Hello what’s that line?
Heavy grain and a magenta cast
That shutter sync problem
Slower speed, shutter ok

So. Though the results were not good and I have now realised that this old stock film is probably best for me to use as test film only. There is heavy grain, a distinct cast over the film and a quite obvious shutter curtains sync issue. These frames above a shutter speed of 500 seem to be the issue, and that is where the shutter speed has not synced the curtain, it’s definitely running slow. The film has been beneficial in identifying an issue in this part of the camera. I will now do a CLA on this camera shutter assembly to try to remedy this issue. I wasn’t using flash here, it was a dull cold English Sunday afternoon.

This is an old camera that has been sitting idle for many years, it may sort itself out after a few more rolls of film, however I can do something about it now. And this is really a lesson to be learned for anyone buying old film cameras, they do need that little bit of tender loving care to get them back into a good working condition.

I’m pleased I’ve highlighted this issue, I will get the work done to improve the shutter sync and then run another roll of film through it.

Maybe now is the time to buy a shutter speed optical tester. That may save me a bit of expense on processing costs and will also allow me to make these checks before committing to film.

Canon AV1

I now have a Canon AV1 with a shutter problem. Can I fix it? I’ll have a good go…

What the listing stated:

This camera is in very good overall condition. Some light signs of use but this is generally minor. The light meter is responsive when you press the shutter button down. However, the shutter will not fire. Spares or repairs only.

EBay

I’ve just paid £8:98GBP for this camera, and I believe this is a great price for a piece of camera history. The AV was introduced due to there being a demand for aperture priority at the time, whereas its Sibling, the AE1 was purely shutter priority. Later cameras would come to incorporate both systems. This one has a known problem with a stuck mirror – it won’t fire and I think I can easily sort this problem. Well I hope I can.

Here’s a little information about this camera:

The Canon AV-1 is a 35 mm single-lens reflex camera with an FD lens mount, introduced by Canon Inc. in 1979.

The AV-1 is very similar to the 1976 AE-1 but provides aperture priority autoexposure rather than the AE-1’s shutter speed priority AE. The camera is not capable of fully manual exposure. Canon’s international distributors, particularly in the United States, had clamored for such a camera because competing brands offered mostly aperture-priority cameras and some preferred it. The AV in the name referred to the type of autoexposure; Av (Aperture Value) is a common abbreviation for aperture priority.

When this camera appeared, a new range of FD lenses was introduced, with instant mounting/unmounting of the lens. This is called the New FD mount and does away with the older type of mounting ring which was fitted on to the rear of the lens and was awkward to use and needed two hands, to a newer, easier system whereby the user lined up the red dot on the lens, with the red dot on the camera and simply turned the whole lens clockwise until it clicked into place.

All the other AE-1 accessories fit the AV-1.

Wikipedia

I’ve decided to collect all of the Canon “A”Series of cameras, and this adds to my current collection that consists of an A1 and an AE1. There were I believe, six cameras in this range and this current camera will be my fourth. Here’s a list of the “A” range of cameras below. I have highlighted with an asterisk all that I currently have at the date of this blog post being published:

Assessment:

The original listing description does not match the issues that I have found. It originally stated that the light meter is responsive, it isn’t. It also stated that the shutter does not fire, it does when a battery is installed. The battery level indicator in the viewfinder does work when the check button on the camera is depressed. However when you focus the camera and half depress the exposure button to get a meter reading, the needle in the viewfinder doesn’t respond, this is the only real issue I can see, I guess the seller must have been looking at another camera as he wrote the listing for this camera.

Battery level reading in the viewfinder

All settings appear to be working as they should, the “B”setting allows me to scroll through the “f” stop settings to see the aperture leaves working as they should. All “f” stop settings appear to work on the auto setting.

It’s a smart little camera, this a tidy example of this version with no dents, dinks and just some very fine scrapes on the base as you’d expect from a camera fast approaching 46 years old (1979-2025). It’s a bit dirty and needs a good clean inside and out, the light seals are in a good state and not requiring replacement or repair just yet, however the mirror bumper has deteriorated and this will need replacement.

Mirror bumper needs replacement

The shutter curtain is in a good and untouched condition.

I’m going to research issues with the exposure indication, and I will incorporate my findings within the repair section.

Repair:

I thought, perhaps the camera is suffering from lack of use? It certainly is probably some considerable time since this camera was last used. Firstly I’ll try exercising all the controls that affect the exposure reading, including the mode dial, film speed dial, aperture ring, etc. I’ll work them backwards and forwards a few times to see if this helps to clean the variable resistor tracks inside from any surface contamination. When the FD lens is attached you must be mindful that the “A” setting on the lens is not used and that the f stop settings are used in a manual manner, lens auto is not a function on this camera.

To be honest, this did seem to work sort of. The needle has moved off the bottom a bit. The ASA setting was on 100, so I put it up to 1600 as it is quite a dark day and the sensitivity of the light sensor would be reflected better at this setting. It moved a bit but I wasn’t totally convinced that this indication in the viewfinder reflected the true light situation.

I set a higher ASA for testing

There’s also a small, silver push-button just inside the lens mount at about the 4-5 o’clock position. If you press this in and release it a few times for the same reason, as exercising the dials as I did above, it is just like exercising a body part and keeping it supple. Leave items like this, designed for high usage redundant for a while and they soon seize up. it has also been known to assist with getting the needle indication working after a long lay off.

That silver button, highlighted

(A little bit of trivia here – this button is normally used for the lens to inform the body of the lens’s maximum aperture. This information isn’t needed on the AV-1, but Canon included it anyway for some reason, and it does affect the exposure.)

And combining these actions, moving the settings dial and the button inside the lens mount seems to have revitalised the light meter and I’m now quite confident that it is working as intended. It was just lazy due to low use and needed a bit of non invasive intervention to get it working again. And non invasive intervention is always a good thing. So with the setting back to 200ASA I was able to show the meter working in this very short and basic video below.

A brief video showing the meter needle moving

I’m confident that the metering issue is now sorted so let’s get that new mirror damper installed.

A lot of dirt came off of the area where the replacement damper had to go, it had completely deteriorated and took quite a bit of cleaning.

Now in place it has silenced the mirror movement somewhat, and will provide some longevity as it moves into the twilight of its years. It will be good for many more rolls of film yet. Whilst in the lens area I have cleaned the mirror and prism, and given the area a good blow through and put the lens back in place to seal it all up. It is now clean internally. I have a couple of body caps on order that will assist with storage when the lens is removed.

Just a final clean with some cockpit cleaner, and this camera has come up lovely, I’ve tested it on a Power winder “A” as well and it sounds just so good and “retro”. It’s perfect.

Result:

Well. I now have another lovely example of one of the Canon “A” range of cameras to add to my collection. This brings my current total to four out of the six available, two of which are still currently under repair. For less than £10:00GBP it is so easy to own a piece of photographic history. I have been lucky here that the work that had to be done was non intrusive, and to be quite honest was just basic everyday maintenance. The only real work of sorts was installing some mirror damper felt, of which I have plenty of stock. Cleaning was quite intensive but the overall result is amazing.

I will eventually run a roll of film through for a final quality check, however I have such a backlog it will take me a while. When I do however run that test roll I will post a link here:

Really pleased with this repair, and the fact that another lovely old camera has been saved from the scrap heap and been given a new lease of life.

Thanks as always for passing by. It is as always, very much appreciated.

The Canon “A” series of cameras

A small piece regarding the Canon “A” series camera range. Development and technological advancement.

As i seem to be purchasing a number of the old “A” type camera bodies for repair, I have now decided to add the full range of “A” type cameras to my collection. I’m a tad biased as I have used Canon cameras right from the very start of my photographic education, in fact the first one i used was an A1 variant. I’ve put together the following piece to explain why these cameras were so popular, and to highlight their technological advancement along the way, the technology that influenced other manufacturers to up their game and give the consumer just what they wanted out of a camera, options and greater control.

My Canon A1

The Canon A-series of 35mm SLR cameras, produced from the mid-1970s through to the early 1980s, represents one of the most influential periods in Canon’s film-camera history. It began with the groundbreaking Canon AE-1 in 1976, a camera that reshaped the industry by integrating a microprocessor – the first mass-market SLR to do so. This innovation allowed Canon to simplify mechanical complexity and reduce manufacturing costs whilst offering features previously found only in higher-end professional bodies. The AE-1’s shutter-priority auto-exposure, bright viewfinder, and strong reliability made it both approachable for beginners and capable enough for enthusiasts, turning it into one of the best-selling SLRs of all time.

My AE-1

Canon quickly expanded the lineup to address different types of photographers and to test new electronics-driven features. The AT-1 provided a more affordable, all-manual alternative, whilst the AV-1 (1979) offered aperture-priority automation, catering to photographers who preferred creative control over depth of field. The flagship A-1 (1978) pushed the boundaries even further – it became the world’s first SLR to offer full programmed auto-exposure, alongside shutter priority, aperture priority, and manual modes. This versatility foreshadowed the automation and electronic sophistication that would dominate future camera generations.

My AV-1

In the early 1980s, Canon introduced the AE-1 Program, refining the original AE-1 with a more advanced program mode and improved ergonomics. The final notable entry, the AL-1, included an innovative Focus Assist system that used contrast-detection indicators to help users achieve sharp focus – an early technological step toward the autofocus systems that would soon reshape the industry.

Collectively, the Canon A-series brought electronic control, affordability, and ease of use into the mainstream, playing a key role in shifting photography toward the automated, electronically driven era. Decades later, these cameras remain admired for their durability, classic design, and the satisfying, hands-on shooting experience they continue to provide.

At the time of writing, i have in my possession three of the six variants that were produced, and presently I am scouring the sales platforms to acquire suitable candidates for the remaining parts of this collection, to work on. I will update via this site as and when i have another one of this series to feature in a post. My current collection consists of the cameras below marked with an asterisk:

My current cameras in the “A” range marked with an asterisk

I would like to obtain a special mount for this series of cameras so i can display them as a collective sample of this wonderful range. They will all of course, all be fully usable, not museum pieces.

Thanks for passing by. Always appreciated.

Canon EOS 3000

Another entry level camera, unloved, made good

Here I have another basic, entry level camera made by Canon. Produced around 1999? this camera is probably around 26 years old. These cameras don’t have the traditional identification number printed within the film spool holder that the older cameras had, hence the precise manufacturing date is difficult to confirm.

Canon EOS 3000

This is a camera passed onto me by a good friend and professional photographer, Jon, as can be seen in this post: Cameras…i need more!

Here’s a little information about this camera:

The EOS 3000 is an autofocus SLR for 35mm film introduced by Canon in 1999. It was sold as the EOS 88 in Asia. (It was not sold in the US.) The pentamirror viewfinder and manually-activated popup flash helped keep this a lower-cost model; but a full range of autoexposure modes were included, including off-the-film flash exposure setting. Film transport is motorized and the camera requires two 3-volt CR123 lithium batteries to operate.

A compact, lightweight, low-priced SLR camera. Successor to the EOS5000, but with greatly expanded basic functions. The camera incorporates the Mode Dial and most other basic features of the EOS Kiss/EOS REBEL XS/EOS500 and includes six-zone evaluative metering linked to three focusing points. In addition, the flash is linked to the measurement point so that during shooting the flash out-put level is constantly adjusted for optimum exposure control. For reasons of cost, the flash unit is manual pop-up/retractable head type. The EOS3000 is compatible with system accessories for the Kiss and New Kiss. The high-quality design has a feel of genuine elegance.

Canon/ Camera-wiki.org

This camera was pitched at a low cost to attract people into photography, and to encourage those who were just hobbyists to upgrade to something more than the traditional point and shoots/disposables available at the time.

There is not a lot wrong with this camera as far as I can see, let’s have a look and do some tests.

Assessment:

It has a grip that’s starting to develop the sticky issue so that will need cleaning. The mirror and prism are dusty and will need a cleaning.

Sticky grip and dusty internals

Overall the condition is very good, again this was a training camera, and seems to have had a quite low usage, as there is no scratches or marks. And only one dink as such. That dink happens to be the right hand strap holder that has been bent down to a point where the rear case does not open completely, it restricts its full movement.

Strap holder bent, restricting door opening
Door doesn’t open fully

Top and bottom of camera look fine, no bleed on the LCD screen that is always a good sign

Battery chamber is clean and there is no contamination. This camera takes two 3v Lithium CR123A batteries. Let’s put two in to see if we have any life.

With the batteries installed we have a good display on the screen with no pixelation and it’s nice and clear. I install a roll of test film to see what happens. This camera winds the whole film onto the take up spool and winds back one exposure at a time. The take up when the door is closed works perfectly.

I then operate the shutter, to fire off the 14 exposures, all viewfinder indicators are good, with my 28-90 EF lens attached it focuses well and fires well. When the last exposure has been taken the film rewinds as expected with no issues. In reality the camera is working very well with no internal issues.

Repair:

First the dirty stuff. Let’s get that goo off of the sticky grip. I use my IPA and lint free cloth method that I posted about in a previous post here: Sticky, Rubber camera grips. This one is actually worse than I thought and has taken four applications to remove the deterioration on the grip. It feels a lot more pleasant though now that it is done.

The dirt from this grip can be seen on the cloth. Each black blob is one application

The issue with the strap lug restricting the door movement. Quite simply, a gentle movement with a pair of pliers was all that was required. Gently does it as these parts are brittle and easily broken. Don’t over do it, give up when it looks right.

A little gentle coaxing was all that was required

I’ve checked the film pressure pad and this is fine, there are no sharp ridges and the light seals are good. I don’t expect them to be bad as in theory they are not that old, they are in a good healthy condition.

I have cleaned the prism and the mirror with a swab and they are now fine. Using a B setting I have opened the mirror and curtain and used some compressed air to clean throughout. A brush blower was used with the curtain closed to clean around the film spool area and back plate. A quick final blow of the mirror and the aperture is then sealed with a cap to insure no further dirt and dust gets into the internal parts of the camera.

The final action is to use some cockpit polish to finish off the exterior of the camera.

Result:

I’ve cleaned the exterior and used some ceramic cockpit polish to finish it off, I must admit it’s looking very good.

Cleaned up lovely

Here I have yet another nice little camera packed with features that will make a great camera for someone to learn the basics of traditional photography with. However, it’s remaining in my collection for the while.

It’s yet another camera that I need to test, another one that needs to have a film put through it for its final test, however I am 100% confident of it’s capabilities and the fact that it operates just fine and all its settings, buttons and controls are doing exactly what they should. When I do get to put a film through, I will link to it here.

Another successful restoration and return to use of another old camera that had been put to one side. Not that this one really required a lot of attention, just a bit of servicing and tlc.

Thanks for passing by. It’s always very much appreciated

Canon EOS 500N

A nice entry level camera, from the mid 90s, now back in working order

Here I have a very basic, entry level camera made by Canon. Produced between 1996-9 this camera is currently between 26 – 29 years old. These cameras don’t have the traditional identification number printed within the film spool holder that the older cameras had, hence the precise manufacturing date is difficult to confirm.

Canon EOS 500N

This is a camera passed onto me by a good friend and professional photographer, Jon, as can be seen in this post: Cameras…i need more!

I believe this camera was previously used by a large photographic organisation, to teach staff and students wishing to learn traditional 35mm film photography techniques. It was a training camera, at entry level specs.

It is a very good example of this model of camera, and despite its simplicity, low cost appearance and feel, it is in a very good condition cosmetically.

Here’s a little information about this camera:

The Canon EOS 500N is also known as the EOS Rebel G in the Americas or the New EOS Kiss in Japan. Sometimes it’s referred to as the EOS Kiss 2 as it followed the release of the EOS Kiss in Japan. This camera was released in 1996 and replaced the EOS 500. The Japanese version of the camera had the date back as standard. Its successor was the EOS-300 / REBEL2000 / Kiss III, released in 1999.

The body of the Rebel G is plastic, weighing 370 g (13 oz). The only colors available were black or a mix of silver and black. The Rebel G has an EF lens mount making it compatible with any EF lens. The viewfinder offers a 0.7x magnification, 90% coverage, center auto focus, wide auto focus and many more. The Rebel G shooting modes consisted of 6 basic modes, full auto, portrait, landscape, macro, sports and night scene. It also has 5 advanced modes, P, Av, Tv, M, A-DEP. These modes would continue on in the Rebel G series. The camera features a built in flash, and can shoot at 1 fps. The fastest shutter speed with flash was measured at 1/90 of a second.

A few new features include compatibility with ETTL type flash. It still has the same 1/90 of a sec sync speed of the previous model, but when equipped with a Canon Speedlight such as the 380EX, 220EX it can be used at 1/2000 of a sec. Focus has improved a bit as as a AF assist light is now available. Auto Exposure Bracketing (AEB) can be use from -2 to ++2 in 1/2 stop increments. The command dial now has an easier to access night scene mode. The body is able to use the BP-8 vertical grip that can also accept four AA batteries.

Camera-Wiki.org / Wikipedia

Assessment:

As Stated, this camera is in a good cosmetic condition with no sign of dents, dinks or wear. Considering this was a camera used in training I can only presume the students were extremely careful and respectful, or it was lightly used. Having worked with some of these students myself, i very much suspect, it’s more than likely going to be the latter option.

There is another such unit I have of this very same camera however that is damaged with a faulty screen that requires replacement and that will be dealt with in a future post. Meanwhile, let’s get back to this one.

A sticker on the rear

There is an old ownership sticker on the rear and this is one of those old vinyl type ones that will be able to be removed, but just may take a little while, as they are brittle and break off into lots of little pieces that go everywhere.

The battery chamber is clean and there are no signs of contamination. The screen is clear and does not show any bleed, though I haven’t powered it up just yet.

The film chamber, back pressure plate and shutter curtain all appear to be in good order. Again I will further test this when I put some batteries in and run a dummy film to check transport.

The unit is quite grubby and dusty, the mirror is dirty and the prism is as well. initially all looks good. Batteries, and the dummy film might tell us something different.

Repair:

Let’s get that sticker off the rear, a little soak in IPA to soften things up, and then using a small plastic modelling spatula to gently get under the label, I was able to remove the sticker relatively easily. If I’d used the metallic option I may well have scratched the casing. I’m happy that this option has worked well for me. A final clean at the end with some car cockpit cleaner should bring the detail out nicely.

Sticker now removed

Let’s get some power in, and fire this unit up. It takes two CR123A 3v lithium batteries.

CR123A batteries
We have power

Batteries in, and everything lights up, all menus function and as stated earlier their is no bleed from the LCD screen.

I load the film in and it instantly winds the whole film on to the take up spool. Here on the display, you can see that this roll is 24 exp and it has wound fully on to the take up spool. I fire off these 24 exposures to check the shutter and that fires fine, film transport also works well and the final rewind of the film at the end also works. In a nutshell, this camera works!

Film in and film out

I clean the prism and the mirror with a soft swab and you can just see the dust and dirt lift. A final brush over with a bulb blower completes this task. The internals are now clean.

It just needs a very thorough exterior clean and polish.

Result:

I’ve cleaned the exterior and used some ceramic cockpit polish to finish it off, I must admit it’s looking very good.

Here I have a nice little camera packed with features that will make a great camera for someone to learn the basics of traditional photography with. However, it’s remaining in my collection for the while.

Looking clean and presentable

I’ve cleaned the camera throughout and used compressed air to finish the clean prior to sealing it from the elements. It’s yet another camera that I need to test, another one that needs to have a film put through it for its final test, however I am 100% confident of it’s capabilities and the fact that it operates just fine and all its settings, buttons and controls are doing exactly what they should. When I do get to put a film through, I will link to it here.

Another successful restoration and return to use of another old camera that had been put to one side. Not that this one really required a lot of attention, just a bit of servicing and tlc.

Thanks for passing by. It’s always very much appreciated.