
TTS IT00617 digital camcorder/camera

I purchased these three damaged Camcorder/Cameras for a very low price. Will they be fixable or just good for spare parts. Let’s see…

What the listing stated:

TTS IT00617 Digital Camcorder Camera 

Full HD pocket camcorder that records in 1080P and can take 5 megapixel photos.

2″ TFT colour screen. Charges via in-built flip-up USB plug.  

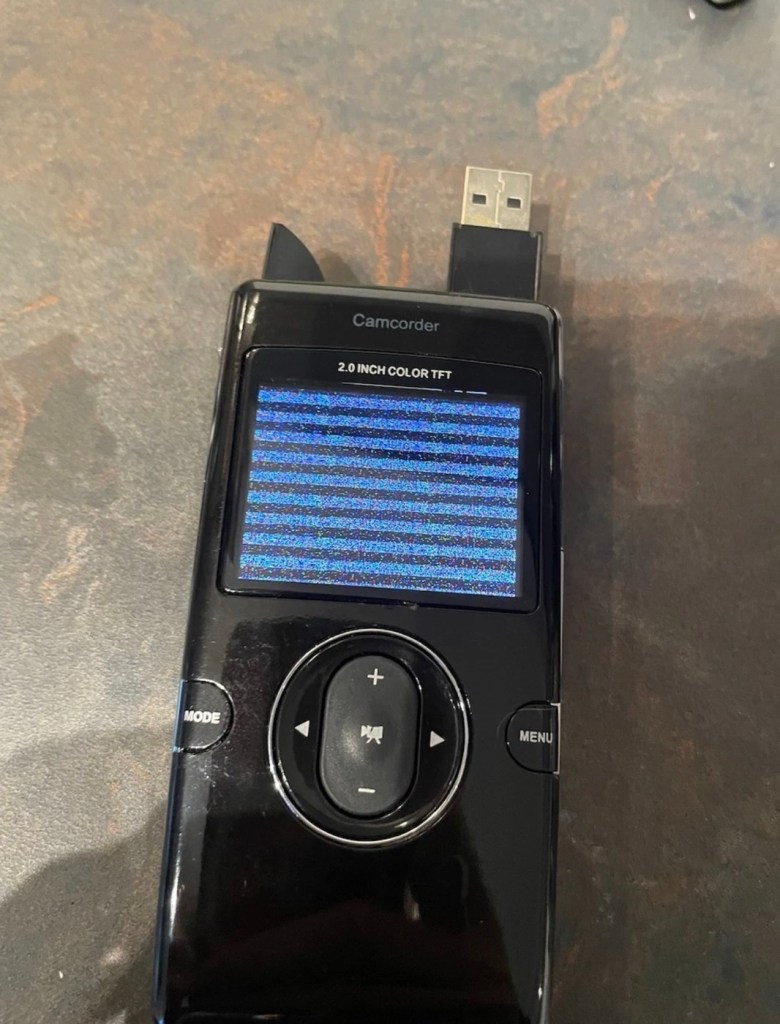
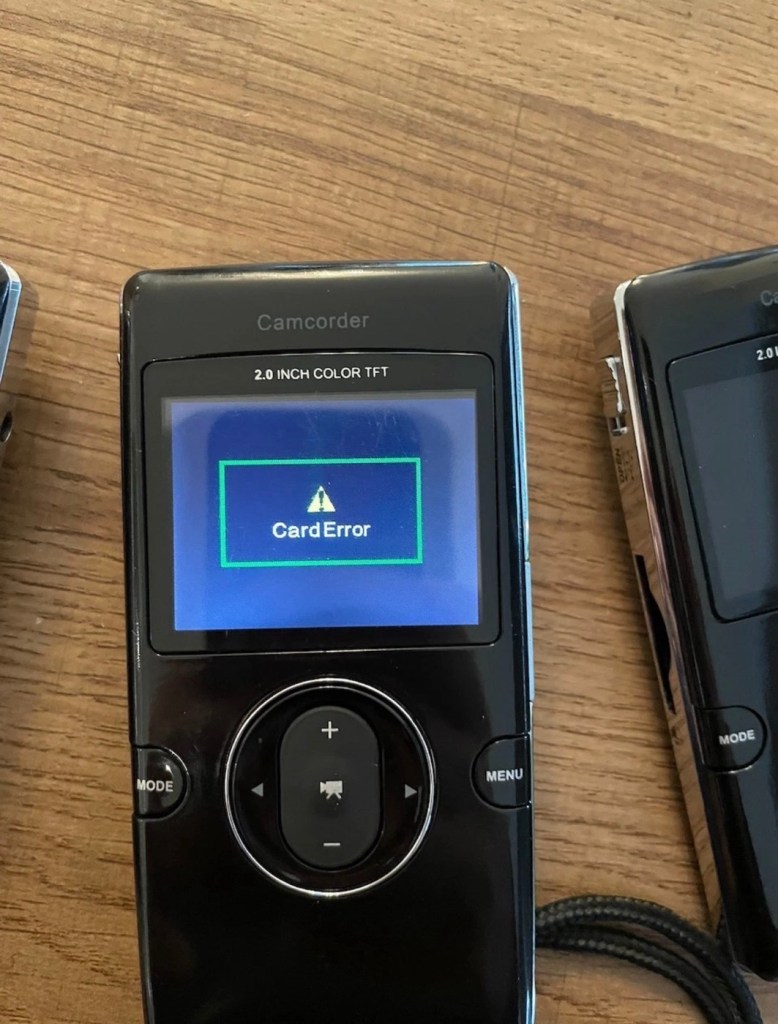
Cameras appear to be faulty. One has a corrupt screen, the others boot and show the camera feed but give a “card error” no matter what SD card I install. 

EBay

The seller wanted £10:00GBP for these three camcorder/cameras but I was not prepared to pay that, for what potentially could be three pieces of junk, only good for parts. So I cheekily put in a £4:00GBP bid that was accepted straight away, the seller really wanted rid of these, I suspect they are junk, we’ll just have to wait and see.
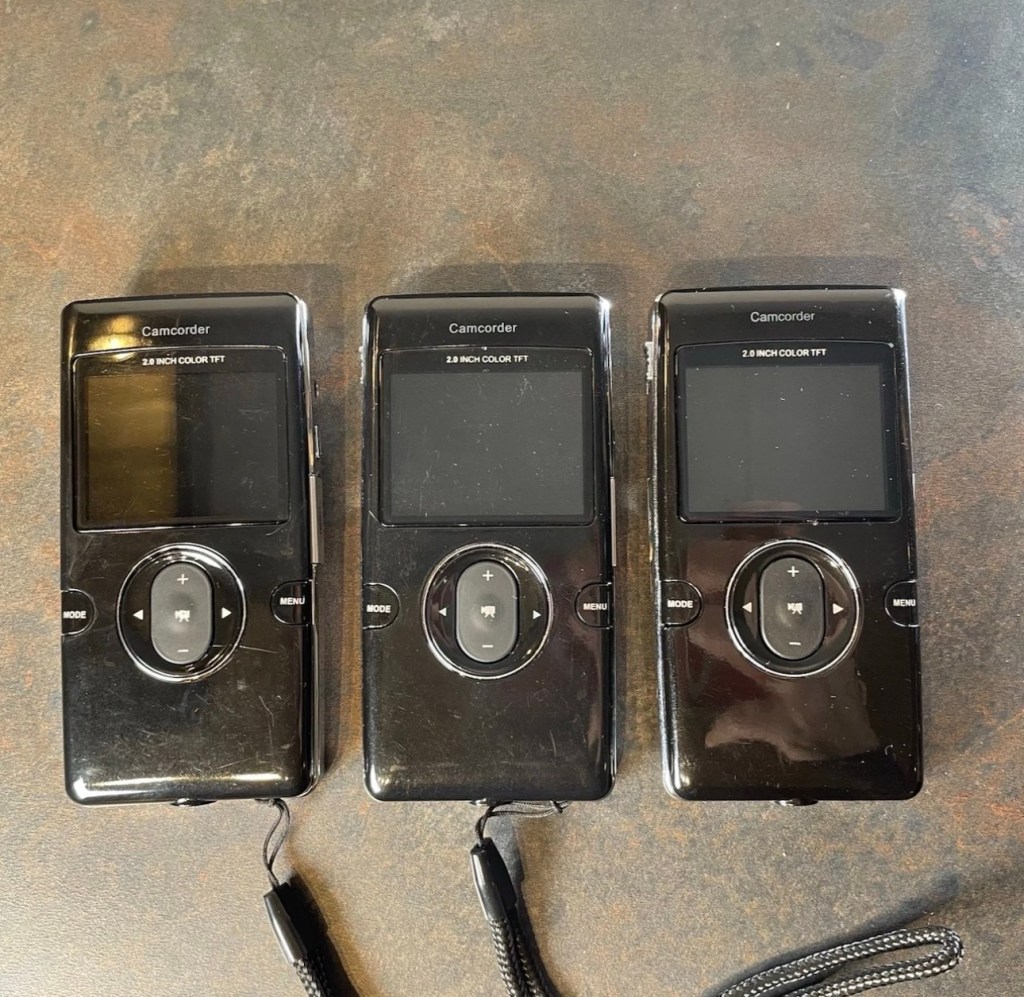
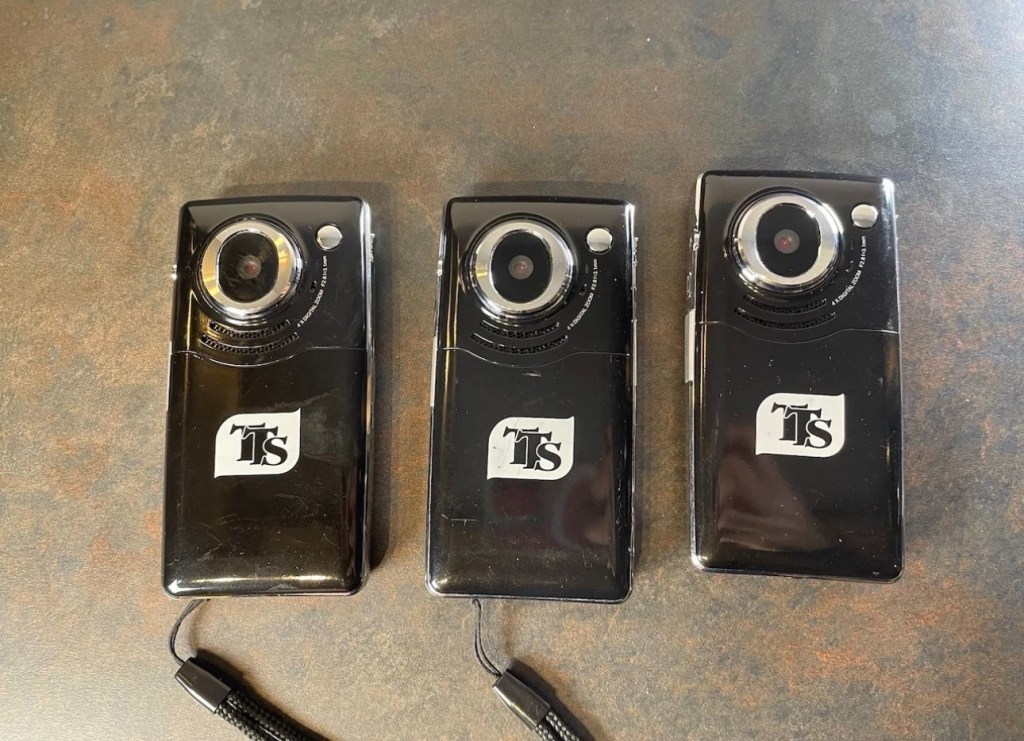
From the information I can find that is available online, these units are handed out to children partaking in key skills programs within schools, to use when recording project work they are completing as part of the school’s curriculum. From what information I can gather, it appears these units were introduced around 2014, as that’s when the instruction manual is dated. They may only be around 12 years old but I suspect they have had a very hard life in those few short years. Hence they are very probably knackered, mistreated, and may well be just junk. My expectations for these units are now very low. The company that produces these units – TTS appear to be based in Nottinghamshire, near me in the East Midlands, and specialise in supplying ICT equipment to primary schools. Here is all the information I could find regarding these units.

The TTS IT00617 is a 1080p Full HD digital camcorder and camera specifically designed for educational and outdoor use by TTS Group. It is often marketed for use in primary schools due to its rugged design and simple interface. 

Core Specifications

  • Video Resolution: 1080p Full High Definition.
  • Still Image Quality: 5.0 Megapixel sensor.
  • Display: 2-inch TFT colour screen.
  • Zoom: 4x Digital Zoom.
  • Storage: Uses removable SD cards.
  • Connectivity: Includes HDMI and USB ports for connecting to computers or displays.
  • Power: Powered by a rechargeable Li-ion battery, which is user-replaceable. 

Key Features

  • Rugged Design: Built to be resistant and ideal for outdoor photography and video capture.
  • User-Friendly Interface: Often includes a built-in microphone and a touchscreen for easy navigation.
  • Educational Accessories: Retail packages typically include an installation CD, user manual, and necessary cables.

Google

I have managed to get hold of a user manual electronically, so I will download this and just go through the motions step by step when the units arrive. You never know one or two of them may just spring back into life if treated correctly. I doubt it, but it doesn’t hurt to have a little bit of optimism.

Let’s get an assessment done.

Assessment:

The cameras have arrived. I’ve carried out a very quick inspection and all three are dead to the world, so first things first, let’s try and get some power into them and then we can do a proper assessment. I must admit though, all three cameras are cosmetically in a very good condition.
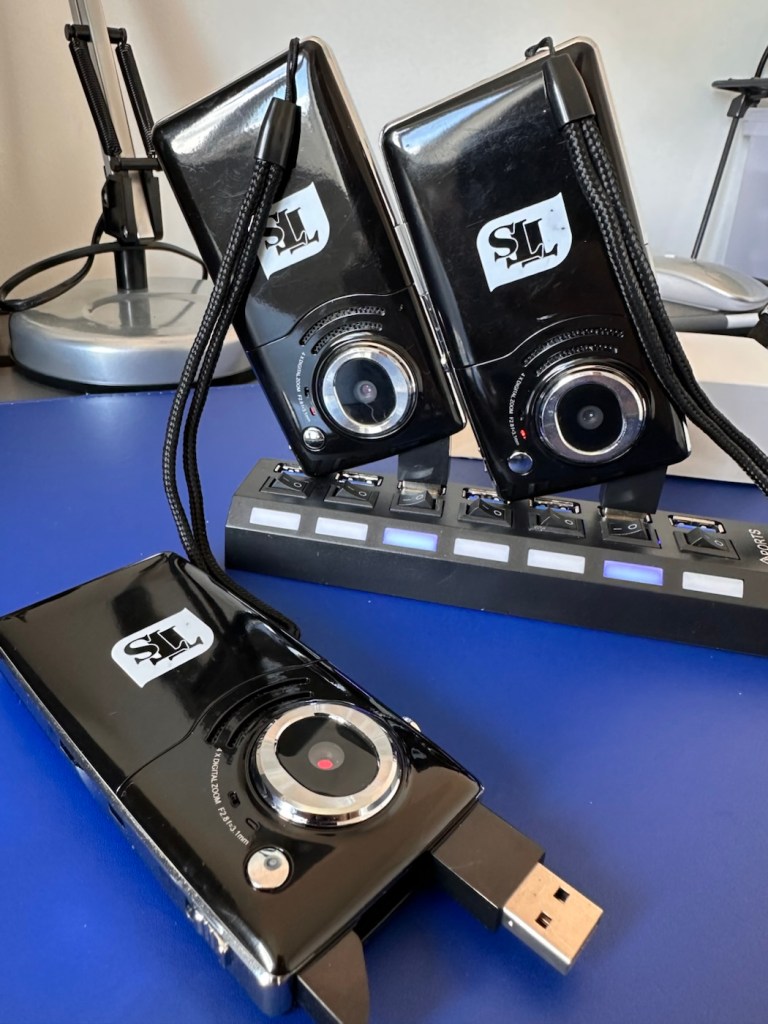
All three cameras – two charging with red light visible

A switch on the side allows the USB charge port (also a data transfer port) to pop up and you just plug the unit into the socket of your choice, either a hub as I have, or into a port on your chosen computer device. When charging a red light shows on the rear of the camera at the side of the lens. This extinguishes once a full charge has been reached.

Two have reached a stage of full charge, one, the unit with the corrupted screen issue has not, and to check the battery, i have put this into one of the units that charged ok, to check if it is a battery issue or a unit issue.

It’s not a battery issue, in fact the faulty unit is charging its battery, so at least I know the charge circuit is working. It’s working in all units as I have removed all batteries and checked their voltages with the multimeter. The battery rating is 3.7v and they all currently hold a charge between 4.16v and 4.19v and that shows that they are all quite healthy.
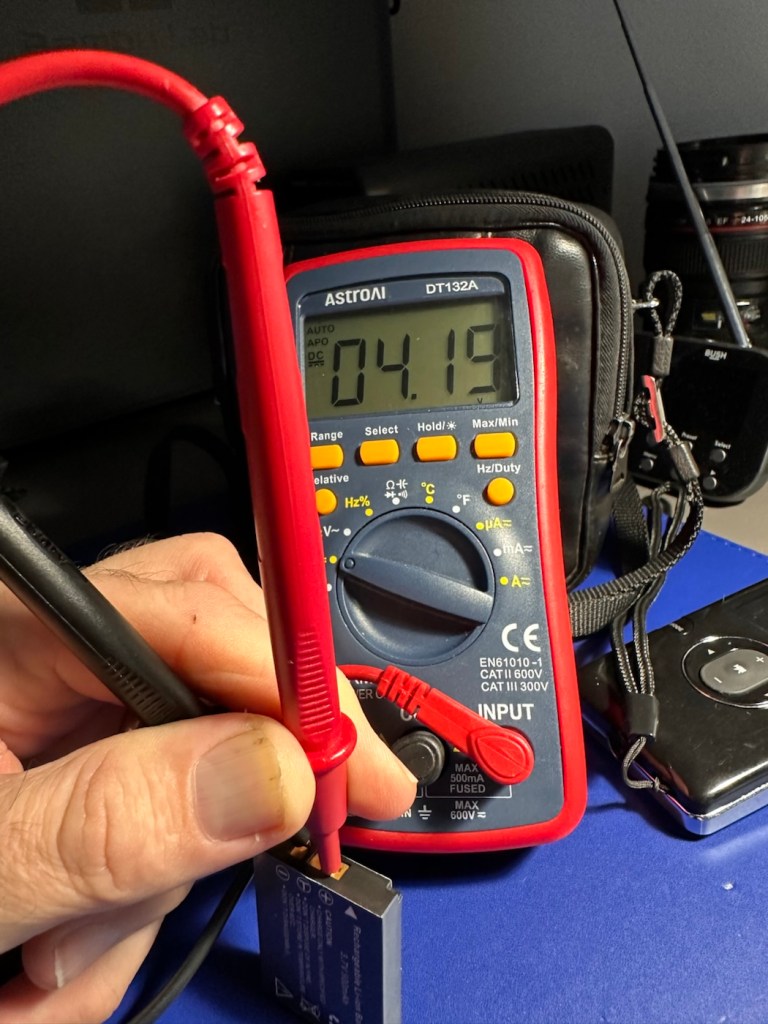
Battery charge indication

All testing done, and now with an idea of the issues, let’s move into repair mode.

Repair:

The original posting stated that two of these units had “Card error” faults no matter what SD card was used, and one had a corrupted display screen.

I can definitely confirm that one unit does have a corrupted screen, and this is the same unit that was having the charging issues mentioned above.
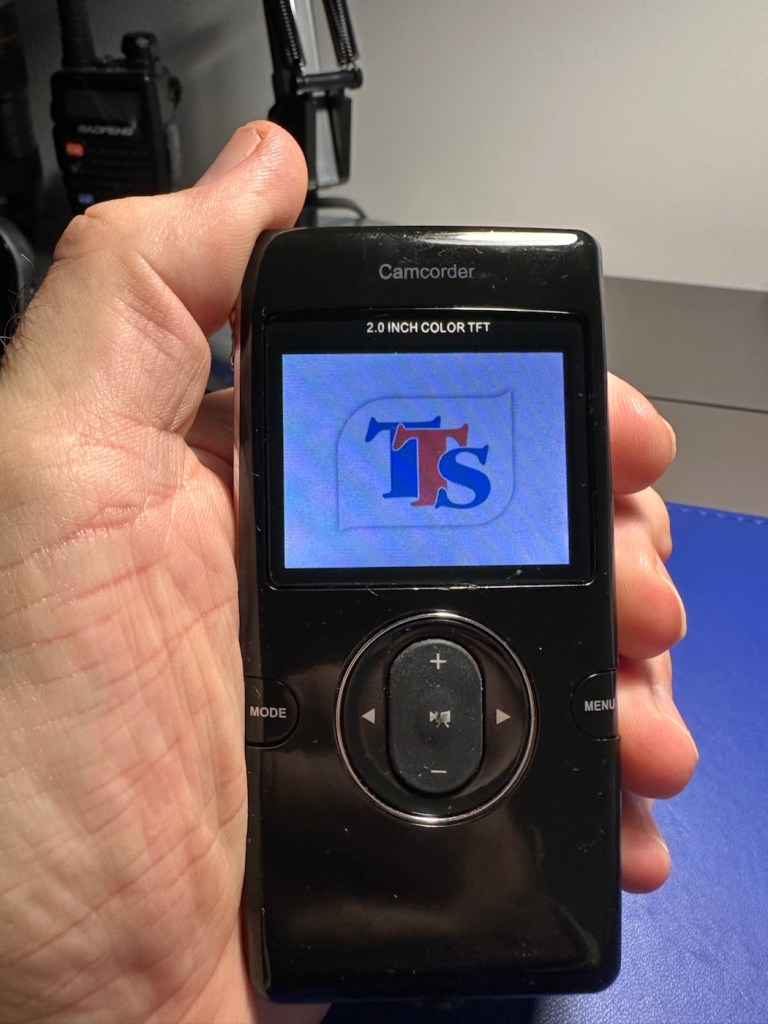
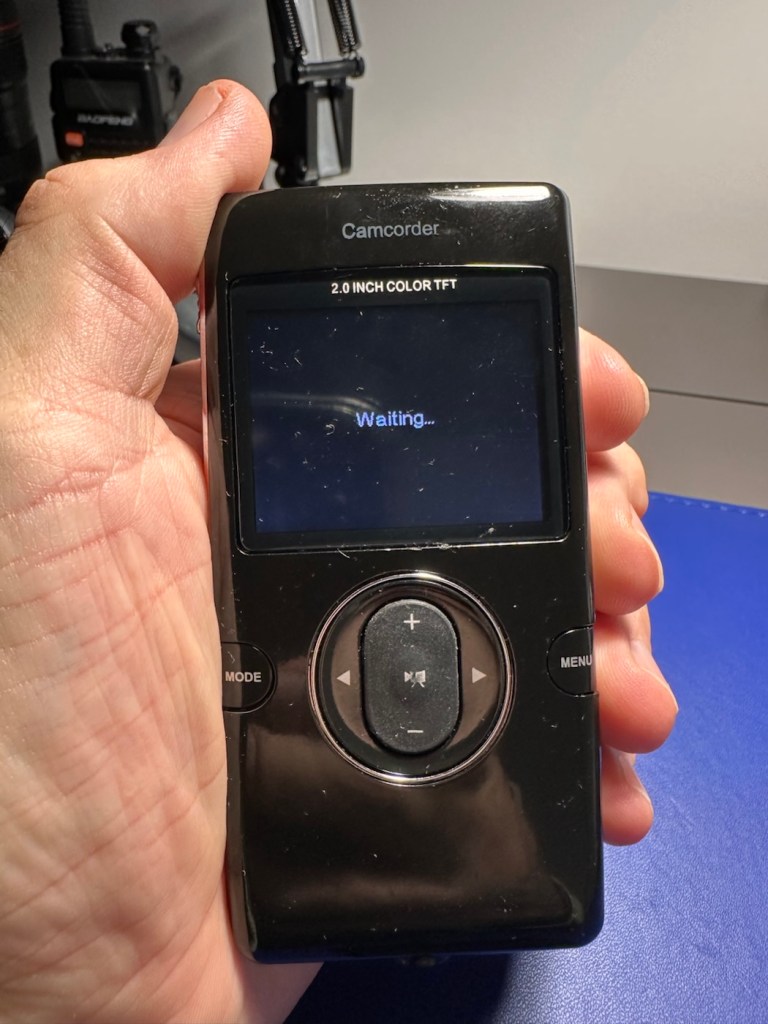
You will see in the pictures above, that I believe the screen is actually ok, yes the output is corrupted, however the start up screen or the waiting screen show no such display errors. I suspect there is an issue with the actual camera module, so I will have to open this one up to investigate further. The on off button allows you to turn this unit on, however you can’t power off. You have to remove the battery to close the unit down. This is obviously another issue that requires further investigation.

The other two units with the “Card error” fault have each had a 1Gb SD card installed and no such error occurs. Well, to be honest, it actually only happened once, briefly on one unit, when I inserted a fresh card. It then asked me to format, which I did and then it was all normal, that’s all it required. I don’t know what type of card the seller was using, maybe they just did not format the SD cards, but as it stands the stated problem is non existent in these two units.
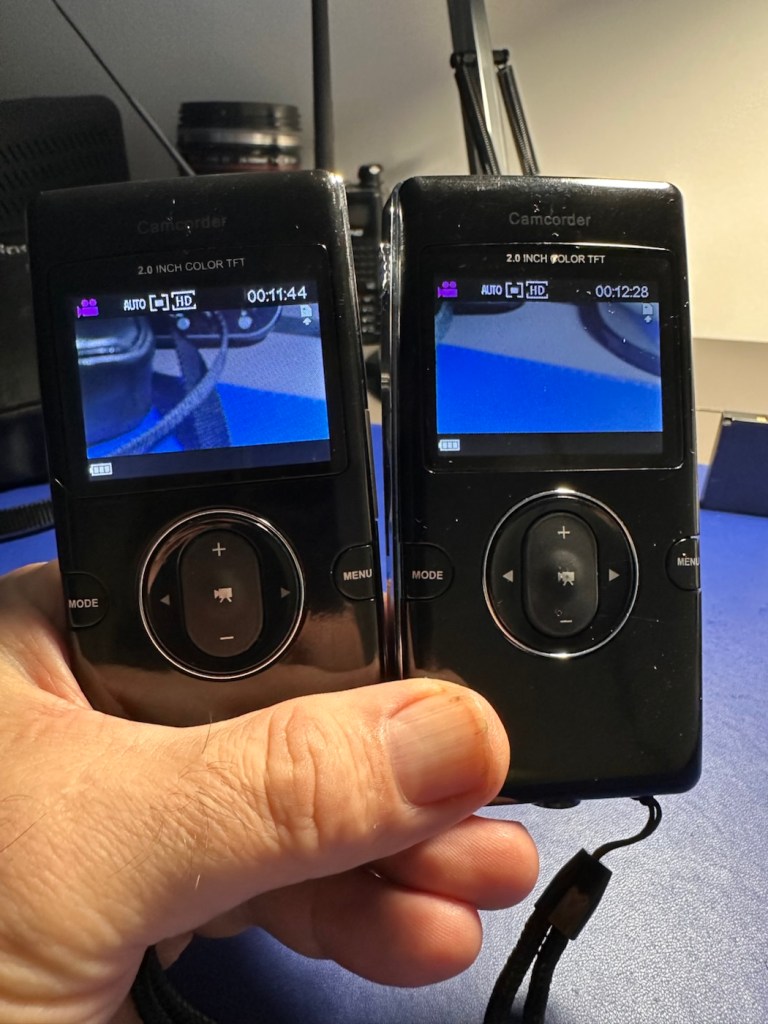
Two units, no issues working fine

With the two working units I am able to video, and take still photographs, they are working fine, there are no issues and I will display a small video and some pictures below in the result section. Don’t expect quality, it really is quite a basic system. I need to do nothing to these two units now, as they are working fine.

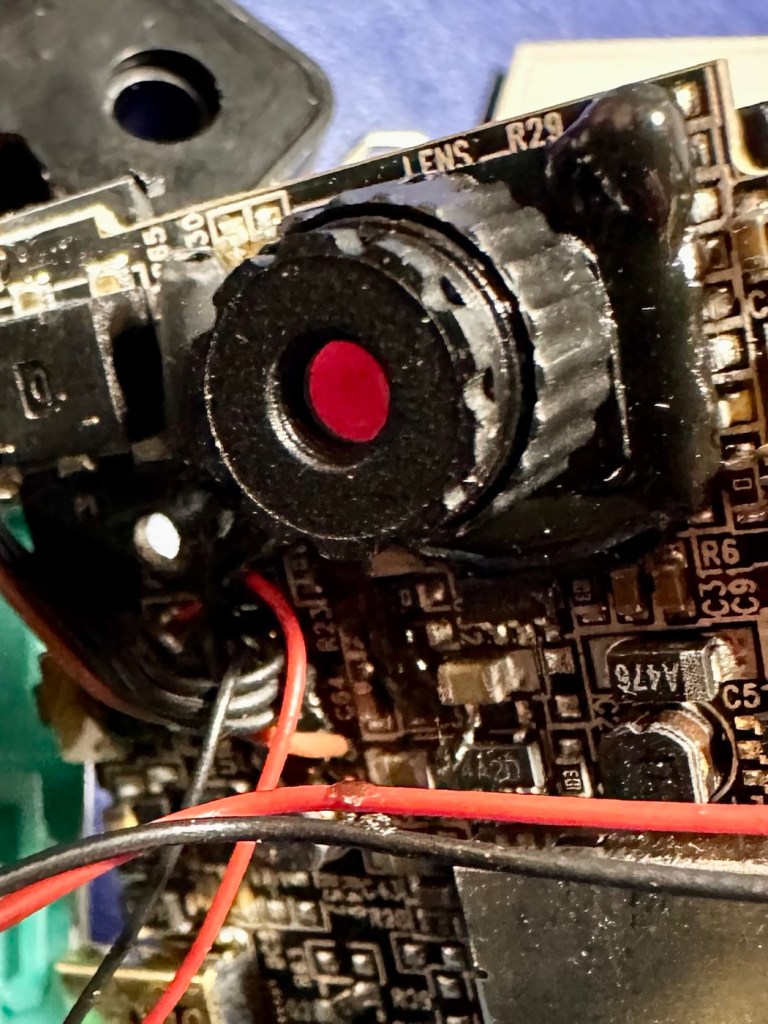
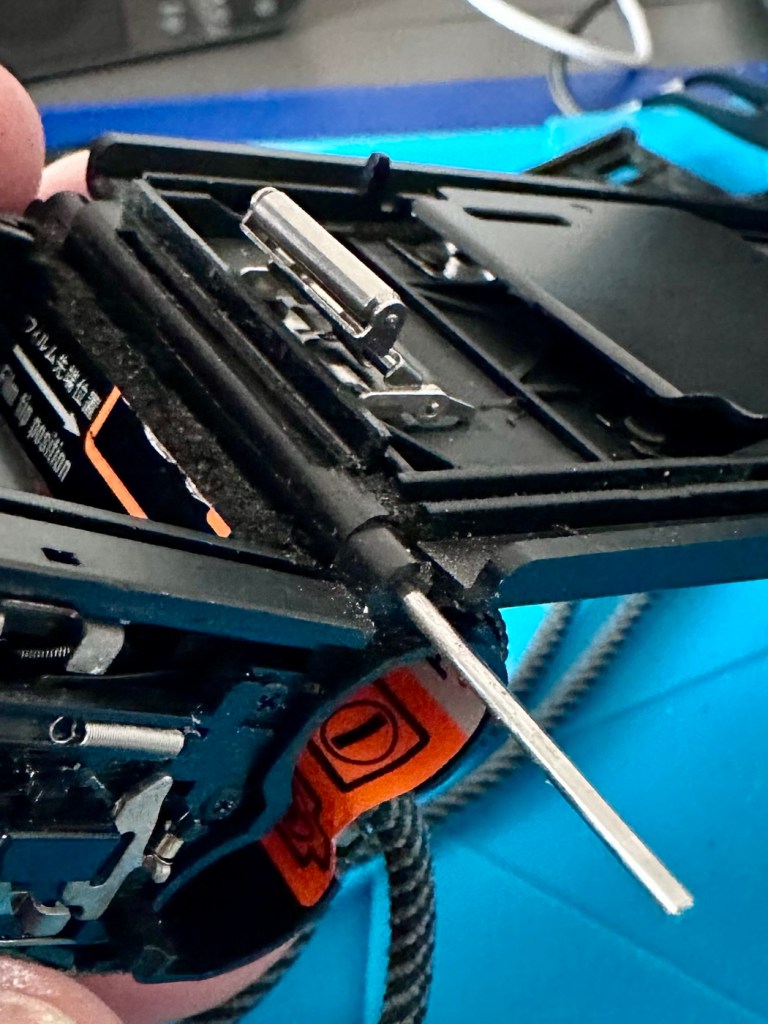
We now need to turn our attention the one failed unit with the corrupted screen, and power on and off issues. I’ve opened the unit up and had to use my microscope on this one as there was nothing obvious on inspection.
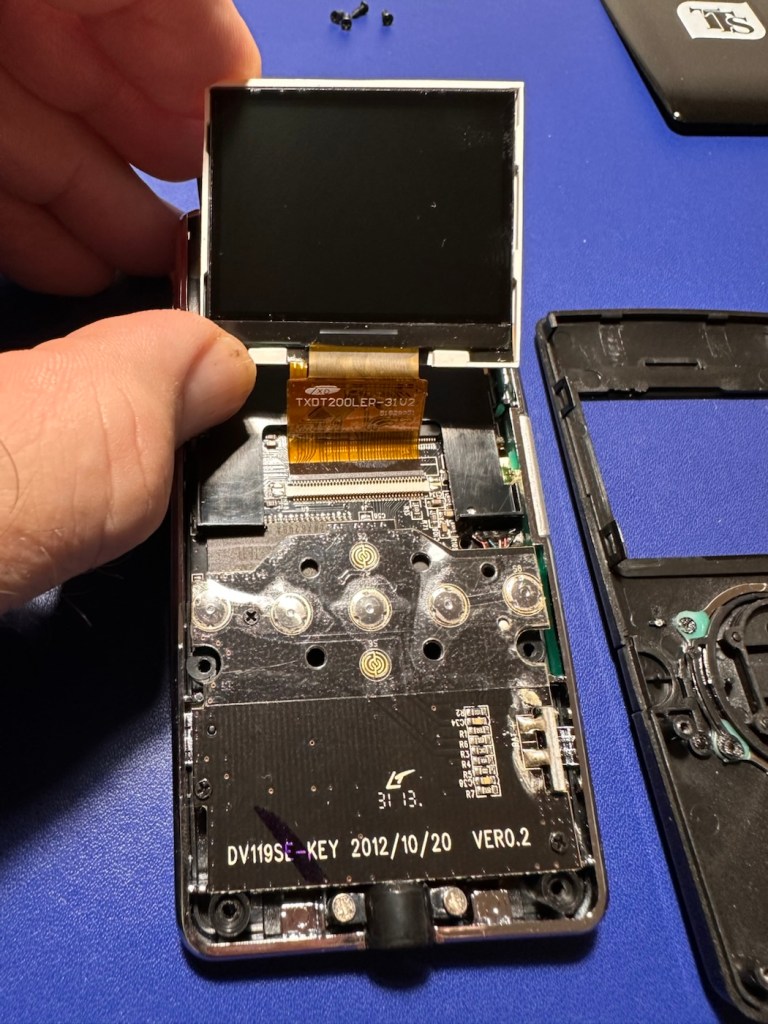
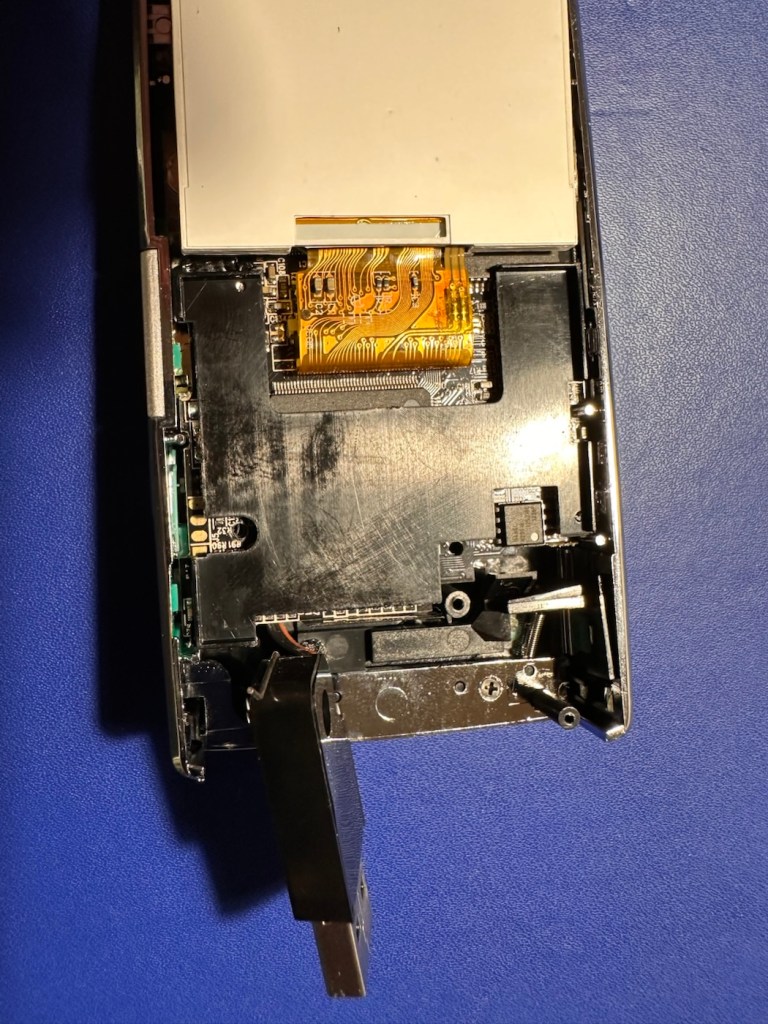
I detached the ribbon cable and removed the screen, I then repositioned it and again turned it on with the same result. I’m confident the screen is ok, it now looks like it could be an issue on the board.
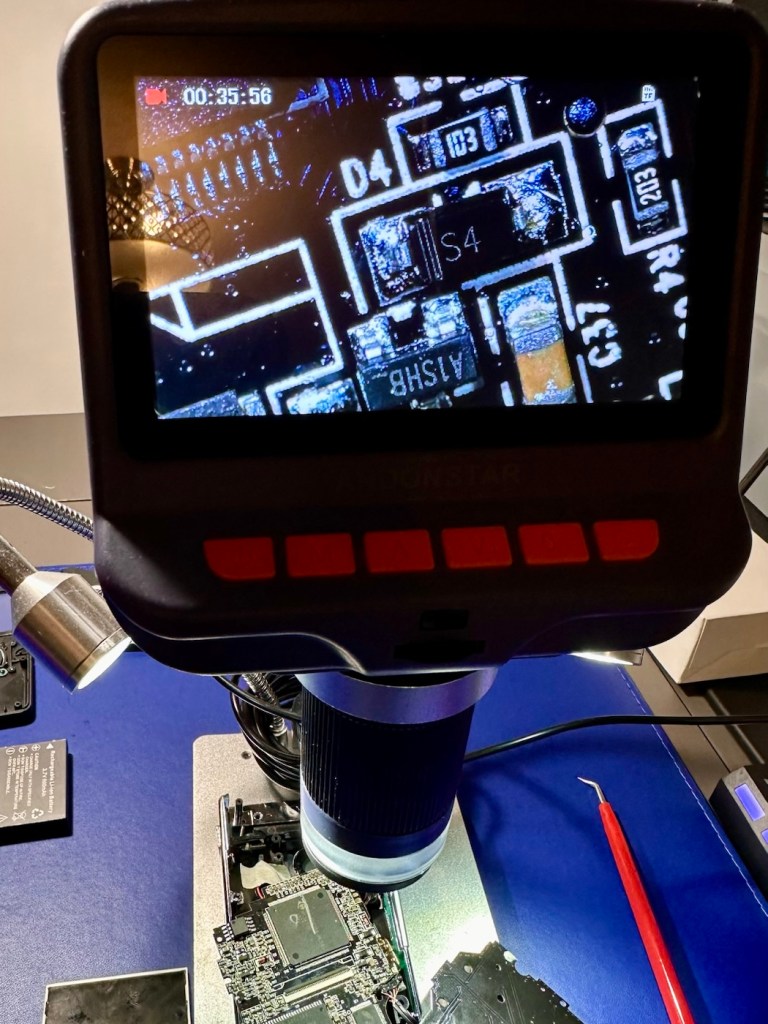
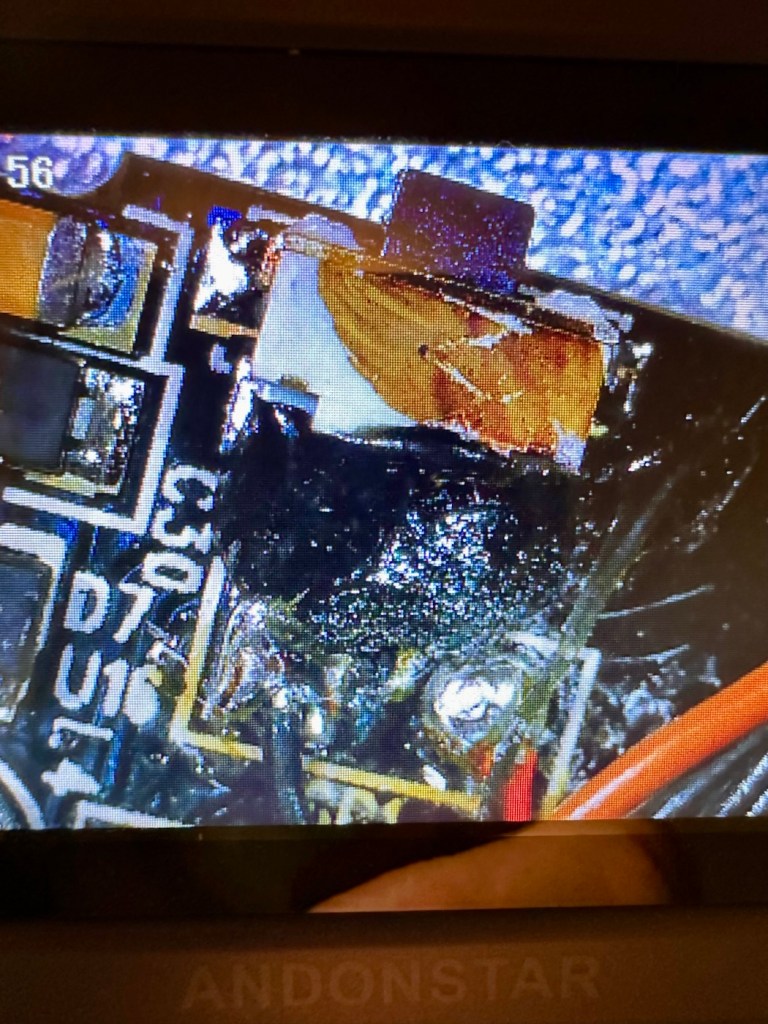
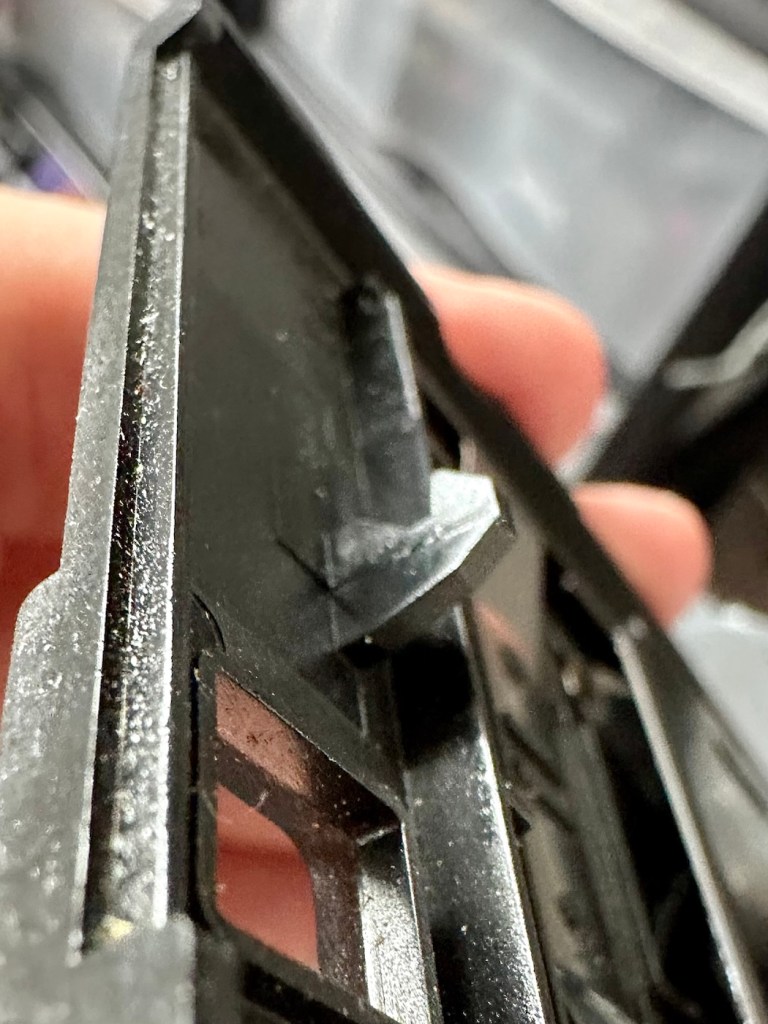
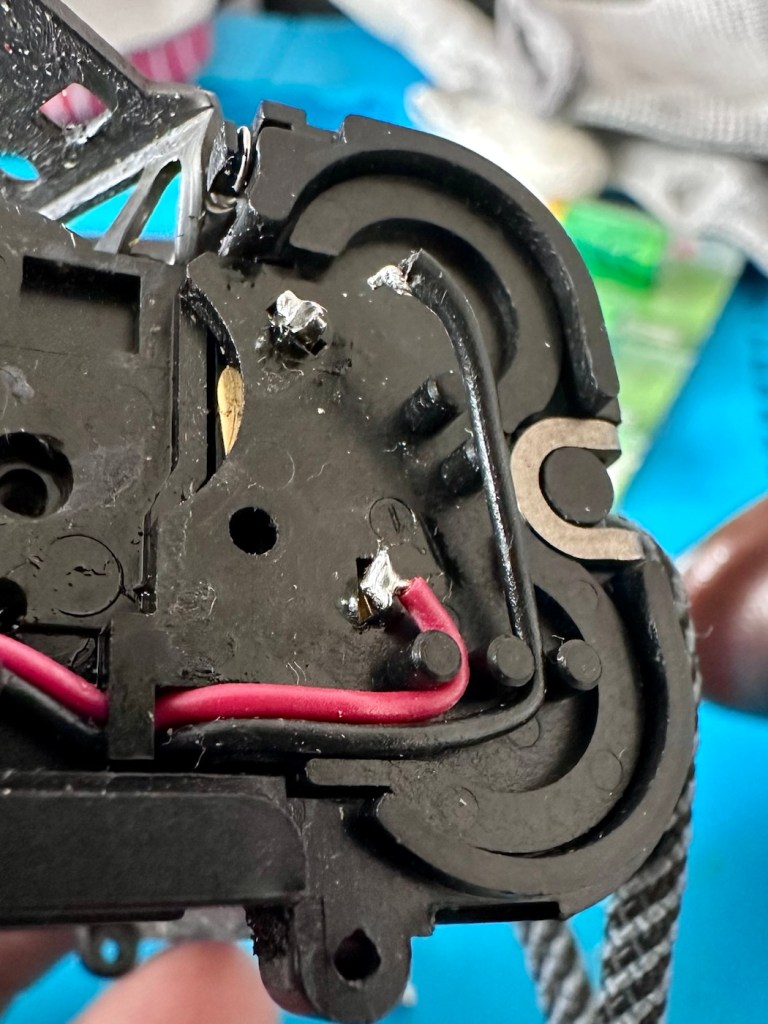
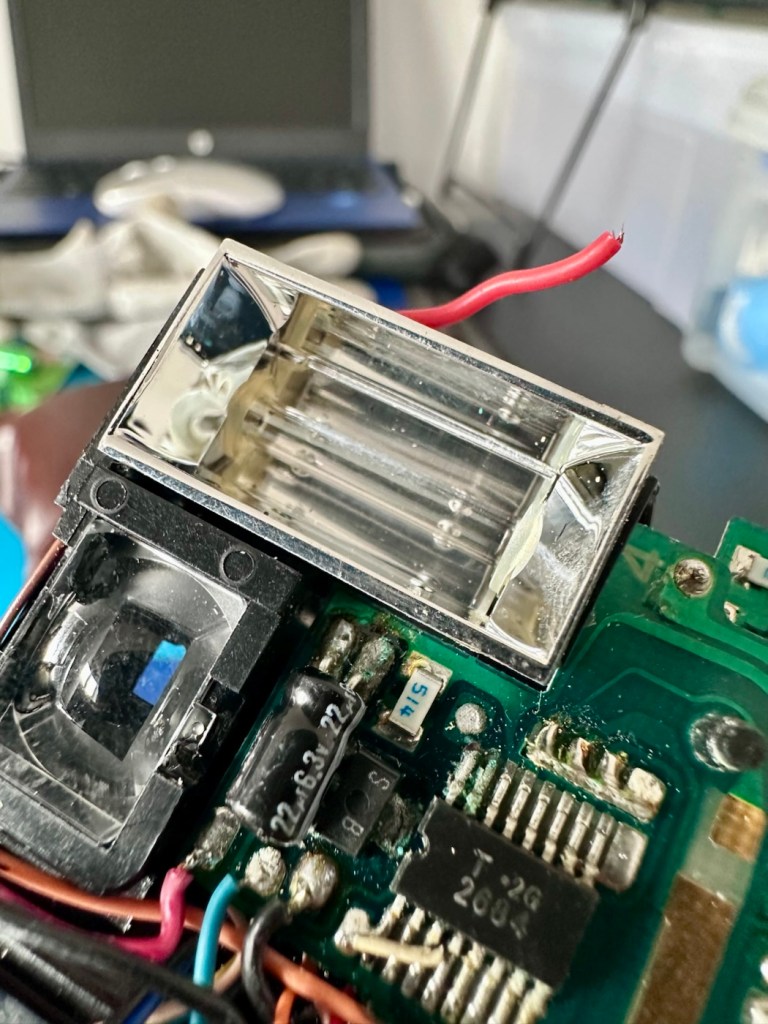
I’ve now started to inspect the components at a magnified level, as some of these components are honestly a quarter the size of a grain of rice, they really are minuscule. The on/off button appears to be ok, it is covered in a dollop of rubber gunk that they use during production to protect parts of the circuitry, it’s all over this board. Having located the camera, I’ve now started to do some testing on the components surrounding it, and there is a short circuit detected on a small capacitor, and the four or five other capacitors surrounding it. I removed two of these capacitors and the short still remained, and that’s when I noticed the chipset sitting directly above it.
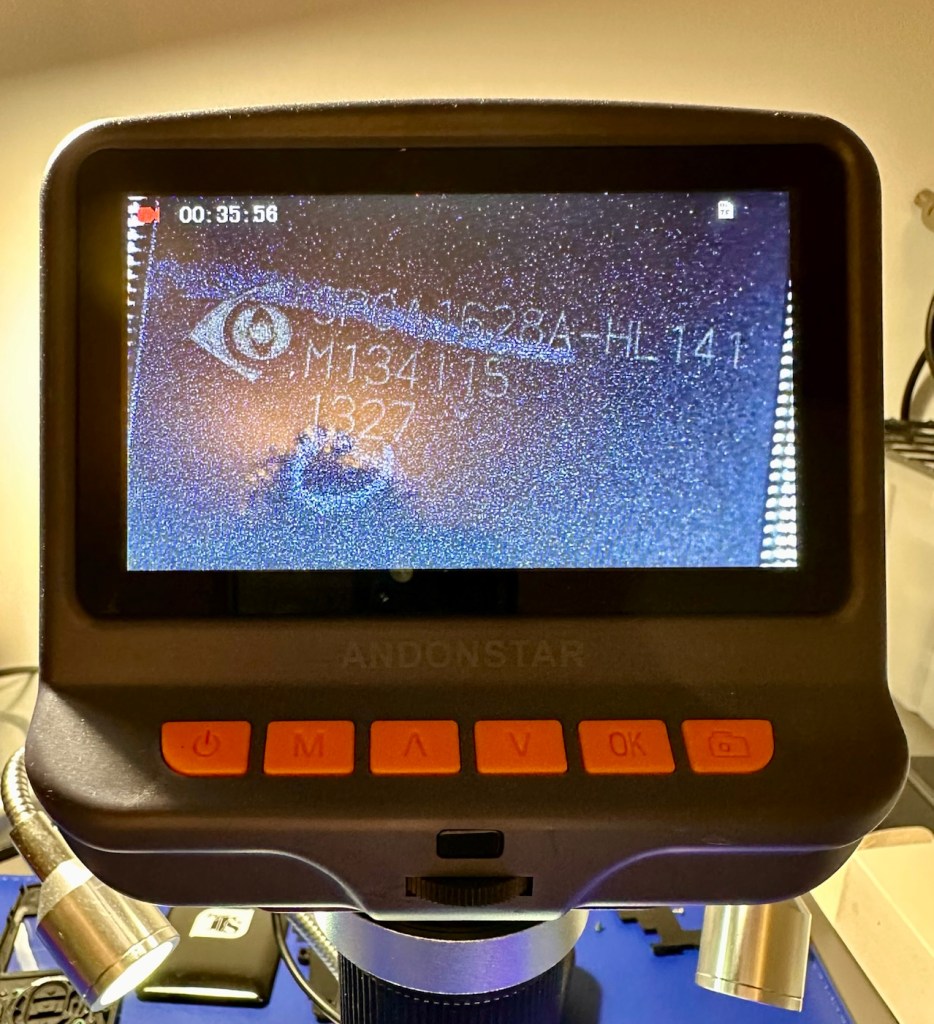
AN SPCA1628A-HL141 integrated circuit

On the screen I was now looking at an SPCA1628A-HL141 integrated circuit. This circuit is heavily used in cameras, digital video devices, and image processing equipment due to its image processing capabilities. And with the amount of failed components around it, I very much suspect this component is carrying the fault, it needs replacement, however as this entire unit has only cost me around £1:30, I don’t believe it’s financially viable to pay around £5:00 for a replacement chip, costing more than the combined three units. It’s just not worth it, and the gain from its repair would not match the outlay, it’s just not worth repairing.

Therefore this unit is going to be dismantled for spare parts, I have a battery, a battery control unit, a camera, an SD card holder, an LED screen and numerous other parts and screws that are far more valuable to me for future use. Very little will be wasted. What is disposed of will be recycled.

So we have one failure but we have two perfectly good working units. Two out of three ain’t bad. (I’m sure that’s a song!) – it is, Meatloaf – I believe, good tune!

Result:

So here’s a few pictures and a couple of small videos taken with the two working units.
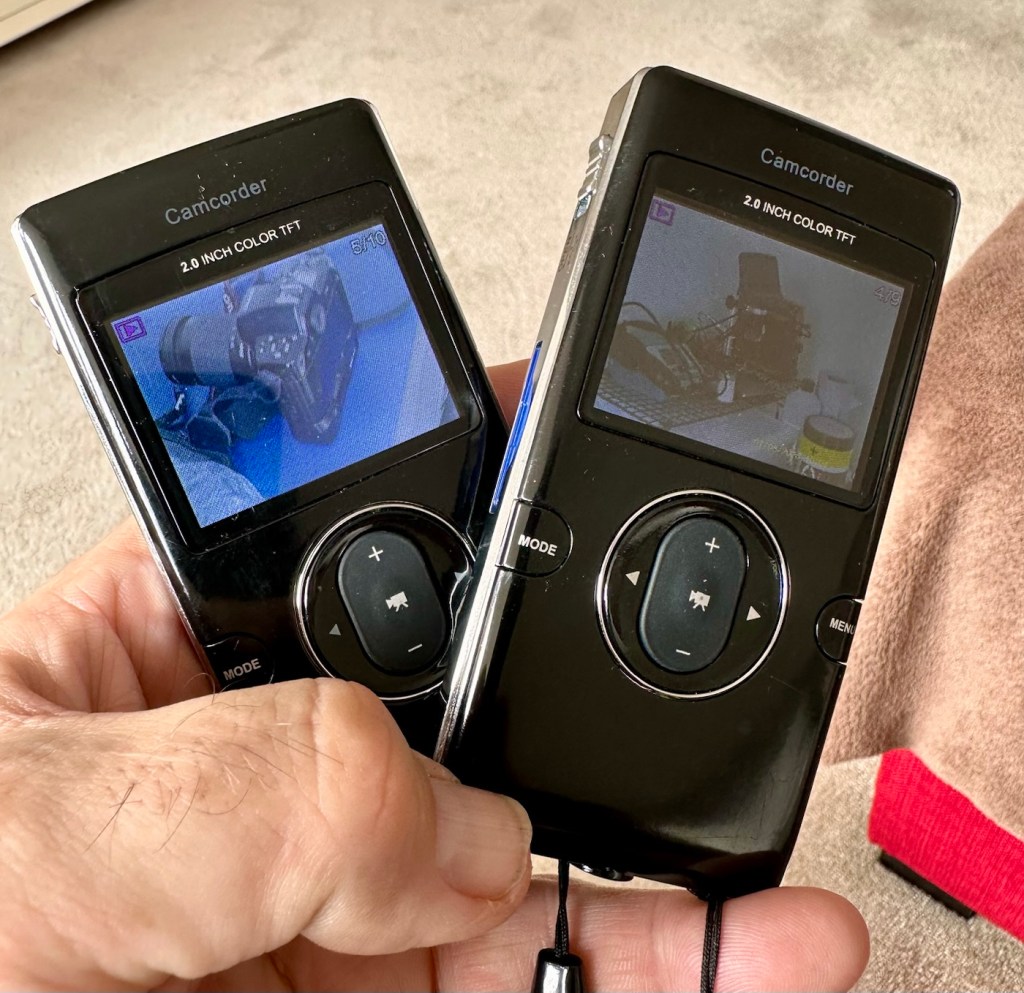
Small video of the two units playing back videos

The overall quality is between atrocious and very poor, but I guess for the purpose of school kids documenting activities it suits just fine. The video is on par with what you would have seen on phones of the Nokia era, maybe early to mid 2000s. The pictures in the right light settings are not too bad, but you do get more bad than good.

What can I use this for? God knows, it would be ok for doing a basic journal with, something to film a rehearsal situation with prior to using the good gear and doing it properly.

To be honest, I’ve a couple of young relations under the age of ten in Devon who might like these just to fool about with when they are out playing. At £1:30 per unit they couldn’t buy a decent pack of sweets for that, and this would cause less dental decay 😂

Anyway, it’s a good fix, more saved from landfill, so in my eyes the job is a good one👍

Thanks for passing by. It’s very much appreciated.

It’s a Puzzle..

Ever had a jigsaw puzzle take five years to complete? I have.

For anyone who knows me, they will know only too well my fixation and fanboy devotion to the 90s music of R.E.M

I’ve been a fan from the early days, I’ve seen them live on many occasions, god I even have a tattoo of one of their album covers that I’m actually having touched up next week as it happens.

R.E.M – Monster tattoo

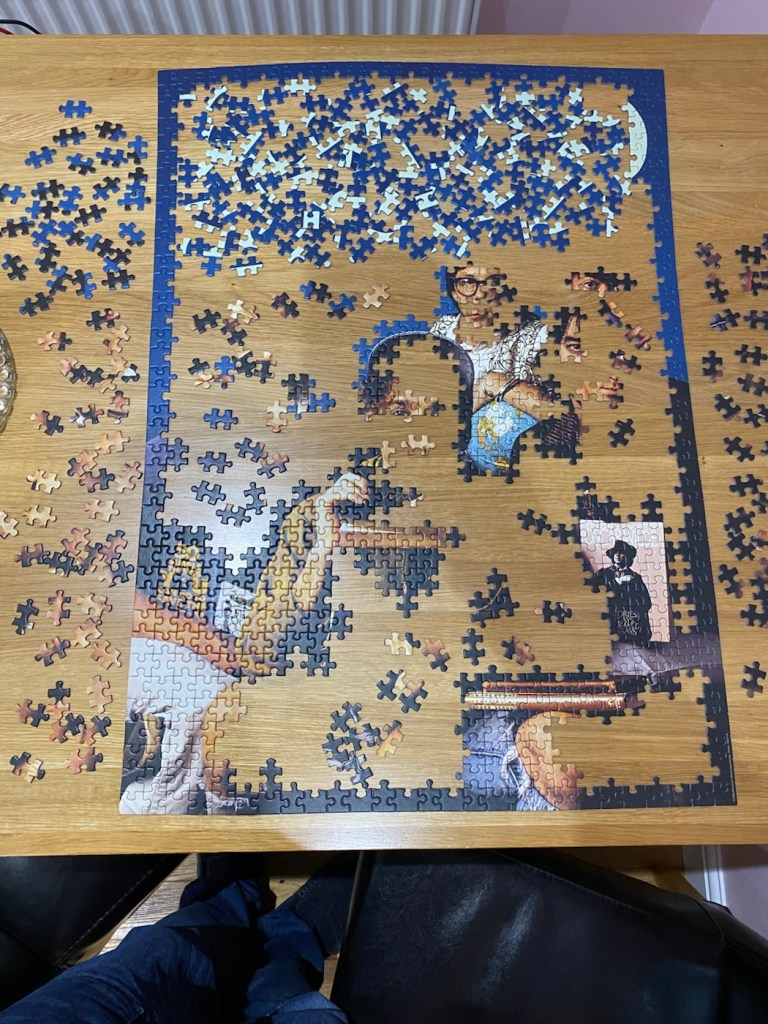
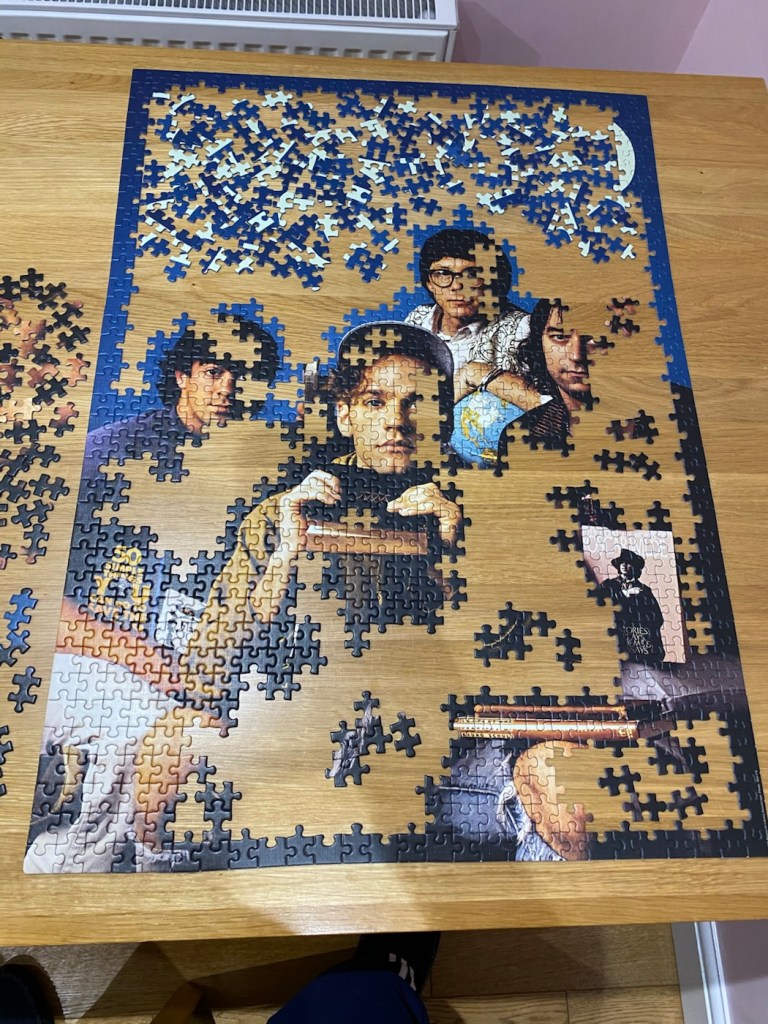
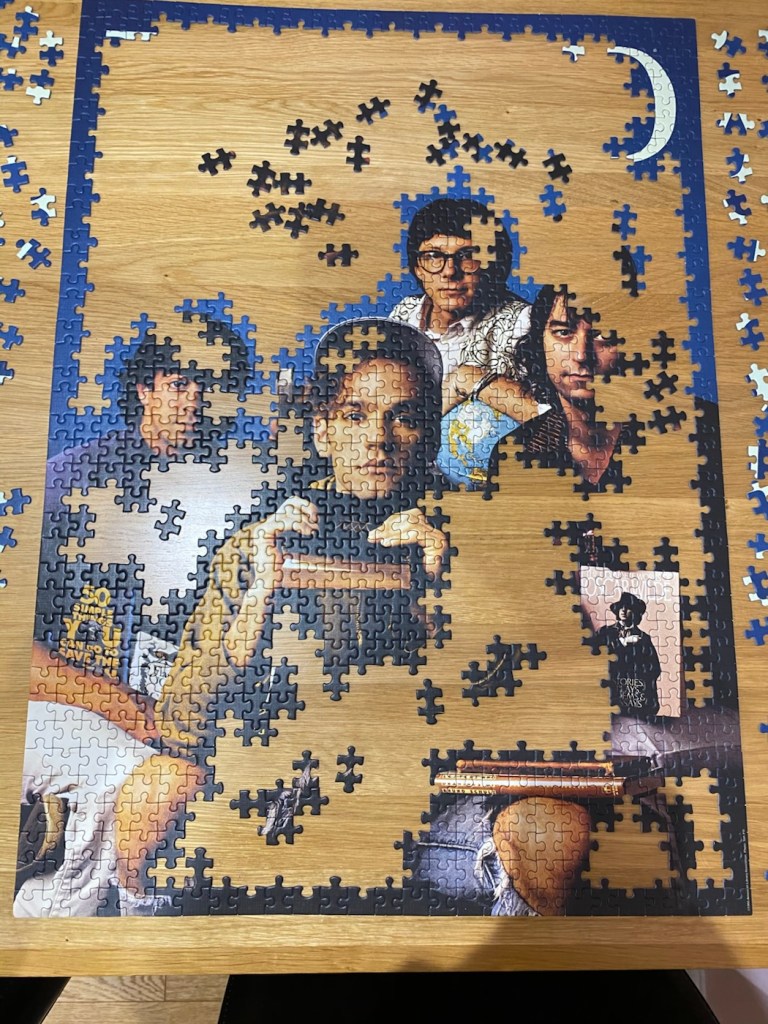
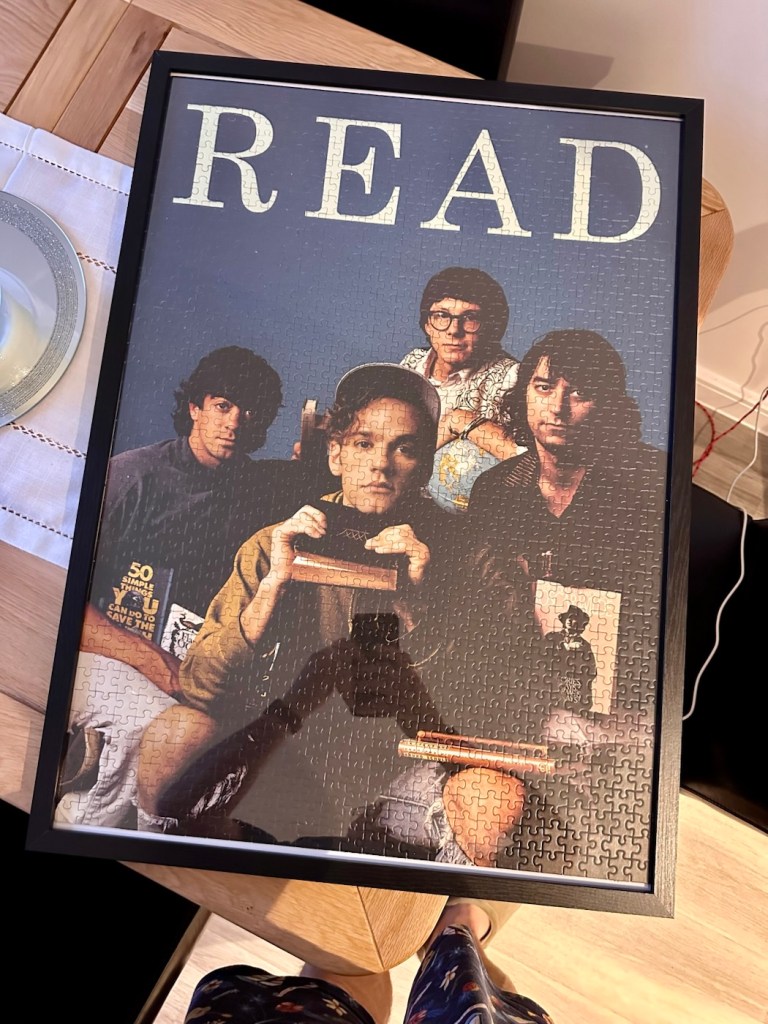
Around Christmas 2020 they released a 1000 piece jigsaw puzzle in conjunction with the ALA (American library association) of an original poster that was released in 1990 to promote reading. This poster was quite collectible at the time and still sits in many fan’s collections around the globe. For those that did not possess the original poster, this jigsaw became the next best thing.

The puzzle sold through the groups own website and was produced by the Very Good Puzzle Company. In the UK the puzzle retailed for about £25:00GBP. I think it was purchased for me as a Christmas present from a relative.

Box opening

I started the jigsaw in January 2021.

The intention from this day forward was to take a picture daily, as I set myself a target to dedicate an hour at a time towards its completion.

Day one
Day two
Day three
Day four

Beyond day four, which in itself had spanned a couple of months, time being spent on the puzzle when other commitments would allow. The puzzle became ever more difficult and confusing, as there are a number of areas within this puzzle where the areas are dark, or of just one colour and it just became a pain in the ass. So this was 2021 now, and very soon after this last picture, the jigsaw, on its base board just got put on the top of a cupboard in the spare bedroom, and there it stayed until early 2026.

For those who occasionally delve into my ramblings, you will be aware that in January 2026, after protracted selling shenanigans, we eventually moved to our new home. At this point we had packed and shifted almost everything, and the jigsaw was reluctantly broken up and put back into its original box. I guess I’d admitted defeat at this stage.

Step forward my Sister in law – Liz.

Now Liz loves Jigsaws, it’s her hobby and she heard of the ongoing issues with the R.E.M jigsaw. She has absolutely no interest in the group as such, and would probably, in her own way be quite opinionated in her views of their music, that’s her right and I respect that. She asked if she could take on the challenge to build it, and who was I to say no. So in March of 2026 I handed the box over to her.

Good luck with that Liz!

Just a few days ago Liz and her husband Terry came to visit as we were all heading out for a day. And as they came in they had a large object in a black plastic cover.

“Sit down Dave and open this” I was told, you might like it. I did what I was told and to my immense surprise, not only had Liz completed the puzzle, but her husband Terry had also framed it for me. I now have the completed puzzle, and the way it is presented looks absolutely fantastic.

Liz had spent a lot of time on the puzzle, and also shared her frustrations on the dark areas that were problematic. But the thing with Liz is once she gets her teeth into something she will never give up. And for that I am forever grateful, for she has done a fantastic job, and this will be a welcome addition to my work room, as the wife won’t let me hang it anywhere else.

So after 5 years, the puzzle is complete. And I think it looks superb. I now have my own personal copy of that poster that was so popular back in 1990.

Thanks Liz. You are a star 🌟

A peaceful day to you all.

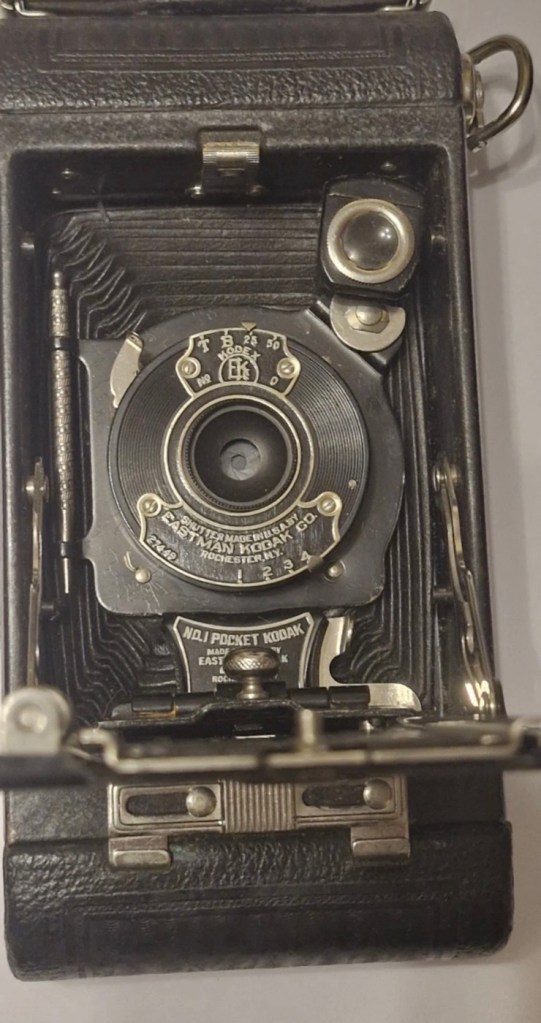
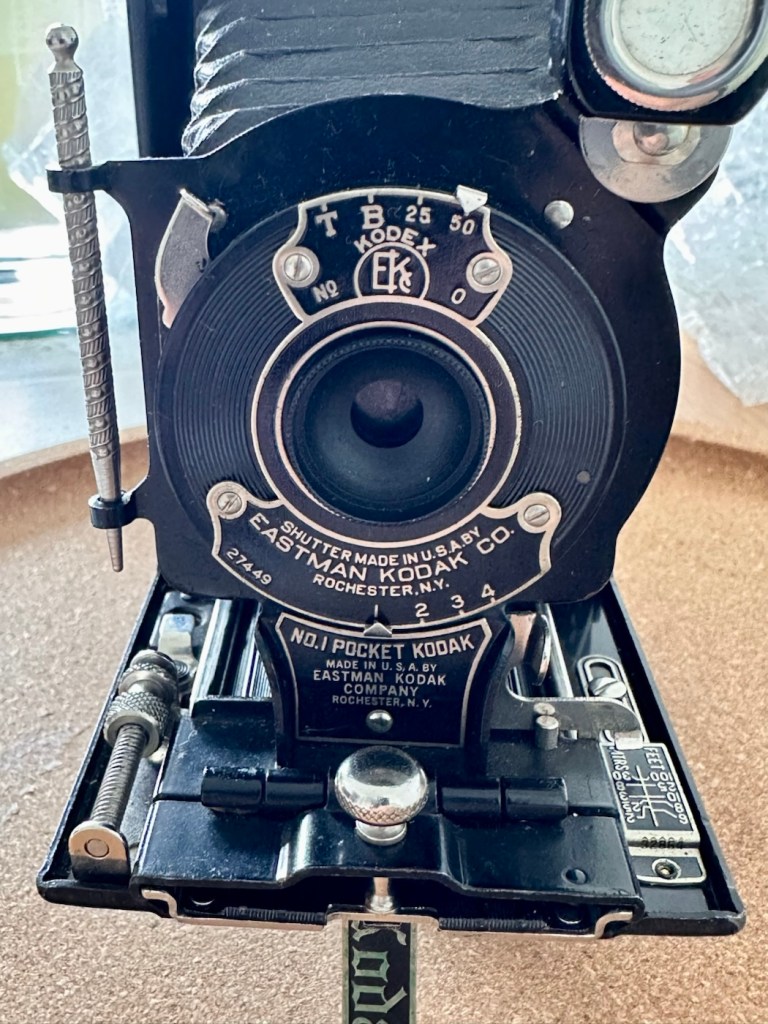
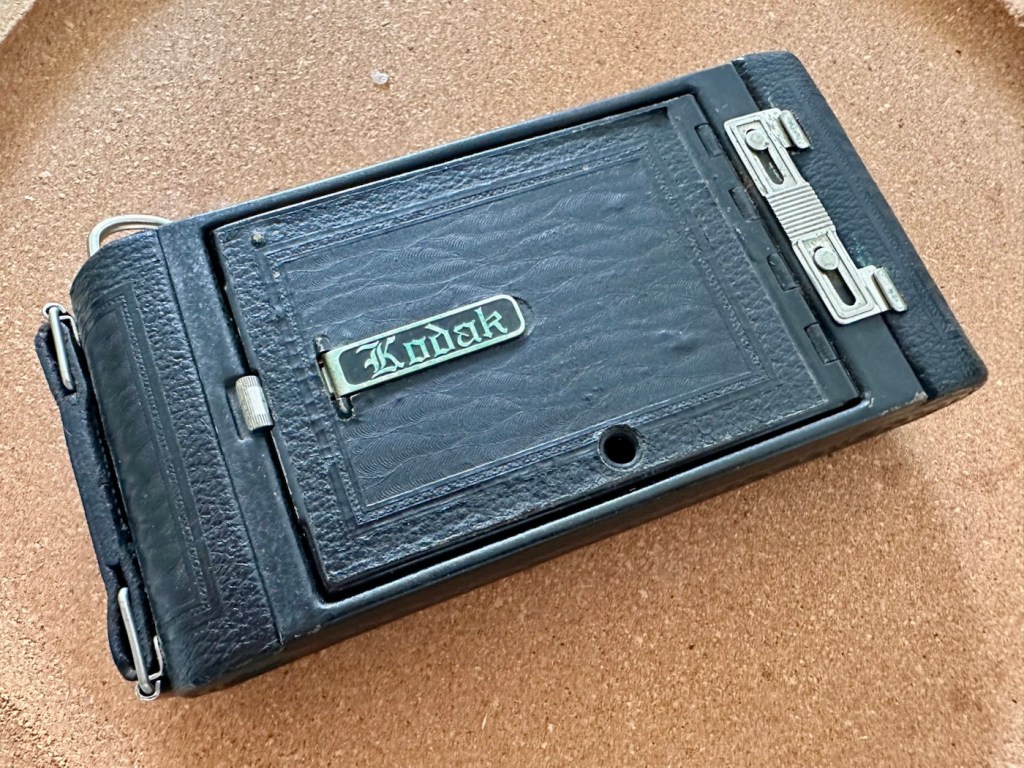
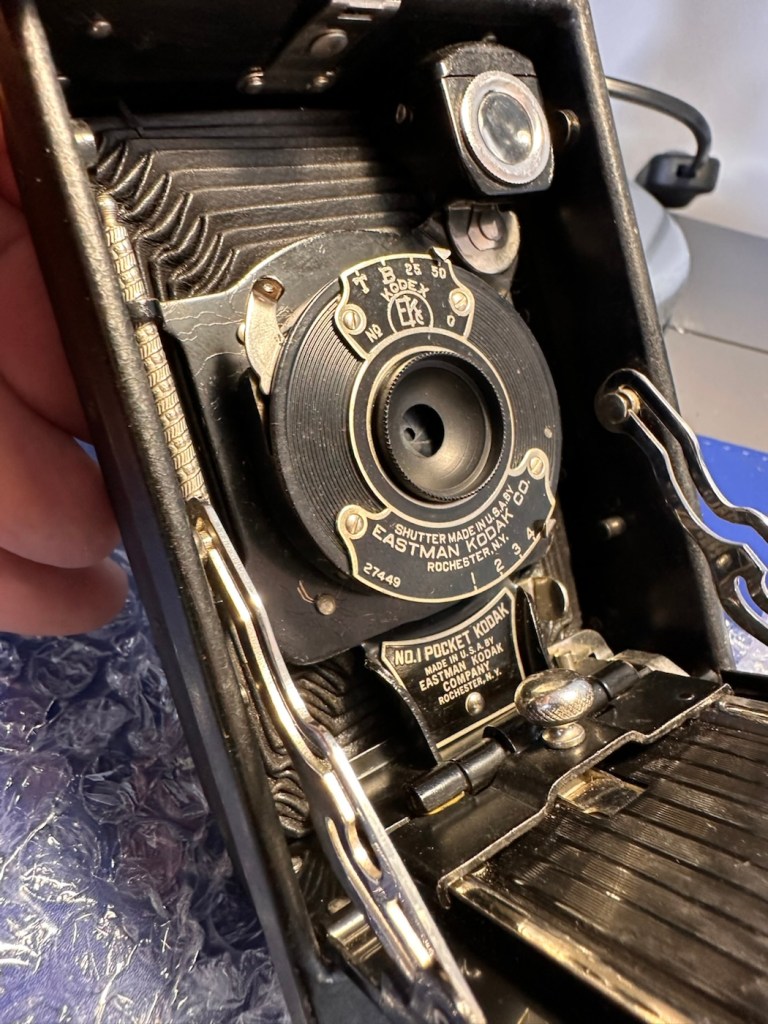
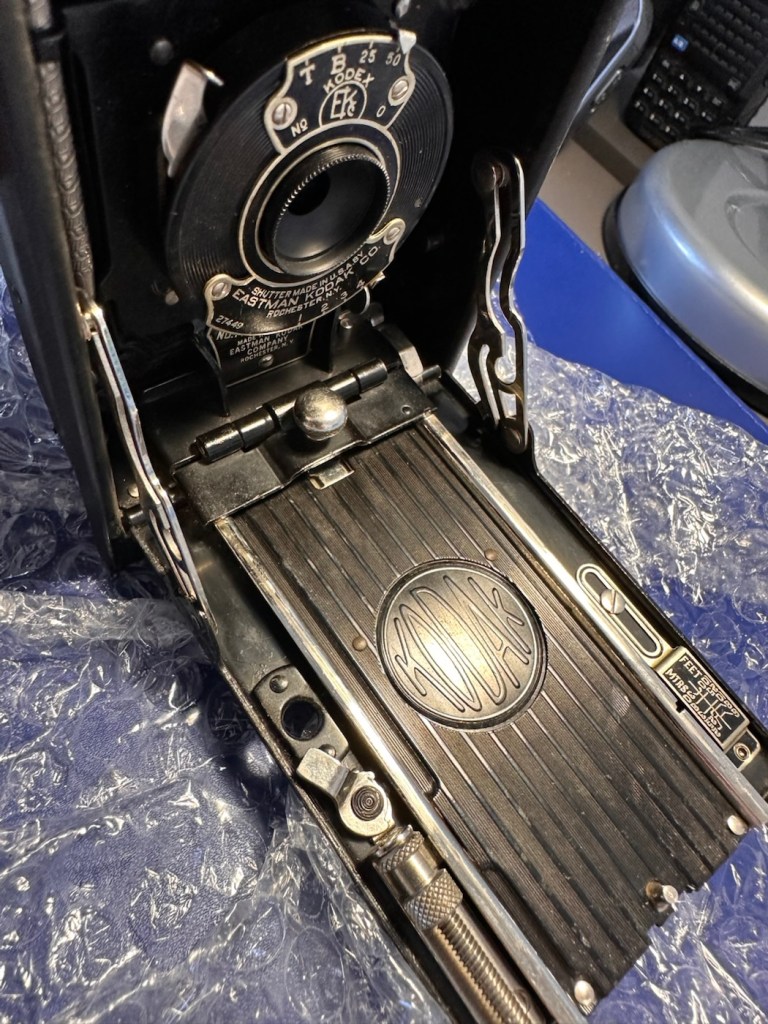
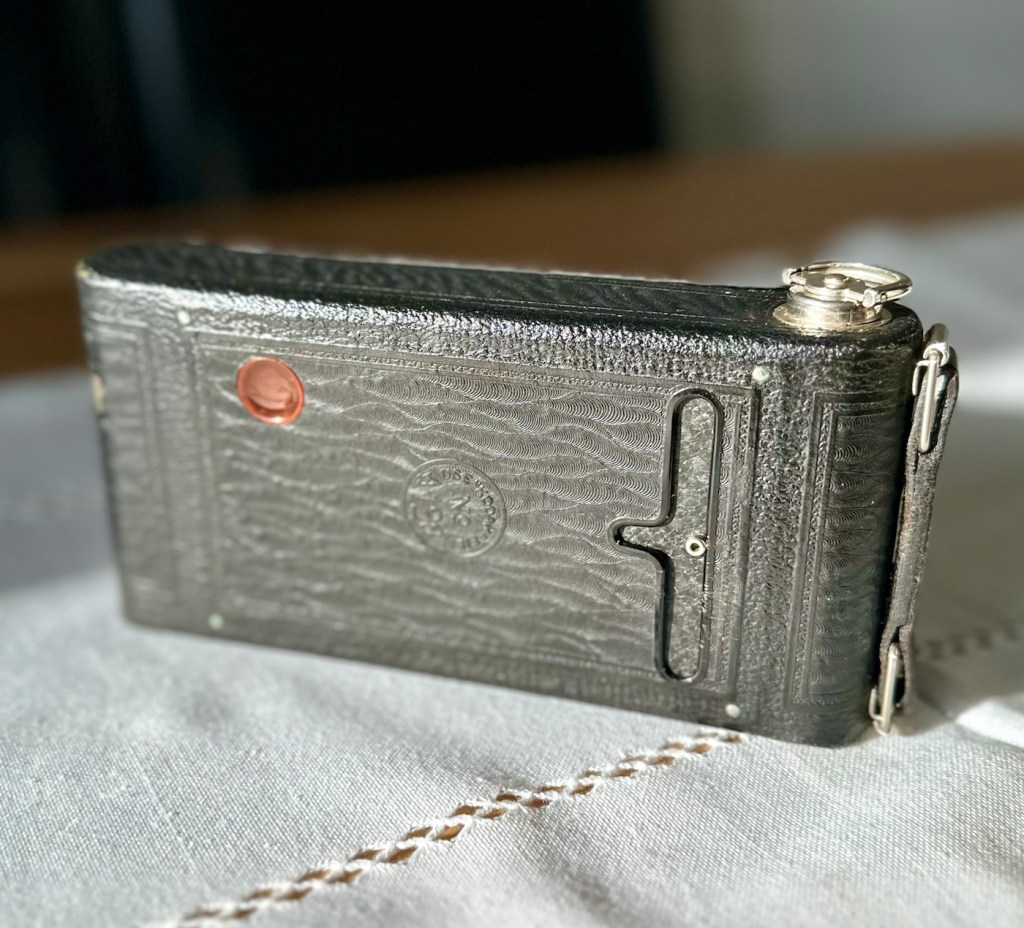
Vintage Kodak No. 1 Pocket Folding Camera

A genuine antique, for a ridiculously low cost. But will it work? At 100 years old, can this old camera still do what it was designed to do? Let’s have a closer look.

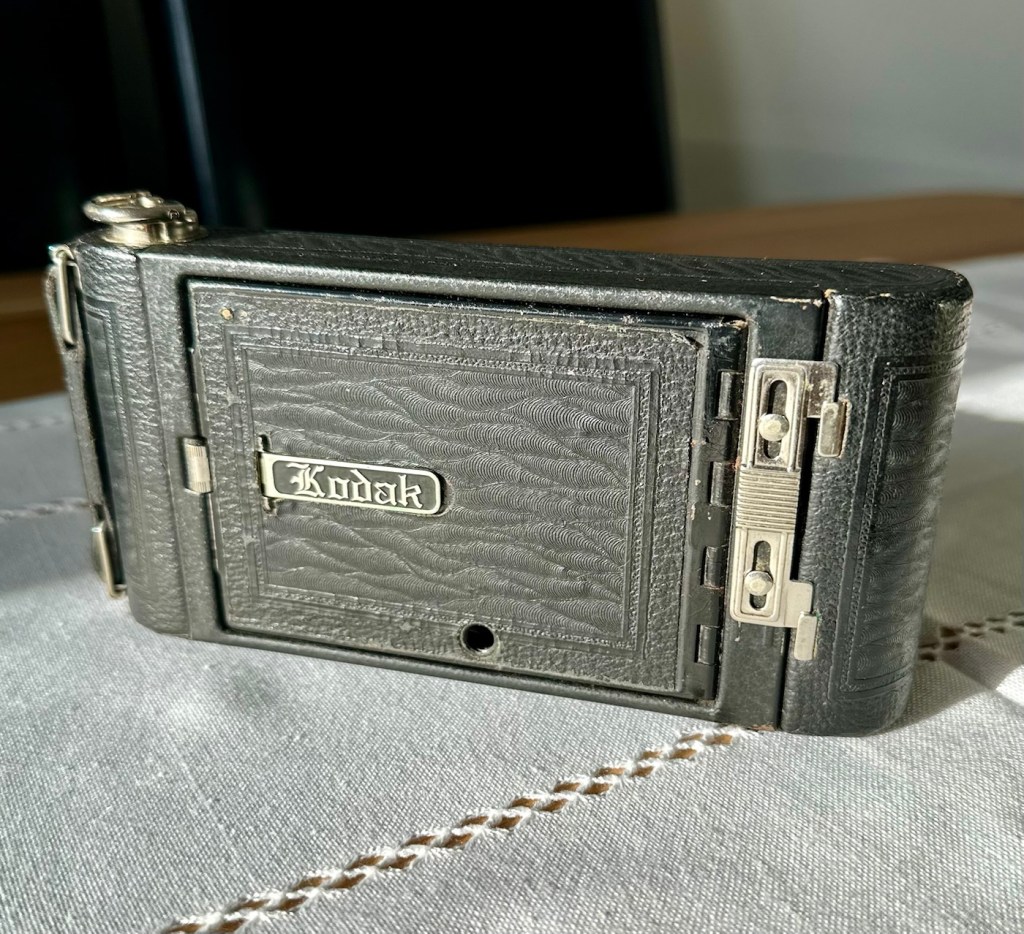
An antique. A genuine antique. For a ridiculously low cost of £7:90GBP. And this little beauty was purchased for me by an elderly friend as an Easter present. Yep, for the price of an Easter egg in the Uk I’ve been brought an antique piece of photographic memorabilia, how good is that?

Here’s what the listing stated:

Kodak No:1 folding pocket camera

EBay

The listing leaves a lot to be desired, but as these cameras were produced between 1926-29 they are now reaching the 100 year old stage, a real antique, and to be honest at this age, just like most of us approaching a pensionable age, you would be expecting some wear and tear and a little bit of misbehaving. (I speak from experience even though i currently reside at the lower end of the antique spectrum). Around 800,000 of these cameras are estimated to have been produced, so there are a good number still available on the markets, I suspect this is what governs the low cost.

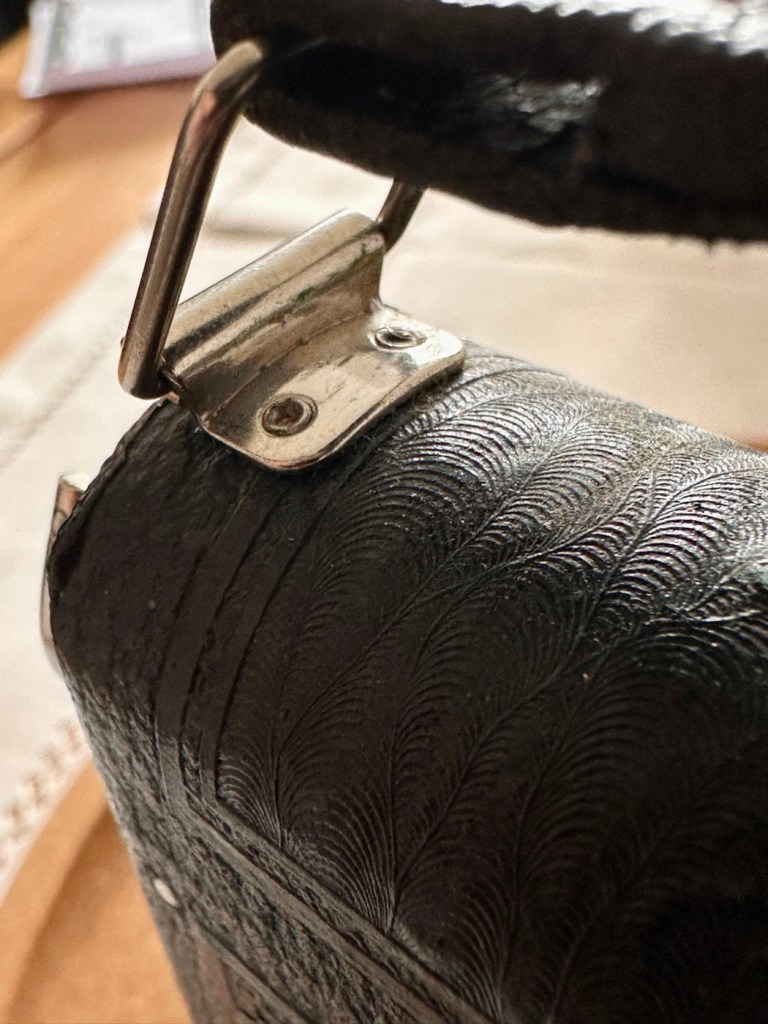
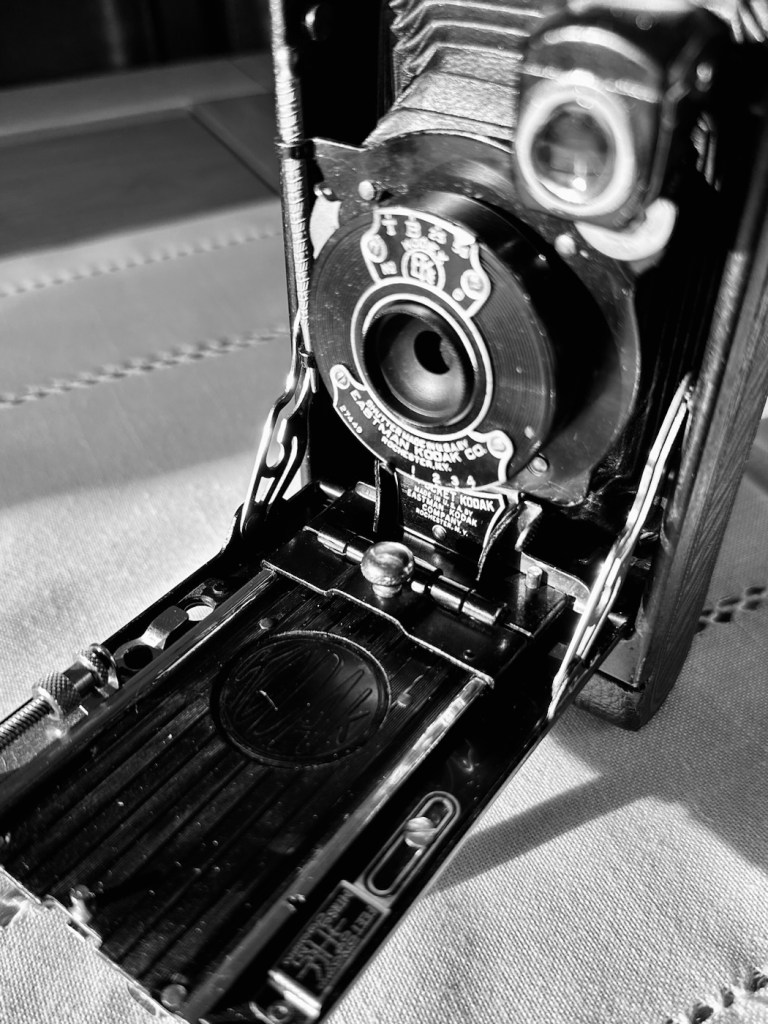
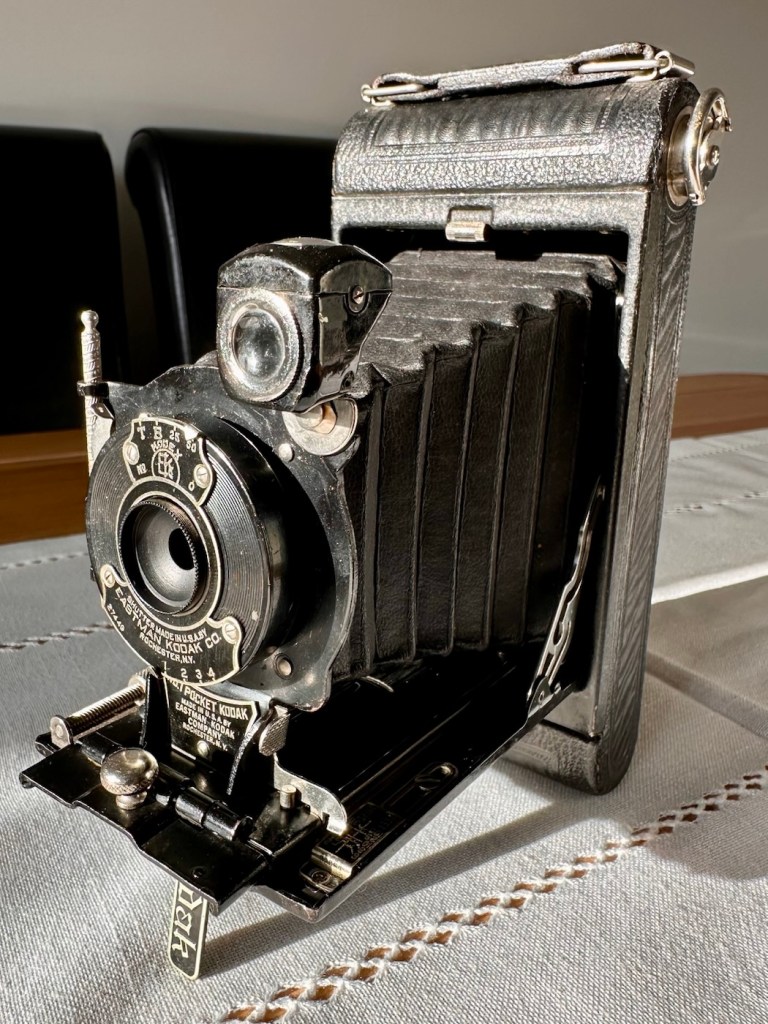
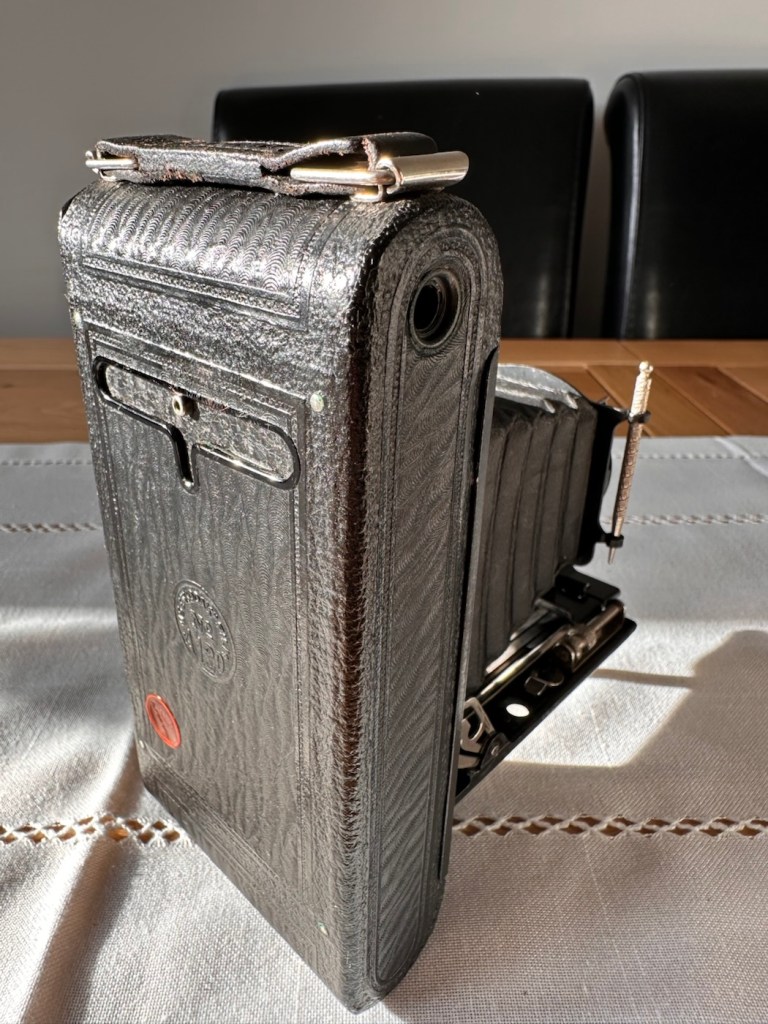
Yep, to be honest I do expect there to be issues, but at first look this camera appears to be in a very good condition, with a couple of parts to it that normally go missing over time, still present, and at the measly price I paid for it, I’m not complaining. The leather appears to be fine, and well looked after, it looks remarkably clean, but we’ll just have to wait and see.

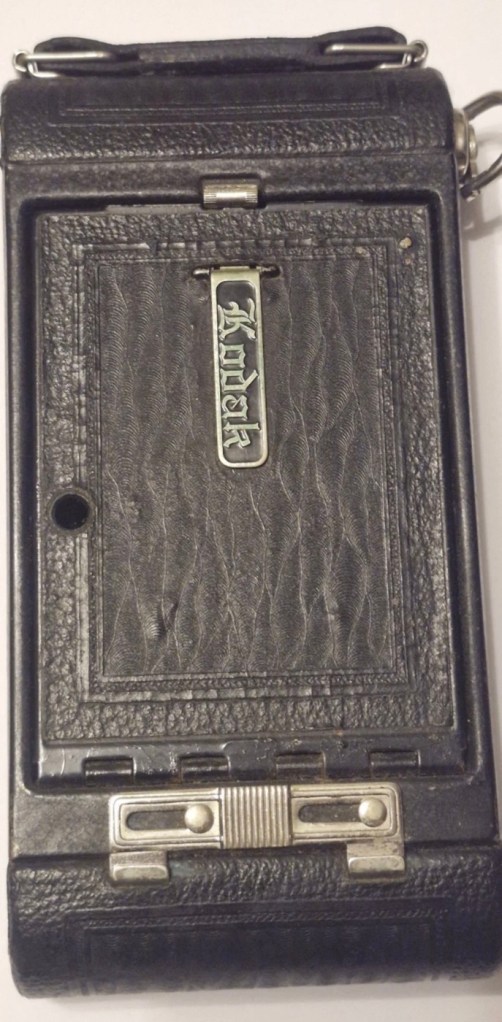
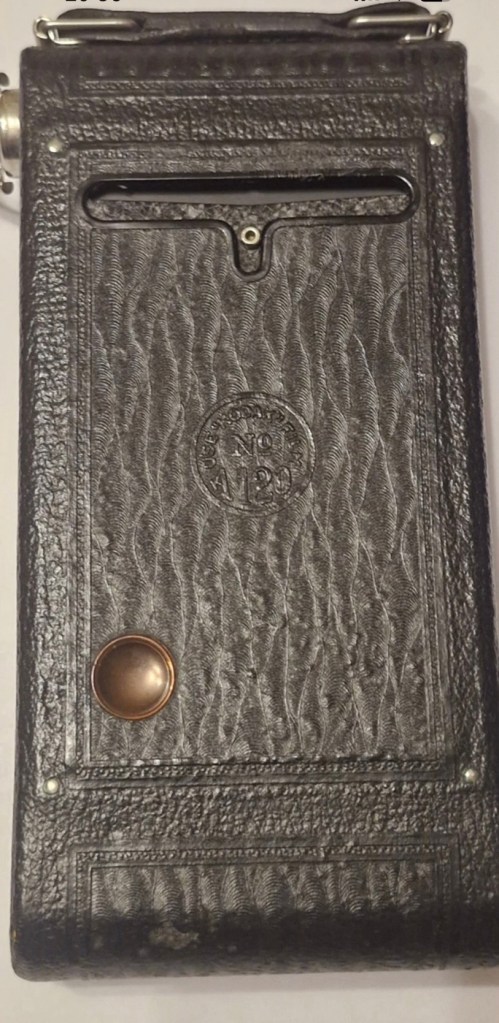
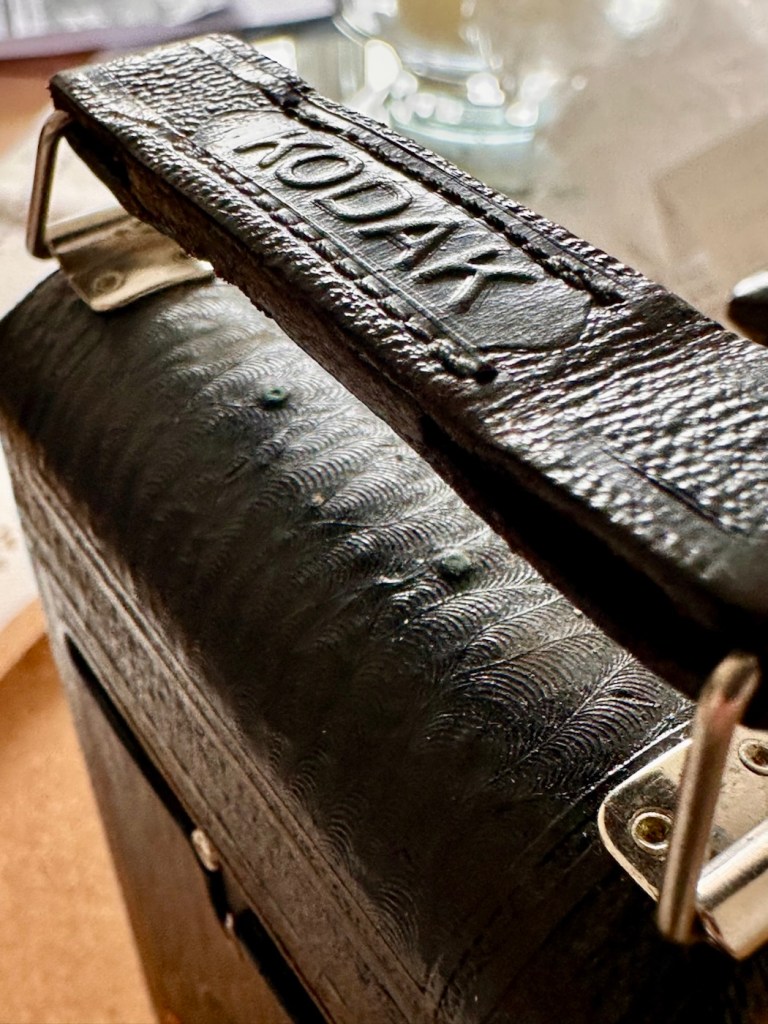
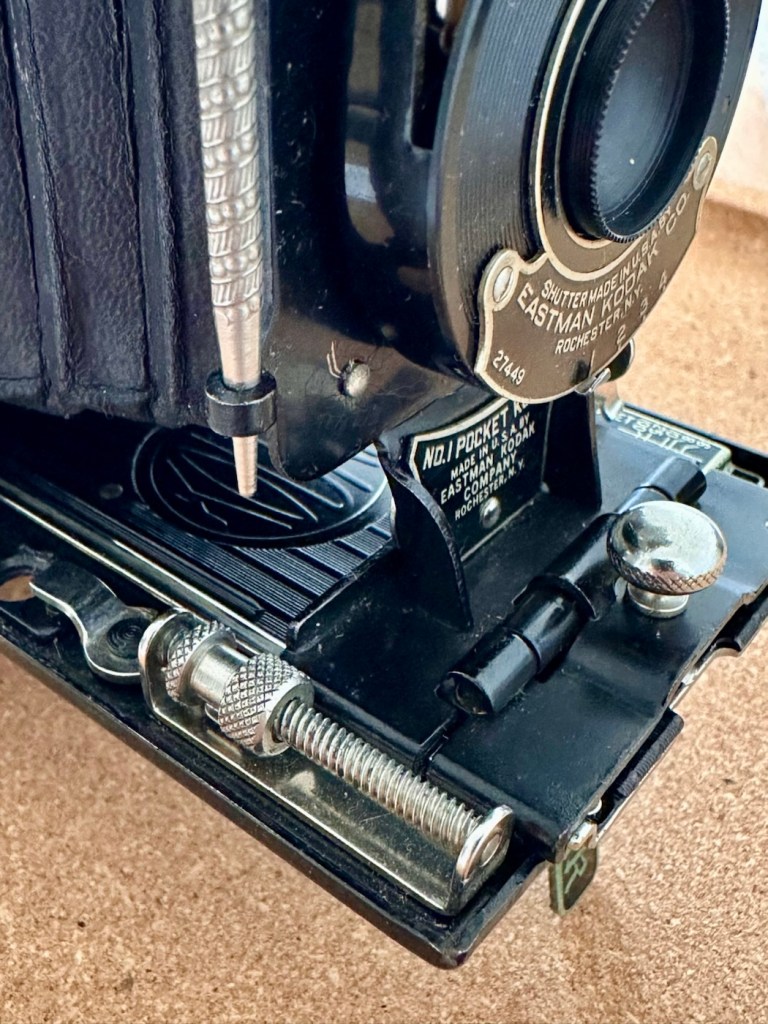
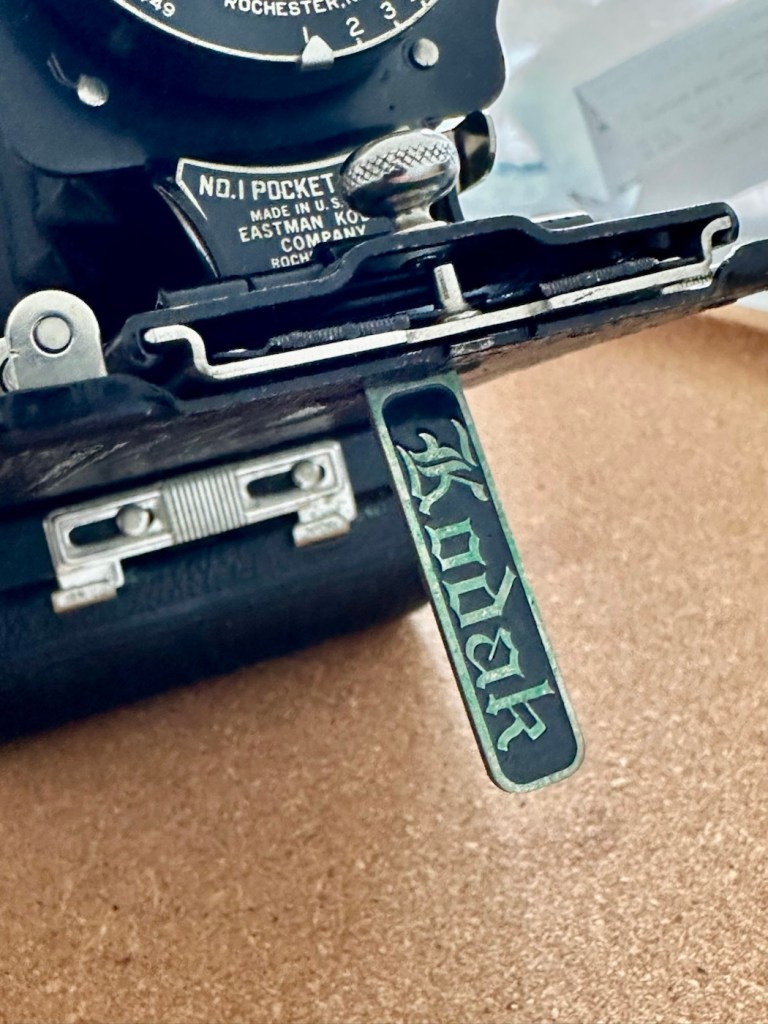
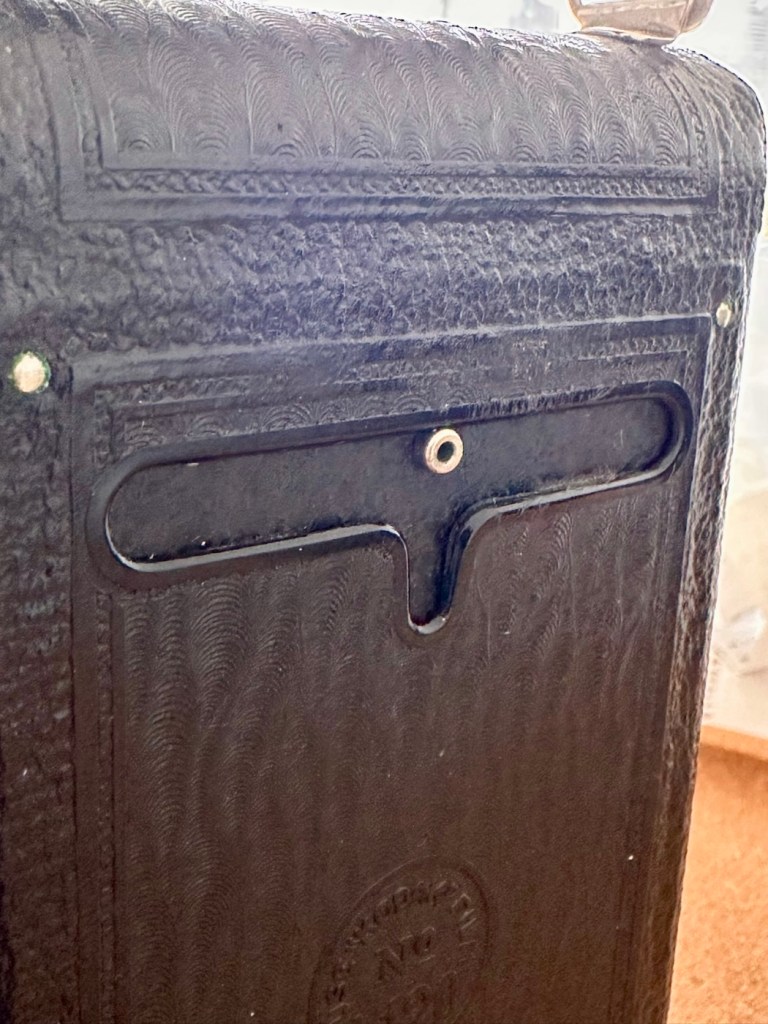
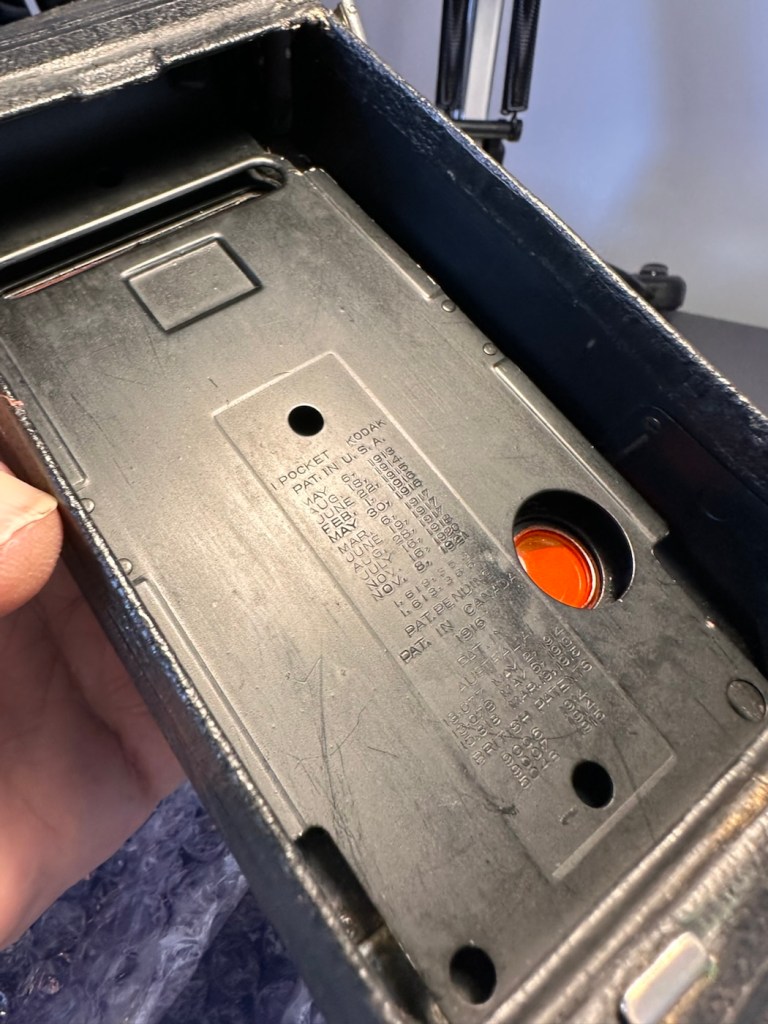
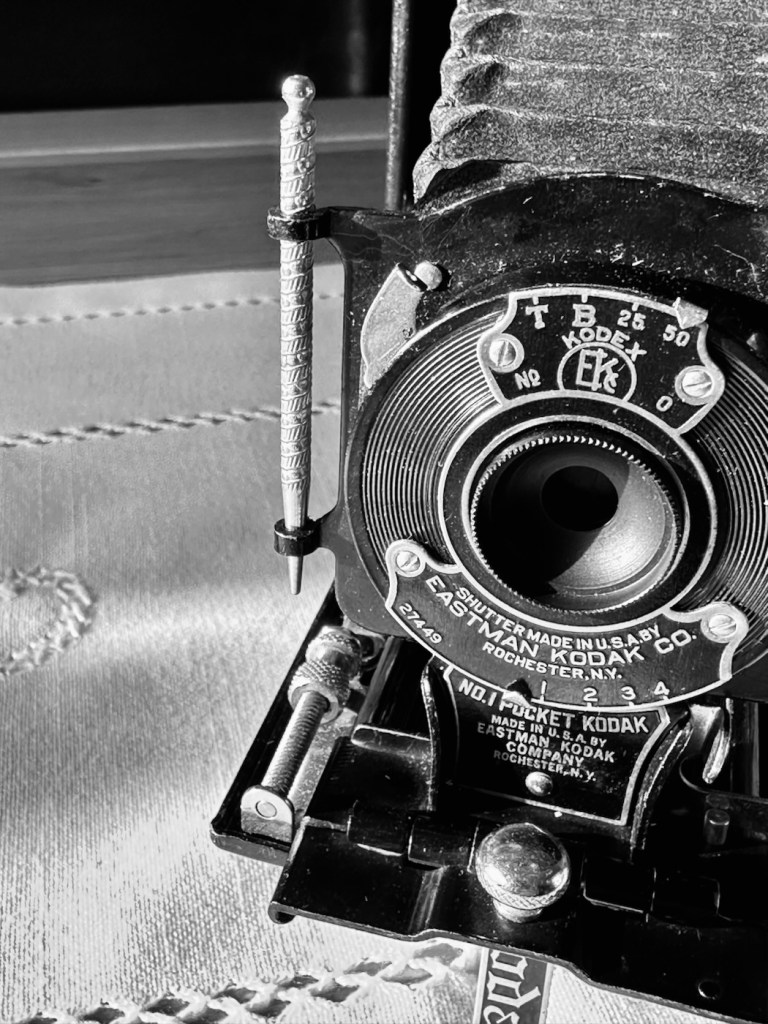
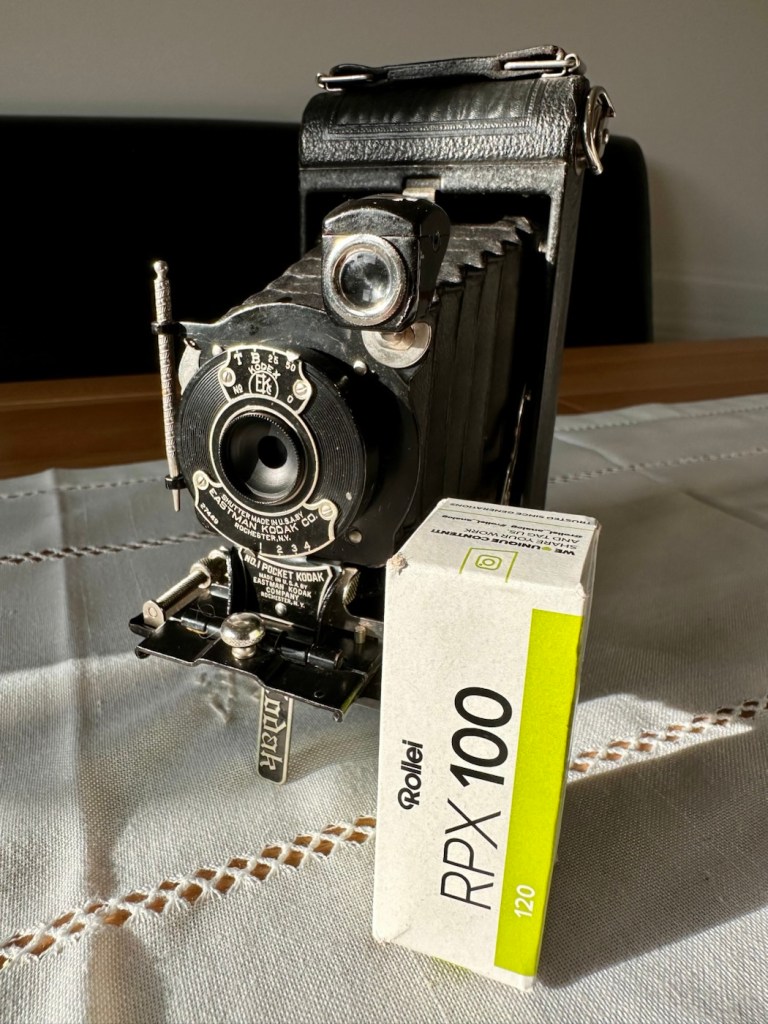
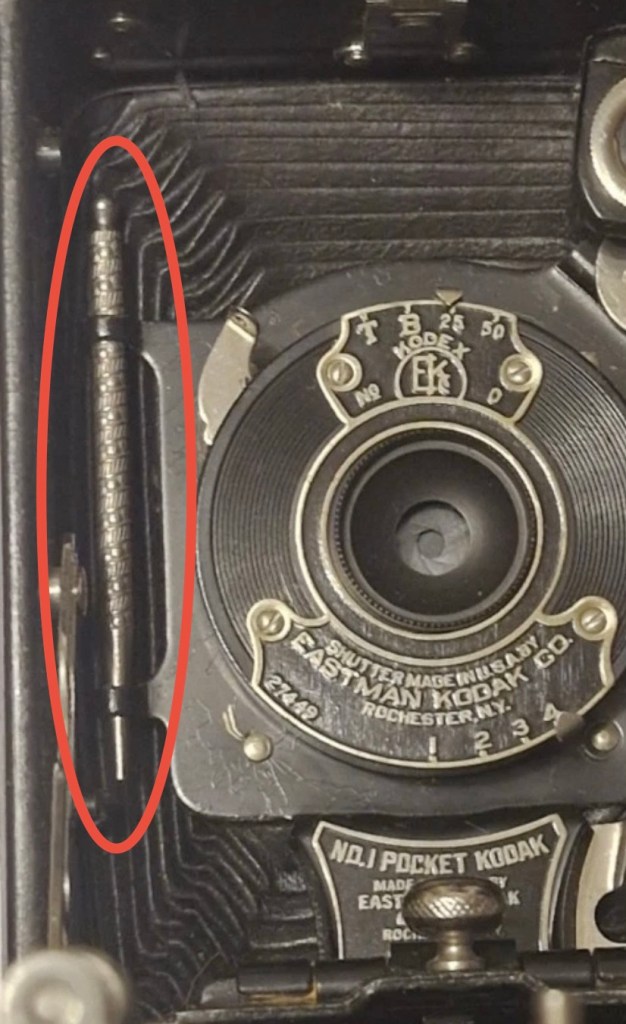
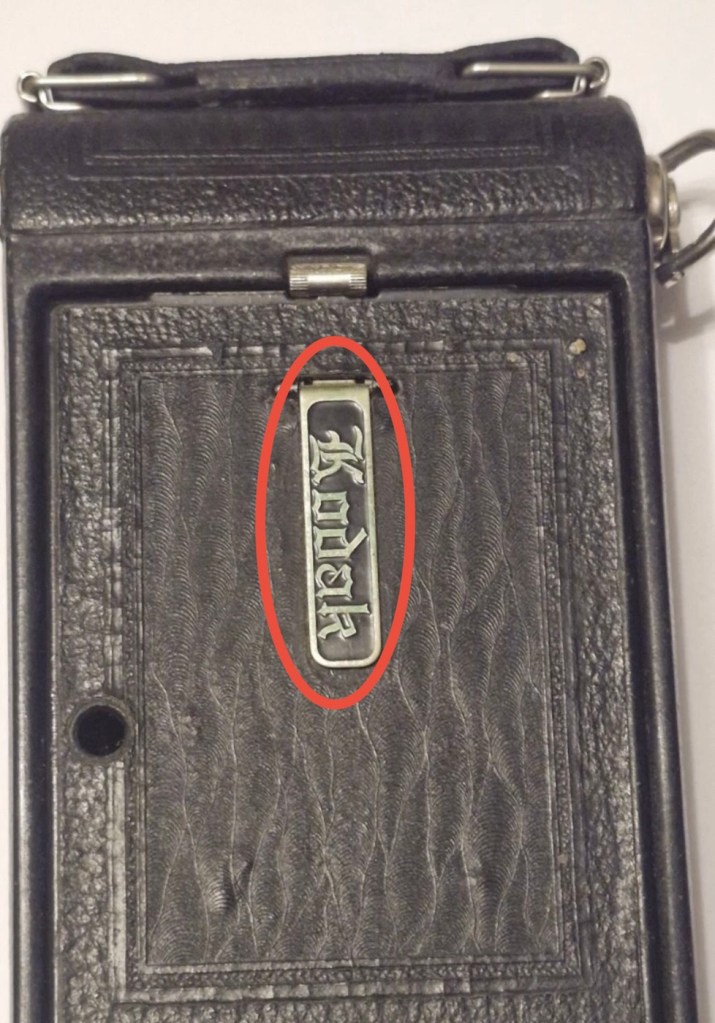
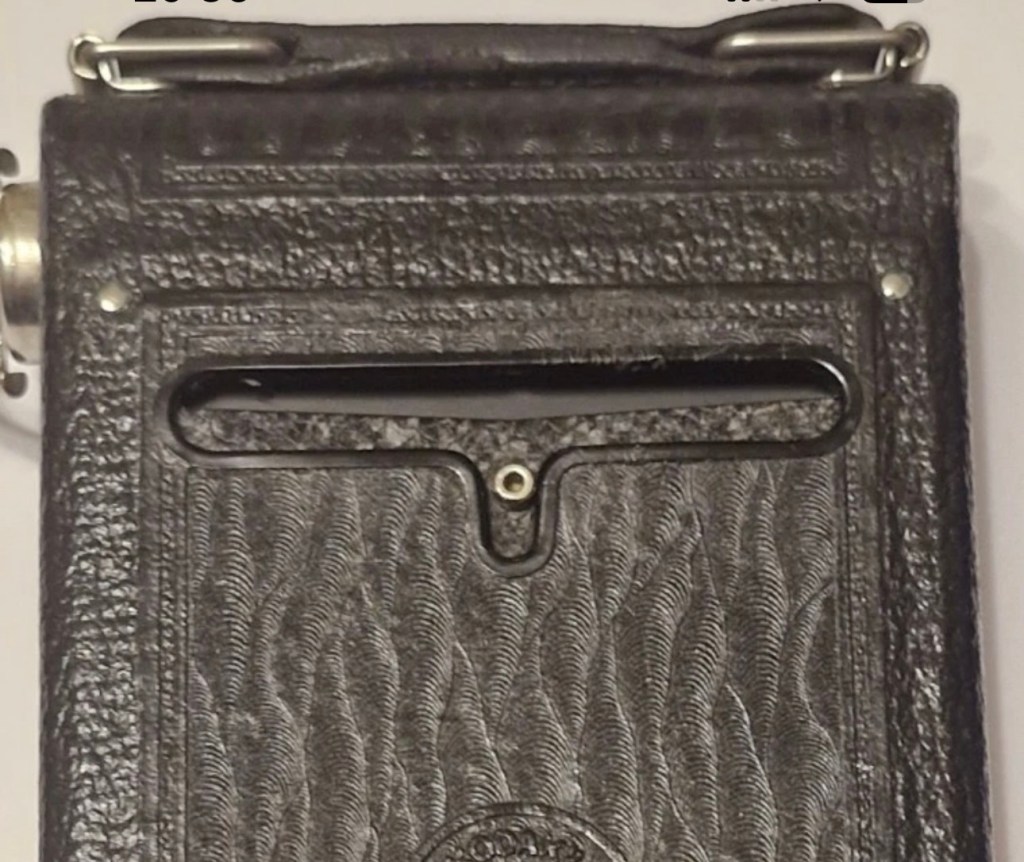
This is an autographic version, this was a system introduced on these early cameras that would allow you to write with a small metal stylus (Stored alongside the lens) through a small aperture in the rear of the camera, allowing you to put picture details onto the specialised, unexposed film below. A really early form of EXIF data if you like. There is also a metallic kick stand bearing the “Kodak” logo, this allows the camera to be stood upright, and this piece is sometimes missing off of these old cameras. Fortunately this example seems to have all these features still in place.

Here’s some info regarding Autographic film and cameras:

Autographic film and cameras, Eastman Kodak products from 1914 onward, allowed the photographer to enter his or her own notes onto the negative, rather like an early data back. Comments are written with a stylus in a window in the camera back, onto the paper backing of the film, which incorporates a carbon-paper. This leaves the backing slightly translucent where the stylus passed. The writing window is then exposed to the daylight and the inscription burned onto the negative. 

The method was invented by Henry Jacques Gaisman, who patented it in several forms, perhaps to prevent similar designs being patented by rivals (see the various patents below), over several years. In the various designs, the inscription is made on the film in several ways:

  • Carbon powder from a carbon paper is transferred to the emulsion side of the film, and casts a shadow when the film is exposed through the lens; the lettering should be dark-on-light, in the finished print, and appear in the picture area.
  • The emulsion itself is compressed against a textured surface, and this changes its response when exposed; the lettering should appear as stippling, either in or outside the picture area, according to different designs.
  • Carbon is transferred to a translucent backing paper, and the writing casts a shadow on the film when exposed to light from behind (after the carbon paper is removed); The lettering should be dark-on-light, and appear outside the picture area.
  • The carbon layer of the carbon paper is disrupted by writing on it, and so allows more light through (the film is exposed from behind, with the carbon paper in place); this is the form of the invention actually made. The lettering is light-on-dark in the finished print (dark-on-light in the negative), and appears outside the picture area.

Camera-Wiki.org

And here is some information regarding the camera itself:

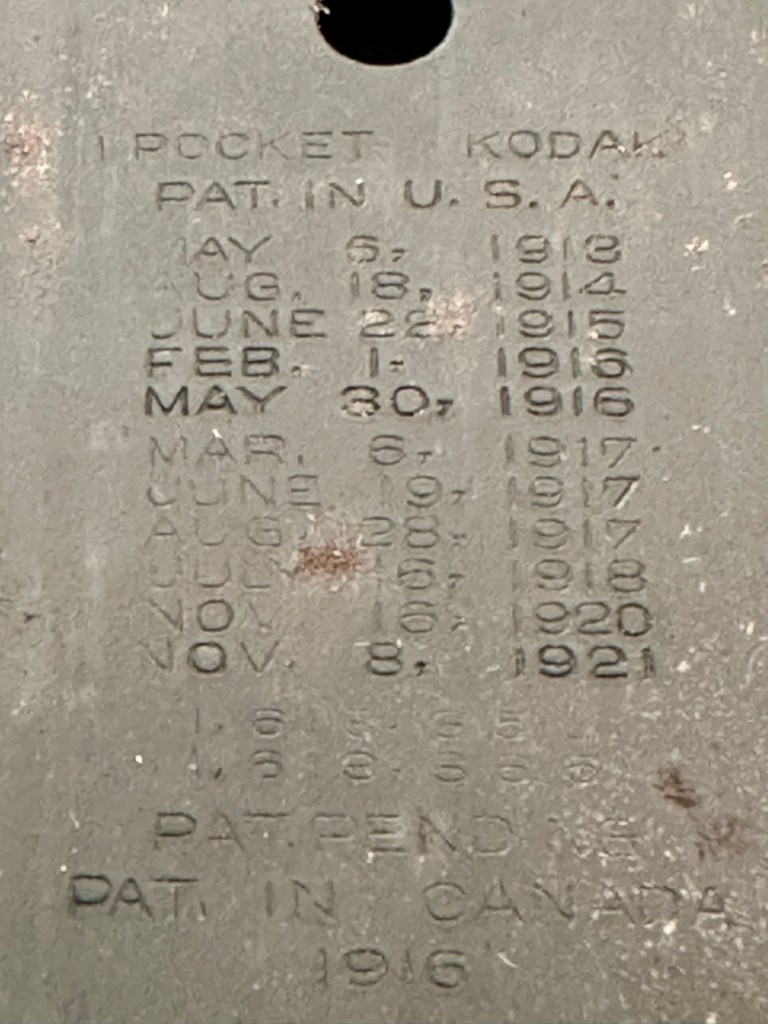
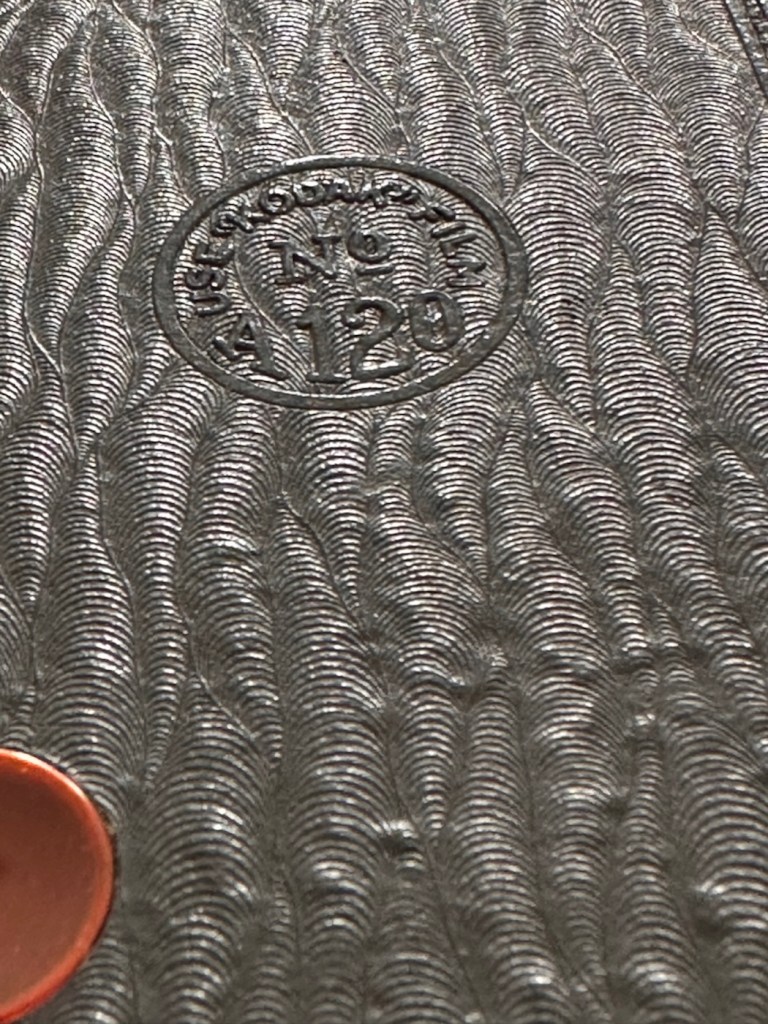
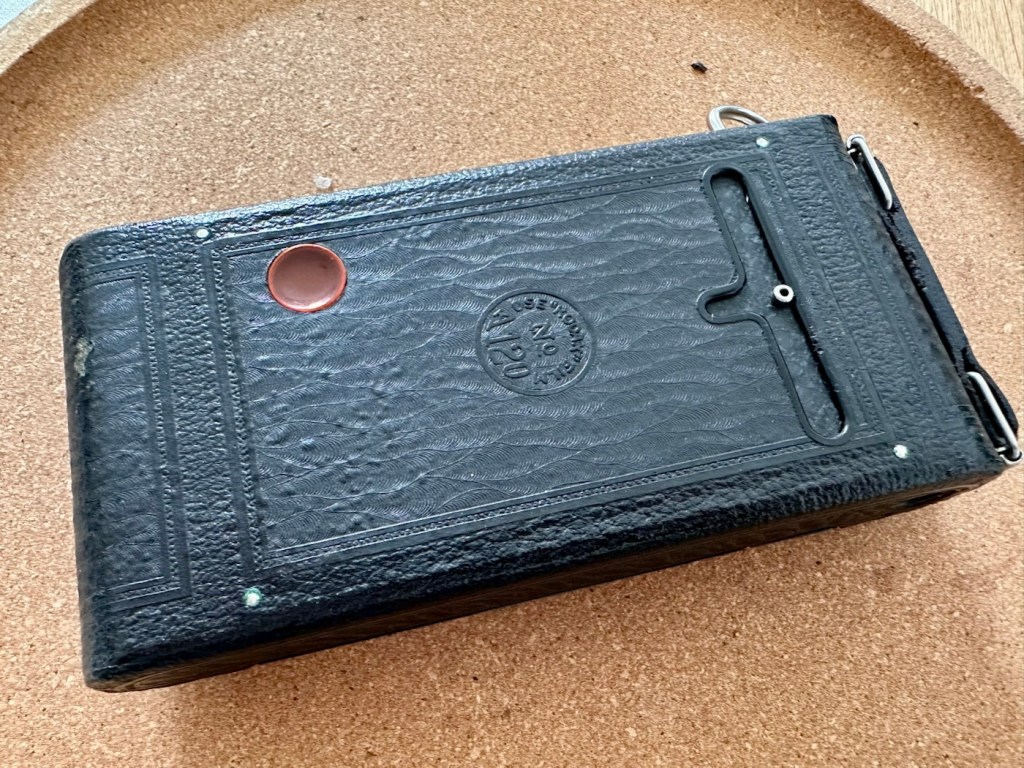
The No. 1 Pocket Kodak was made in USA from 1926 to 1932 (in UK from 1929-1933) and took 6×9cm exposures on 120 roll film. 

In the USA in 1929-31, as well as black it came in four colors: blue, brown, grey and green. These have the Kodar f7.9 111mm lens in a Kodex shutter. All have the Autographic feature. Other lenses were the Kodak Anastigmat f6.3 and Kodak Anastigmat f7.7.

Technical Specifications (1926 Version)

  • Lens: Often an f/6.3 or f/7.9 Kodar/Anastigmat lens.
  • Shutter: Kodex shutter with speeds of 1/25, 1/50, Bulb (B), and Time (T).
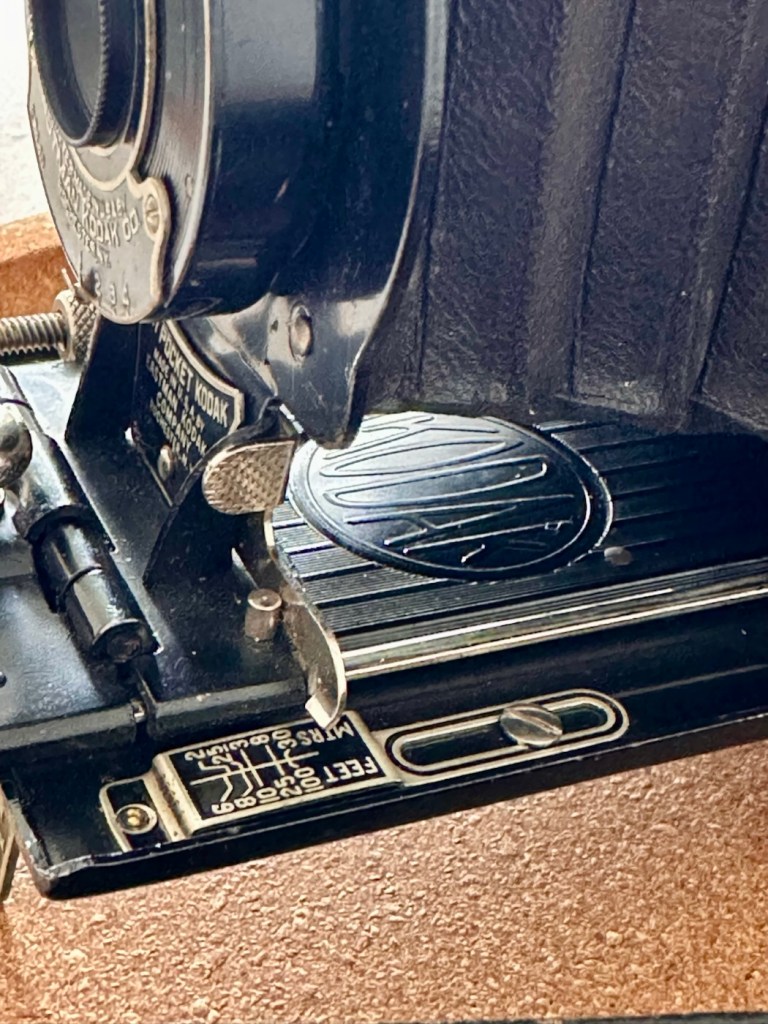
  • Focusing: Accomplished via a worm screw or sliding the lens standard on a track, with a distance scale in feet or meters.
  • Viewfinder: A rotating “brilliant” waist-level finder for both portrait and landscape shots. 

Using the Camera Today

  • Film Compatibility: The 1920s No. 1 model is highly desirable because it takes standard 120 roll film, which is still manufactured today. Older models designed for 105 film can often use 120 film with minor modifications or original 105 spools.
  • Autographic Feature: Many models have a small door on the back and a metal stylus. This was originally used with special “Autographic” film (discontinued in 1932) to “write” notes directly onto the negative. Warning: Opening this door with modern film will ruin your photos.
  • Light Leaks: Due to their age, old bellows are prone to pinhole light leaks. Many users tape the red window or the autographic door with black electrical tape to prevent fogging.

Camera-wiki.org / Google

So let’s do a full assessment on this camera.

Assessment:

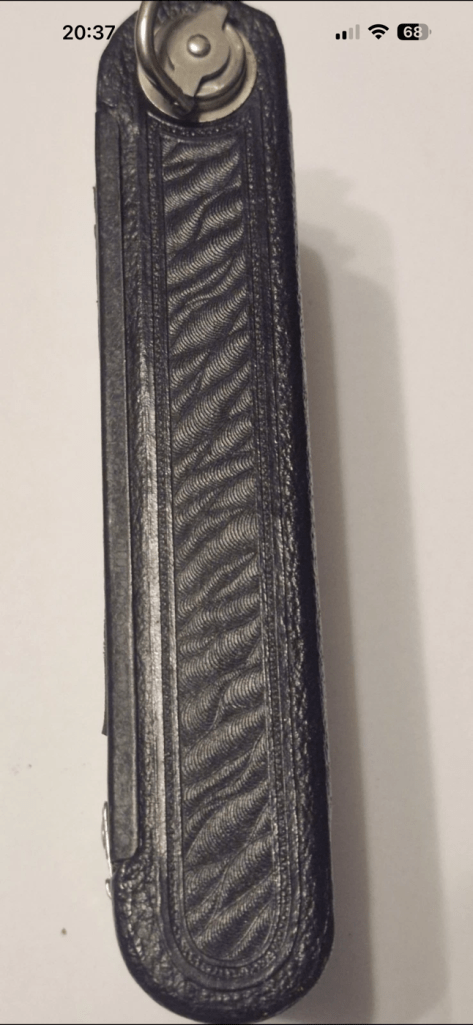
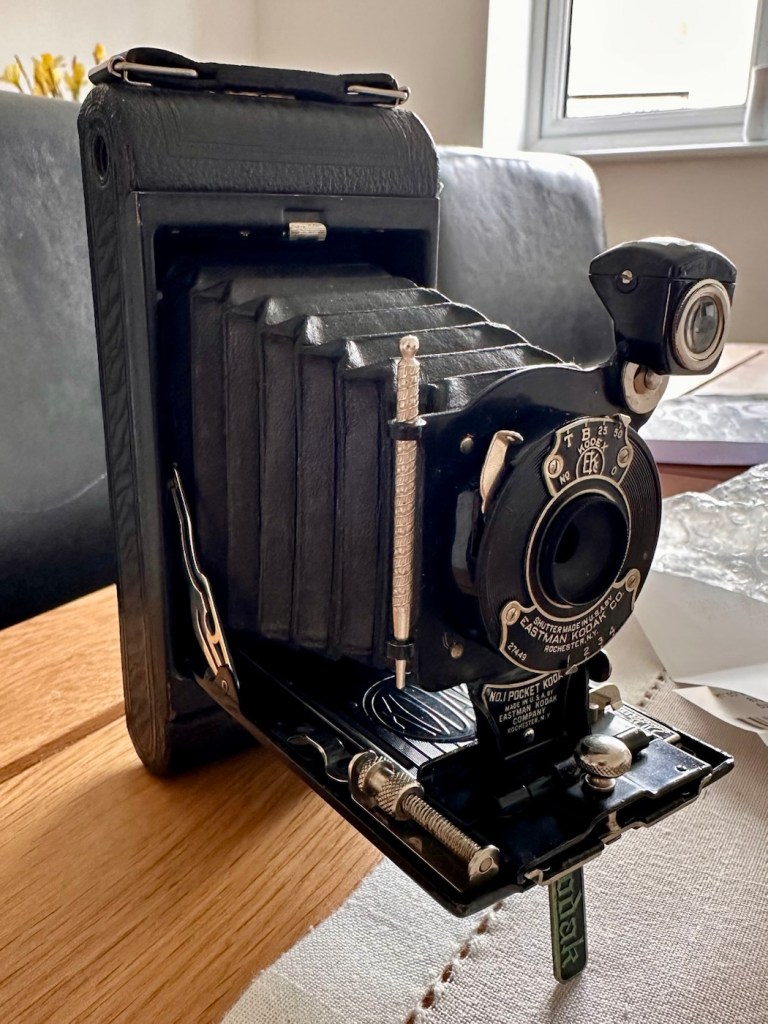
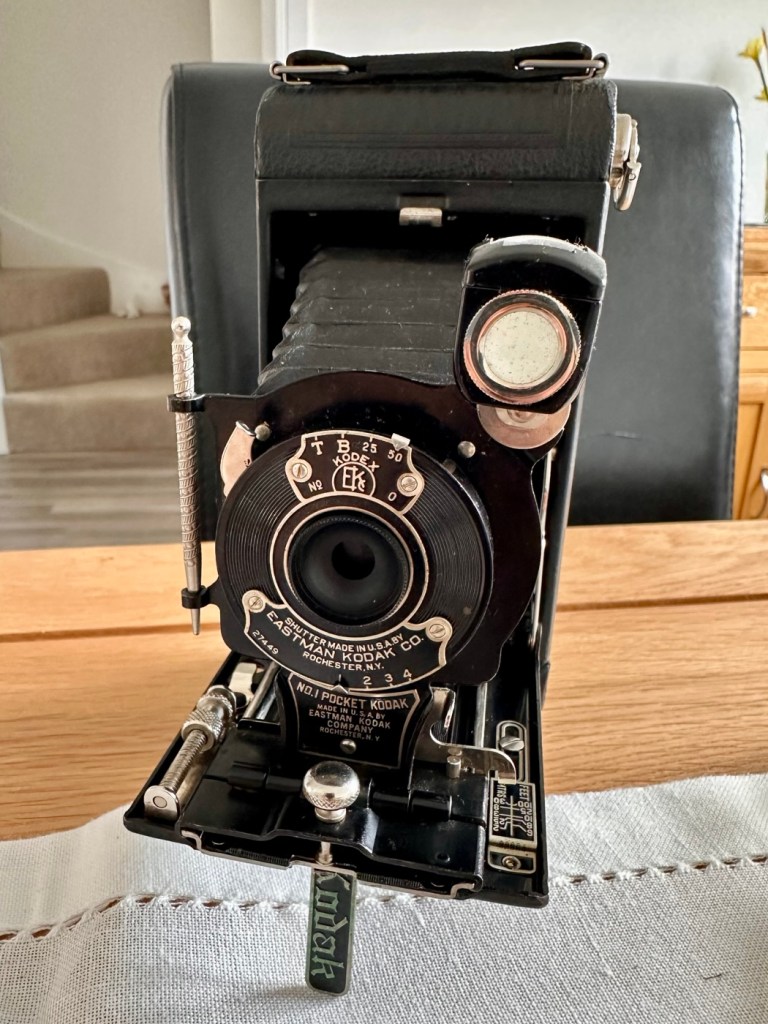
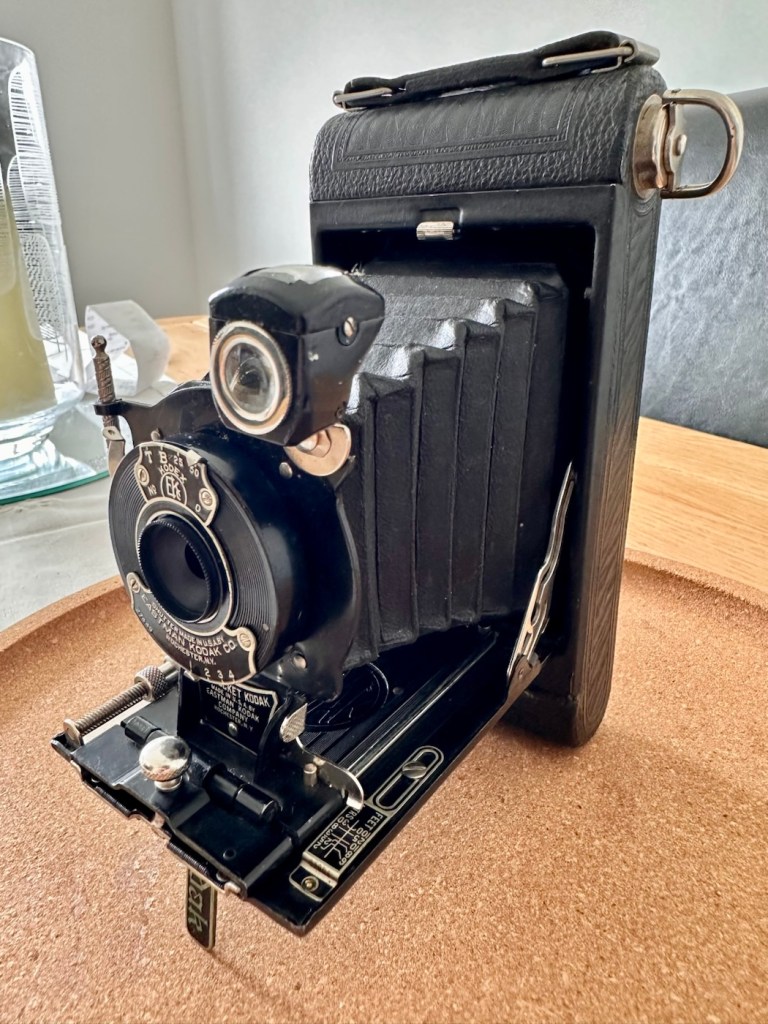
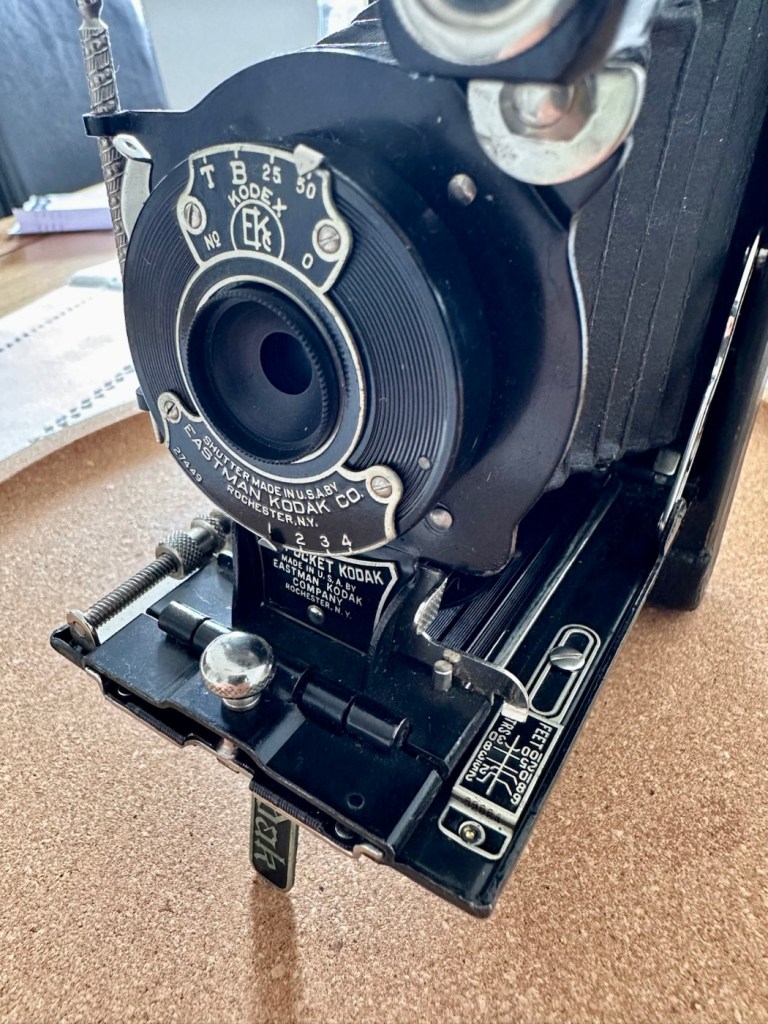
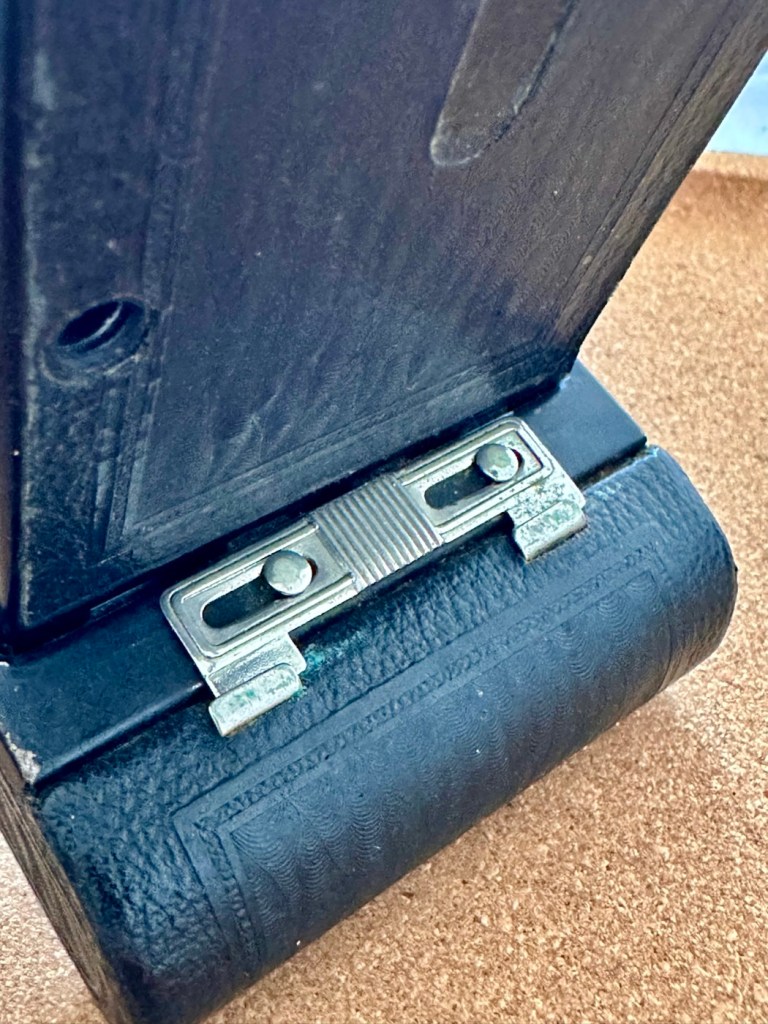
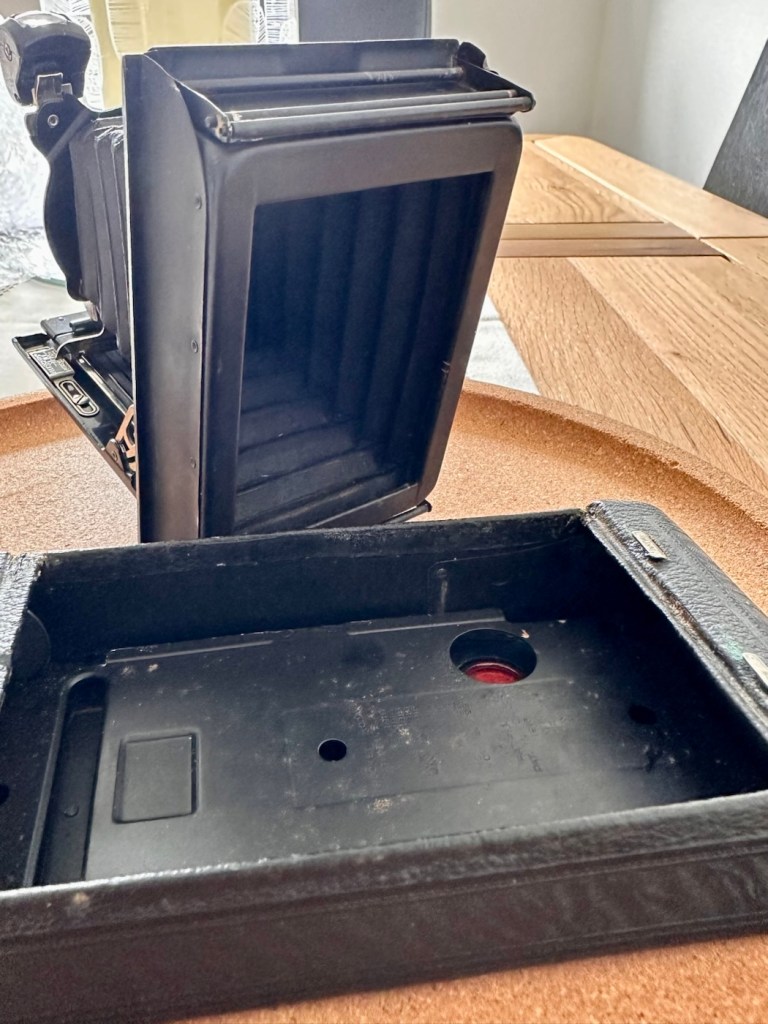
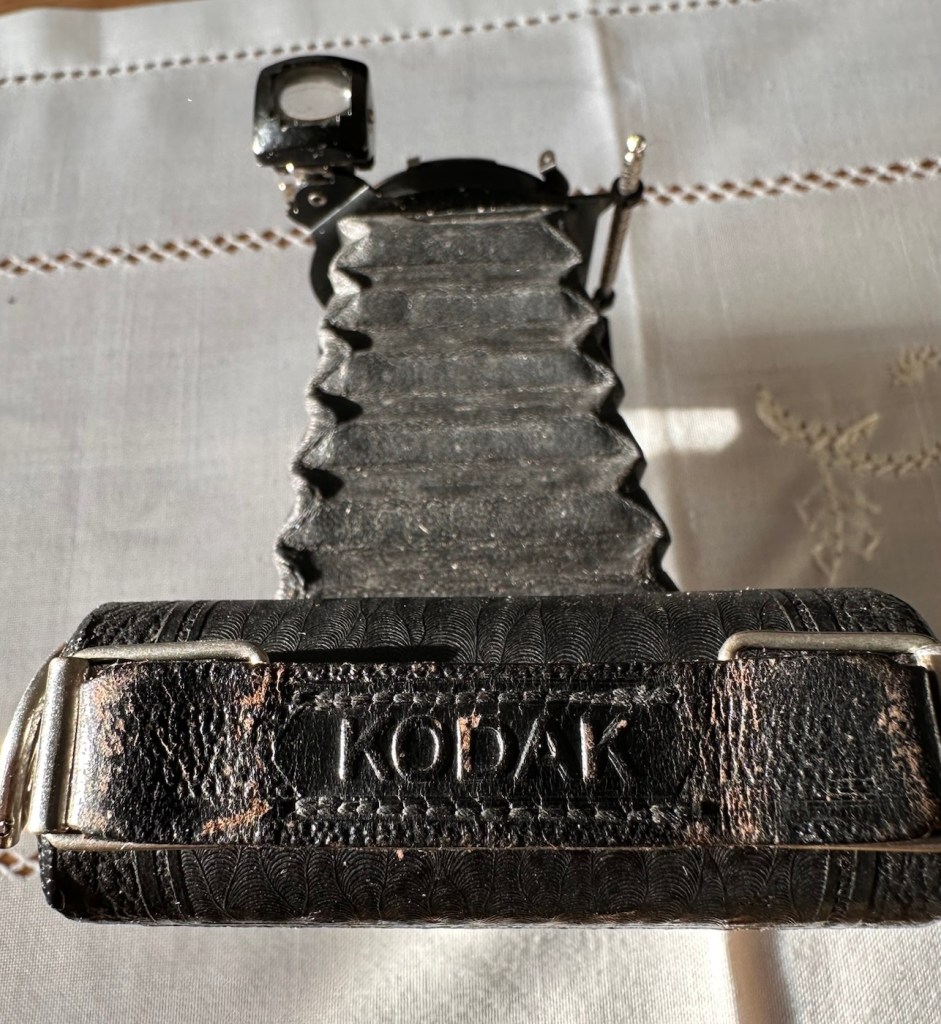
Here’s just what arrived, and for a one hundred year old camera it is pretty much perfect.

For a camera of this age I expected a number of issues.

  • Aroma – due to old age, cameras normally carry a mustiness due to the way they have been stored. This example has no such aroma and appears to have been stored well, and cared for, it just has an acceptable, leathery aroma.
  • Rust – again due to storage I was expecting some damage here. However this example has no rust issues, again this points to the camera being stored with care.
  • Fungus – to be expected on such an old example, on inspection there appears to be nothing more than some light specks of dust. Unbelievable. The viewfinder is a little misty and dusty but this should clean up quite easily.
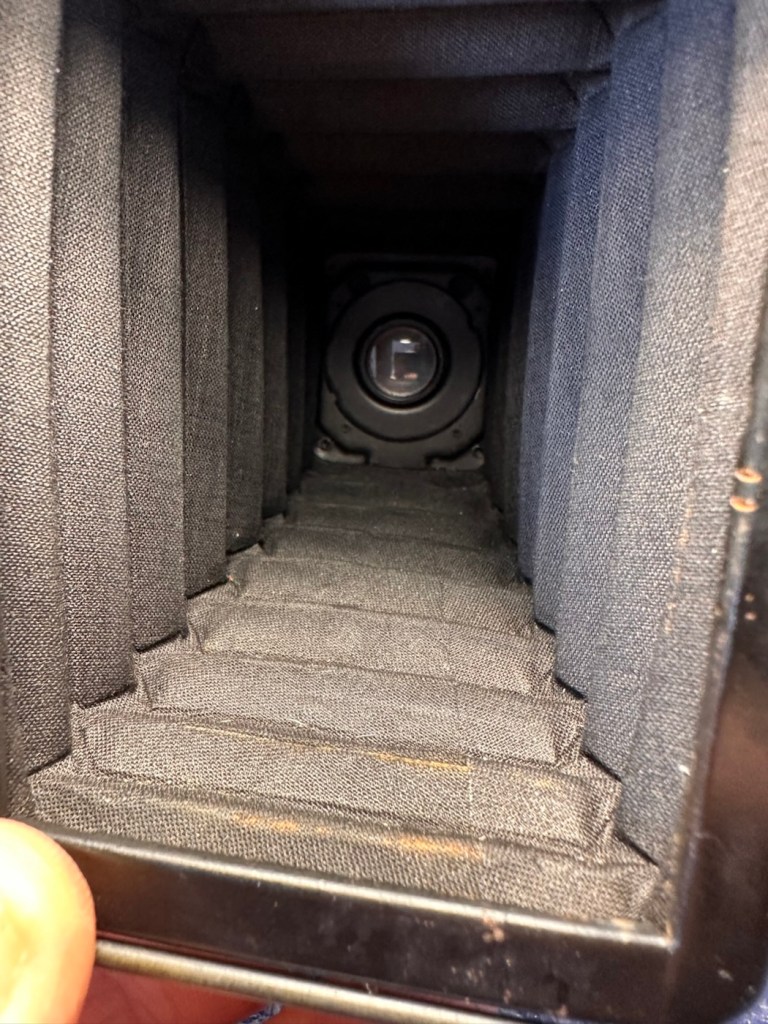
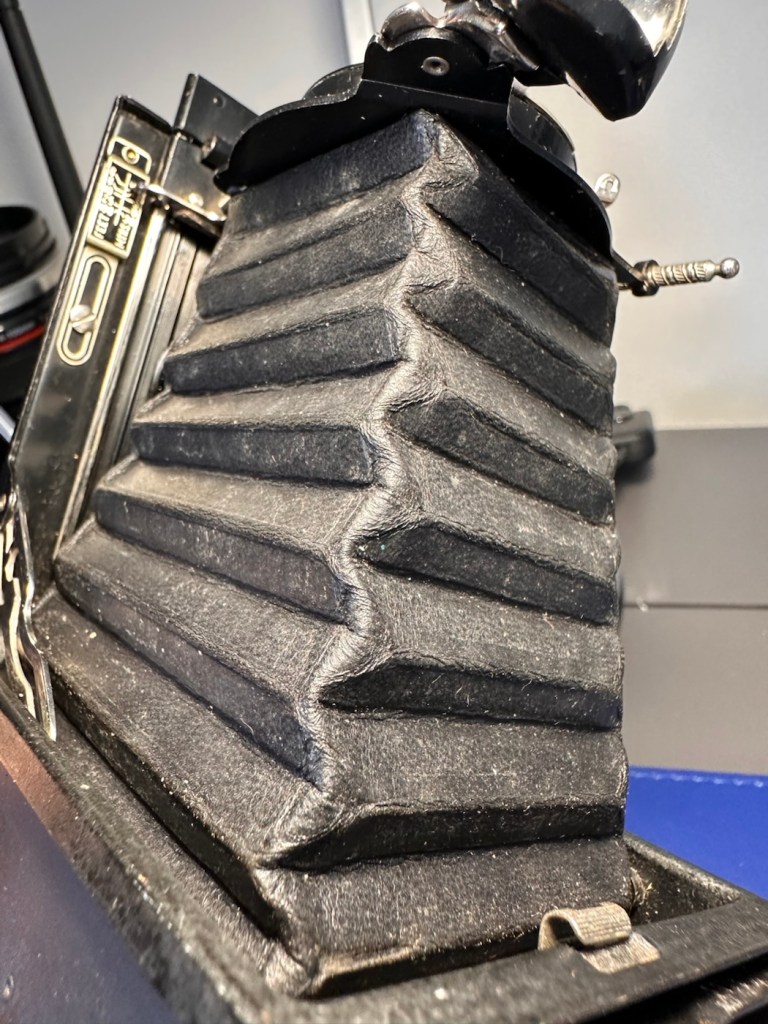
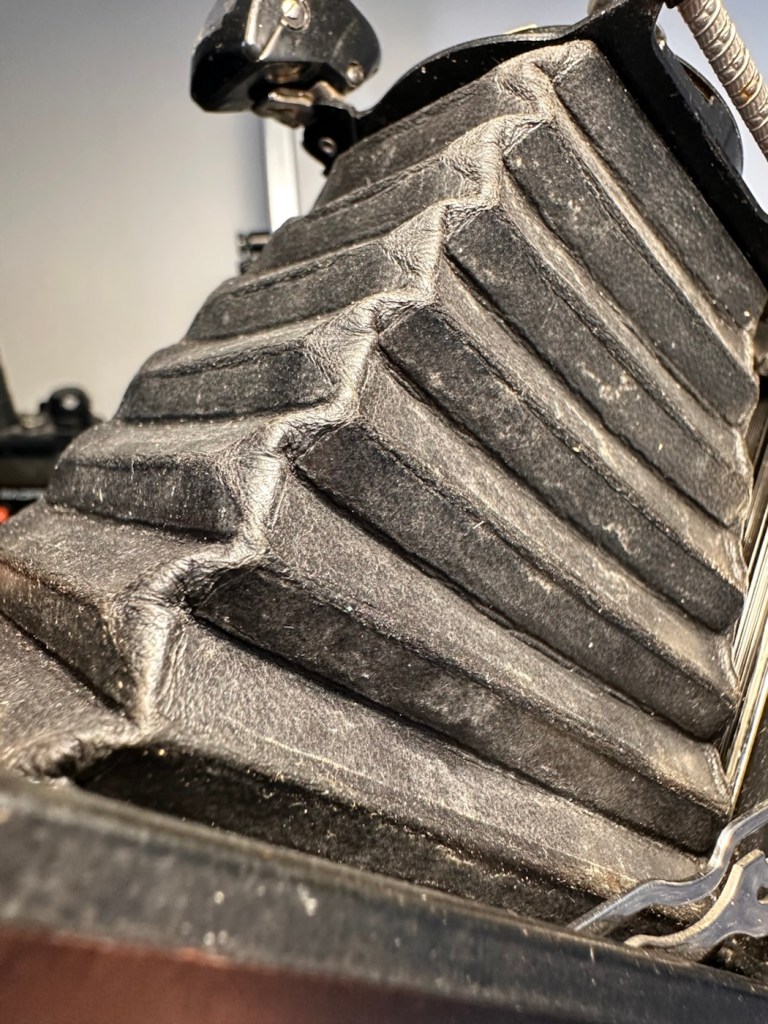
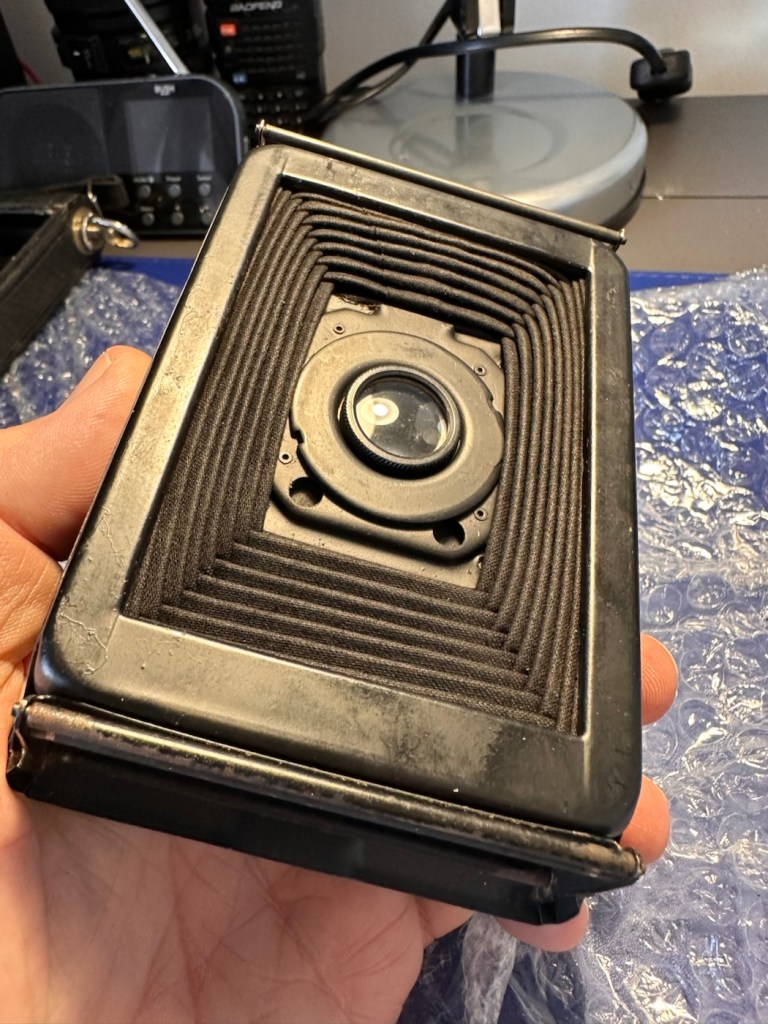
  • Bellows holes – due to the construction of these cameras, time and usage usually causes the bellows to wear and small pinholes to appear. I’m yet to fully test the bellows section, but first inspection in a bright light is extremely positive and there appears to be nothing of concern that is noticeable. However I do need to test this properly prior to putting film in the back. From what I have witnessed so far, this camera appears to have been very well looked after, and I very much suspect it has been very lightly used.

Personally, this antique camera is in a far better condition than many that I have, that are a great deal younger than this camera. I’m very optimistic that I will be able to run a roll of 120 film through this camera before too long.

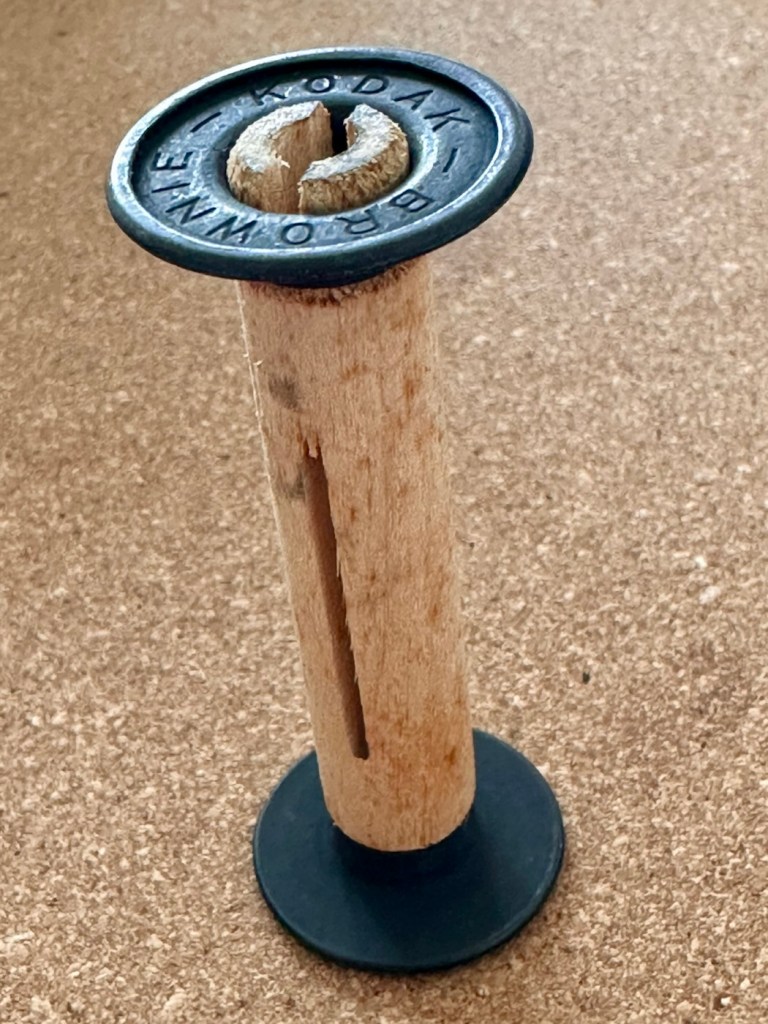
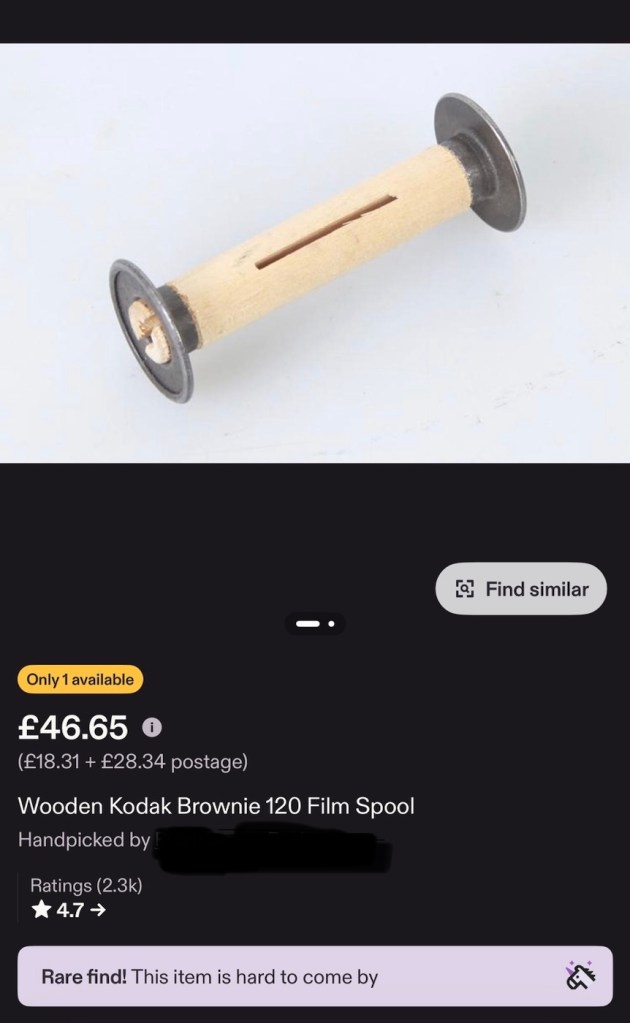
If you look at the pictures above you will see that the camera came with a “wooden” film take up spool. These features were typical in pre war cameras. What is really annoying me at the moment though, is the ridiculous prices some on line sites are charging for this small wooden roll on its own. Who the heck is silly enough to pay these prices? It’s almost 6x the price I paid for the actual camera 🤦‍♂️

On Etsy. Sellers name blacked out to preserve dignity….if they have any in the first place?

The fools.

Anyway, back to reality and this camera. Repair wise there will not be a great deal to do apart from some cleaning and minor adjustments. I’m not going to tamper to be honest, how does the saying go? If it ain’t broke, don’t try to fix it. And that will be the mantra for this camera. A sympathetic restoration is the order of the day with minimal tampering.

Repair:

Let’s start at the front and work our way back. First the bellows.

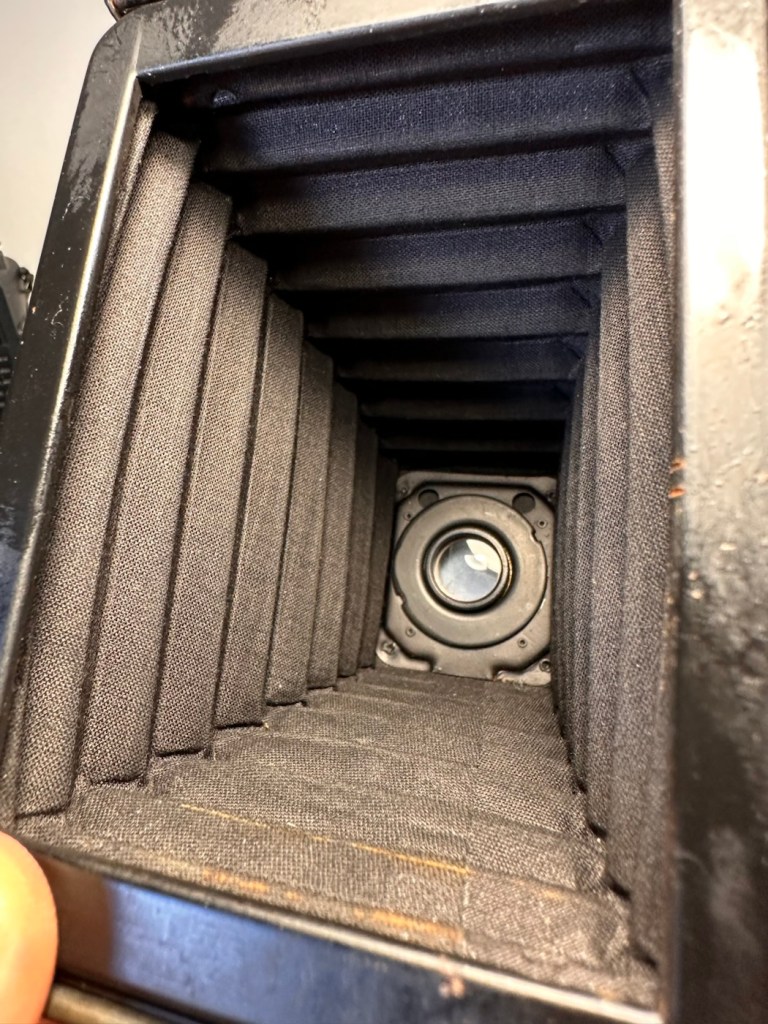
Both inside and out the bellows have no signs of dryness or bad cracking. With a powerful light both inside and out no light leakage or intrusion can be found, this does not however rule out that there may be a pin prick leak somewhere, however on close inspection of all the bellows and its folds all seems well.

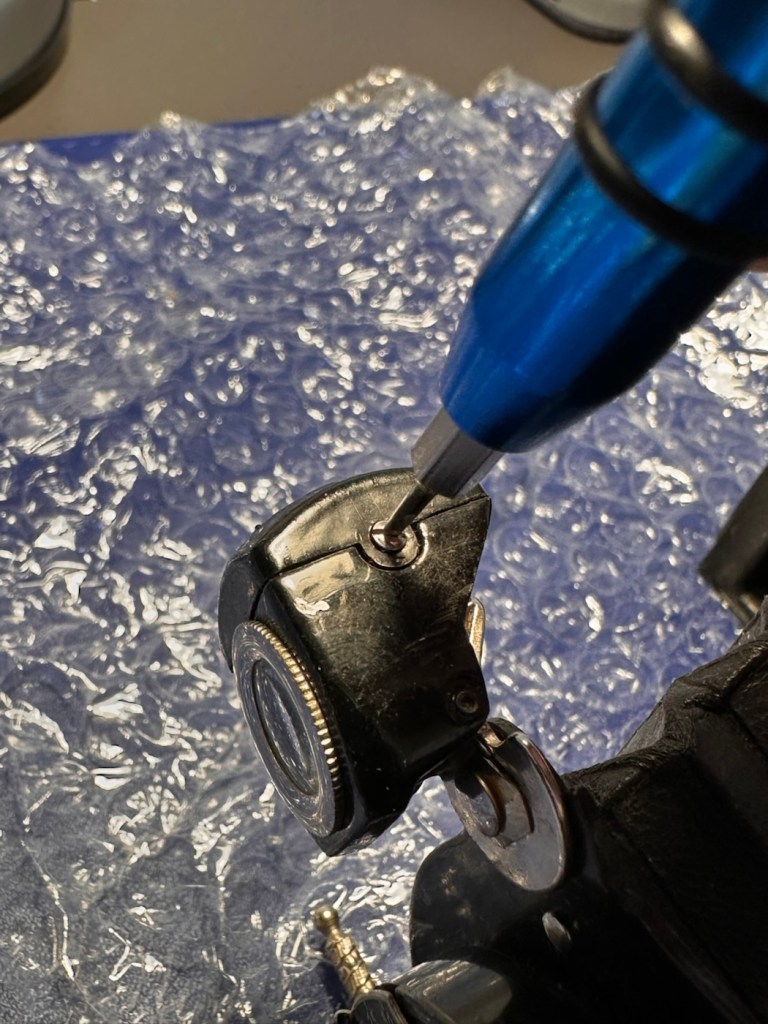
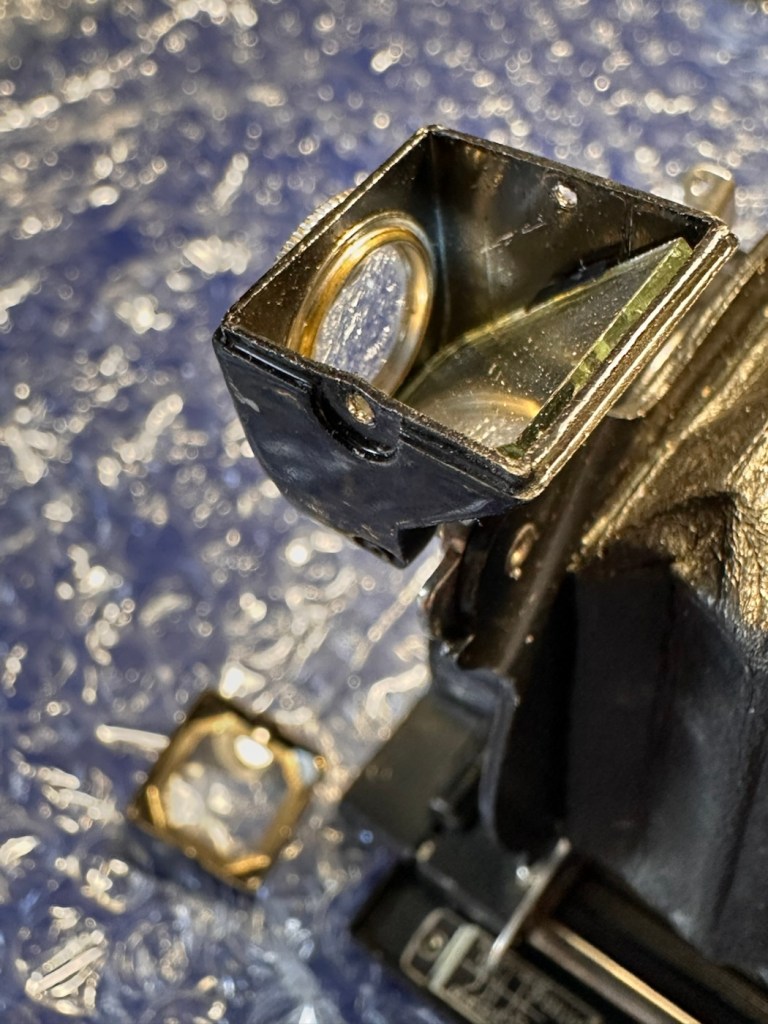
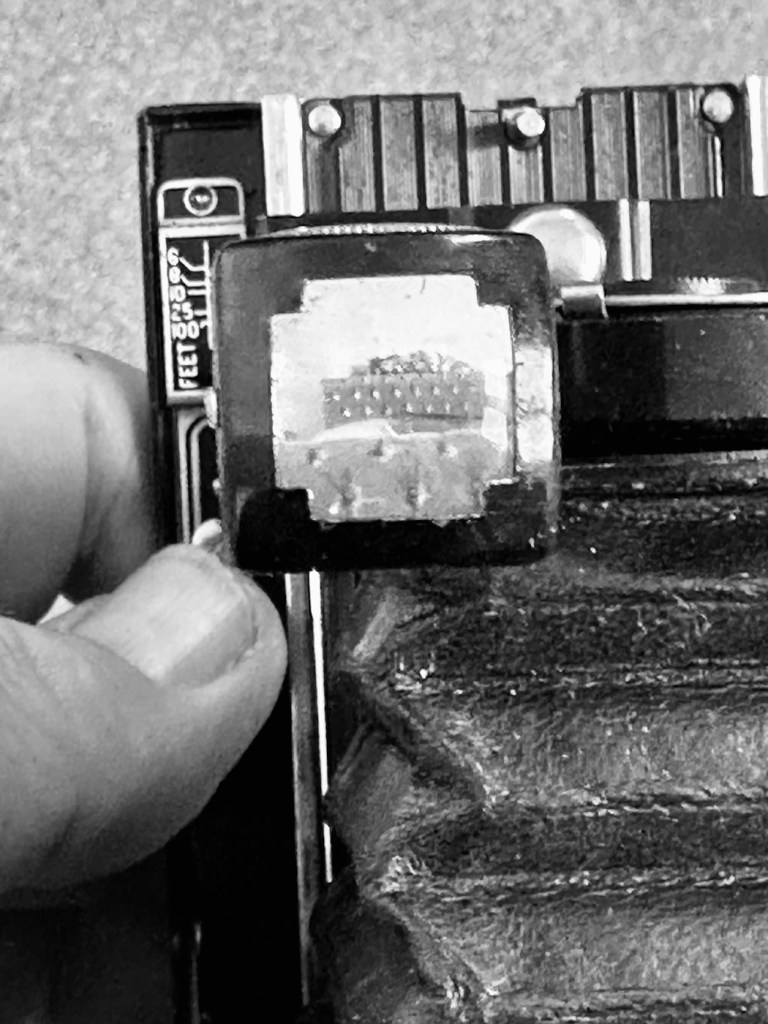
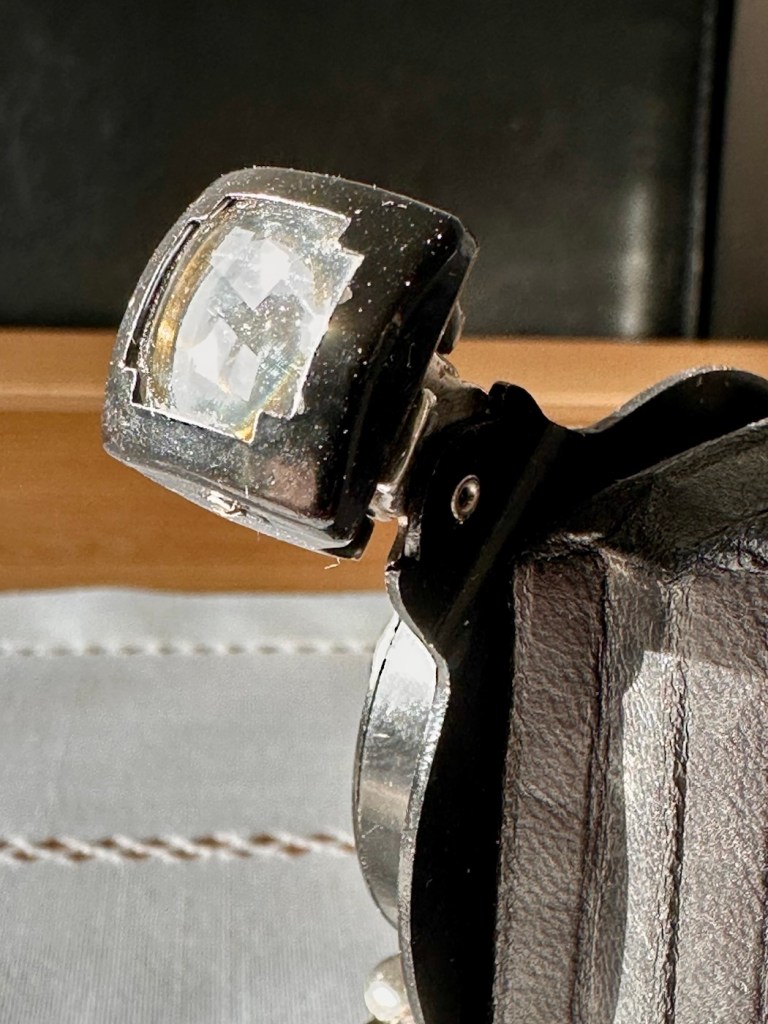
Next the bright viewfinder. Just two screws give access to the glass lenses, both are a bit dirty and clean up quite well, however there are a couple of spots of old age pitting on the glass, this is not bad, considering the age.

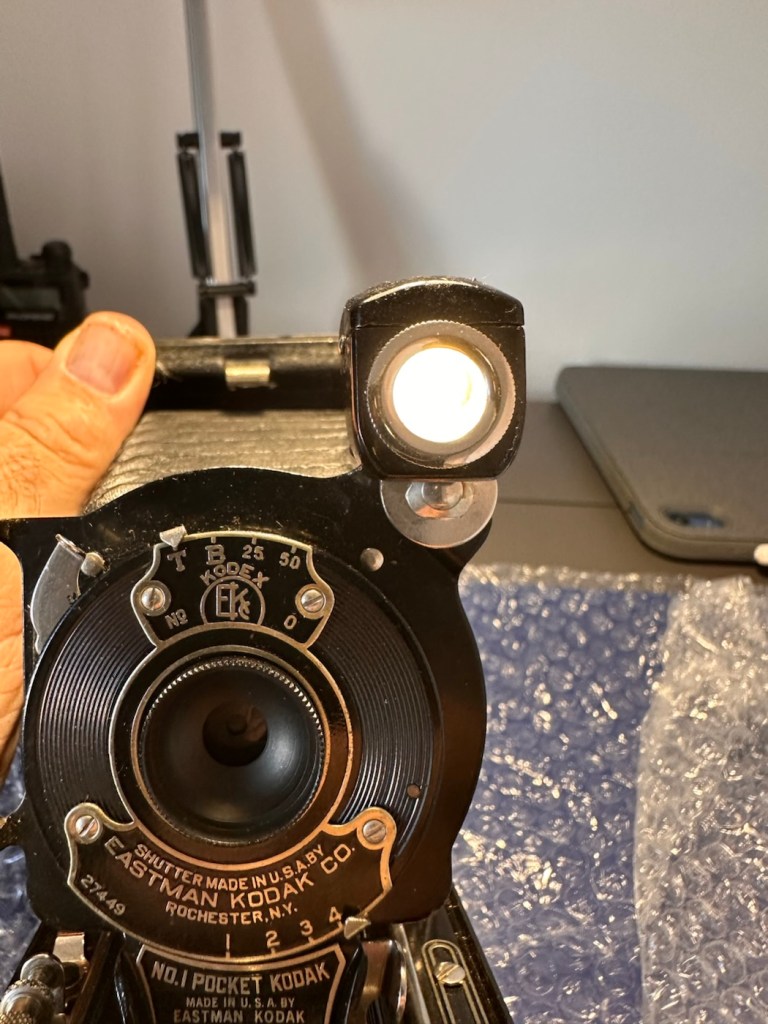
The viewfinder cleaned up well, it’s just a reference and not an accurate representation of the view that will be on the negative.

I haven’t touched the lens or leaf aperture as they both appear to be working fine.

Next we move to the inside workings and the rear of the camera, to just give a general clean.

I certainly removed some dirt from the interior area

And after all this cleaning has been done, a final clean with some polish and a good buff up completes the repair.

Result:

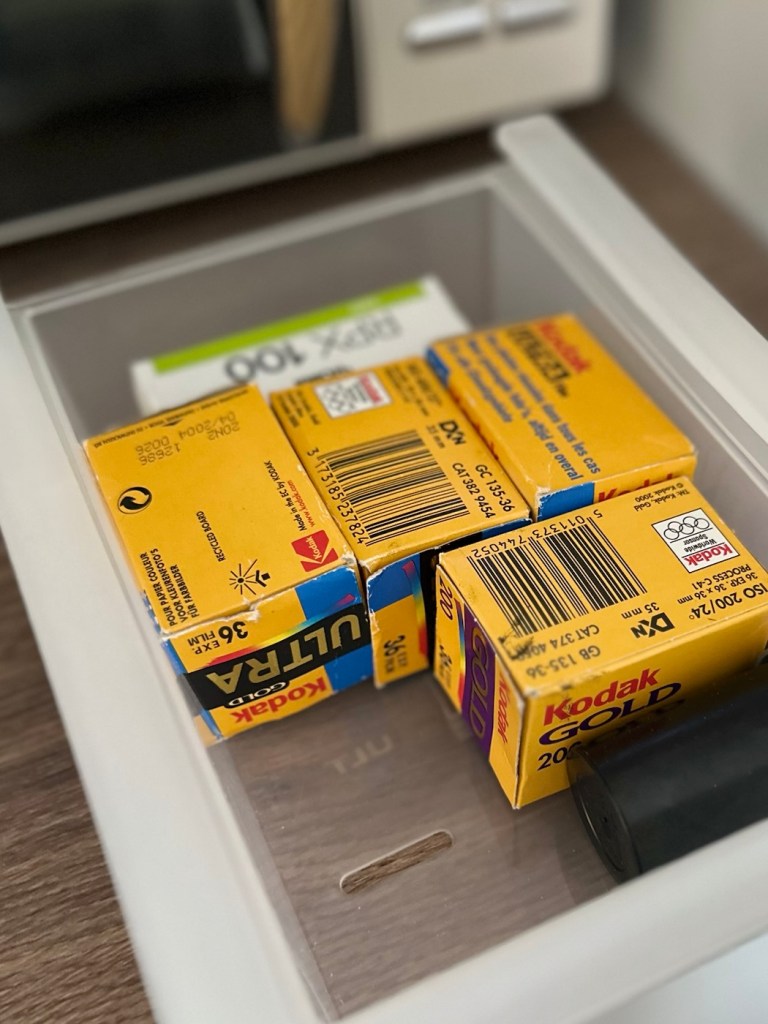
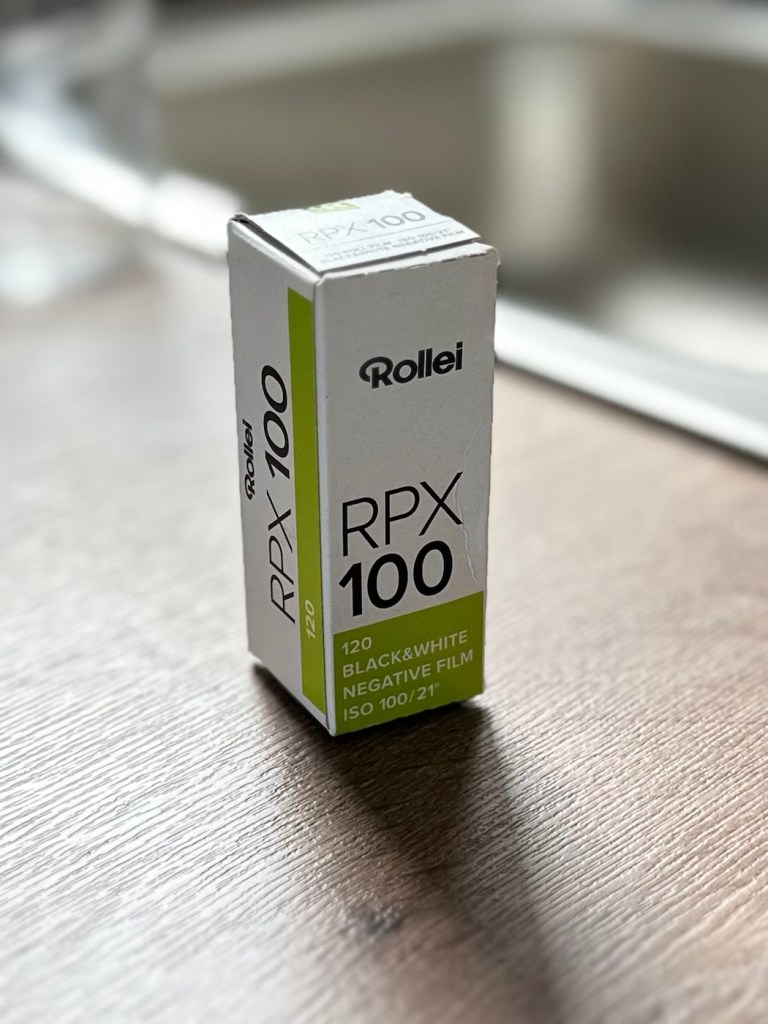
So what’s that I’ve found lurking at the back of my little stock of films in the fridge tray? it’s a roll of Rollei RPX 100 B/W, only a couple of years out of date, so this will be the perfect film candidate to test this camera with.

There wasn’t a great deal needing to be done to this camera as I previously stated. For an antiquity it is in a superb condition, and to be quite blunt, you don’t mess too much with such an item. Make it work yes, but keep it real. This is a hundred years old and represents times gone by, it’s aged perfectly and doesn’t need to be tampered with.

After the clean, I now present a number of photos to show what a wonderful piece of photographic history this is.

I have a roll of 120 film that will be shortly used to test it out. It’s been an absolute pleasure to work on such an old camera, and just to appreciate the skill and dedication that went into making such a beautiful hand made work of art. I am proud to own such an item and I’m hoping it will still be used for many years to come.

This is now a very important part of my personal collection, and I hope it will still be around a good time after I have taken my last breath.

Low cost, high personal value and an historic photographic legacy that I hope to pass on.

Thank you all for passing by, it’s always very much appreciated. I will post the pictures taken with this roll shortly.
A bit of Black and white

Just a few black and white pictures, taken whilst testing various cameras I’ve been working on recently. Just snaps, don’t get too excited.

Just a few pictures taken recently on various cameras I’m testing out. Nothing special, just mooching around and taking snaps.

All around the Leicester / Melton Mowbray area.

Have a great day.

Sometimes, but very rarely, “AI” may just work in your favour.

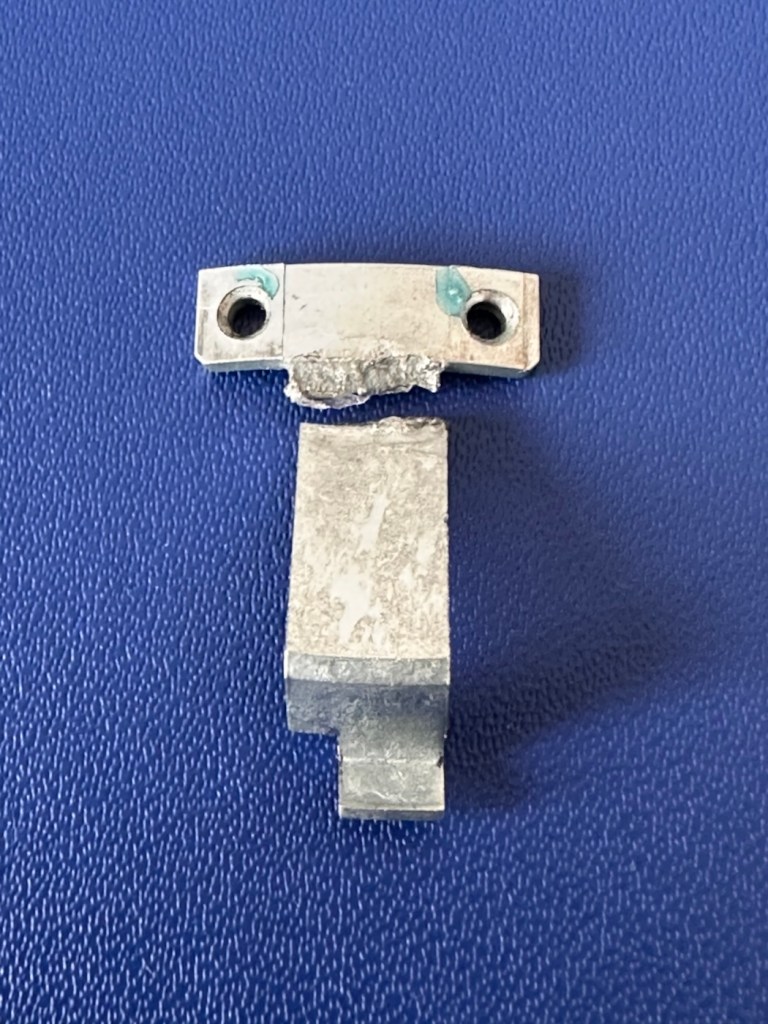
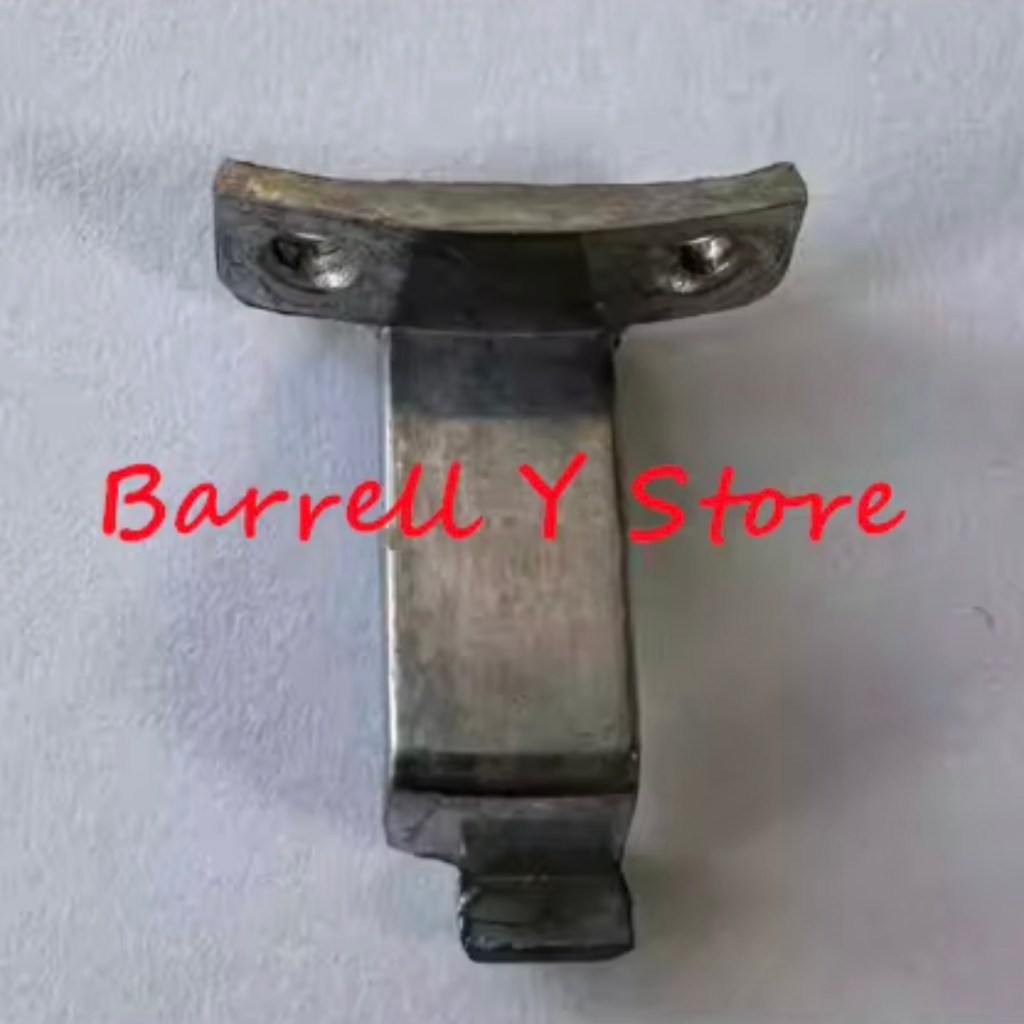
I’m fixing this lens and came across this broken part. But what is it called? Does Chat GPT know the answer? It seems it does.

Please do not for one minute consider this an endorsement for AI, it’s not. I very rarely ever use it, and to be totally honest I keep as far away from it, as i possibly can. The only issue is, is that it gradually sneaks through the back door unannounced in pretty much any application or program that you now use. There is no escaping it really, even here on WP this week I received an invite to start using AI to write my posts and to control their content and SEO compatibility, whatever that is. Straight in the bin it went, no thanks, not interested.

I know my grammar and punctuation leaves a lot to be desired, and sometimes it is very poor, but hey! That’s me and I don’t want to suddenly appear to be a fully functioning and academic genius, as that’s just not me. I’m a Comprehensive educated drop out, that has managed ok thank you, and I don’t need some computer to portray me as something I’m not, or am likely never going to be.

Rant aside, let’s get back to the story that is based around the item in this picture.

What’s that then?

I’m currently carrying out a repair on a Canon EF 28-200 lens from around the year 2000. Whilst dismantling this lens, the above part became the item of interest as this is a piece that controls the zoom of the lens, hence this lens never really worked due to it’s inability to focus or zoom, and the item above appears to be the guilty party.

It’s broken, that is clearly obvious to see, it’s made of an alloy, possibly aluminium, and is not repairable by soldering due to the immense high temperatures that would be required. I can’t achieve such temperatures as I don’t have the equipment available to do such work. I could try forming something from scratch, that is an option but I don’t really have the time or patience to be honest to spend such time on such a tiny piece of metal. The whole piece is no bigger than 2cms long at its longest point. It really is tiny but essential for the smooth operation of this lens.

This is where the AI help comes in.

Having looked at many repair manuals belonging to Canon, I have an immense list of code numbers but nothing at all explaining what this item is or if there are any still available. I’m kind of lost and at odds as to what I should do.

In desperation, I type something similar to this request into Chat GPT:

“Long angular aluminium piece, working the telephoto element of a Canon EF 28-200 lens”

And this came back as an option:

Bingo – Courtest of Barrell Y Store – Ali express

Wow. That looks familiar!

And it is in-fact the part I am looking for, on the Ali Express site, our friends in China have one left in stock – “Click” that’s purchased and is now on its way to me.

I am now also fully aware of what it actually is, apparently it is called a “Zoom guide pillar, zoom lever, electric brush lever for a Canon 28-200 zoom lens”

Well there you go, it appears AI is good at deciphering the ramblings of a frustrated and confused 60 something. And in this case it did very well. When this arrives I’m going to give it to one of the tool makers at work to get him to make a few copies, I’m even going to see if I can get a few printed out 3D wise to see how the plastic version holds out under the demands of the lens. I don’t foresee any real issues as long as the lens isn’t mistreated in any way.

Well. That’s my major frustration of the week, and my first real face to face involvement with AI.

It can only get better, or can it?

Have a super day. Stay real.

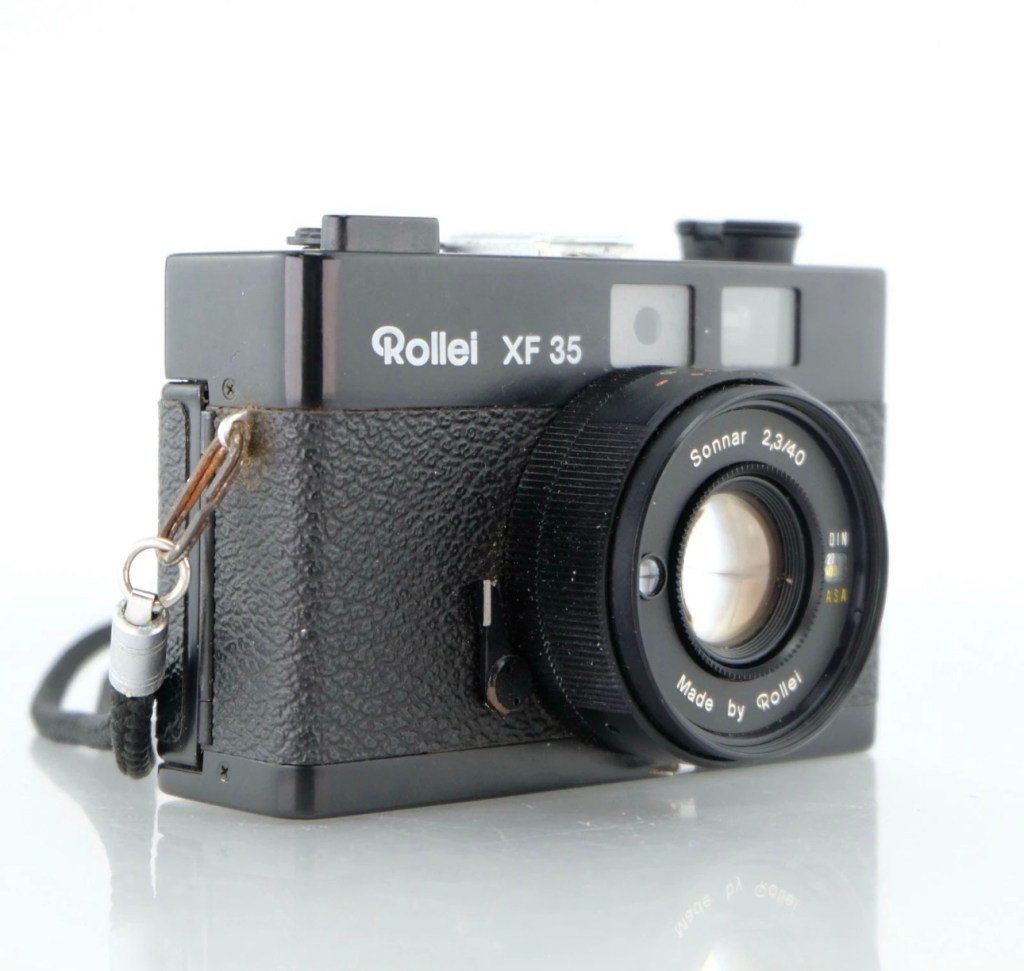
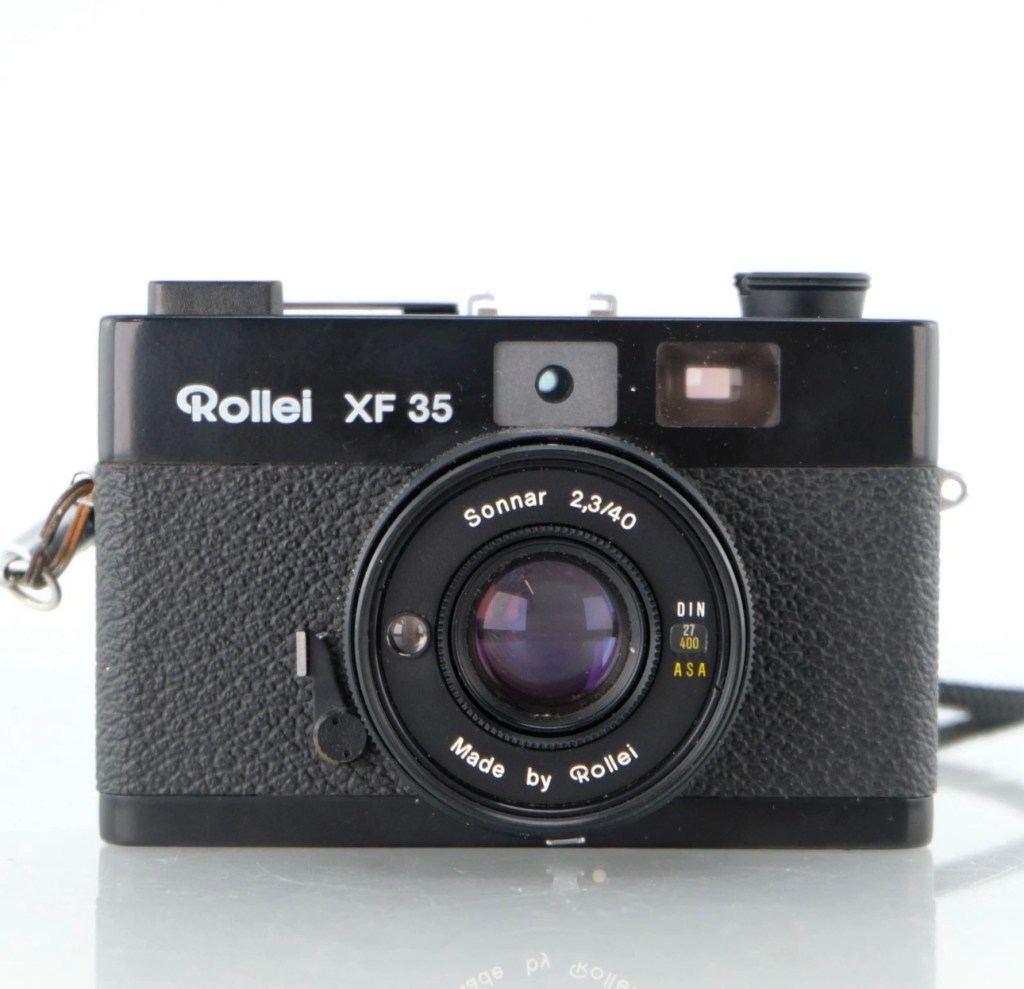
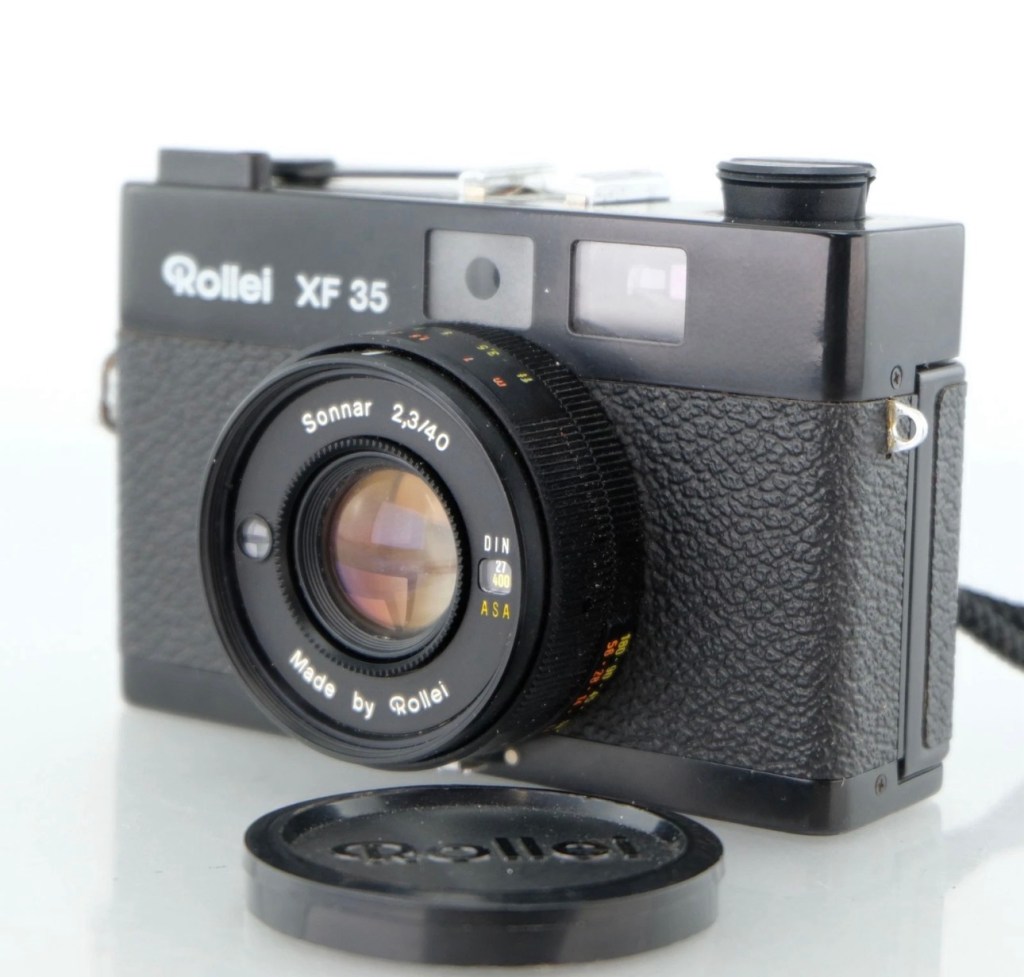
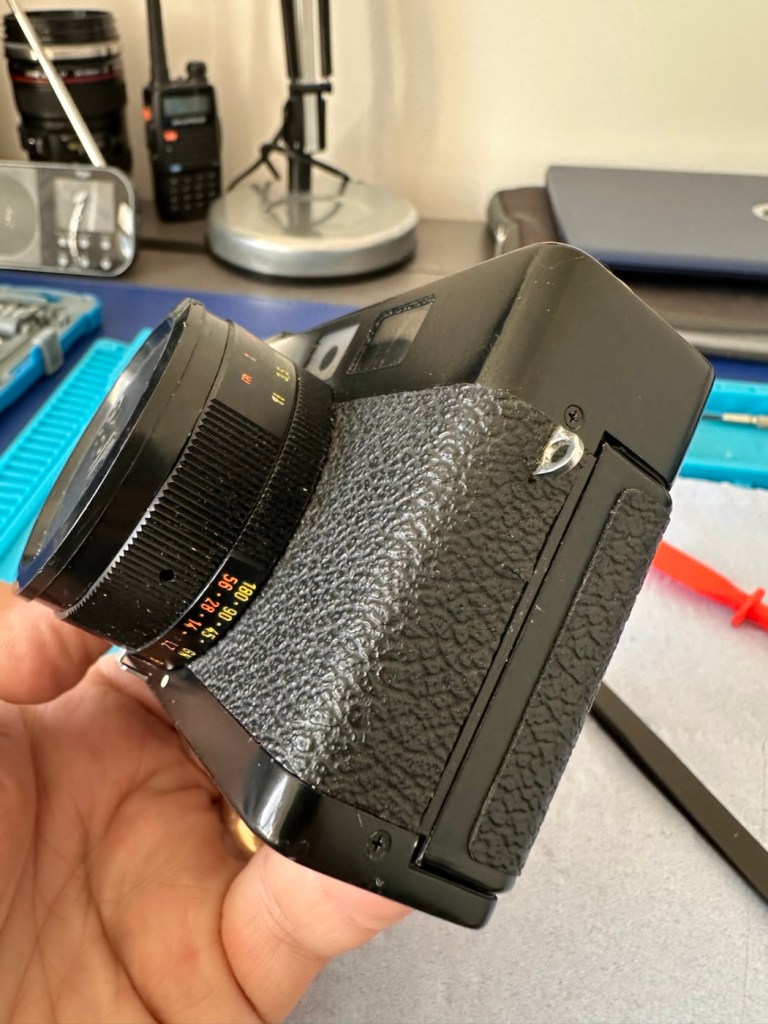
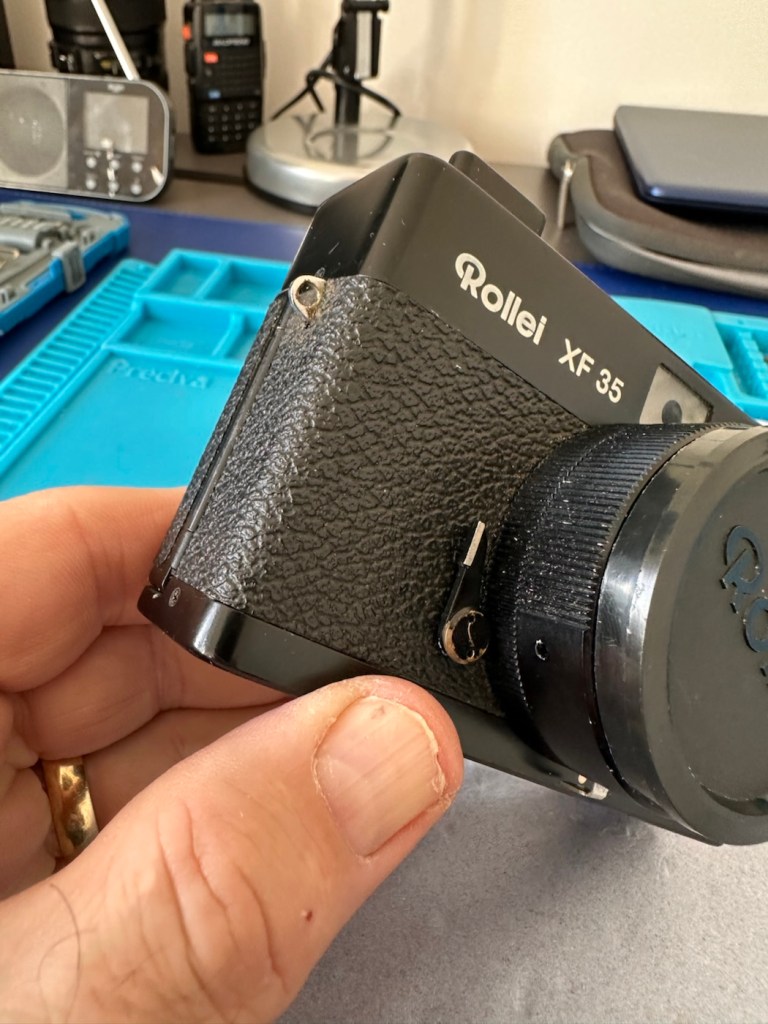
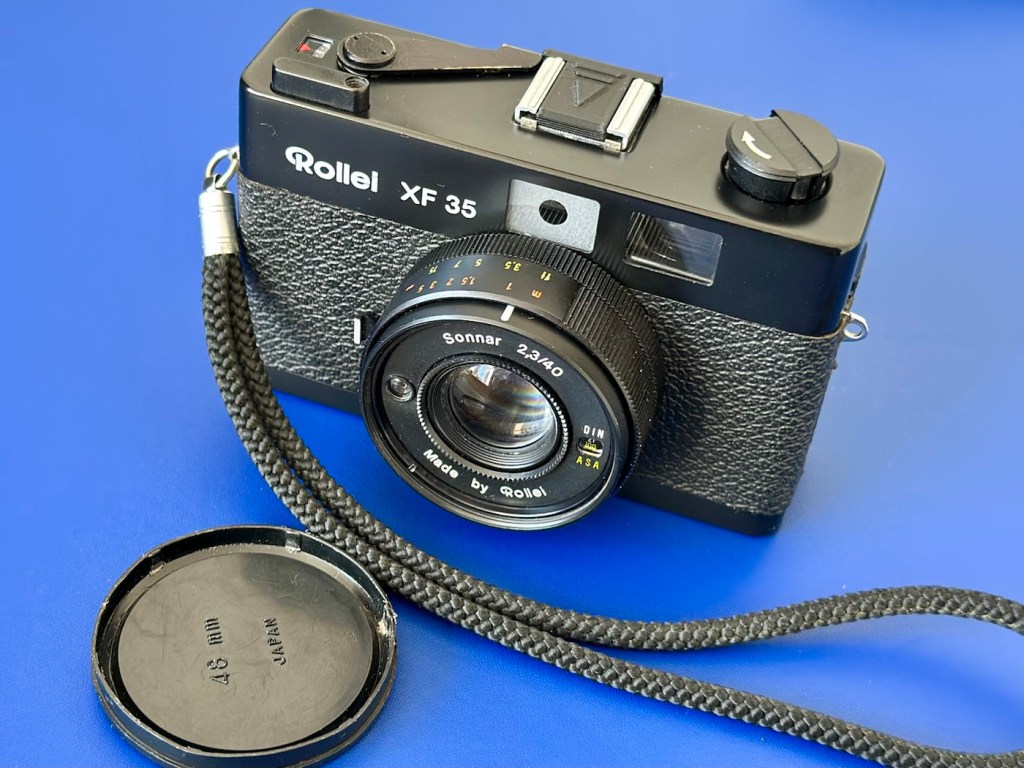
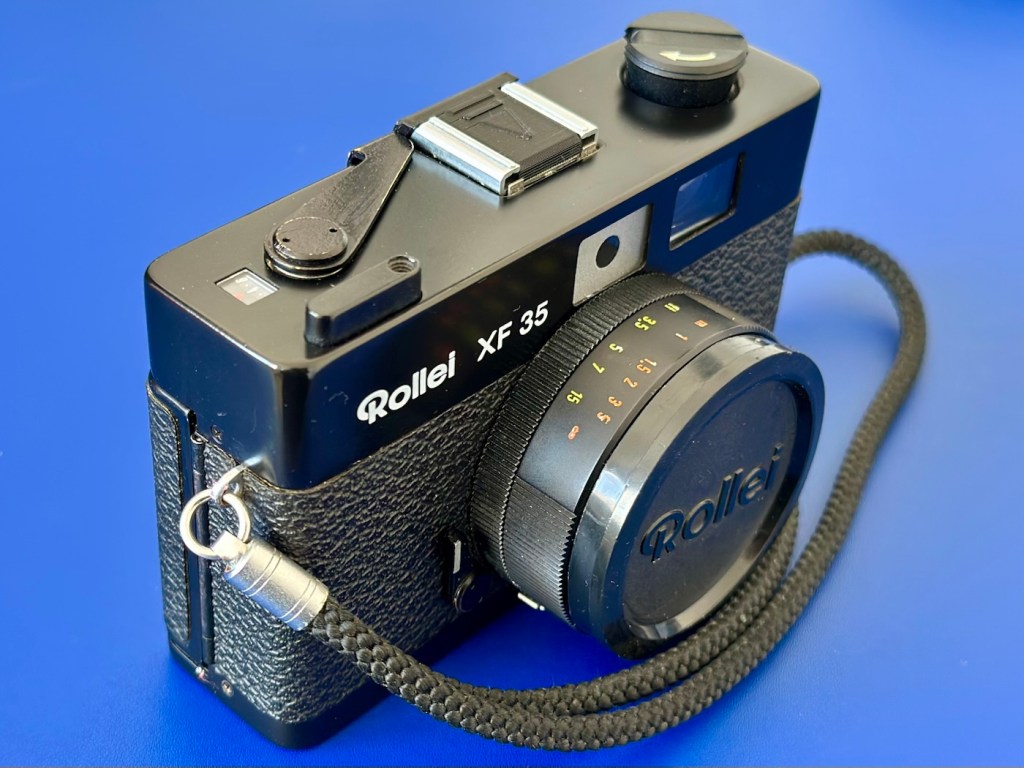
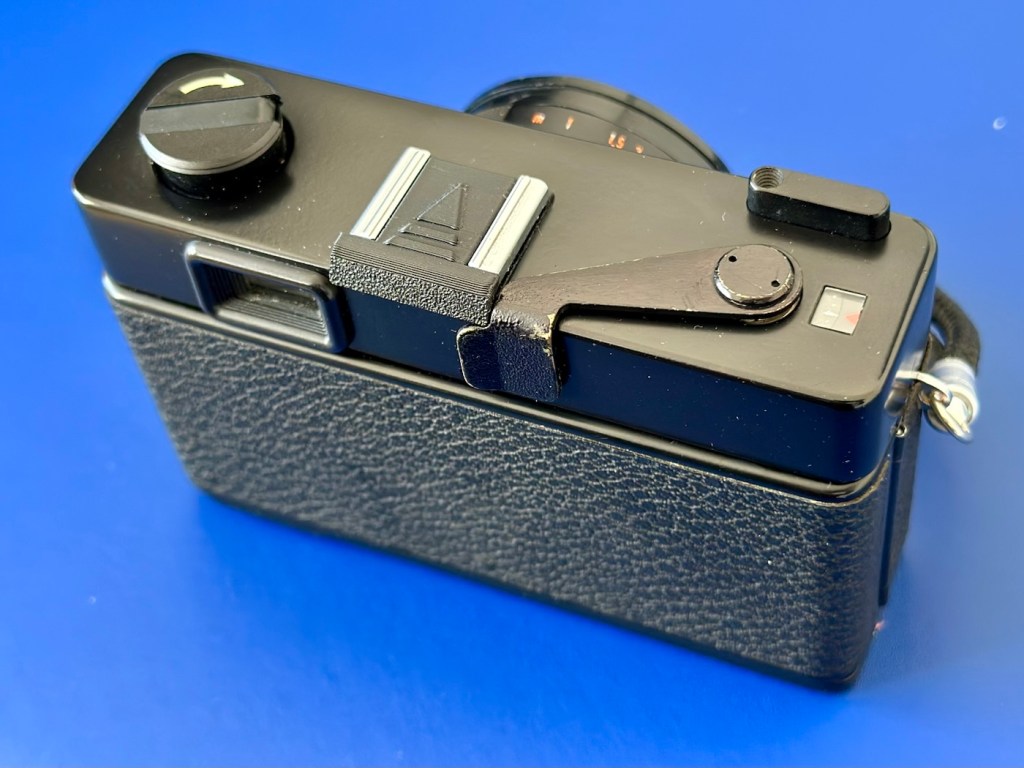
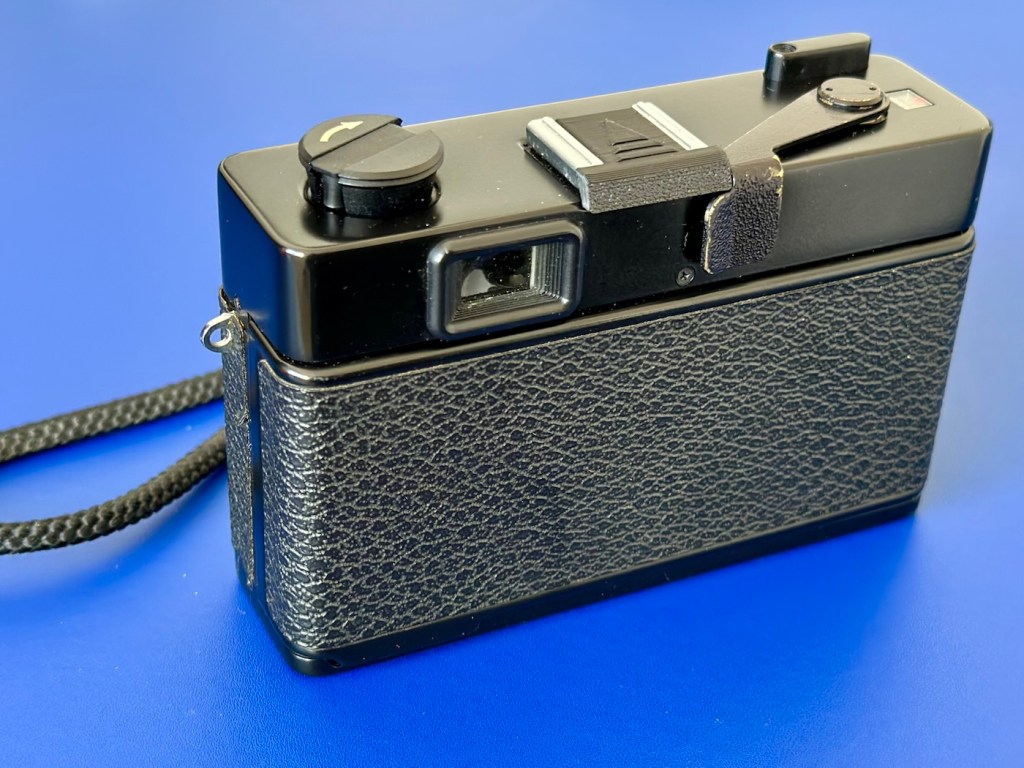
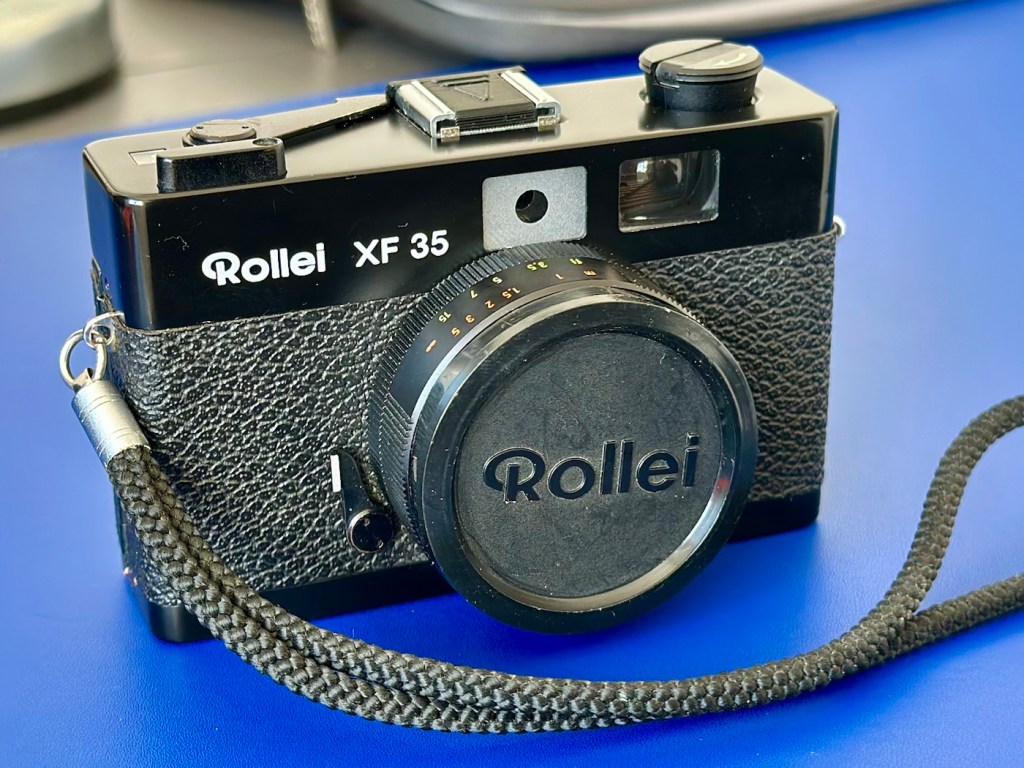
Rollei XF 35 35mm Rangefinder Film Camera 

I’ve just purchased an old Rollei 35 XF rangefinder from around 1974. It doesn’t work, so let’s see if we can get it working again.

What the listing stated:

The Rollei XF 35 is a compact vintage 35mm rangefinder film camera made in Germany, known for its classic design and portability.

This camera is being sold as spares or repairs and does not power on. It has not been tested with film and is not in working condition; functionality of the shutter, meter, and other features has not been confirmed.

Cosmetically, the camera shows typical signs of age and use, but no major damage is visible. Please note this item is intended for parts or restoration and is not guaranteed to function.

Accessories included: wrist strap and lens cap.

EBay

I like these little point and shoots. I’ve always wanted one, and ideally I would like an original 35, but in the meantime I’ll settle for this one. Not working, only £17:00GBP, this was a bargain price for an old camera with a lens that has a superb reputation for having good optics. It’s a bargain basement price for a camera that has a lot of potential if I can get it working again. I have purchased from this supplier before and they are a good bunch of guys and girls, so I don’t believe I am being ripped off in any way. This camera dates from from around 1974.

Here’s a little bit about this camera:

The Rollei XF35 is a small 35mm full frame Rangefinder camera released by Rollei in 1974. The same camera can be rarely found under the brand Voigtlander: in this case it’s called VF135. 

This camera provides only a programmed exposition, with a CDS cell powered by a small 1,35v PX 625 mercury battery. A ring around the lens must be set to the right ASA/DIN value.

The shutter is a small Copal central type one, that also works on relative aperture.

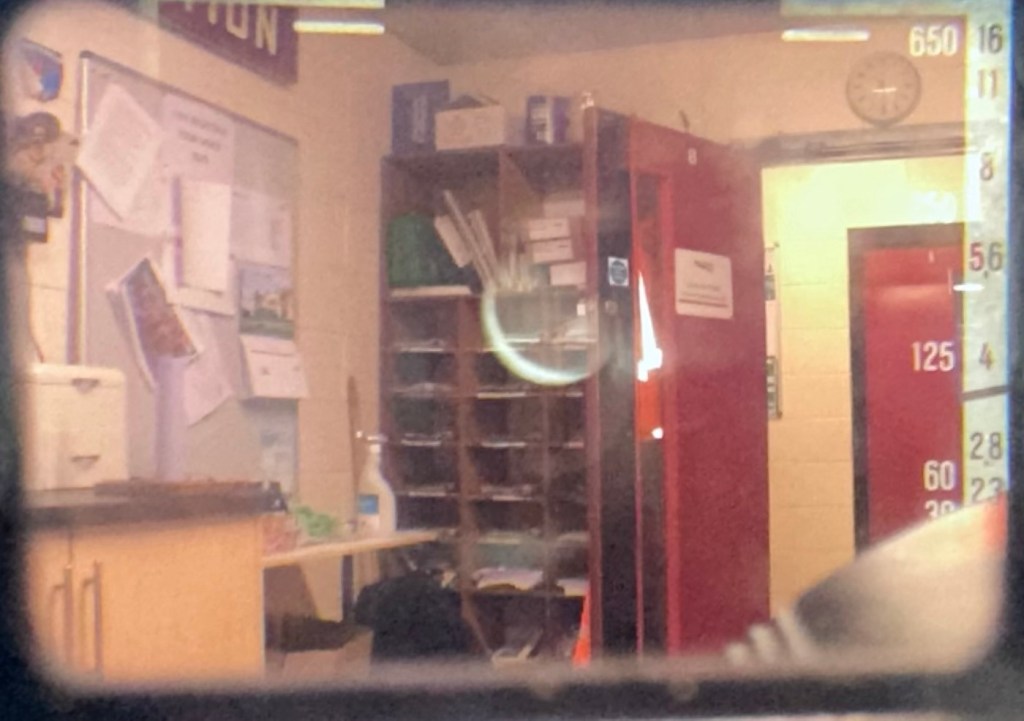
The lens is a Carl Zeiss Sonnar-derivation, built under license by Rollei. It’s a 40mm f2.3, with focus from 1 meter of distance. The viewfinder has a small frame that indicates the f-stop and the speed of the shutter that the program will use. At the center, two small yellow and red circles must overly to obtain focus on the subject.

Shutter speeds go from 1/30 to 1/650s, including bulb mode (only at f2.3). Copal shutter closes up to f16, so Rollei reccomends max 400 ISO/ASA films.

There’s a hot-shoe flash slot and the camera also includes a self-timer (circa 10s of delay). Under bulb mode, this timer can fire the shutter to a speed of circa 5 seconds.

Camerapedia

I’m expecting the camera shortly, so in the meantime I’m off to read the manual and to also look for replacement batteries that replace the now defunct PX625 batteries this camera used to have to maintain a sufficient power supply. When it arrives we can carry out a full assessment.

Assessment:

On arrival it’s a nice tidy little camera, with slight signs of use and that slight mustiness of being in storage for a few years, though I have smelt worse.

It needs a little clean, the strap buckle is a little rusted however that is easily replaced.

Inside, the camera is clean, the winder works and the exposure button works, however the shutter doesn’t fire. This could be one of a couple of issues, the battery inside that appears to be an original PX625 Mercury battery could be below power, and if it is an original this could well be the case. However the light meter is working and this is a welcome bonus, so there is a little life still in the battery that should be 1.35v when at full power.

Light meter is functioning

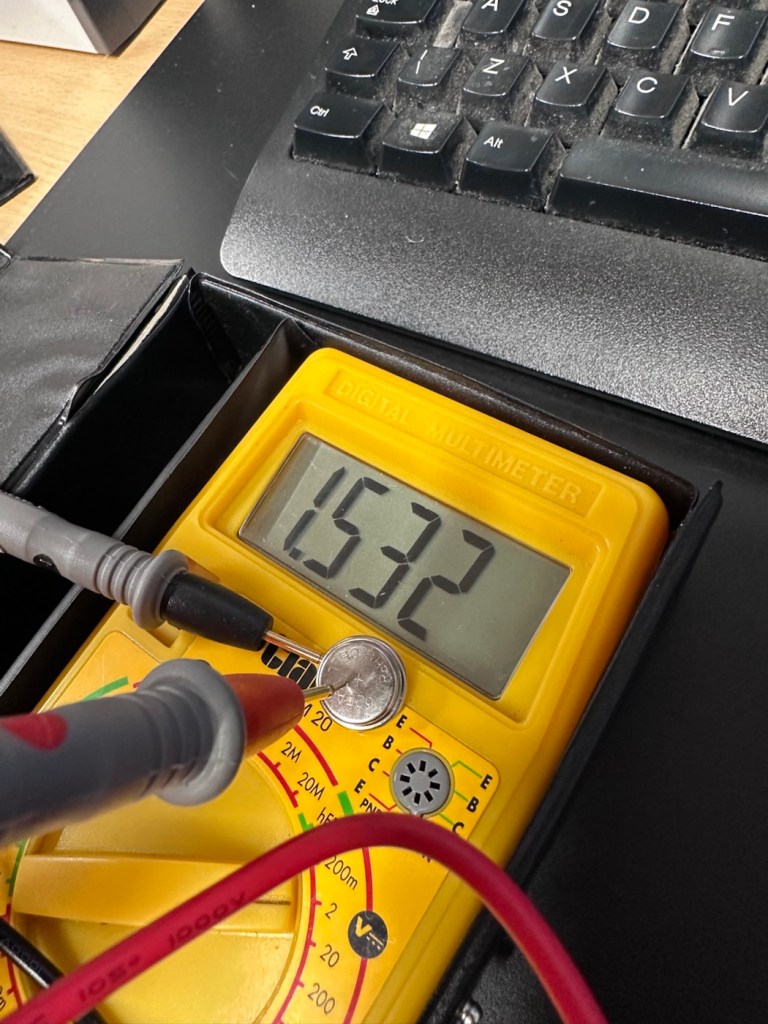
Let’s check this with the multimeter, before purchasing a new battery, and I can confirm the battery power sits at 1.53v?

A fully charged 625A battery

I was mistaken, it’s not an original PX625 it’s actually a 625A alkaline replacement. These alkaline batteries are 1.5v rated against the original that was 1.35v. These batteries are commonly used with these older cameras as a suitable alternative to the original battery. The only issues that are sometimes reported are that the metering can sometimes be off by about +2stops, however some people report no issues at all so it is all a little bit and miss to be honest. I guess it’s all down to trial and error with your own film stock and the camera, B&W film would probably be more forgiving. So, in this case it is not a power issue. We need to then move on to another option.

The other related issue could be sticky blades on the shutter mechanism, and that is more than possible if the camera hasn’t been used in quite a while, the old lubricants dry out over time and the shutter blades get stuck, this means I would have to carry out a service of the shutter mechanism, not a major issue just quite time consuming.

Repair:

I have liberally coated the shutter blades from inside with some isopropyl alcohol as that’s all I had available at the time. This has removed some old black gunk that appears to be old oils of some kind, however the shutter still does not operate when activated, even though all the noises are there to suggest the mechanism is actually working.

I have used a compatible tool to tempt the shutter blades open, this initially worked but they did not fall back into place with any urgency. I suspect there is residue on the opposite side of the shutter blades, so it looks as if this will have to be a full CLA – Clean, lubricate and adjust, requiring a partial disassembly of the camera.

Boy I wasn’t wrong, this is probably the deepest I have gone into a camera for quite a while, this camera really does have to be dismantled. These cameras have always been renowned for having issues deep into the cameras workings, it’s probably what has gained them a poor reputation, somewhat unfairly, but not everyone is prepared to dismantle a camera at these prices, when they can just chuck it and get a new one. However that’s not what I do here.

Let’s stop the chat and get on with it.

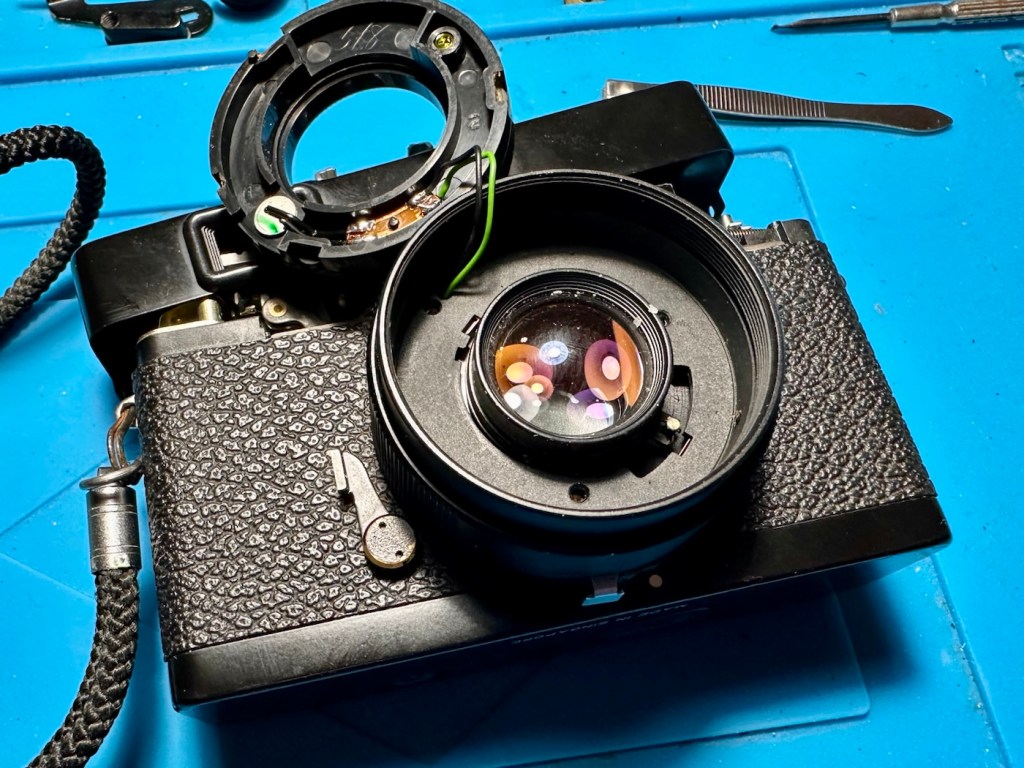
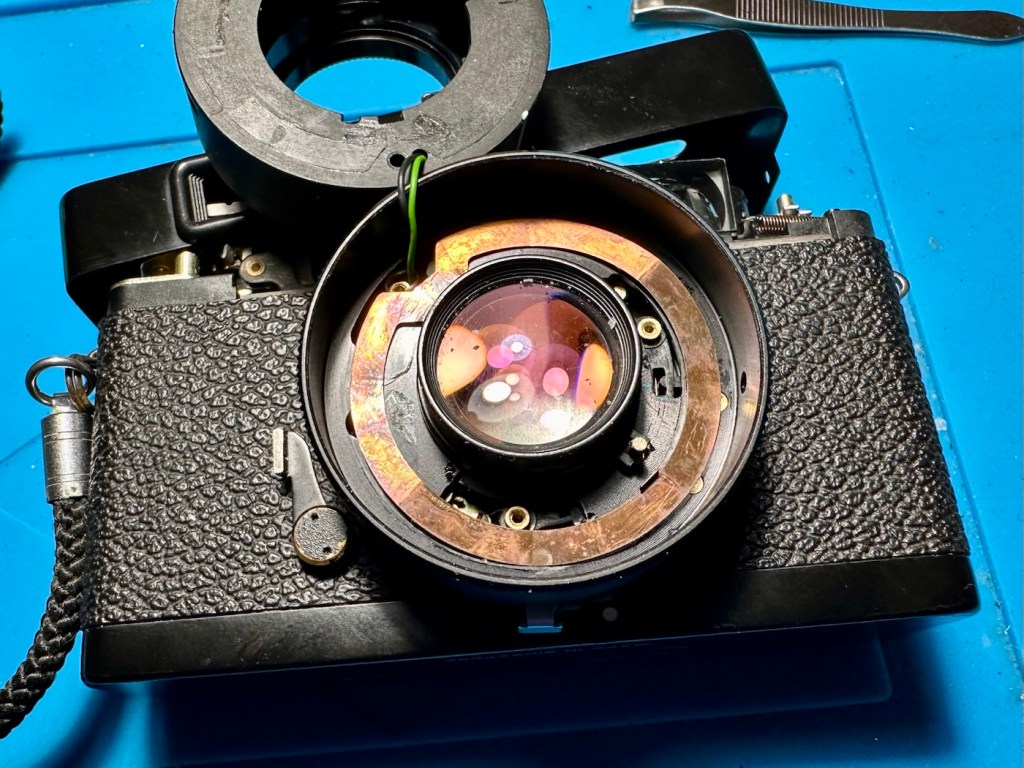
So we need to get inside, and the best plan of attack is from the front through the lens turret, so first thing we do is remove a retaining ring on the lens. This allows us access to the insert that controls the ASA, and where the CDS cell is located. Remove with caution as there are small wires present.

Three screws under the ASA/CDS module then allow you to remove the focus ring where there is a small brass plate. This is removed and then the rest of the barrel loosens, but cannot be removed….strange.

At this point I had to do a little research and source the maintenance manual and refer to it to see what I had to do next.

Maintenance manual courtesy of Rollei

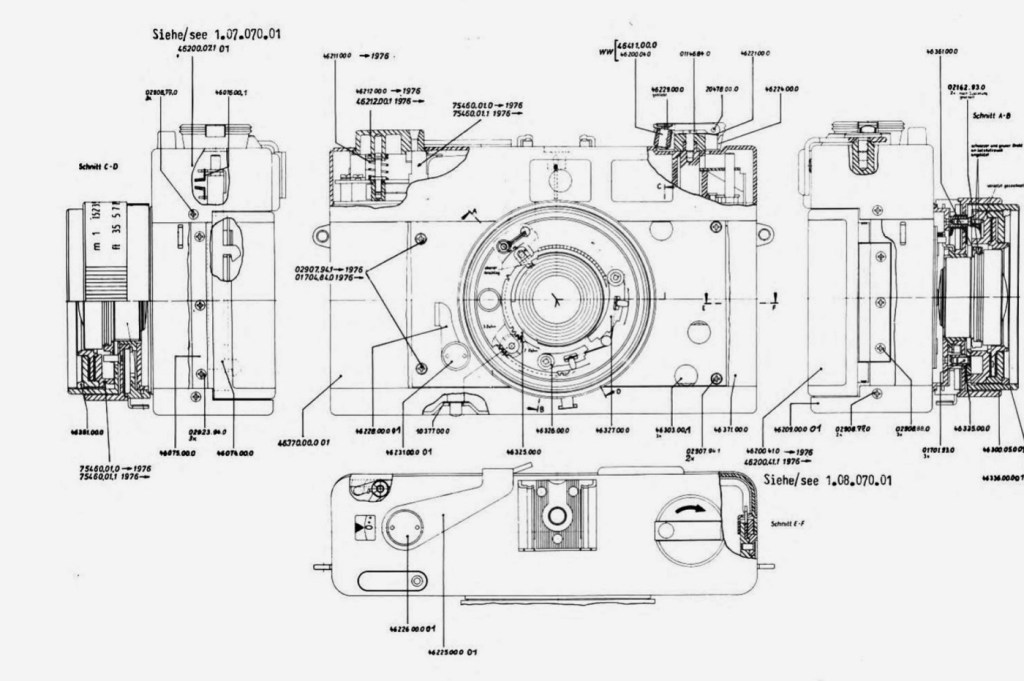
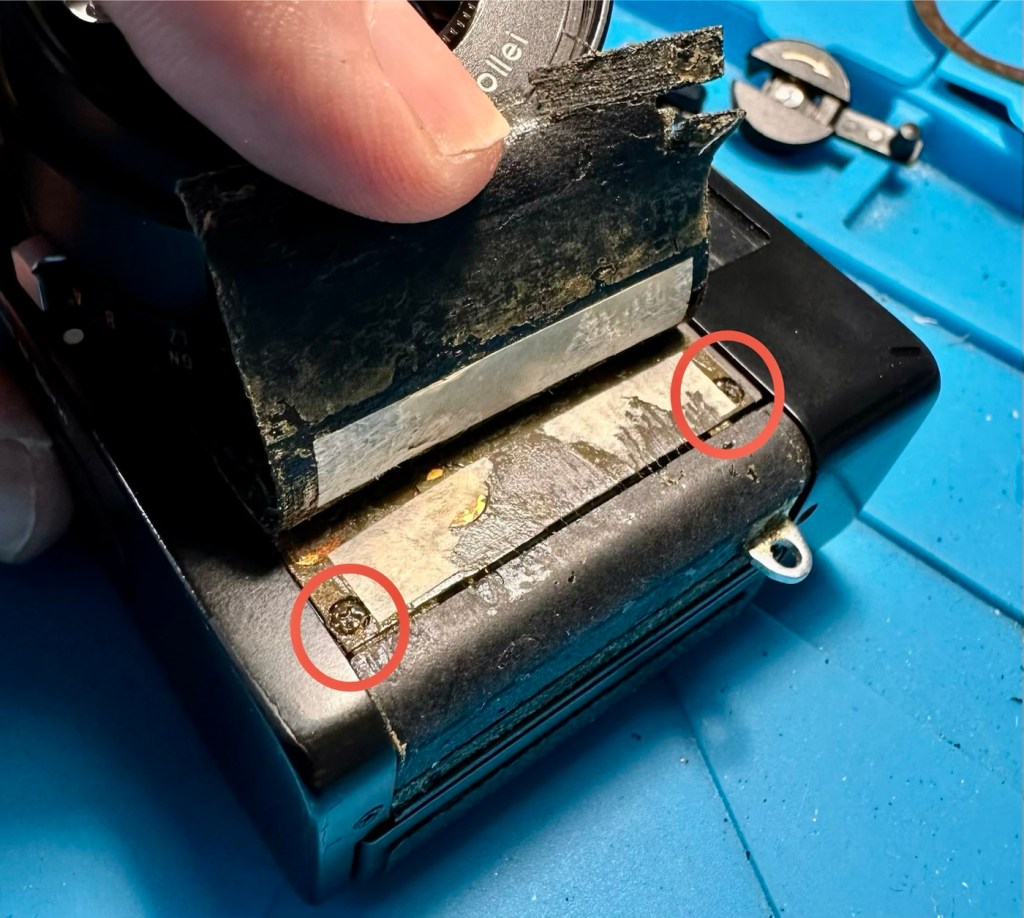
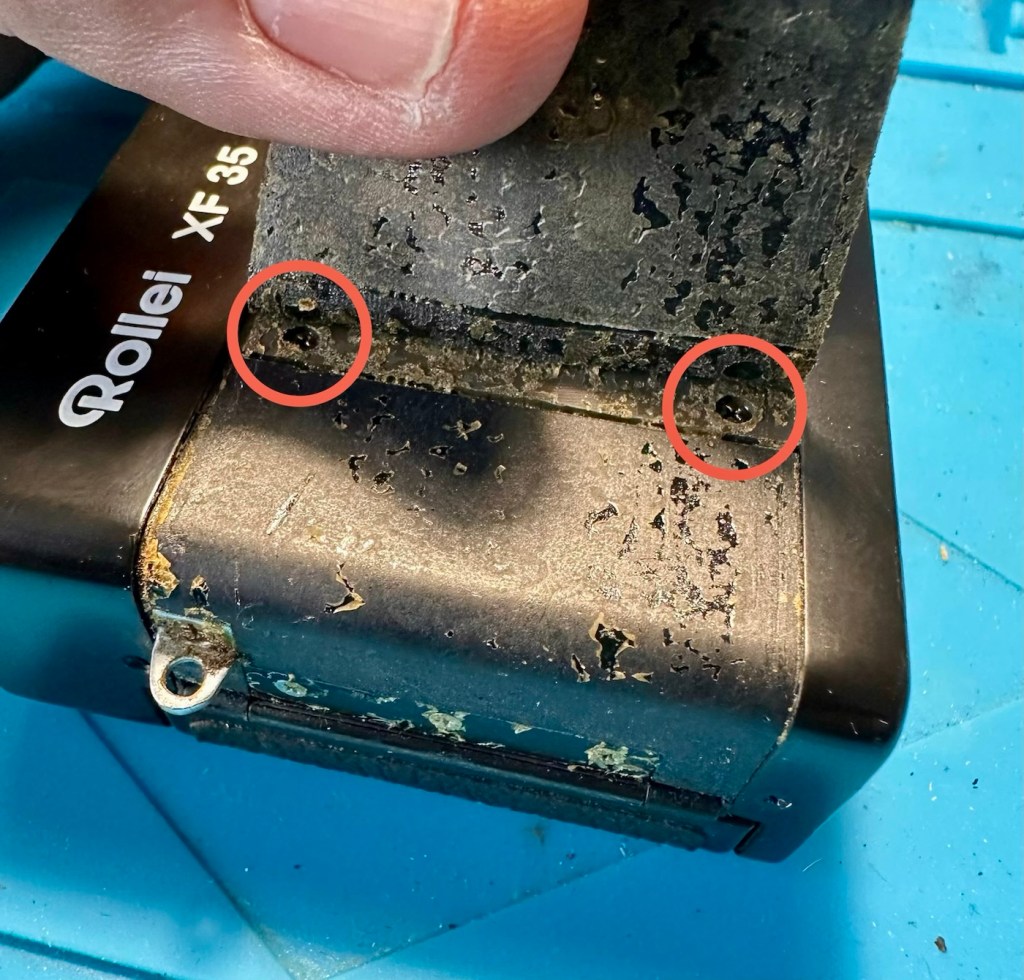
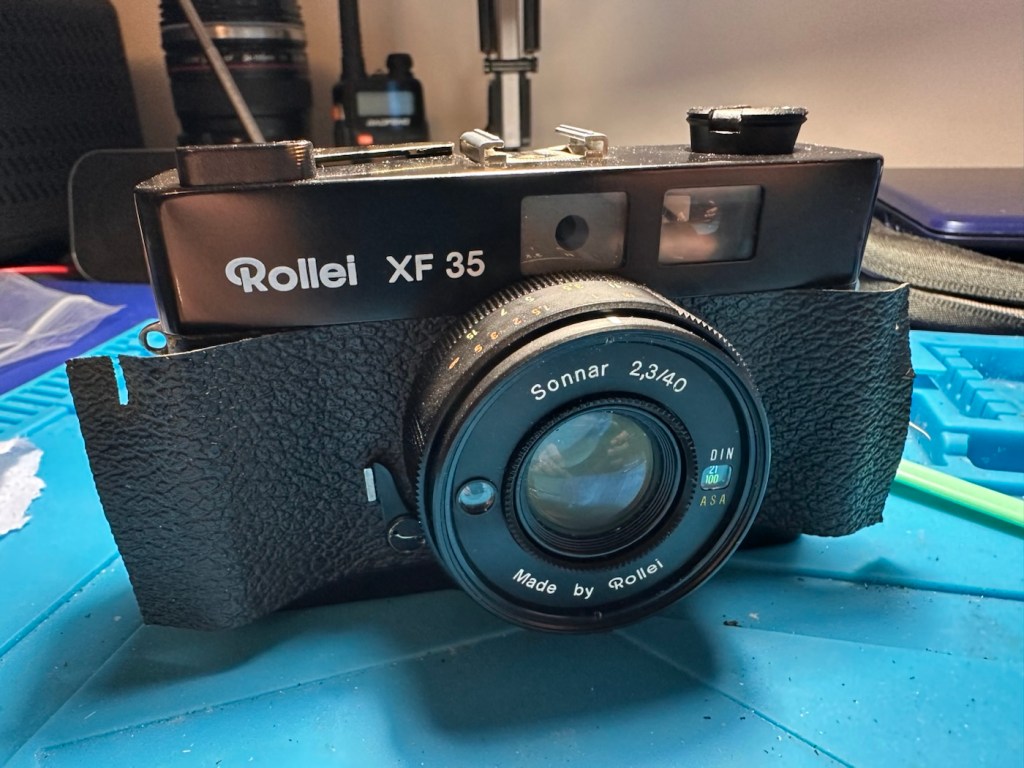
After reviewing the manual it appears there are another four screws requiring removal before we can access any deeper, however these are situated under the camera “Skin” and this needs to be peeled back slightly to access.

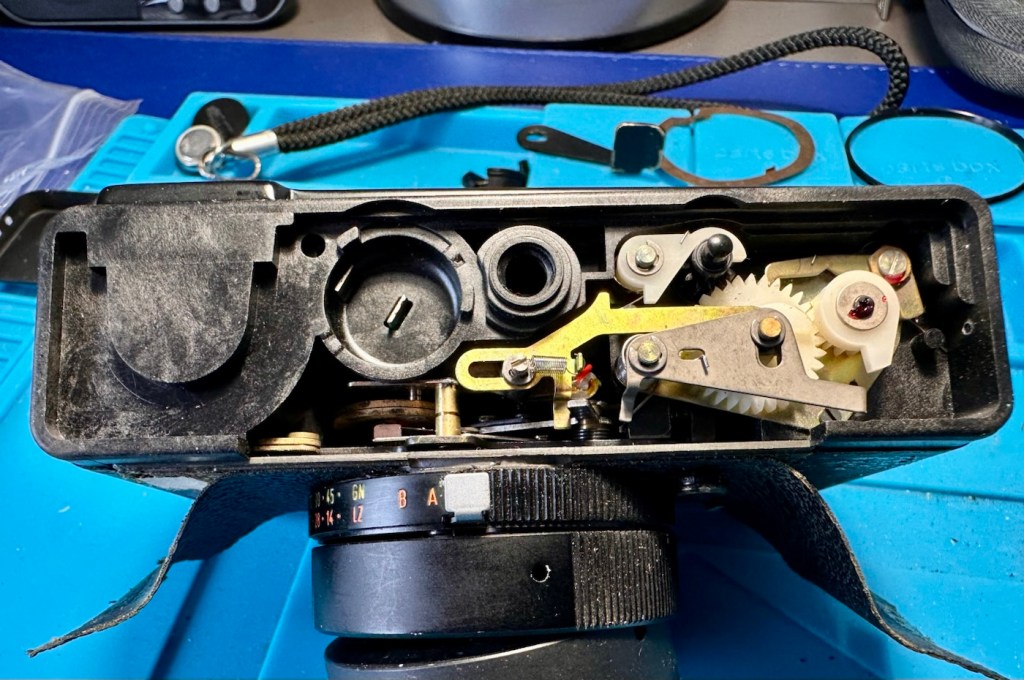
With these four screws removed, you now have to remove both the top and bottom parts of the camera, five more screws to allow the front plate and lens to be removed.

Base of camera removed exposing winder workings

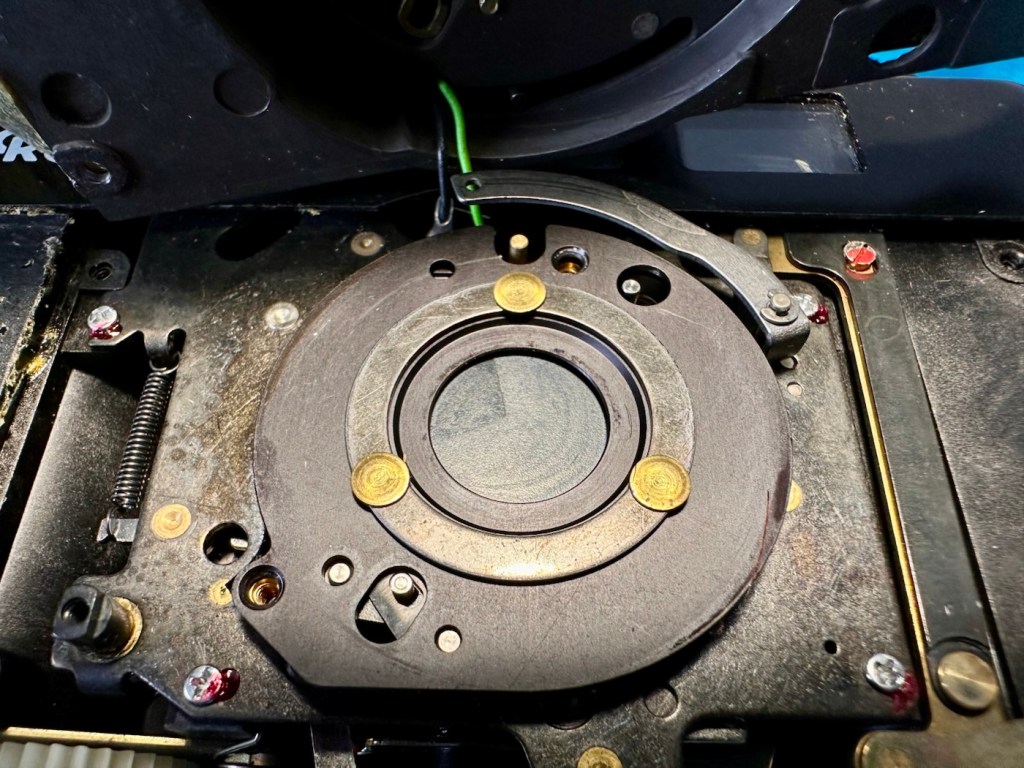
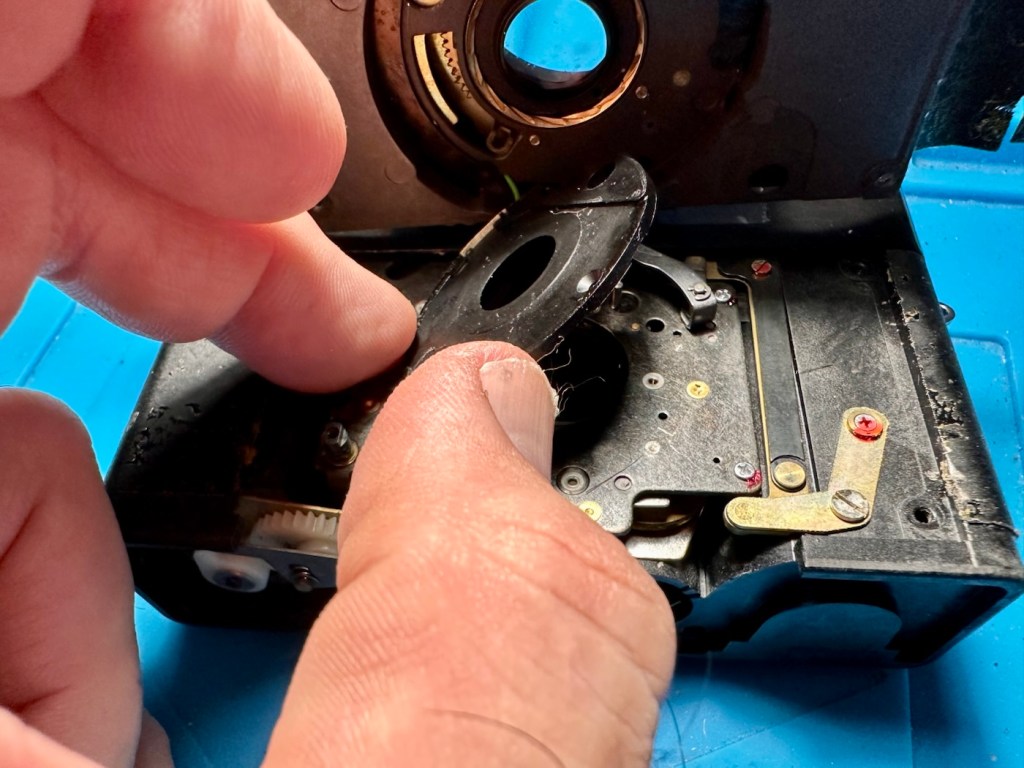
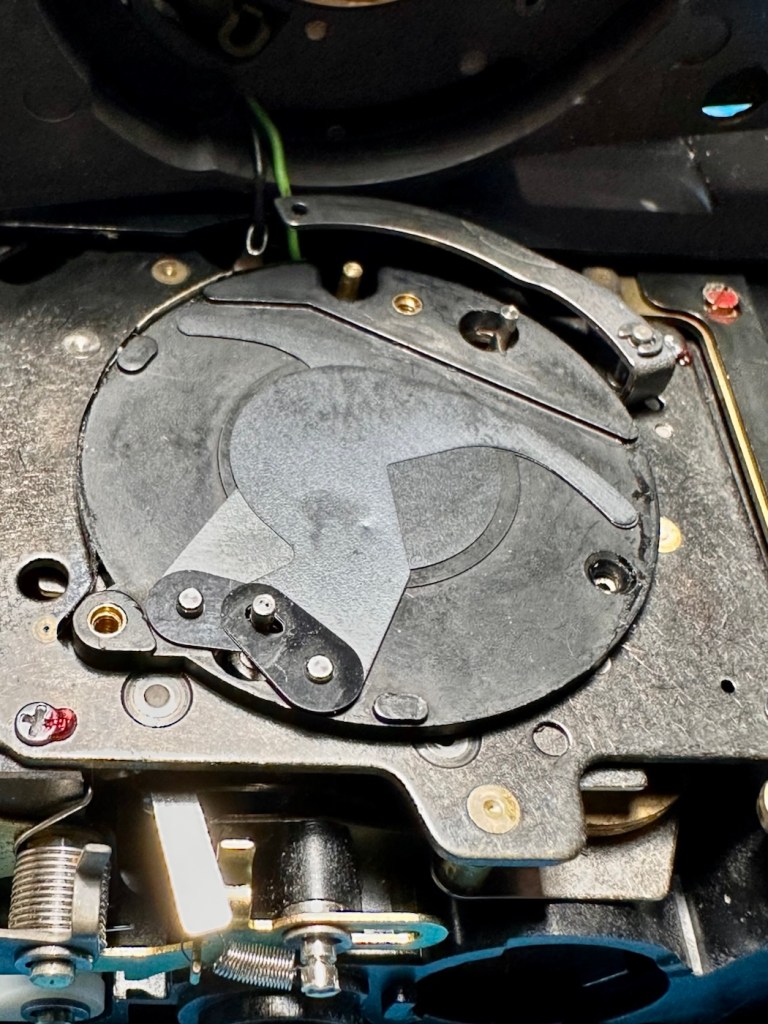
With the lens plate now movable, again I carefully move it aside being wary that there are also wires here, and not a lot of room for manoeuvring. A slight twist of the brass aperture control plate and it can then be removed. The plate below this, with the three brass dots, just clips out and exposes the thin shutter blades below.

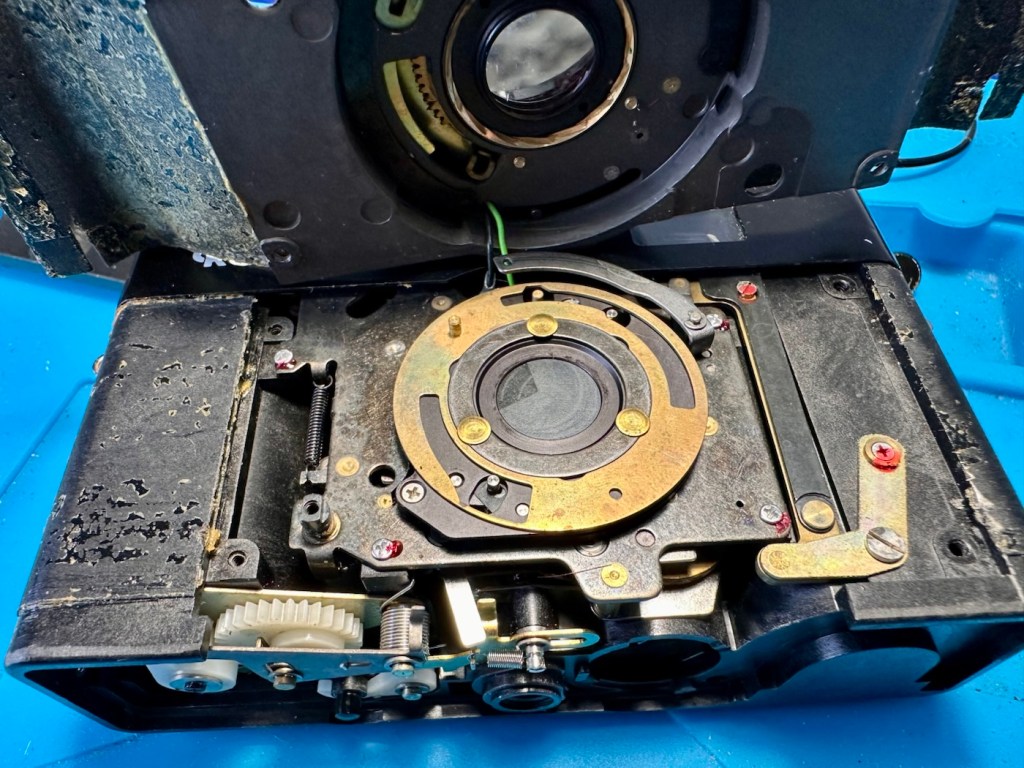
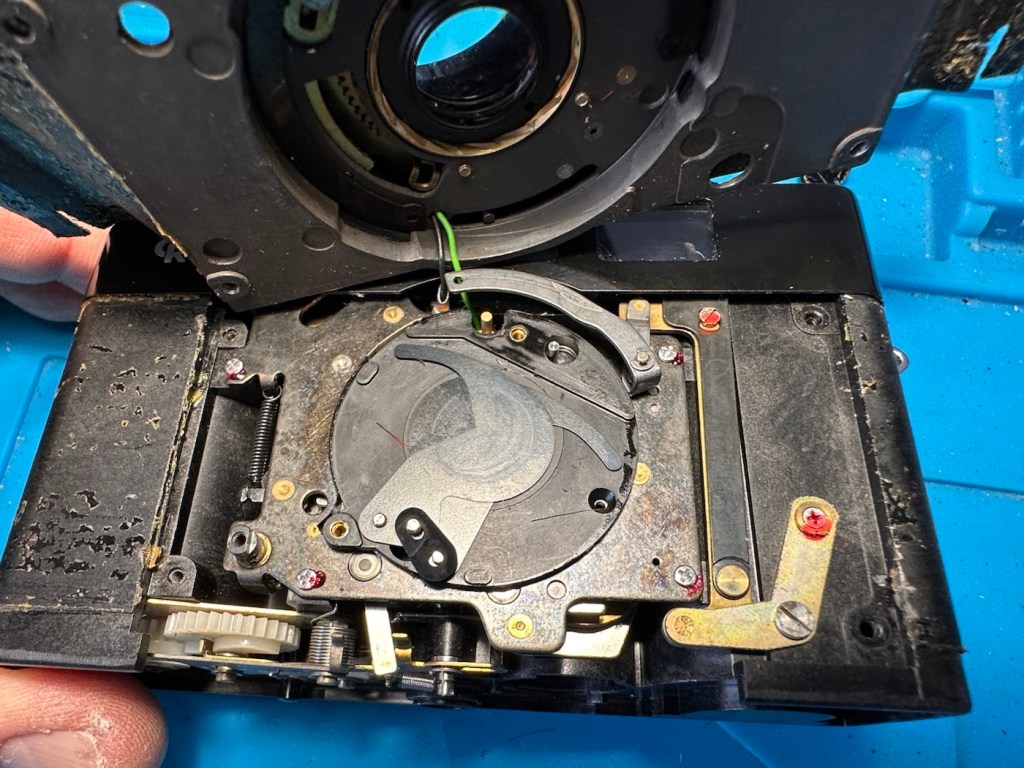
Just looking at the shutter blades I can see there is a small link missing, this was sitting loosely to one side, it could have come off as I was dismantling the blades, who knows. Carefully put to one side the blades are placed individually in preparation for a clean. Lastly the bottom plate of the shutter mechanism, lifts out and beyond this point is the camera back, we have just a hole as the whole shutter and lens mechanism has now been removed.

All parts removed have now been cleaned with an IPA solution to remove any grease and dirt, and there was quite a lot of both. These have all been put to one side and will be cleaned once more prior to reassembly.

A period of time was spent just watching and observing whilst I continued to prime the camera and fire the mechanism to see if I could see anything obvious that was of concern. After a while I could see the issue, there is a small flywheel that was not moving, and as a result the connected shutter mechanism could not move.

The flywheel controls two parts of this mechanism. Firstly the shutter mechanism to move and work the shutter blades, and secondly there is a small brass pin at the top that also moves relative to the aperture setting, if this is in the wrong position, the shutter fires but will not close, this wheel is where the issue lies.

Using some IPA I get into the gearing from the base area, and give all the gears that I can access a good clean, I activate the camera numerous times to get as much grease and dirt away from the workings as possible.

Then using a very fine camera oil, very sparingly, literally a drop on top of a needle applicator, I place oil onto the cogs paying special attention to the offending fly wheel.

I have three shutter blades that are super thin and delicate that need a final clean, dry and a dry wipe prior to reinstalling. I get this done and then put both links in place, after installing the blades in the correct order.

Shutter blade reinstalled, with both links
A small video showing the shutter working

The re installation of all other parts is just a reverse action of how they were taken out, each part was cleaned as it was put back, so in theory the camera is an awful lot cleaner and free of contamination than it was a while ago. Before I put the lens plate back on the camera I check the shutter’s operation and it is all fine. Just a final calibration of the aperture settings, a check of the focus range, and just ensuring all wires are routed sufficiently, and the lens plate is ready to attach to the rest of the camera. This done, the base and top fascia plates are attached after first cleaning the focus window and light meter window. The camera is now fully assembled, it now just needs the camera “Skin” to be re glued where it was earlier removed for access.

Reassembled and just needs gluing

The skin is now glued into place.

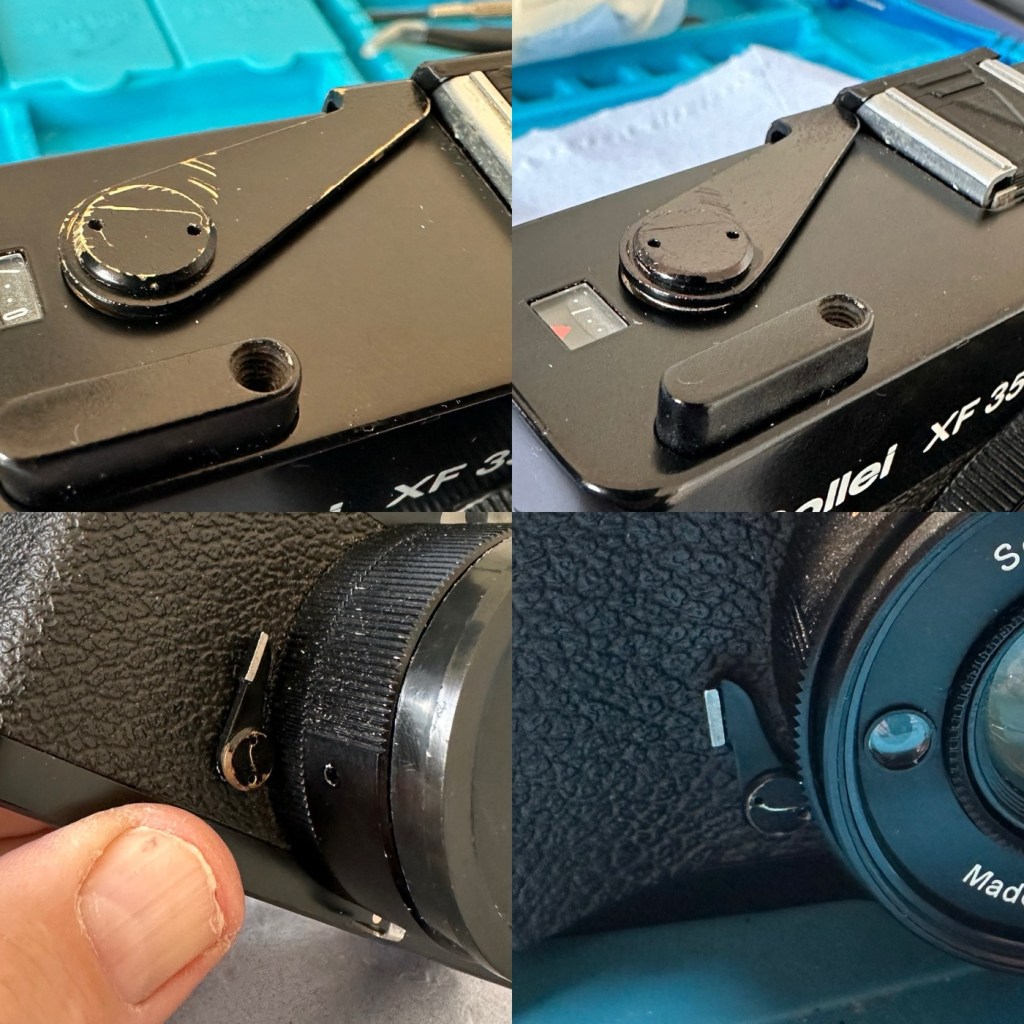
Now I’m outside the camera I’m just going to touch up some of the scuffed areas with some permanent marker, it’s not worth stripping down, priming and repainting, to be honest I’m quite happy just doing a touch up of the scuffed areas and that is what I have done. Once it gets a clean and polish it will appear much improved, compared to when the pen is first applied, it will blend in.

Before and after pen applications

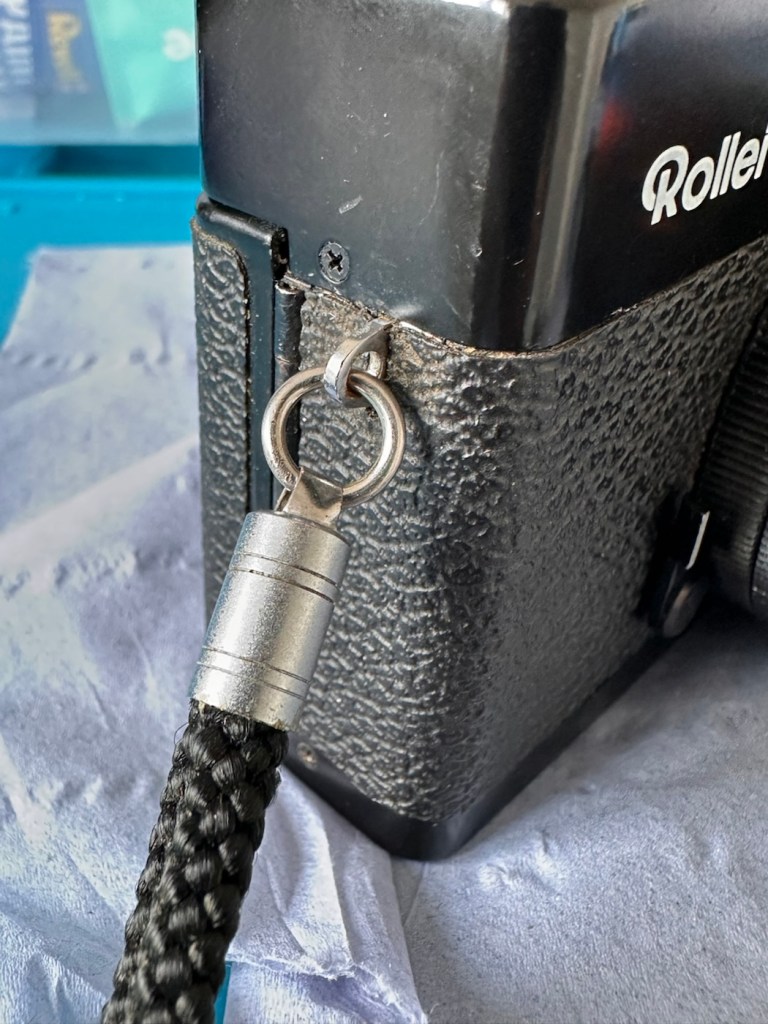
I’ve taken the old strap buckle off as that was rusted, I’ve just used the original strap ring to connect to the camera lug, I think it looks good. I’ve also added a cover for the hot shoe connector that I’ve printed off on the 3D printer.

Original ring

And that completes the repair, the last thing to do is get this camera cleaned and polished.

Result:

With a good clean and polish, this little handheld has come up looking superb.

With all the extra touches, we now have a superb working, resurrected camera that was heading for landfill. This has taken a lot of time and patience, something I don’t have a great deal of if I’m honest, but I was determined to get this project finished. And it is. It looks good, works good and has years of life left in it. Currently sitting at 52 years old, it has a long life ahead of it.

This camera probably rates as one of the most fulfilling and pleasing projects I have ever started upon and completed. It’s been a very delicate and time consuming job, and that I will not deny. It’s only a cheap low cost camera but it’s taught me a great deal. It’s the first complex project I have undertaken, in my new workspace, I don’t think I would have been able to complete it with my old set up. It’s been an achievement, one I am considerably proud of, an occasion when once again, it doesn’t matter how old you are, you can still learn a lot. A big positive for me.

Anyway, enough about me.

Thank you most sincerely for passing by and giving me your time. It really is, very much appreciated.
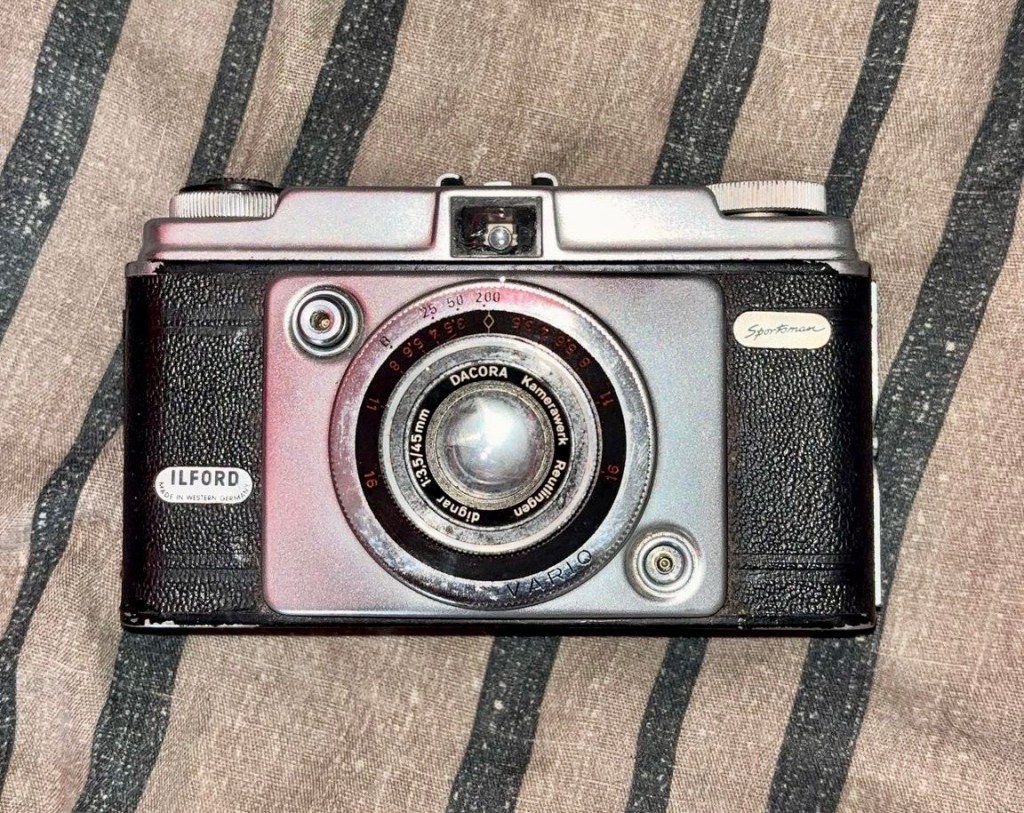
Ilford Sportsman 35mm camera

I’ve been asked to give a little service to a friends old 35mm camera that he’s inherited. Mainly cleaning and making good. An old camera that deserves to maintain its originality.

I received this text message tonight from my nephew:

Hi, my mate “T”, has got an old camera from his sister, from a old antique store, he dunno a lot about it and was wondering if you did and if you’d have a look at it and see if it was in working order as he can’t figure much out about it, no worries if not tho 👍

Family

Now, I love these random out of the blue messages, to me it just says people have a trust in what I do, and I like that. And how can I turn down a request such as this. I’ve jumped on to it and said I’d give it a service and get it checked over and up and running, no cost, I just want to feature it within my blog site. The owner is also a youngster, just starting out in photography and has a thirst for knowledge of the traditional side of business, and wants to find out more about the old ways and how the trade used to operate. He wants to shoot film, and process it, and produce his own prints. I can help him do that. And I look forward to passing that knowledge on. In the meantime, this is the camera we are looking at, and wouldn’t it be just great to get it working and use it to get those results under tuition, that he wants to achieve.

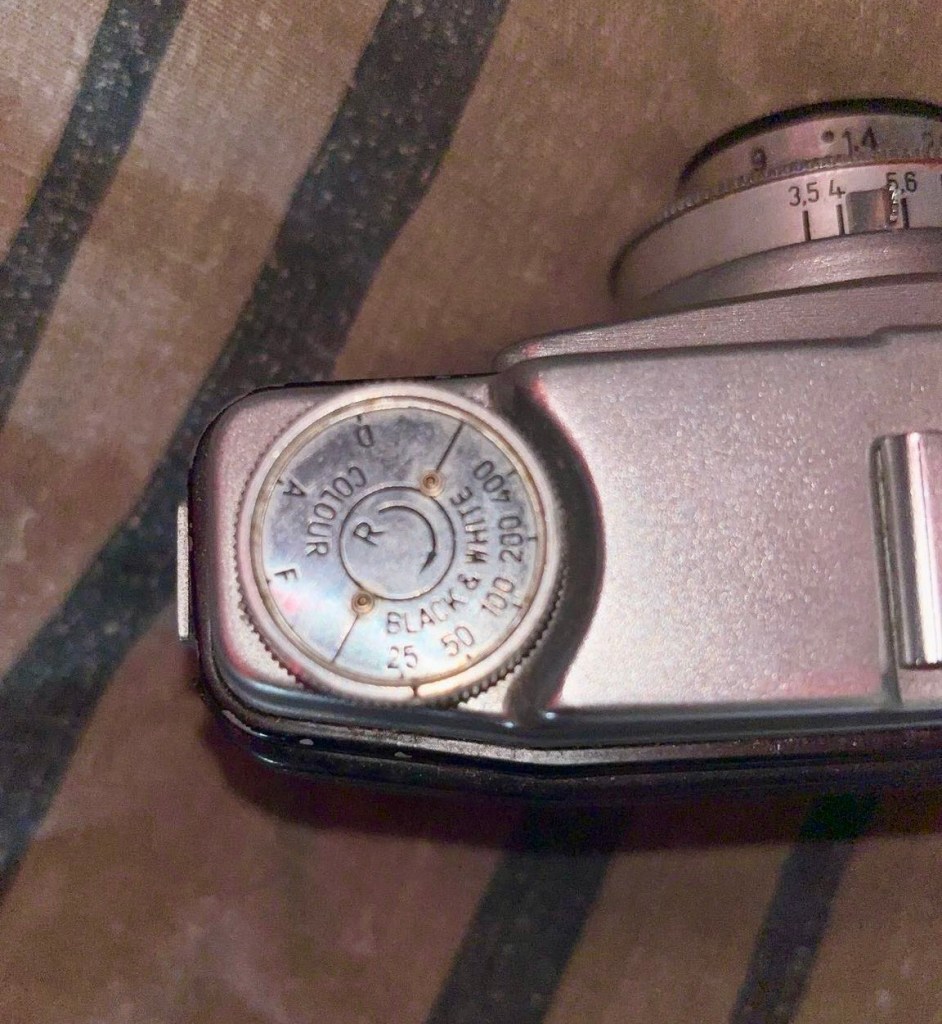
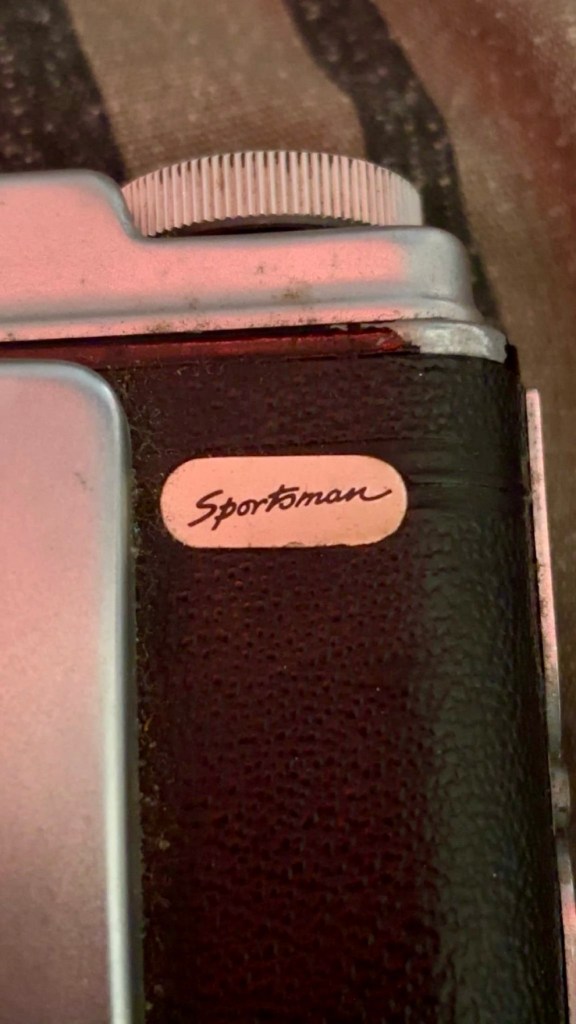
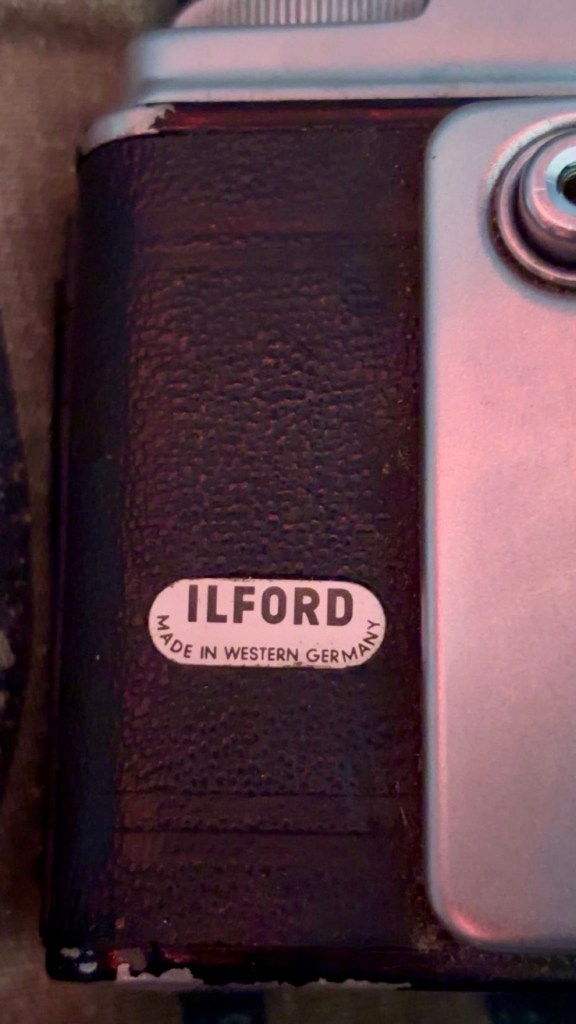
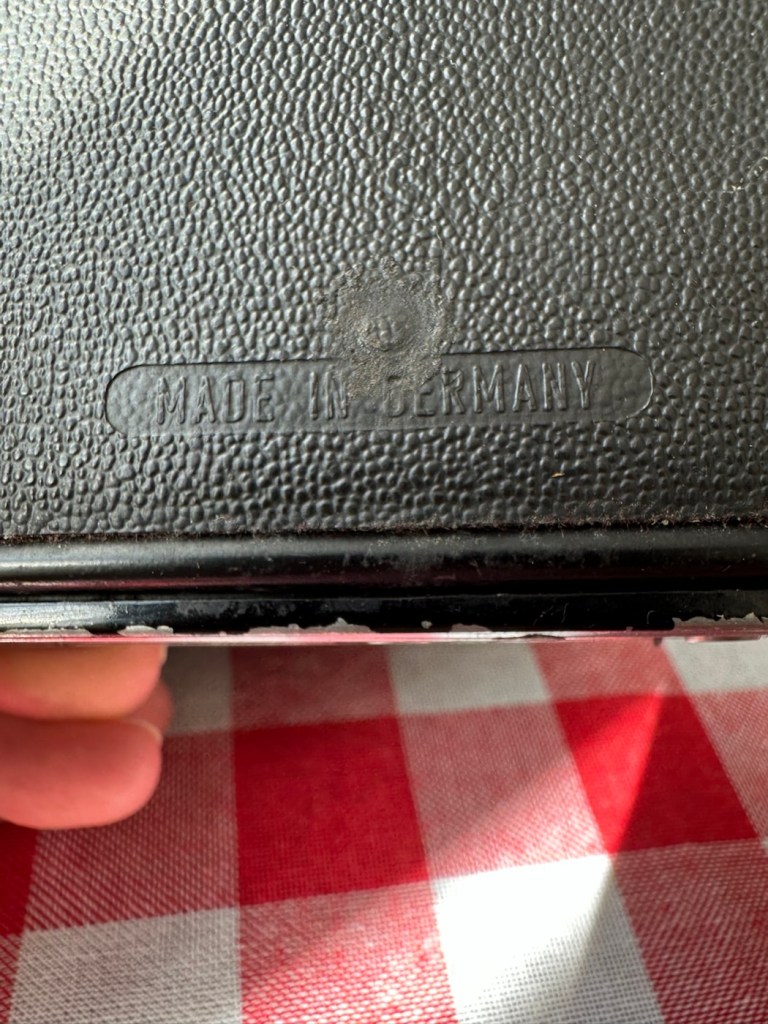
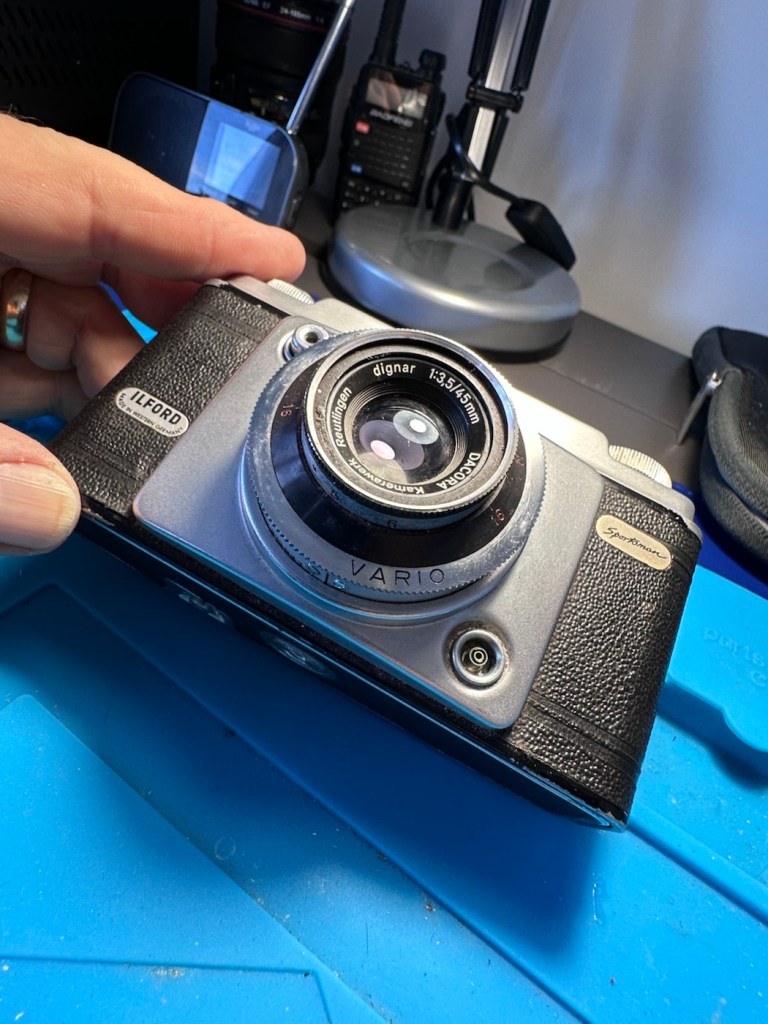
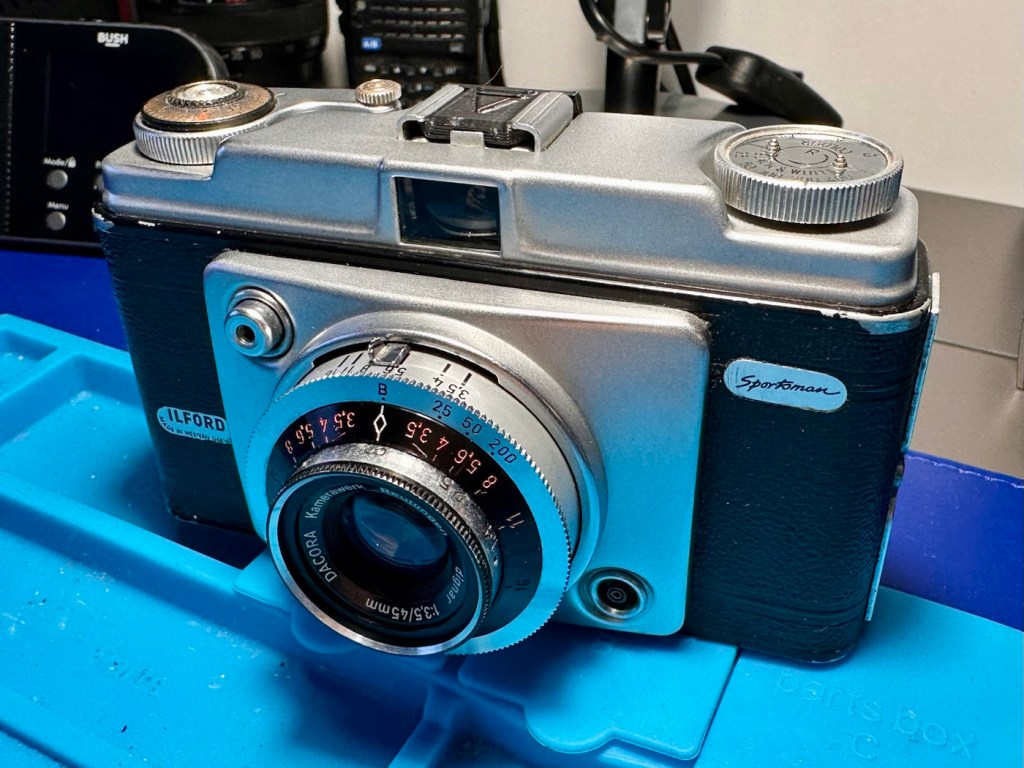
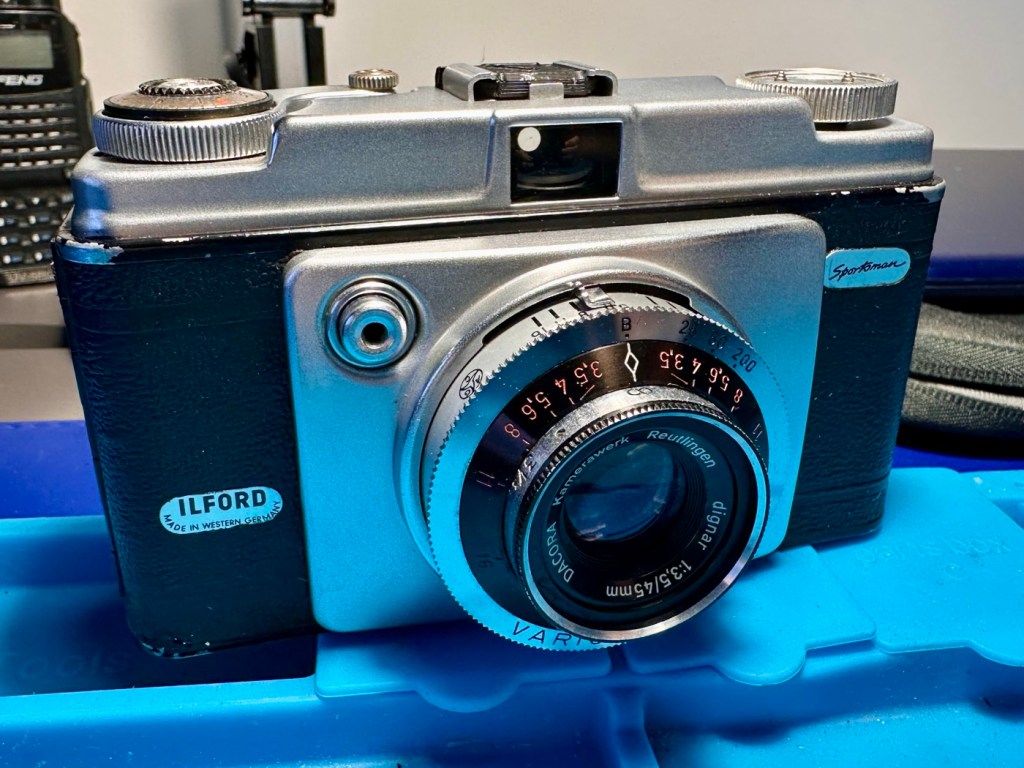
This camera is really a rebadged Dacora Dignette produced in Western Germany for Ilford Uk.

Here’s a little history regarding the Ilford Sportsman camera range:

As the desire to own a 35mm camera blossomed within popular amateur photography during the latter 1950s, in part prompted by the more economical production of projectable colour transparencies on 35mm instead of roll film, Ilford Ltd must have been concerned that they did not have their own range of such cameras.

Kodak was importing their 35mm Retina/Retinette range from Kodak A.G. in Stuttgart, a factory they purchased in 1931, (originally the Nagel Camerawerks).

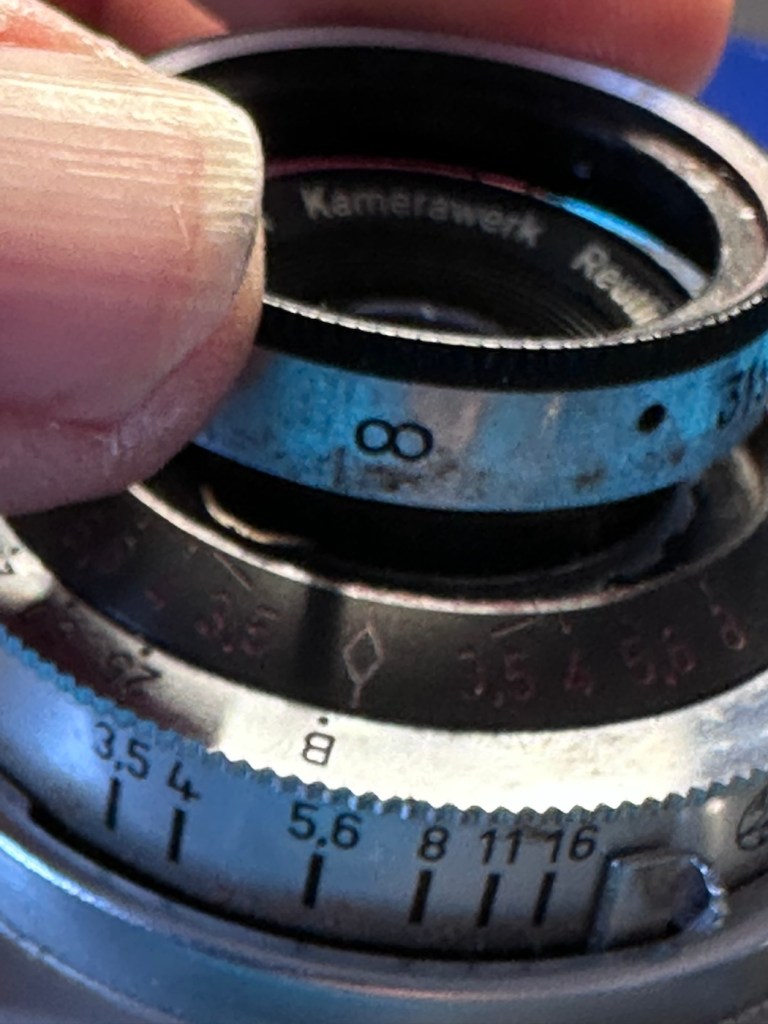
To provide a suitable ‘popularly priced’ 35mm camera, Ilford entered into an agreement with Herr Dangelmaier of the Dacora Kamerawerk, Reutlingen, near Stuttgart, (West) Germany. Dacora produced a simple 35mm camera, the Dacora Dignette, but rebadged it as an Ilford Sportsman for sale in the UK.

Ilford’s Sportsman cameras were a range of viewfinder- and rangefinder-cameras, made for Ilford in Germany by Dacora; the first was introduced in 1957. They were a cheaper alternative to the Kodak Retina and Retinette series for the newly-popular 35mm format at the time. The Sportsman cameras were rebadged versions of Dacora models, including the Dacora Dignette. There were a variety of shutters fitted, including Vario and Prontor mechanisms, housing a selection of lenses such as the Dacora Dignar, Steinheil Cassar and Isco Color-Isconar. The range included basic models, with the Vario shutter and Dacora lens, through fitted meters to sophisticated rangefinder cameras with light meter, Prontor 500LK shutter and Cassar lens.

There were five body styles; the last (Mk.5) introduced c.1967.

Wikipedia/photomemorabilia.co.uk

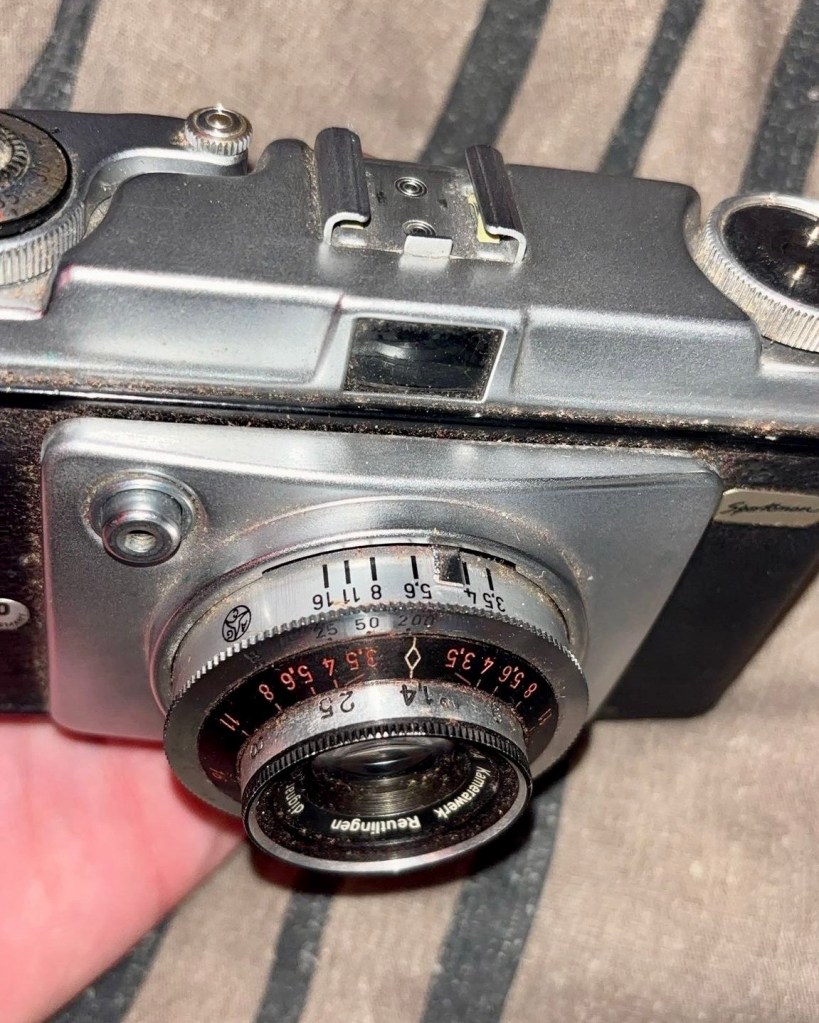
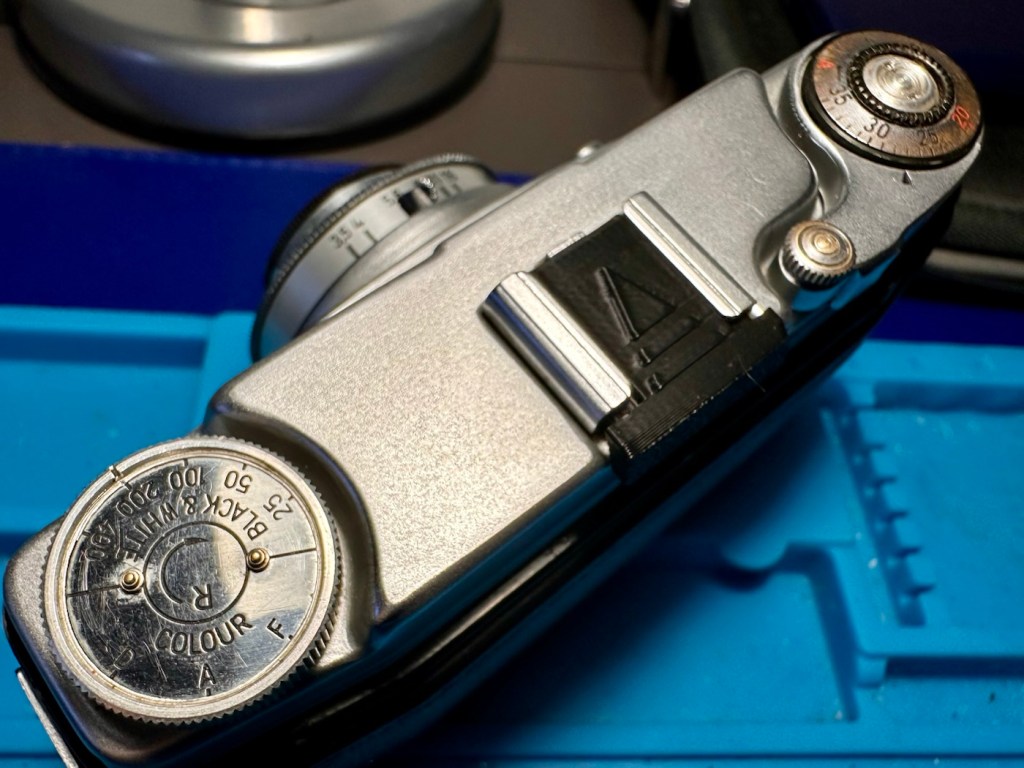
This version dates from 1957 and is one of the later issued Mk1 versions of that year. It has the Vario shutter mechanism and the Dacora-Dignar lens. The badging indicates that this is a latter 1957 produced variant. The very early versions had the “Ilford” badge printed on the camera leatherette and I suspect this would have rubbed off due to hand positioning whilst photos were being taken. This is probably why the white badge on this variant was then applied. This camera retailed in 1957 at the princely sum of £13.87GBP.

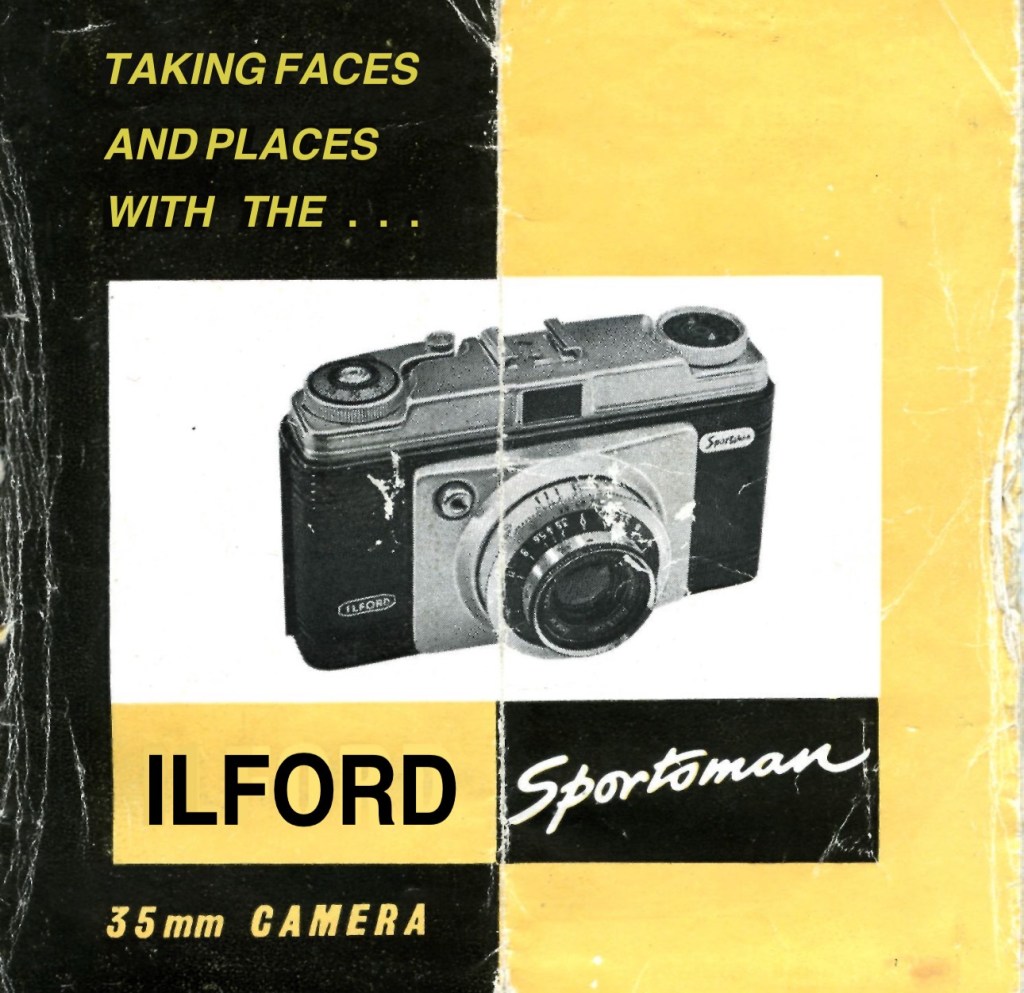
I am now in possession of the original instructions that I will download and pass on to the owner, they are extremely basic instructions, befitting of the year of production.

Front page of instruction manual

Assessment:

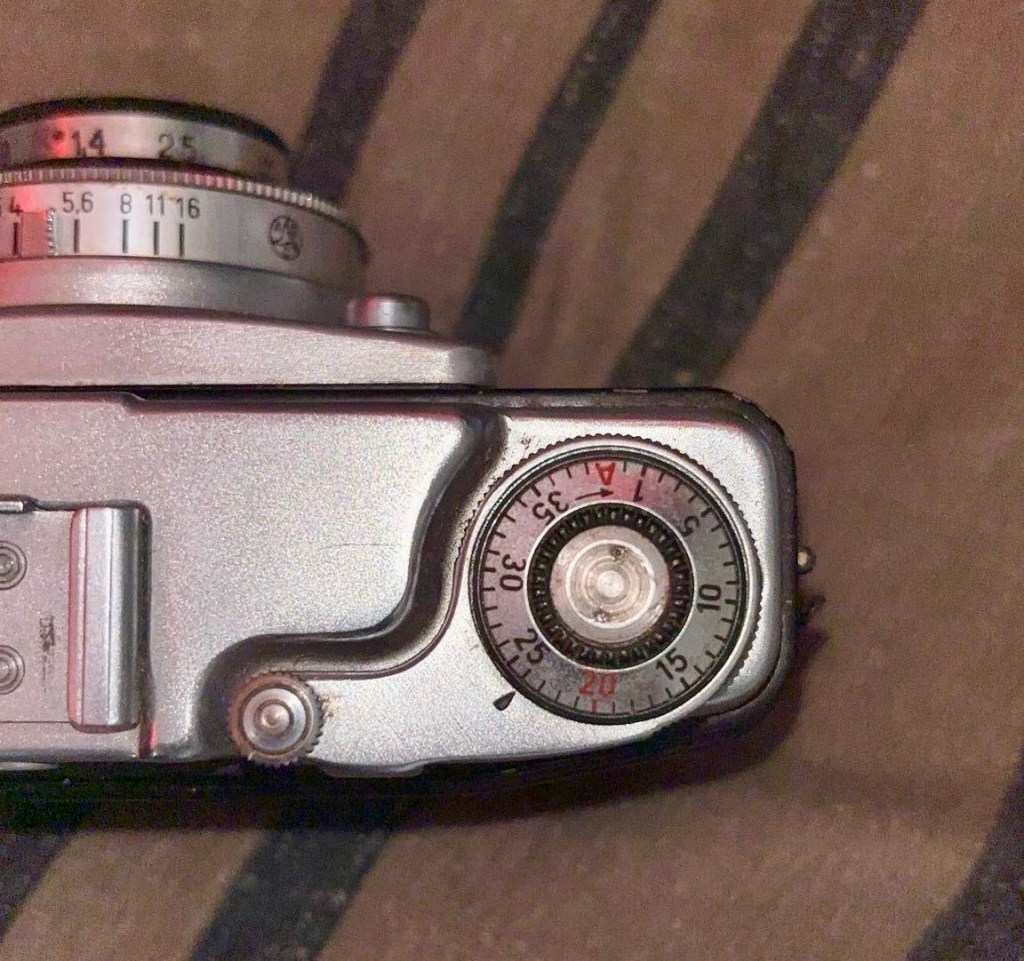
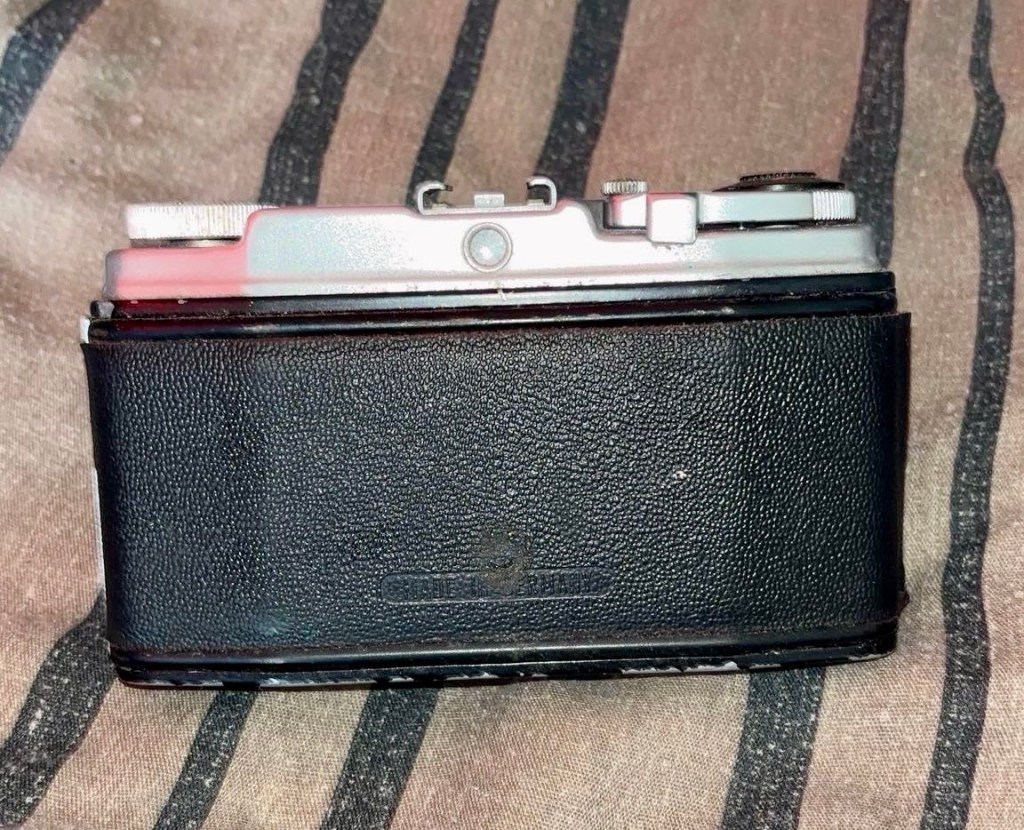
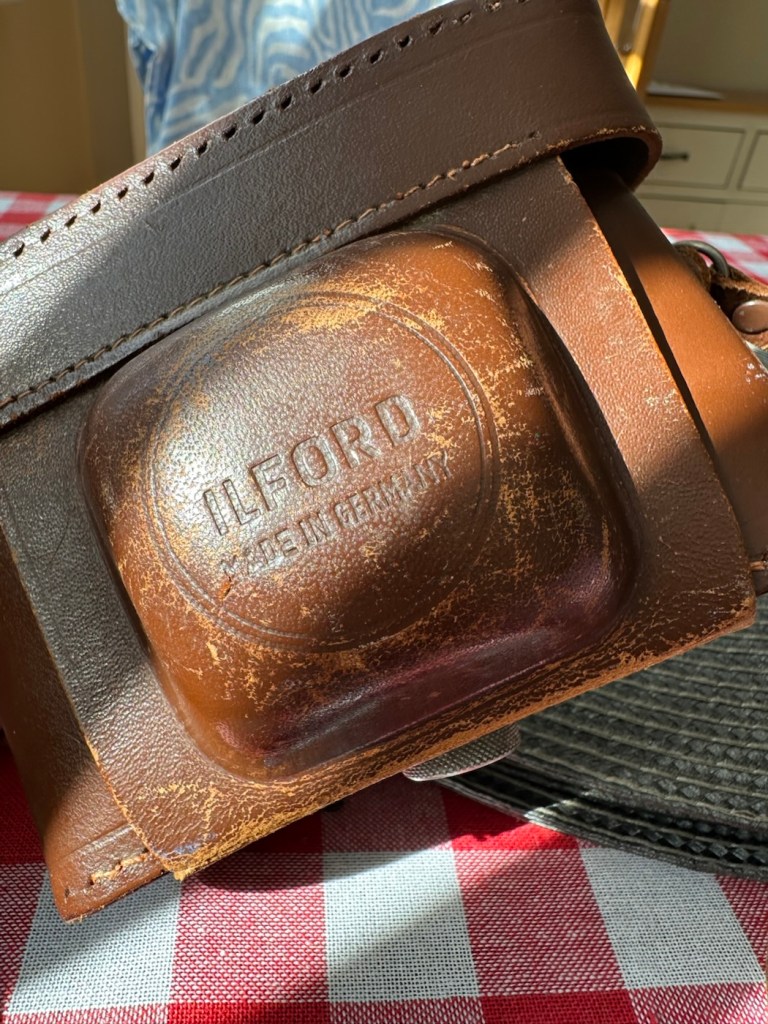
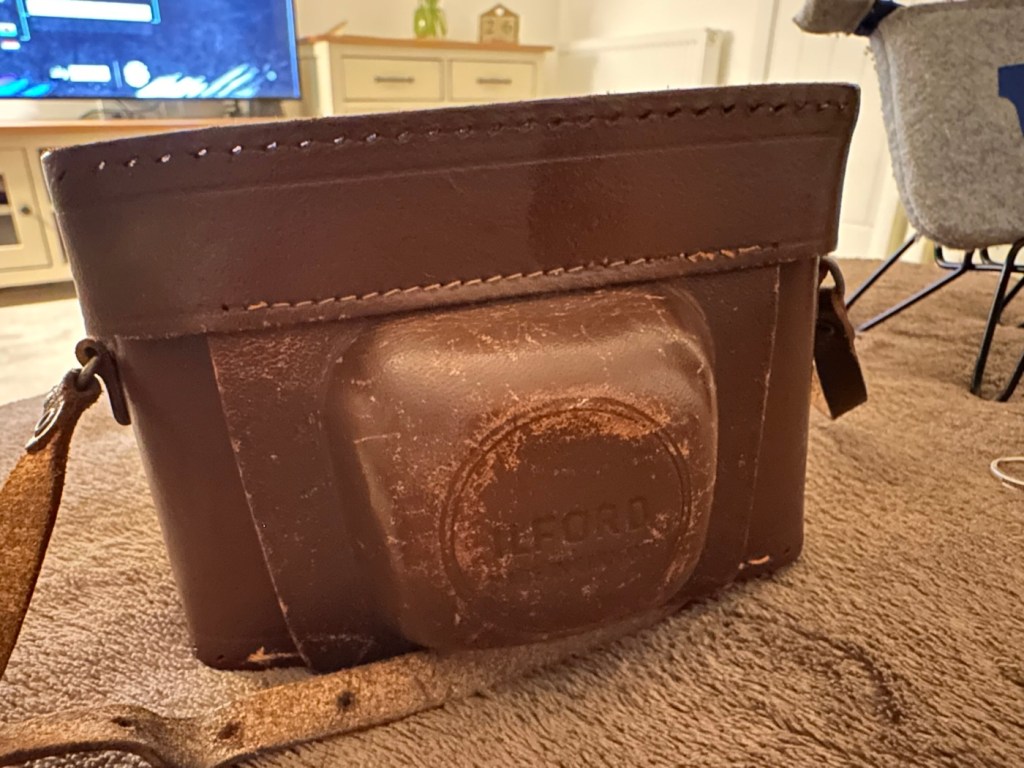
The camera is in an overall good condition in an original Ilford leather case and I think this alone has helped keep the camera in good cosmetic condition. It winds fine, it shoots with a little bit of stickiness, but I believe this is on the exposure button only. The aperture leaves stick a little and respond slowly when you leave the shutter on a time exposure and move it through the whole range from f:3.5 to f:16. The focus ring seems to operate smoothly, and shutter speeds of B, 25, 50 and 200 seem to work, but occasionally stick. I suspect the shutter and its aperture leafs are dirty and are sticking, they probably need a clean.

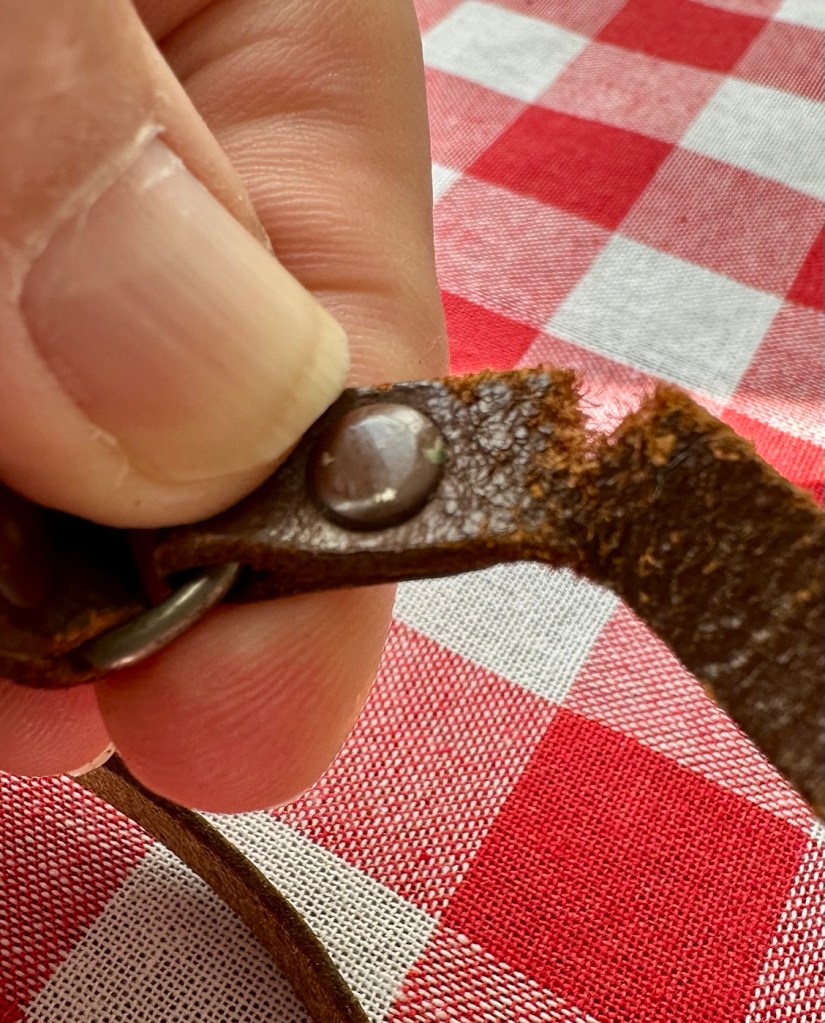
Now I’m not going to do too much to this camera and want it to retain its old character. The leatherette on a couple of parts of the body has lifted, I will probably leave this as it is, I will dismantle the lens turret as there is a general fog in the lens that I suspect may be fungus. I will give the whole unit a good clean and polish. There is a slight break in the leather strap, I shall repair this so as it doesn’t break. There really is nothing of concern that I can see that should be of detriment to the working of this camera. It just needs a clean, and that’s what it will get as I really want to maintain the character of this camera.

Repair:

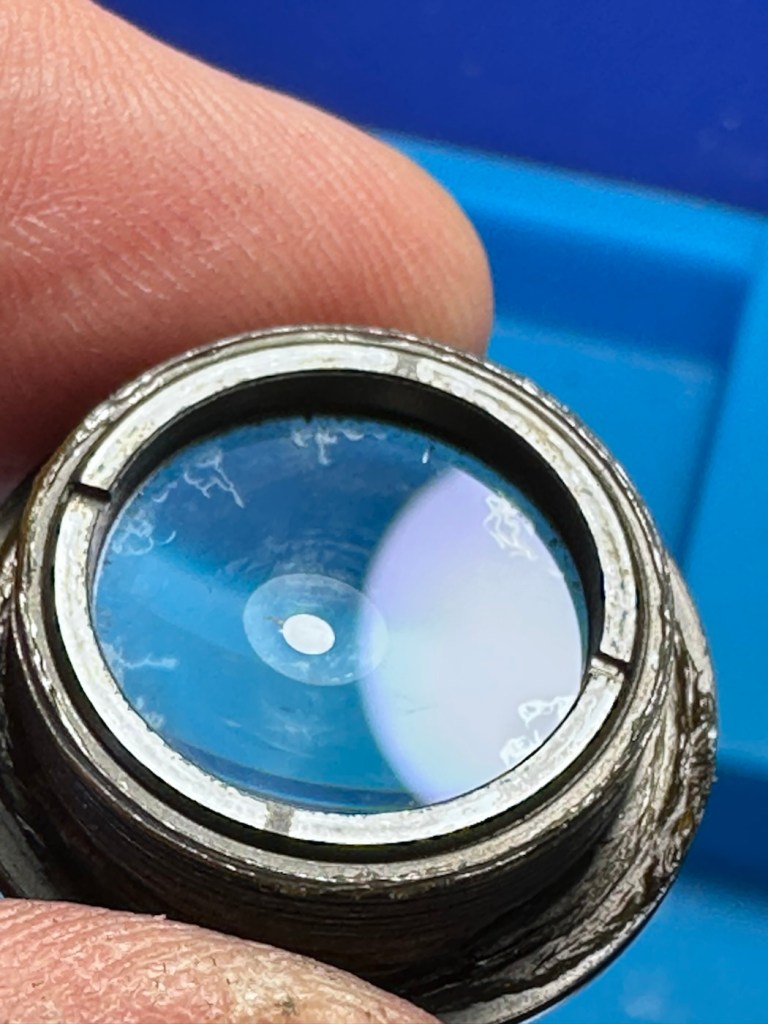
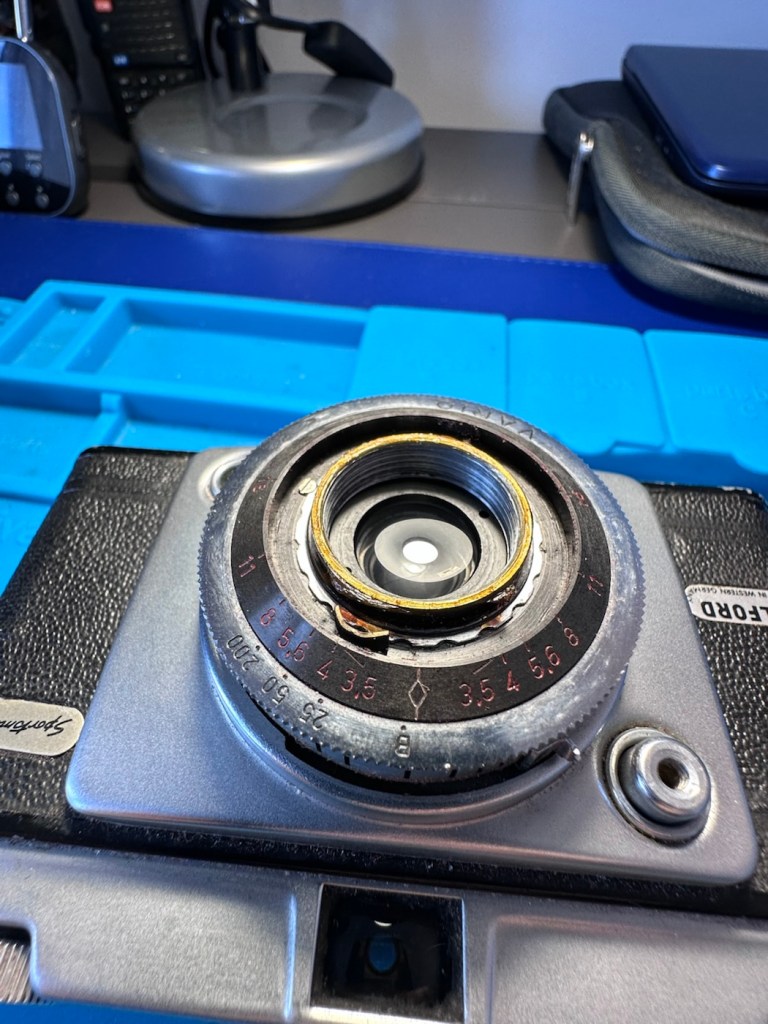
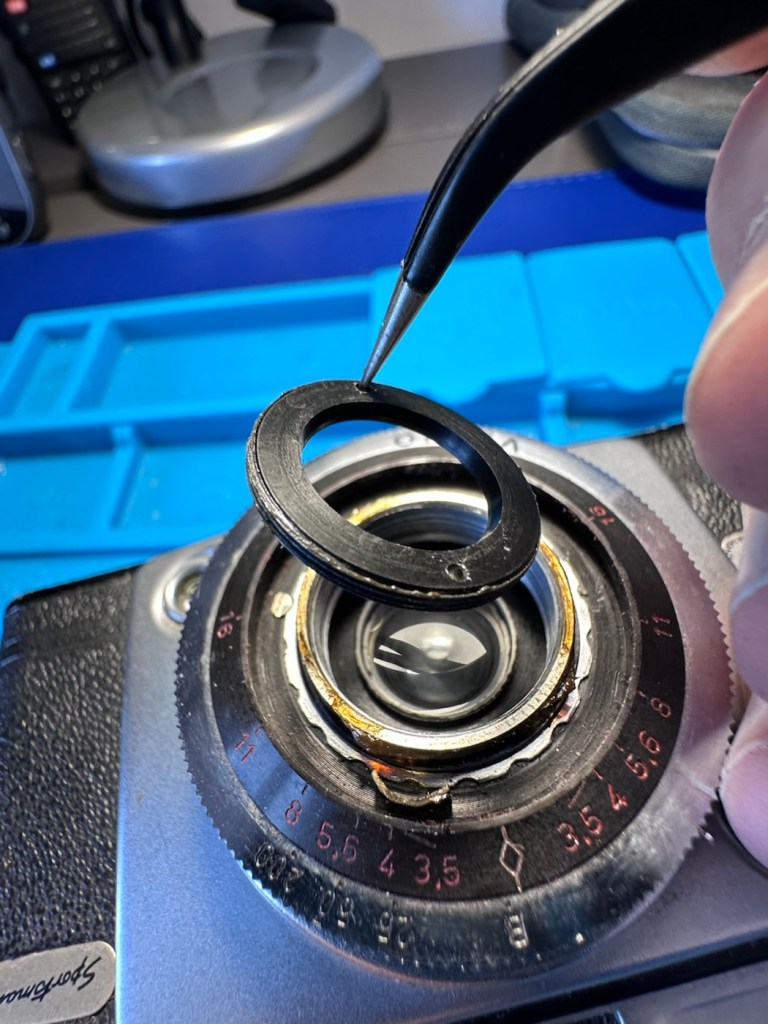
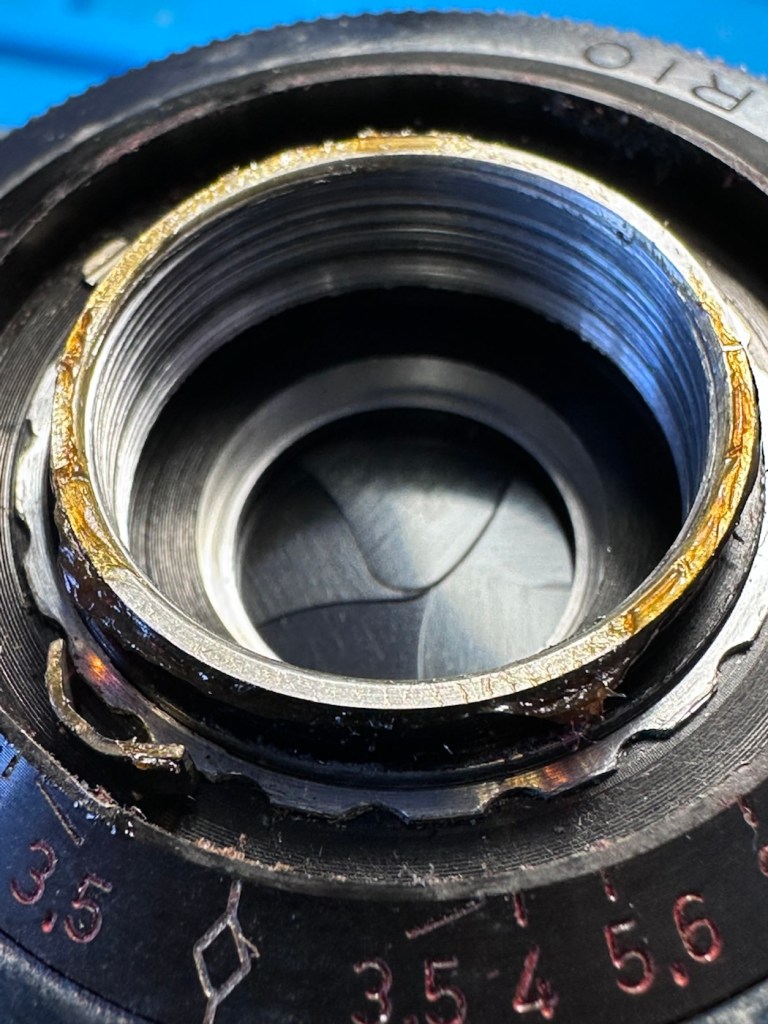
To get to the lens and shutter area we have to start dismantling the lens turret, that starts with removing four of the tiniest screws you will ever find.

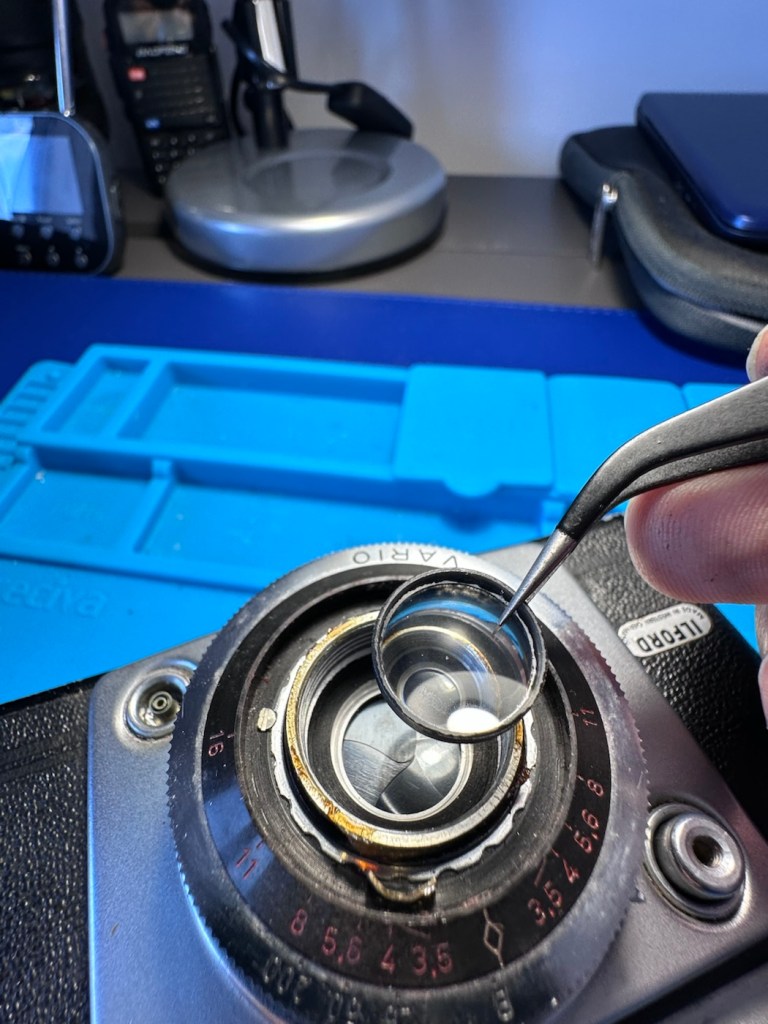
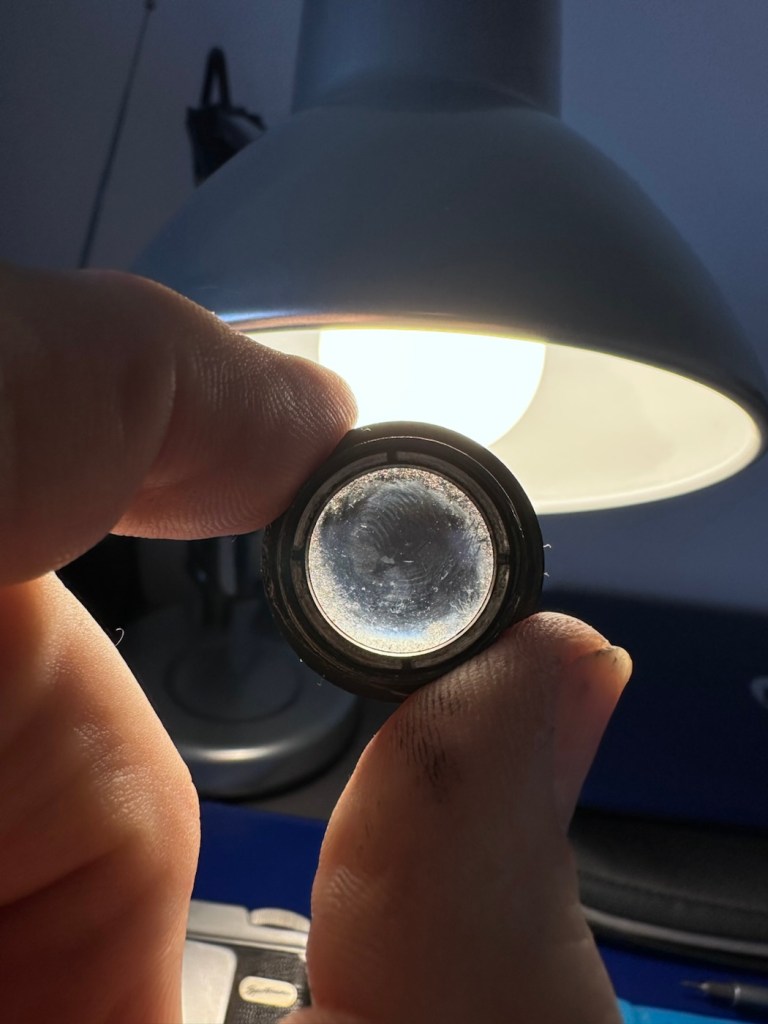
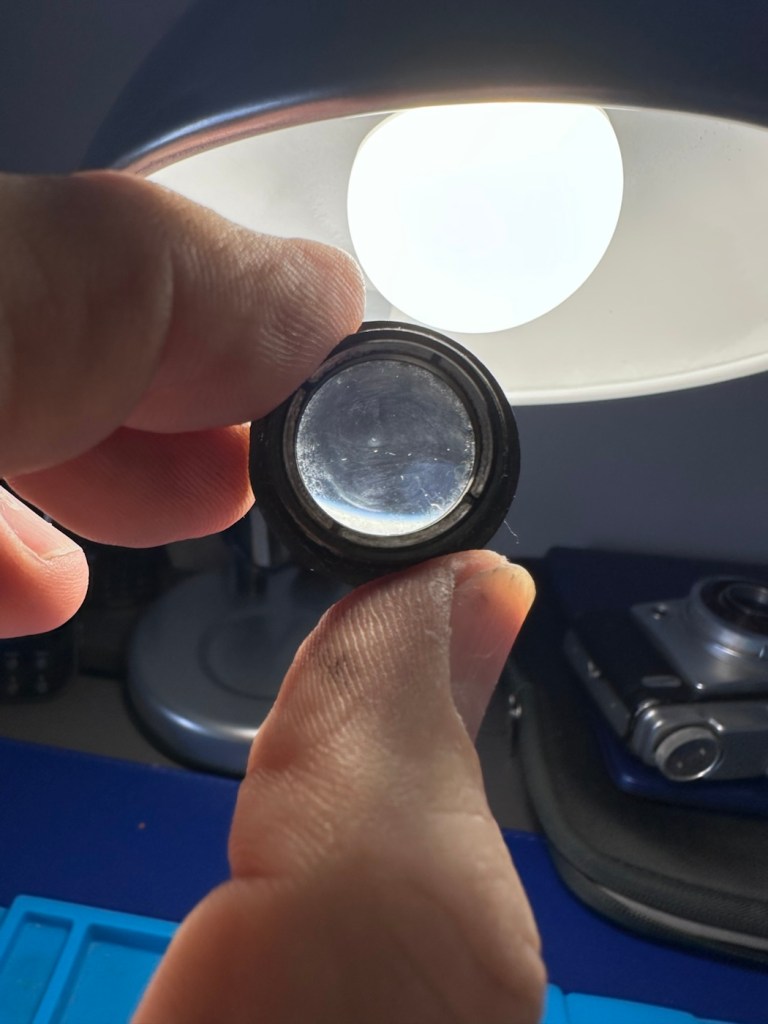
We now unscrew the first element, the outer one, and it’s clear to see that there is fungal scarring of the element.

Fungal scarring evident

Next we unscrew the next part of the lens barrel that gives me access to the inner lens element.

We can now reach in and delicately remove the inner element

Removal of the inner element

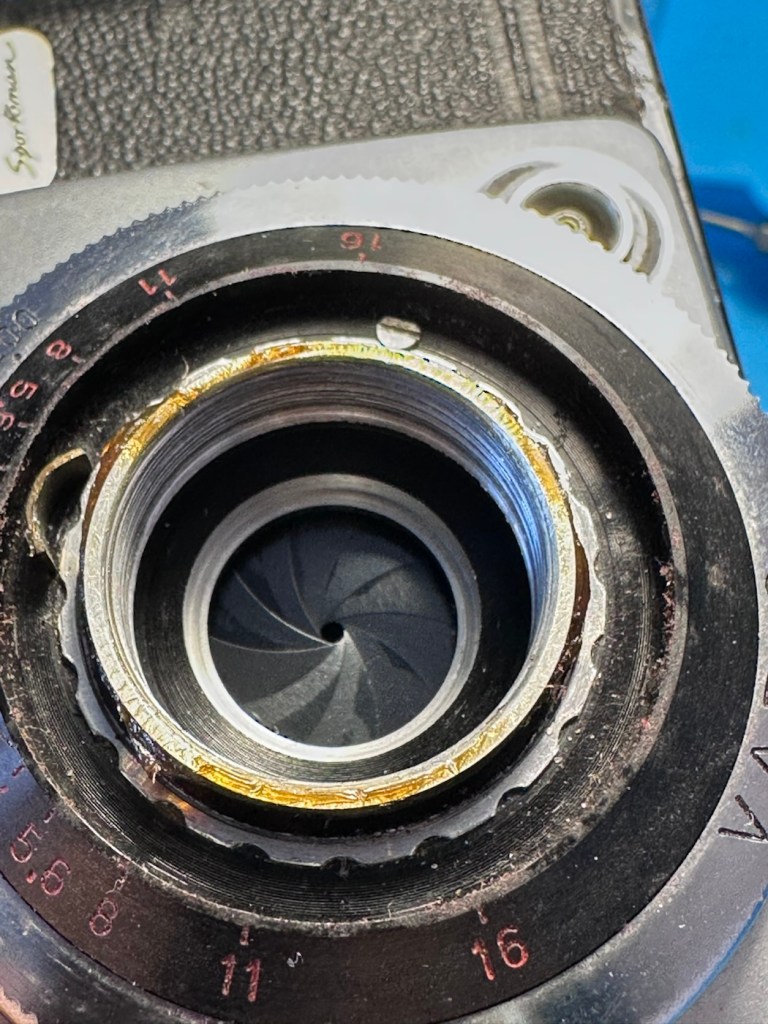
We now expose the shutter blades and underneath these we find the aperture blades.

I start by giving these sections a clean with a a little “lighter fuel” to remove the old grease and oily deposits. With the shutter blades I clean them very carefully, let them dry a little and then fire the shutter a few times, I blow off any build up and do the process again until I’m satisfied they are free from any contaminants. Now putting the shutter on “B” setting, I open the lens and do the same with the aperture blades opening and closing them manually using the same process as with the shutter blades. Happy with how this has gone I now head onto the elements.

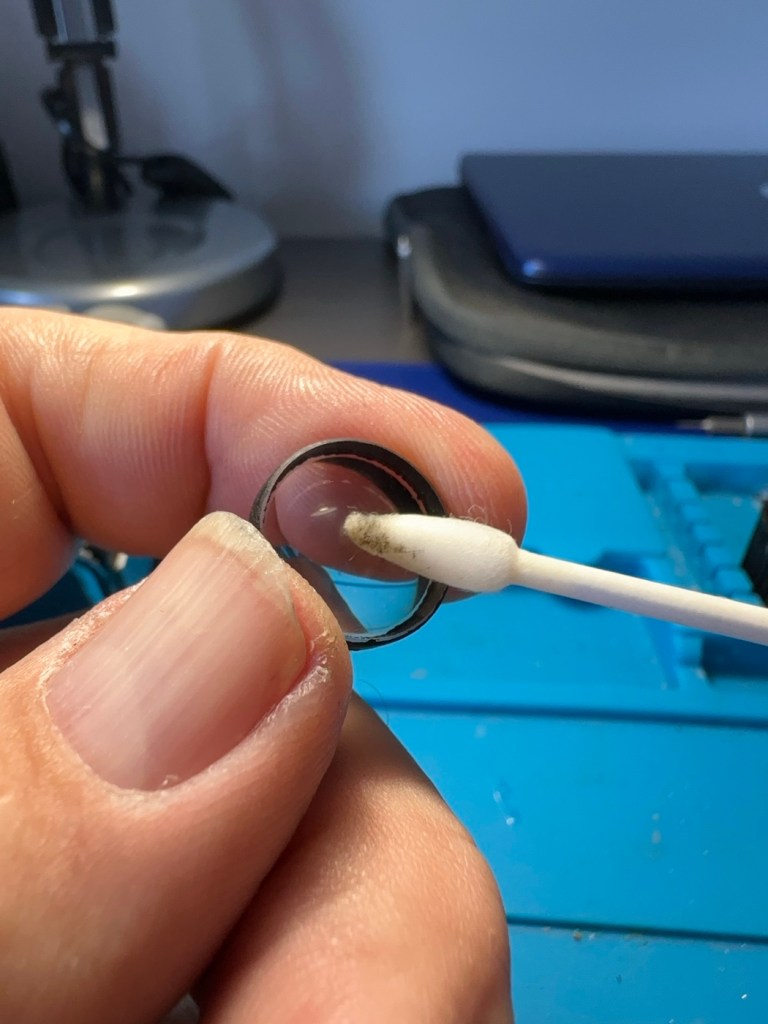
Using a mix of pure water and peroxide I use a small bud to coat both sides of the inner element to give it a clean, it is very dirty, no fungus on this element though, just years of dirt and grime.

Inner element was very dirty

The outer element was a different story, it had such bad fungus that the edges of the element had been etched by the fungus, as it had been there so long. I don’t think it will be too much of an issue through as a lot of it was removed. Below are two photos before and after, the after looks quite a bit better and when it was dried and polished it did look considerably better.

Once cleaned I rinsed the elements off and dried them using a lint free cloth. A good blow with some air dispersed any loose dust or fluff, prior to reassembly.

Reassembly was simple and without issue, I cleaned as I went along replacing any grease and oil with fresh lubricant (sparingly of course).

Reassembled and ready for cleaning

Cleaning wise I’ve used IPA, detailing polish, cocktail sticks (to get into the nooks and crannies) and good old elbow grease. It’s looking good.

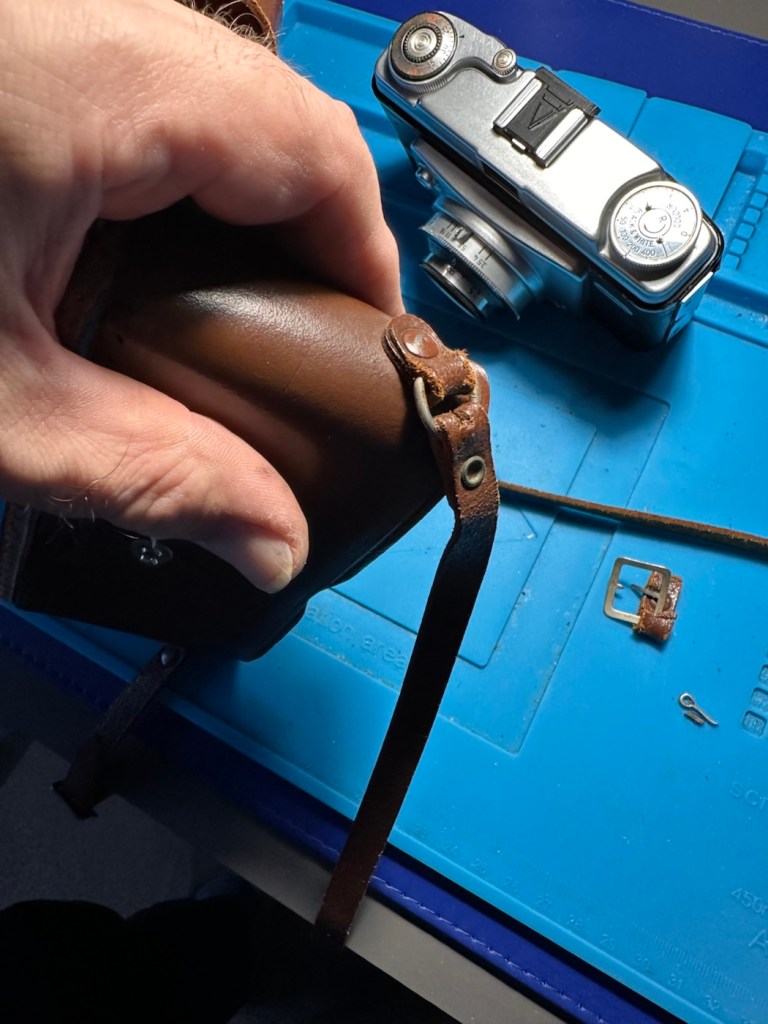
Leather strap repair

I’ve repaired the broken strap by just removing the damaged part and creating a new strap loop, it looks ok, but I’m working with a strap that’s almost 69 years old, very thin, and has seen better days, but it looks okay. There are loose bits on the case where the leather stitching has deteriorated, however leather work is not my forte, so I will be leaving this alone, letting it maintain its old appearance and patina if you like.

Result:

The result is that I have been able to maintain the original appearance of this camera, only carrying out a sympathetic maintenance regime, allowing the camera to be used as it should, but maintaining its age and individual characteristics.

That case with repaired strap

It’s been nice to just tidy up a camera and give it some attention, TLC if you like. These cameras are remarkably easy to maintain and operate, I’m sure a roll of film through it will give some superb results. The viewfinder is so clear now, the lens is clean and the shutter, aperture, and all buttons and levers are working just fine. It’s been a pleasure to work on this camera, and I sincerely hope that my friend is happy with the outcome. One thing you really struggle with though is the old musty smells these cameras carry with them. If I had a solution I could use to negate these aromas I’d probably be a rich man, or at least my wife would probably forgive for once, for bringing these aromas into the house.

Oh well, you can’t win them all.

Thank you for passing by, it’s always very much appreciated.
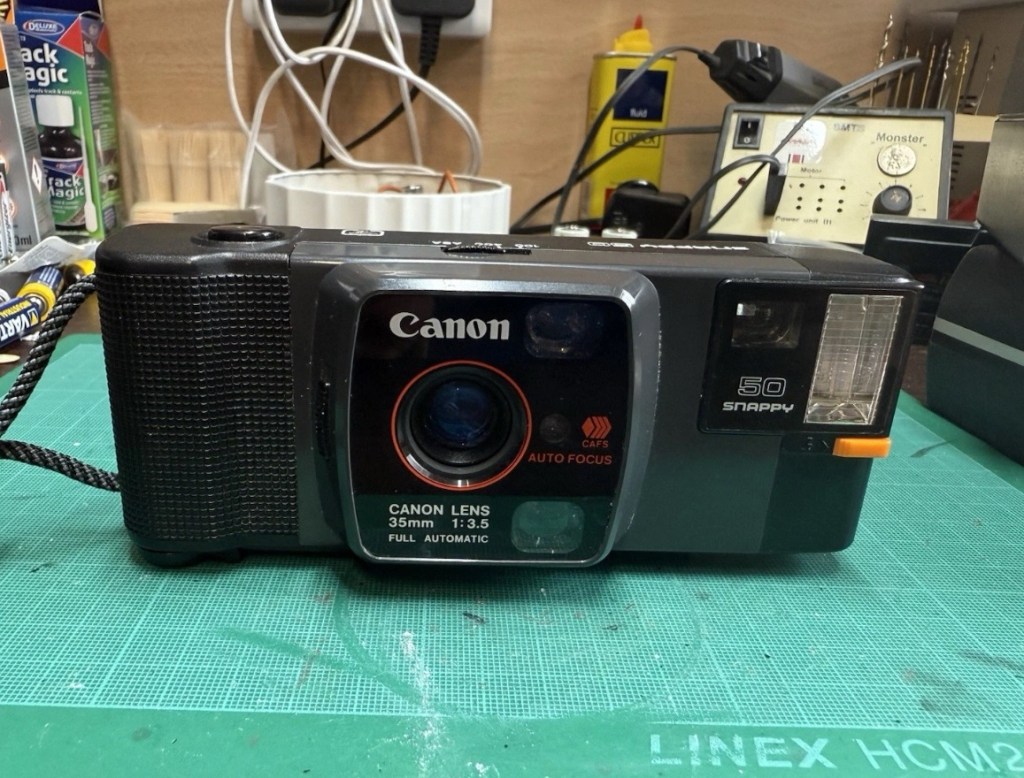
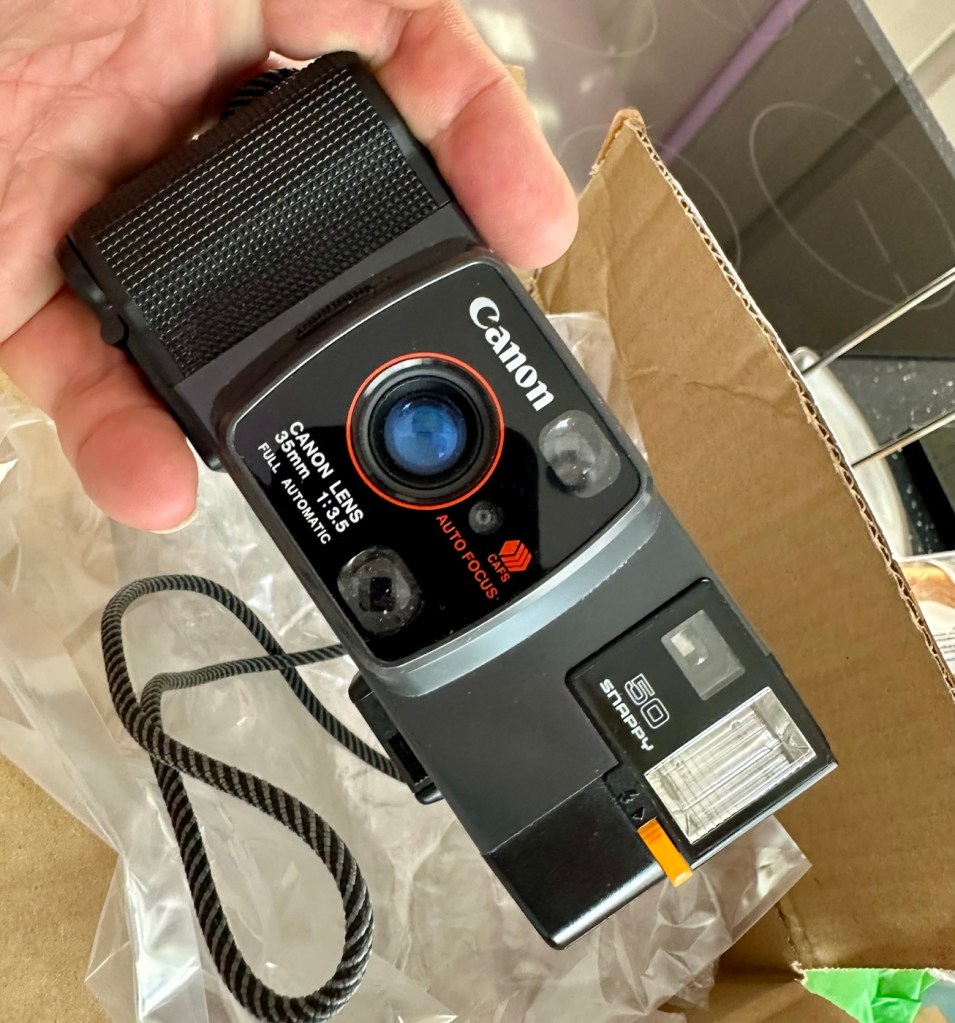
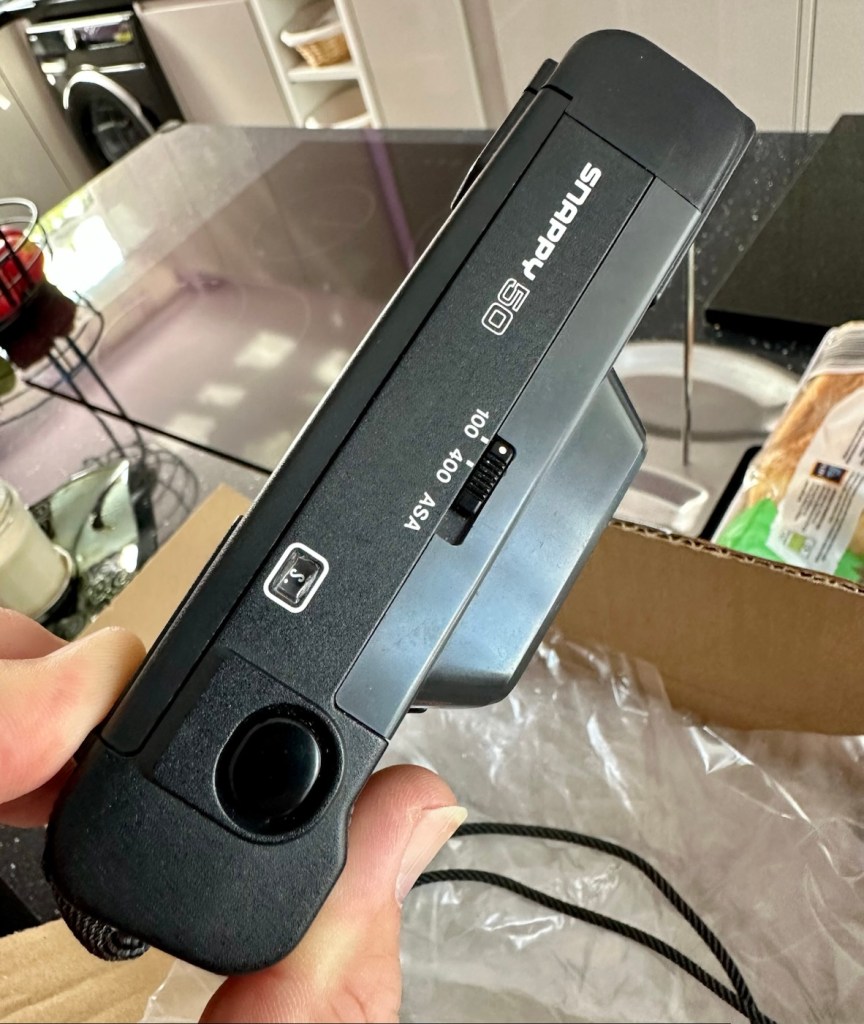
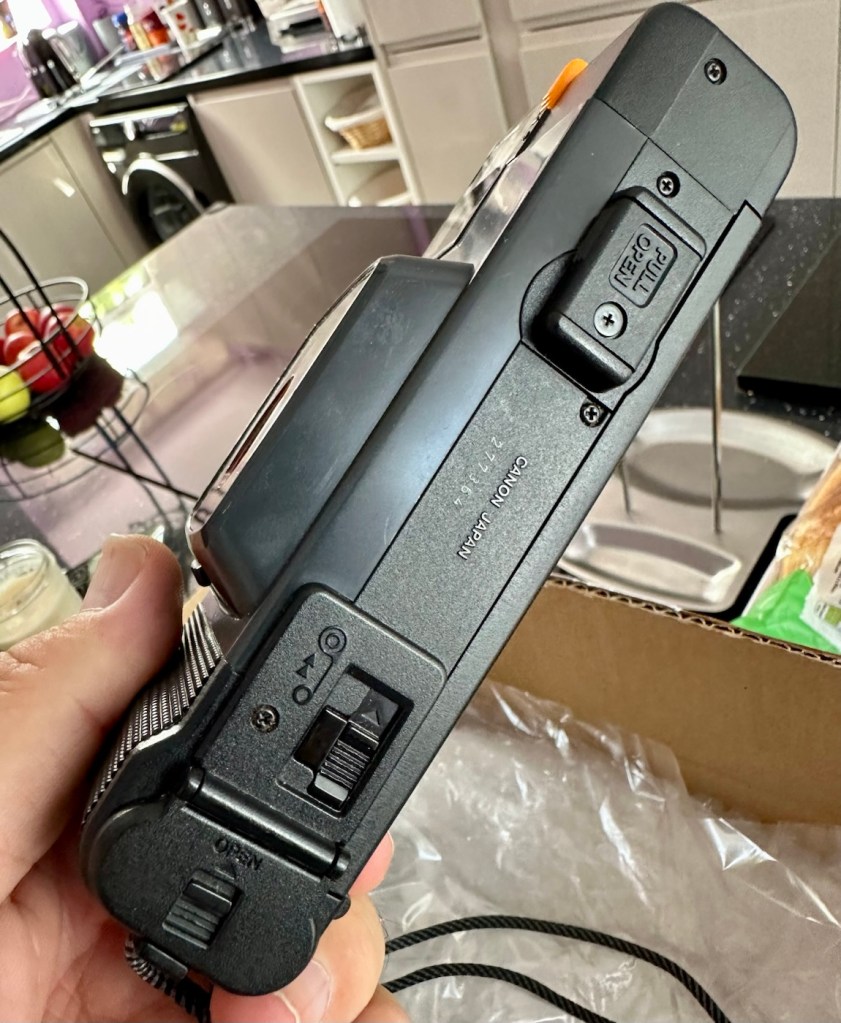
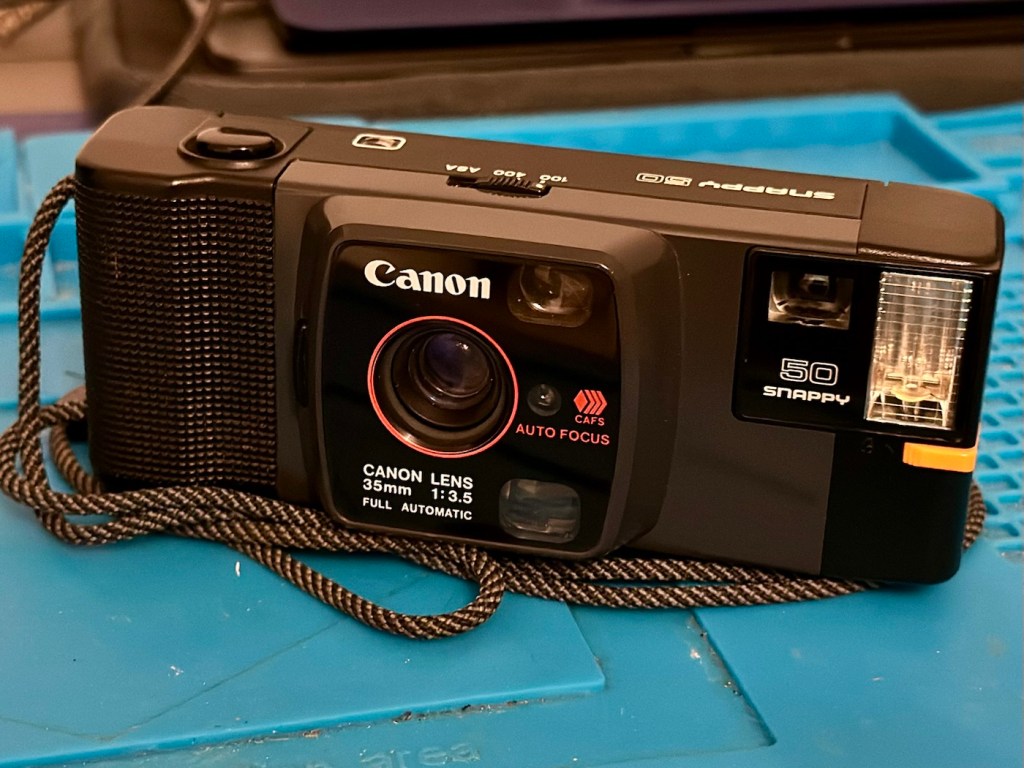
Canon Snappy 50 automatic 35mm camera

A compact Canon 35mm camera from 1982. It doesn’t work, so let’s make it work!

What the listing stated:

In generally good condition but does not power up
Sold as spares or repair

EBay

I came across one of these a few weeks back and was just taken by the shape and aesthetics of it. However i wasn’t going to pay a high price demanded by the seller, so i just hung around and waited for others to come on the market. I have just purchased this camera with free postage for a total of £1:13GBP. I’m confused, the seller will basically be paying me to take it off his hands as postage will be at least twice the value of what I have paid today. Let’s wait and see if this sale gets suddenly cancelled, as I suspect it may well do.

Anyway here’s a little bit of its history:

Released in July 1982 and based on a new concept, this is a fully automatic 35mm Lens-Shutter compact camera.

The camera height was reduced by about 30 percent, giving the camera an oblong and unique form.

The camera uses active autofocus with a solid-state near-infrared beam. EE and the aperture are controlled electronically with a program. Metering range is EV 8.6 (f/3.5 at 1/30 sec.) to EV 15 (f/9.5 at 1/350 sec.). The shutter speed is set within a range of 1/20 sec. to 1/500 sec. to suit the film speed.

There is only two film speed settings. ISO/ASA of 100 or 400.

The built-in flash (Guide No. 11 at ISO 100 in m) must be turned on manually with a switch when the camera-shake warning lamp lights in the viewfinder.

Canon

I’ll just wait now to see if it turns up. I don’t know what the problem with it is, it’s just listed as a power up problem.

Well I’m shocked, I’ve received a postage notification so it is definitely on its way. Next stop…Assessment.

Assessment:

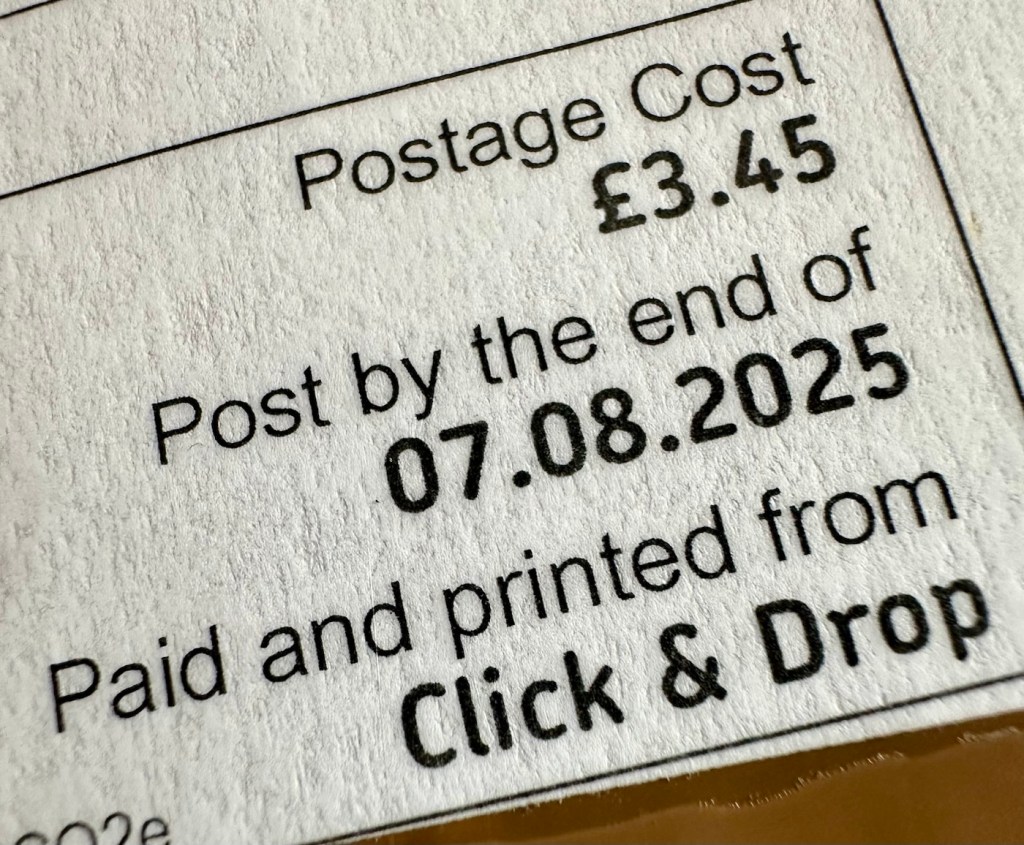
Well, it arrived, I’m shocked. It’s got to be one of the best packaged items I’ve ever received, never have I seen so much bubble wrap protecting an item that cost just £1:13GBP.

On top of that the sender has spent £3:45GBP on postage and charged me nothing. God I feel guilty now, least I can do is give him some glowing feedback.

Wow – And I paid nothing

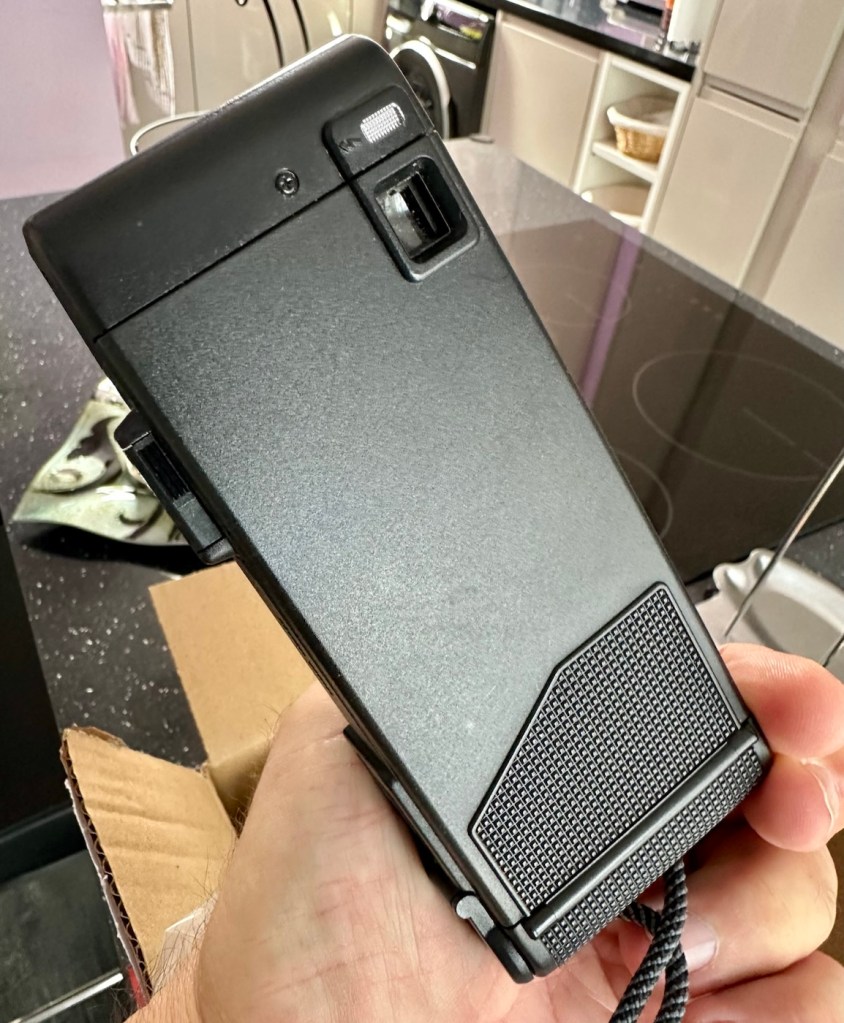
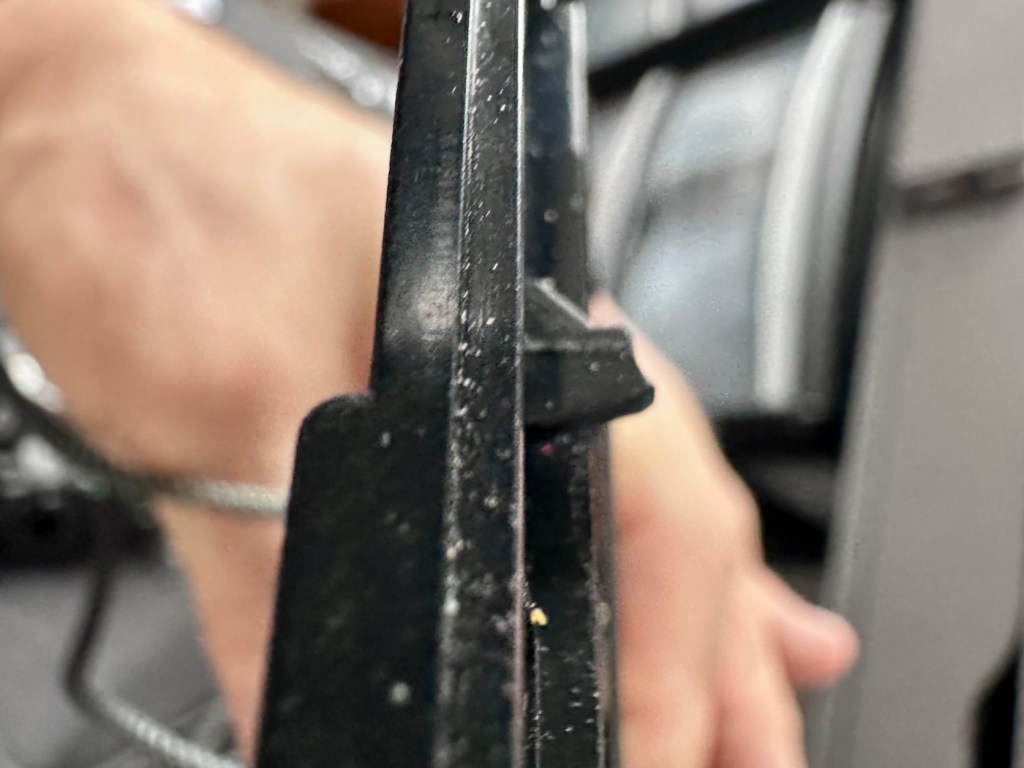
Right, back to the camera. For a 44 year old camera it really is in beautiful cosmetic condition and needs nothing but a slight dusting to finish it off. But first I put in two AA batteries and can confirm it is dead. No life at all. Also, the film door is flapping about (So there was another issue!). I’m going to have to get inside this unit to see what is wrong. To be honest the unit is such a basic one, I suspect there isn’t a lot that can go wrong with it.

Repair:

The film door issue is a simple one, and if I didn’t have a ton of spare parts spread around the place, I’d be quite annoyed to say the least. It would have been either a case of making a new catch for the door or building some Heath Robinson contraption to secure the door, looking completely out of place. However, I just so happen to have a complete rear door for one of these cameras so hopefully it should be a simple swap out of parts.

But before I do this simple replacement, I need to get the top and bottom off of the camera to check where the electrical issues lie.

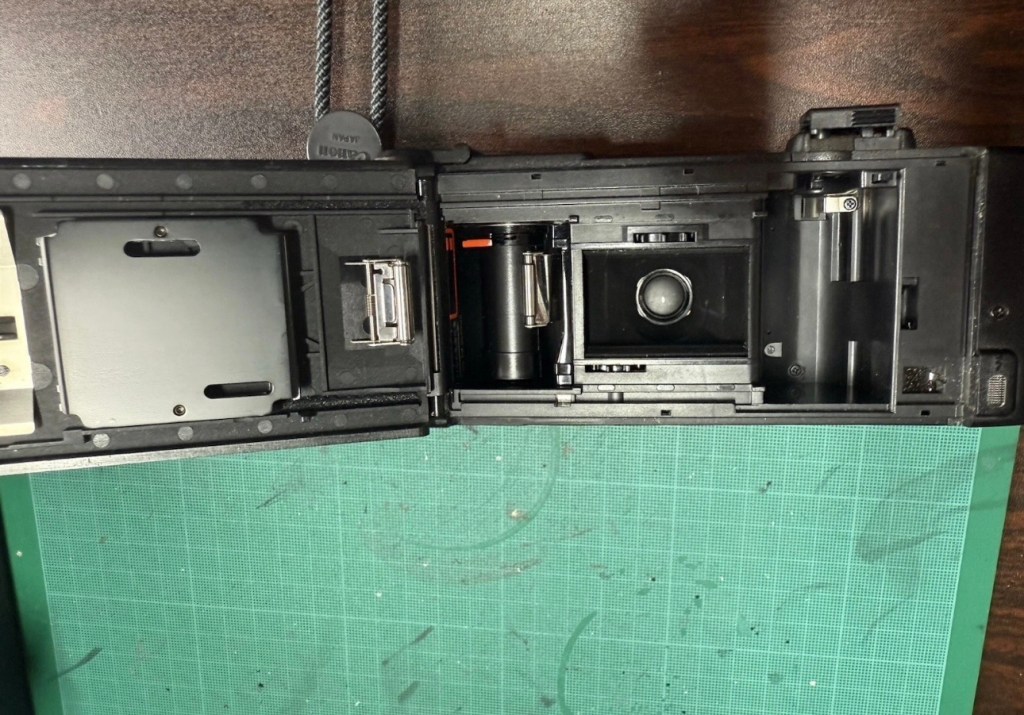
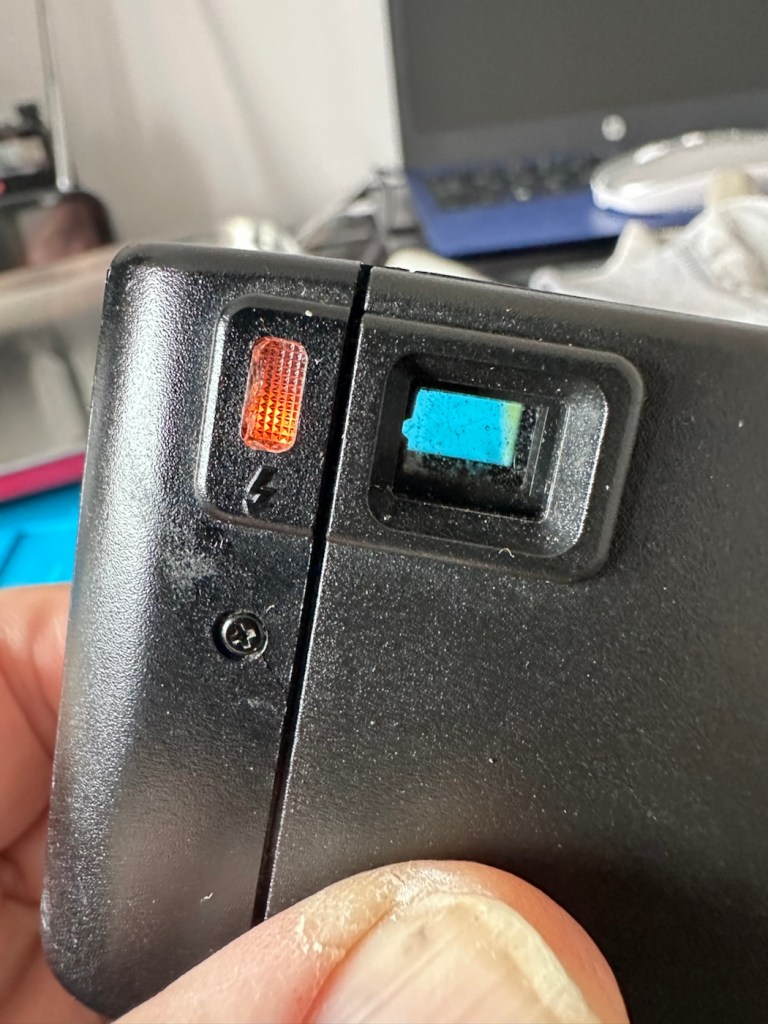
Taking the bottom off of the camera, the problem presents itself quite clearly. At the bottom of the battery chamber the negative wire has detached and needs soldering back into place.

Negative wore detached from battery chamber

I put the base back on and put two batteries into the chamber and the rewind motor instantly kicks in. We now have power. The shutter works and the winder motor operates as it should. When the rewind button is depressed the rewind motor kicks in as well, all seems to be good…..until!

The live supply to the flash was detached

I try the flash, and nothing. Not even the usual sound of the flash capacitor charging. Damn, I hope that capacitor isn’t dead! So now I have the top off of the camera and another problem presents itself just as clearly as the first. Not a problem here as I need the top off to replace the rear door.

Rear door hinge removed and replaced

The live supply to the flash had broken loose and this also needed re soldering, in fact I re soldered about eight wires in total as it seemed that the solder joints in these critical areas could possibly be fairly. They may not be failing, but whilst I’m inside why not just do this simple task to prevent anymore premature failings?

Batteries back in, flash turned on (it’s manual on this camera) and the check light illuminates. This camera is now fully operational.

Flash check light now illuminates

Result:

I’ve had a fairly simple repair here with some soldering and luckily, some spare parts available. These cameras are quite tricky to repair due to their compact build. Normally when you detach one part you have tiny springs and other parts that fly out, leaving you with a head scratching puzzle to add to your issues. However having dealt with these cameras in the past and having learned my lesson previously, I was very careful and took my time ensuring nothing occurred that would cause me any issues further along in this fix. I also open these cameras in a box, so if anything does fly out, it doesn’t fall onto a carpet disappearing into the pile, it just falls into the box, saving me the embarrassment of looking for a tiny piece of camera, that could be just about anywhere on the floor of that room. You learn from previous mistakes, I have, and i now have procedures in place to prevent such issues happening again.

All cleaned up and working
And neatly cased

We now have a lovely example of compact 35mm photography, rejuvenated, repaired and ready to get back to doing what it was designed for, creating memories.

And long may that last, another one saved from landfill, repaired, recycled and now with many more years of purpose.

Many thanks for passing by 🙏

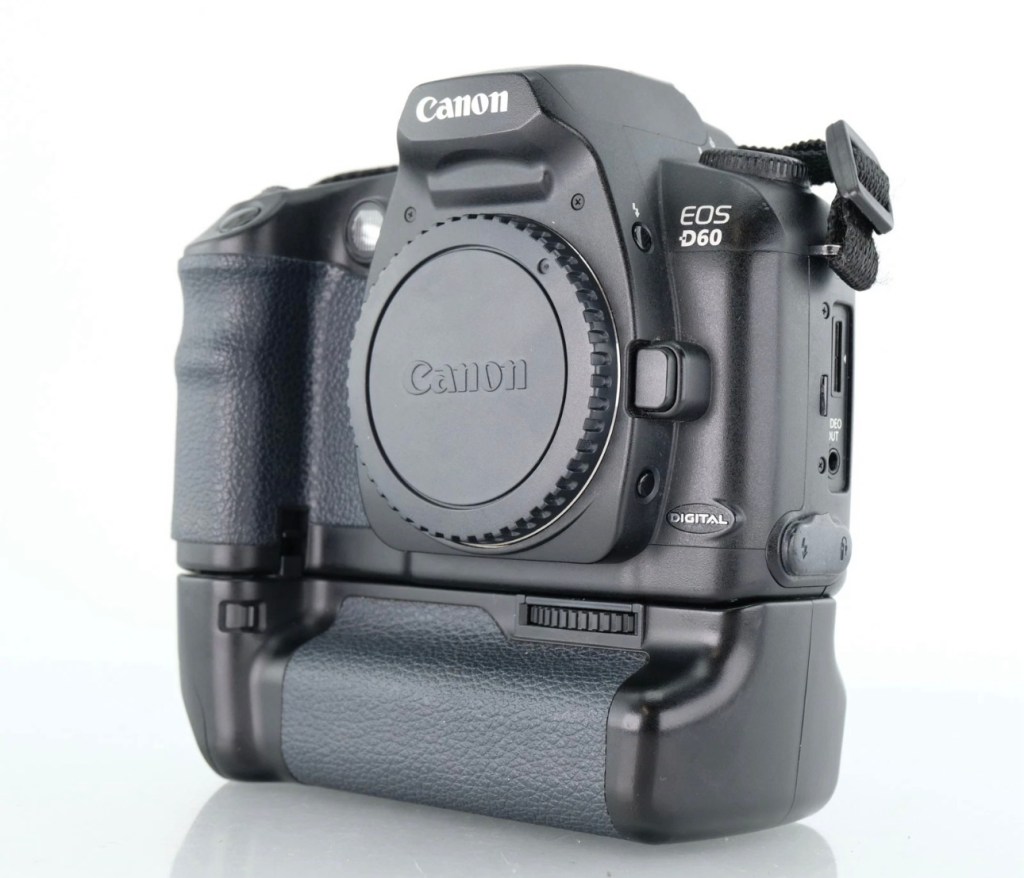
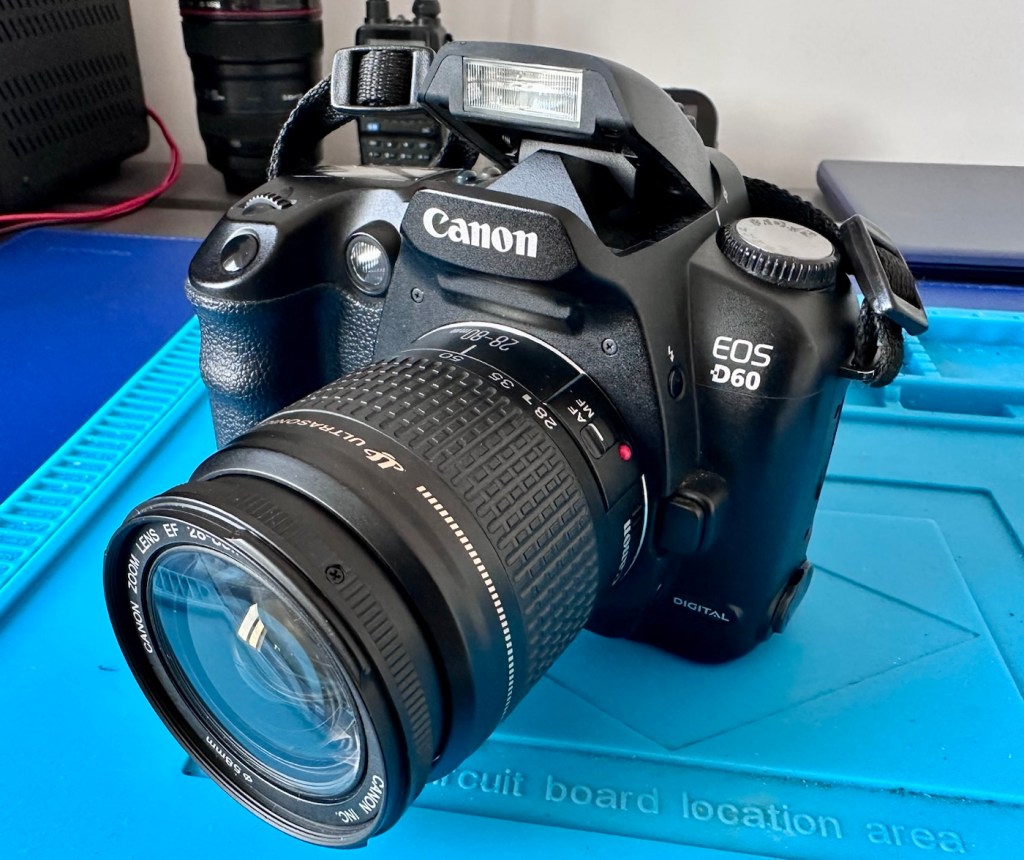
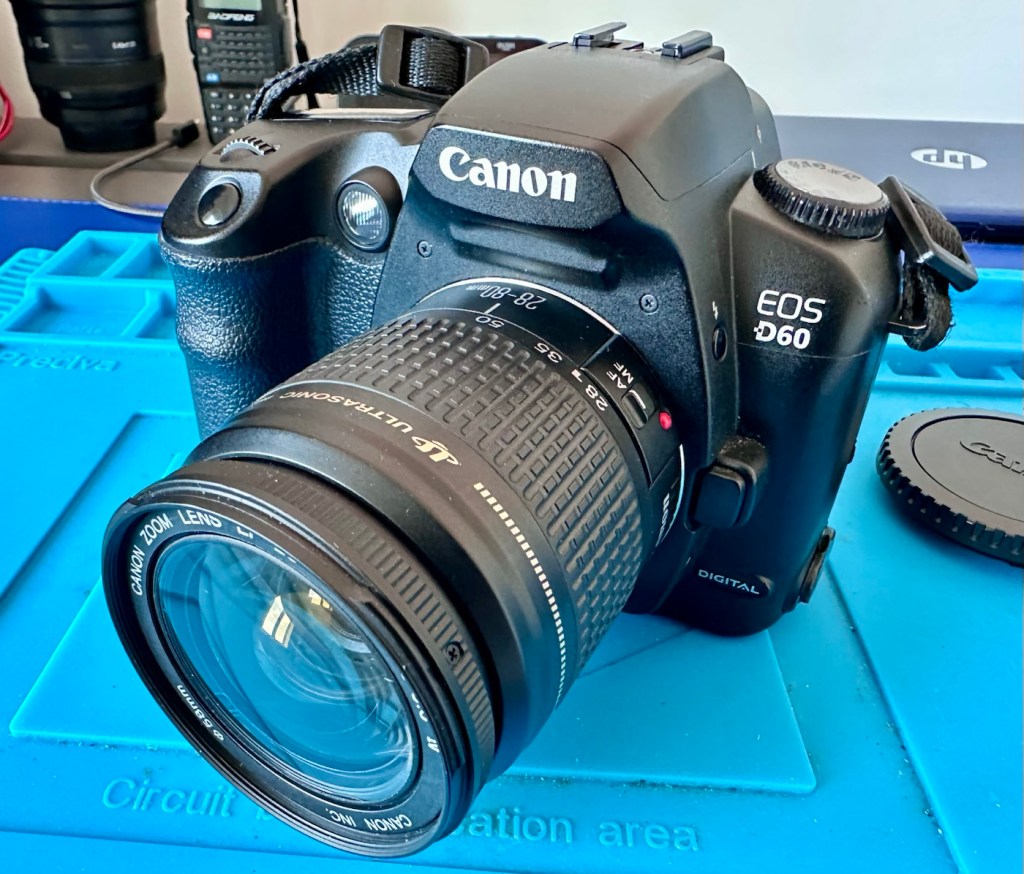
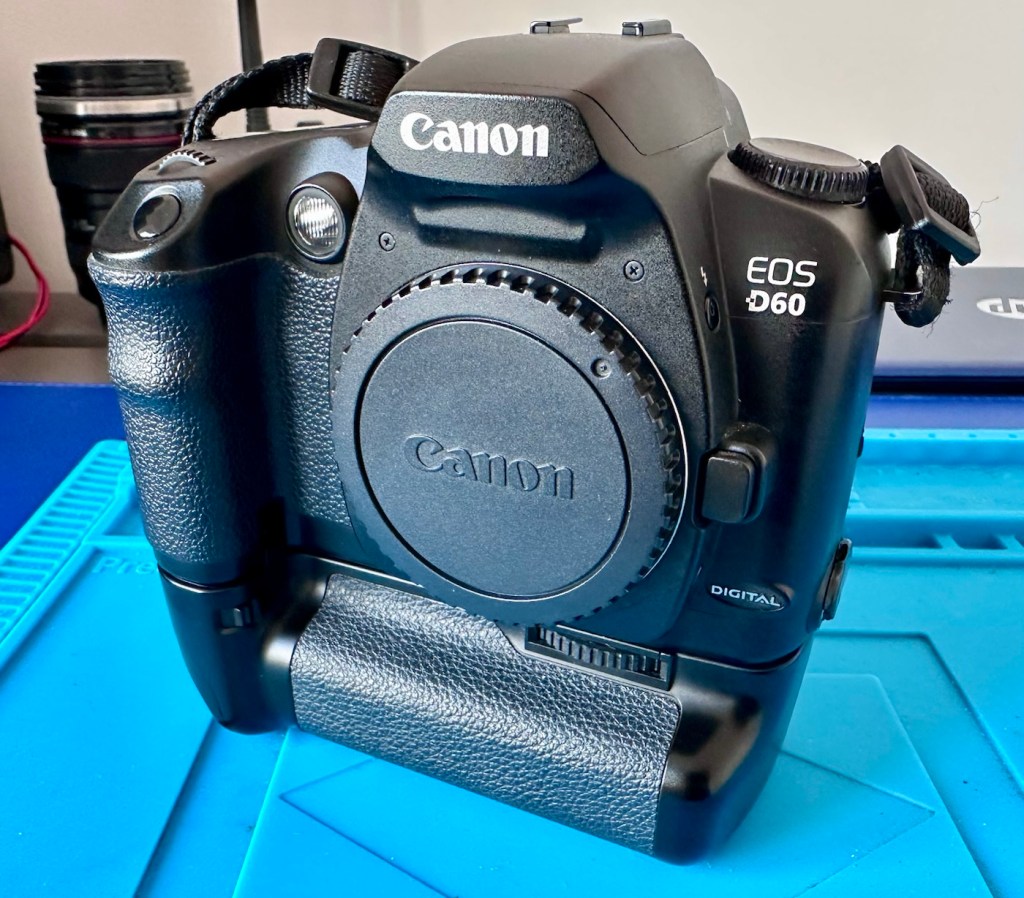
Canon EOS D60

Who would have thought a button the size of a grain of rice could declare this camera defunct and dead. Let’s have a look at it and see if we can get it working again.

What the listing stated:

The Canon EOS D60 DSLR is a digital SLR camera body offered here for parts or repair, ideal for those seeking components or a restoration project.

This digital camera has been tested and does not power on. It is being sold as faulty, for parts or repair only.

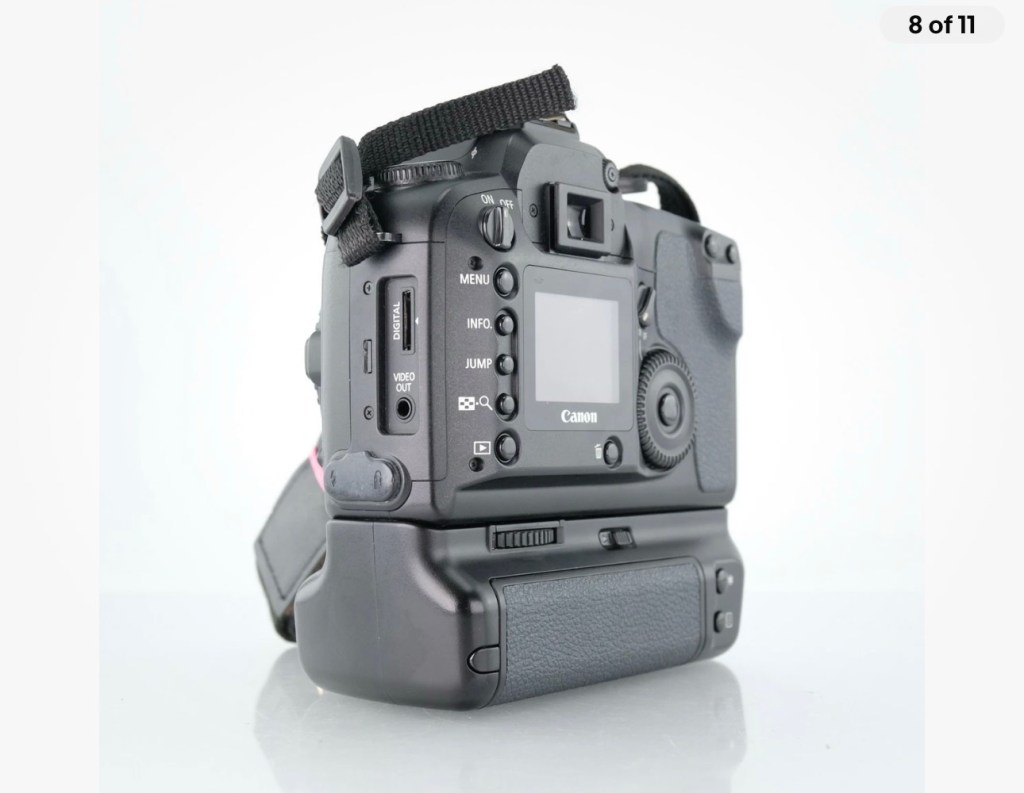
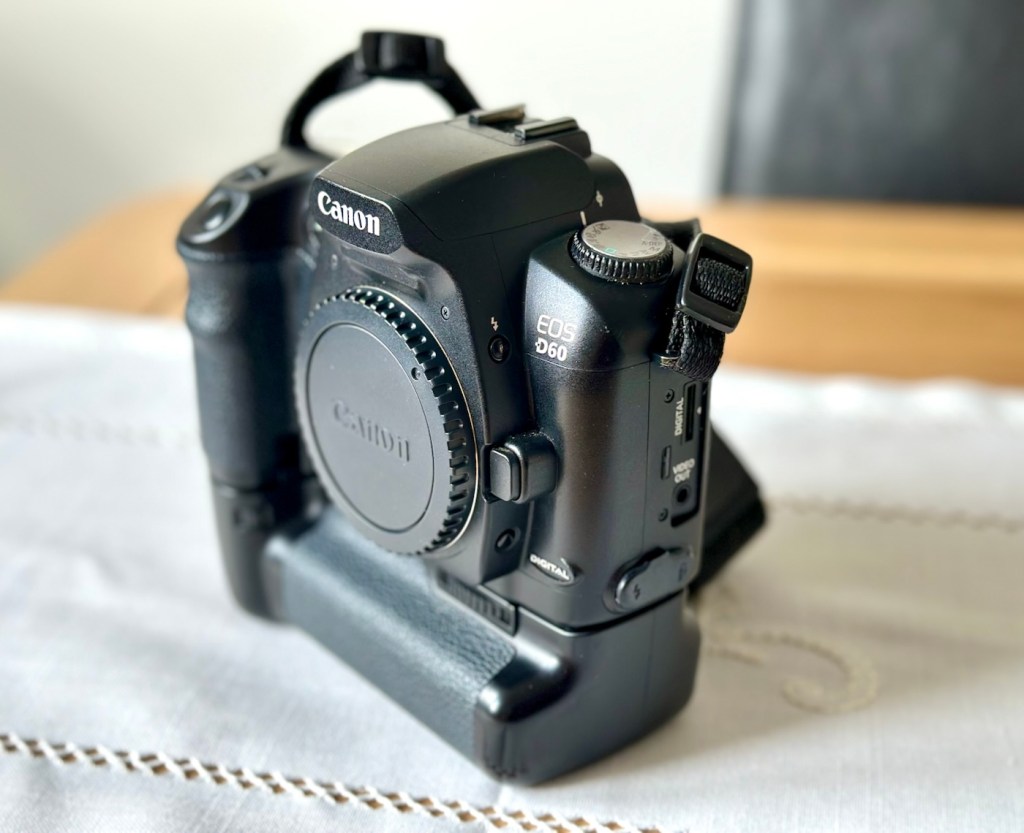
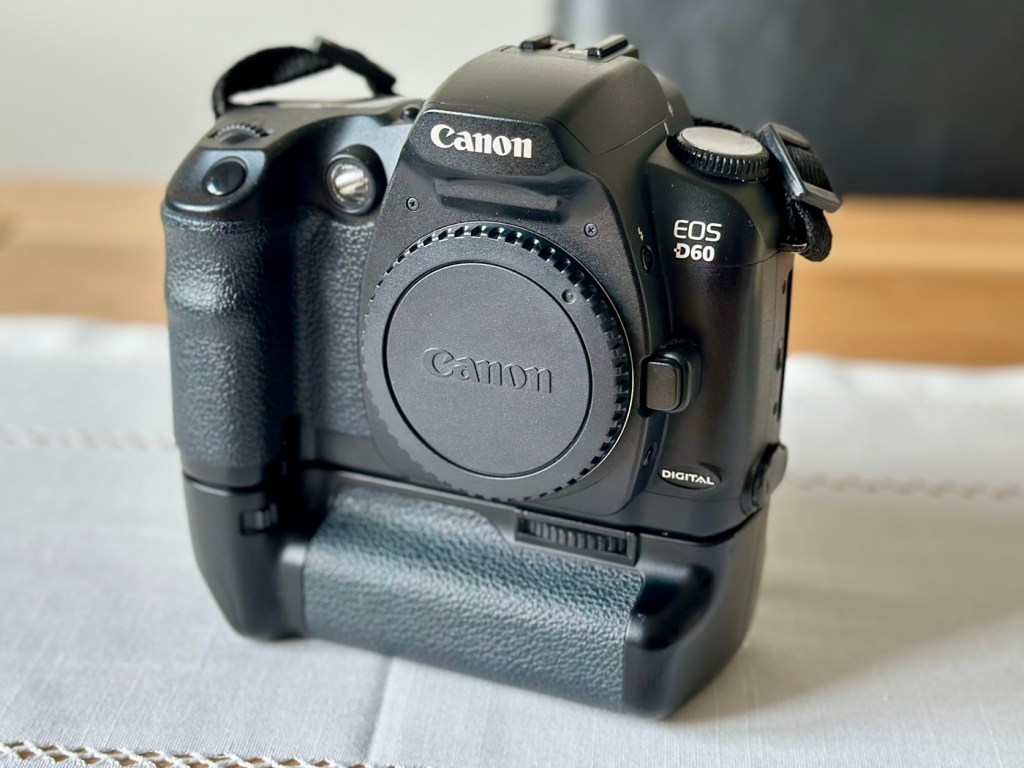
Cosmetically, the camera body and battery grip show typical signs of use, such as surface marks and wear. Functionality has not been restored, and no further testing has been performed beyond confirming it does not power up. The battery grip (BG-ED3) is included but requires two batteries for operation; only one battery is supplied. No charger, lens, or additional accessories are included.

Accessories Included: BG-ED3 battery grip, 1x battery (no charger).

EBay

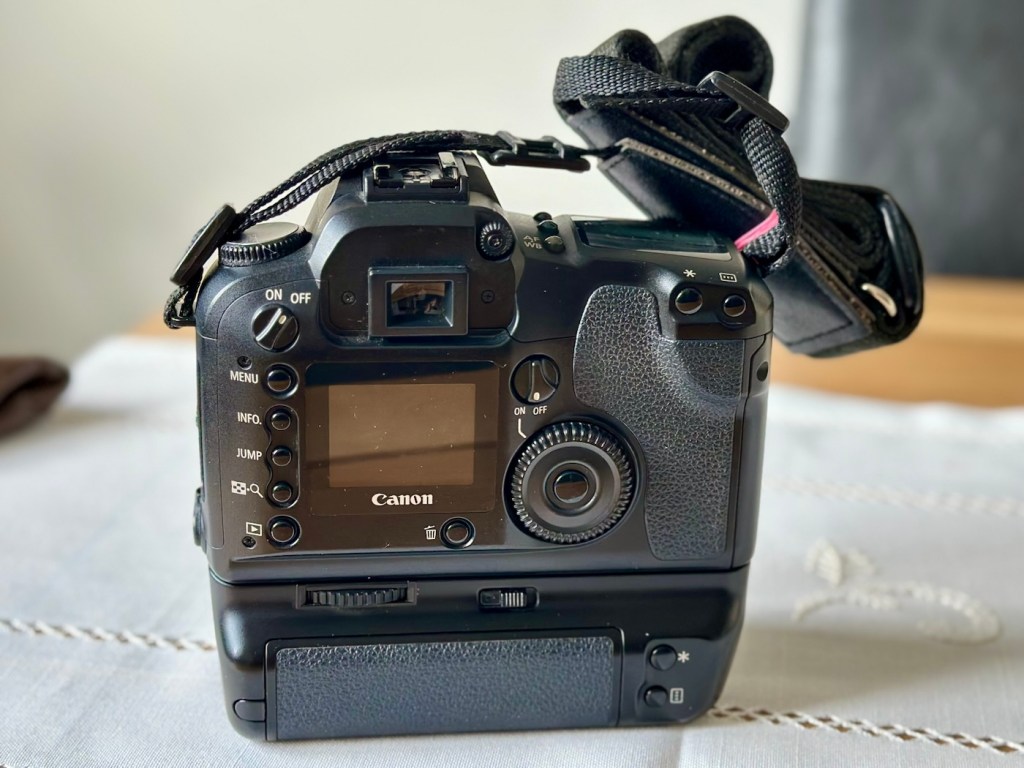
I’ve purchased this camera kit for the princely sum of £14:24GBP. An absolute bargain, even if it doesn’t work. It’s worth more than that to me, even for spare parts if I can’t get it working, however let’s not go down that route just yet. This camera also comes with a BG-ED3 battery grip that on its own currently retails on the auction platforms for around £20-£30 so before we start I’m on to a winner.

Here’s a little bit about this camera that was released in 2002, don’t get it mixed up with the later EOS 60D that was released in 2010…a different camera entirely:

The Canon EOS D60 is a discontinued 6.3 megapixel digital single lens reflex (DSLR) camera body, announced by Canon on February 22, 2002. It is part of the Canon EOS range, and accepts Canon EF, TS-E and MP-E lenses, but not Canon’s later digital-only EF-S lens range.

The EOS D60 sits in the prosumer (professional-consumer) line of digital SLR cameras. It succeeded the three megapixel EOS D30 and was replaced by the improved, six megapixel EOS 10D.

The EOS D60 features:

  • 22.7 x 15.1 mm CMOS sensor (APS-C)
  • 6.3 megapixel effective (6.3 megapixel total)
  • Max resolution 3072 x 2048
  • FOV crop (1.6x)
  • Canon EF lens mount (excludes EF-S)
  • 3-point auto focus
  • 100, 200, 400, 800, 1000 ISO speed equivalent
  • 30 to 1/4000 s shutter speed and bulb
  • TTL 35 zone SPC metering: evaluative, center weighted, partial
  • Exposure compensation -2 EV to +2 EV in 1/3 EV or 1/2 EV steps
  • Auto White Balance (plus 5 positions & manual preset)
  • Eye-level pentaprism viewfinder
  • 1.8 in (46 mm) color TFT liquid-crystal monitor
  • E-TTL flash mode
  • 3 frames per second continuous shooting (max. 8 frames)
  • Dimensions (WxHxD): 150 x 107 x 75 mm (6.0 x 4.4 x 2.9 in)
  • Weight (body only): 780 gm

Wikipedia

So, as usual let’s await its arrival so we can carry out a full assessment of the camera and related equipment.

Assessment:

The package has arrived, and wow, this is a lot of camera for a very small price.

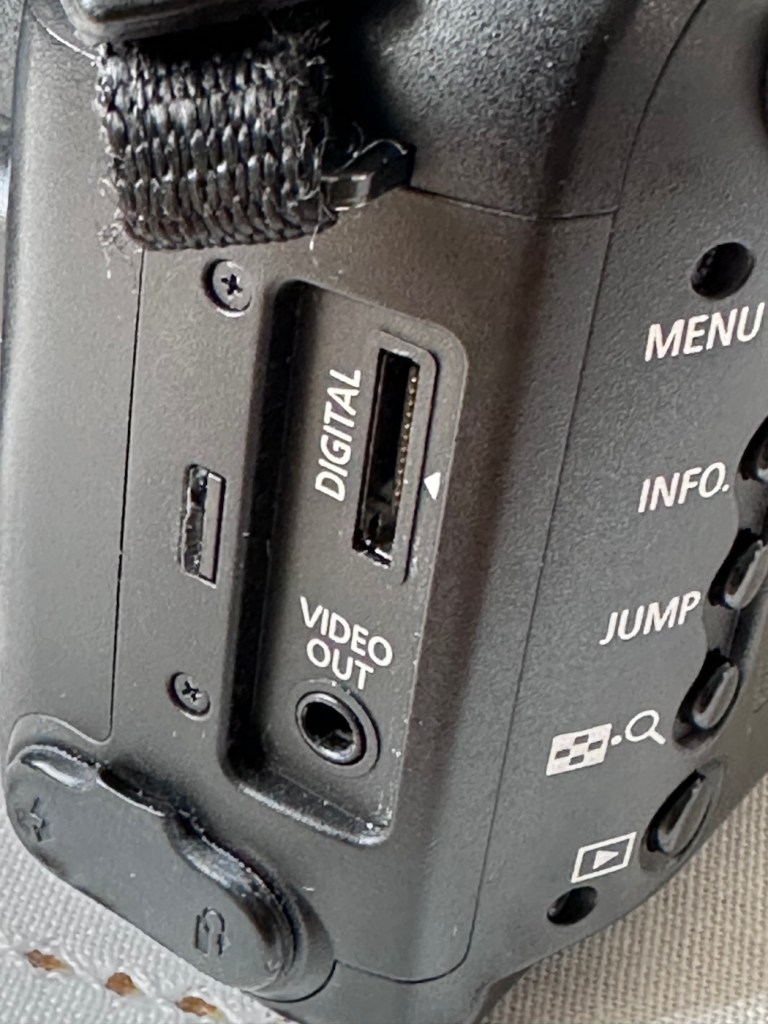
The condition cosmetically is fantastic, I’d call it almost mint but the seller thinks otherwise, he certainly has some high standards, I’m pleased I know him if it means I can purchase items such as this. The only thing that is missing is a small rubber cap that covers the digital and video out ports, not an issue for me, and definitely not detrimental to the operation of the camera, this can be replaced but it really isn’t worth the bother or the extra expense.

The missing rubber port cover

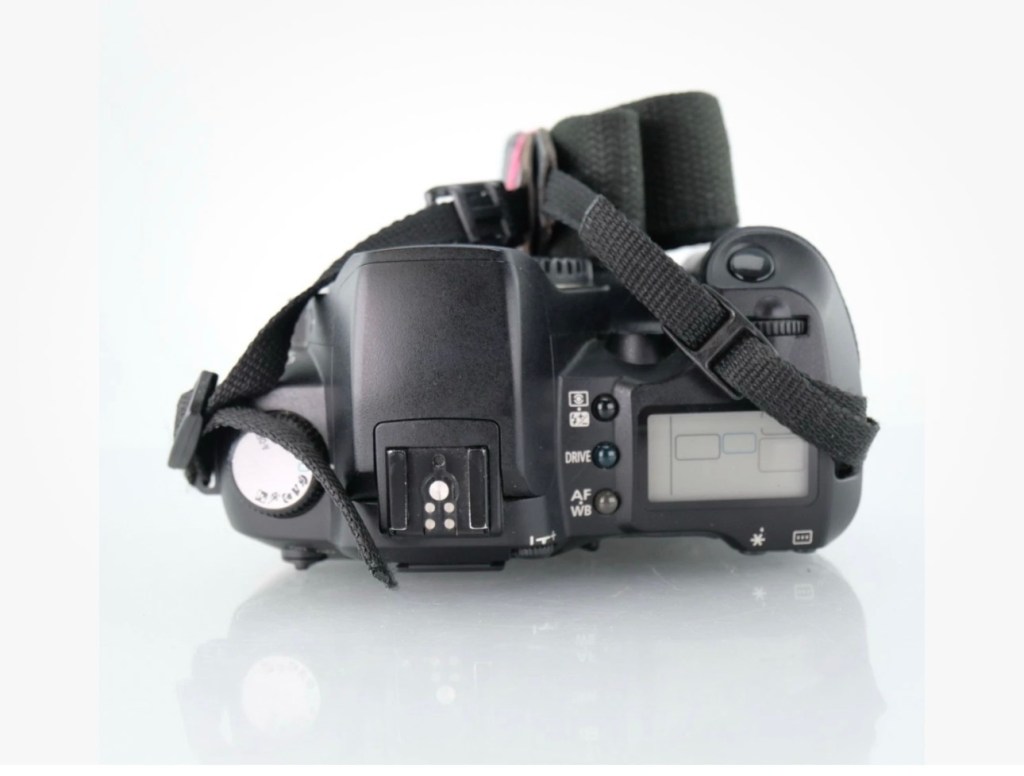
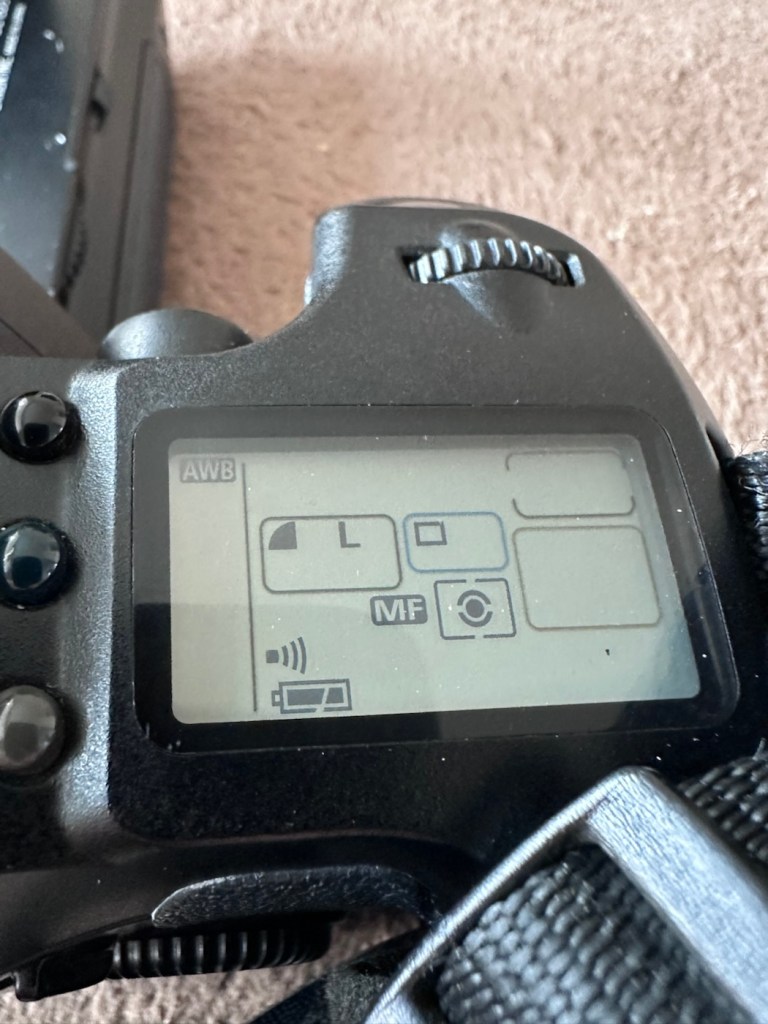
The camera has come attached to the power winder and has a Canon dust cap over the lens mount/body aperture. There is a single battery and this does have some life still in it.

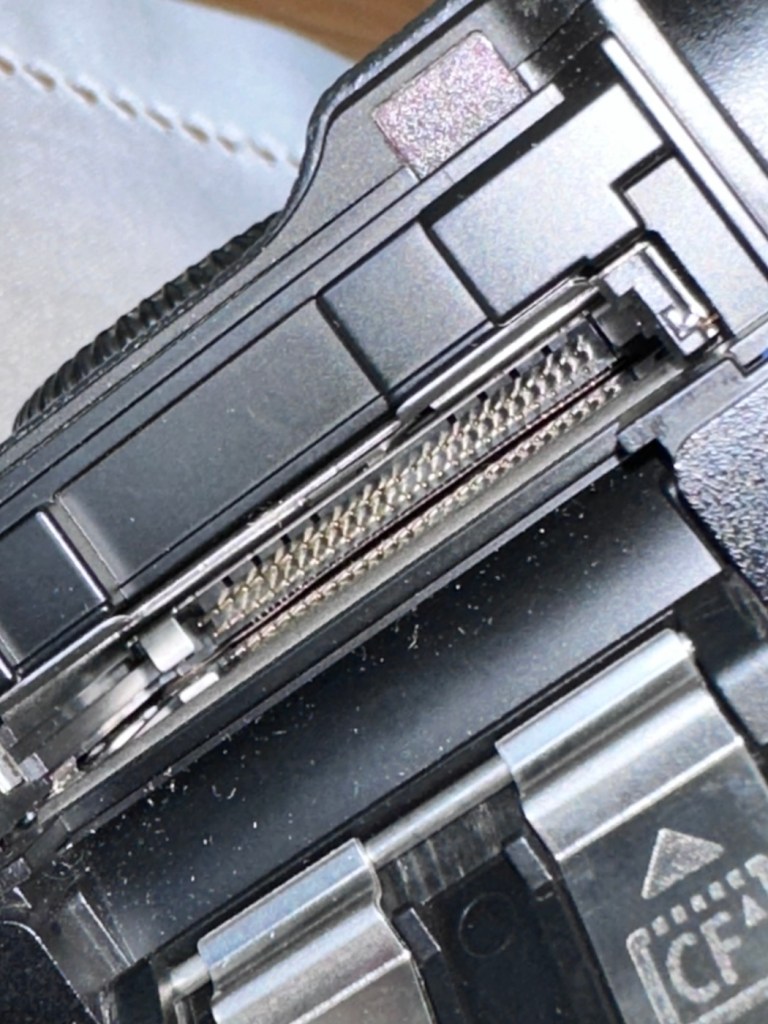
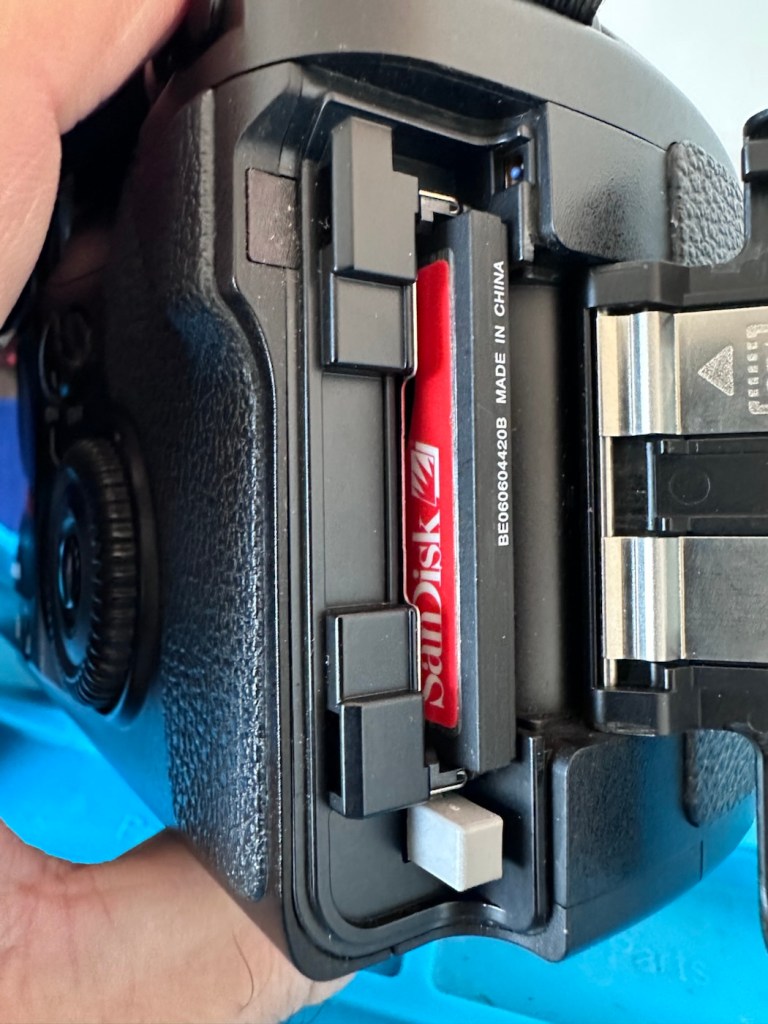
No damage to the CF card reader pins

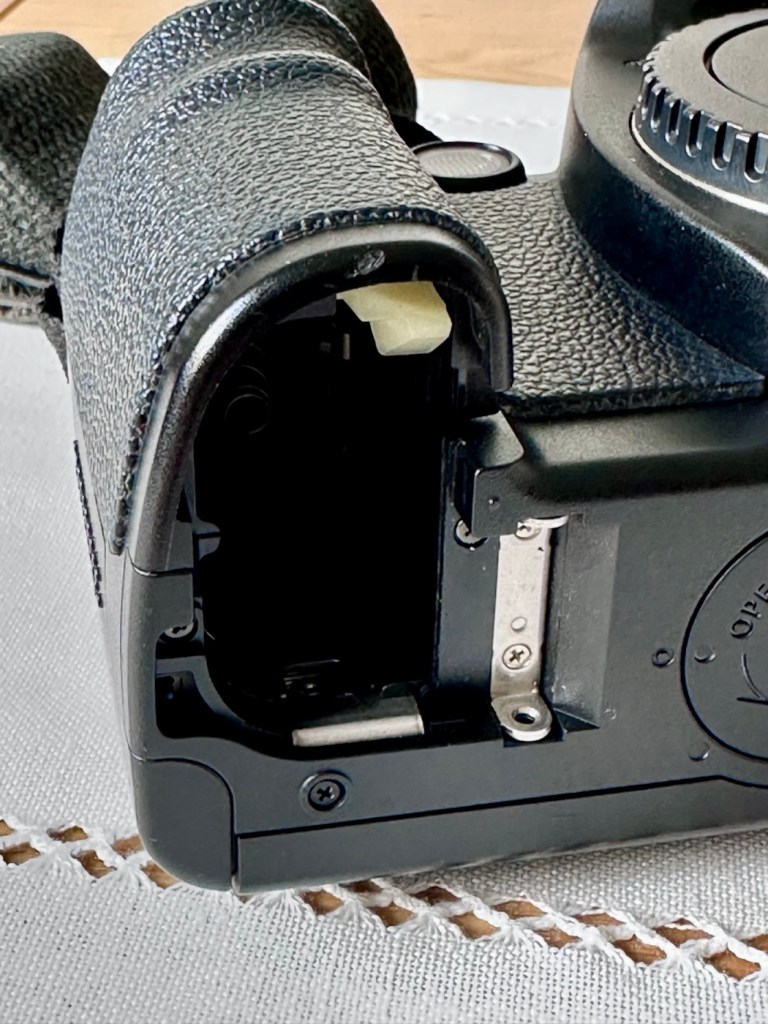
There is a good quality camera strap attached, and when the battery grip is taken from the body and checked, all battery connections are clean and free of any contaminants. There is no damage to the CF card reader pins within the CF card port. An added bonus is that the body battery cover is tucked away on the power grip handle, and all connections are good, these little battery cover doors normally end up being thrown away so that you end up paying some pirate on the internet an absolute fortune to replace a battery cover door, that in theory is only worth a few pounds. Yes there are many robbing bandits out there! (That’s the polite, non sweary word version)

The camera listing stated that the camera grip needs two batteries for operation, this is not technically true as one battery will still operate the camera whilst using the grip. The option for two batteries just extends the usage of the camera, hence saving you the aggro of changing out batteries when you have a longer camera session planned.

And that one battery does have life in it as I stated earlier.

I know this, because I plugged it into the camera grip, I turned the operating switch on and hey presto, there is life

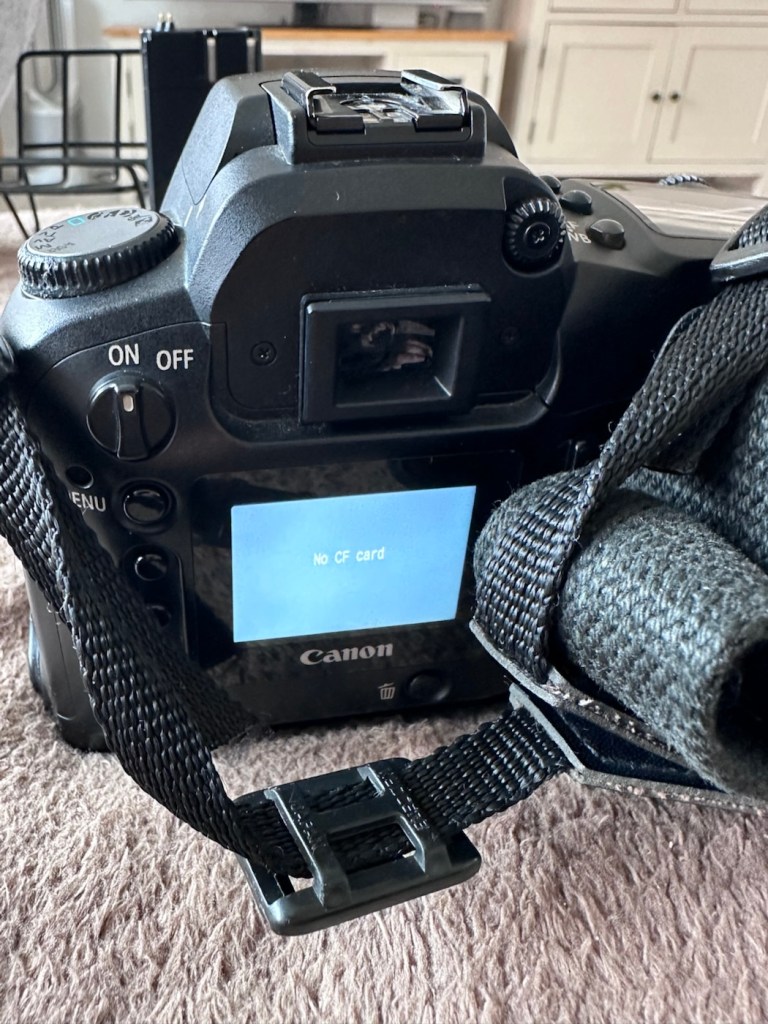
So to further test I have removed the grip, and gone back to using the camera with its original battery cover, and then…it doesn’t operate. How strange!

So I then go back to the power grip and everything works fine!

Back to the original battery cover. Nothing again.

I won’t ruin your reading at this point, as to be totally honest if I tell you what was wrong here, I will have nothing to put in the repair section below. Just read on, I can assure you that you will not be impressed. It really is that mundane and boring, you will probably just roll your eyes and question why I have even called it a repair. But a repair is a repair, no matter how insignificant and minuscule it may be, and if it gets the camera working then we are on to a winner.

Repair:

Thanks for staying with me.

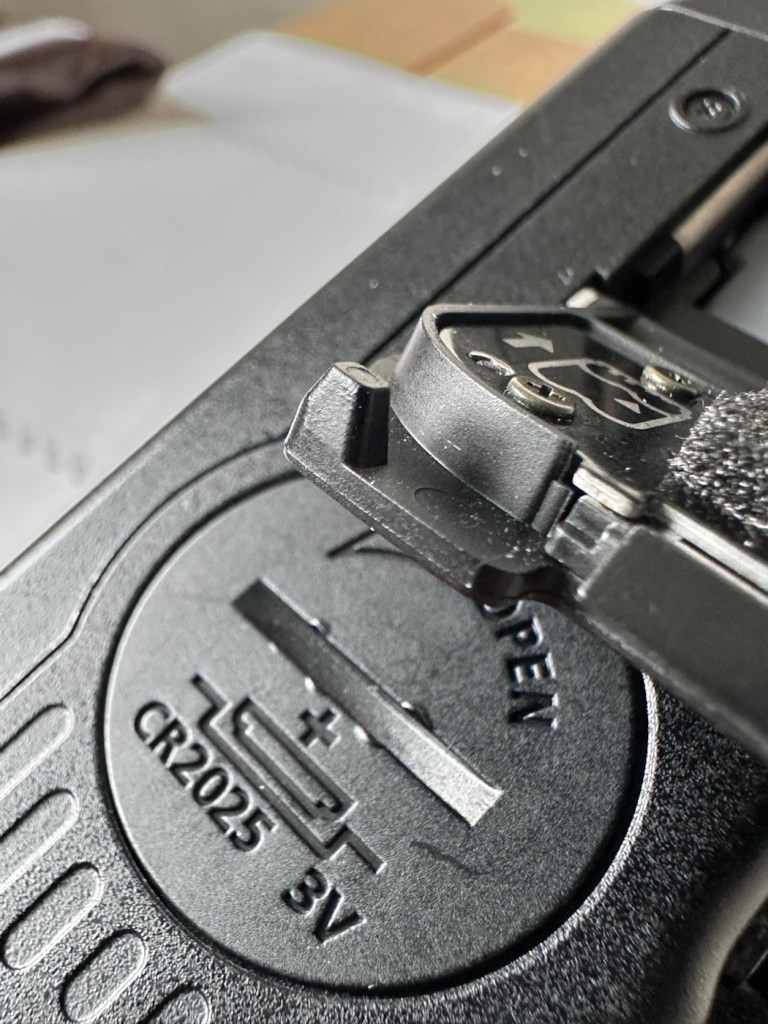
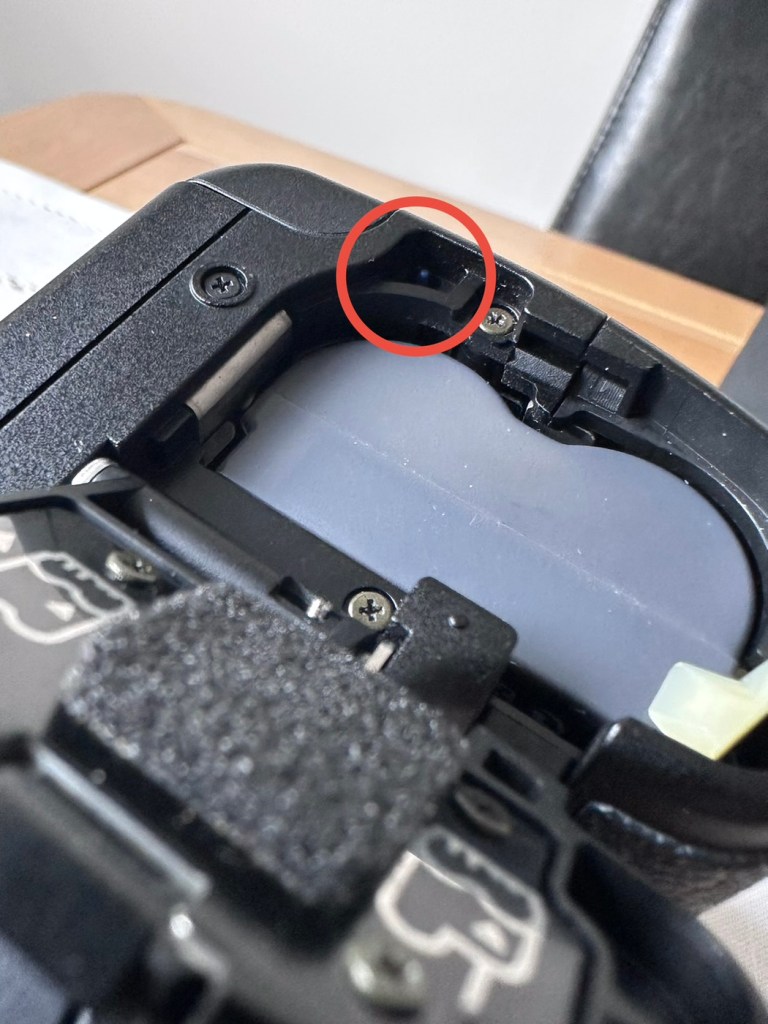
Have a look at the three pictures below.

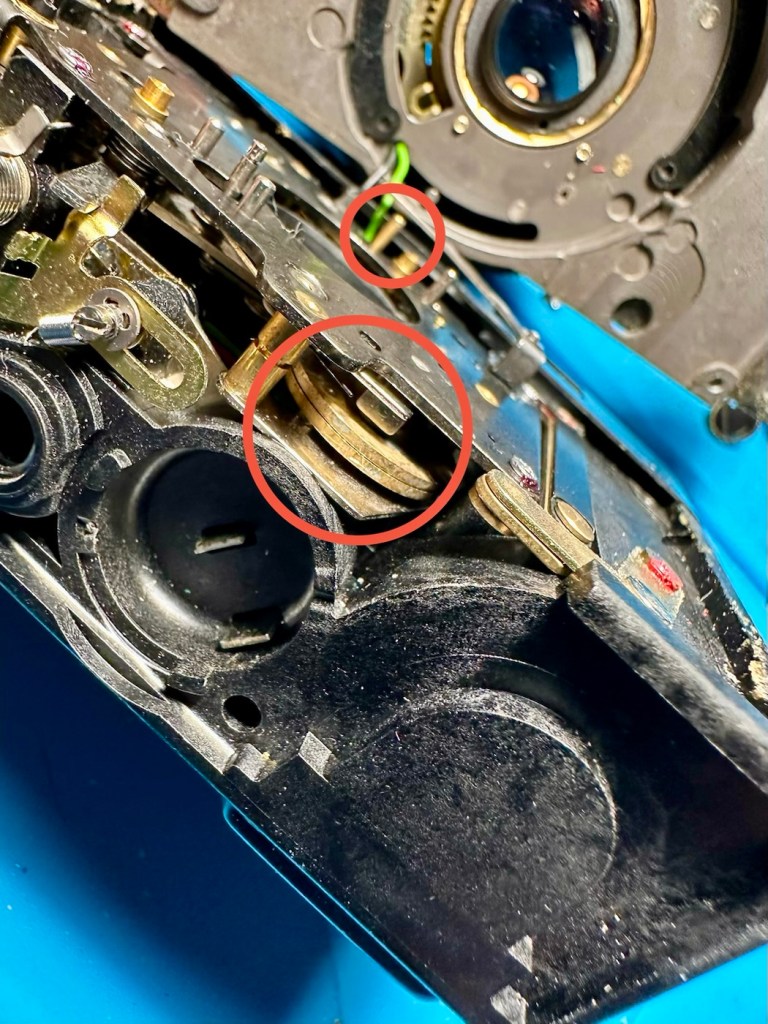
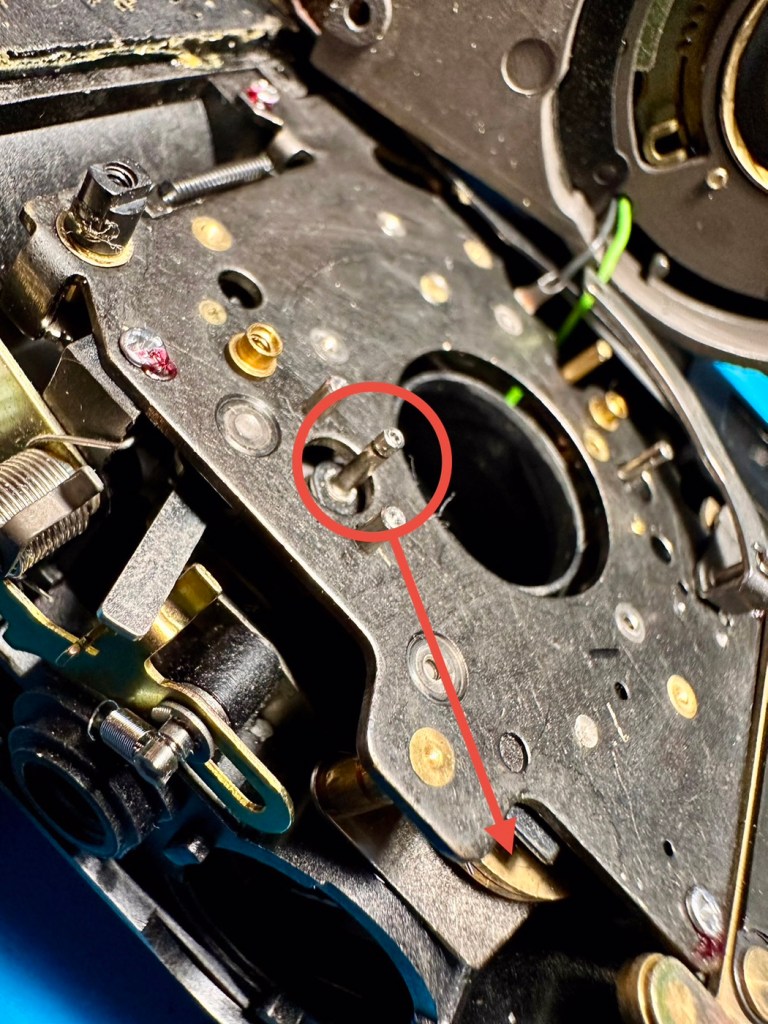
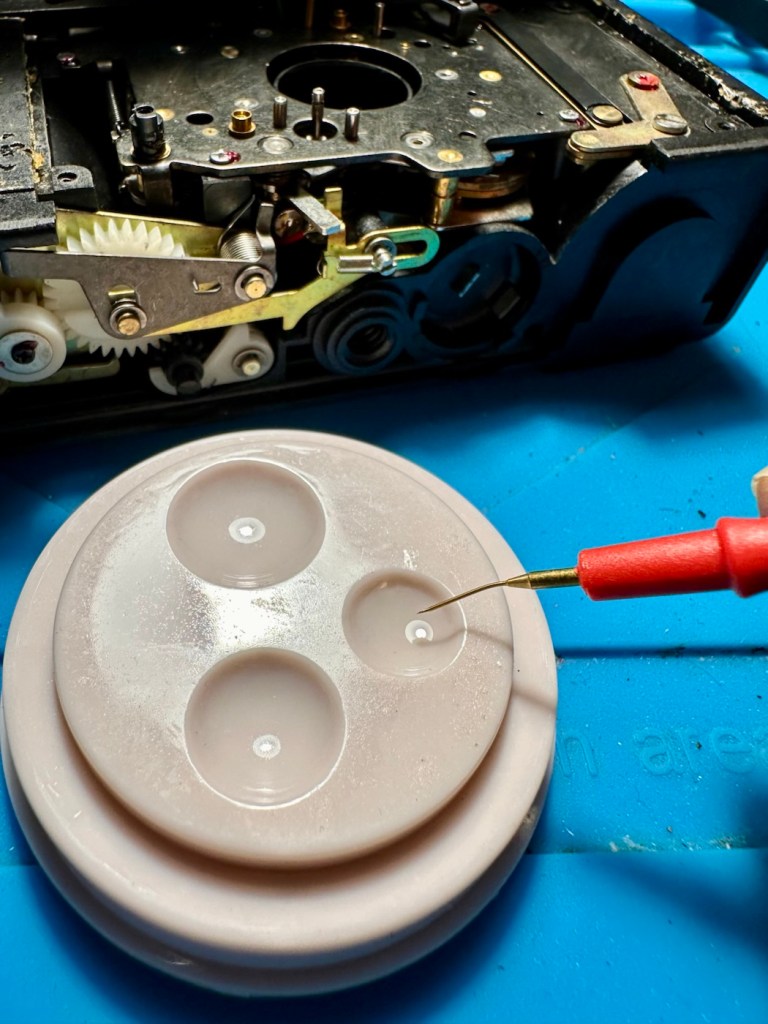
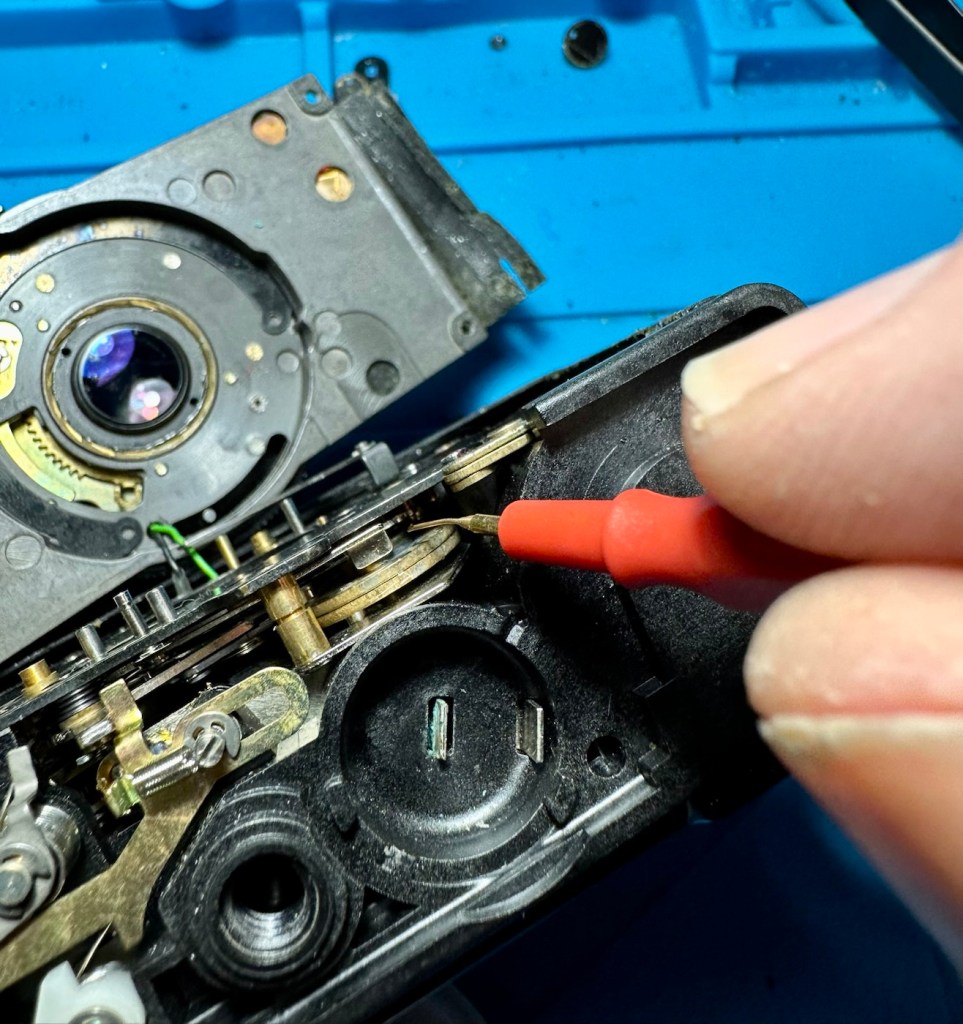
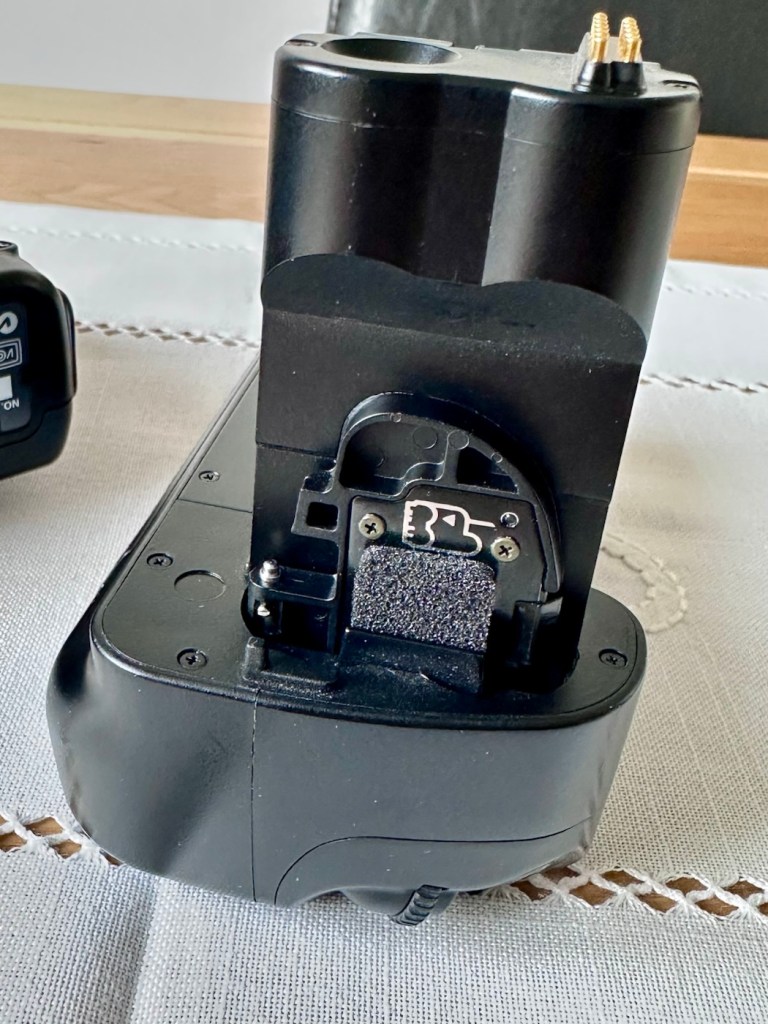
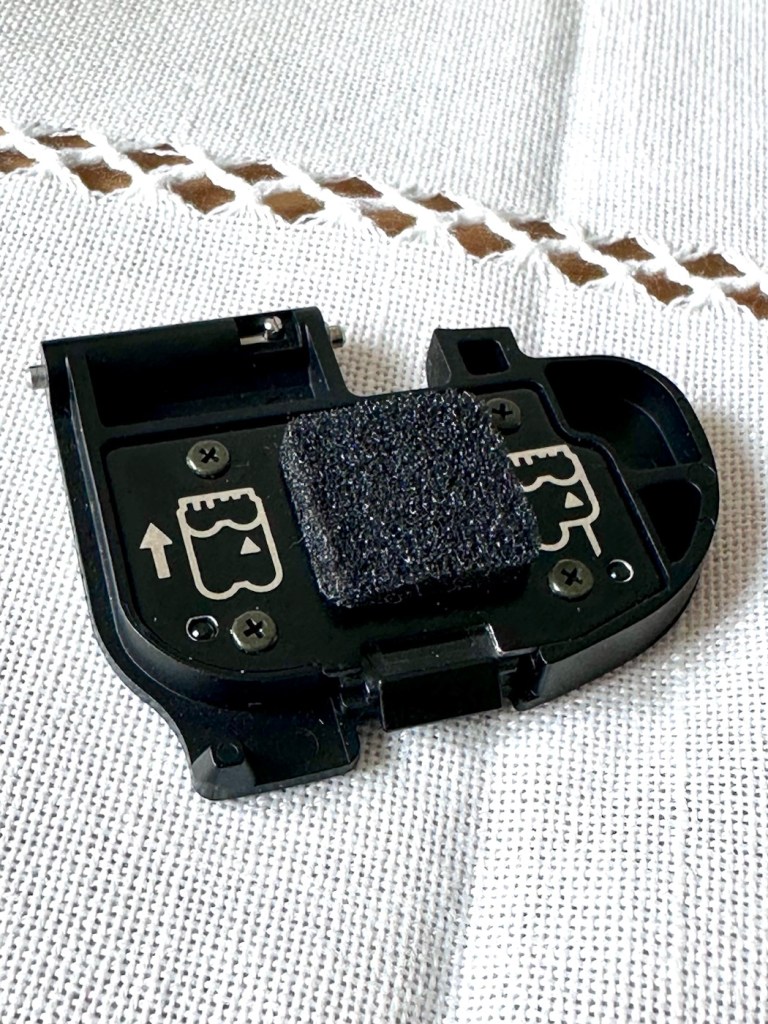
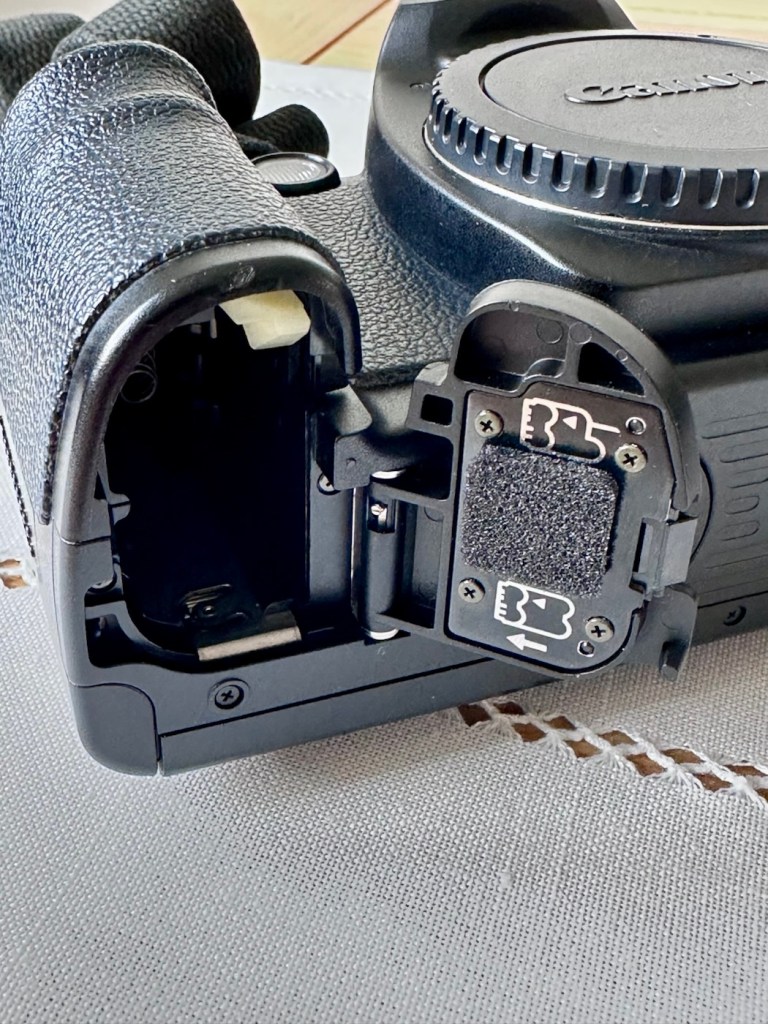
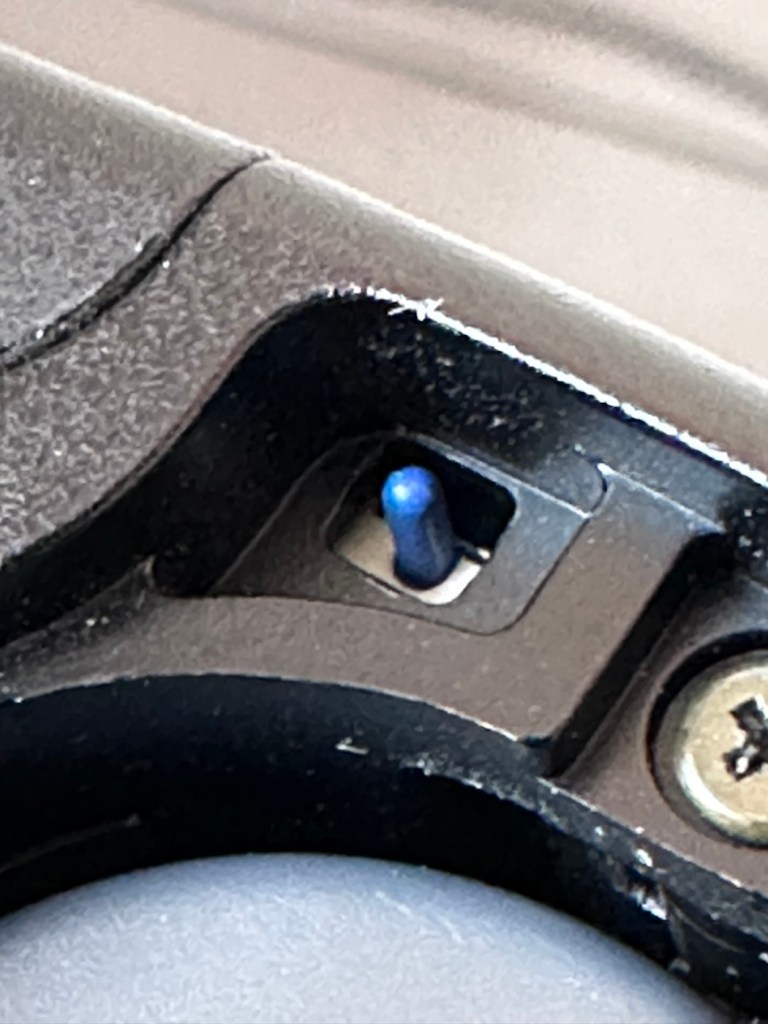
The issue was with the tiniest of buttons. It wasn’t working.

A small tab on the inside of the battery door presses this button when you lock the door. If that tab is broken, or if the switch itself is damaged, the camera may act like the battery is dead or not installed.

The tiny blue button (or sometimes black/white) located inside the battery chamber of a Canon EOS camera is a safety micro-switch that detects whether the battery door is properly closed. It ensures the camera has a solid connection to the battery and that the door is closed to prevent damage. It acts as an instant cut-off switch to prevent data corruption (e.g., if the door opens while the camera is writing to the CF card).

If this switch is not engaged, the camera will not turn on.

And this appears to be the problem. The battery cover was not putting enough pressure upon the little blue switch, the switch also appeared to be a little stiff but soon loosened up when it was cleaned with some IPA and activated a number of times using plastic tweezers. It appears that when the grip was installed and fastened into place there was sufficient pressure to operate the switch, hence the issues I experienced when changing from one battery mode to the other, earlier in this post. Now, when either the original battery cover or the power grip is used, power continuity is restored, and the cameras screen and activities all appear to be working as they should be.

However, we need to now install fully charged batteries, a CF card, and need to get a compatible lens on the front to ensure all the dials, and buttons function and do as they should be doing. I know the flash is definitely working, as this popped up and fired when I was testing the battery earlier, I’m fairly confident we have located and dealt with the underlying issue, though it doesn’t hurt to do a full test of the system just to confirm our findings and to ensure that there is nothing else lingering around, just waiting to be found out.

CF card and new battery installed

I’ve now installed a charged battery and a CF card into the camera, no issue here and all systems seem to be operating ok, no error codes or faults showing. I’ve put on one of my test lenses, a Canon EF 28-80 1:3.5 -5.6, and again everything is good, auto focus and manual focus, all works fine and all settings on the function dial are working just as they should. This camera is doing just what it should be. And appears to be working extremely well in all aspects of operation.

Result:

I’ve taken a few pictures in and around the house and everything appears to be working and functioning as expected. I can confidently state that this camera is working perfectly. It’s not the greatest of lenses as it’s just a test one I use for my cameras, but it proves the point though, that the unit is working and communicating well with all points of the camera.

This is a fantastic camera, I only paid £14:24 for a lot of camera dating from 2002, less than the cost of a couple of pints of beer or three coffees, and from my point of view it is an absolute bargain. And it was all down to a little button comparative in size to a grain of rice.

So I am super pleased with how well this repair has gone, such a simple issue that totally killed the functionality of this unit, easily repaired, all it took was a good bit of investigation, probably taking no more than 20 minutes of my time. I must admit it helps to know a little about how these units function. It always amazes me though, that these sellers could make a bigger return on their items if only they had someone to give these units the once over before declaring them dead and fit for spares and repairs only.

However I’m not complaining as i get to add a superb item to my collection for a very reasonable price. Just browsing the sales sites shows that the basic version of this camera without the power grip is commanding a price of between £140-£150.00GBP, I only paid £14:24. I think I’m the winner here.

There are bargains to be struck out there, if you are willing to give a little time and patience into getting them back up and running. Recycling works.

Many thanks for passing by, it is always very much appreciated.
Yashica 35 ME

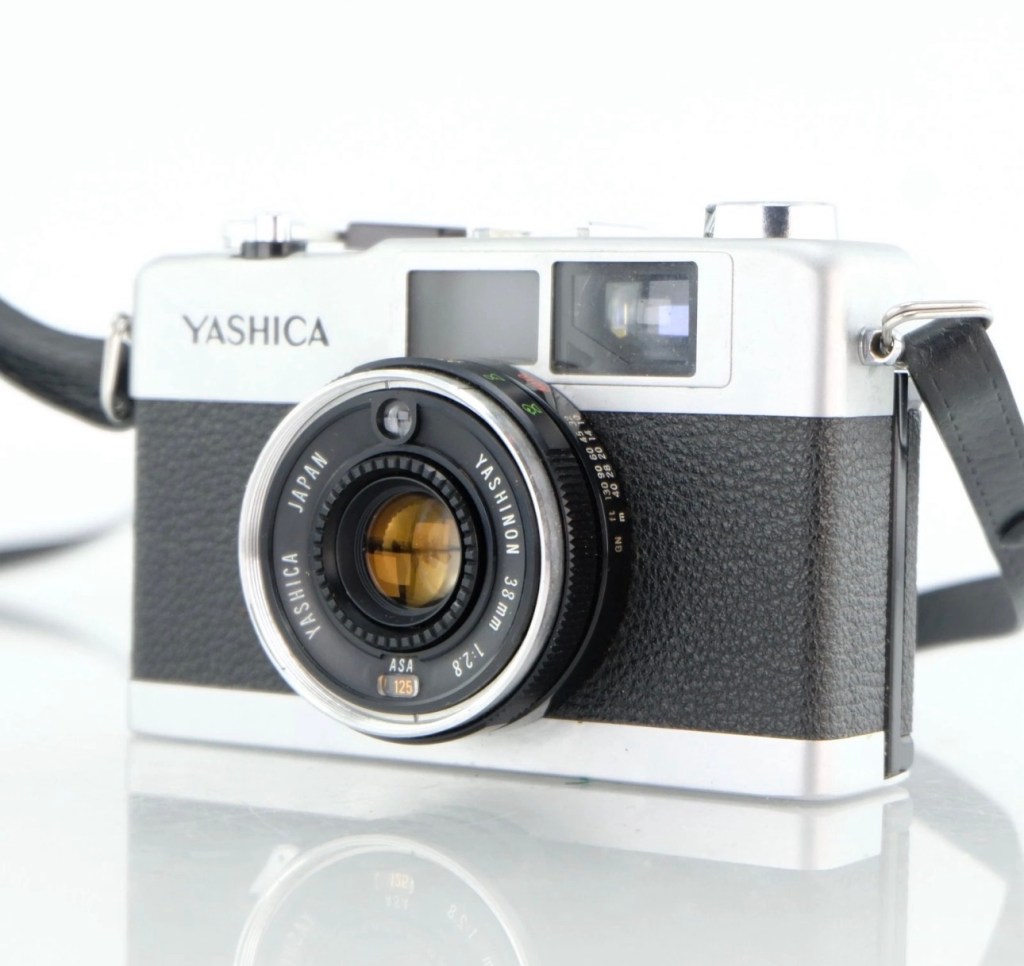
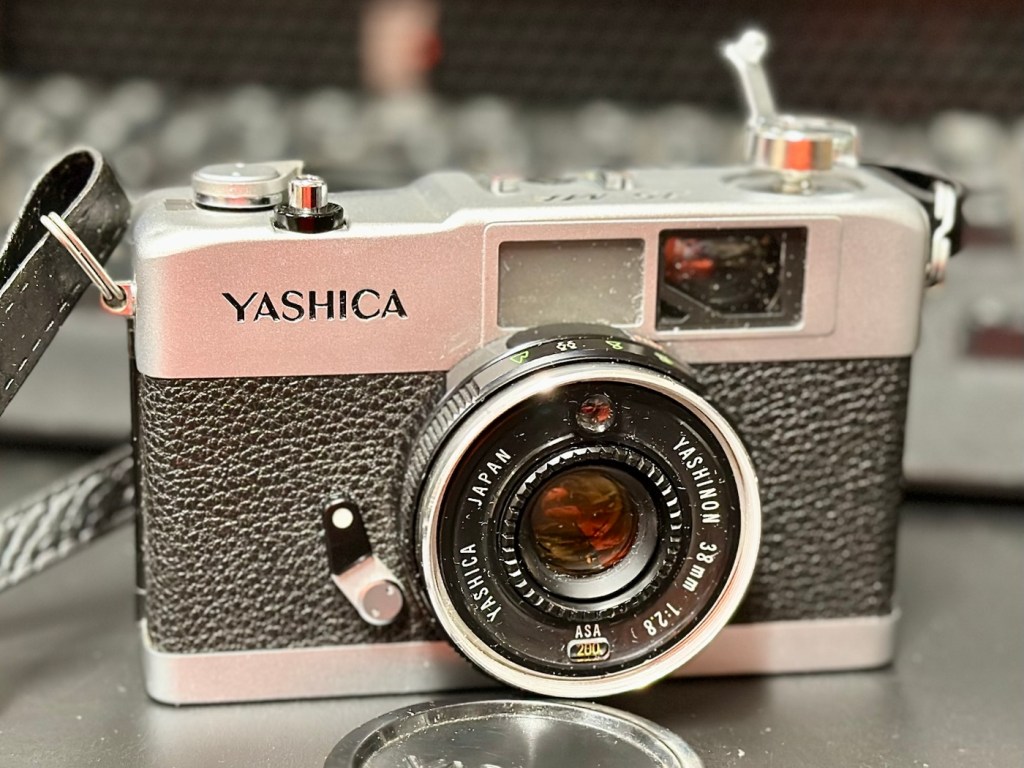
An old Yashica camera from 1972 with a non functioning light meter. Time to get it back into a working condition.

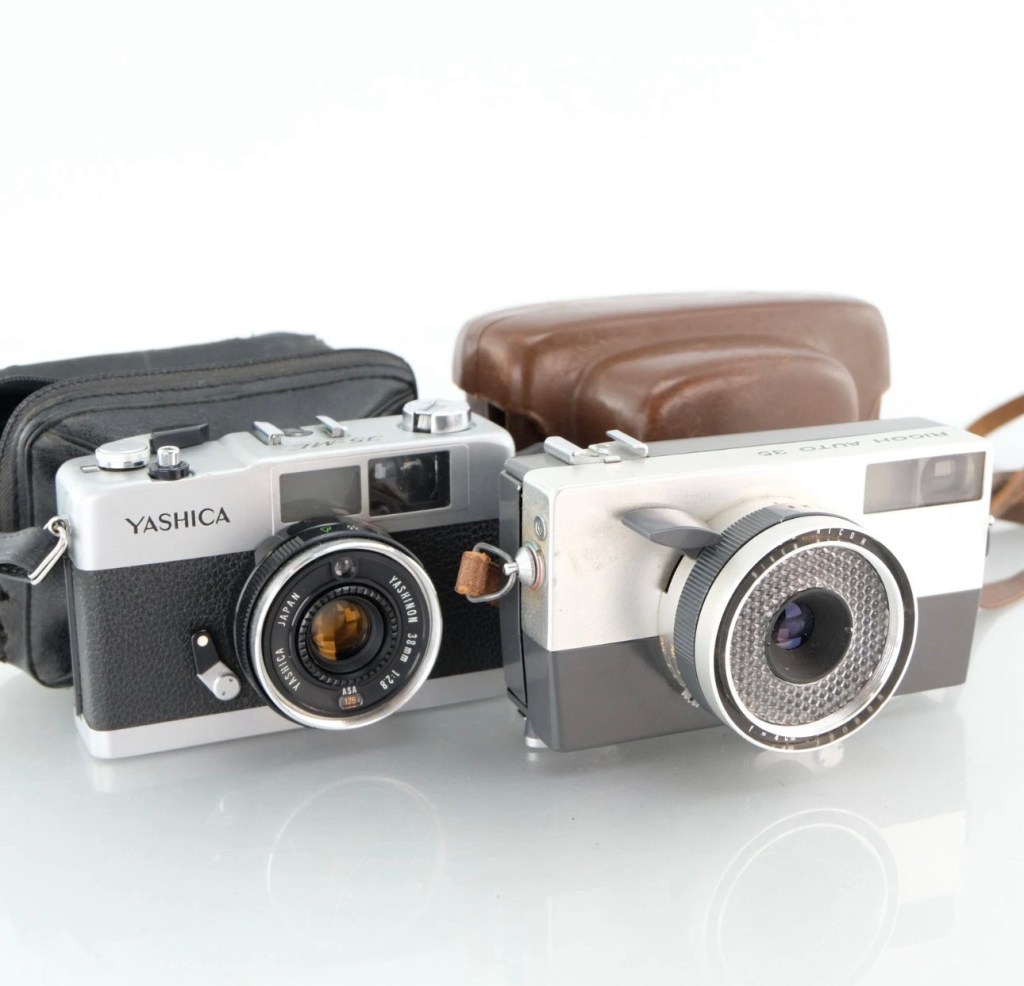
I purchased two vintage point and shoot cameras, and this post is related to the Yashica 35 ME. Both cameras were purchased for the princely sum of £4:99GBP and that equates to roughly £2:50GBP each. Both cameras were sold with the following sales statement:

This bundle includes a Yashica 35 ME and Ricoh Auto 35, two vintage 35mm film cameras ideal for collectors or those seeking parts for repair projects.

These cameras are being sold as faulty and for parts or repair only. They have not been tested for functionality and may have issues with their mechanical or electronic components.

Cosmetically, both cameras may show signs of wear consistent with age and previous use, such as scuffs, scratches, or dust. No accessories, batteries, or additional items are included, €”only the two cameras as pictured.
EBay

Having purchased from this seller before, I suspect the cameras themselves are in perfect working order mechanically, but as one camera – the Ricoh, is from 1960 and now in its 66th year of existence, I very much suspect the issue would be with it’s Selenium light cell that is more than likely now very dead. The Yashica however is from 1972 and has a CdS light cell that could also be an issue, more than likely related to the old Mercury 1.3v battery that used to supply it. Either way, even without the light sensors both cameras are very capable of doing what they were built for, however you’d just have to use a separate light meter or use the “Sunny 16” rule. Let’s wait their arrival so we can asses the issue. You can read more regarding the types of light metering used on these two cameras by reading a recent post of mine regarding their differences Photographic light sensors in older point and shoot cameras
Some more photos from the seller:

Whilst we await their arrival here is a little bit about the Yashica 35 ME:

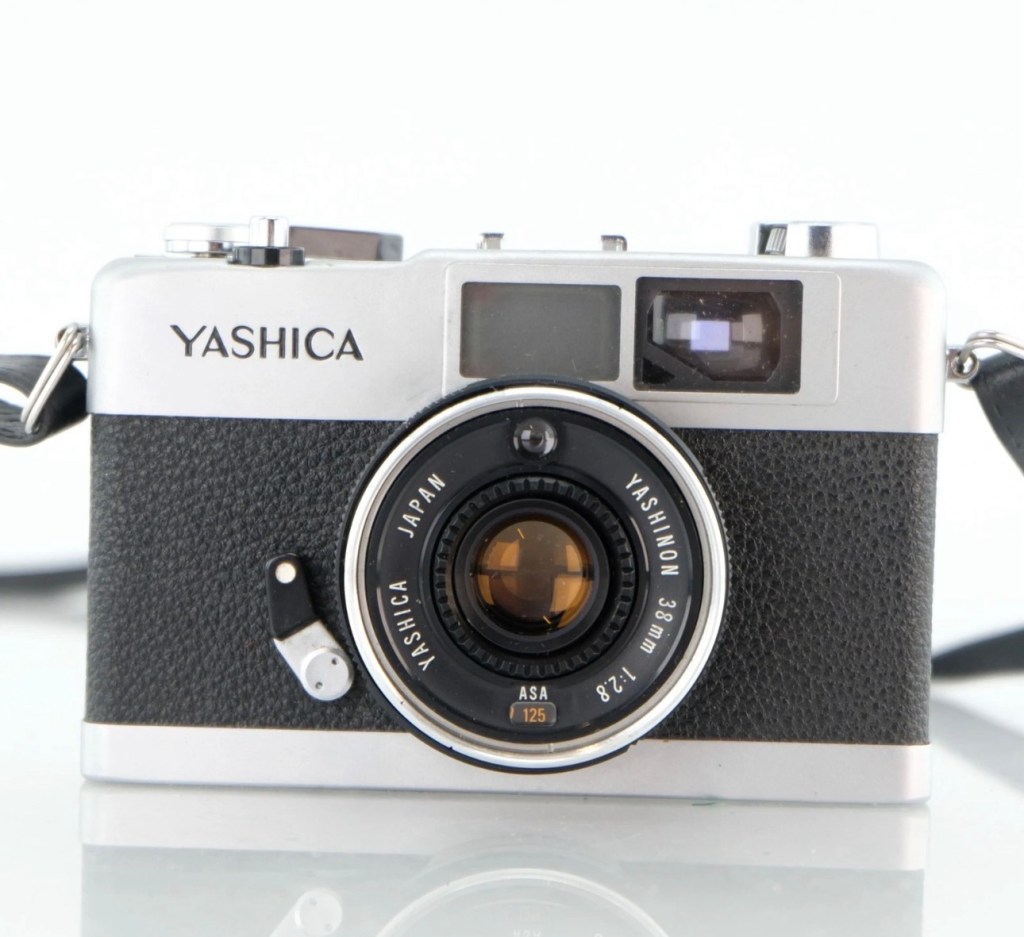
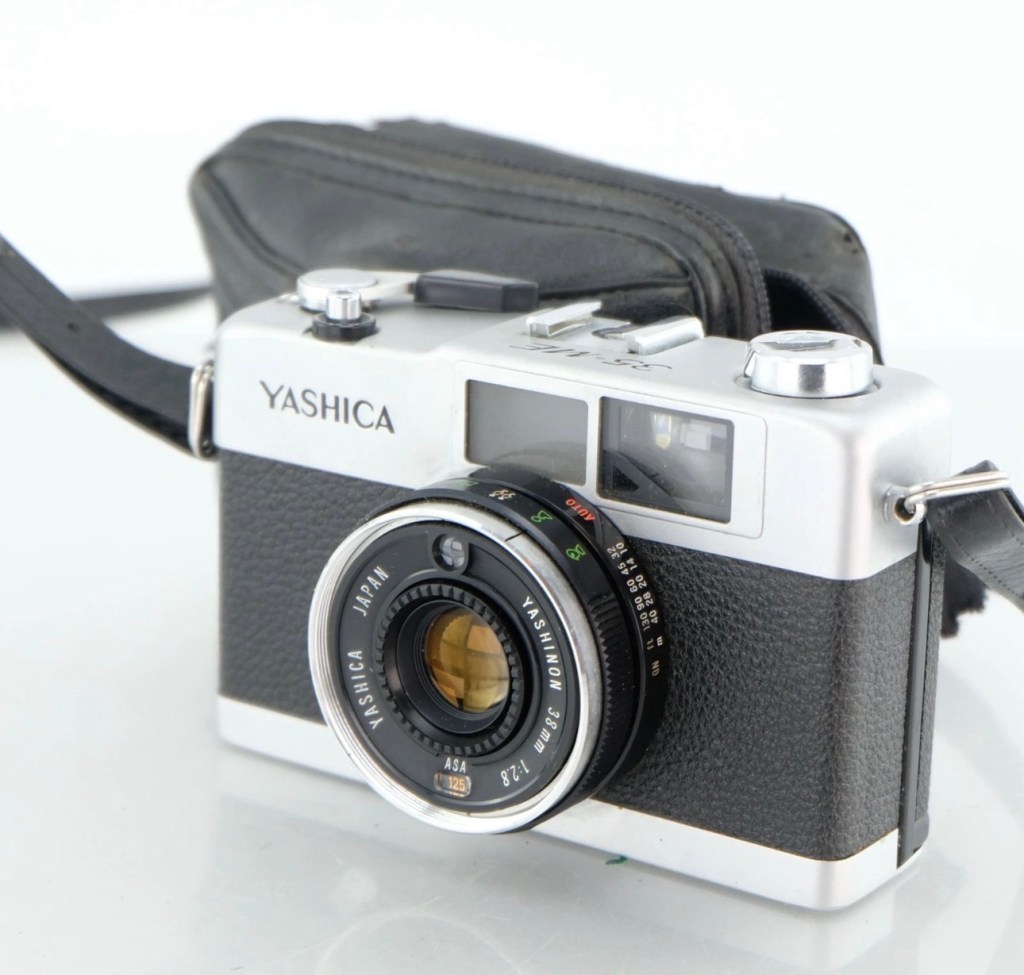
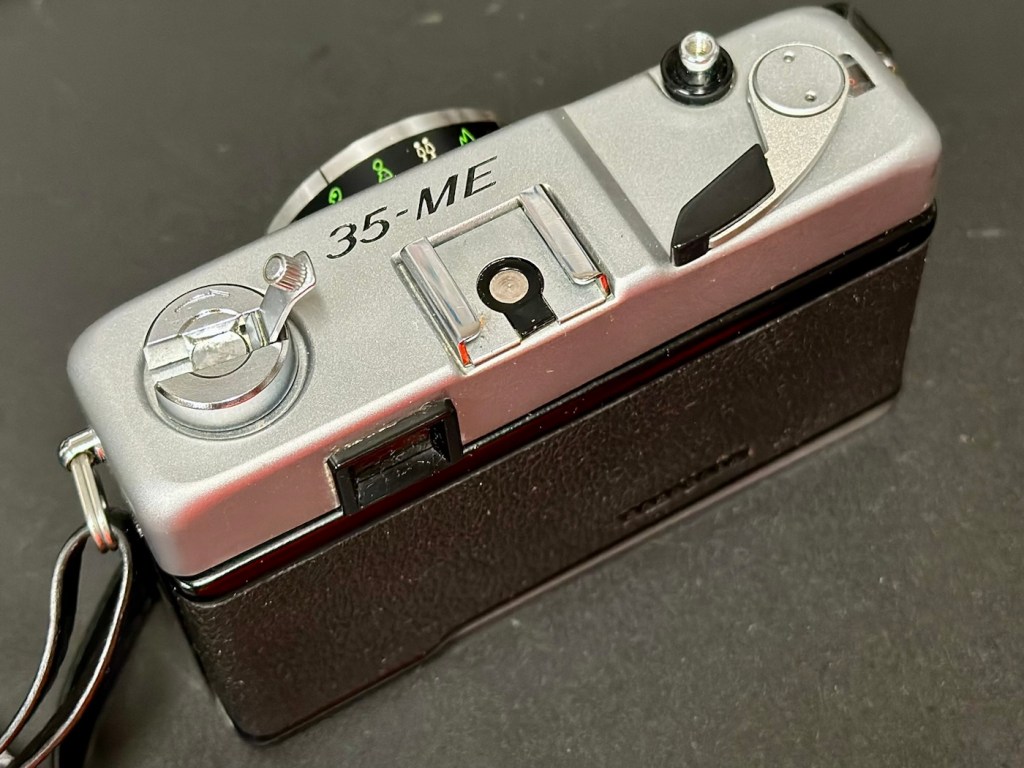
The Yashica 35-ME is a small, compact 35mm viewfinder camerawith auto exposure, made in Japan by Yashica, introduced c. March 1972. 

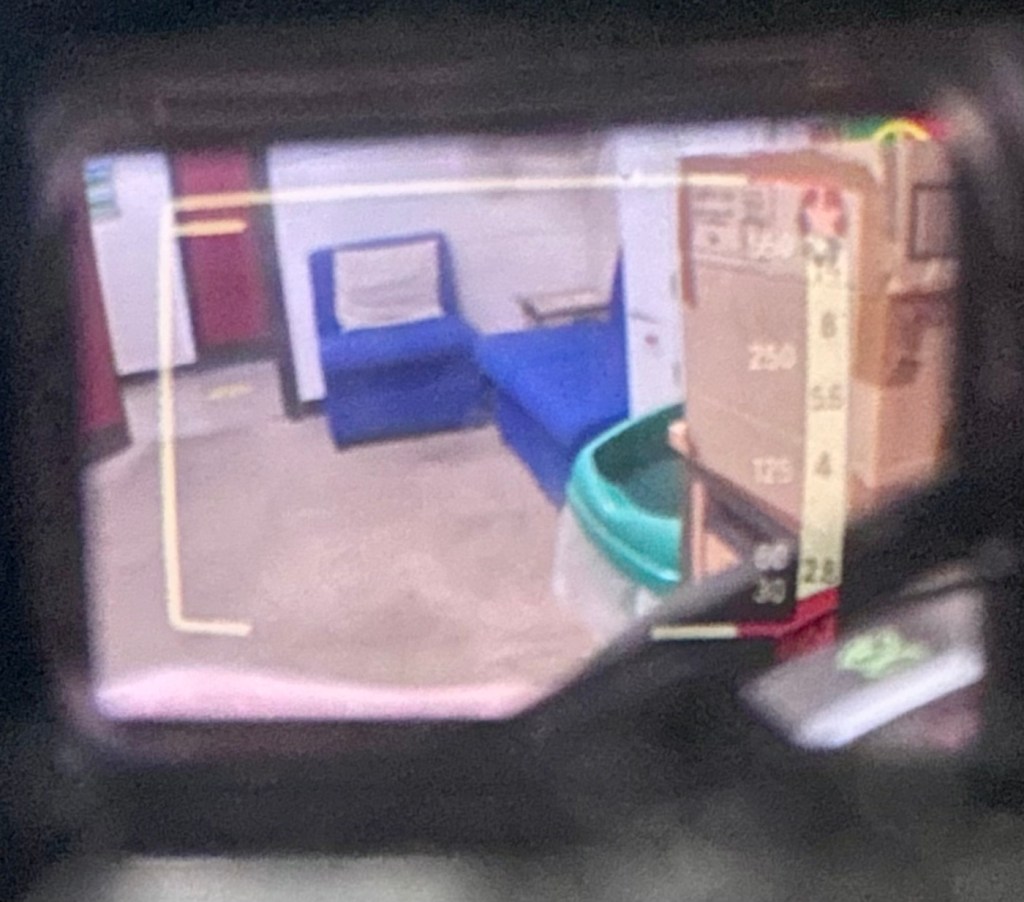
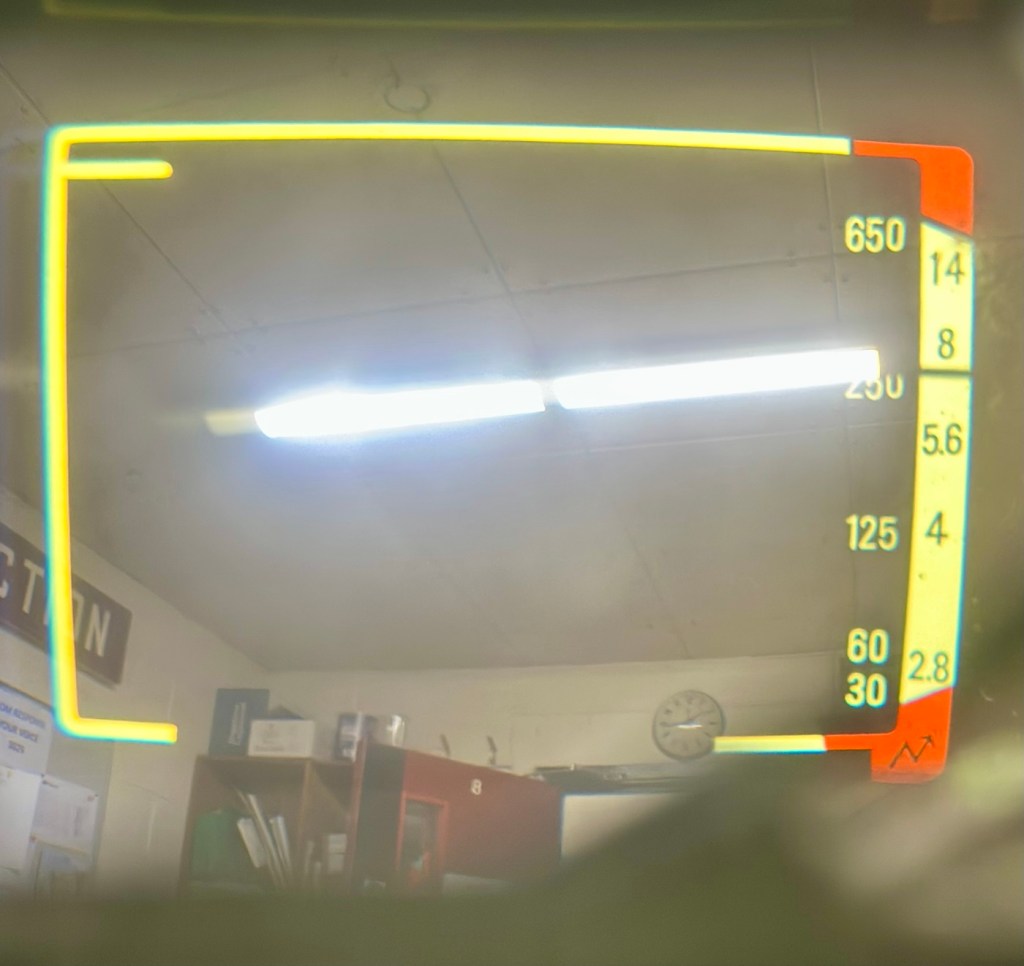
It uses a 38mm f/2.8 lens made of 4 elements in 3 groups with a screw-in filter size of 46mm. The film speedis set using a ring around the lens, with the setting window on the bottom face of the lens. The metering system uses a CdS sensor with a sensitivity of 8 to 17 EV. The viewfinder has bright line frames with parallax correction marks for focus distance of 1.5 meters or closer. The shutter display scale is on the right of the finder has speed markings 1/30, 1/60, 1/125, 1/250 and 1/650 of second. Aperture scale is also displayed at 2.8, 4, 5.6, 8 and 14. The setting for the meter uses a pointer type indicator. Correct exposure is assured when the pointer is in the yellow areas of the scales. Also in the finder scale is over exposure, under exposure zones along with symbols of the selected zone focusing settings. The top plate carries the shutter release, hot shoe and frame counter.
Specifications

  • Lens: Yashica 38mm f2.8; zone and feet/metres scales
  • Shutter: Copal auto, speed set by metering, 1/30-1/650 sec.
  • Meter: CdS sensor
  • Film speed: 25 to 400 ASA
  • Flash: hot shoe, flash sync 1/25 of a sec.
  • Power: 1.3v mercury

Camera-wiki.org

It’s arrived, it has that familiar aroma of age old mustiness, but looks a nice item, in good condition for a camera that is now 50+ years old.

Assessment:

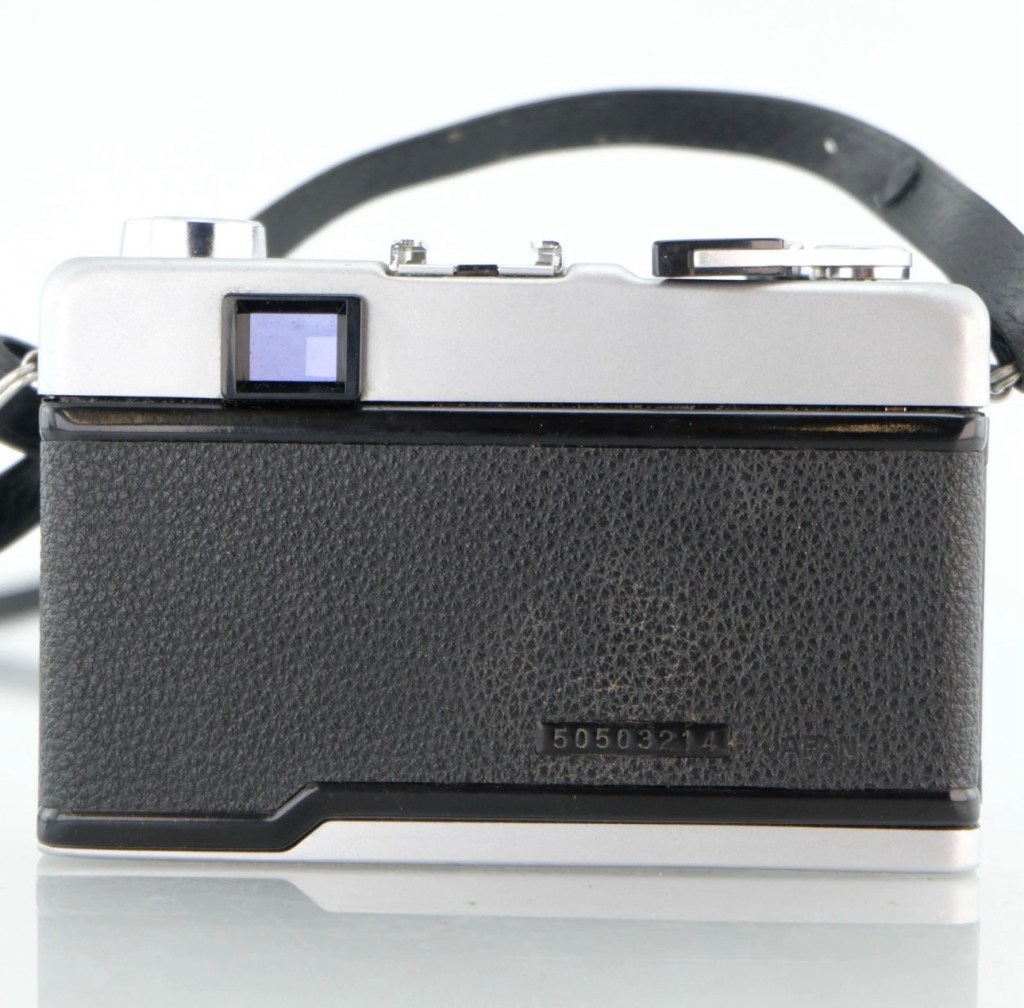
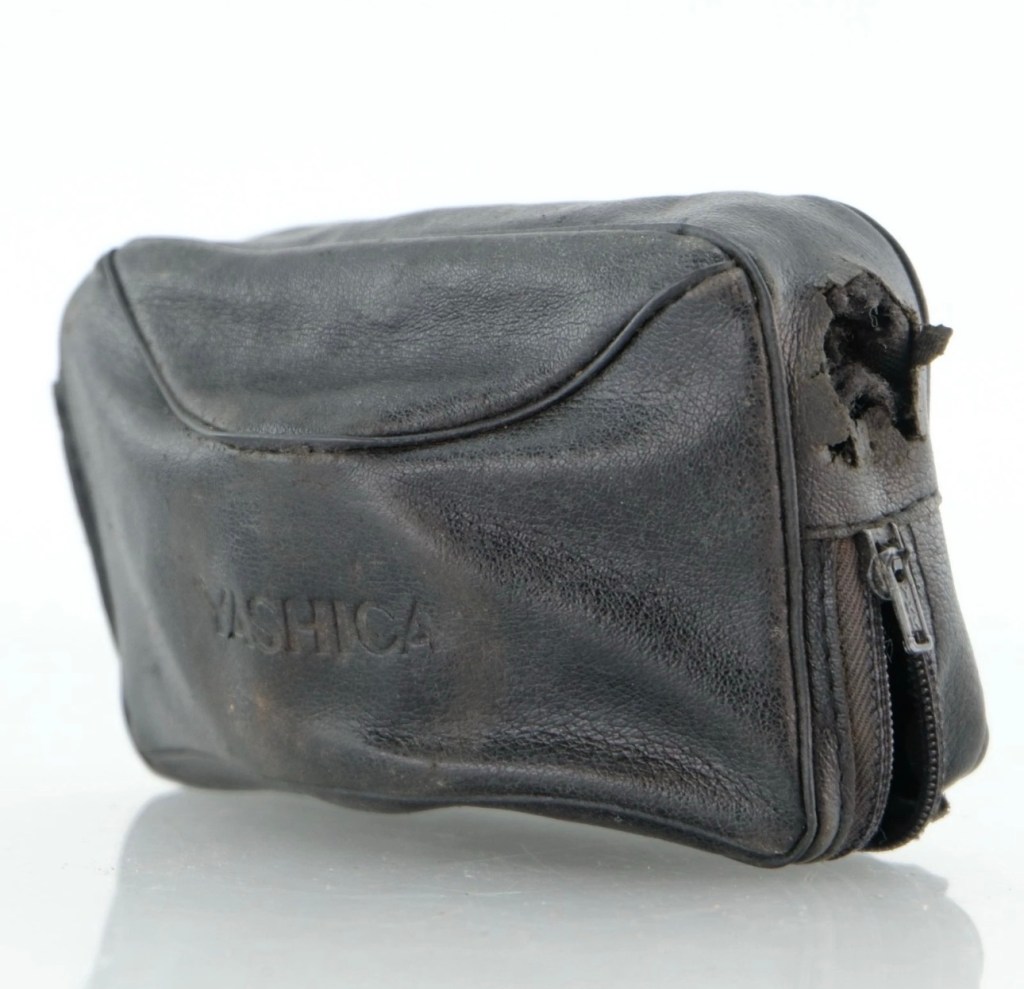
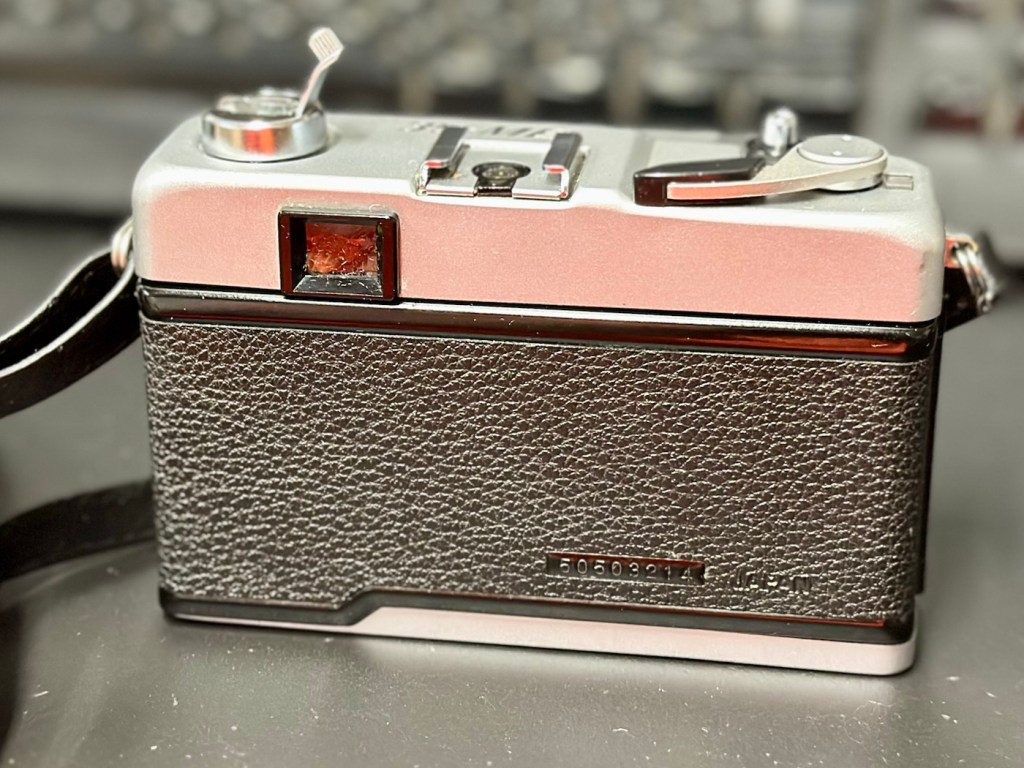
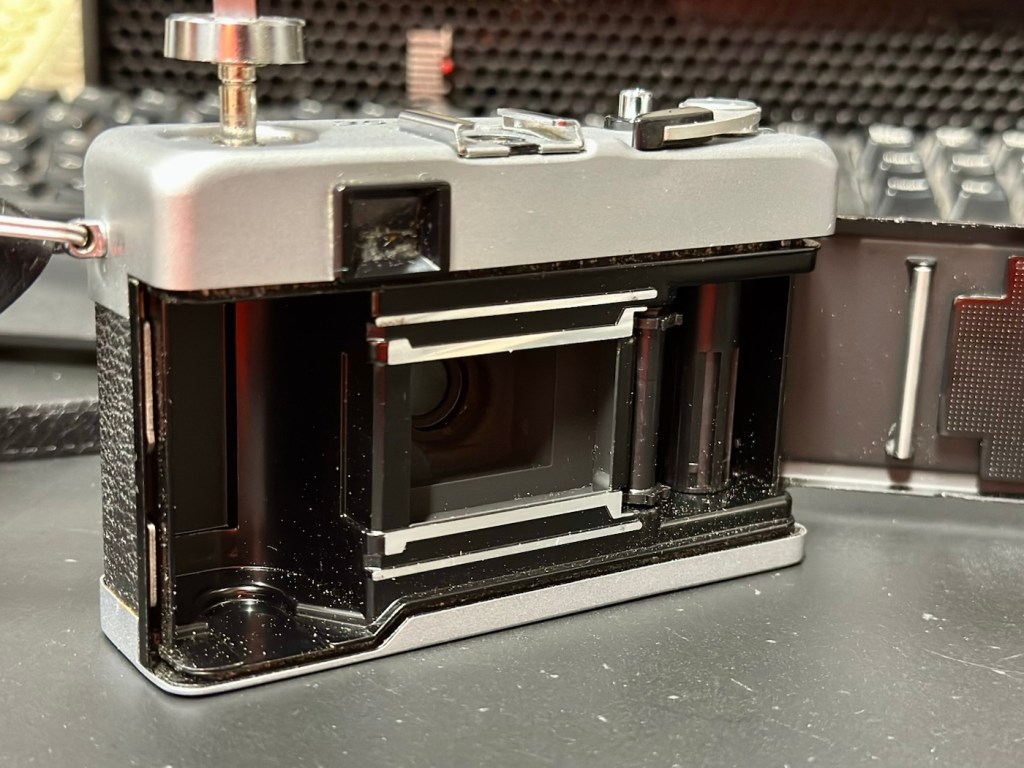
The case is quite tatty, but it does the job. The body is dusty but free of any dinks dents or scars. Inside the rear of the camera all is good, it’s clean and the light seals are ok. They will need replacing at some point, but currently they appear to be ok.

The winder works fine, the shutter fires and there is no sticking of the shutter leafs.

When you look through the viewfinder it’s a fairly clear view, however the exposure reading needle on the right is sitting firmly on the bottom of the scale. Moving the camera from light to dark makes no difference, the meter is not responsive. Let’s check the battery.

Meter reading does not move

Repair:

The battery that was used is an LR44 cell rather than the old Mercury 1.3v cells that used to be installed on these cameras. They are hard to come by nowadays and people tend to go with the more modern LR44 cells that have a slightly higher voltage of 1.5v. They work, however some have stated that they notice a slight overexposure of about one stop, personally I haven’t really had issues when I have made these battery changes in the past. Each to their own as they say.

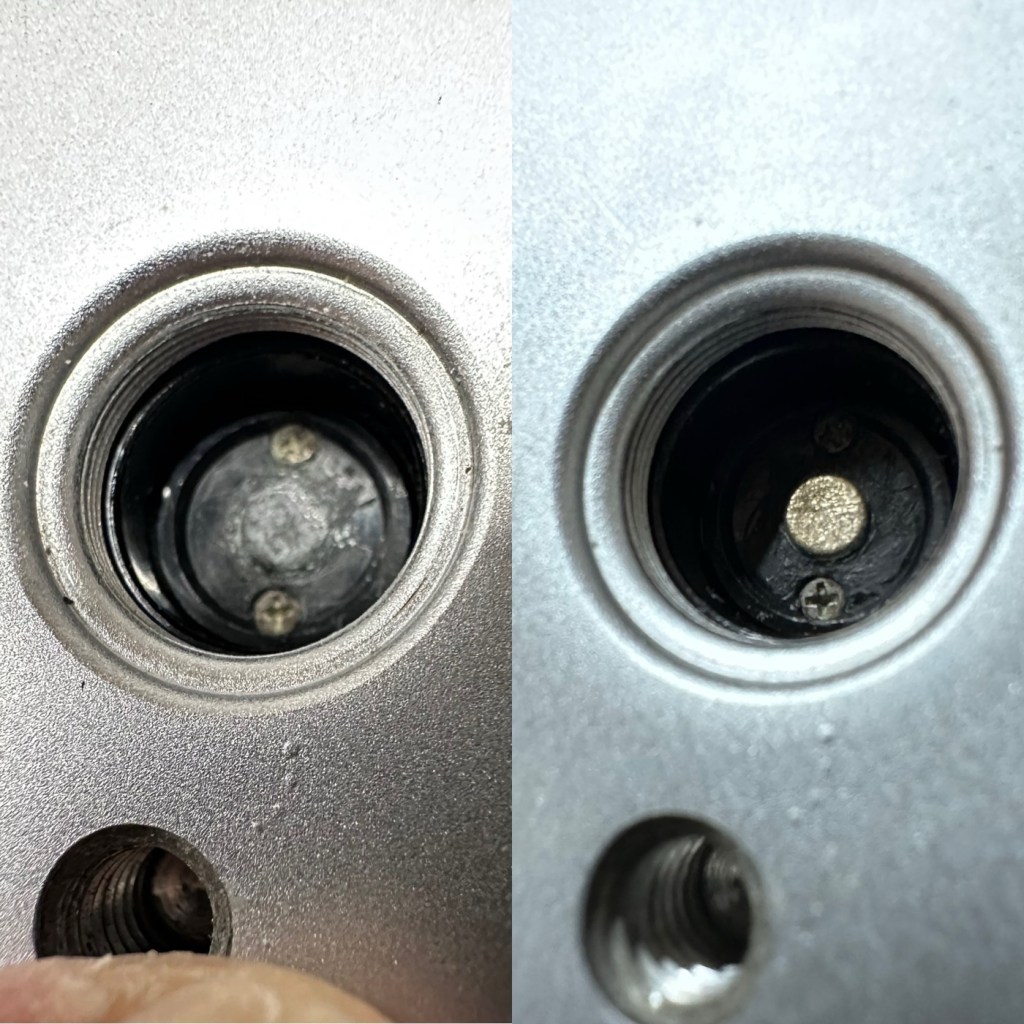
The battery currently in place was dead so I tried a new battery to no avail. When I opened the battery chamber again I then noticed some oxidation of the contacts, so a quick clean with some contact cleaner and they looked a lot different.

Before and after battery contacts

A new battery back in place, and hey presto the light meter is now working.

Light meter now working

I’ve given a good disinfectant clean. Buffed up the case to make the best of a bad thing, and it all looks good. The only thing I can do now is run some film through it to give it a final test. I have some old out of date colour film at home, so I will use one of these to run a test roll. As I stated at the beginning there is not really a lot that can go wrong with these point and shoots, and I’m confident that the only issue was with the exposure meter as everything else seems to be fine. let’s get that film run through the camera to check things out.

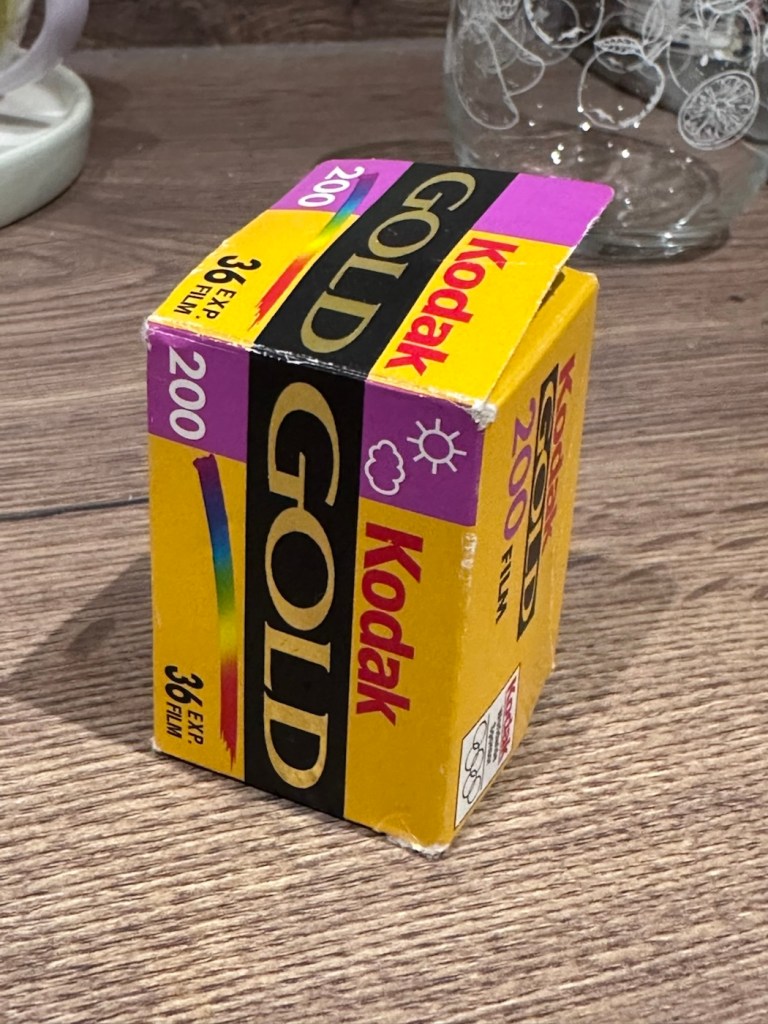
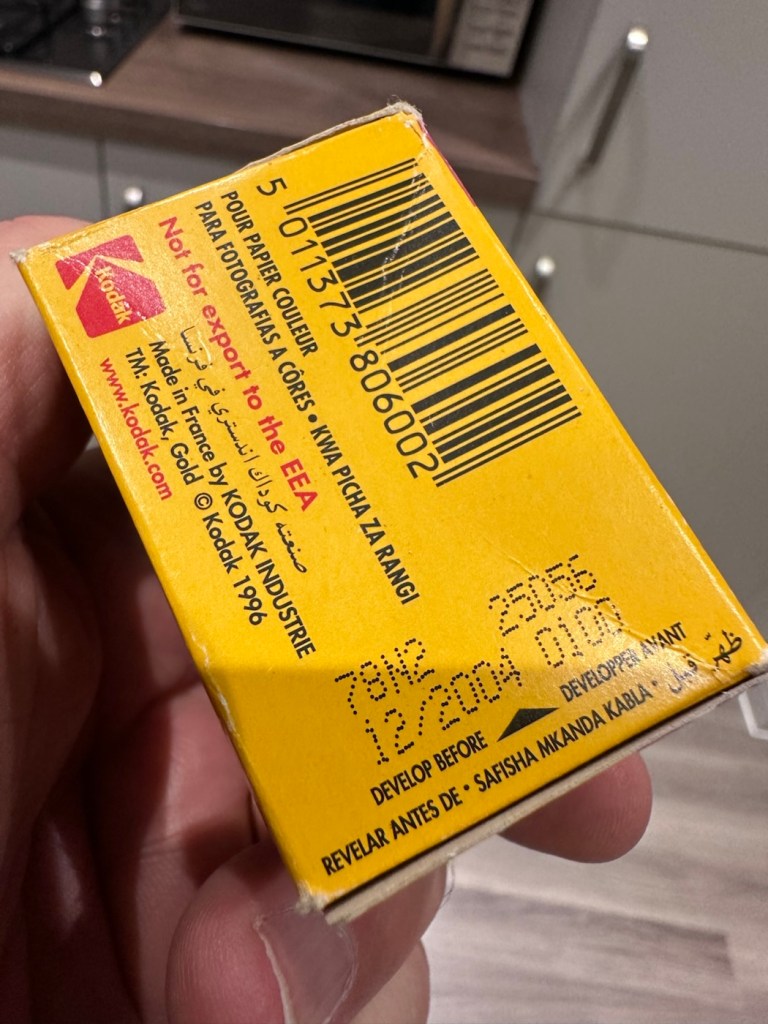
I’ve taken the film out of the fridge. It’s a roll of Kodak Gold 200ASA film, and it’s only 20 years out of date. I’ve tested a roll of this before, you can see that post here: 20yr old Kodak Gold.

The results won’t be anything spectacular, it will be grainy, it will have a colour cast and in fact might not even work at all. After this period of time the sensitively Will have dropped so I’m going to over expose this roll by one stop to attempt to compensate a bit. This 200ASA film will be exposed on this occasion at 100ASA. When I’ve exposed this it will be off to a local film developer- Classic photo supplies – for them to do the developing and scanning. Read this post regarding my rationale behind using this film: 3..2..1 – 20yrs out of date.

Result:

Well, the scans of the developed film have arrived back and it has proven a couple of things, one that the camera does actually work and two, that the film has definitely reached its limits, as the negatives show immense grain, and a colour cast due to the chemical structure of the film breaking down. I’m glad I only overexposed by one stop, I know that the recommended +2 stops would have been too much for this film. Below I have displayed a selection of pictures from this film, you can see the age related “colour cast” along with grain size if you zoom in. These aren’t the high quality pictures as the originals came back at about 30mpx each, and that would be far too high a resolution to show on this site, and I’d probably use up all of my photo allowance as well. So here are the greatly reduced results of those scans.

To be totally honest if you switch to B/W in editing mode, all the pictures come out fine and are completely presentable and maybe that’s the way to go with the next batch, don’t bother trying to get a good colour balance as that will never be achievable, just display in good old black and white, you can’t go wrong.

So the camera works, and this one will now be put aside until I decide how I’m going to move it on. It’s such a basic camera, the distance selections are questionable, but that’s just a remnant of the 70s technology behind it. It’s a good little point and shoot, but I do believe the likes of the Olympus trip totally outshone all other competitors in the point and shoot category.

Job done. Another old camera saved from the scrap heap, and given a new lease of life, and it probably took no more than 10 minutes to get it back in working order.

Thanks for passing by, it’s very much appreciated.