

I received this text message tonight from my nephew:
Hi, my mate “T”, has got an old camera from his sister, from a old antique store, he dunno a lot about it and was wondering if you did and if you’d have a look at it and see if it was in working order as he can’t figure much out about it, no worries if not tho 👍
Family
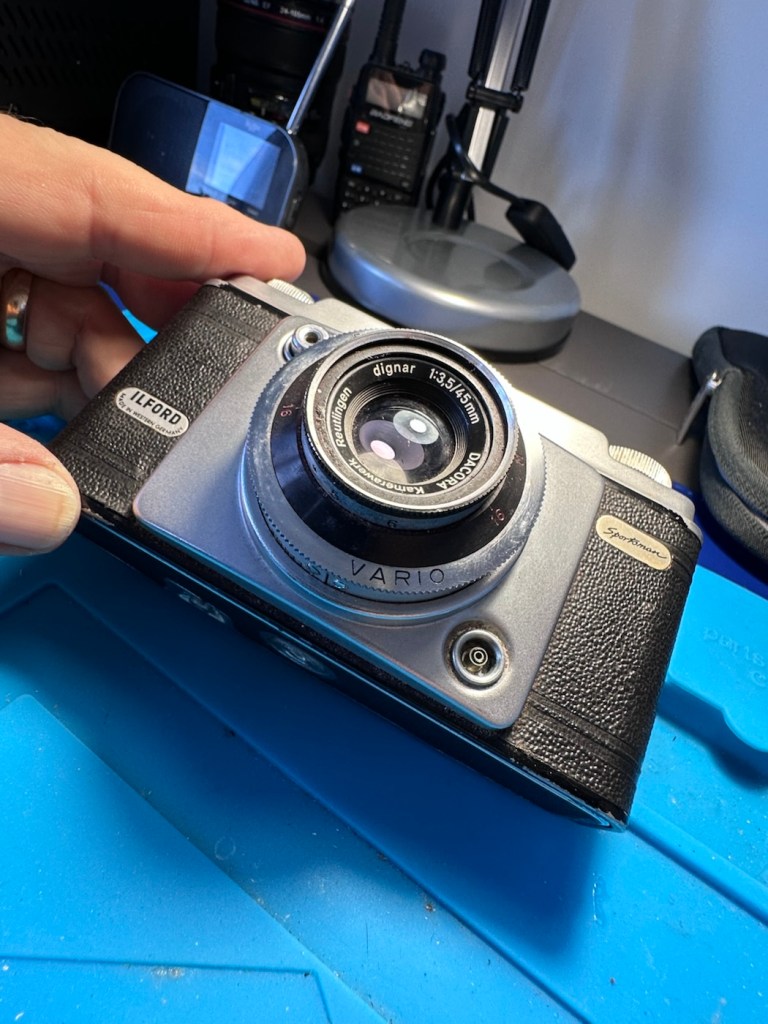
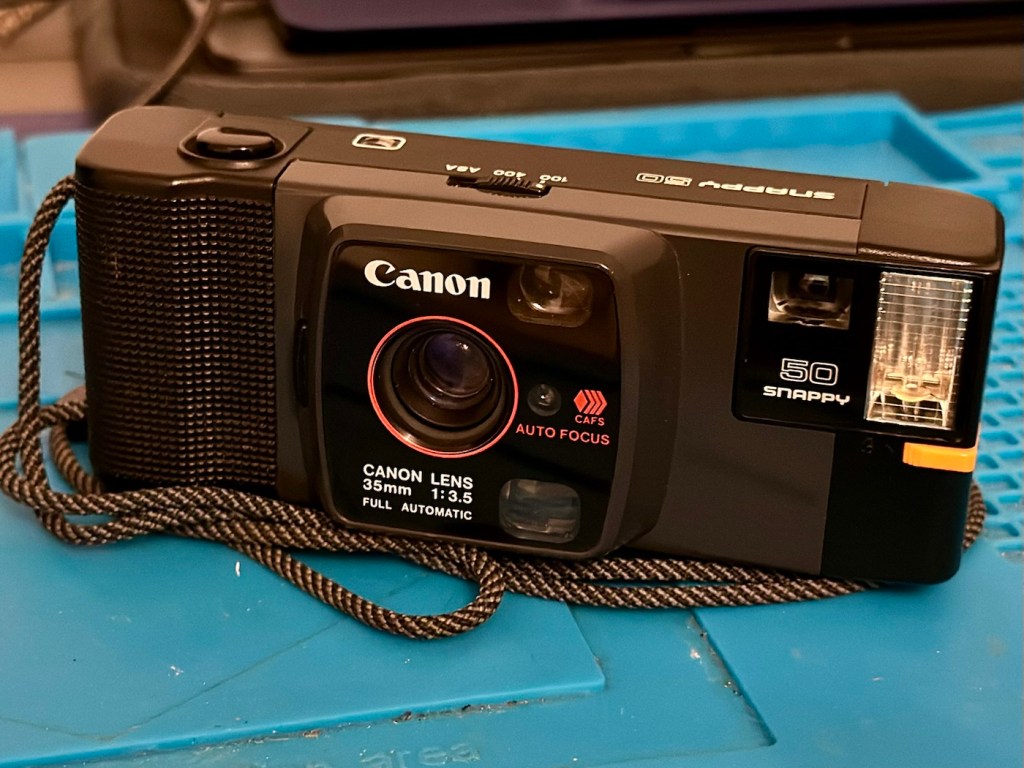
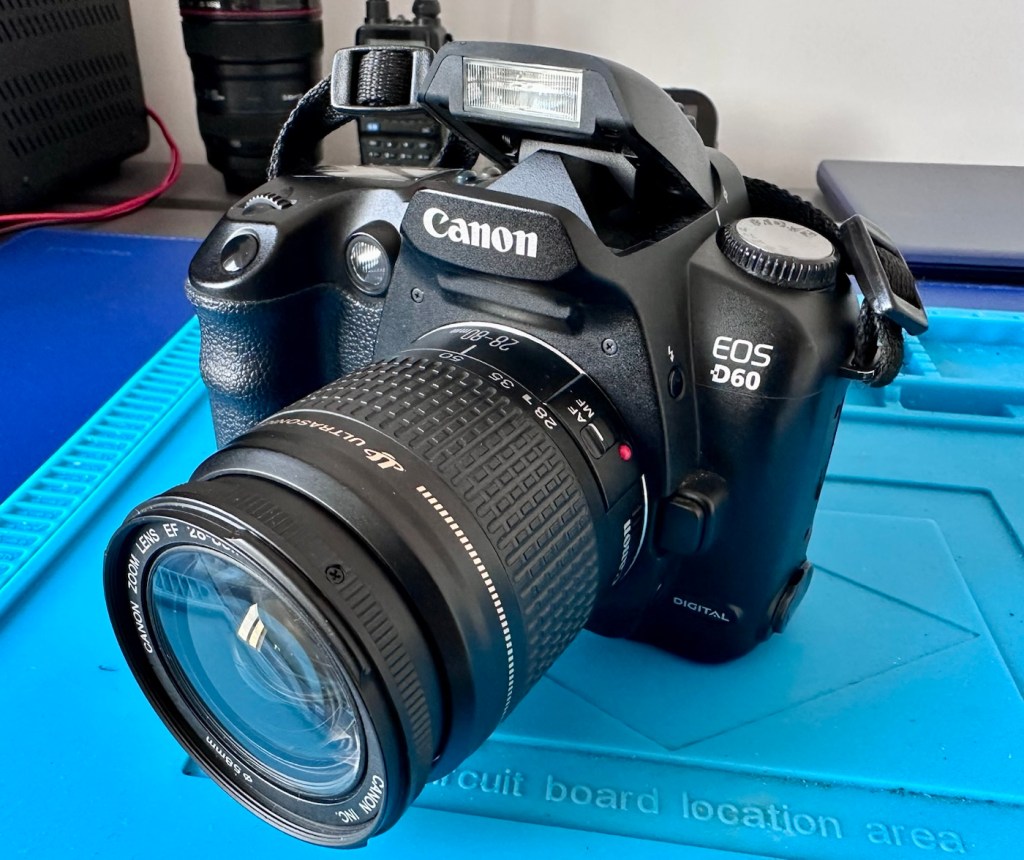
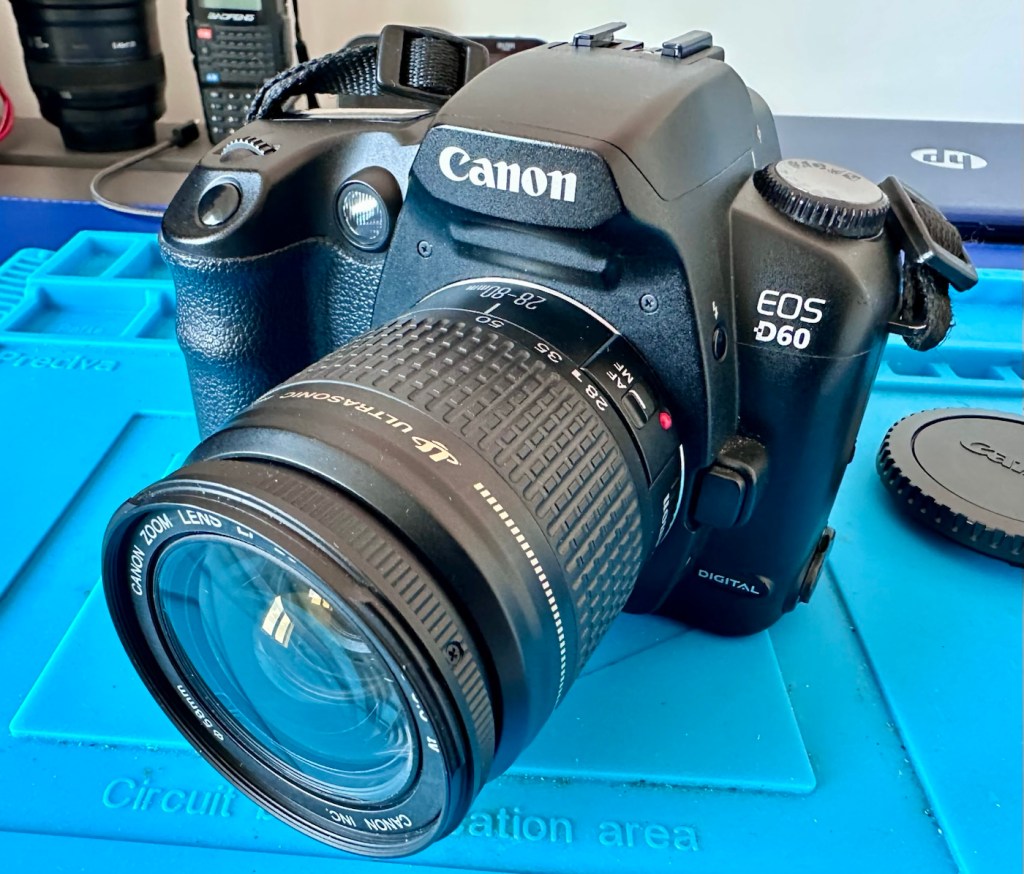
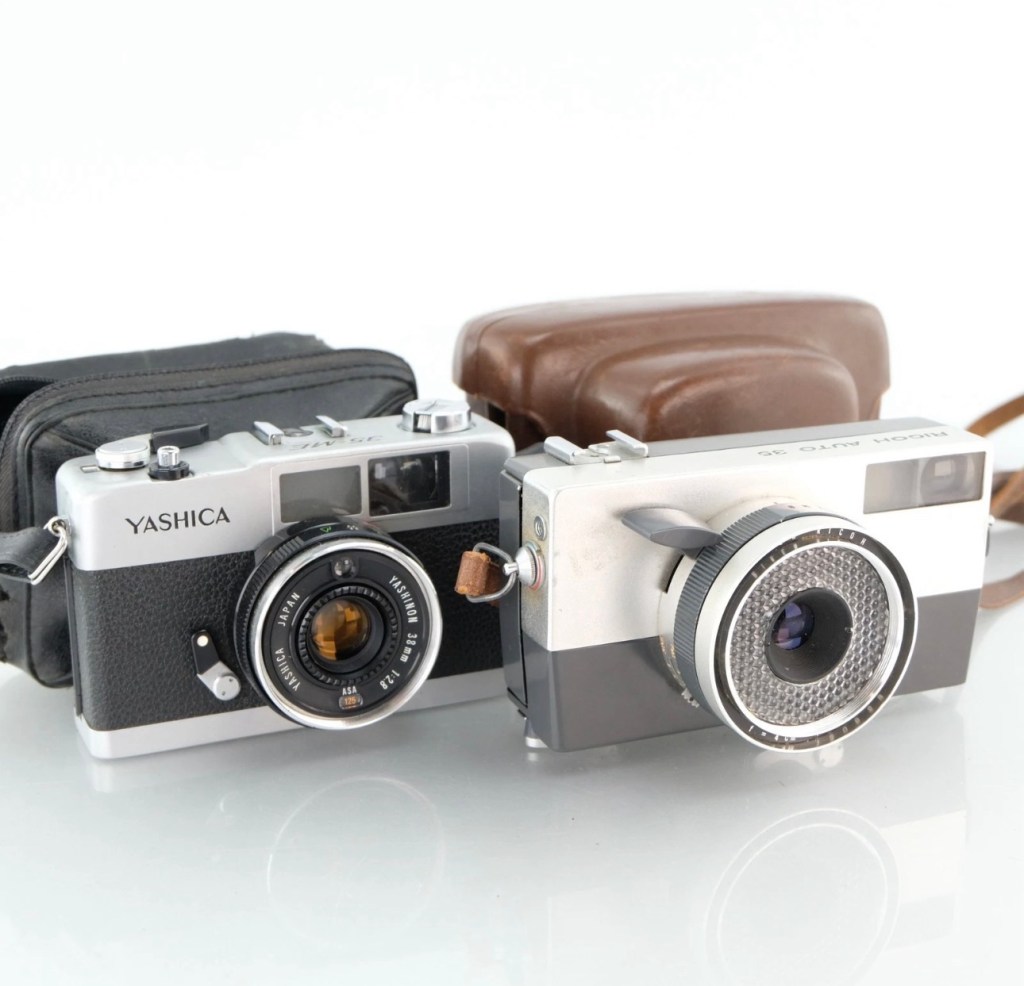
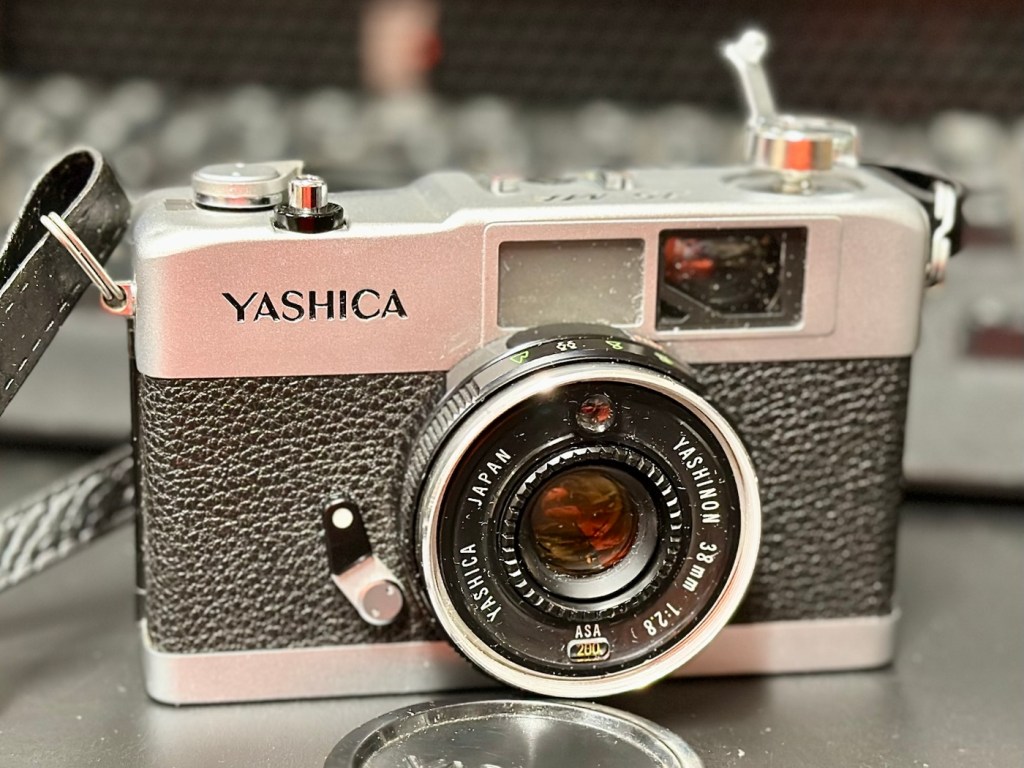
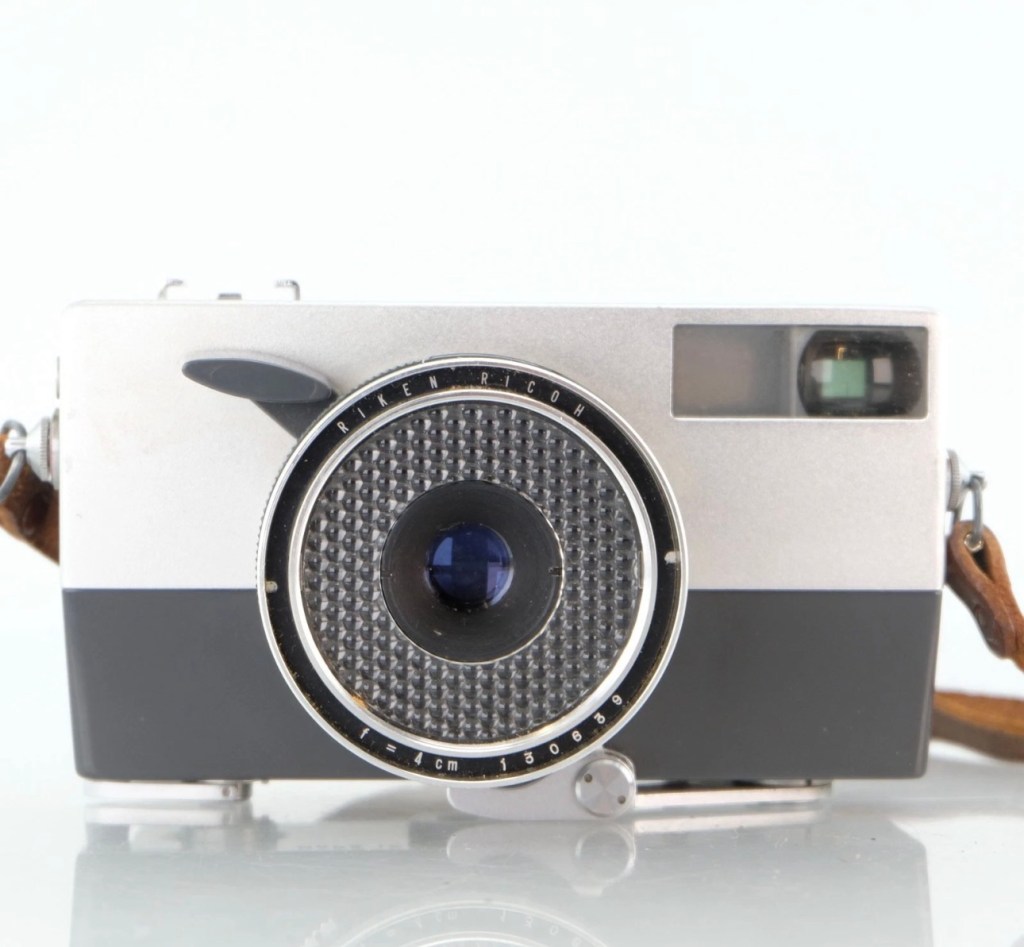
Now, I love these random out of the blue messages, to me it just says people have a trust in what I do, and I like that. And how can I turn down a request such as this. I’ve jumped on to it and said I’d give it a service and get it checked over and up and running, no cost, I just want to feature it within my blog site. The owner is also a youngster, just starting out in photography and has a thirst for knowledge of the traditional side of business, and wants to find out more about the old ways and how the trade used to operate. He wants to shoot film, and process it, and produce his own prints. I can help him do that. And I look forward to passing that knowledge on. In the meantime, this is the camera we are looking at, and wouldn’t it be just great to get it working and use it to get those results under tuition, that he wants to achieve.
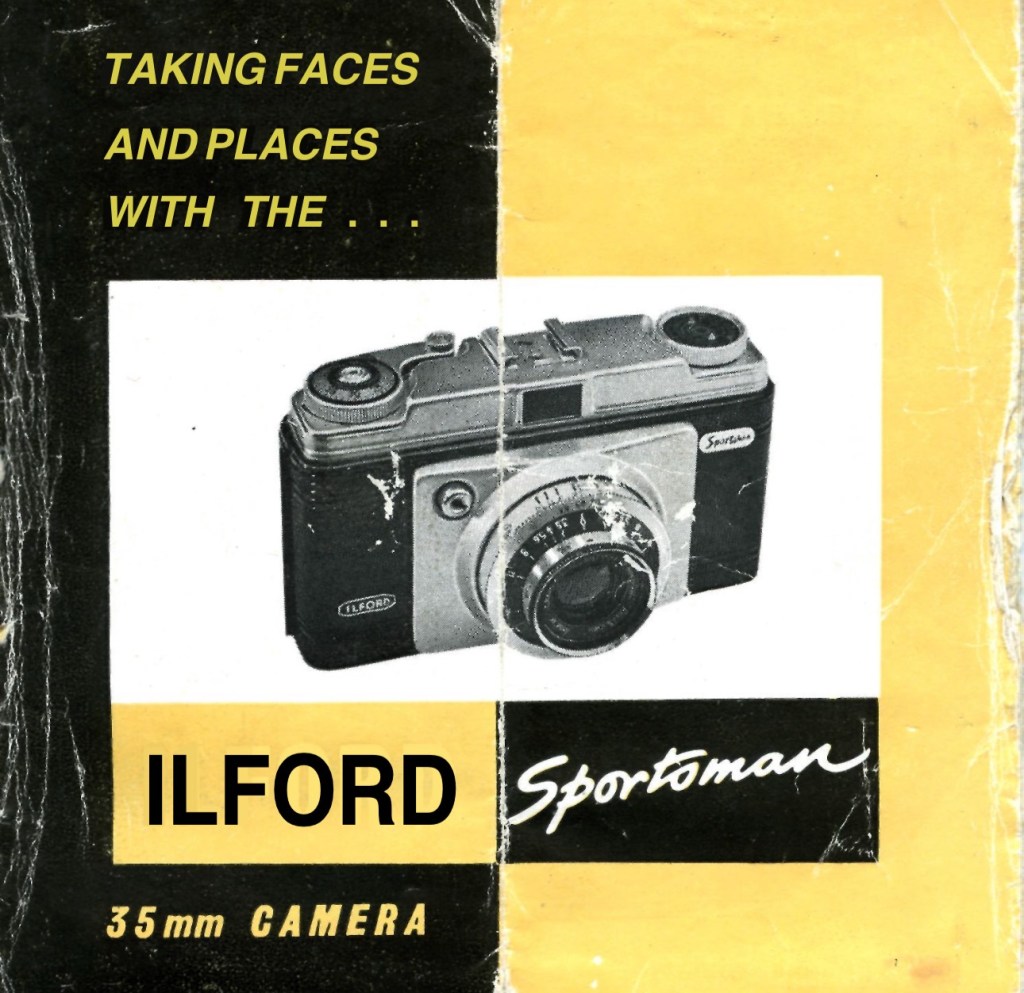
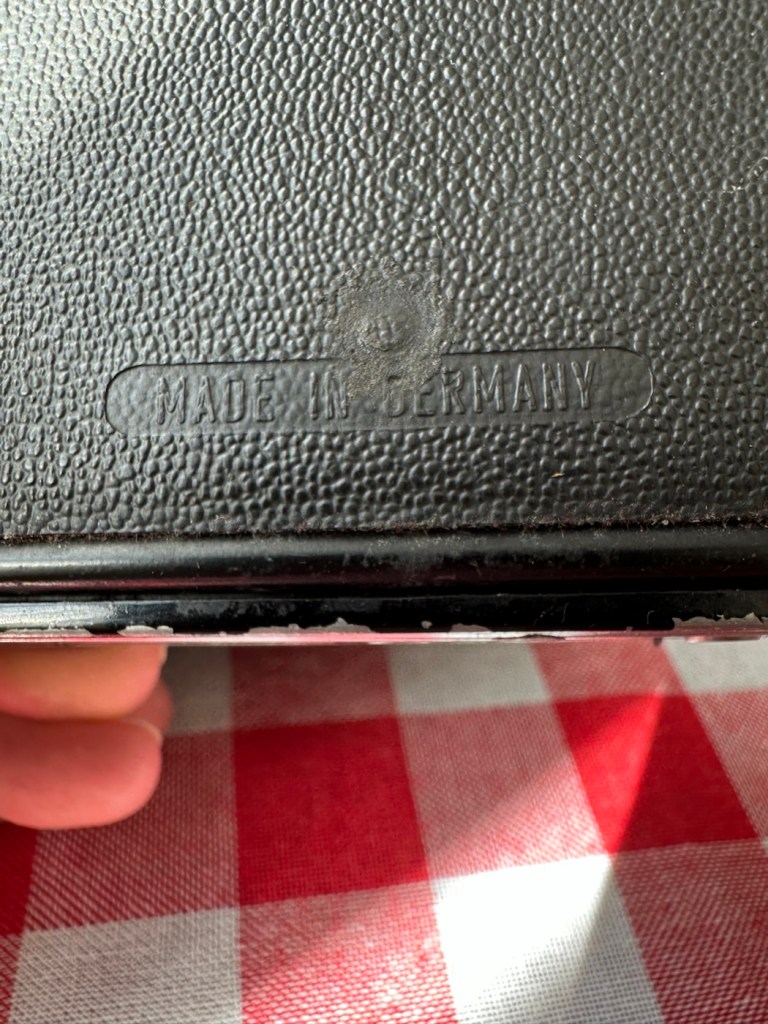
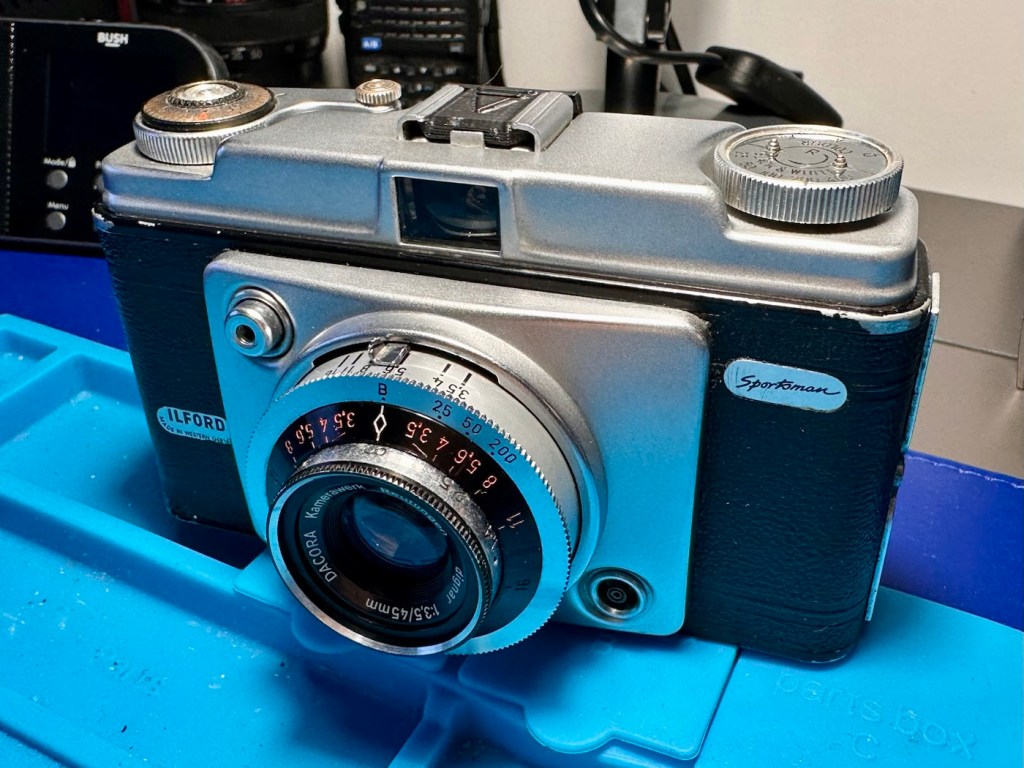
This camera is really a rebadged Dacora Dignette produced in Western Germany for Ilford Uk.
Here’s a little history regarding the Ilford Sportsman camera range:
As the desire to own a 35mm camera blossomed within popular amateur photography during the latter 1950s, in part prompted by the more economical production of projectable colour transparencies on 35mm instead of roll film, Ilford Ltd must have been concerned that they did not have their own range of such cameras.
Kodak was importing their 35mm Retina/Retinette range from Kodak A.G. in Stuttgart, a factory they purchased in 1931, (originally the Nagel Camerawerks).
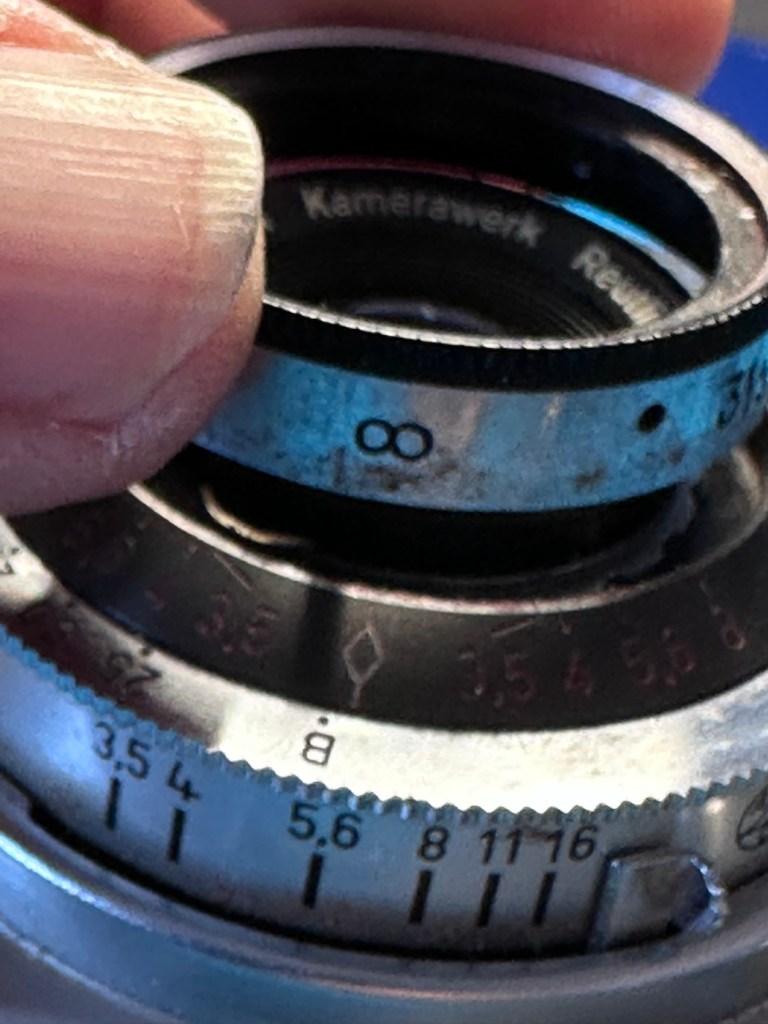
To provide a suitable ‘popularly priced’ 35mm camera, Ilford entered into an agreement with Herr Dangelmaier of the Dacora Kamerawerk, Reutlingen, near Stuttgart, (West) Germany. Dacora produced a simple 35mm camera, the Dacora Dignette, but rebadged it as an Ilford Sportsman for sale in the UK.
Ilford’s Sportsman cameras were a range of viewfinder- and rangefinder-cameras, made for Ilford in Germany by Dacora; the first was introduced in 1957. They were a cheaper alternative to the Kodak Retina and Retinette series for the newly-popular 35mm format at the time. The Sportsman cameras were rebadged versions of Dacora models, including the Dacora Dignette. There were a variety of shutters fitted, including Vario and Prontor mechanisms, housing a selection of lenses such as the Dacora Dignar, Steinheil Cassar and Isco Color-Isconar. The range included basic models, with the Vario shutter and Dacora lens, through fitted meters to sophisticated rangefinder cameras with light meter, Prontor 500LK shutter and Cassar lens.
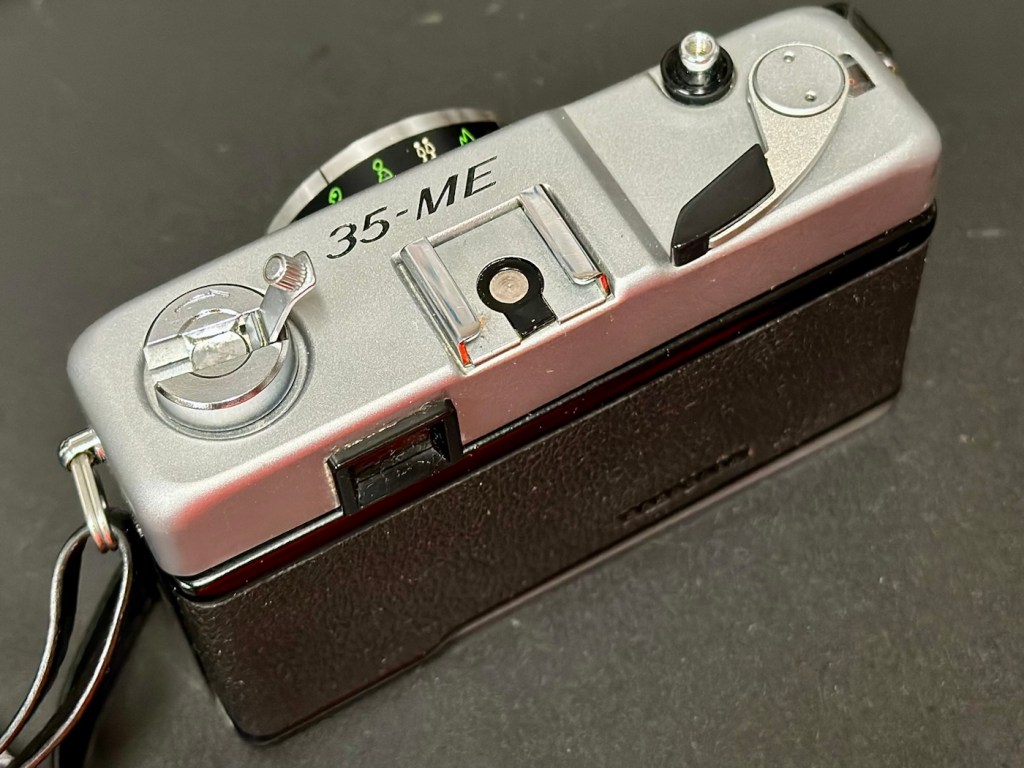
There were five body styles; the last (Mk.5) introduced c.1967.
Wikipedia/photomemorabilia.co.uk
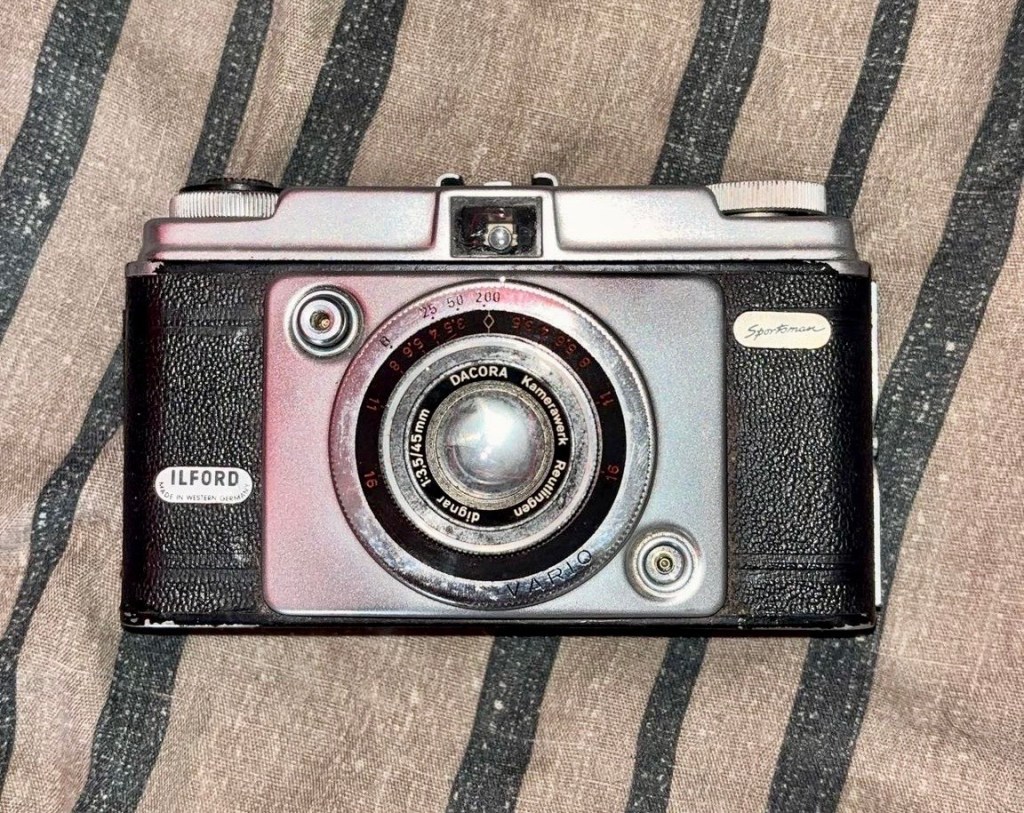
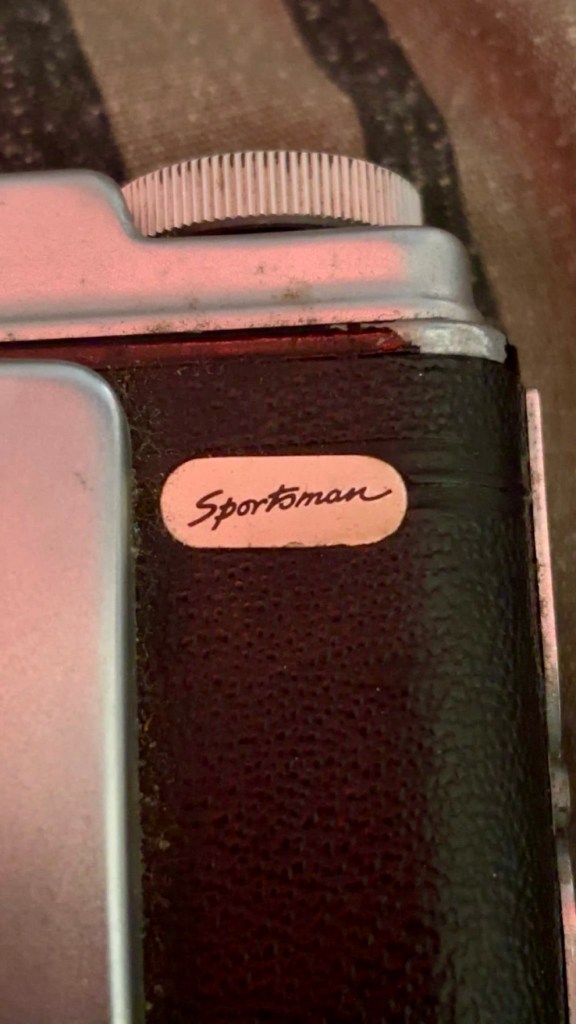

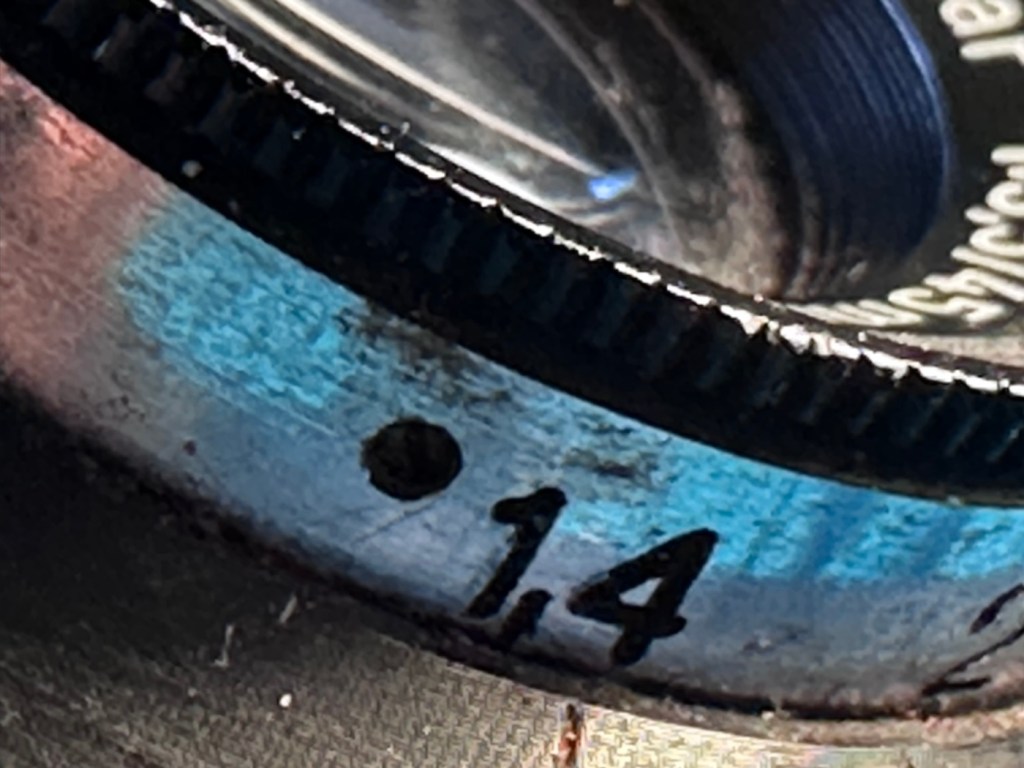
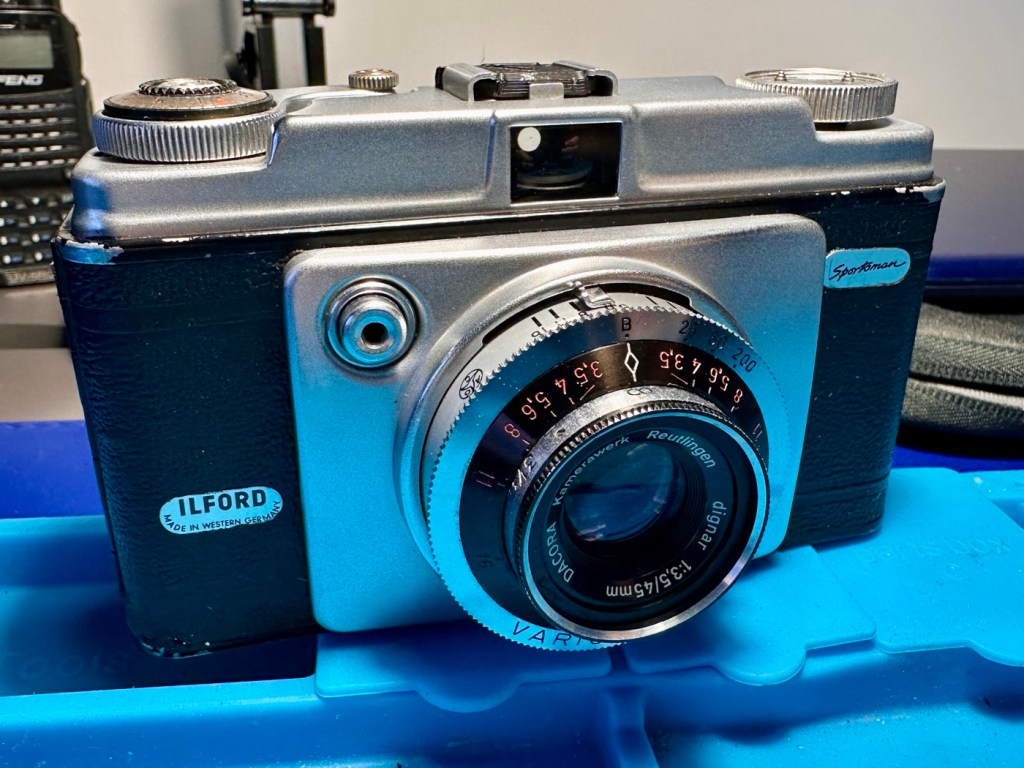
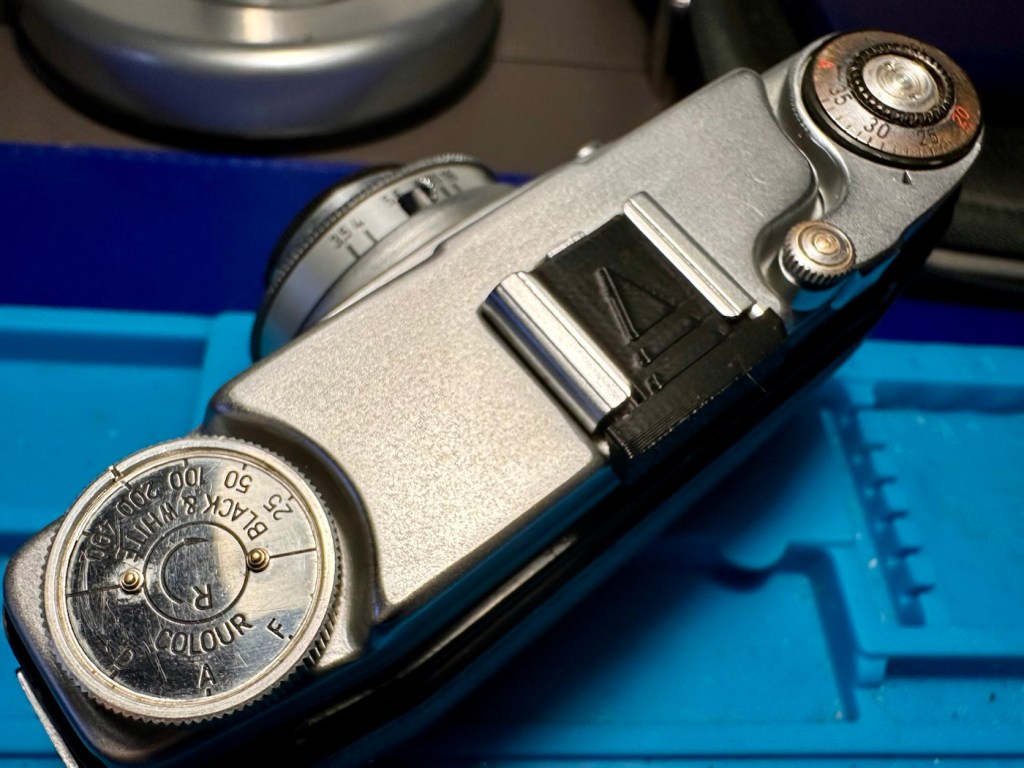
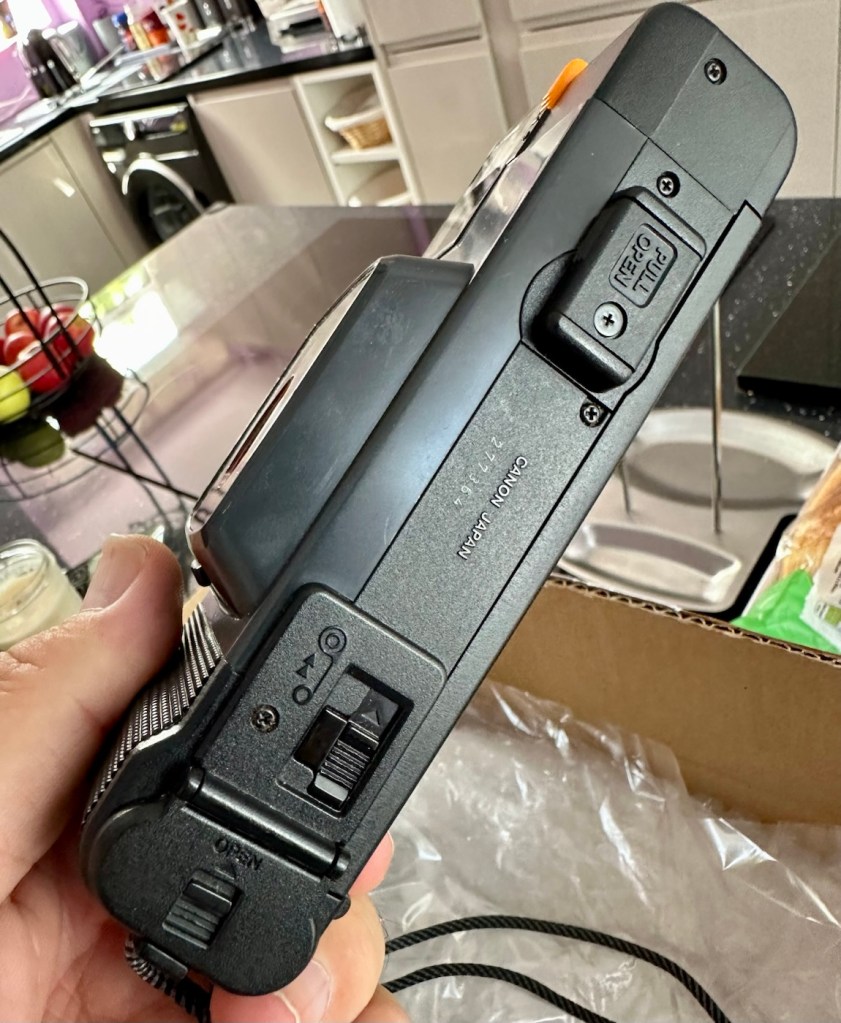
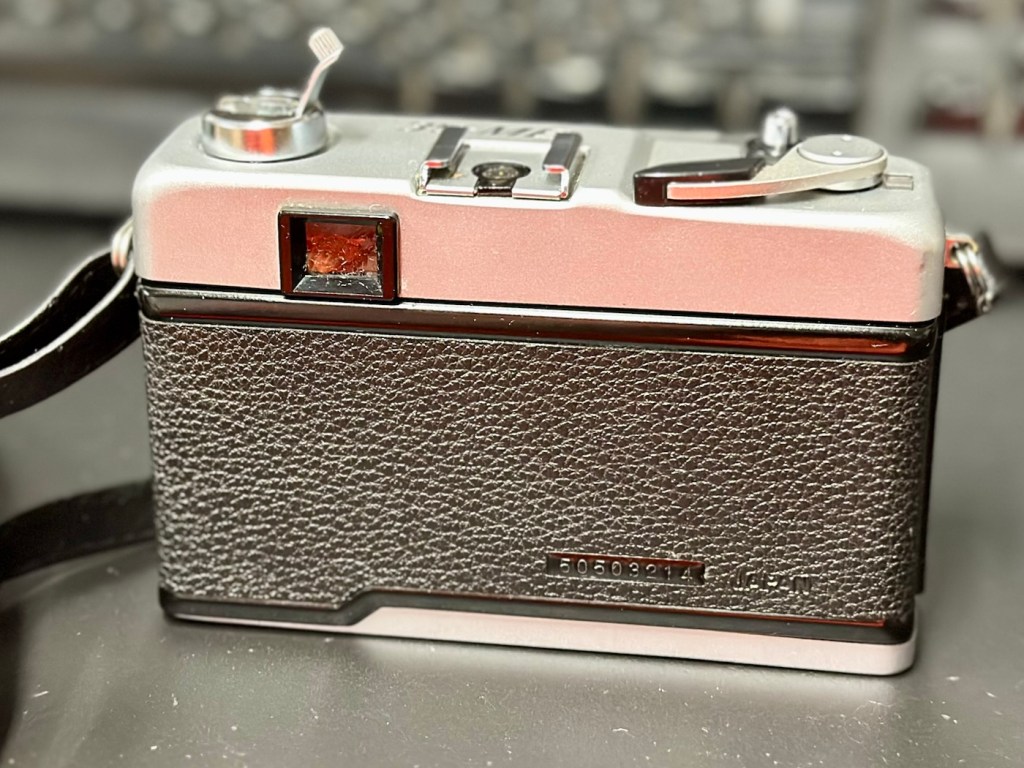
This version dates from 1957 and is one of the later issued Mk1 versions of that year. It has the Vario shutter mechanism and the Dacora-Dignar lens. The badging indicates that this is a latter 1957 produced variant. The very early versions had the “Ilford” badge printed on the camera leatherette and I suspect this would have rubbed off due to hand positioning whilst photos were being taken. This is probably why the white badge on this variant was then applied. This camera retailed in 1957 at the princely sum of £13.87GBP.
I am now in possession of the original instructions that I will download and pass on to the owner, they are extremely basic instructions, befitting of the year of production.
Assessment:
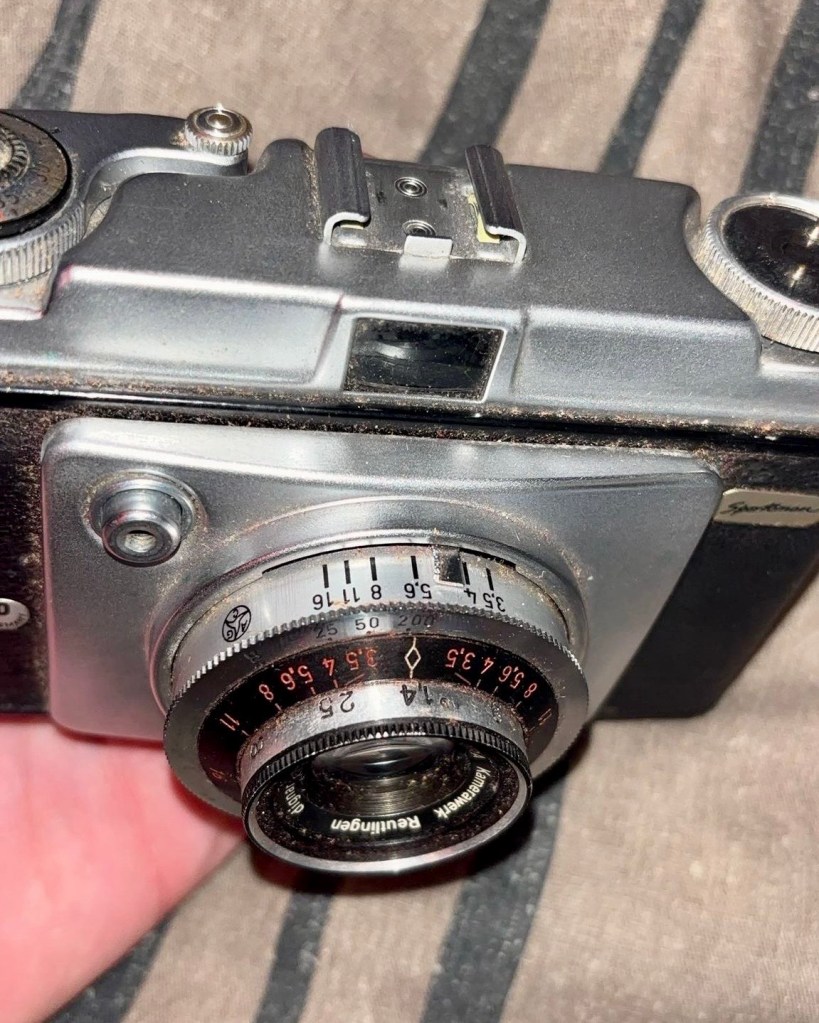
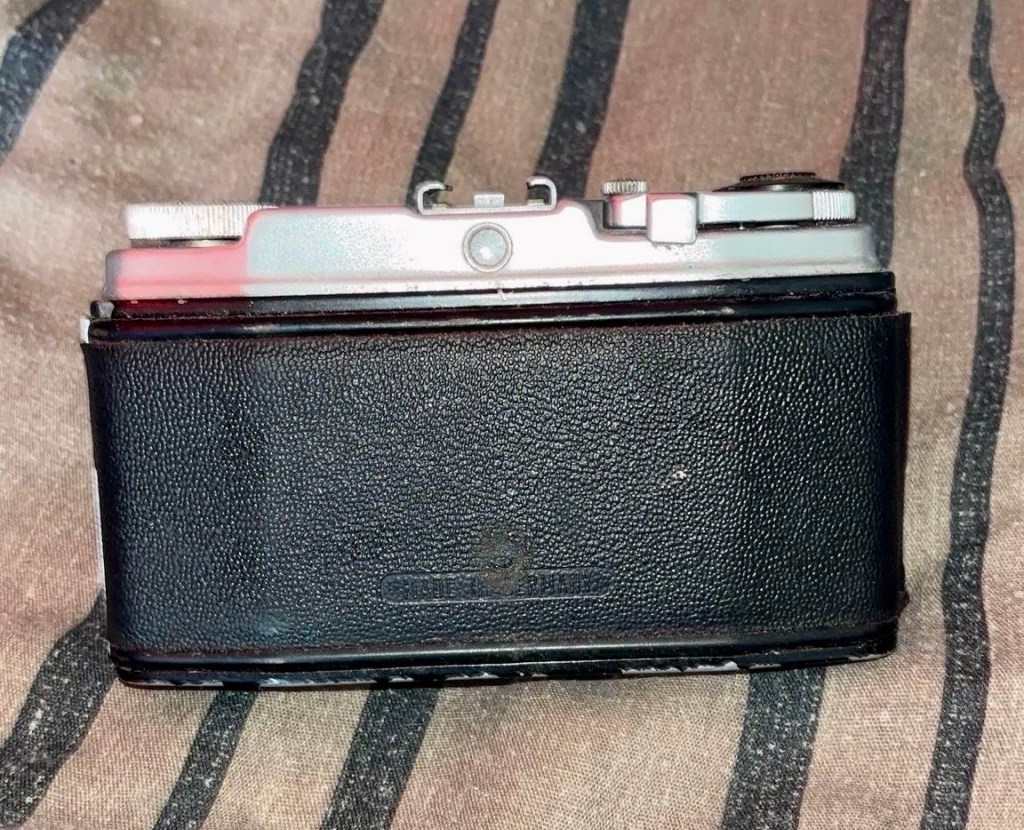
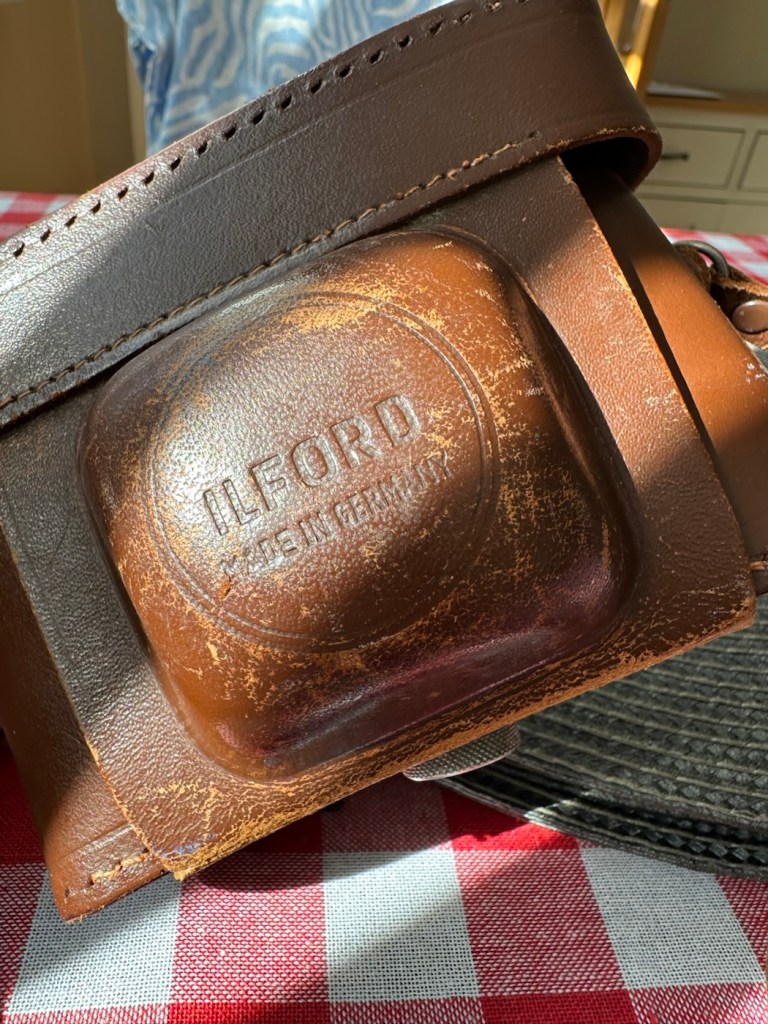
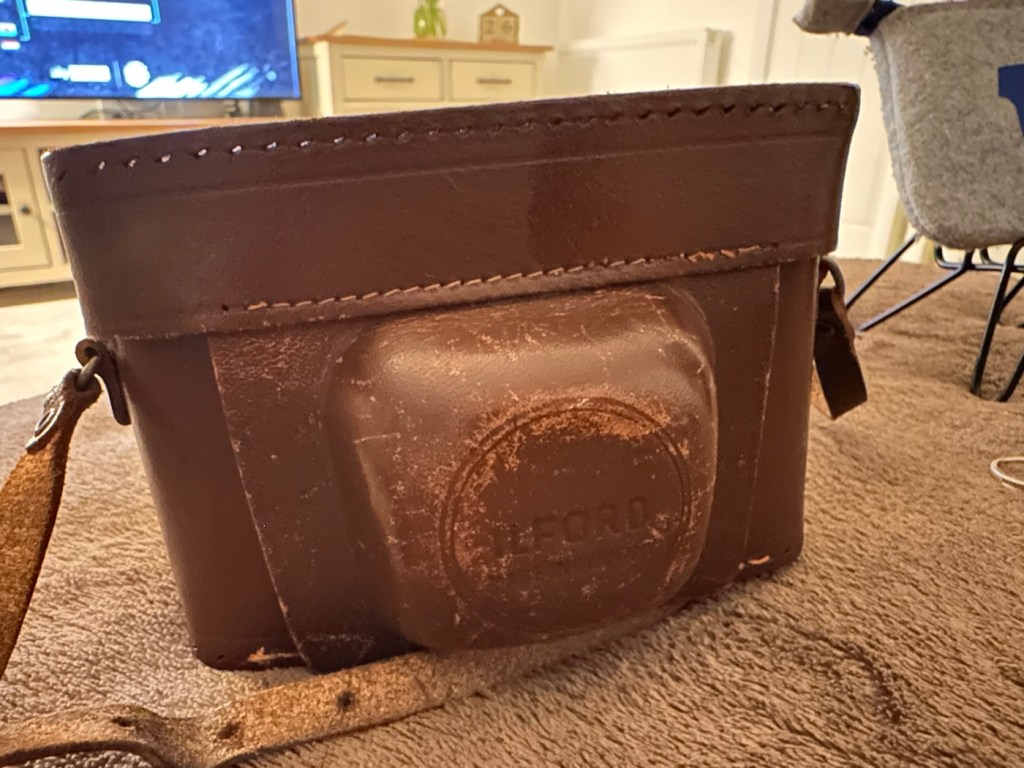
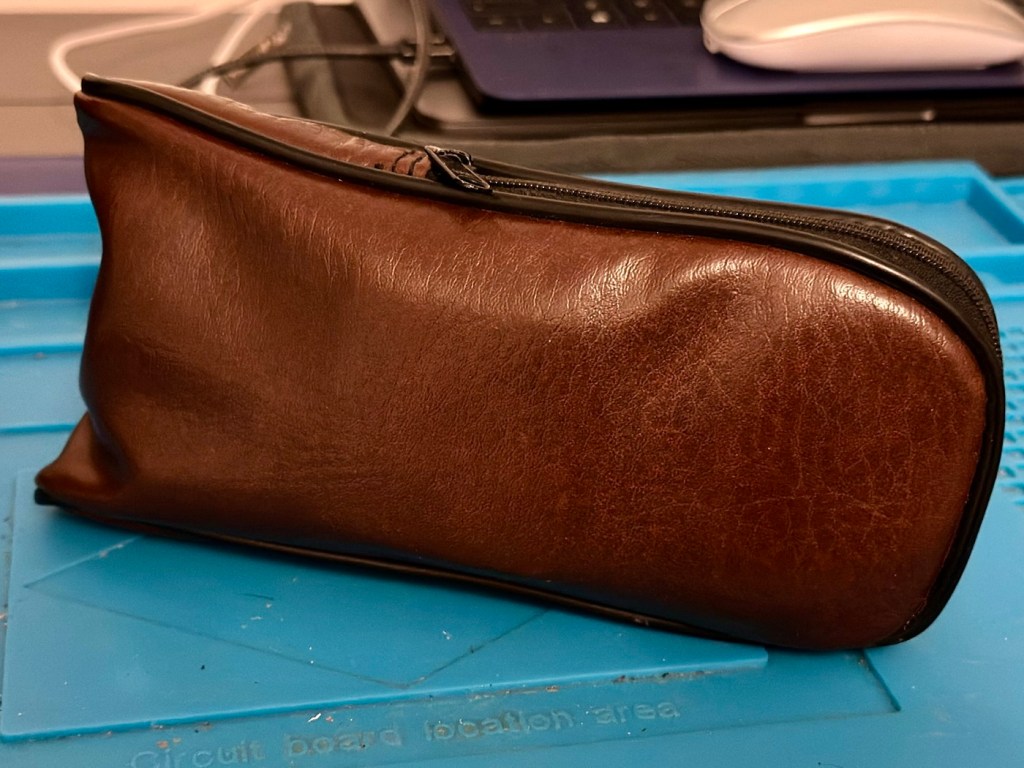
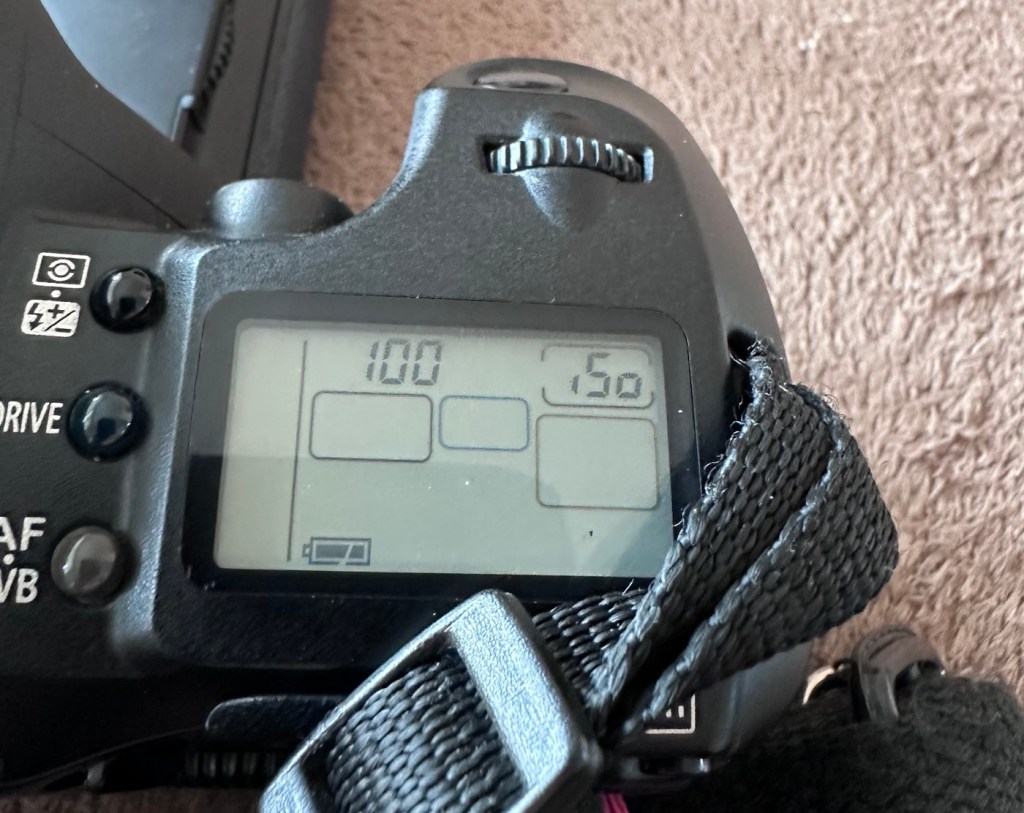
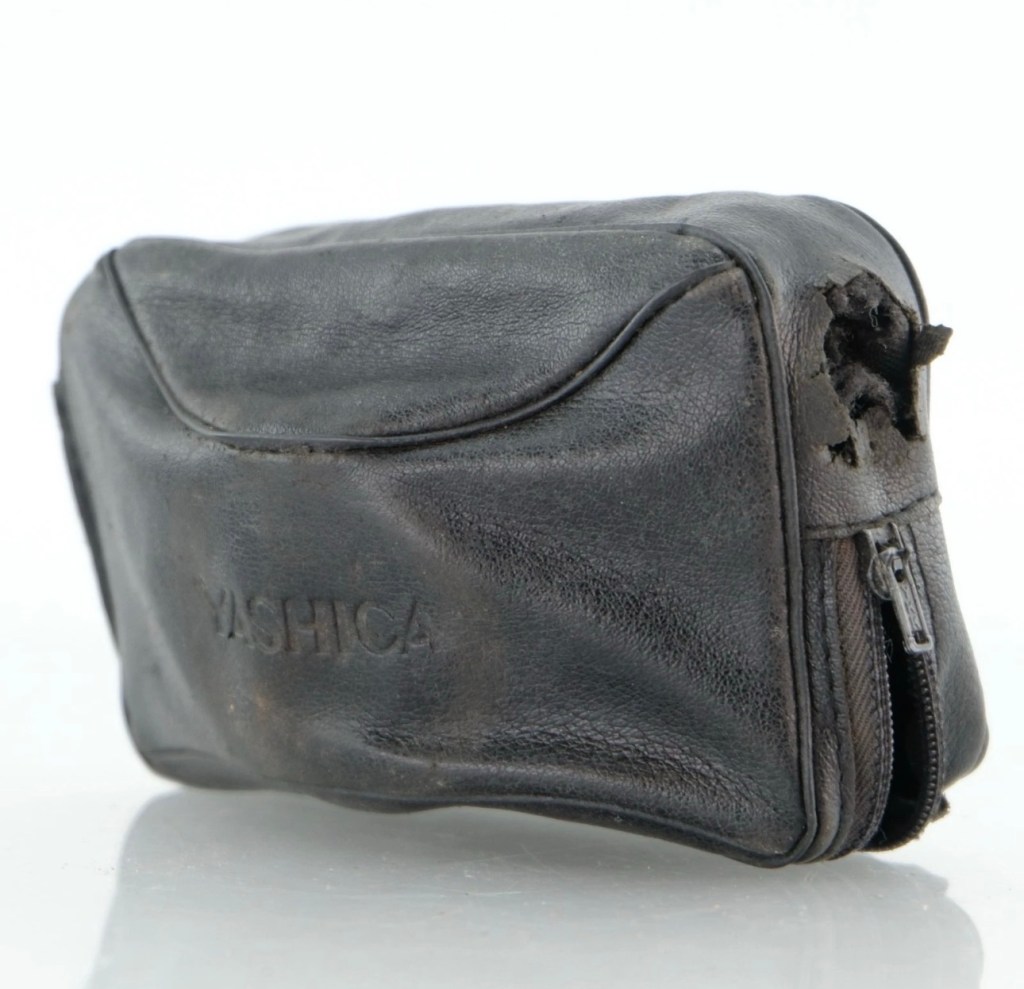
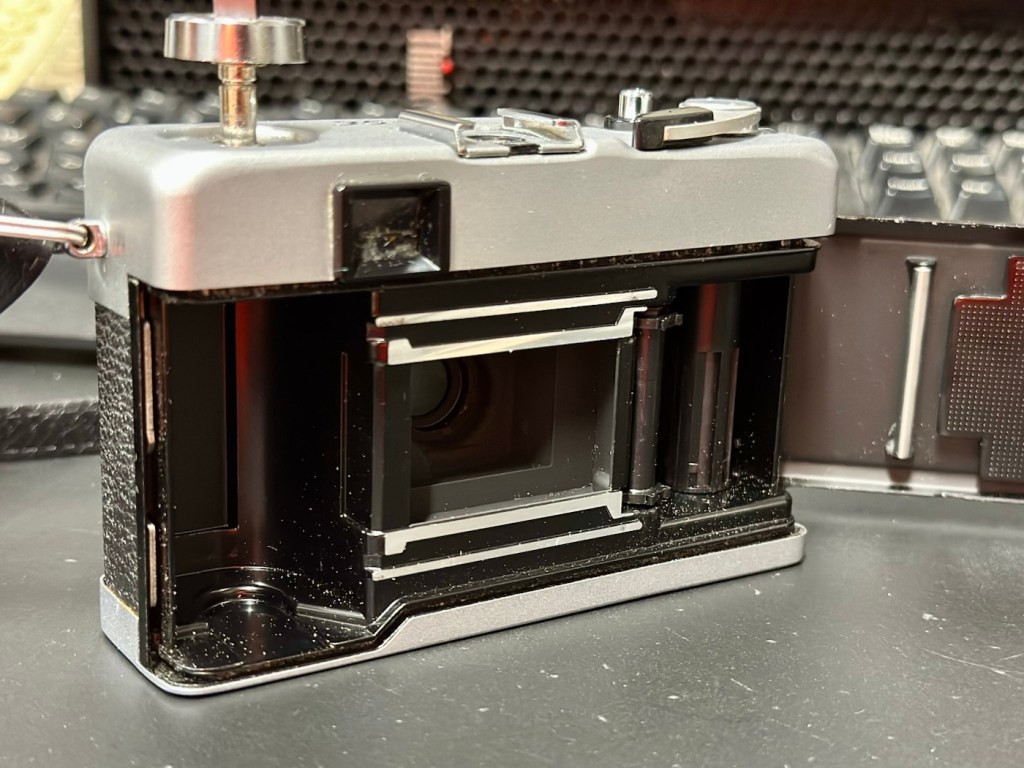
The camera is in an overall good condition in an original Ilford leather case and I think this alone has helped keep the camera in good cosmetic condition. It winds fine, it shoots with a little bit of stickiness, but I believe this is on the exposure button only. The aperture leaves stick a little and respond slowly when you leave the shutter on a time exposure and move it through the whole range from f:3.5 to f:16. The focus ring seems to operate smoothly, and shutter speeds of B, 25, 50 and 200 seem to work, but occasionally stick. I suspect the shutter and its aperture leafs are dirty and are sticking, they probably need a clean.

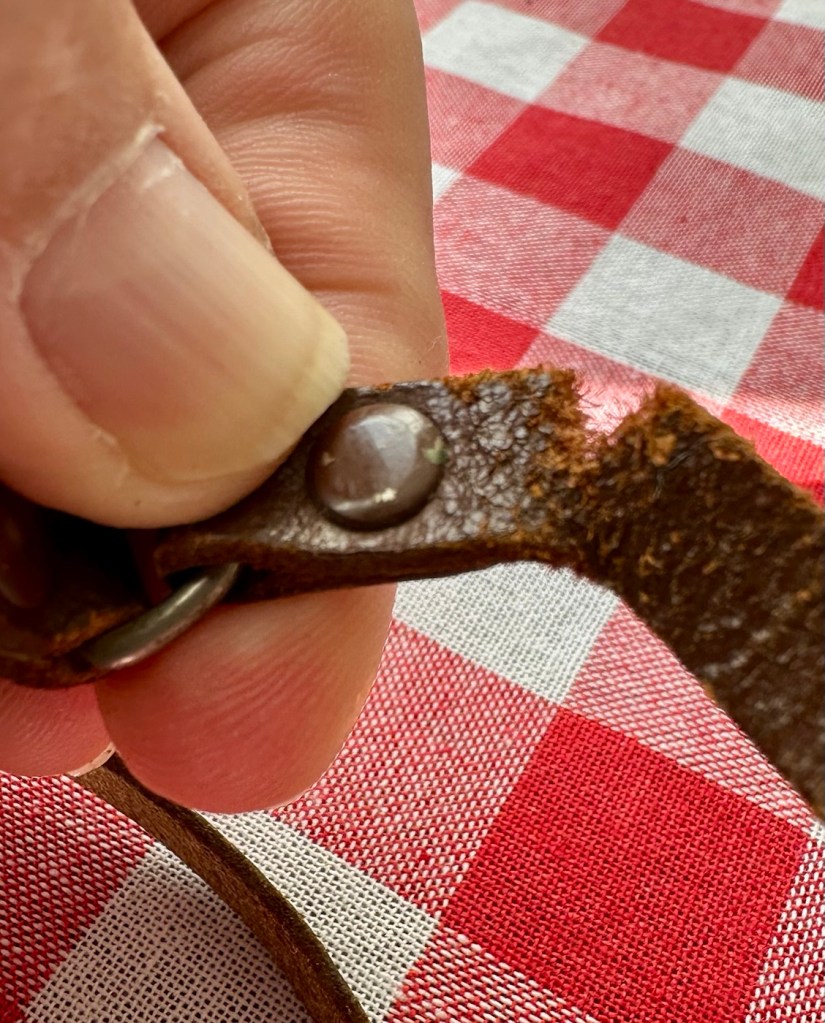
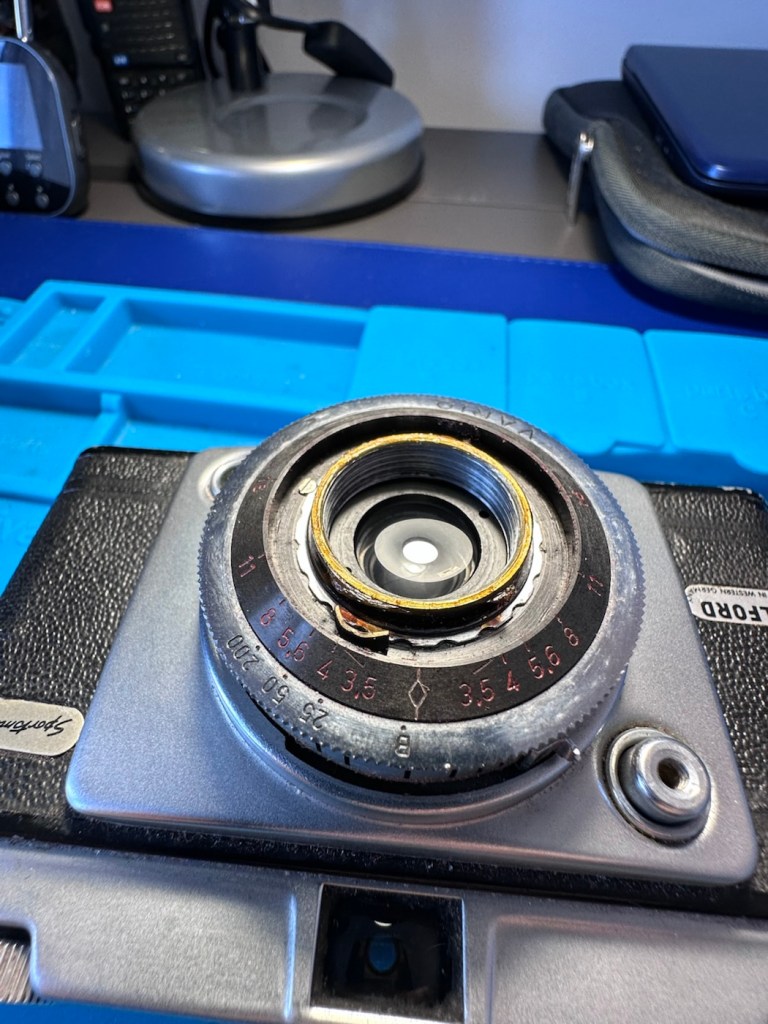
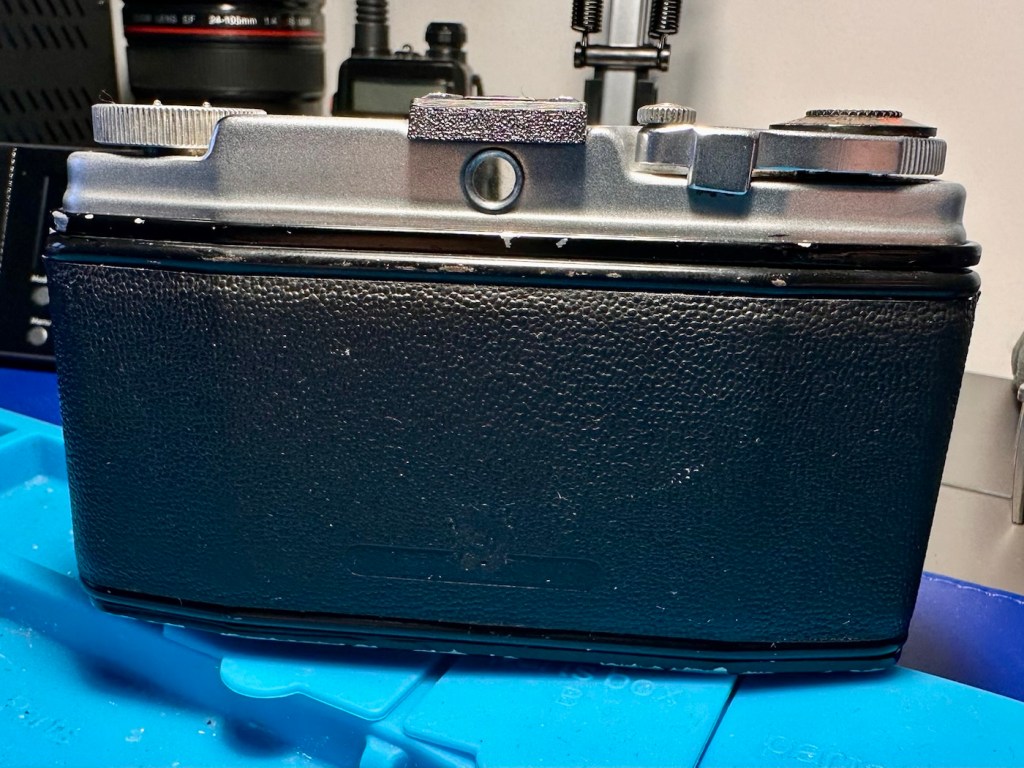
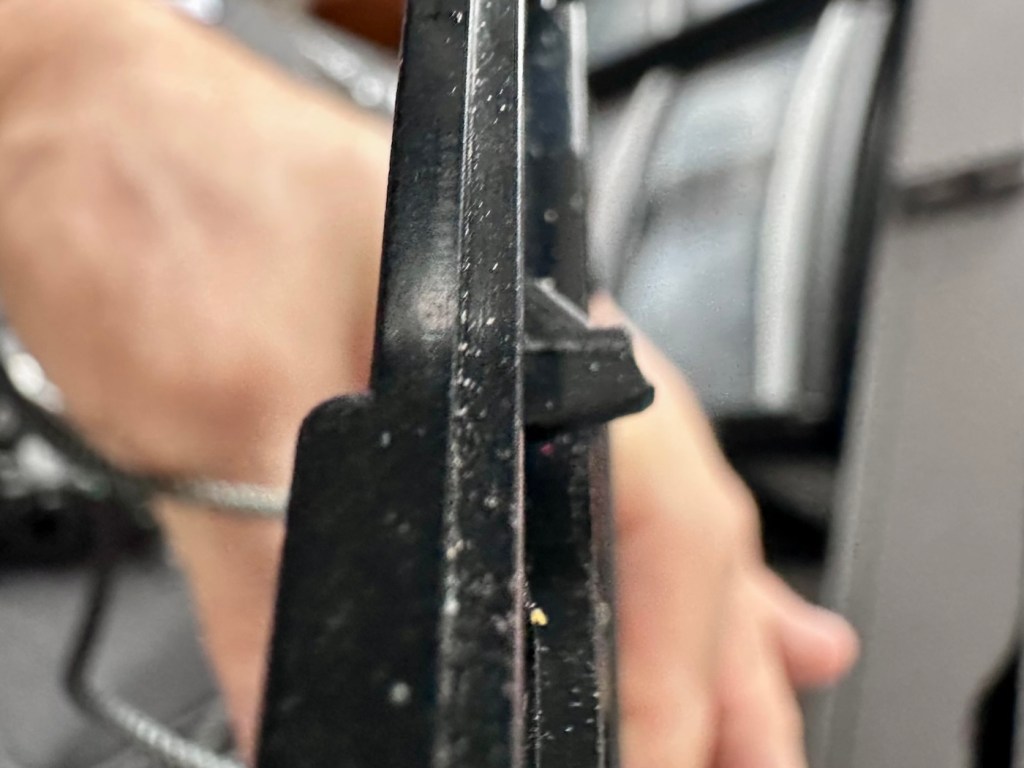
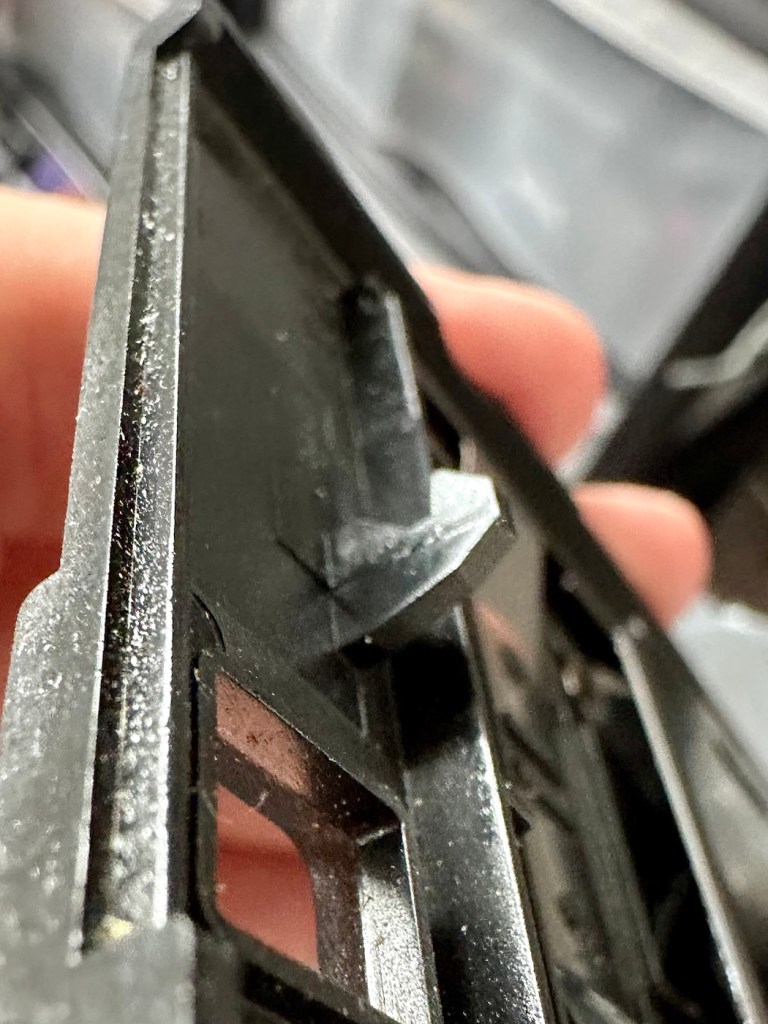
Now I’m not going to do too much to this camera and want it to retain its old character. The leatherette on a couple of parts of the body has lifted, I will probably leave this as it is, I will dismantle the lens turret as there is a general fog in the lens that I suspect may be fungus. I will give the whole unit a good clean and polish. There is a slight break in the leather strap, I shall repair this so as it doesn’t break. There really is nothing of concern that I can see that should be of detriment to the working of this camera. It just needs a clean, and that’s what it will get as I really want to maintain the character of this camera.
Repair:
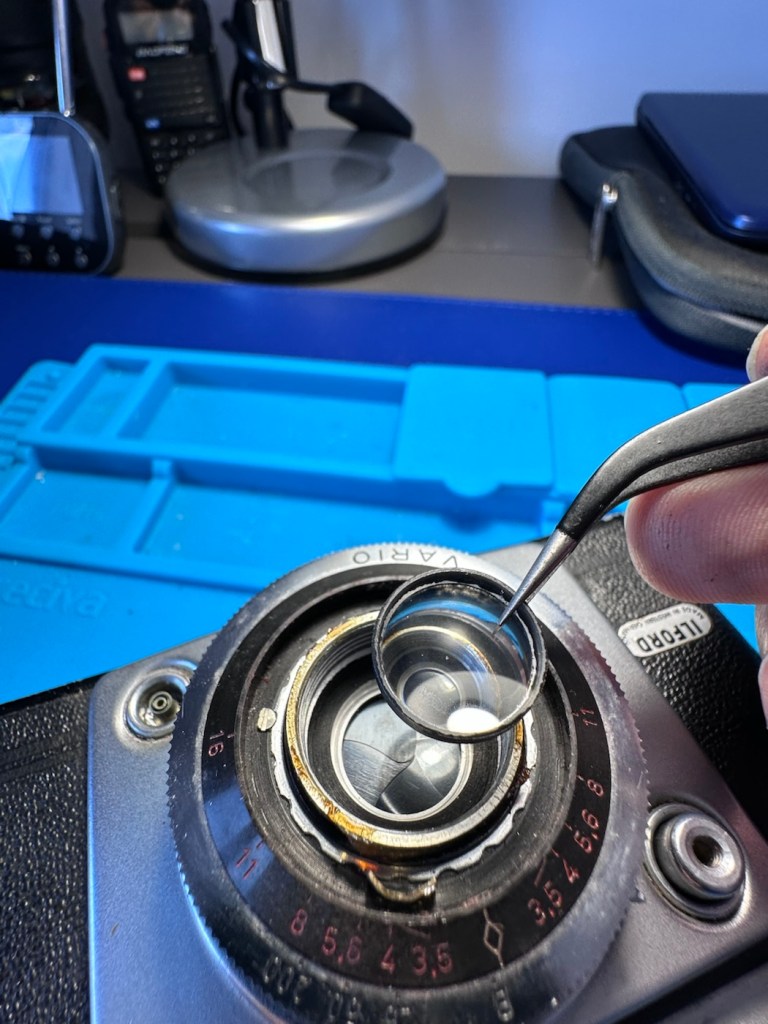
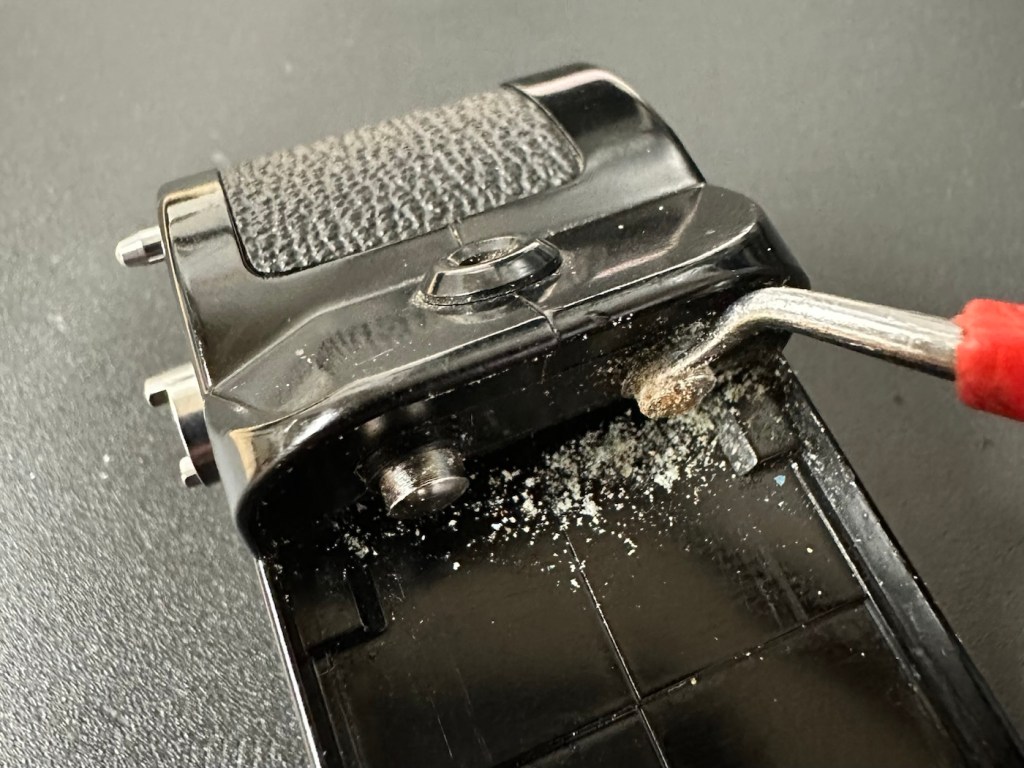
To get to the lens and shutter area we have to start dismantling the lens turret, that starts with removing four of the tiniest screws you will ever find.
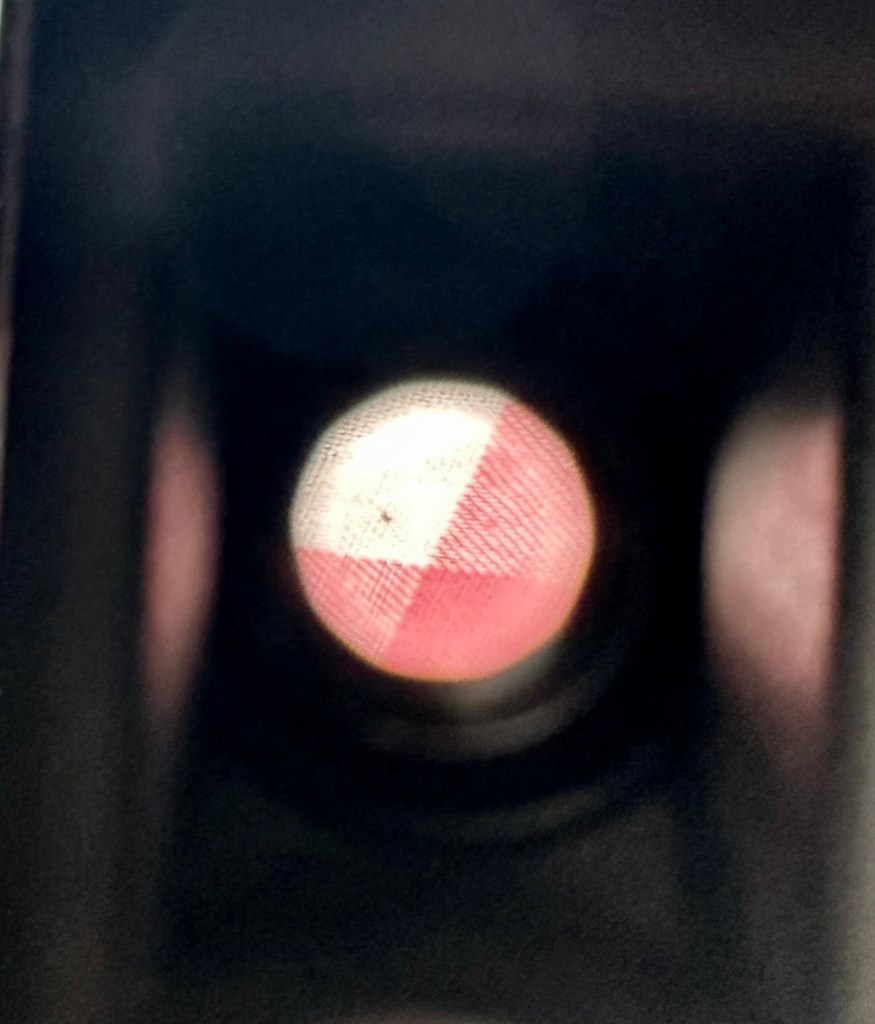
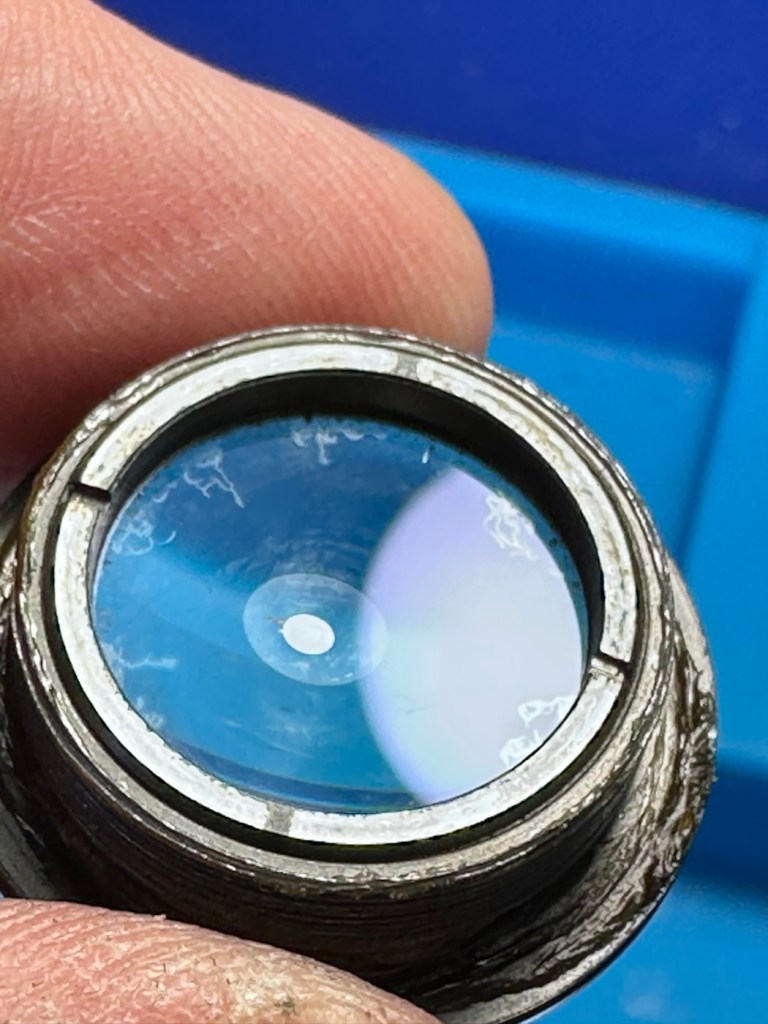
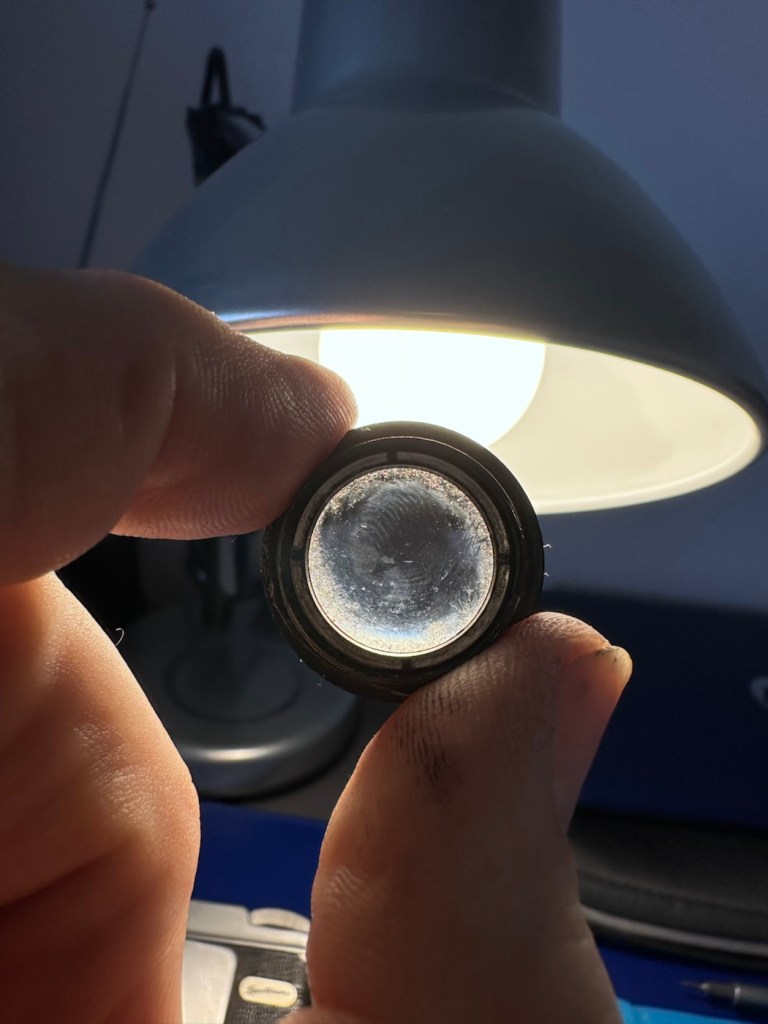
We now unscrew the first element, the outer one, and it’s clear to see that there is fungal scarring of the element.
Next we unscrew the next part of the lens barrel that gives me access to the inner lens element.
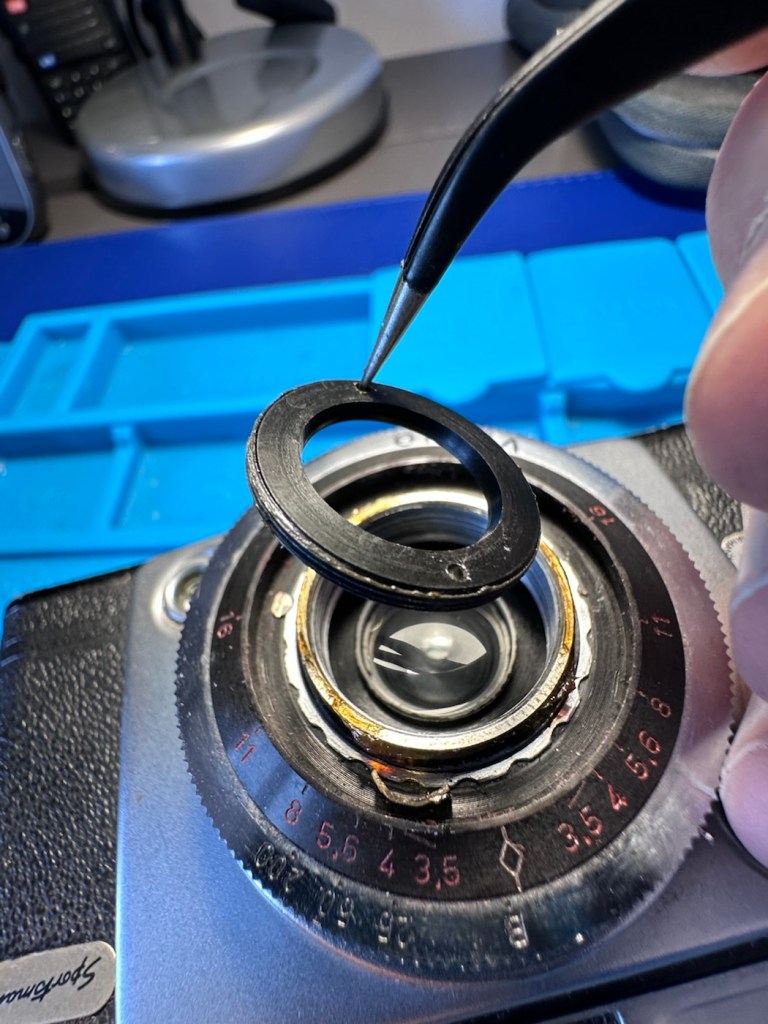
We can now reach in and delicately remove the inner element
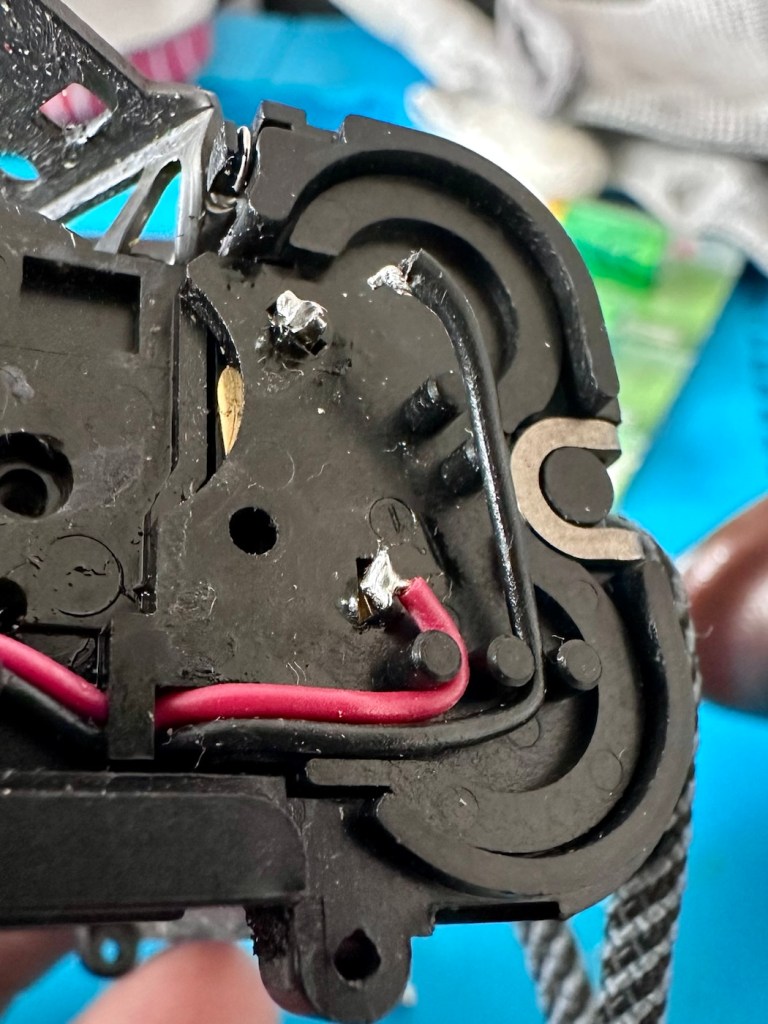
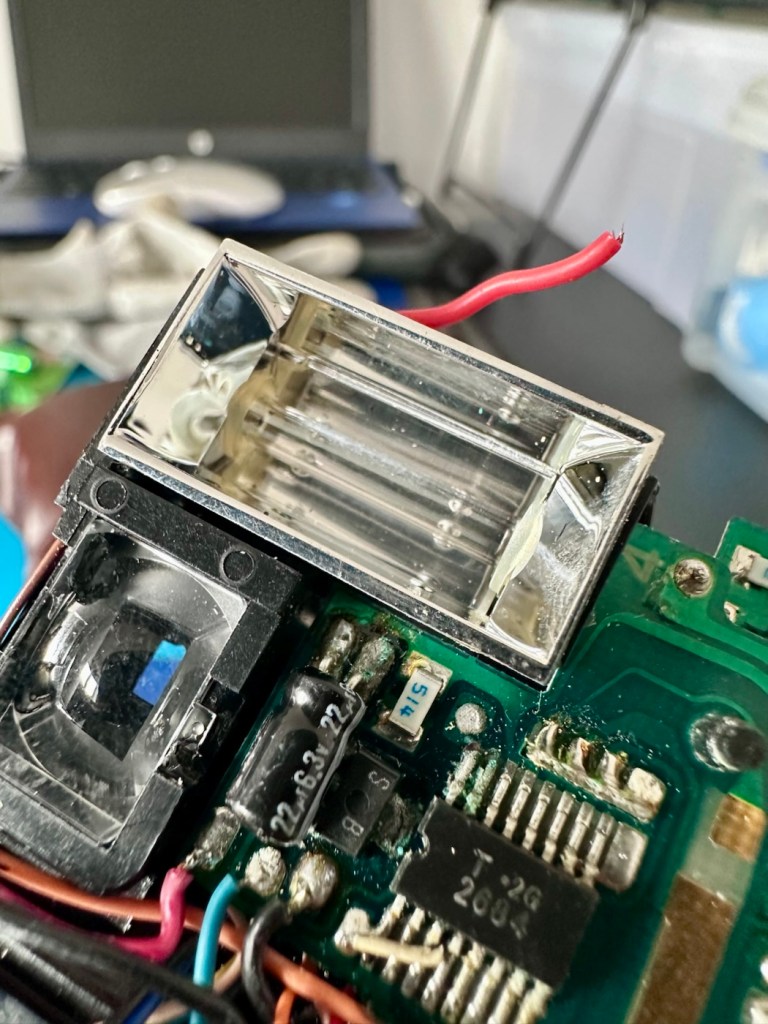
We now expose the shutter blades and underneath these we find the aperture blades.
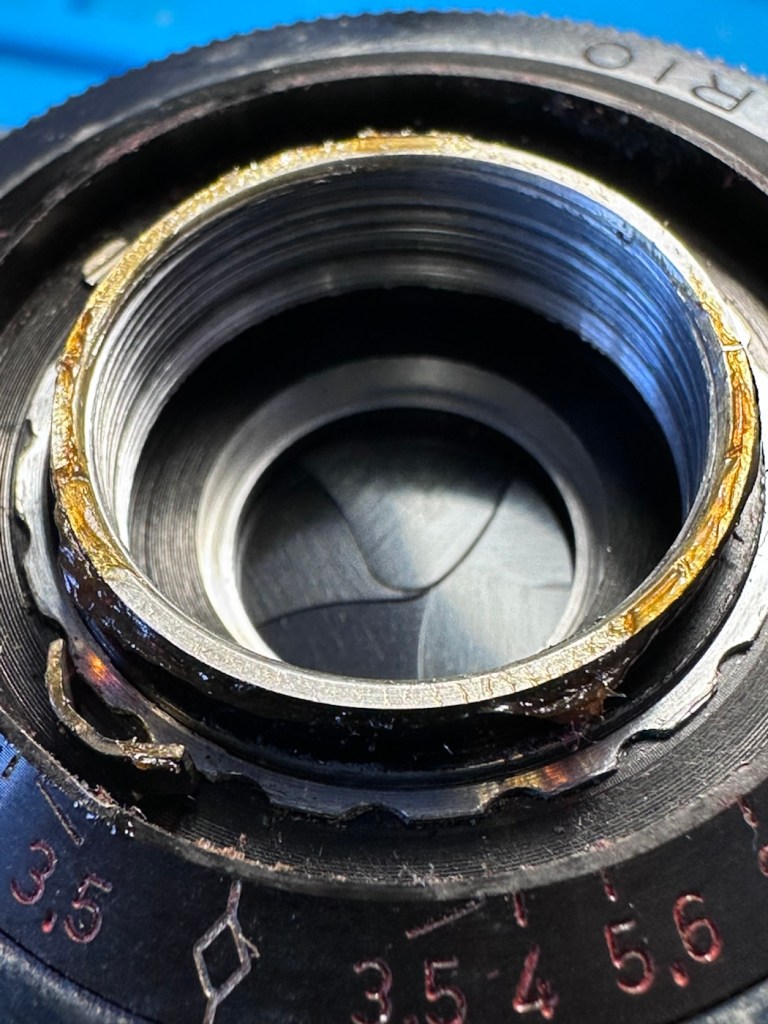
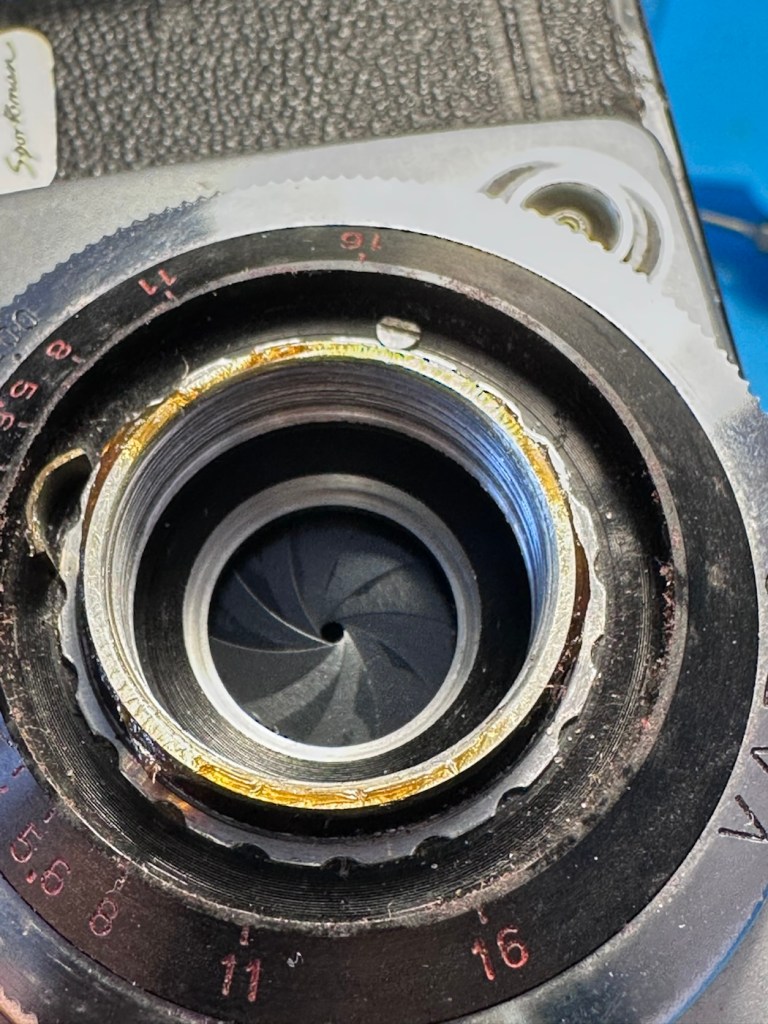
I start by giving these sections a clean with a a little “lighter fuel” to remove the old grease and oily deposits. With the shutter blades I clean them very carefully, let them dry a little and then fire the shutter a few times, I blow off any build up and do the process again until I’m satisfied they are free from any contaminants. Now putting the shutter on “B” setting, I open the lens and do the same with the aperture blades opening and closing them manually using the same process as with the shutter blades. Happy with how this has gone I now head onto the elements.
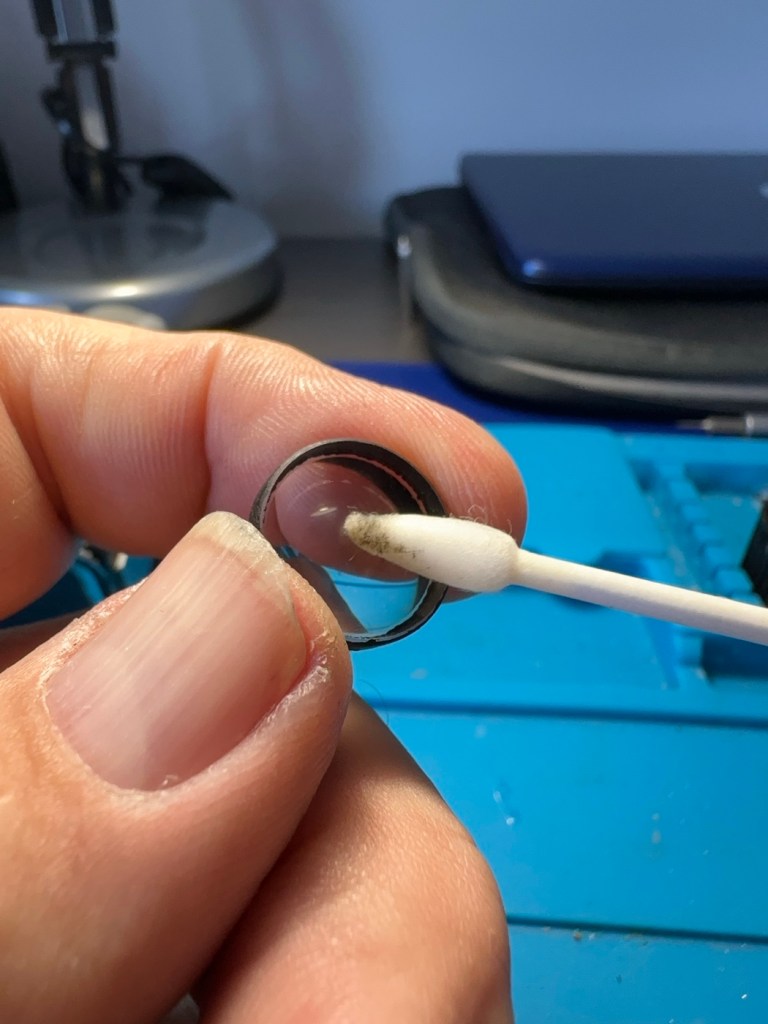
Using a mix of pure water and peroxide I use a small bud to coat both sides of the inner element to give it a clean, it is very dirty, no fungus on this element though, just years of dirt and grime.
The outer element was a different story, it had such bad fungus that the edges of the element had been etched by the fungus, as it had been there so long. I don’t think it will be too much of an issue through as a lot of it was removed. Below are two photos before and after, the after looks quite a bit better and when it was dried and polished it did look considerably better.
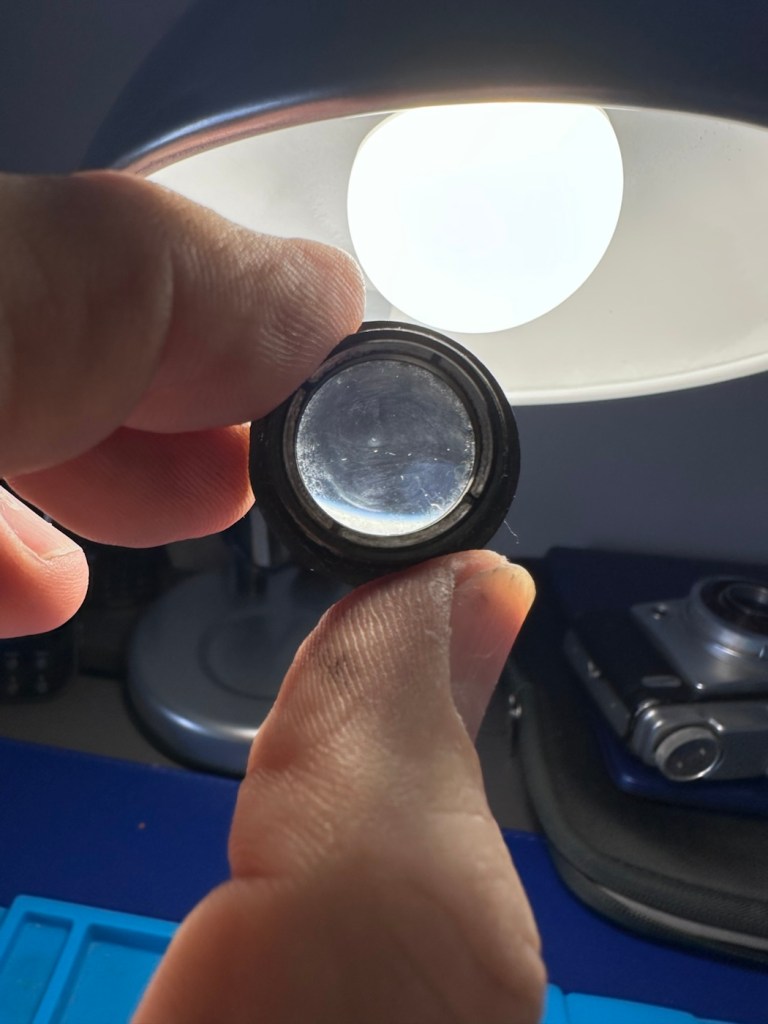
Once cleaned I rinsed the elements off and dried them using a lint free cloth. A good blow with some air dispersed any loose dust or fluff, prior to reassembly.
Reassembly was simple and without issue, I cleaned as I went along replacing any grease and oil with fresh lubricant (sparingly of course).
Cleaning wise I’ve used IPA, detailing polish, cocktail sticks (to get into the nooks and crannies) and good old elbow grease. It’s looking good.
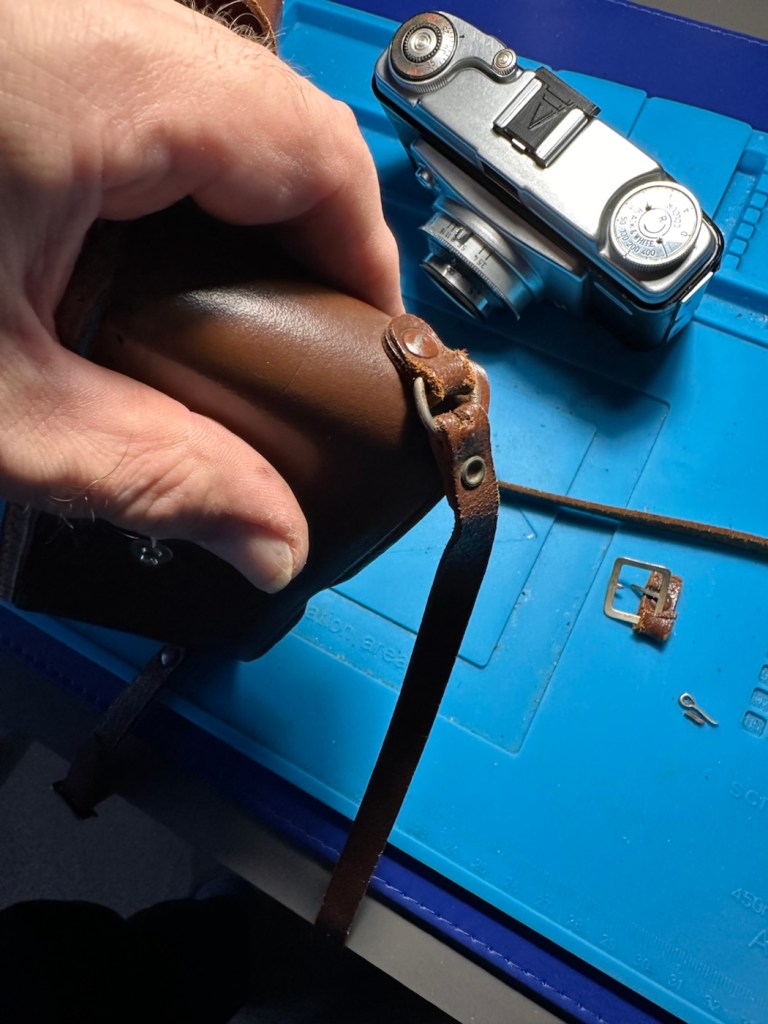
I’ve repaired the broken strap by just removing the damaged part and creating a new strap loop, it looks ok, but I’m working with a strap that’s almost 69 years old, very thin, and has seen better days, but it looks okay. There are loose bits on the case where the leather stitching has deteriorated, however leather work is not my forte, so I will be leaving this alone, letting it maintain its old appearance and patina if you like.
Result:
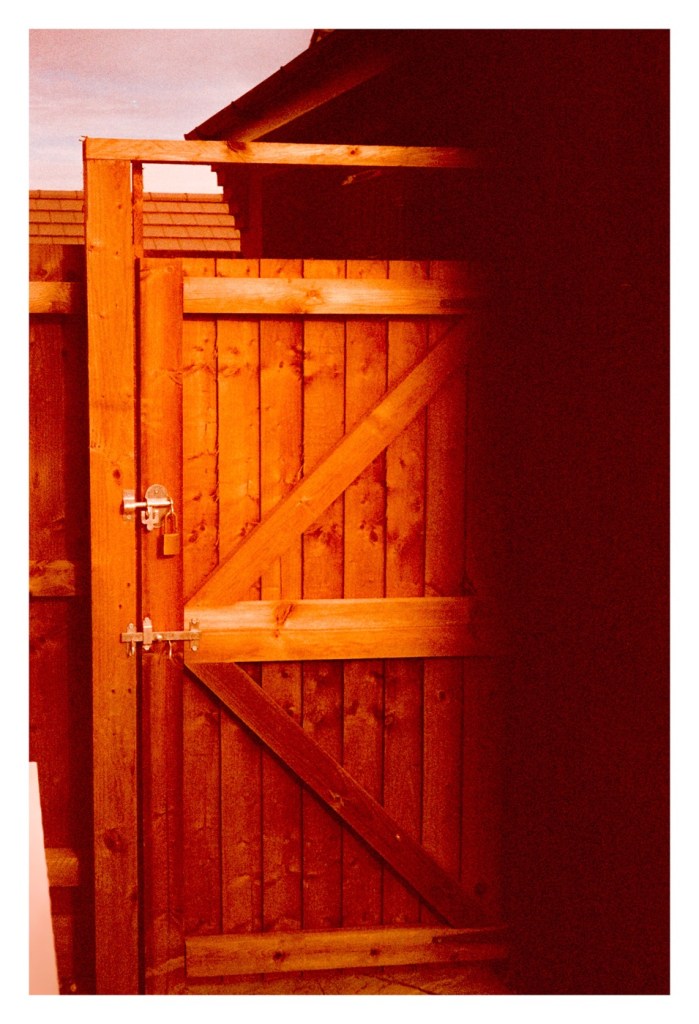
The result is that I have been able to maintain the original appearance of this camera, only carrying out a sympathetic maintenance regime, allowing the camera to be used as it should, but maintaining its age and individual characteristics.
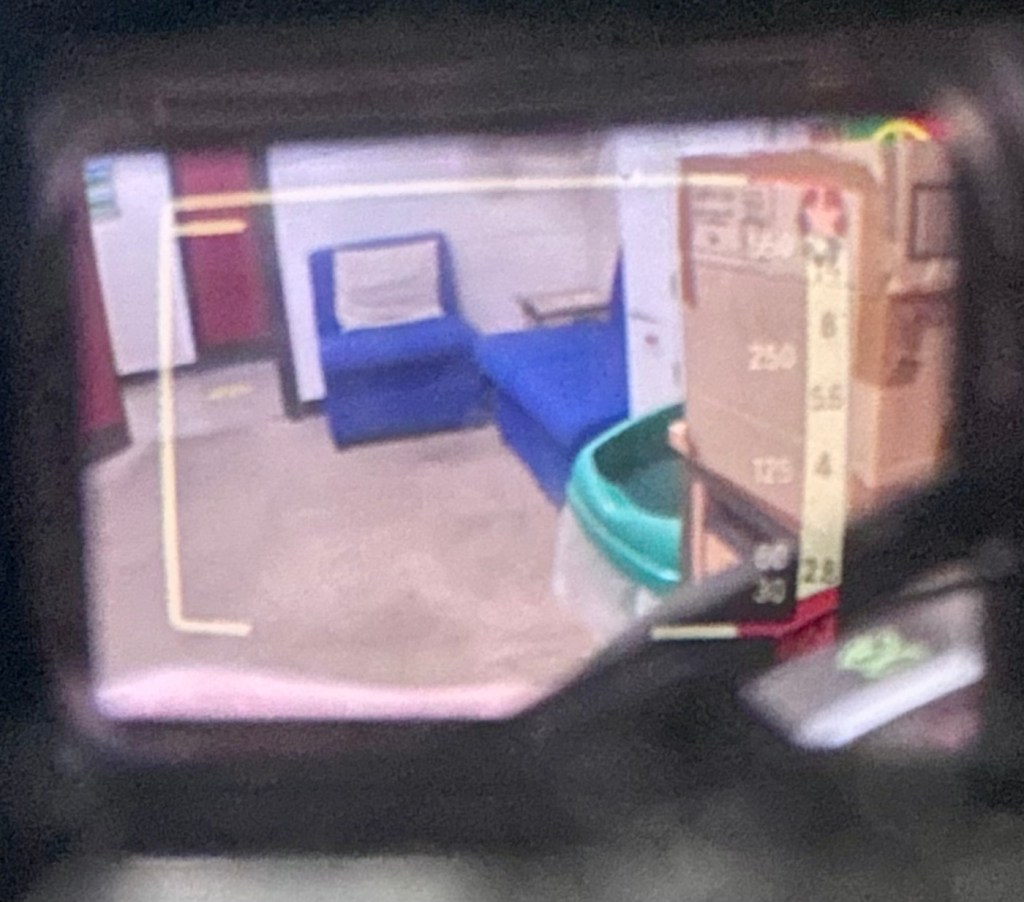
It’s been nice to just tidy up a camera and give it some attention, TLC if you like. These cameras are remarkably easy to maintain and operate, I’m sure a roll of film through it will give some superb results. The viewfinder is so clear now, the lens is clean and the shutter, aperture, and all buttons and levers are working just fine. It’s been a pleasure to work on this camera, and I sincerely hope that my friend is happy with the outcome. One thing you really struggle with though is the old musty smells these cameras carry with them. If I had a solution I could use to negate these aromas I’d probably be a rich man, or at least my wife would probably forgive for once, for bringing these aromas into the house.
Oh well, you can’t win them all.
Thank you for passing by, it’s always very much appreciated.


You must be logged in to post a comment.