Bronica SQ-A / The Frankenstein project Pt:1

To find out what I am trying to accomplish with this project please refer to my initial post: Bronica SQ-A Medium format camera

Task:

To build a usable, basic issue, medium format camera (Bronica SQ/SQ-A) from damaged items and spare parts, for as little outlay as possible and shoot one black and white, and one colour roll of film as proof of its successful completion.

Getting started:

Building a camera from damaged parts is no easy task when the name happens to be a high end brand and any parts that are available, are being snapped up by others to service their own stock or to break up for sellable parts. I’m going to keep a running total to try and build this as cheaply as possible, and to keep track of this total I’m going to use my trusty Psion Organiser II LZ from 1989 to keep a tally.

First purchase:

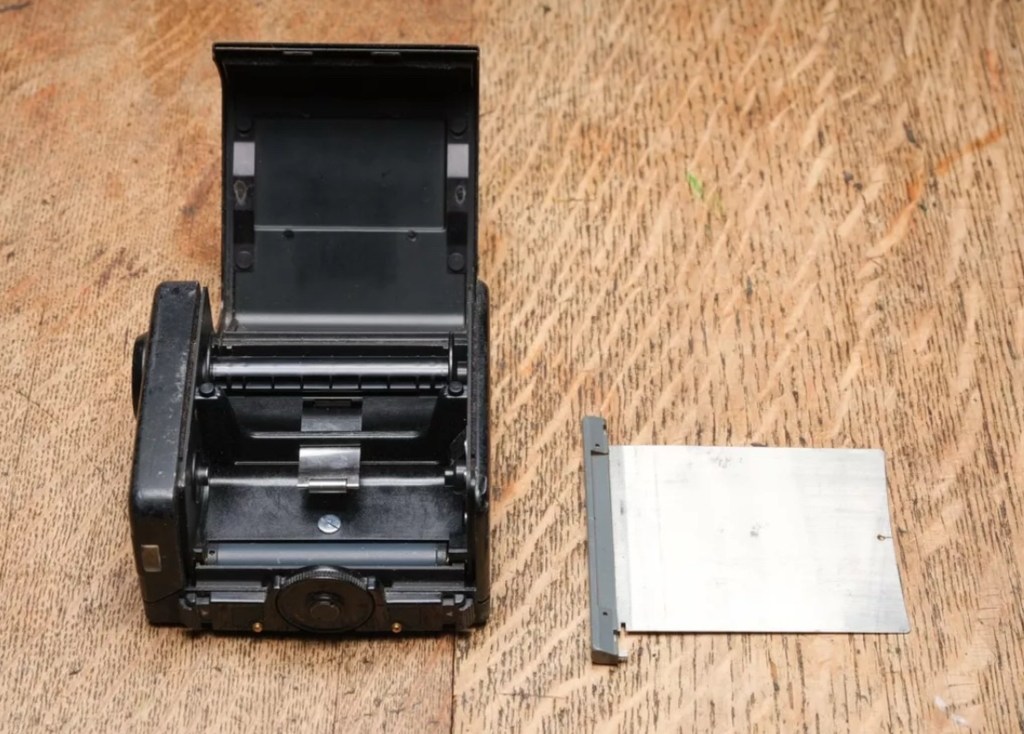
The first purchase has been made and it is for a 6×6 120 roll film back unit with dark slide. I think I’ve paid quite a good price for this item. This is the back piece that fits on the rear of the camera. Here is what the listing stated:

ZENZA BRONICA SQ 6X6 120 ROLL FILM BACK WITH DARK SLIDE Signs of wear, untested.
Uk Buyers Only Please

EBay

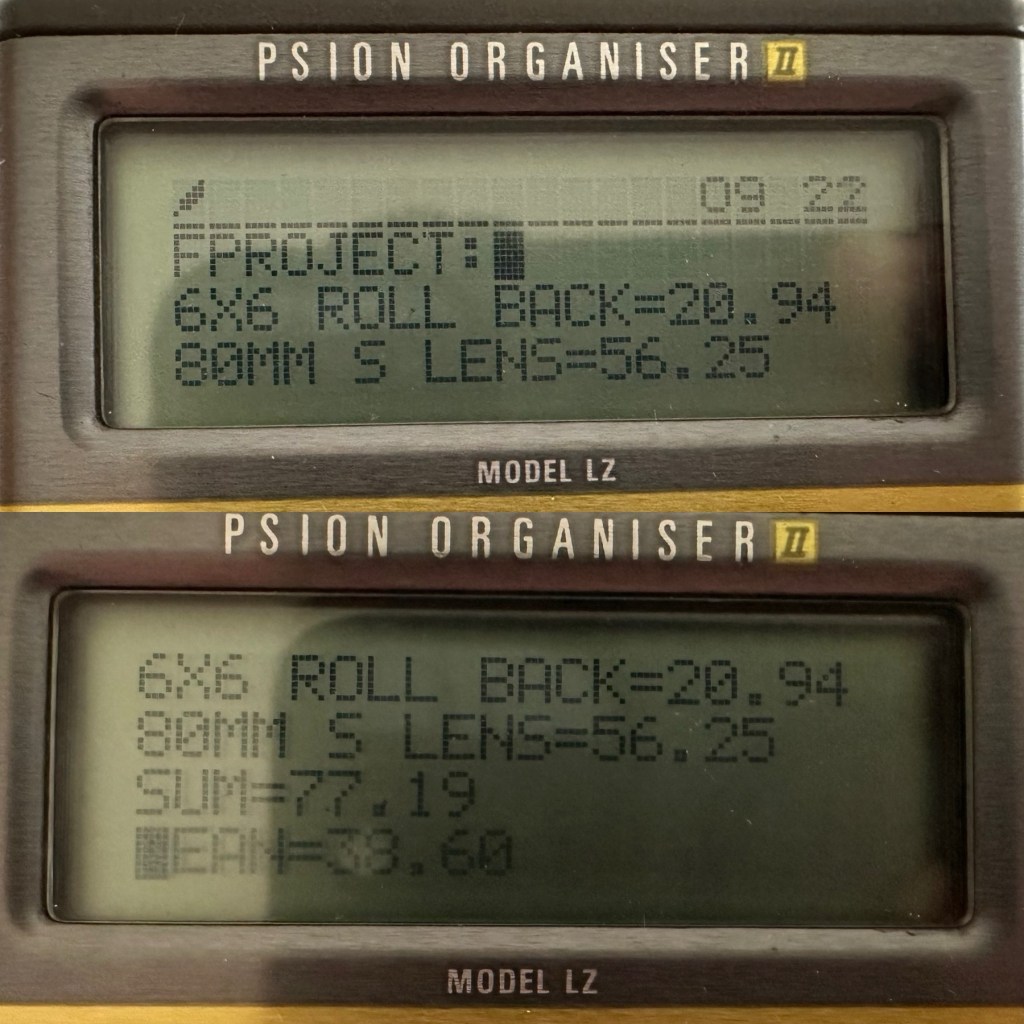
And the total paid including all postage is £20:94GBP. Let’s now start the running total in the Psion II LZ.

Running total

All I can really check at the moment is cosmetic condition and this looks a little beat up, however I don’t really care how it looks externally, as long as it’s light tight, that is all that matters and I won’t even be able to check that until later on in the build. Cosmetically I will attend to it, if I feel so inclined at the end of the project, for now it’s ability to be light tight will be my major concern.

Assessment:

The unit has arrived and yes it has seen use, but not in a few years I suspect. The old smell hit me the second the package was opened, it’s kind of a reminiscent pong from the past, however I’ve got to see beyond this.

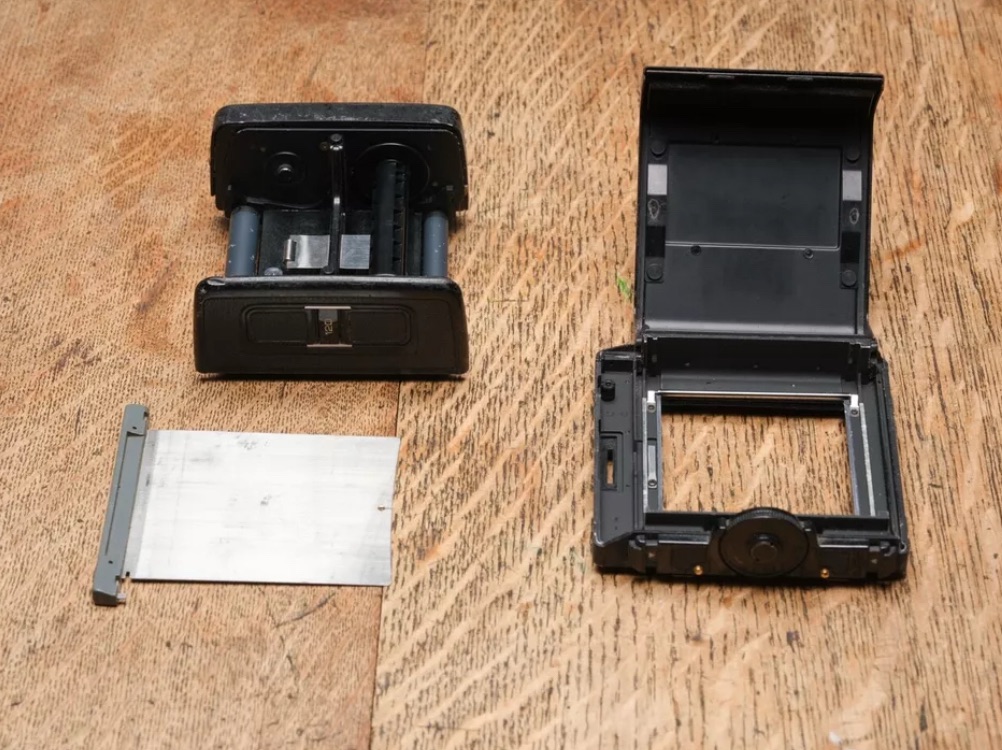
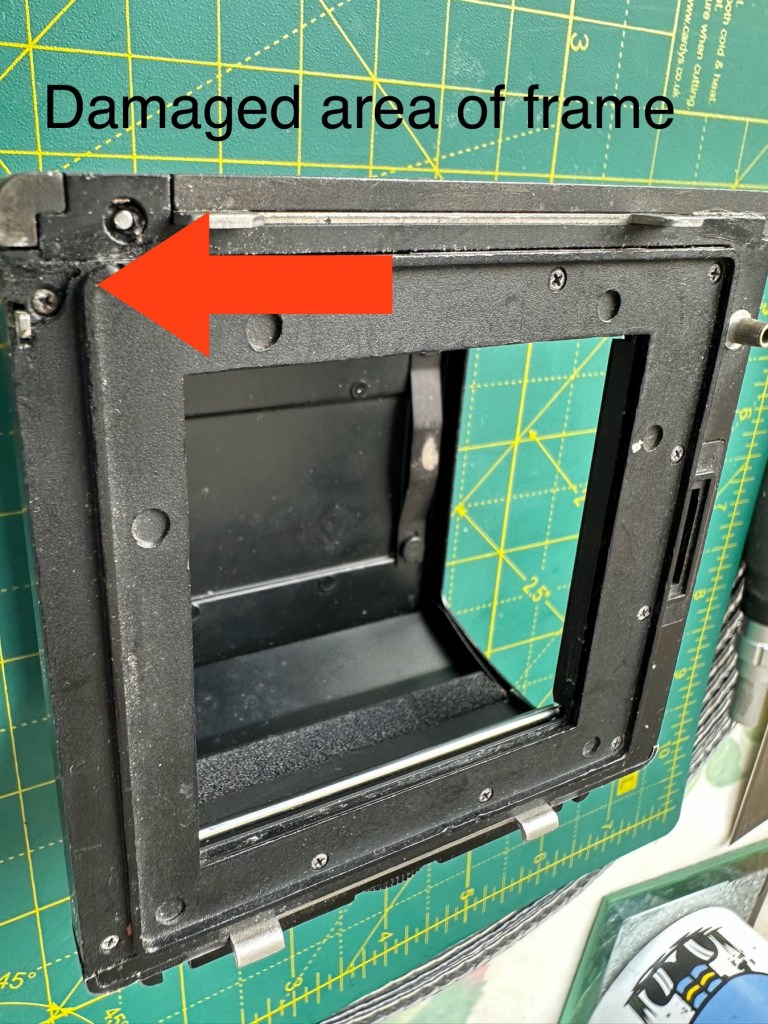
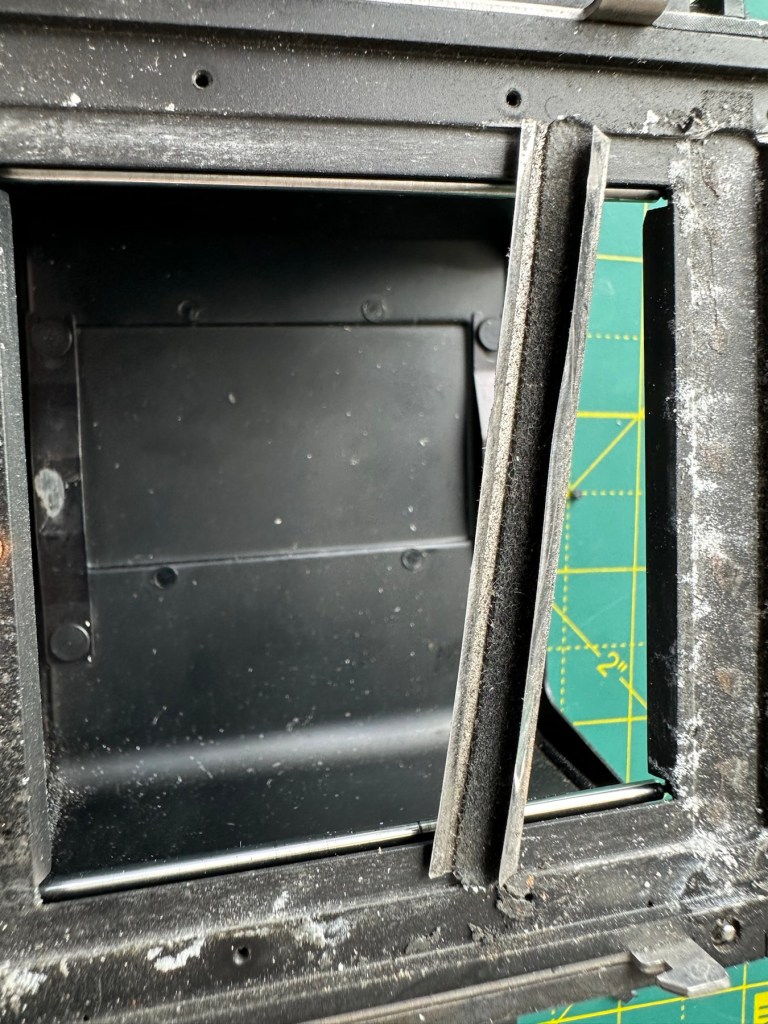
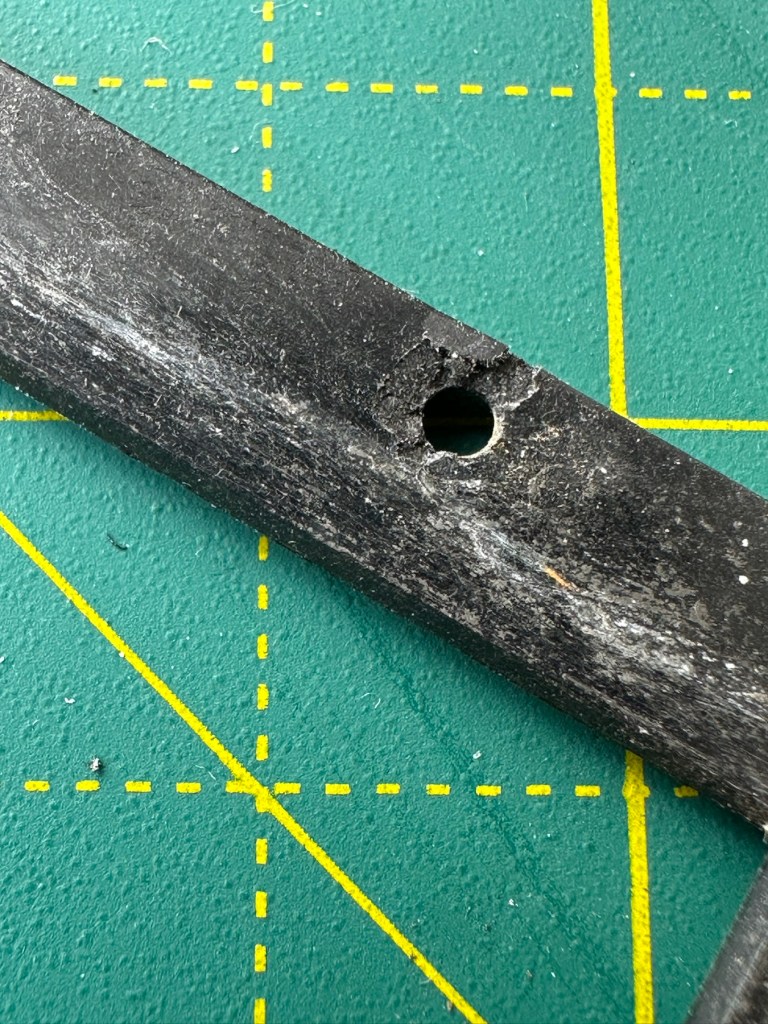
The light slide seems fine, however the surrounding frame has been bashed and a small bit of frame has gone missing. There is also a screw missing and I suspect the area that is missing the screw may well have been glued down. there are some slight rust spots on the exterior framework, however everything inside appears to be fine apart from some light seals that will probably need replacing. The rollers inside are grubby so a good overall clean is in order.

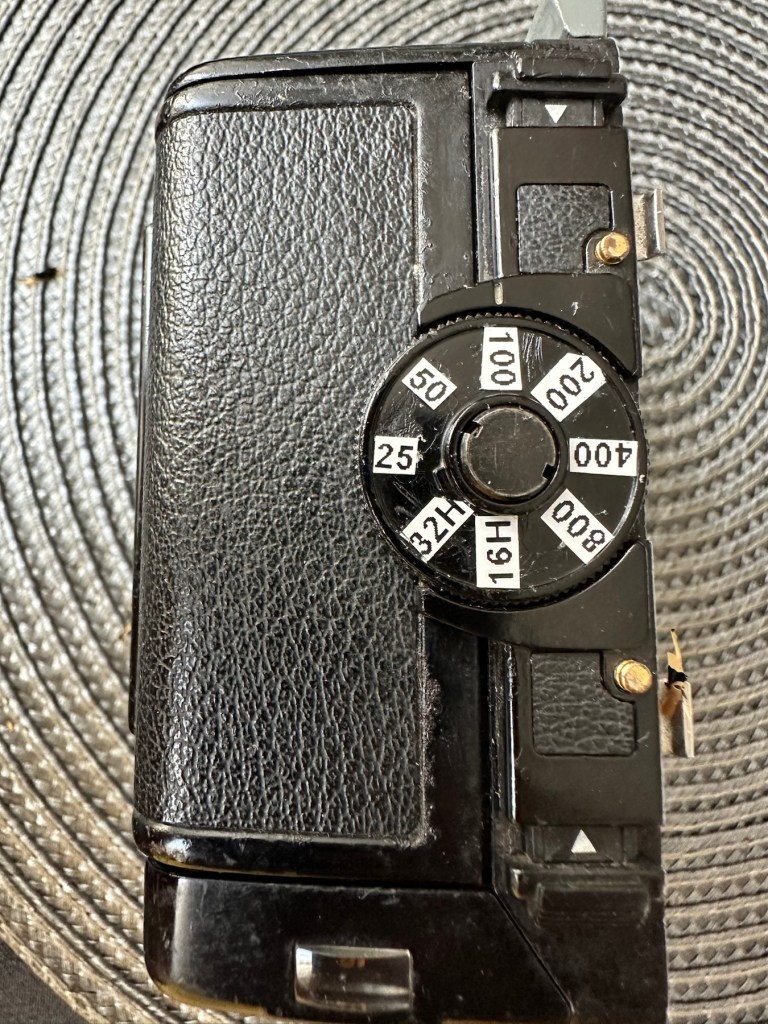
Annoyingly the ASA markings on the dial atop of the roll holder are missing. I will make something basic up to remedy this issue. Again it’s an exterior issue and I’m not too fussed at the moment.

Yes there is some work required, but there is no rush. And thankfully I don’t see anything that really scares me about it. I won’t really know how it stands mechanically until I find a suitable body to attach it to. I have that to look forward to in a future post.

Repairs:

The ASA dial. Simple solution here, until one becomes available sometime in the distant future, is to use some very small dymo labels I have printed. I will cut these down to size and put them in place where they should be on the dial. Quick and temporary solution a’la Frankenstein. No need to over manufacture things, this will do fine.

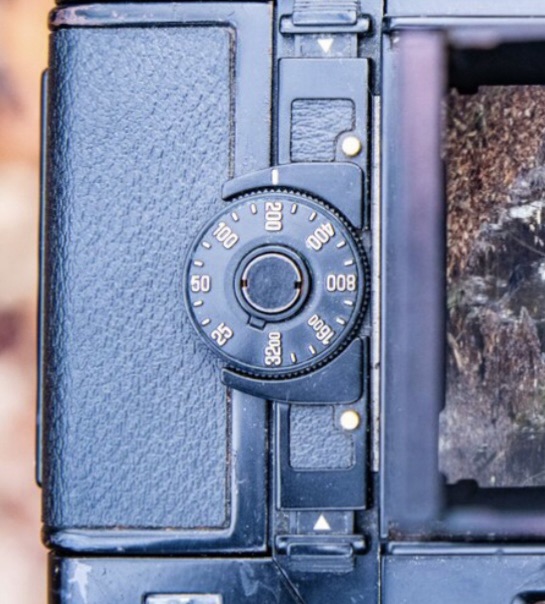
Size 9 dymo labels

The old asa wheel has been cleaned to remove the original glue, and temporary stickers have now been applied. This completes this fix for the ASA dial, for now.

Two items to make one good unit

Edit: I’ve managed to obtain a damaged roll back for a grand total of £5:76GBP, absolute bargain and it also has a working ASA dial. So I’m hoping I’ll be able to use this donor to help in the repair of this item. I’ve used a combination of parts from this and the earlier roll back and I’m happy I have a good working unit. We now have a proper ASA dial off of the spare unit transplanted onto the old unit.

Front frame:

I’m taking this off to give the whole area underneath it a good clean. There are some film guides under this frame that are contaminated and that could cause a scratch on the film, I’m going to clean this whole area under the frame and will then reassemble. The cartridge slide is in a good condition and has just required a polish. Apparently this front frame is prone to breaking and the screw holes splitting, as it gets quite brittle. This has happened to this unit, and I’ve found a guy that 3D print’s replacement front frames and I have ordered one of these to ensure that the whole frame is secure and light tight, as currently one corner can be lifted and this could cause a fogging issue. At a cost include postage of £12:75GBP it’s a small price to pay seeing the only way to get one nowadays is by purchasing a donor unit at cost far exceeding what I have paid here.
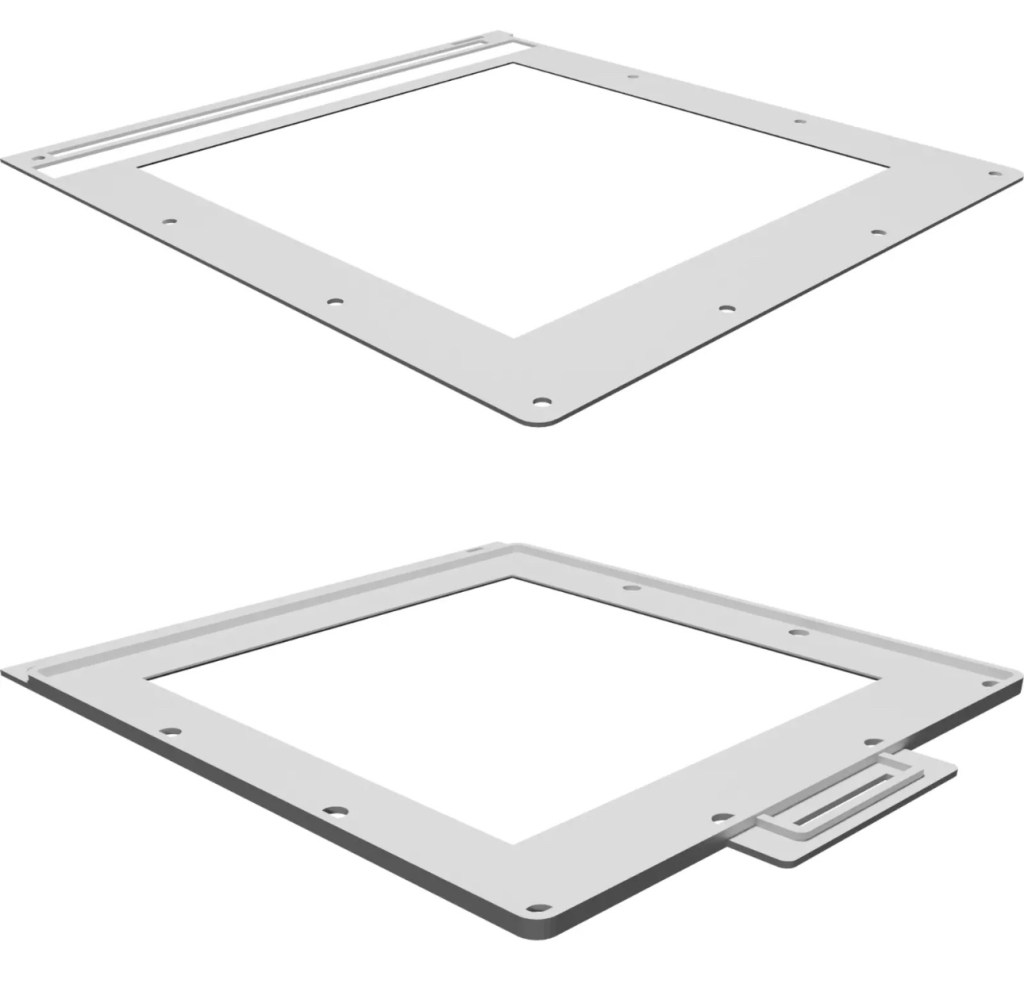
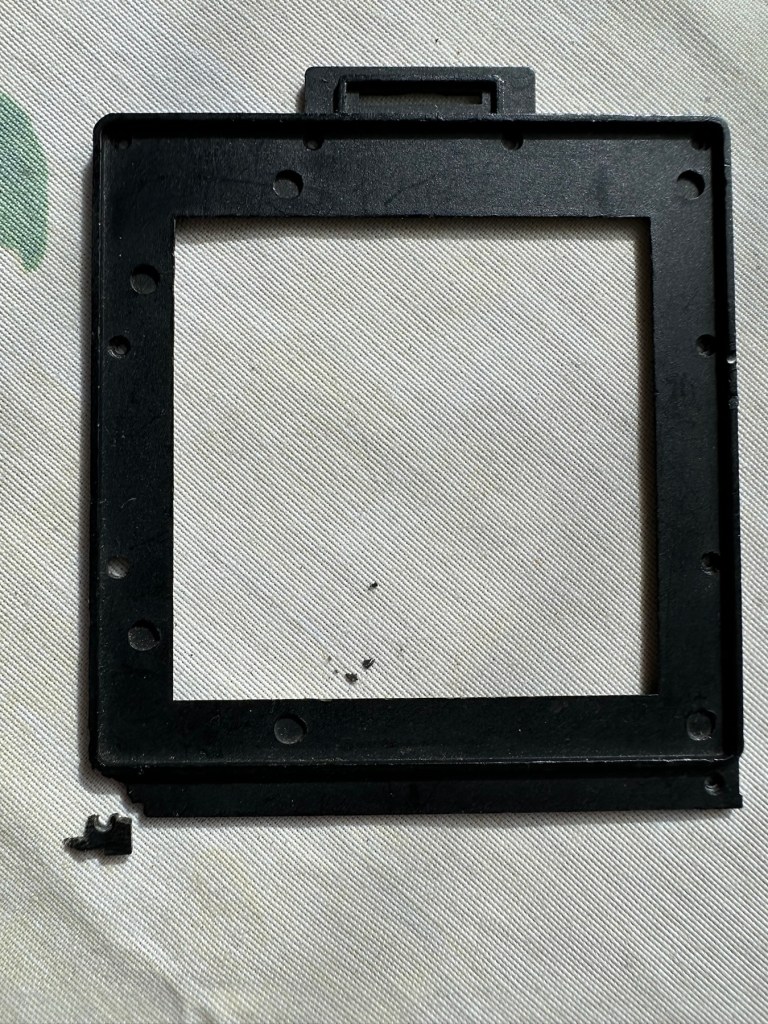
There are a couple of screws missing of which I have plenty of spares so these will be simply replaced. I’m happy now that this portion of the camera is in a good condition and will soon be ready to be put to use.
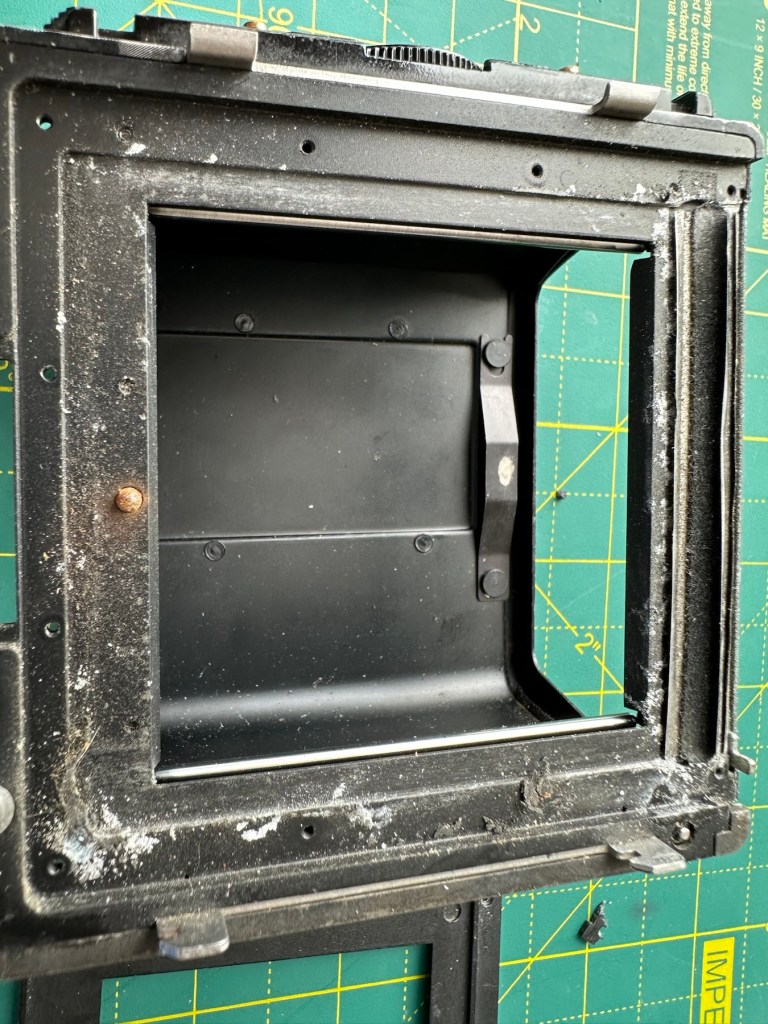
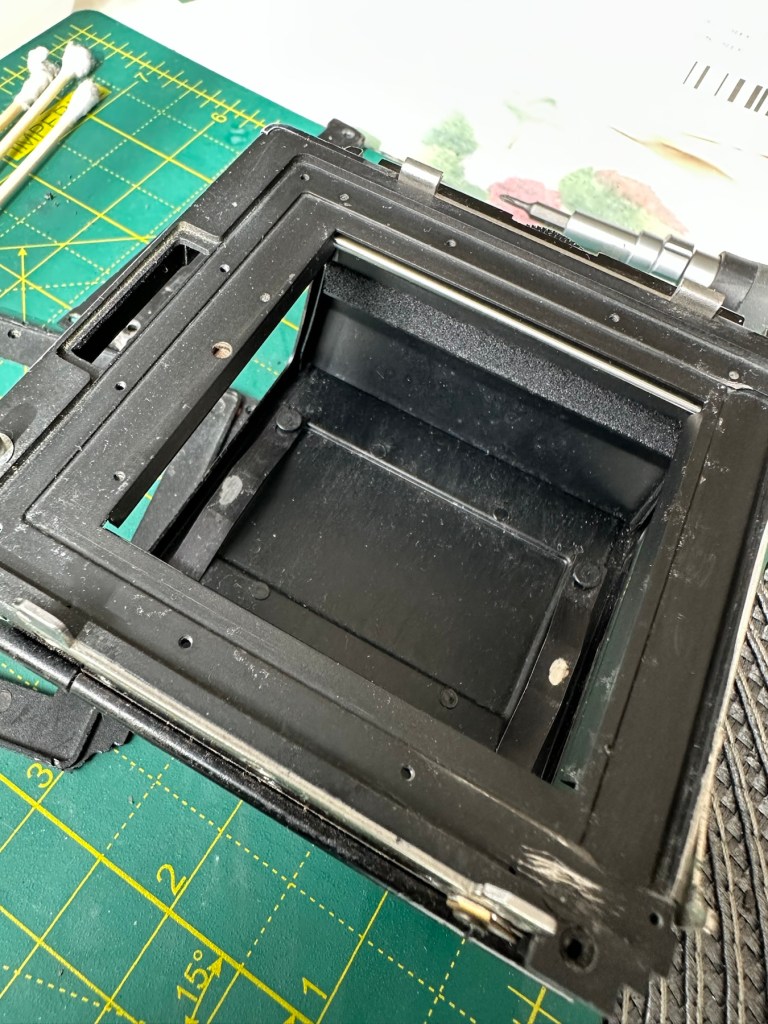
There was a lot of contamination under the plate when it was removed, I was quite amazed just how bad it was. This has since been cleaned prior to the new frame and seals being put back into place. When everything is re assembled there will be another clean, I will also be using compressed air to finally clear any remaining debris from the roll back. Edit: the 3D printed frame has arrived and to be totally truthful it’s not much good. The part where the slide goes in is not usable and I’m not confident this will be as light tight as first thought.
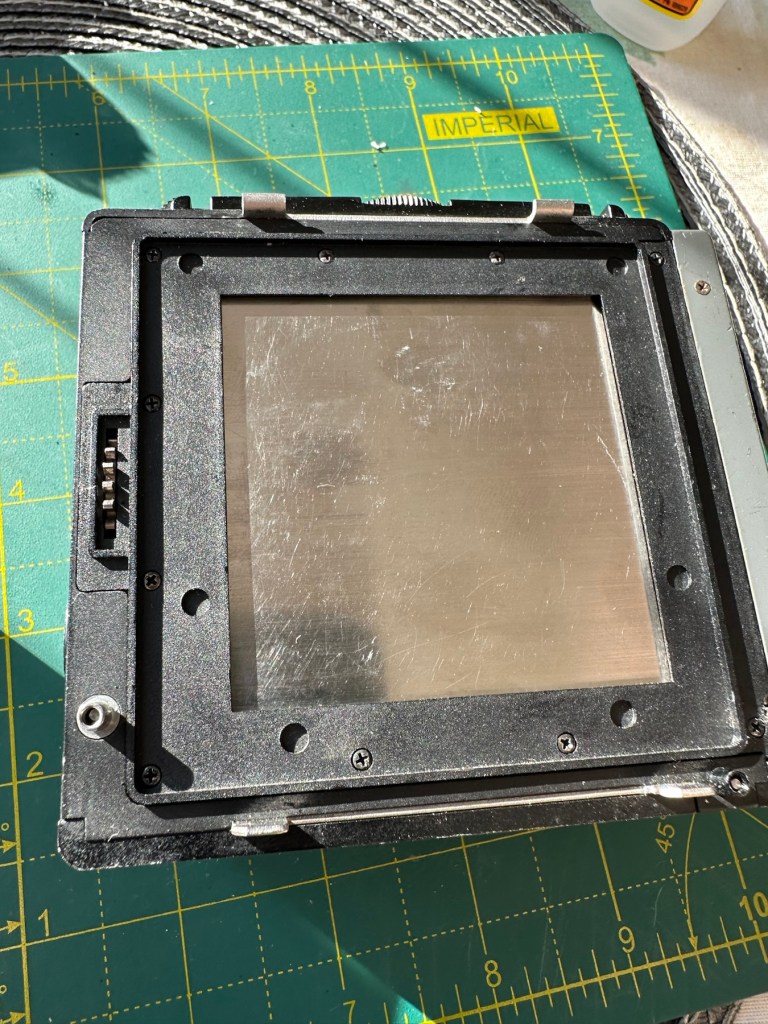
Good front frame from the donor spare unit

However the spare unit I purchased has a good front frame that just needed a tiny bit of adjustment to work, I’m now confident the roll unit will work as it should.

Light seals:

To be honest there are only two immediate areas of concern that I can see. All other light seals seem to be sufficient. I already have plenty of light seals material from where I fix other cameras so this should be simple enough to replace.

New and old light seals replaced

There were only two pieces that needed replacing, these were both on the roll film back. All other light seals were fine.

Rust spots:

These are purely external and there are no issues inside the cartridge. However I may just give them a very fine rub down and a quick spray with a black gloss to just make them look better. Then again I may not, and then I’ll attend to the cosmetics once I have completed the project. Edit: I’ve decided to leave this for the moment and will attend to this sometime in the future as it is not affecting anything at this stage.

Film cartridge:

Again this has just been cleaned and some contamination has been removed from all rollers and guides within. I have adjusted the back plate pressure pad for the film and also given this a good clean to remove any contaminants. I’m happy the internal cartridge is in a good condition and only requires a light clean. This cartridge is superior to the one I have obtained as a spare so this will be the one i work with. I have replaced all the exterior screws to replace the original ones as they were all a little crusty and contaminated.

New screws. I will touch the heads up with black dye

The whole roll section has been cleaned with tack cloths and compressed air to ensure all contaminants have been removed.

I’m going to store the whole roll film back, in a sealed plastic bag with some Silica gel packs to try and remedy the mustiness that I mentioned at the beginning of this post, though I must admit after all the cleaning and replacement of parts, the issue has reduced immensely. Some exposure to sunlight on a window seal usually helps immensely. That’s where it’s sitting for the moment. It’ll go in the bag with some silica gel, during the more inclement weather.

Outcome:

This part has been the most demanding part of this project so far. I’ve looked into the possibility of using 3D made parts, but I must admit defeat here. The items are about 80% ok, there are holes missing that should be there and as it’s a two piece fix you are then introducing glues, and potentially increasing the chances of light accessing the one area you want dark. Maybe in time they may perfect it. I was exceptionally lucky to obtain a spares unit for literally one pence. Yes one whole pence. It cost £5:75 to post making a total of £5:76GBP, but in many aspects some of its parts were far superior to what I already had. I am happy that this part of the build is now complete.

All good to go. Please keep an eye on the other blog posts that are coming regarding this project.
Bronica SQ-A / The Frankenstein project Pt:3

To find out what I am trying to accomplish with this project please refer to my initial post: Bronica SQ-A Medium format camera

Task:

To build a usable, basic issue, medium format camera (Bronica SQ-A) from damaged items and spare parts, for as little outlay as possible and shoot one black and white, and one colour roll of film as proof of its successful completion.

Getting started:

Building a camera from damaged parts is no easy task when the name happens to be a high end brand and any parts that are available, are being snapped up by others to service their own stock or to break up for sellable parts. I’m going to keep a running total to try and build this as cheaply as possible, and to keep track of this total I’m going to use my trusty Psion Organiser II LZ from 1989 to keep a tally.

This may be a strange situation where Pt:2 and Pt:3 of this project gets published before Pt:1, quite simply Pt:1, the film back. needs a fair bit of work still doing to it.

Third purchase:

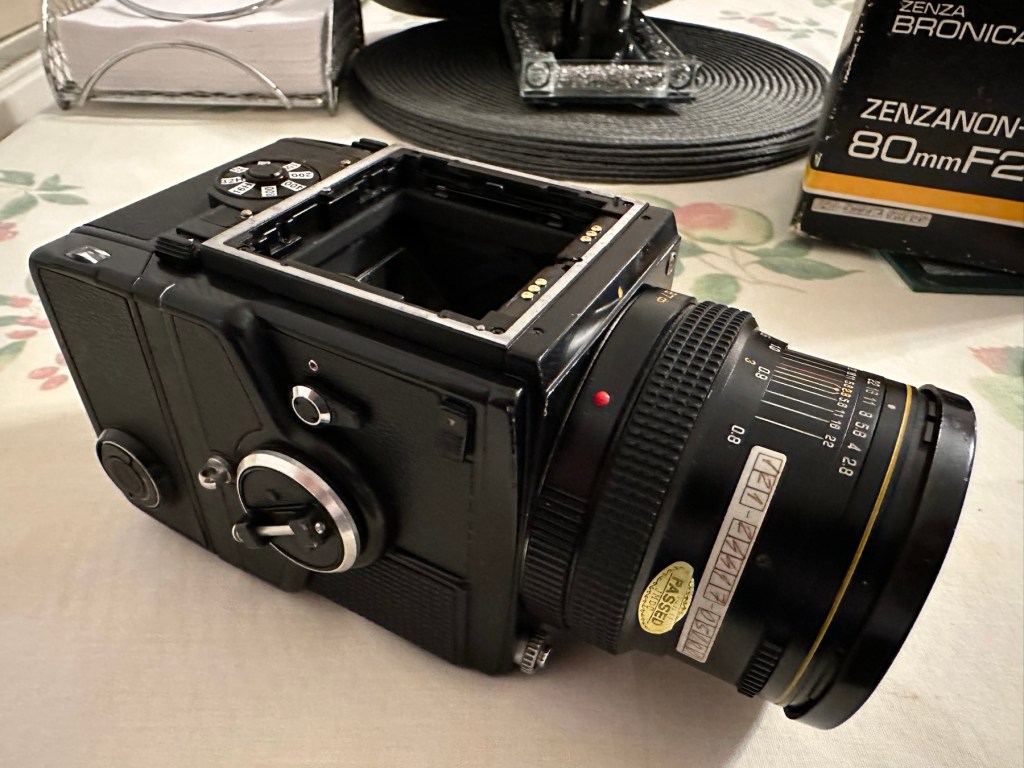
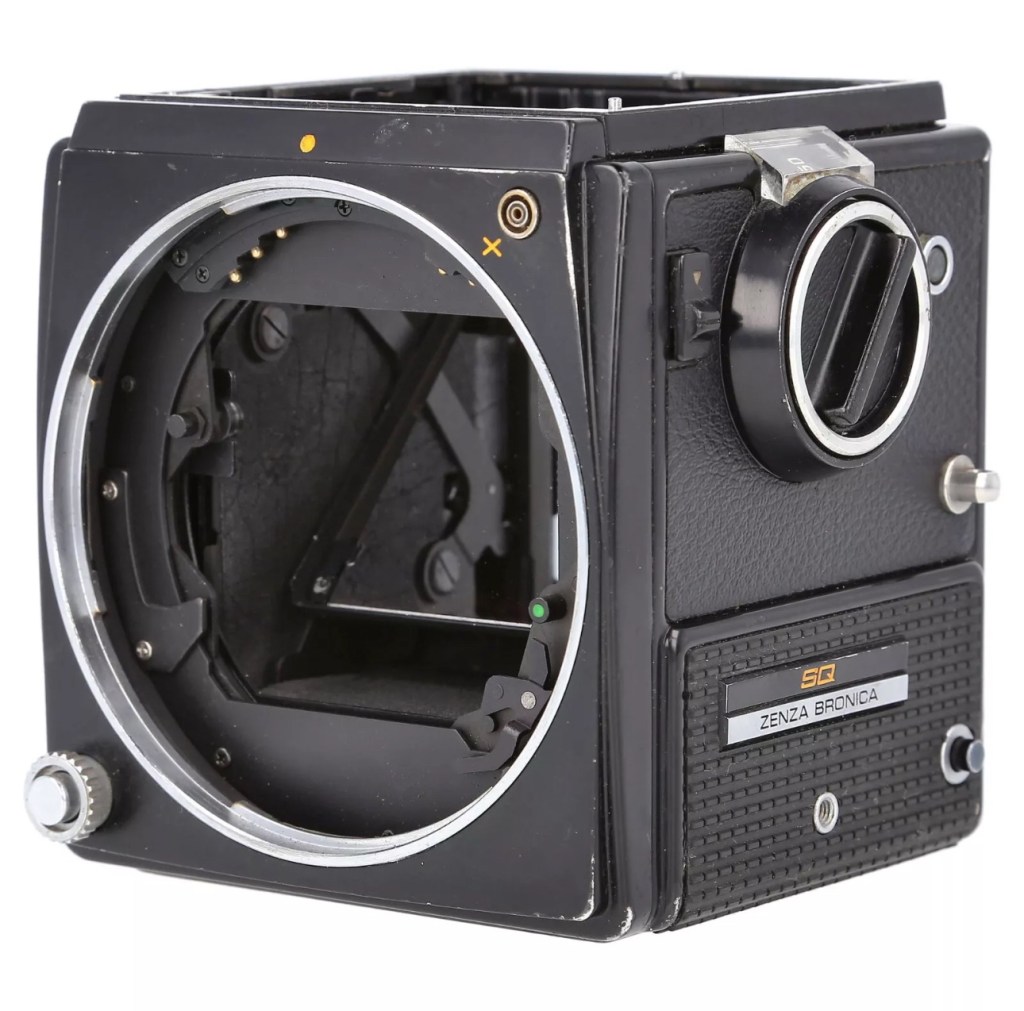
And the third purchase is for an SQ body. This appears to be well used, but appears to be in a working condition. Here’s what the listing stated:

Zenza Bronica SQ Body Only / Medium Format 6×6 Camera

Condition:

Used but still in good usable condition with usual signs of use – see photos for details please. Fully tested and in perfect working order.
Supplied with: Camera body as pictured.

EBay

Now I’m happy with this purchase as well. Not quite the SQ-A I wanted but to be honest the only difference is mirror lock up and metering that I don’t really need so I can live with that, we all managed prior to the metering being done for us, I’m sure we will all survive now . (Oh how we have been pandered over the years)

I’ve paid the grand total if £73:75GBP for this body including the postage. There are some bits I will require to complete the body, namely a focus screen and waist level finder that could be a bit pricey, and a winder for the body. Now, the winders are pathetically expensive at around £60 for a bit of plastic. I know a guy who 3D prints a good alternative for a fraction of the price. And that will be the route that I take.

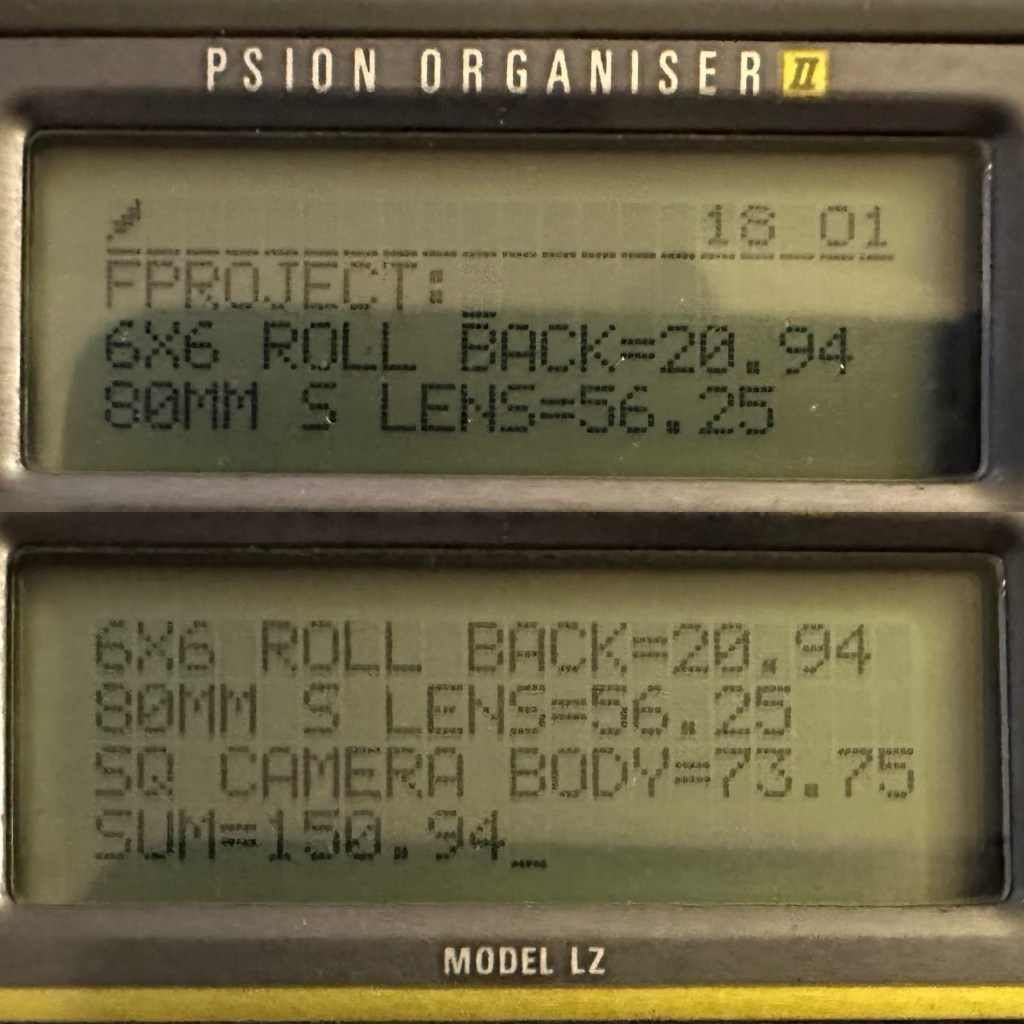
So over to my trusty old Psion II LZ for the running total for these first three items.

Current running total

So the total for these three items comes in at a total of £150:94GBP, and in Bronica terms this is extremely reasonable!

Assessment:

The parcel has arrived and yet again I’m really happy with this purchase. Very well packaged, a very faint age related mustiness that I guess should only be expected on an item that is now 45 years old. It seems to work just fine. I have connected the lens and that seems to be working ok, I just need to verify the shutter speeds are all correct. There is no battery in the base and this needs replacing as this is what controls the shutter speeds. Without the battery the mechanical shutter works, but only at a speed of 1/500 of a second. (Edit: the battery has arrived and after testing i can confirm that all speeds are operating as expected). The film back fits fine but I still have some work to do on that before I can say that this part is working ok. Overall I’m satisfied with what I have for the price I have paid.

Repairs:

Not so much repairs but additions that are required, such as a crank winder arm and a focus screen, a new battery and a selection of covers to protect the central unit in transport. All horrendously over priced and i will deal with these items in Pt:4 of this project.

Outcome:

Current situation, looking good, smelling old. Not me, the camera 😂

We are almost there. The lens is fine, the main body is fine and just needs some final testing. The film cartridge is the item that needs the most attention and this will hopefully be finished when I have the new front plate that is being 3D printed. The next instalment will be just a tidy up with all the little bits I need to complete the build. These small pieces in Bronica terms are so bloody expensive, or should I say extortionate, can be obtained at a fraction of the cost elsewhere, you just need to shop around, if you are happy to have a non named spare part as a stand in. I’m happy with that as these parts have absolutely no effect on how the camera performs, and what we want to achieve at the end of this project, that being a well exposed two rolls of negatives that will produce a number of well presented photographs.

All good to go. Please keep an eye on the other blog posts that are coming regarding this project.
A Deep Dive Into Canon Autofocus Lenses

Although taken for granted these days, autofocus (AF) used to be a premium feature on film- and digital cameras, with taking us through an …

A Deep Dive Into Canon Autofocus Lenses

Bronica SQ-A / The Frankenstein project Pt:2

To find out what I am trying to accomplish with this project please refer to my initial post: Bronica SQ-A Medium format camera

Task:

To build a usable, basic issue, medium format camera (Bronica SQ-A) from damaged items and spare parts, for as little outlay as possible and shoot one black and white, and one colour roll of film as proof of its successful completion.

Getting started:

Building a camera from damaged parts is no easy task when the name happens to be a high end brand and any parts that are available, are being snapped up by others to service their own stock or to break up for sellable parts. I’m going to keep a running total to try and build this as cheaply as possible, and to keep track of this total I’m going to use my trusty Psion Organiser II LZ from 1989 to keep a tally.

This may be a strange situation where Pt:2 and Pt:3 of this project gets published before Pt:1, quite simply Pt:1 needs a fair bit of work still doing to it.

Second purchase:

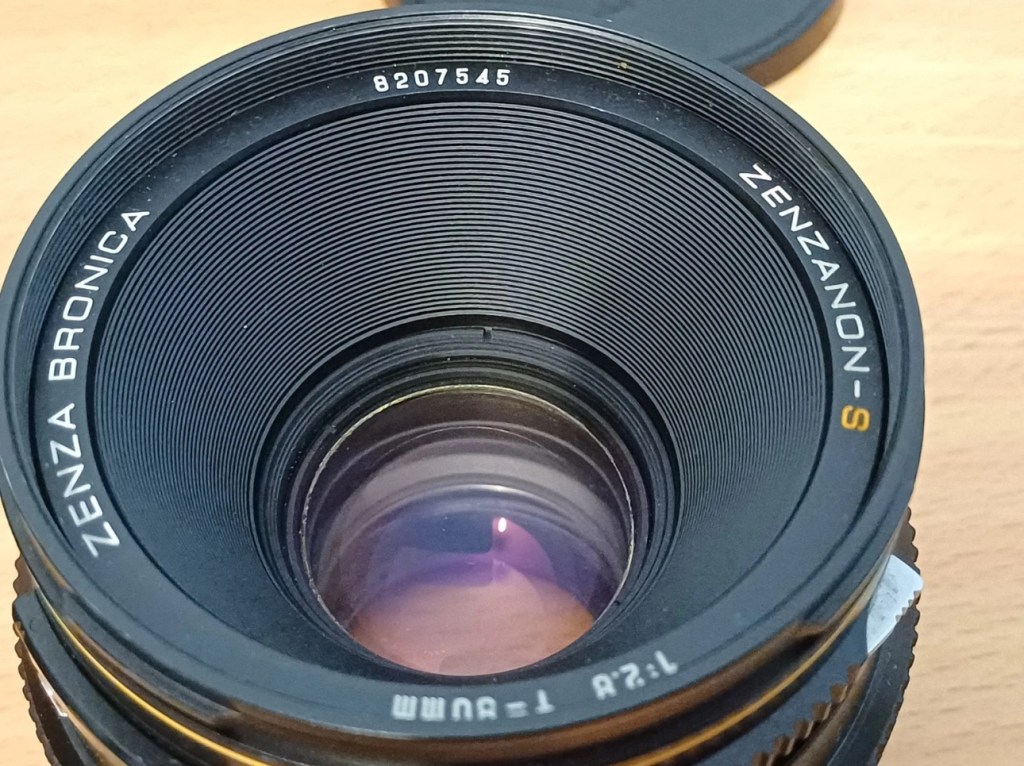
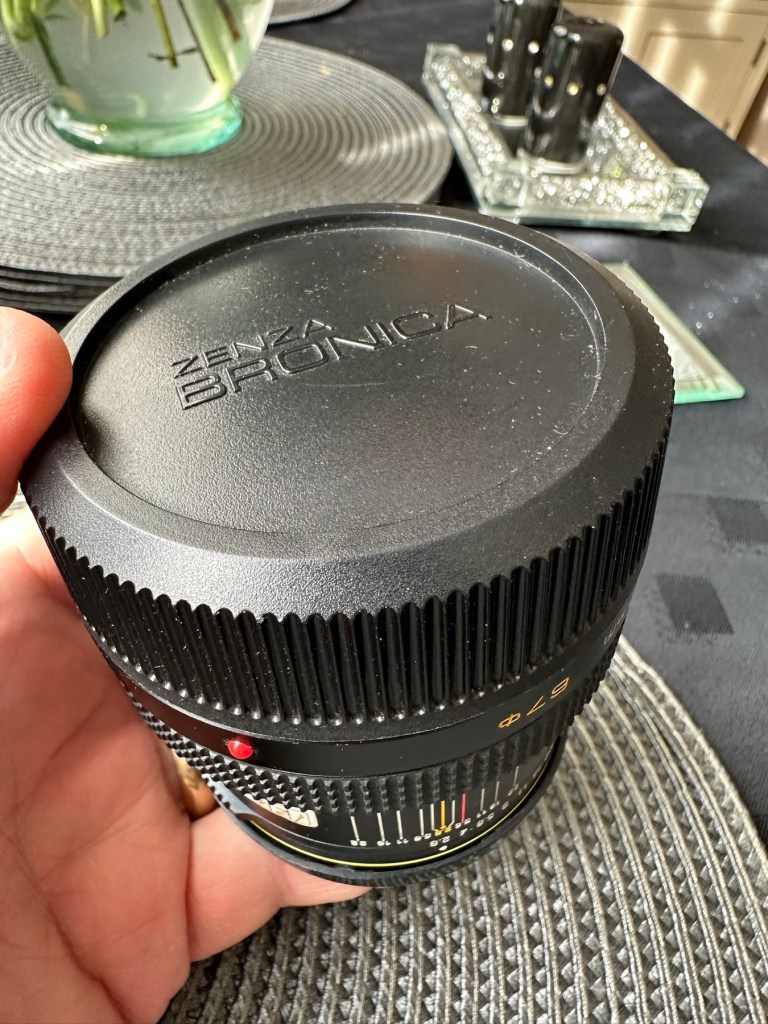
The lens. Probably the most important purchase of this project. Looking for a “cheap” lens is normally not the thing to do when exploring lenses as you do really get what you pay for. You want good clarity? You need a good lens. However this lens came on offer and what sold it to me was that there were no scratches and fungus in the lens, and that was music to my ears. It is a duplicate of a lens the owner already has and was surplus to his requirements. He has also supplied recent proof of photos taken on this lens and i believe he has sold me a little diamond to be honest. Everything about it seems good. There is nothing really to do to it, so no maintenance apart from maybe a light external clean and that will be it until everything else comes together.

Here is what the listing stated:

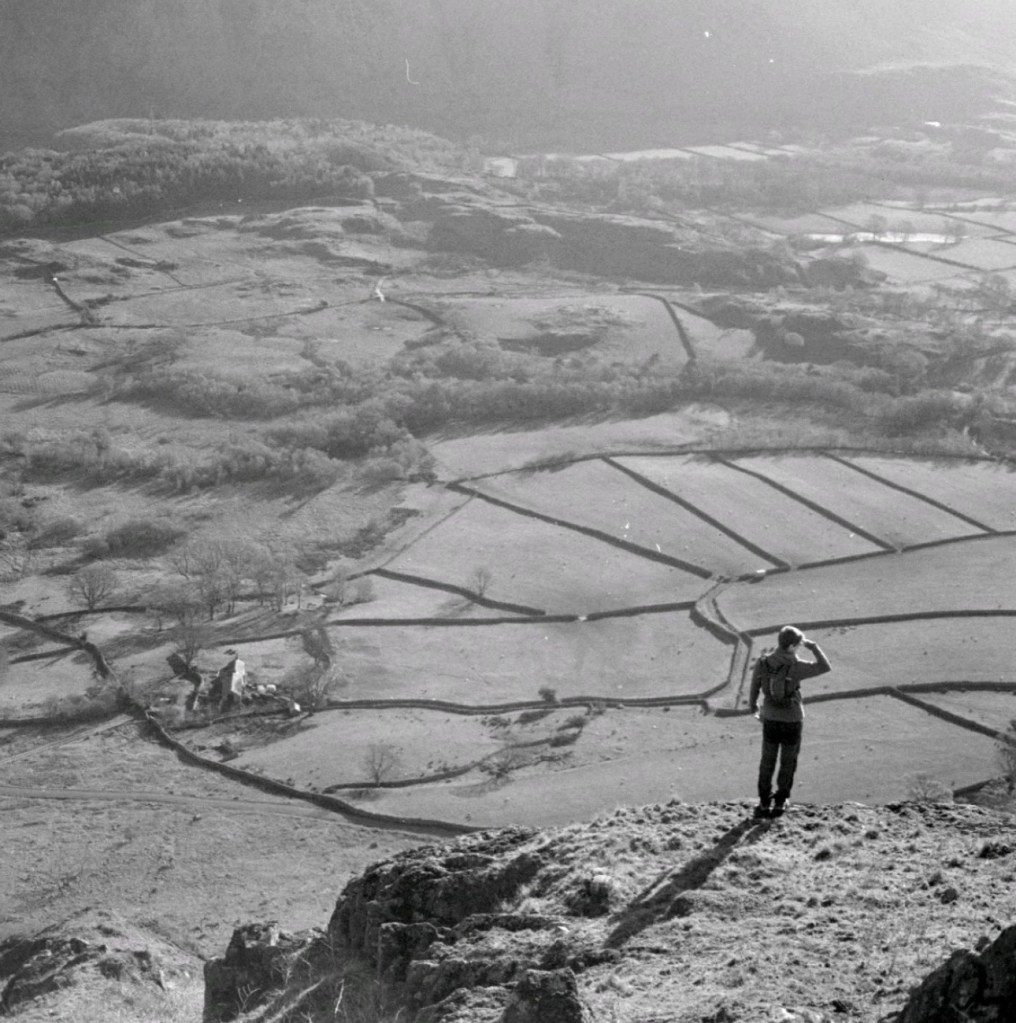
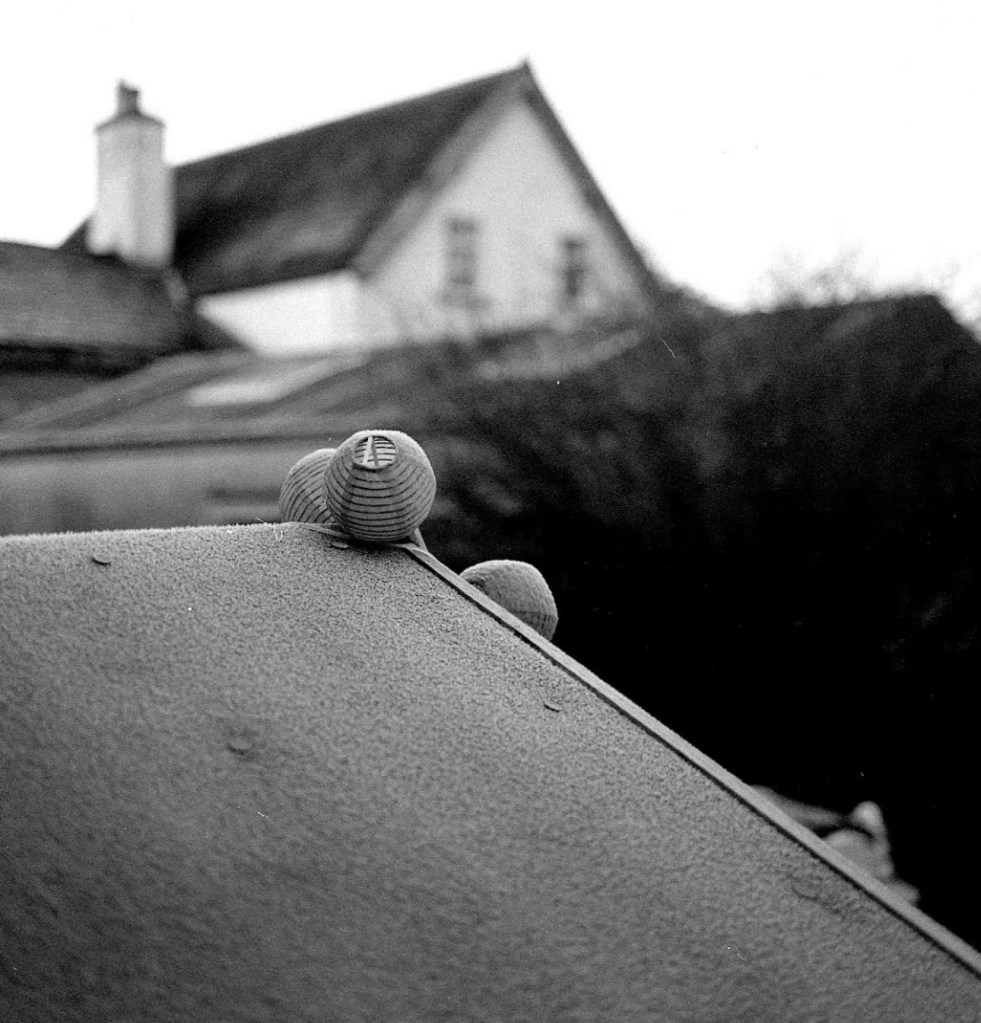
This is the S version of the 80mm lens and although there’s a slight difference in the lens design on the PS version, I’ve compared the two and couldn’t see any real difference other than a slightly more modern colour rendering. The T mode is also working without issue. This lens has been my main user lens and has never let me down. Glass is clear of fungus, haze and scratches. Aperture and shutter blades are snappy and clear of any oil. Shutter speeds are accurate and the lens produces just delightful images and is massively underrated. I’ve included several shots taken recently with this lens mounted on an SQ-A as per the examples. Focusing is smooth, apertures have a nice smooth click and the lens focuses just fine all the way through the range. I will include the origin box as well as the front and rear lens cap with the lens

EBay

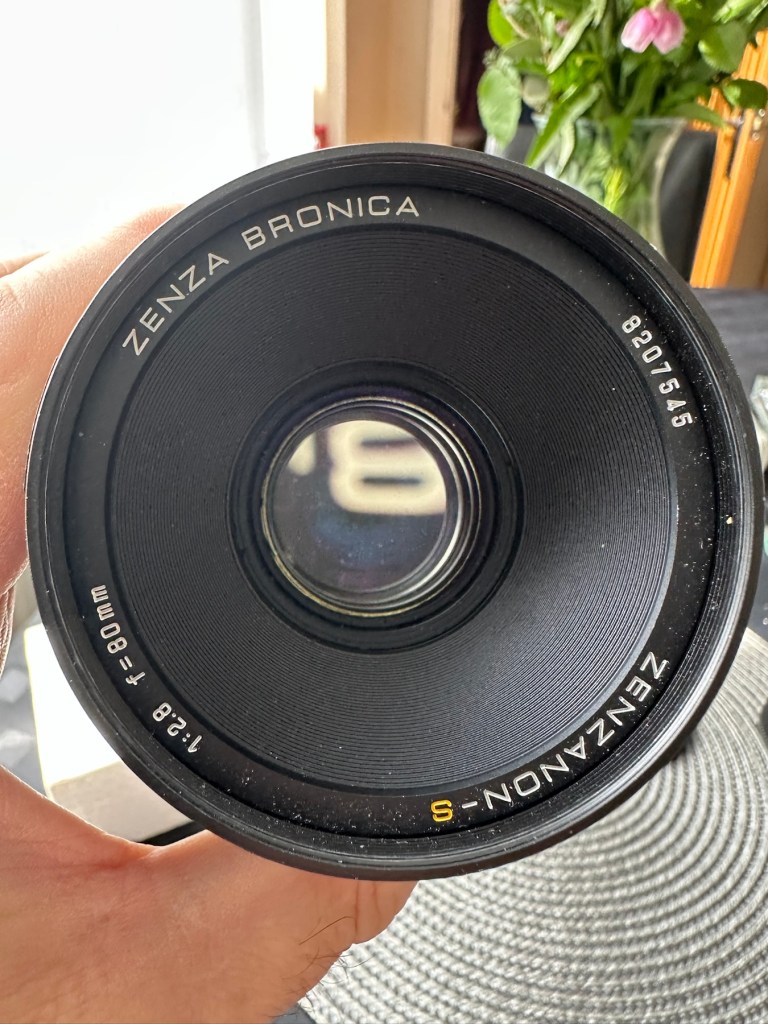
I’ve paid the total cost including postage of £56:25GBP and I think that this is an absolute bargain for what I am getting. It’s an 80mm f2:8 Zenzanon-S lens in its box with two end caps. I’m really pleased with this purchase and there is not a lot else I can say.

So here we have the scores after two purchases, the 120 roll film back and this lens. Over to my old mate the Psion II LZ for the running total.

Running total

So the total for two items currently sits at a comfy total of £77:19GBP so far, with an average per item price of £38:60GBP. And in Bronica terms that is quite reasonable!

Assessment:

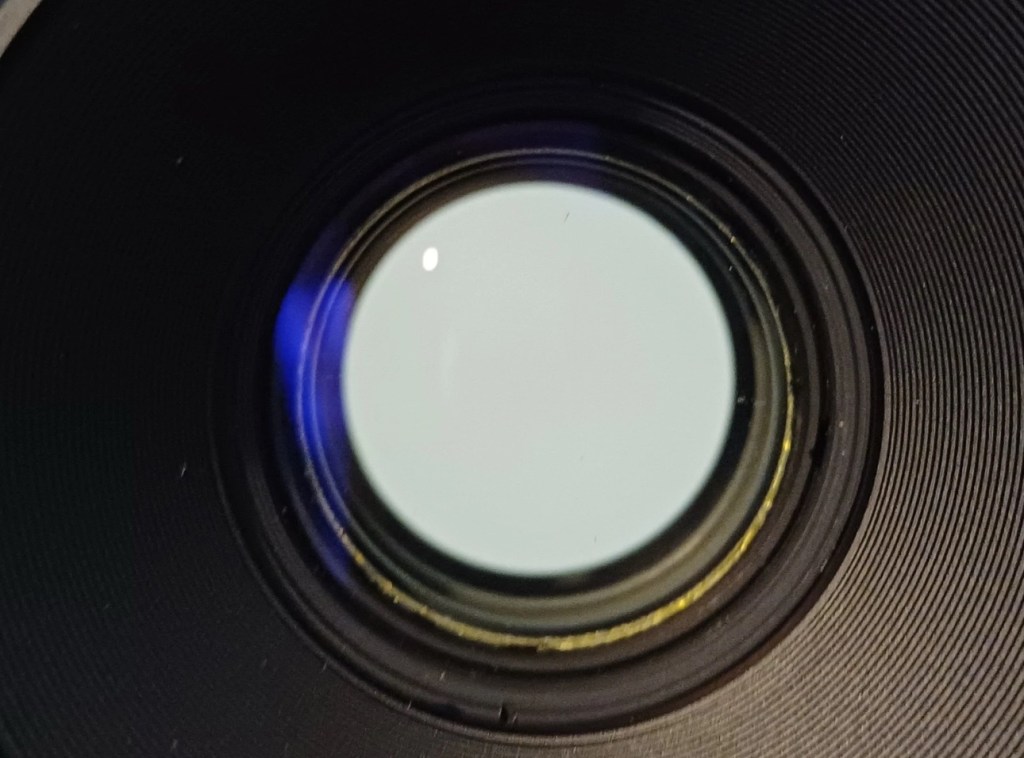
The lens has arrived and to be honest it has surpassed anything I could ask for, for the price I have paid. For this project it is in perfect condition with nothing required regarding any repairs. It’s good to go.

And out of the box the lens is lovely and clear. Just a few bits of dust but that is nothing at all.

Repairs:

None: I know this is boring on a repair front, but for this project it is the perfect result.

Outcome:

All good to go. Please keep an eye on the other blog posts that are coming regarding this project.

Werra 1 stripdown and rebuild

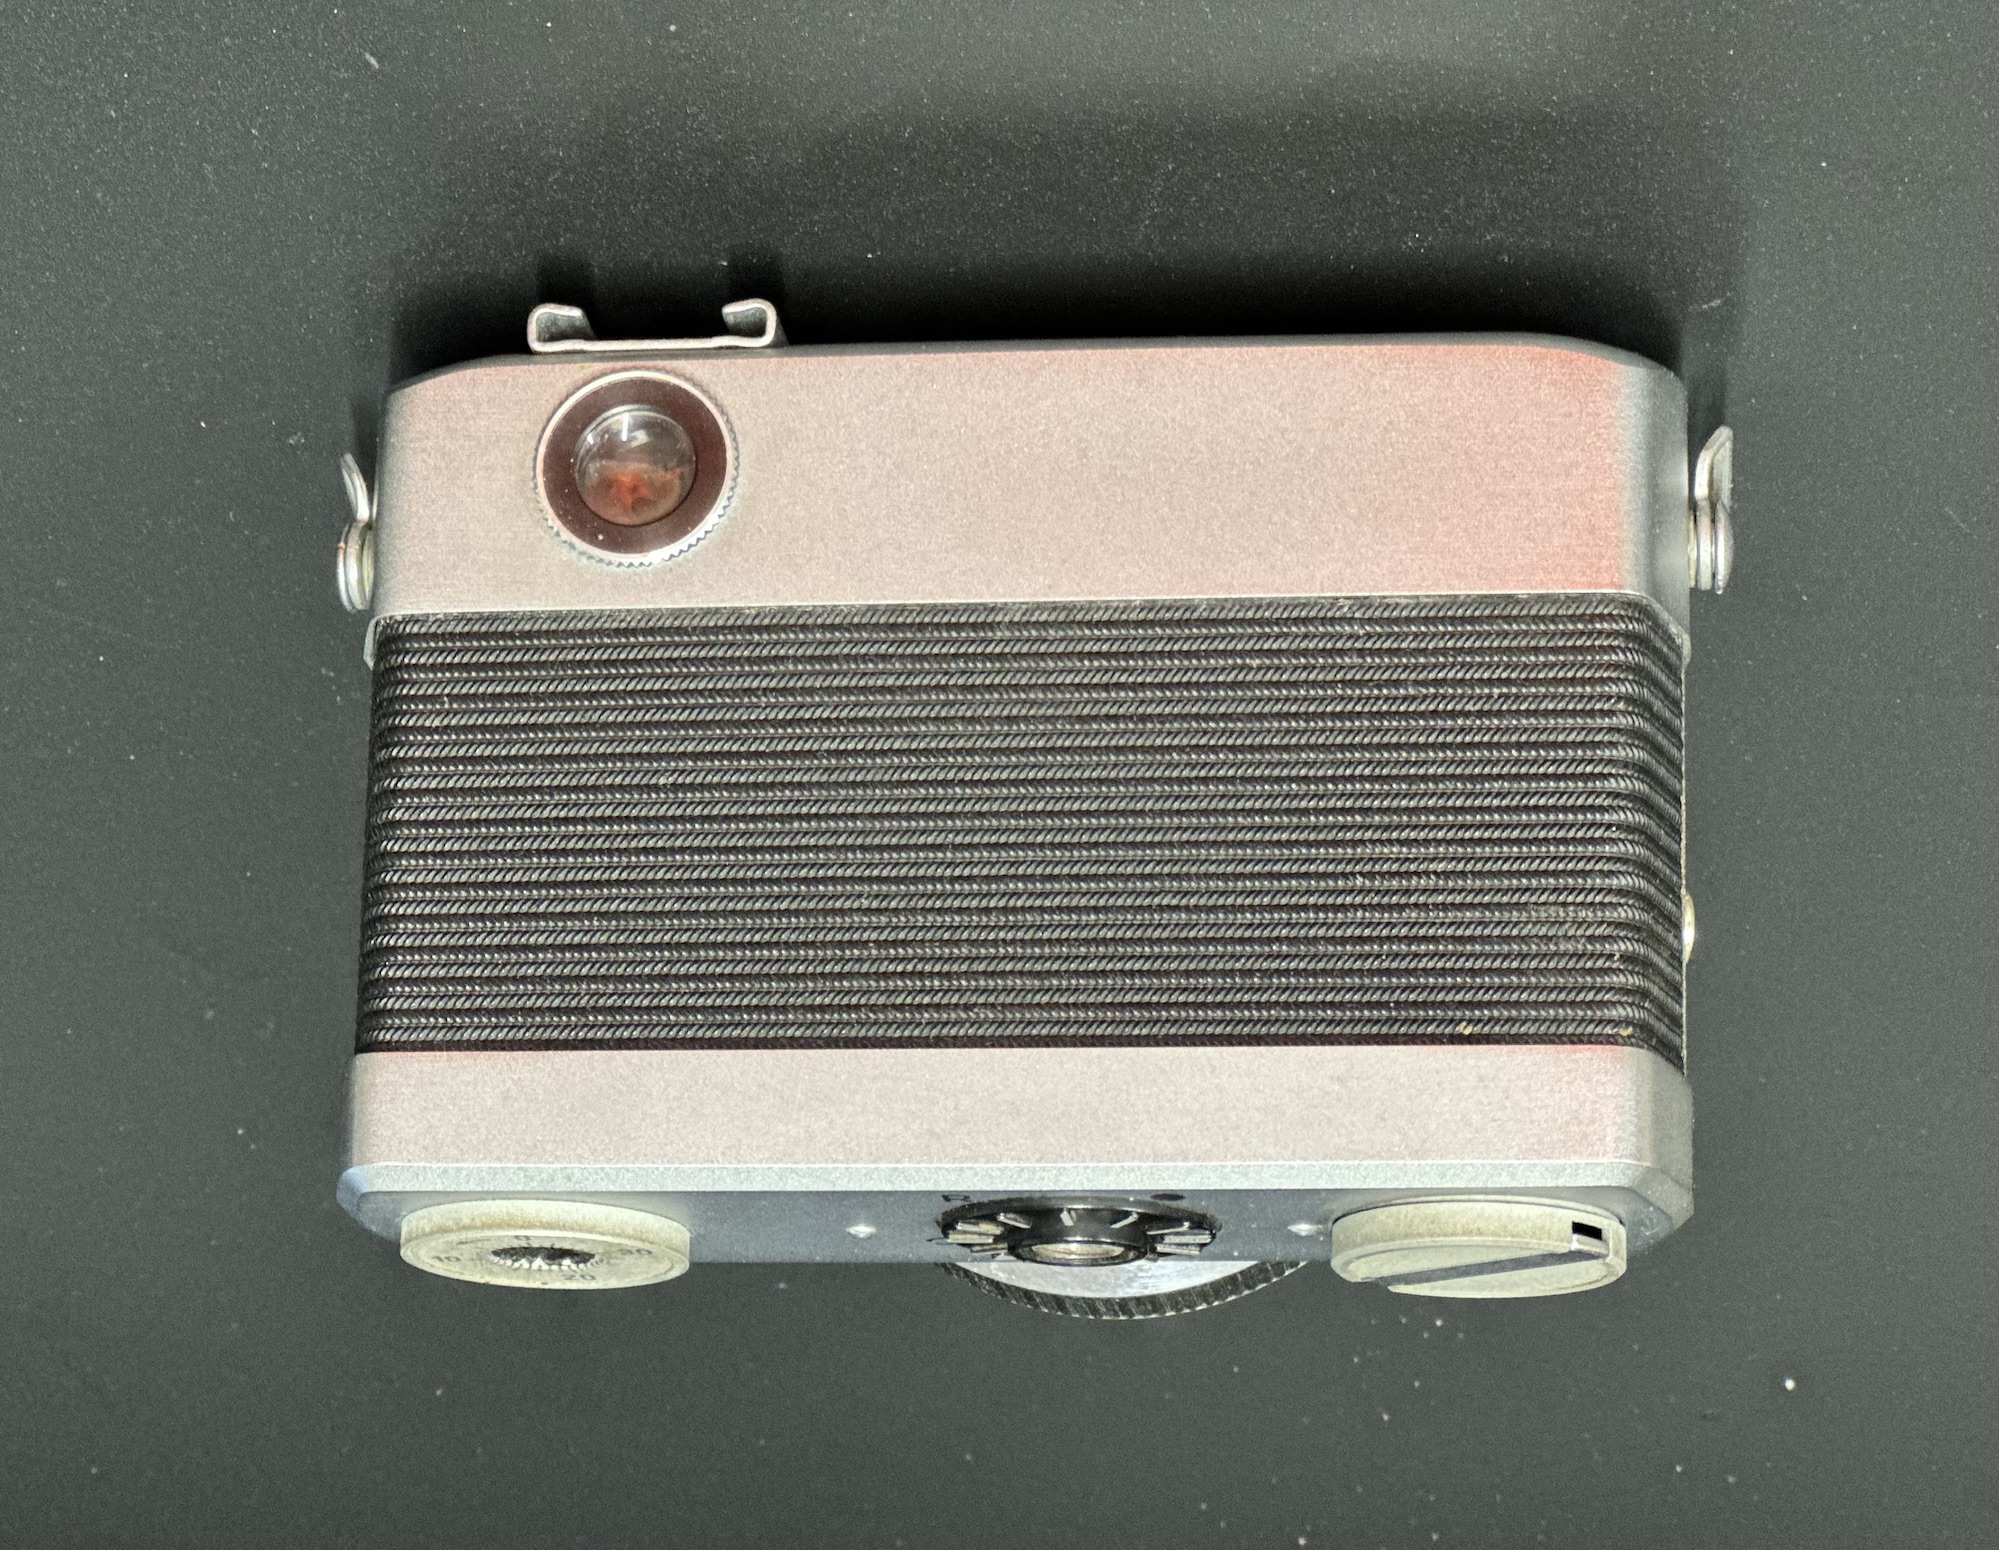
I recently purchased this camera and wrote about it in a previous blog entry Werra 1

I’ve commenced taking the Werra to pieces. The winder was not working and the shutter was not firing. Before starting this work I’ve viewed this page at Everything Vintage where they have recently carried out a full strip down of the Werra and you can view the page HERE, it’s all great advice.

Getting below the top plate was relatively easy exposing the mechanics from 58 years ago, I don’t think it’s ever been opened in all this time. I always love to see the ingenuity that went into these old cameras in years gone by.

Werra 1 stripdown

The internals look dirty in the photo but to be truthful I don’t think the lighting is doing it any justice, yep there is a fine oxidation coating but it’s at a very acceptable level considering its age. When I get to the point of dismantling as much as I can, I will start to clean and lubricate these pieces. But at the moment my goal is getting to the shutter.

Werra winding system – shutter not working

In the video above I’ve managed to get the shutter cocking using the lens ring, however the shutter actuator does work intermittently, but there is no movement of the shutter (Or is there…)

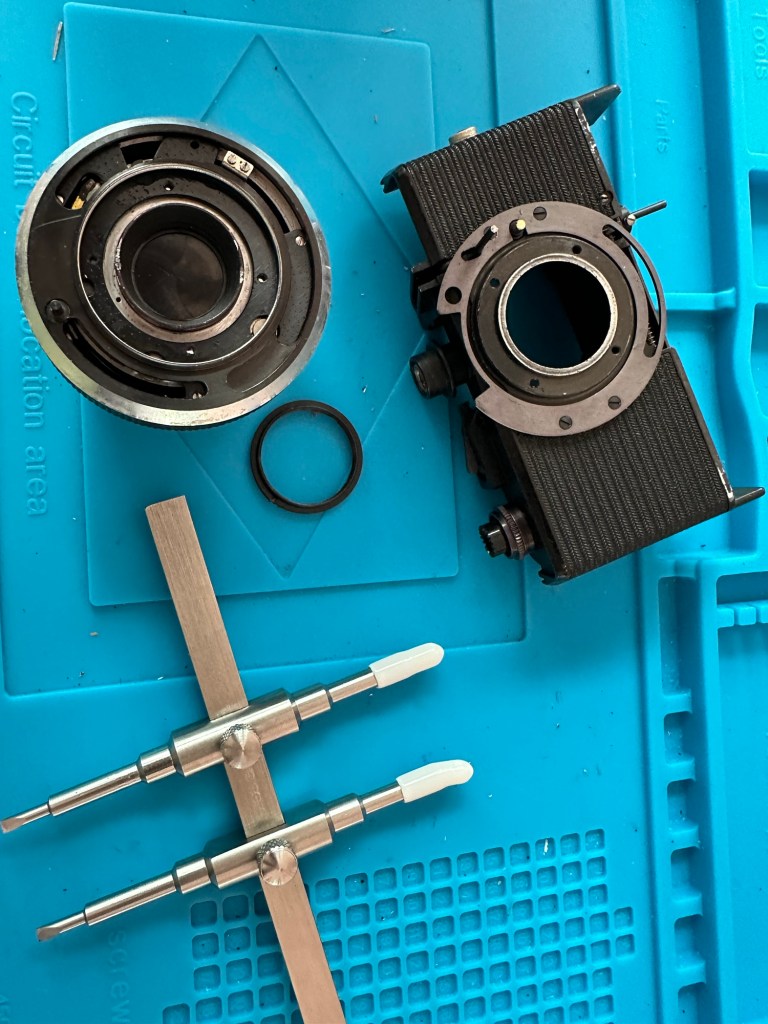
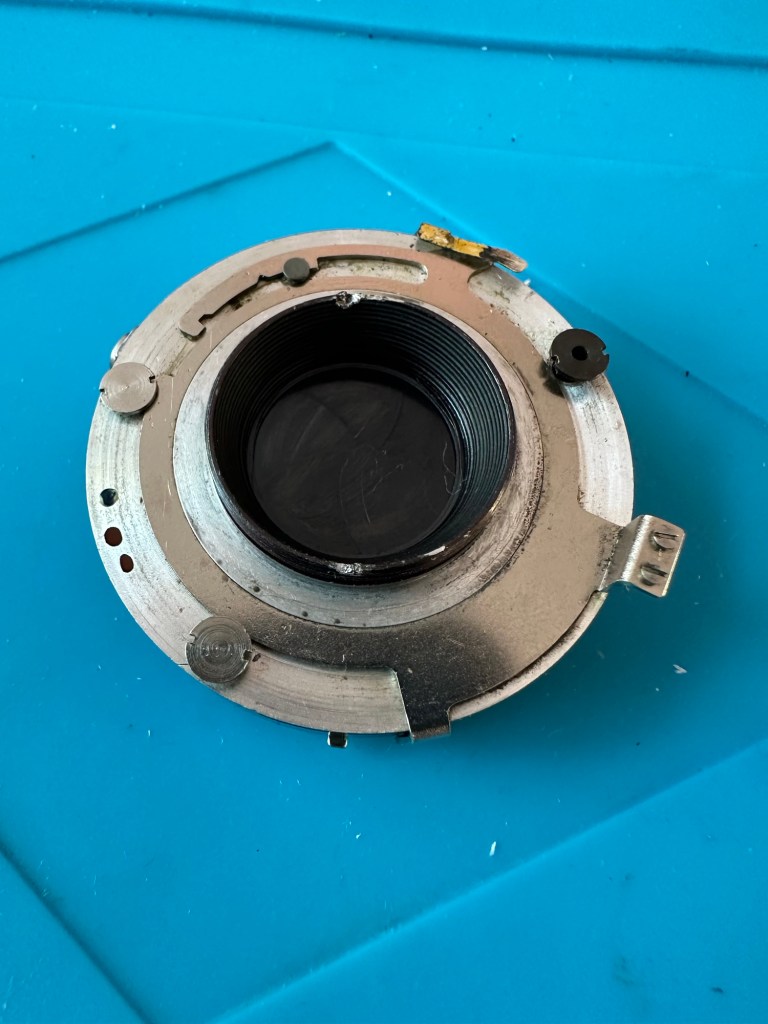
The only reason I ask the question above is that after reading the “Everything Vintage” link in the first paragraph it appears there is a second shutter that closes the light path to the film back when you wind on. When you are ready to expose the film this shutter opens and then there is a second shutter that controls the exposure. if you watch the small video above I think it is this shutter you can hear when I wind the camera on. Hopefully this one is working, I just need to get the one on the rear working, and for this I need to remove the lens from the housing. To do this I need a tool I don’t currently have but have now ordered. More to follow when the lens ring removal tool arrives.

Lens ring spanner

The lens ring spanner has arrived, the ring is being right stubborn at the moment and Im struggling to release it from its 58 years of rigidity. I’m tired as well and don’t want to cause any damage to the shutter so I’ll come back to this later.

18 hrs later, I’m rested and have another go at releasing that lens ring, this time I’m successful and I manage to release it. Sometimes it’s better to sleep on a problem and approach it with fresh eyes rather than continuing whilst tired and prone to making mistakes.
Werra Lens ring removed

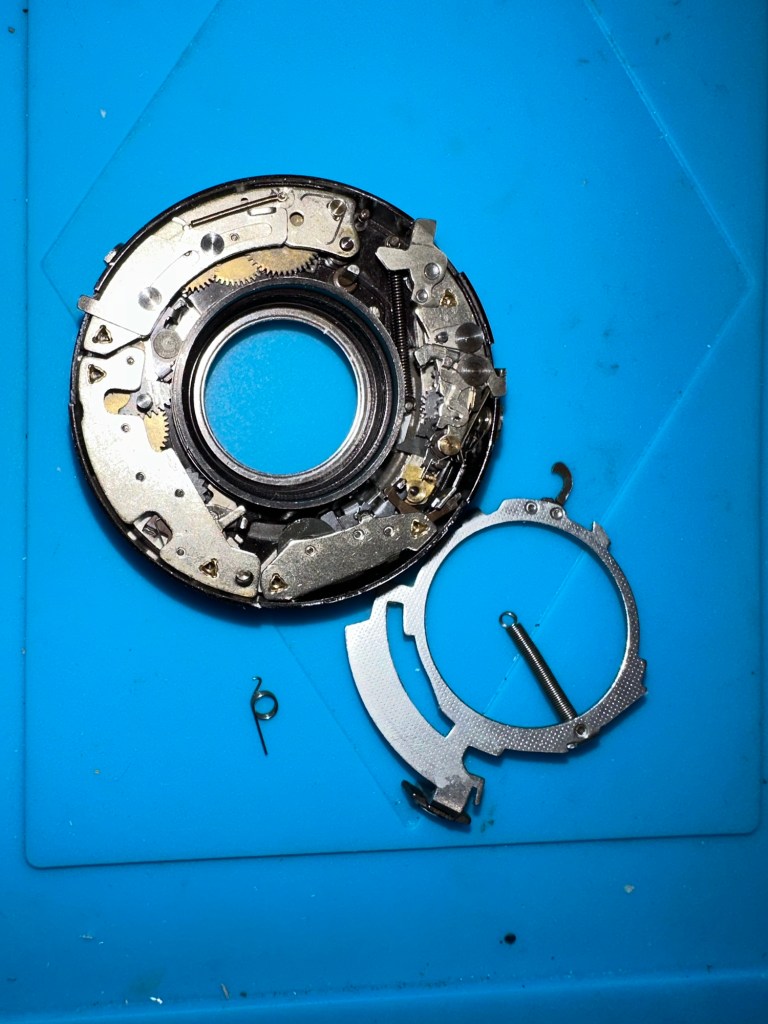
With the lens off the body, the shutter cassette can now be removed. It amazes me just how intricate this cassette is and the workmanship that must have gone into it. I’d estimate at least 10 small cogs and a number of tiny springs with levers and pivot points, amazing really considering it’s about 60 years old. It’s amazing how modern technology has advanced.

It takes some time getting into the shutter cassette as there are springs and things flying off everywhere, you really do have to photograph everything you do just to be able to check what goes where and how.

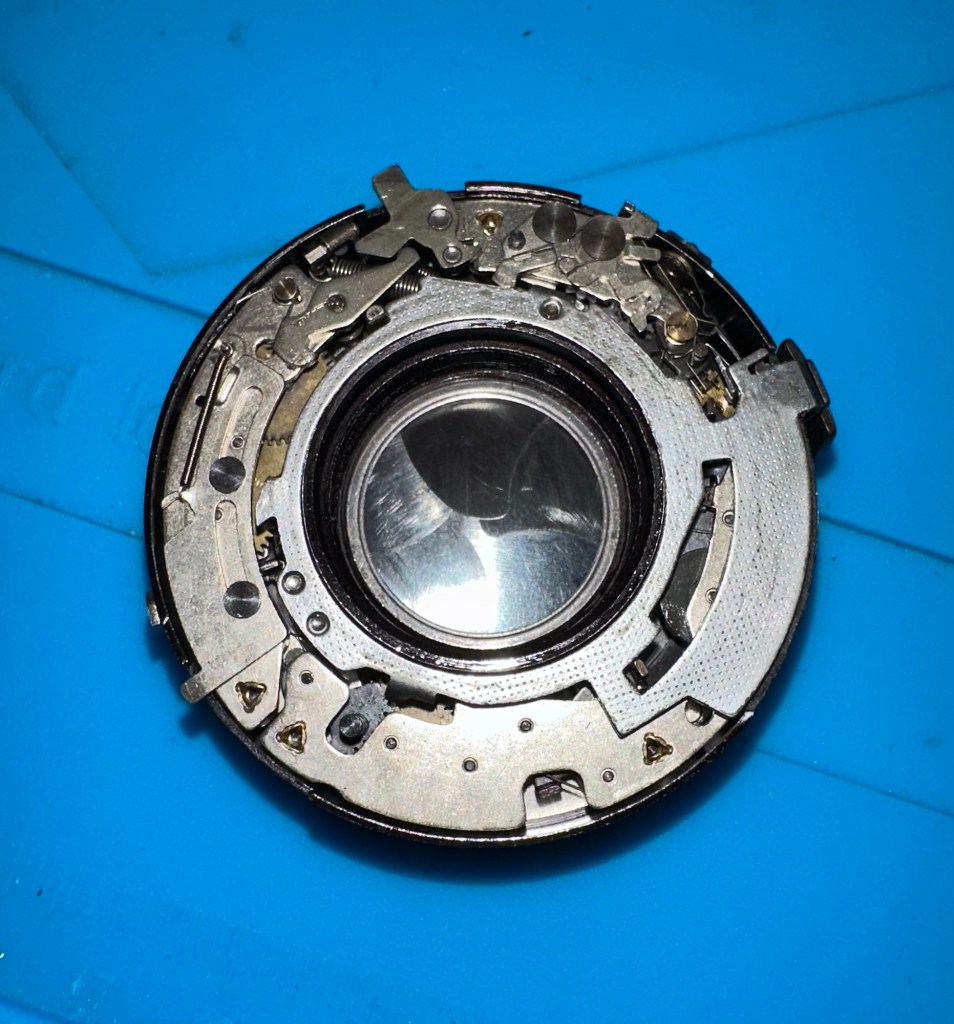
The shutter itself is rather clean apart from some fingerprints on the shutter leaves that must have been from years ago. I have cleaned this down with IPA and then used some finely ground carbon (pencil lead) as a dry lubricant and this has got the shutter moving just fine.

Werra shutter after being lubricated with carbon

I’m now starting to reassemble the lens and shutter as I’m happy that there is nothing else restricting the shutter and it is now moving quite freely. I will clean the camera as I progress and put some watch lubricant on the mechanics that are external to the lens and shutter assembly.

Well it’s all been reassembled and is now back in one piece. It looks good, the shutter works fine and I’ve now vacuum packed it to go back into storage. I won’t be firing up a roll of film on it yet as I don’t have the time to did so at the moment. I’ll probably save that until the summertime when the weather is more favourable. I’ve really enjoyed this restoration even though at times it was very frustrating. This rebuild has taught me patience, or at least that I need to have more patience and just take my time. Intricate jobs on such old equipment need a clear head and a lot of concentration. I’ve learned my lesson and will endeavour to remedy that situation in my future dealings with such equipment.

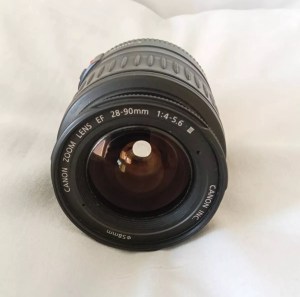
Canon EF lens 28-90mm

As the listing stated:

Canon EF 28-90mm Lens Working Then Produces Err99. Reduced to sell at a bargain price will be easy fix

EBay
Canon EF lens 28-90mm

The dreaded err99. It’s a general error code that seems to annoy many Canon owners, and can be a simple fix or a tedious one. I wonder what it will be for me? I’ve seen a good article on Improve Photography’s website that explains some of the steps that can be taken to remedy this error, you can read that article HERE.

I now have the lens in front of me so here is what I can see. Overall the lens is in good order for its age and mounts to the camera ok. All manual focus and zoom works and the lens is clean with no sign of fungus or haze so I’m happy with that. I’m still waiting for the camera battery to arrive so I can’t really comment yet on the error code. I’m not cleaning anything just yet as I want to see for myself if the error shows on one of my cameras, if it does then i’ll start the process of cleaning the contacts which is what I would of attempted first off.

The battery has now arrived and I have now commenced further testing. I have placed it into auto mode and all seems well. I have tried the lens in 4 different camera bodies and have had no sign of the Err99 error code. The only issue I have noticed that may not be contributed to the lens is that when connected to an Eos5 body there is a fair drop in battery power. Again this has been noted in the past as something than can be connected to dirty contacts on the lens, so as a precautionary measure I shall be using some IPA and a fibre glass scratch pen to clean those up.

Using a fibre glass scratch pen

I’m unable to recreate the advertised fault as everything about this lens is working fine as far as I can see. I’m going to wrap this one up as complete now.

I’ve really enjoyed working on these two cheap damaged lenses that I originally purchased just to test my old SLR kit. They are now both working fine and i believe the invested effort shows in the end result.

I am extremely happy.

Thanks for passing by.

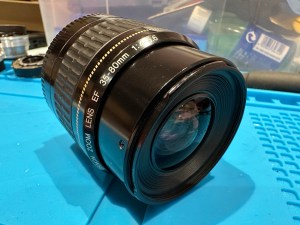
Canon EF lens 35-80mm

As the listing stated:

Needs opening cleaning and fixing sounds like something loose so selling as a repair project cheap.

EBay
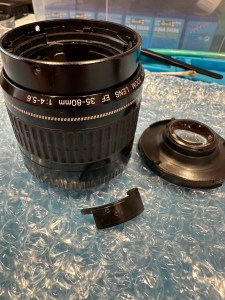
Canon EF lens 35-80mm

No error code so in theory this should be an easier fix, however the fact that something is moving about inside tells me there could be more wrong with it than expected.

I now have the lens in front of me so here is what I can see.

Shake rattle and roll

Well, it certainly does rattle, something quite significant is moving about inside. When Connected to a camera you can’t focus or zoom so something in there is restricting movement. There is also fungus on the lens so this one will need to be carefully dismantled and cleaned throughout.

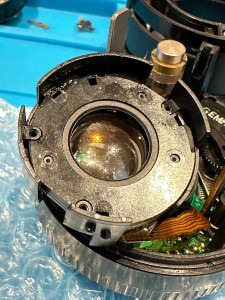
About 10 small screws later I am into the internal parts of the lens and the cause of all the rattling becomes apparent. A piece of the internal zoom mechanism has broken off stopping the zoom from smoothly operating through its range.

The piece that was broken

The part of the barrel that the item had snapped off was broken due to forceful action with the previous owner. There are two options here, junk the lens or see if it can be saved, I went for the latter. I mixed some epoxy resin and fixed the piece back into place also gluing it to a part of the mechanism that was not liable to hinder future movements. I left this for a couple of hours to cure.

Whilst waiting for the glue to cure I used a mixture of water and hydrogen peroxide to clean all the lens elements. I thoroughly dried them and gave a quick polish and reassembled them into the casing. The glue was dry now so I was careful to reassemble the lens not damaging any ribbon cables or contacts along the way. The lens looks lovely and clear of any fungus now.

I’ve put the lens onto a test camera and it’s fantastic. I couldn’t get focus when I unpacked the lens but now I have the full range of action and a lovely clean working lens for very little outlay and probably just 2 to 3 hrs of maintenance. Well worth it in my opinion. I wanted a good cheap lens to test my old stock and I now have one that I can easily sell on at some point, on top of that I’ve learnt a lot from working on one of these lenses. I’m certainly going to attempt working on more in the future.

Perfectly good working lens

Thanks for passing by. Always appreciated.

More stock

I’ve spent the grand total of £91 GBP on more damaged/faulty stock today, I now have enough stuff to be working on to keep me busy for months.

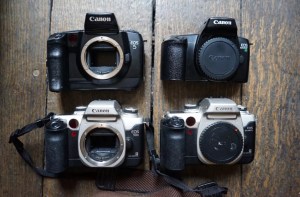
On top of the 6 Canon cameras I purchased last week I now have a further 4 Canon film cameras ( Eos Elan 2, 50E, 1000fn and an Eos 5) I’ve also got two faulty EF lenses to test the old Canons with, these will also get the repair treatment.

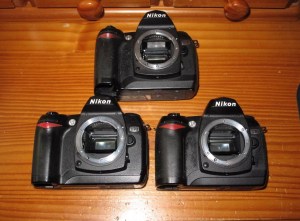
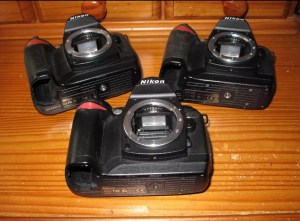
I’ve also purchased four Nikon D70 and 2 Nikon D70S units all needing the repair treatment, I’ve even blagged some spare parts here as well so overall it’s been quite a good days shopping.

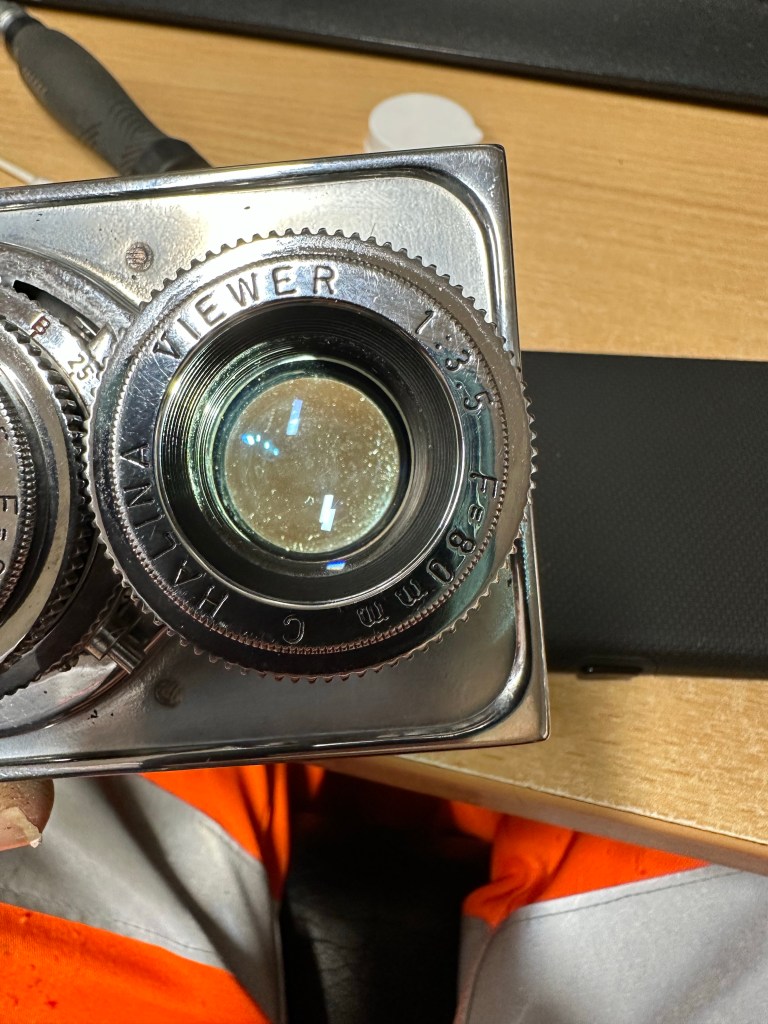
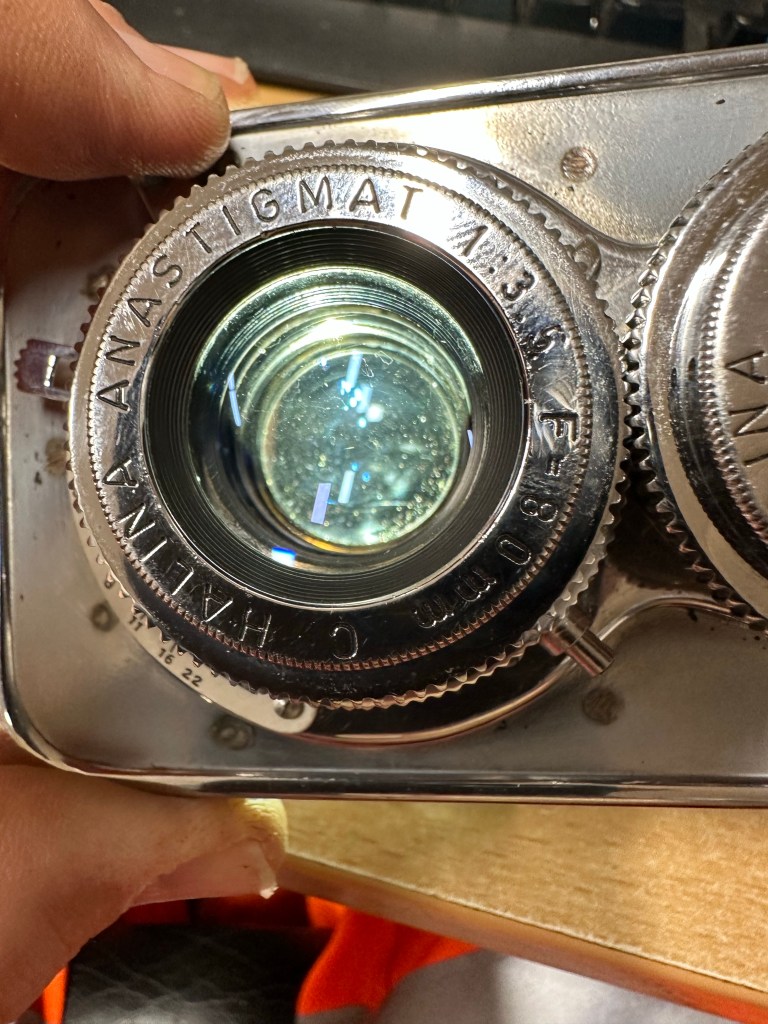
Halina A1 Reflex fungus clean

So tonight I have brought my smallest set of screwdrivers and other tools in to work to continue work on the old Halina project I have been immersed in. Tonight between jobs I intend to deal with the fungus issue on the taking lens.

I have previously removed the camera faceplate and the two lenses are connected to this. On the rear of the faceplate is a brass connector that when removed allows you into the back of the taking lens into the shutter curtain and aperture curtain.

This allowed me to dry clean as such both curtains and I used a little graphite dust (tiny tiny proportion) to lubricate both curtains and finally after many years allowing the shutter to work as it should. A good blow with some compressed air dealt with any remaining dust.

With the setting on “B” I was able to access the lens element in front of the curtain, this was cleaned with a 50/50 mix of peroxide and distilled water to remove the offending fungus. I allowed this to dry and lightly polished the element with a cotton bud when dried. Again compressed air was used to finish.

I repeated the above for the other two elements of the lens (this is a three element lens) and then did the same with the viewing lens.

When reassembling it’s important to ensure the elements are fully dry. The elements were all wiped over before reassembly and given a last blow prior to being resealed and checked with a bright light.

Fungus removed from Halina A1 Reflex

This was the job I was most concerned with but thankfully it went well and I am pleased with the outcome. The fungus issue has now been eradicated and hopefully it will stay away. Just a couple of little jobs to do now prior to reassembly of the camera and we can then put the new leatherette on the body.

Thanks for passing by, always appreciated 👍

Halina A1 Reflex shutter and Fungus

Managed to get the shutter firing after a while of blasting with compressed air and constantly cocking and firing the mechanism until it clicked into life. Probably stiff due to not being used for a number of years and left in storage. When I get the unit apart I will help it along with a little clock oil.

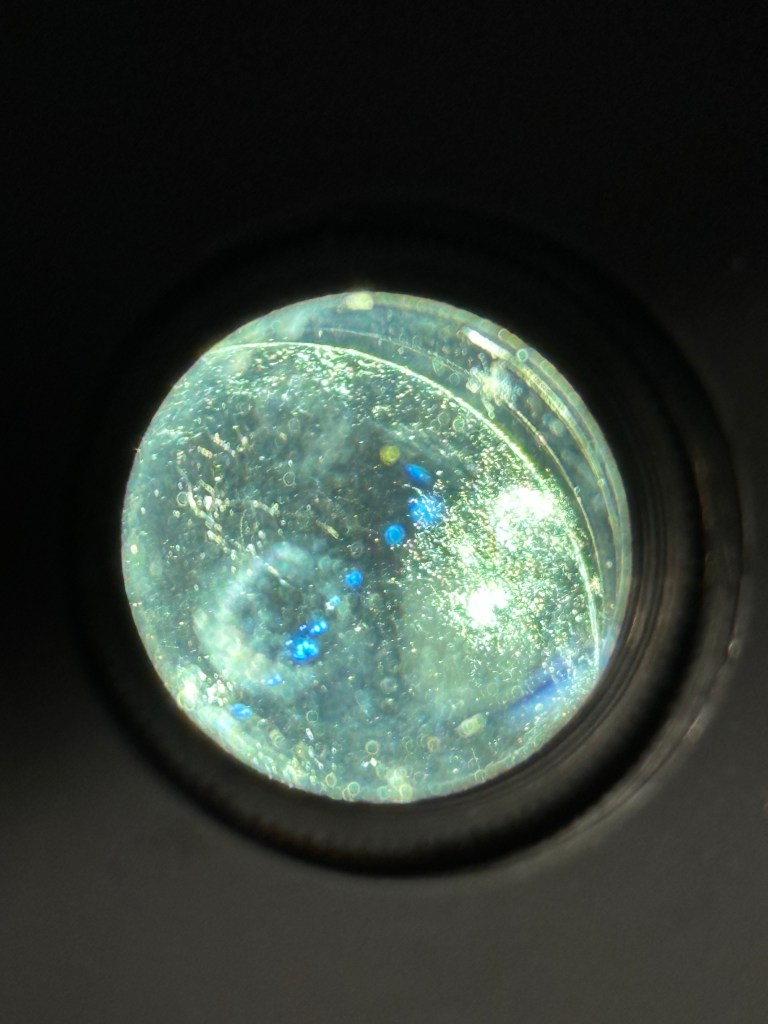
Halina A1 Reflex lens fungus

When shining a light through the back of the camera with the shutter open the fungus issue on the lens is most apparent, this is a three part lens I believe so it’s going to take some time and patience to achieve, but it’s do able, but it will have to wait a while.

Shine a light for all to see…..fungus

So I’ll leave you with this for today, the smell of years of dampness invades when ever I get this camera out of its box and to be honest I think that will be my biggest challenge with this unit. Any ideas and tips on how to assist with this problem gratefully accepted 👍