

What the listing stated:
Chinon CE-4 35mm SLR Film Camera Body – Faulty – See Details
I tried testing the camera with batteries and initially it seemed to function and the camera fired at accurate speeds but after a couple of times firing it, it stopped responding and now I can’t get it to function at all.
Please note batteries aren’t included.
EBay
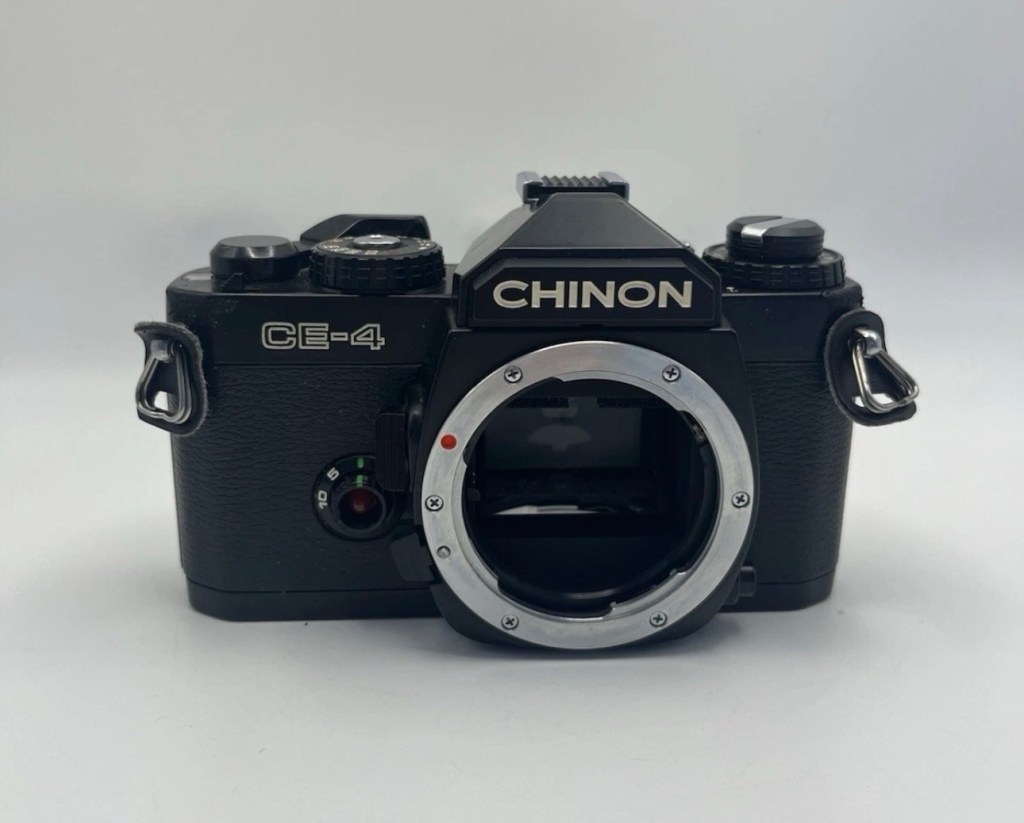
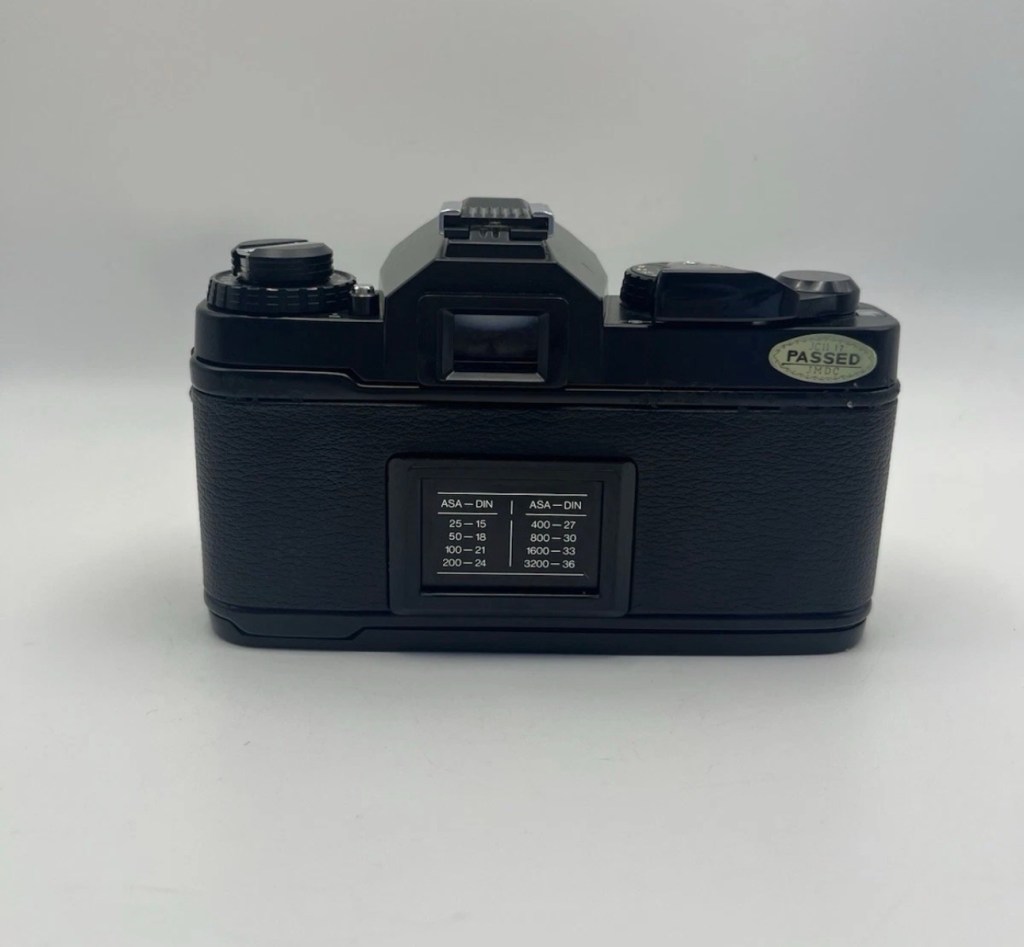
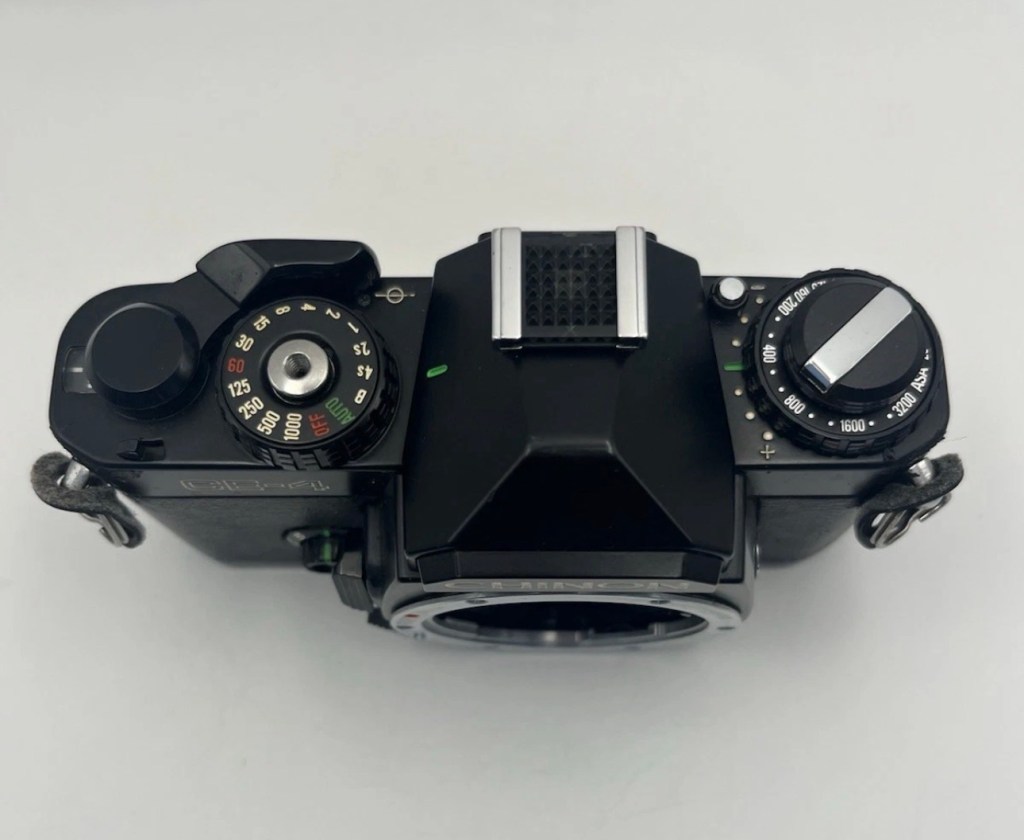
Here’s a little bit about this camera:
The Chinon CE-4 was the model which transitioned away from the 42mm screw mount used in the Chinon CE-3 to the Pentax K-mount. It’s an automatic 35mm SLR compact camera with aperture priority exposure system (AE).
Maker: Chinon
Dates: circa. 1980
Variants: black, CE-4s
Camera Type: 35mm SLR
Focusing: manual
Lens mount: Chinon Universal Bayonet Mount (Pentax K-mount)
Shutter: Seiko MFC electromagnetic focal plane, vertical, metal
from 8s to 1/1000Exposure meter: TTL, open aperture,
center weighted by two silicon blue photo cells. EV -2-19Exposure modes: aperture priority, manual, Bulb
ASA/ISO range: 25 to 3200 ISO
Finder screen: fixed split-screen
Flash shoe: fixed hot shoe, contact for dedicated flash
Flash speed: 1/60
TTL Flash: no
Motor drive: Chinon Power Winder S
Battery: 3 ×1.5V Alkaline (LR44, A76) or
3 ×1.5V silver oxide (SR44, S76, G-13)Dimensions: 135.5x85x50.5 mm
Weight: 485g
Camera- wiki.org
A previous seller approached me offering this camera and we settled for a price of £5:00GBP. A fair price for a camera born around 1980 and readily available at nationwide electronic stores around the time. I always avoided them, because as a teenager I had been infected by the snobbery of people around me, if it wasn’t Canon or Nikon it was crap.
I was a snob back then. Now I’ll buy anything, and I like the look of this so I brought it.
My reasoning in a nutshell. If it takes photographs, it’s good. Buy it. Sold!
Let’s await its arrival, and get it assessed.
Assessment:
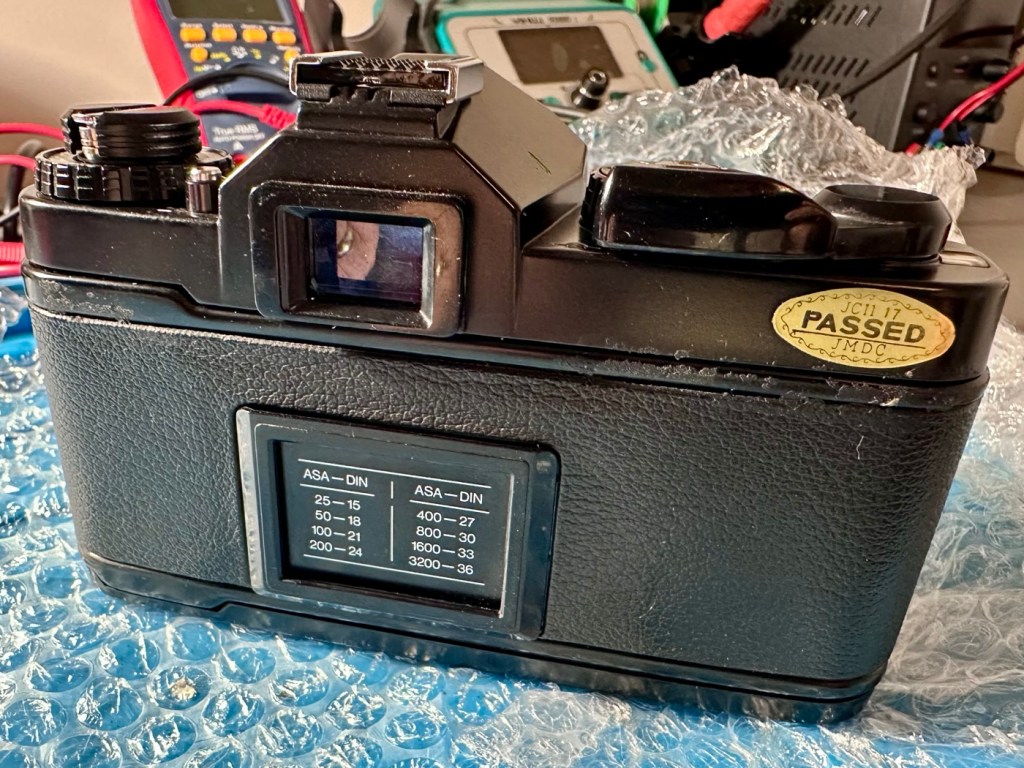
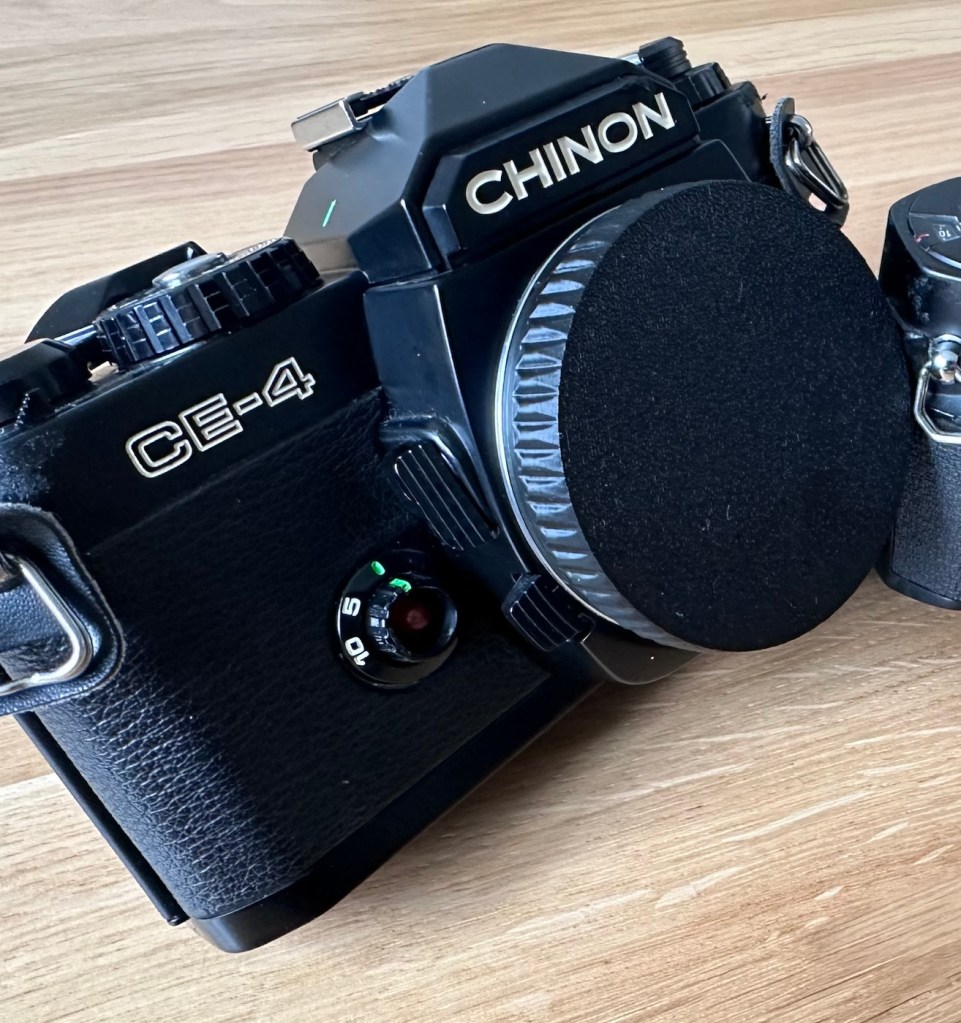
Cosmetically this camera looks fine, apart from the name plate being detached from the fascia. This is easily remedied with some superglue to hold it in place.
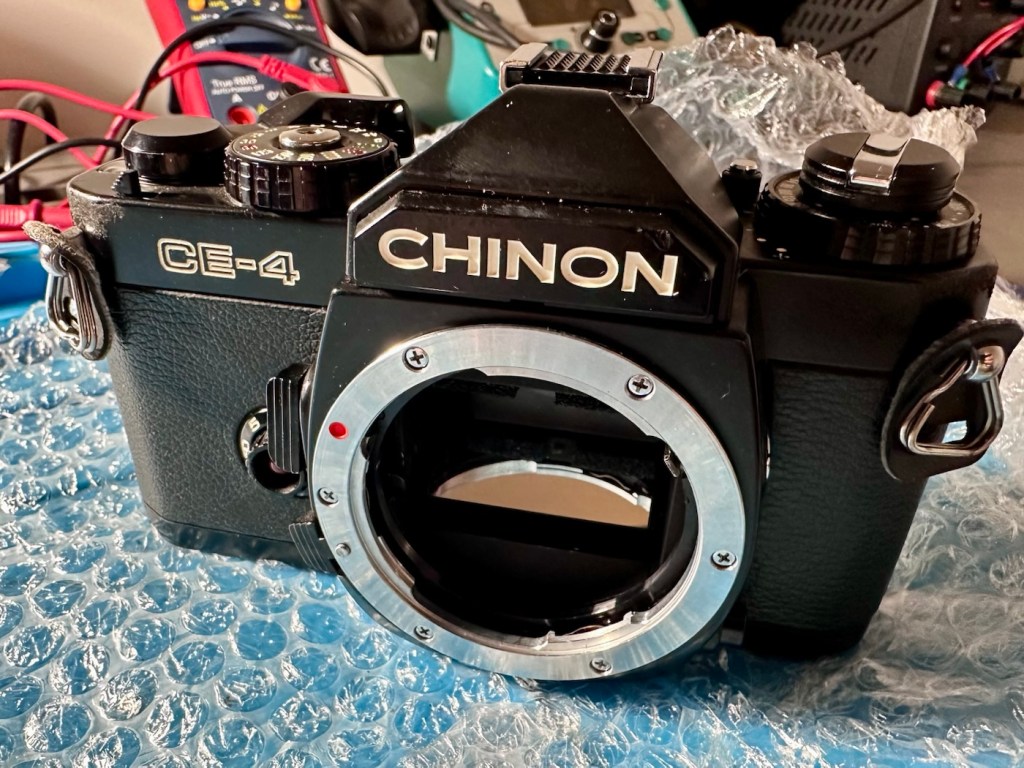
As an addition i’ve printed out a body cap on the 3D printer for when i complete the clean, allowing me to protect the mirror, shutter and lens chamber area.
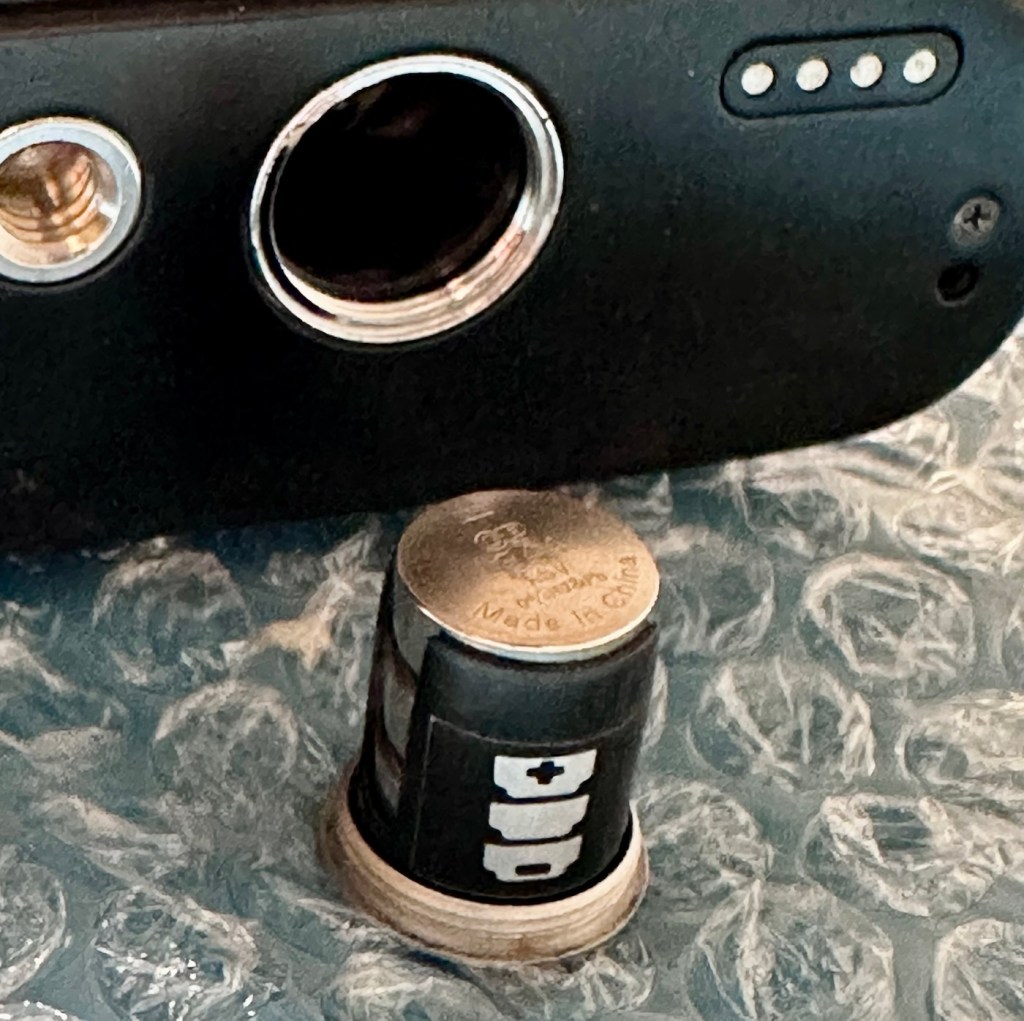
This camera takes three LR44 batteries and with these installed the camera is dead. There is no life, and no indication from the exposure meter in the viewfinder.
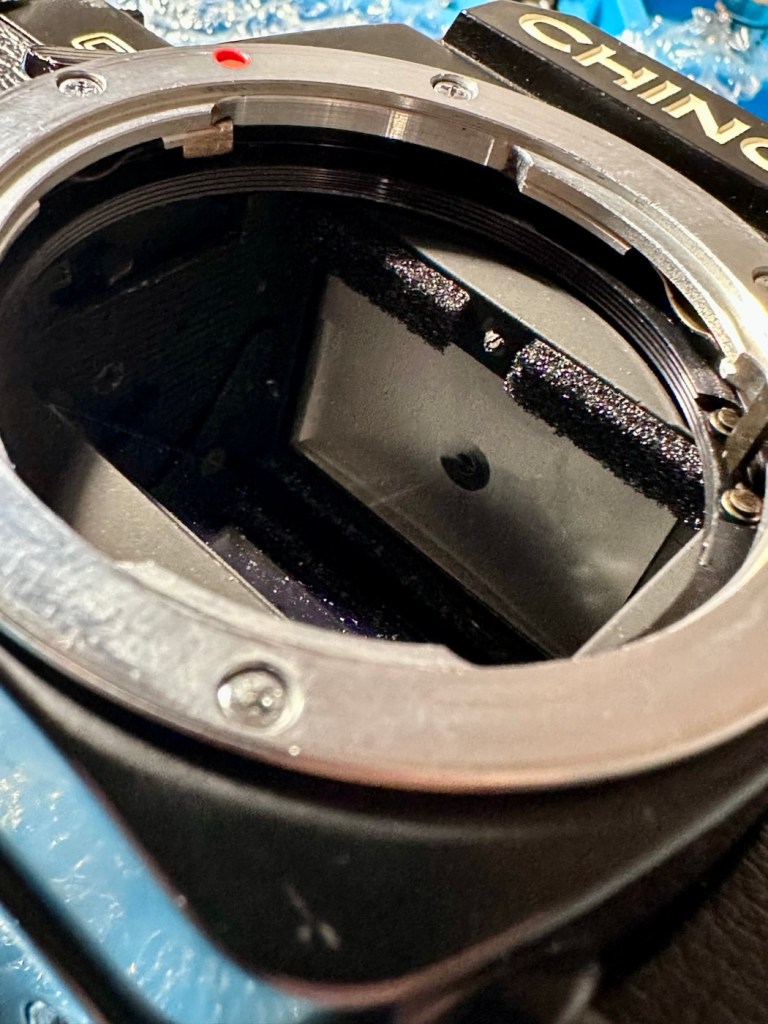
The bumper felt in the camera barrel is in excellent condition and does not need replacing. It’s a similar situation with the light proofing around the film chamber, they don’t need replacing just yet.
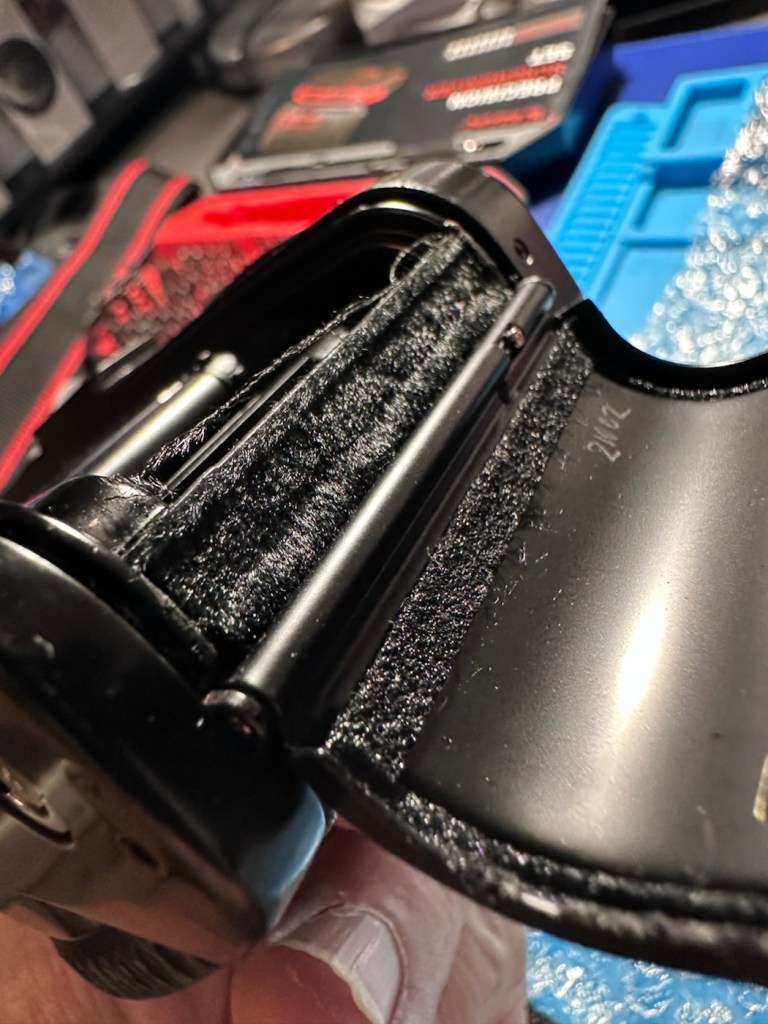
All buttons, dials and levers appear to be working just fine. There is no meter reading in the viewfinder due to the electrical issue. Let’s get onto that now, as it looks as if there is not really much else wrong with this camera.
Repair:
So generally with electrical issues it’s always best to start with the simple things first before diving in and opening up the camera for dissection.
First things first, are the batteries any good, yep they have all tested as working fine, let’s move on. Is the power getting through to the camera via the battery holder. No it’s not. Let’s check the battery holder.
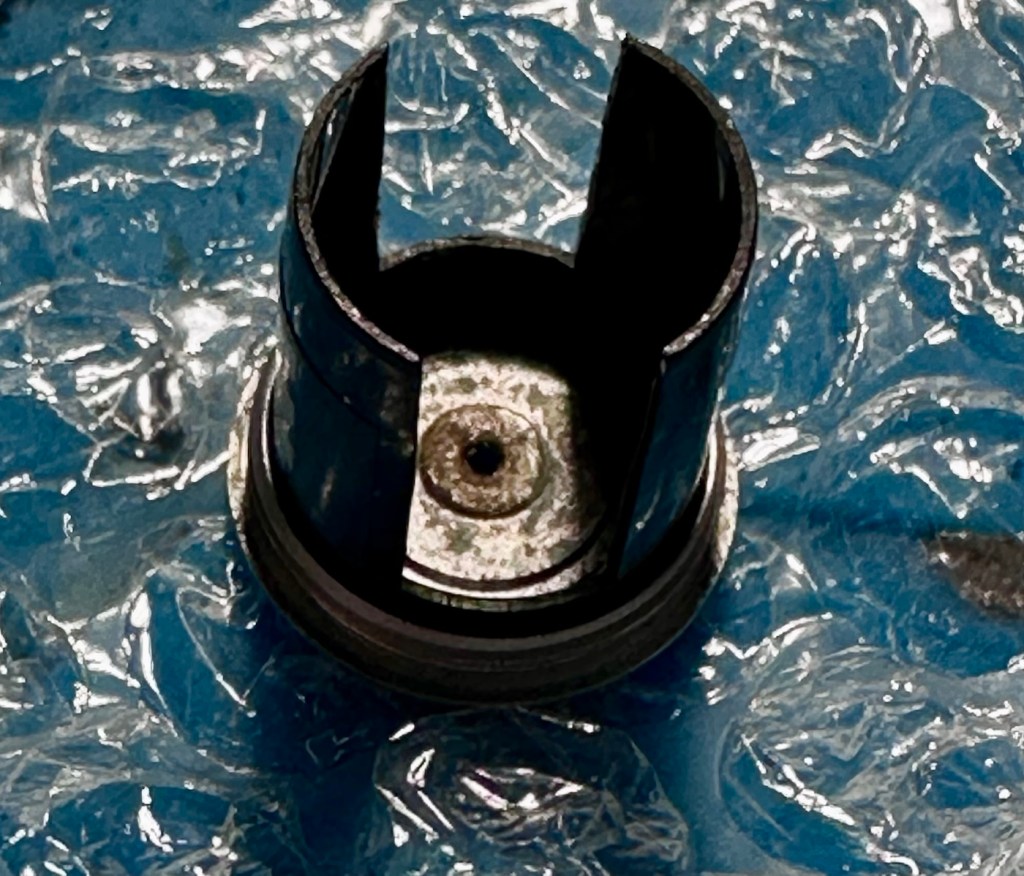
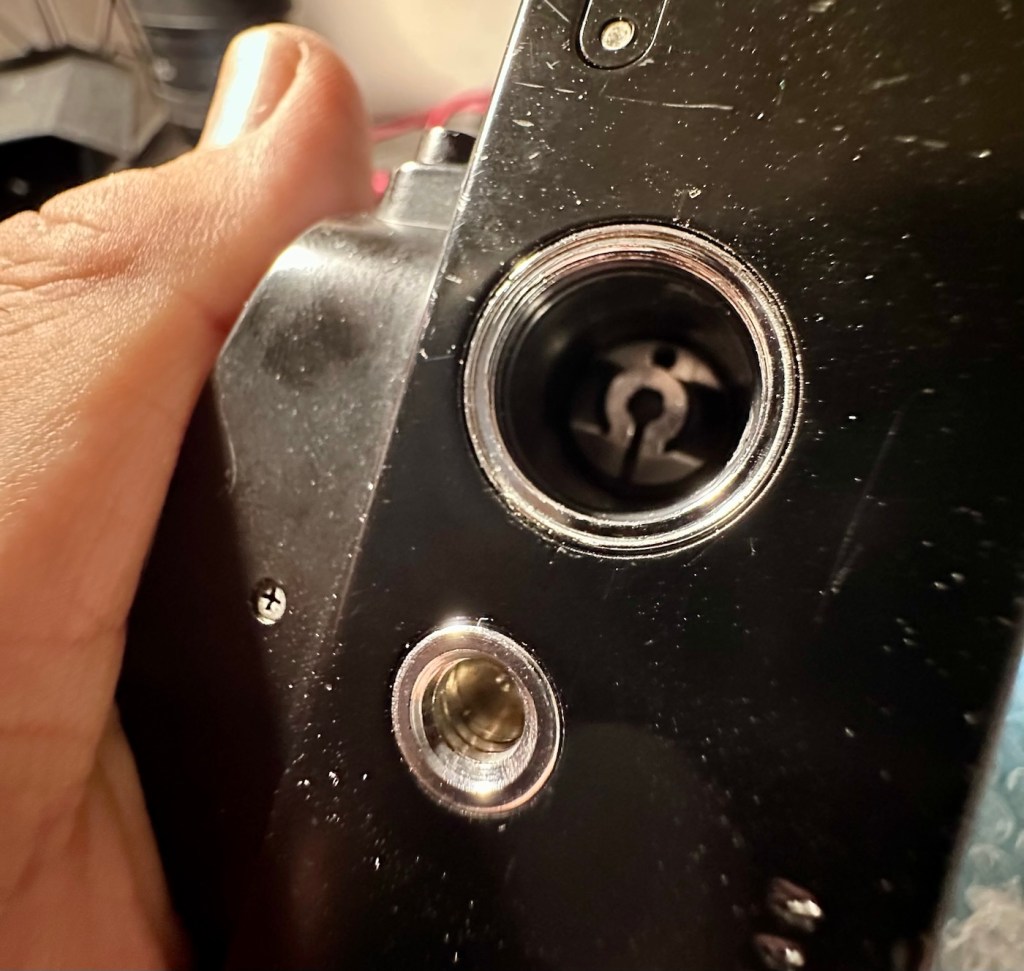
The battery holder showed no continuity when I used the multimeter probes on it, the whole inside of the holder had bad tarnish, preventing power getting through to where it was needed. A quick clean of the area with a grinding pen and some IPA to clean up, and you can now see your face in it. A quick check with the multimeter and continuity is restored. Whilst I’m in the mood for this kind of cleaning I also clean the contacts in the camera base. These weren’t so bad, however a quick blast with the grinding pen and a clean up does not go amiss.
The three batteries are reinstalled and hey presto, the light meter and all functions now appear. All this camera required was a five minute clean to resurrect it.
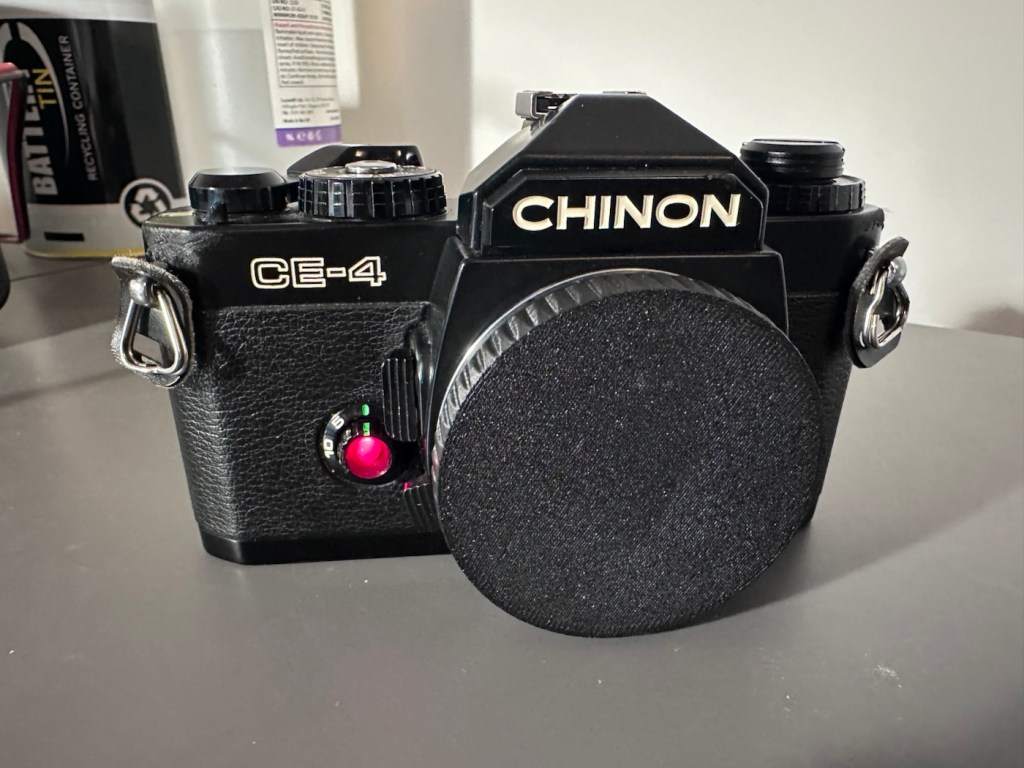
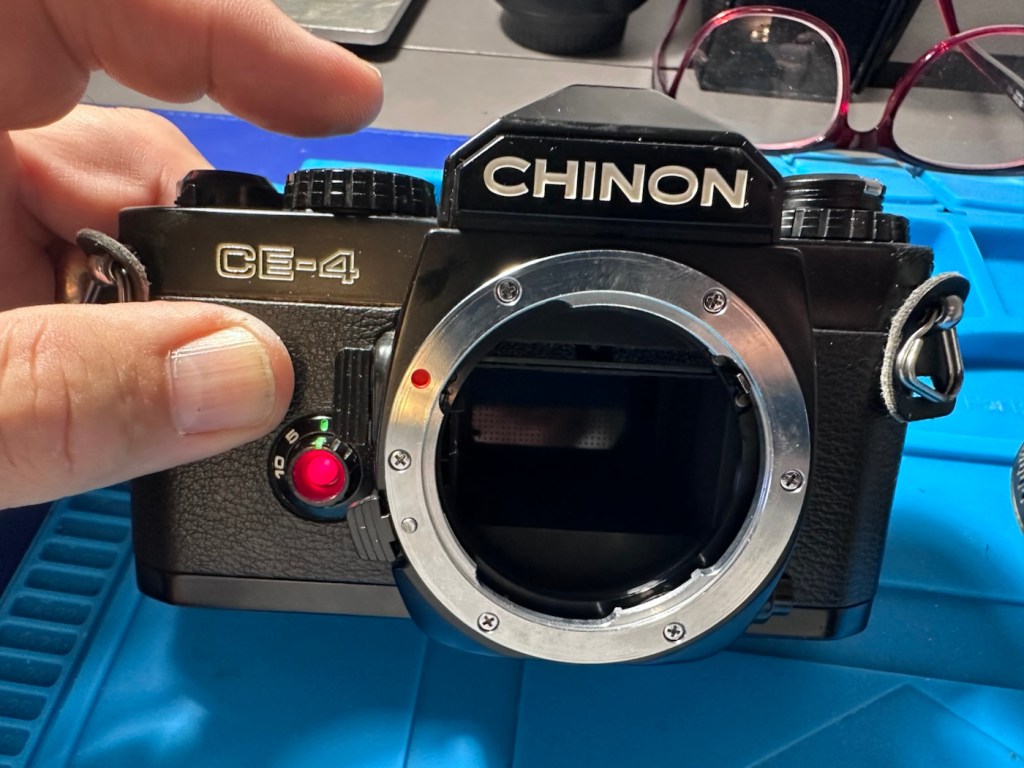
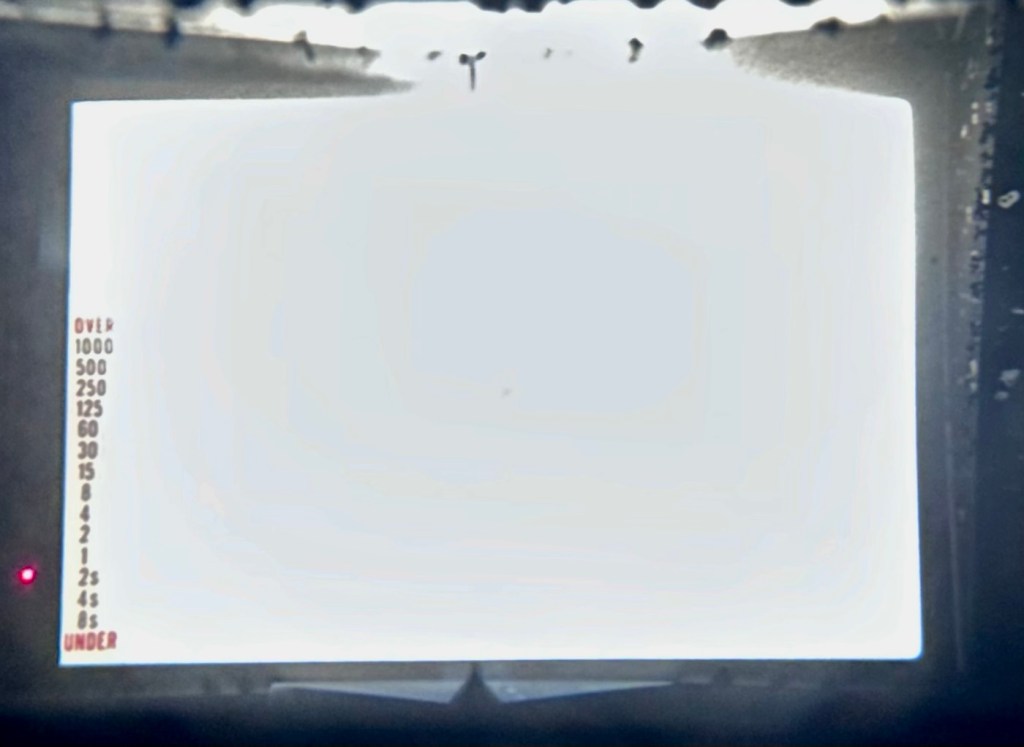
To test the camera fully I now need a K mount lens to check its functions. I’m looking for a basic one just to use for testing, just as well really as I also have some other K mount cameras coming up shortly. However, I am supremely confident this camera is working fine, so a lens is not the probity at this stage. I will probably move this on to the local hospice that I have dealings with.
A good clean is all that is now needed. I have cleaned the internals and sealed them by putting the body cap in place. Now I need to give attention to the exterior.
Result:
Sorry It’s a boring one, but hey it’s a win. Following a plan of attack starting with the most basic of checks, can be boring and repetitive, but also extremely beneficial as it’s not always the big issues inside the camera, nine times out of ten the issues are a lot more basic.
It just goes to prove that a lot of the items out there deemed as broken, are just in need of a little maintenance. If only people would just take a little time to look after their stuff, there would be less equipment thrown in to landfill.
Here is the camera after a good clean.
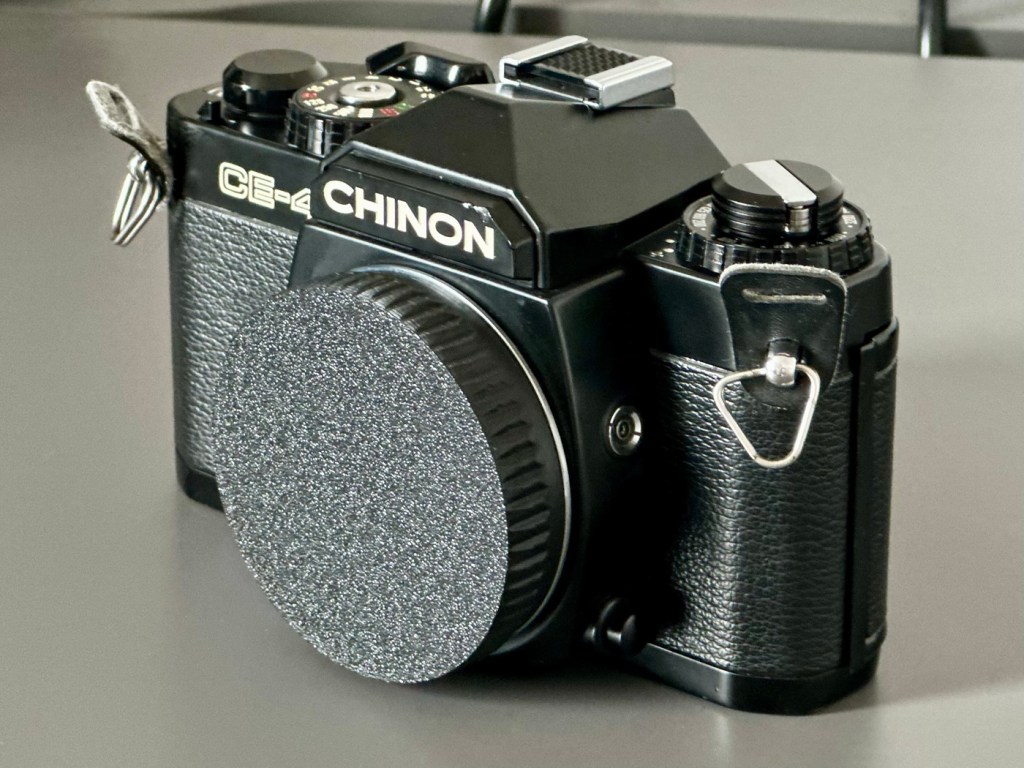
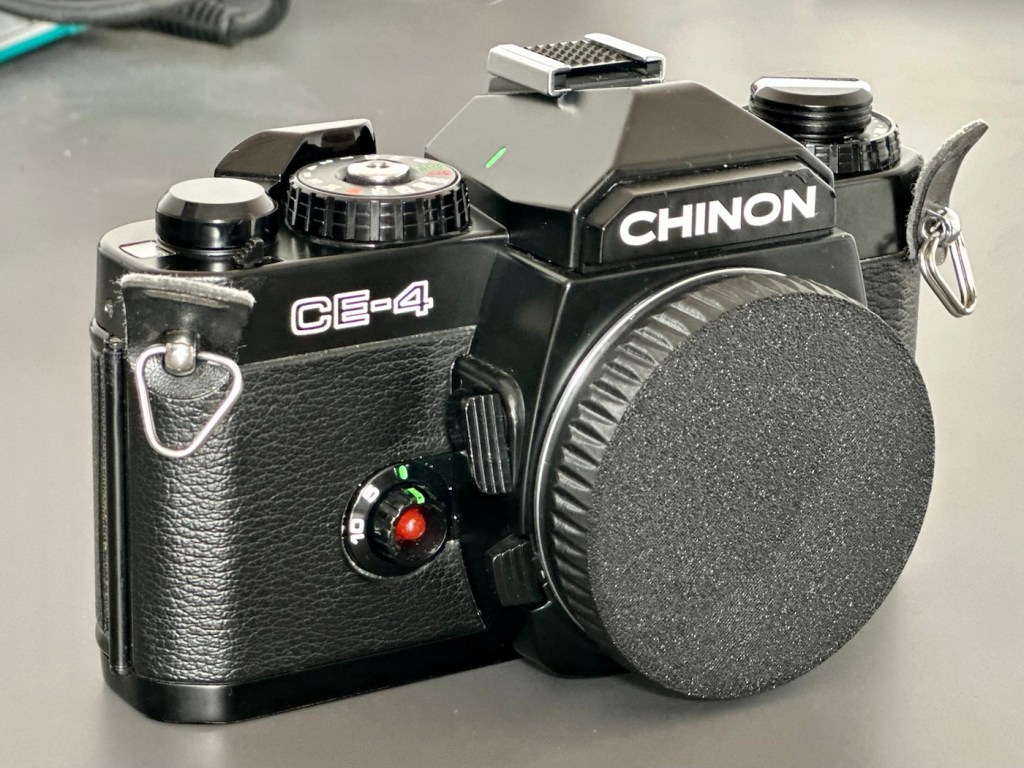
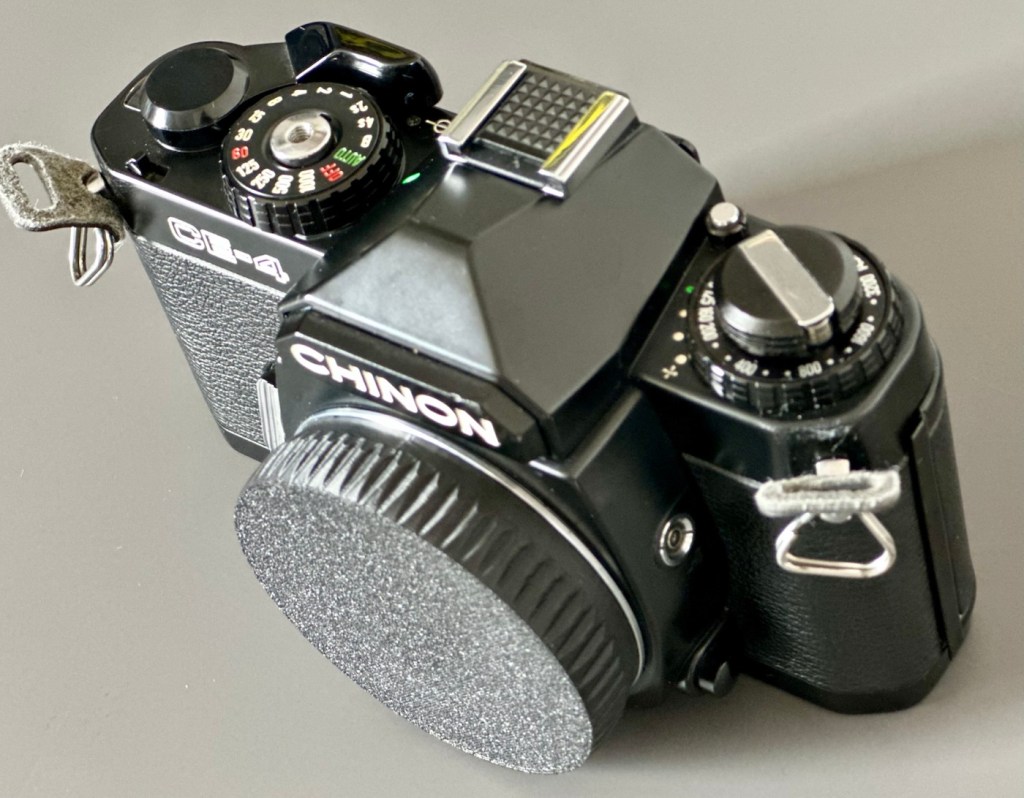
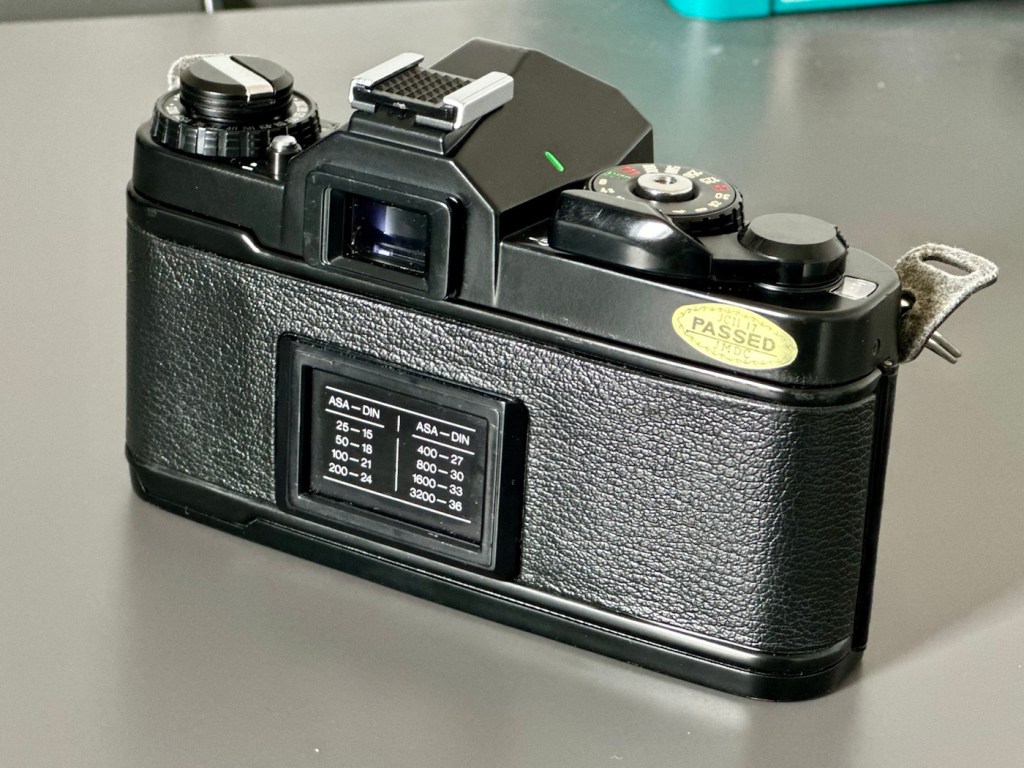
A little £5:00GBP camera has been given a reprieve and can live on for a few more years yet. As long as there is film being produced, this camera has a purpose. It’s a basic, but superbly capable camera that will keep its new owner happy for a good few years yet.
Let’s hope they have many happy moments capturing wonderful memories for many years to come.
Thanks for passing by. Always very much appreciated.



 Foxes Den
You must be logged in to post a comment.