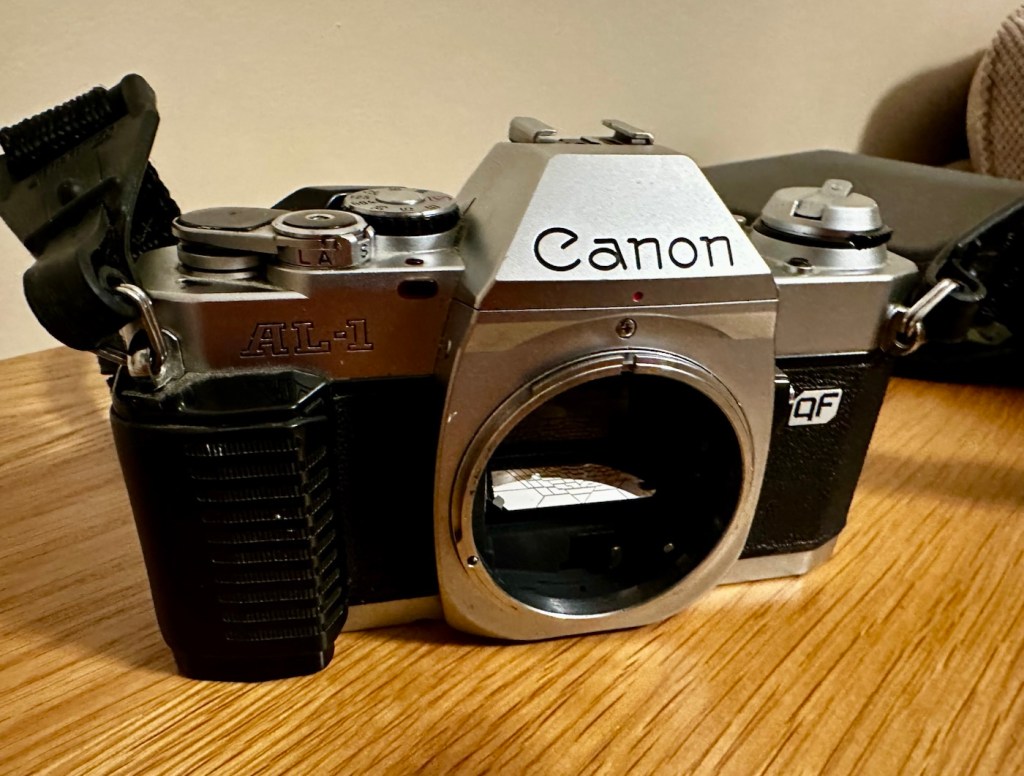
Canon AL1 QF

It wouldn’t take a rocket scientist to understand why this camera isn’t working.

What the listing stated:

This camera is untested, I put batteries in but it did nothing but to be honest, I have no idea what I’m doing with this anyway. For that reason I’m selling as spares or repairs. For its age, it is in really good condition, please look at the pictures carefully and message with any questions. 

EBay
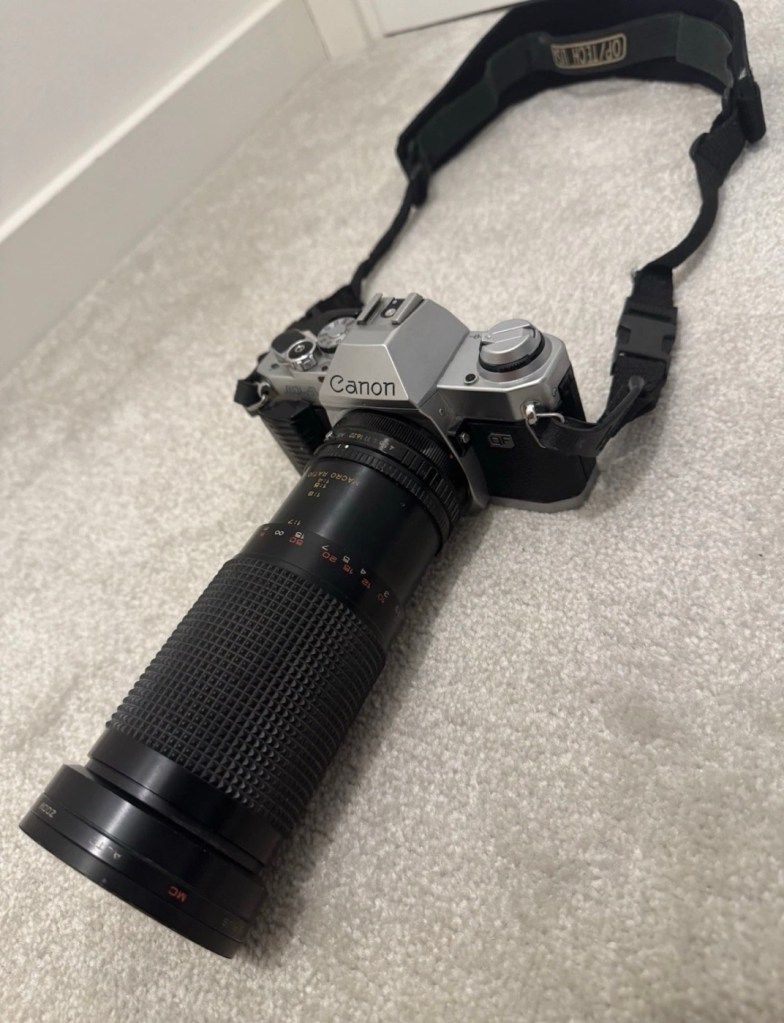
Hmmm, the seller put batteries in and wondered why it wouldn’t start up…I wonder 🤔

By the way, the QF stands for quick focus. Read on to find out more.

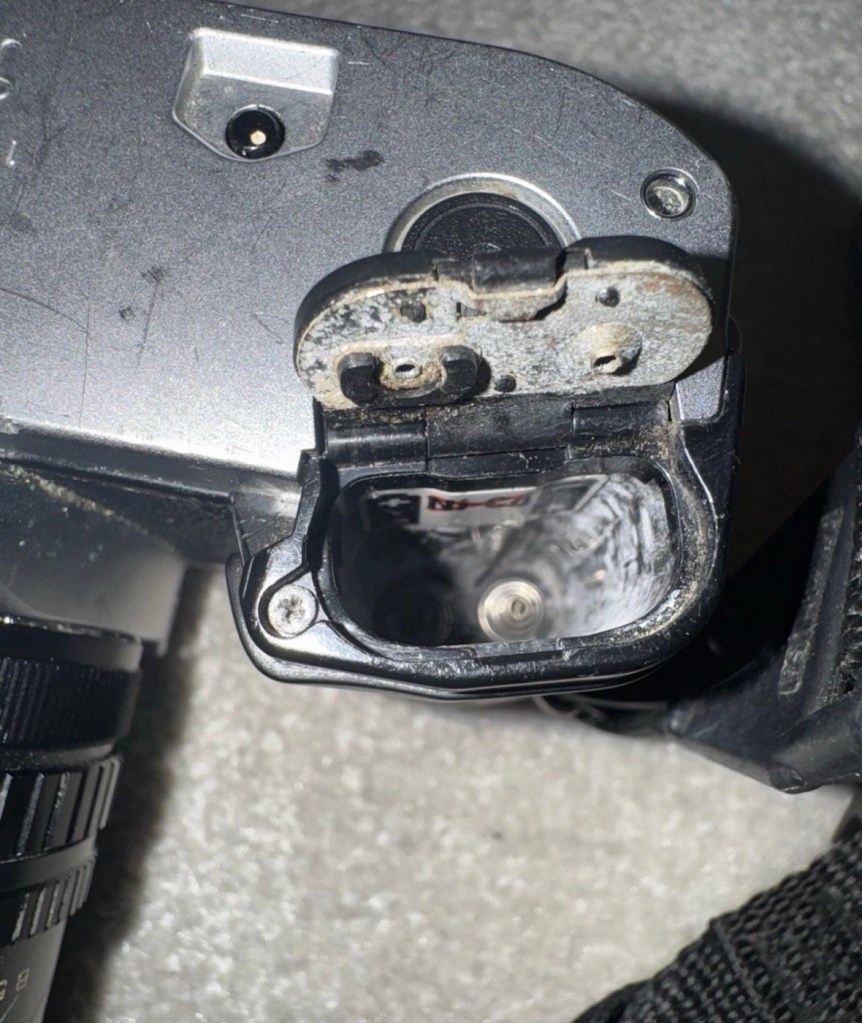
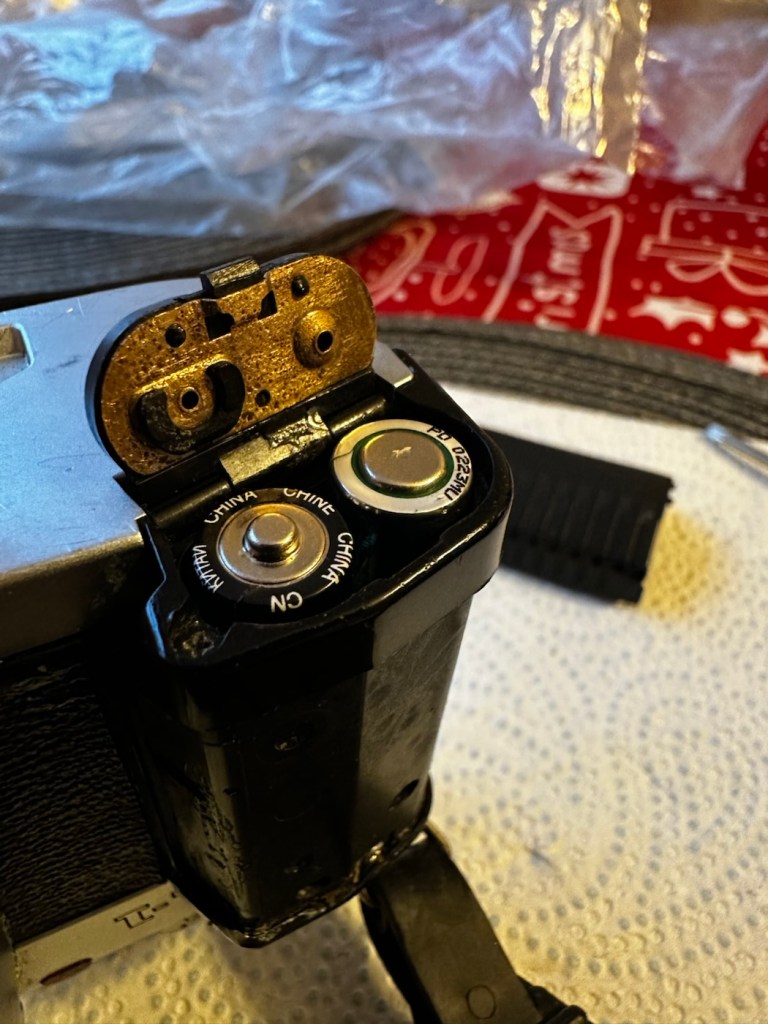
I’ve purchased this camera, paying a measly £12:00GBP, as I move ever closer to collecting the full range of the Canon “A” series cameras. This will be my fourth of the range with only two more to go. As usual I have purchased damaged or faulty candidates to repair via my site. This one is no different, and from what I can see the battery barrel and battery door have been exposed to corrosion and neglect. this will require a lot of attention, and hopefully the corrosion hasn’t made it into the internal components.

I believe it also comes with a yet unidentified large lens, that I very much suspect will be riddled with lens fungus if the battery chamber is anything to go by.

Here’s a little history about this Camera:

The Canon AL-1 was an FD mount, 35mm single-lens reflex camera introduced in March 1982. Its main feature was the “Quick Focus” focus-assist system that was aimed at those who had trouble focusing through the viewfinder – either novices, or those with poor eyesight – and was intended to head off competition from the first full-autofocus cameras from other manufacturers, such as the Pentax ME F.

As a lower-end camera, the AL-1 did not offer a long list of features. Instead, Canon focused on providing core functionality and lowering price. The AL-1 provides focus-confirmation, aperture-priority autoexposure (controlled by a through-the-lens silicon photocell), manual shutter speeds from 1/15 to 1/1000 of a second, and a 10 second self-timer. It also added a larger grip, and the convenience of using of AAA cells for power. However the battery door is one of its weakness as most of the cameras that are found today on the market have a battery door that is broken or has been replaced. Its body was constructed from a special polycarbonate that was then painted to imitate metal. An ISO hotshoe, A-series power winder connections, and cable-release socket provide an acceptable level of compatibility with accessories. It was also the last Canon SLR to use the Canon logo, which resembles the Japanese romaji font used on Canon cameras since the 1960s on a pentaprism.

The camera uses Canon’s breech-lock FD mount, and so users could choose from the wide variety of Canon FD lenses, as well as those from third parties. Users could also utilise Canon R and FL lenses, but with some limitations.

In 1987, Canon abandoned the FD mount in favour of the EF mount along with the EOS camera system, which uses the same concept as the T80 but with a new and incompatible mount designed around an all-electronic interface.

Wikipedia

Assessment:

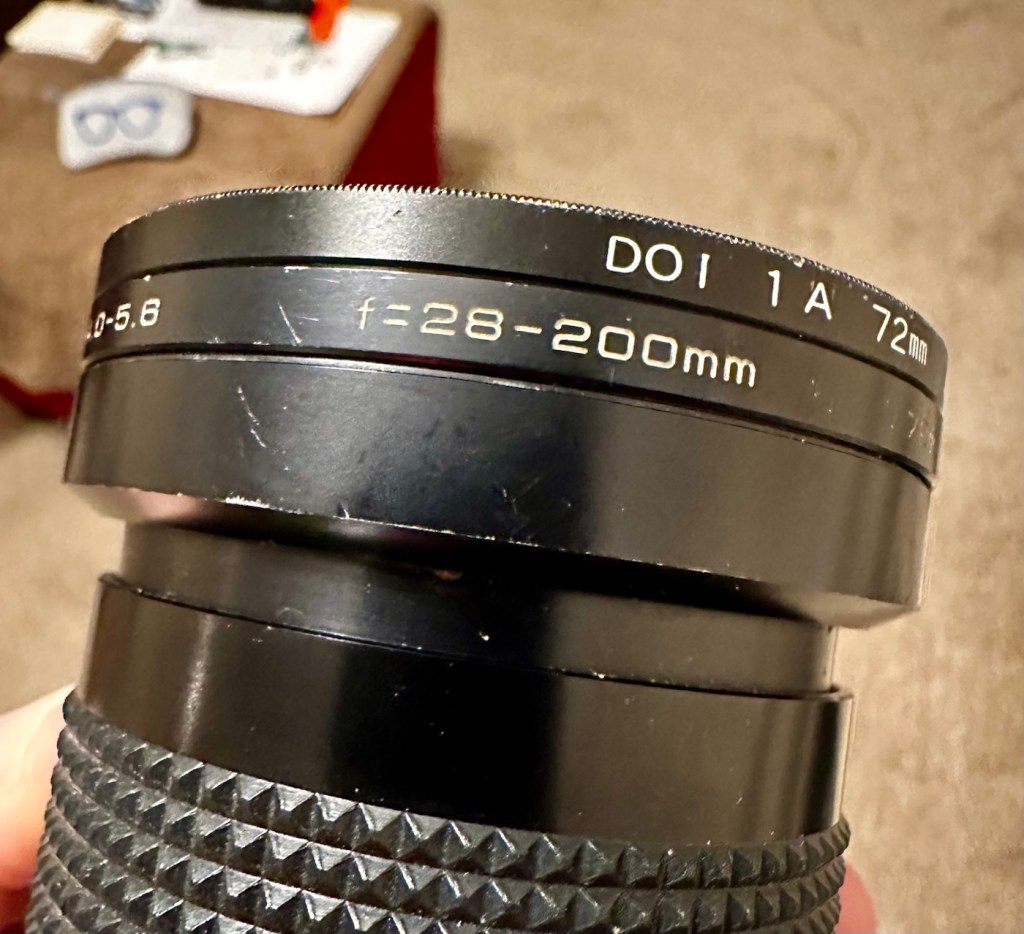
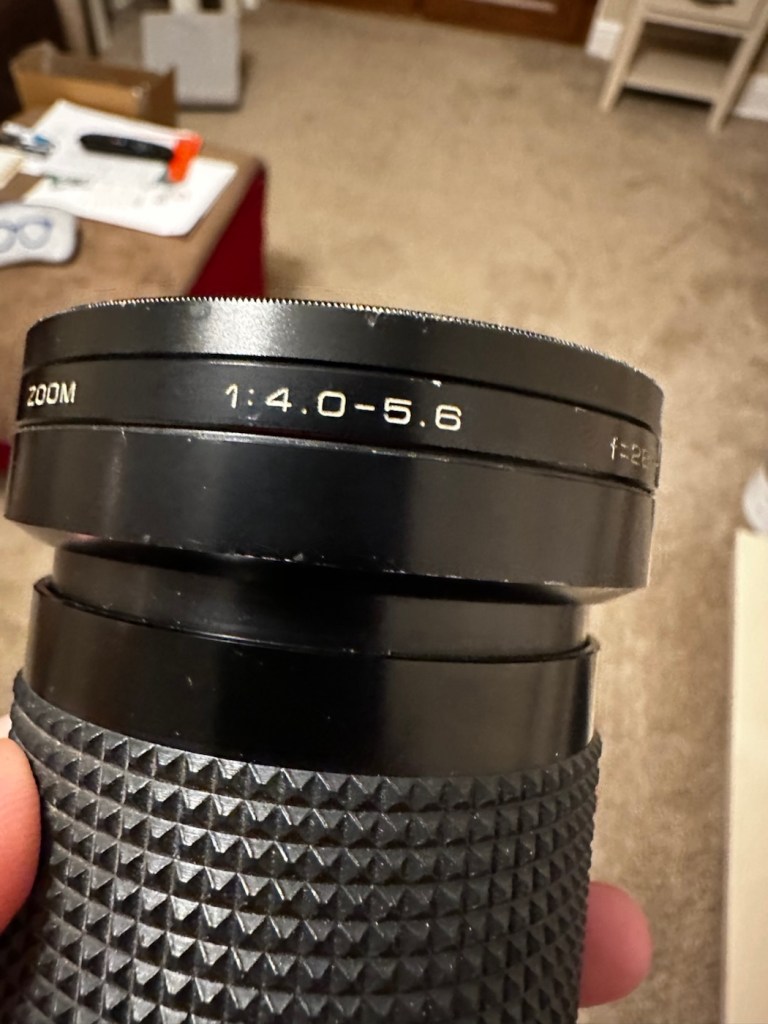
The camera has arrived. The lens that came with it is a canon mount “Sirius” 28-200mm 1:4.0-5.6. It does have signs of fungal infection and I’m not going to do anything with it at the moment, as I have a few stock 50mm lenses I can use for testing. I may get around to cleaning the lens in the mid to near distant future, if I get the time or to be totally honest, if I can really be bothered. It will probably become another post of the future.
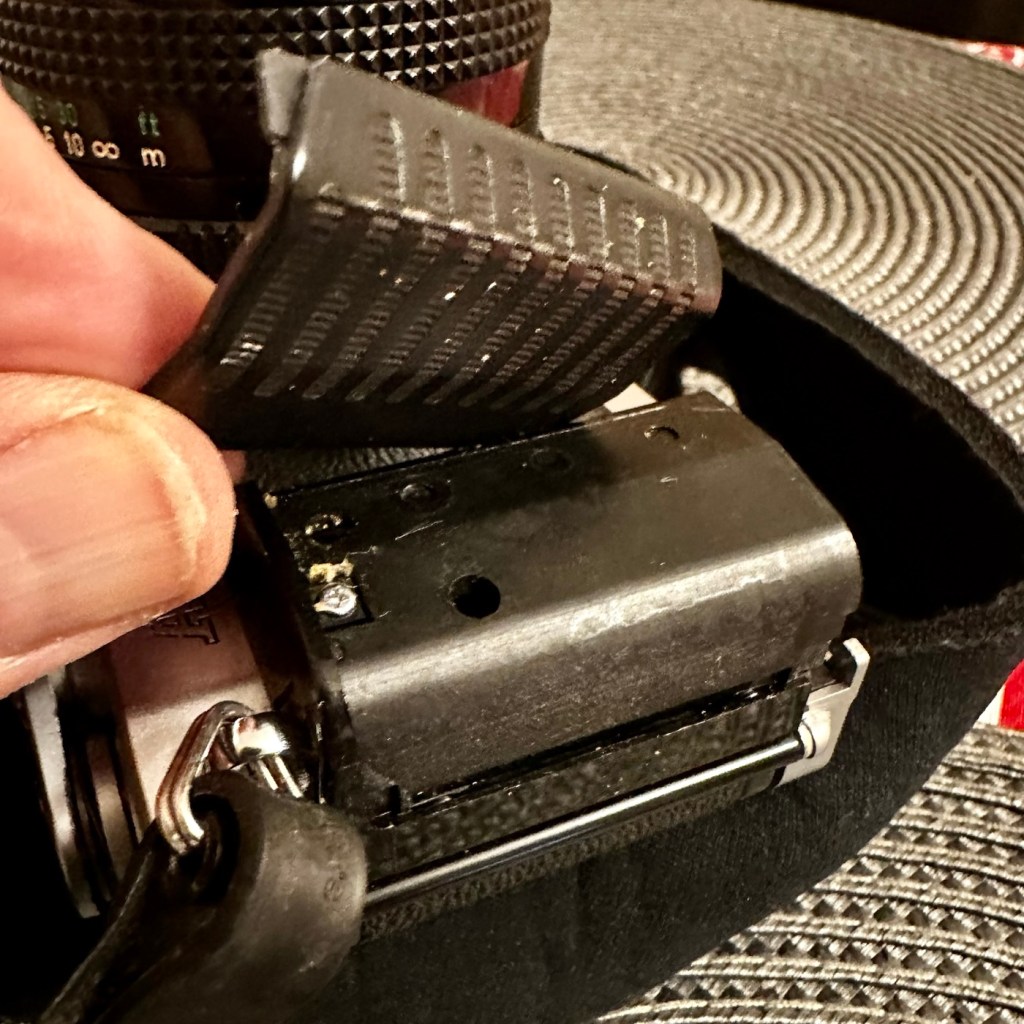
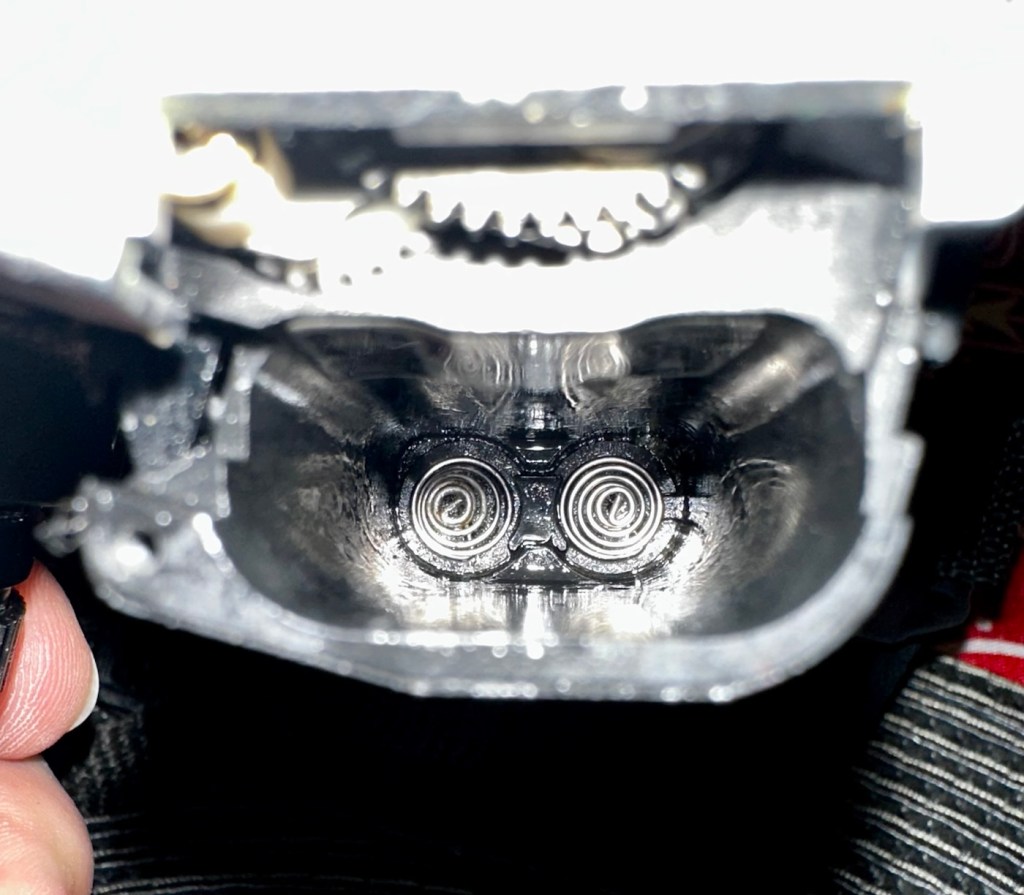
On opening the battery door you can see that the contacts are quite oxidised, and definitely require a clean. The battery chamber also needs a clean as do the contact springs at the base of the battery chamber, we need to do this as we require electrical continuity to check the cameras operation.
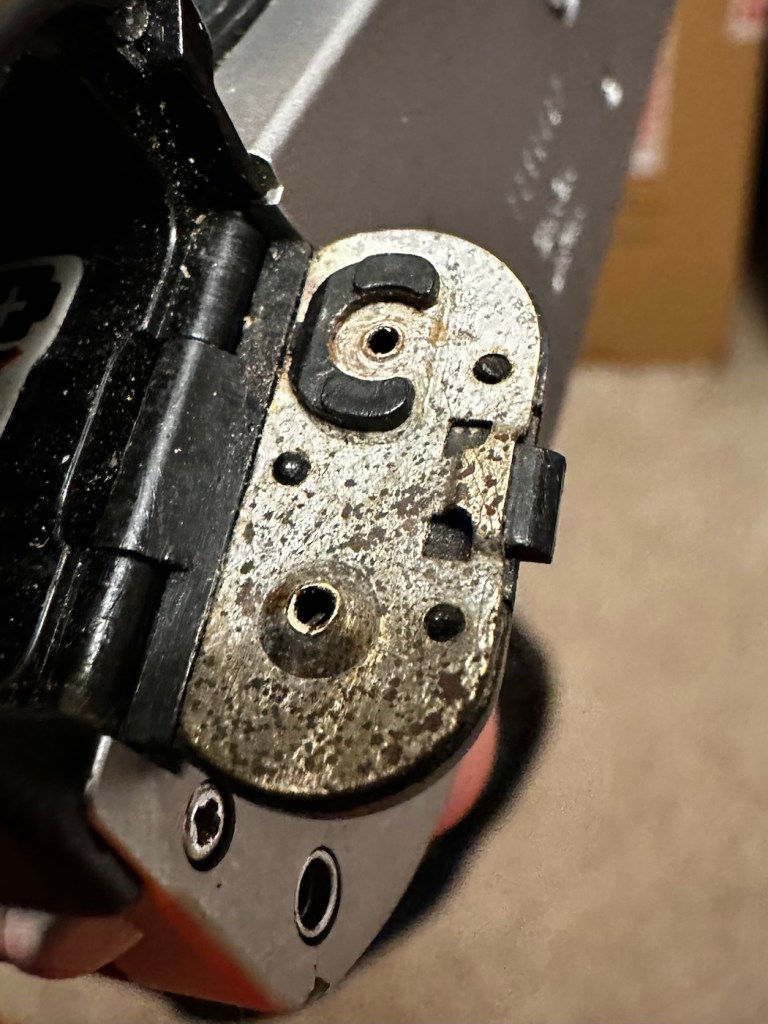
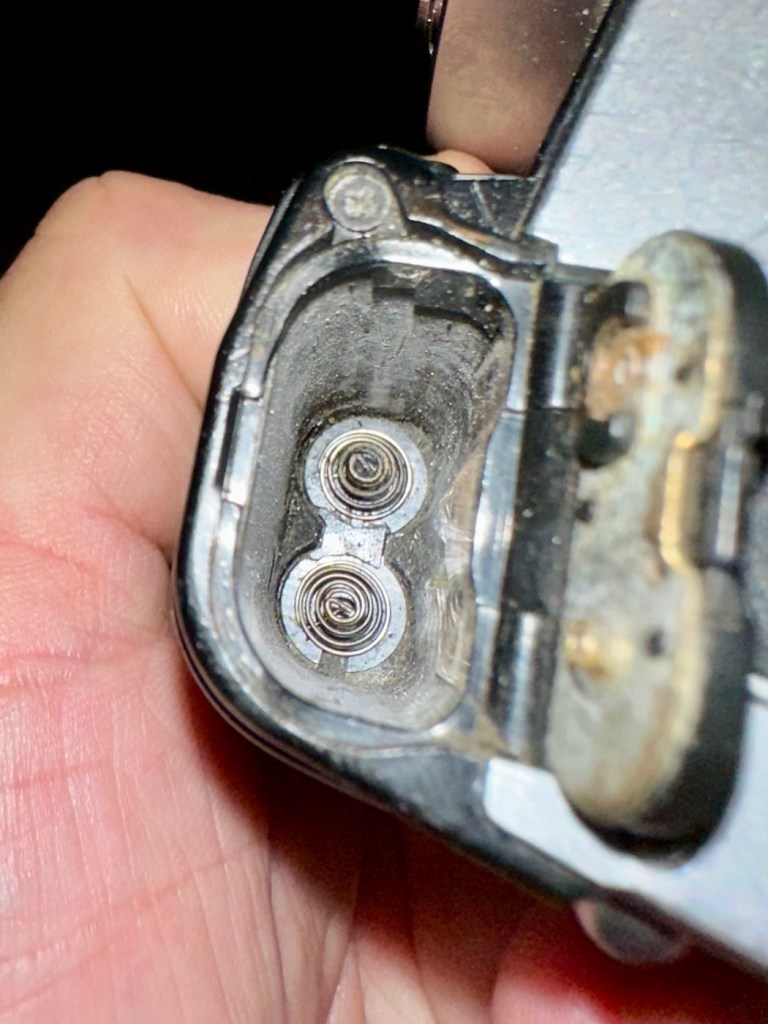
I have tried inserting a couple of AAA batteries after first giving the door contacts a quick rub, however I had no luck, and no power was getting through to the camera, and that’s what we need to be able to attain, just to be able to do the basics on this unit. So it will need quite a considerable clean prior to putting in new power cells.

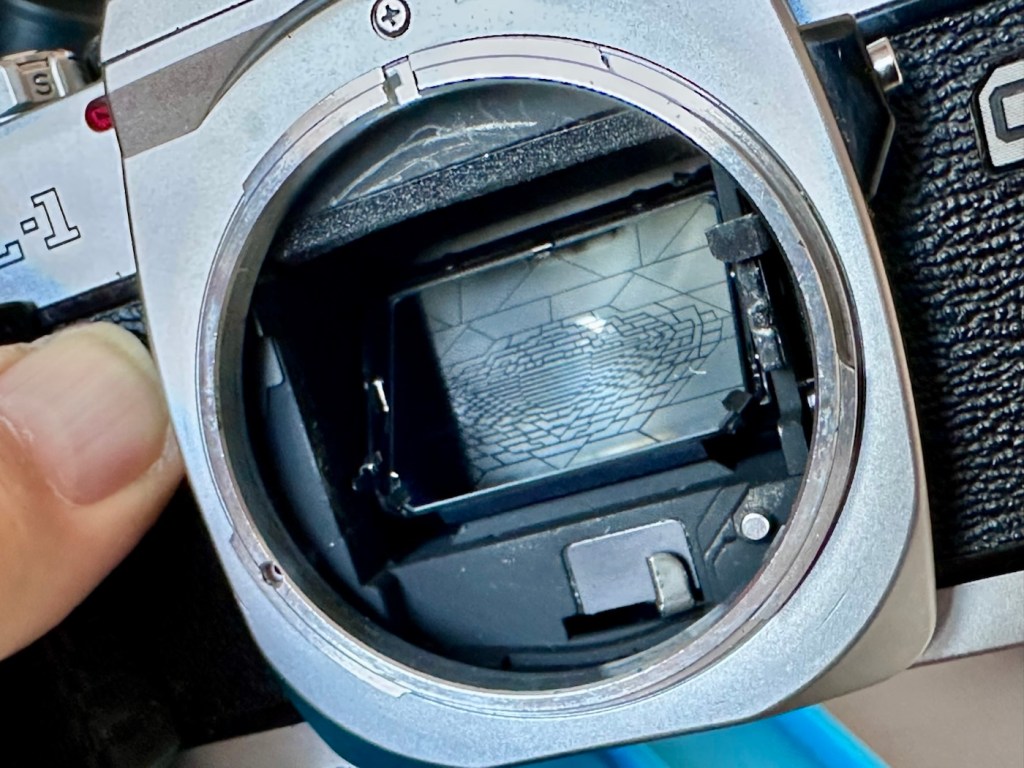
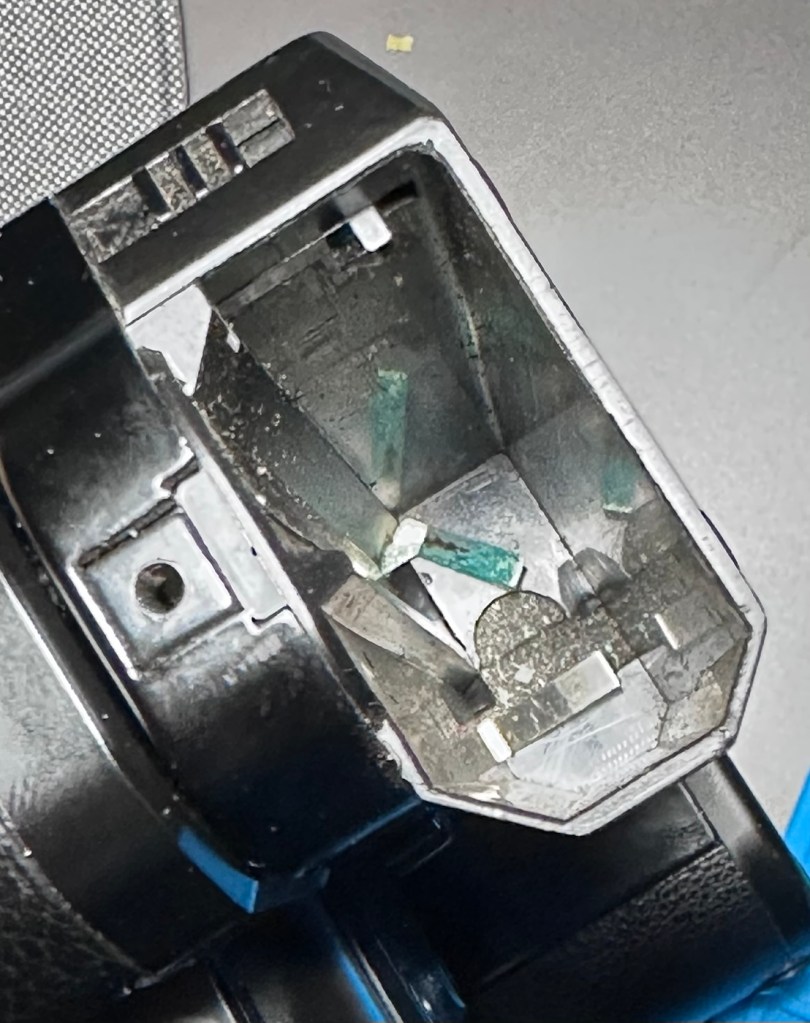
Inside the lens barrel when you first glance the mirror it looks as if it has shattered, however this is a special etching on the mirror that allows light through to a sensor placed behind the mirror that supplies information to the QF (Quick focus) system built into this camera.
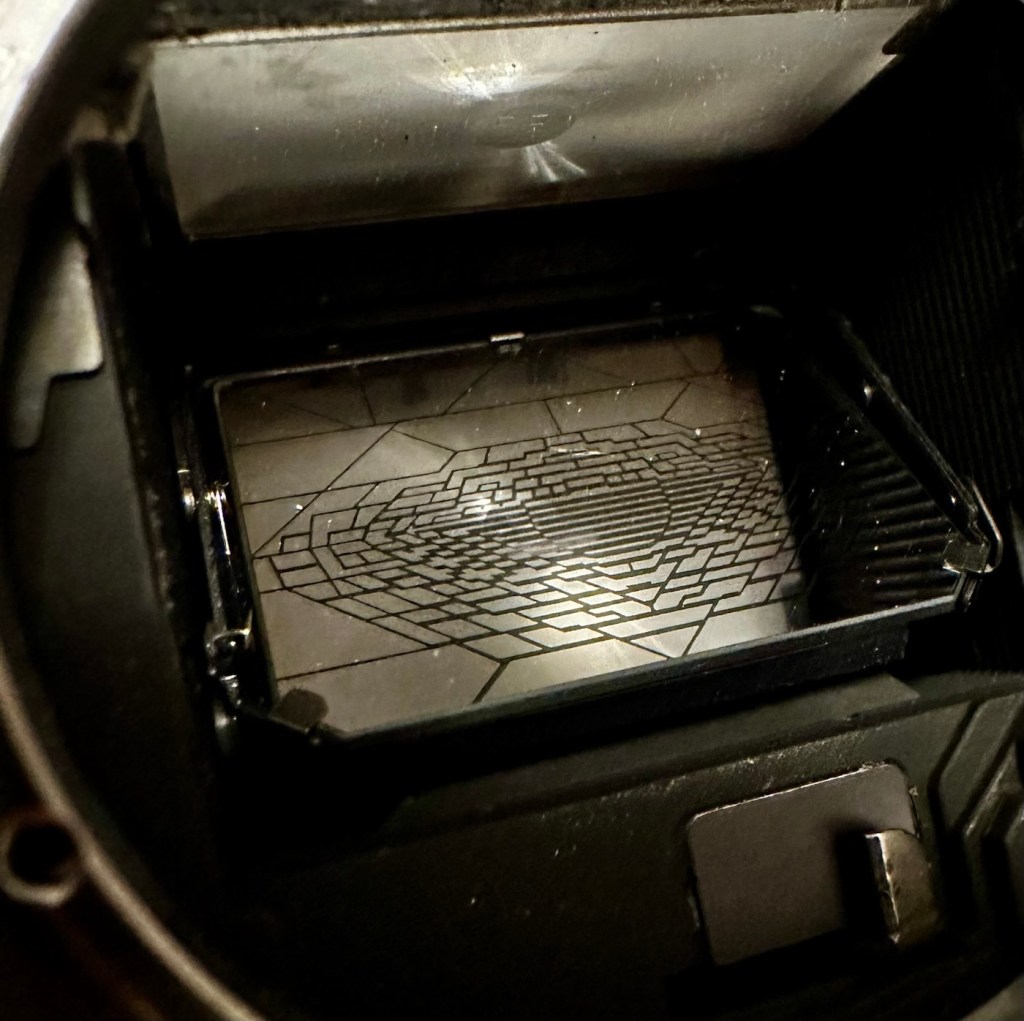
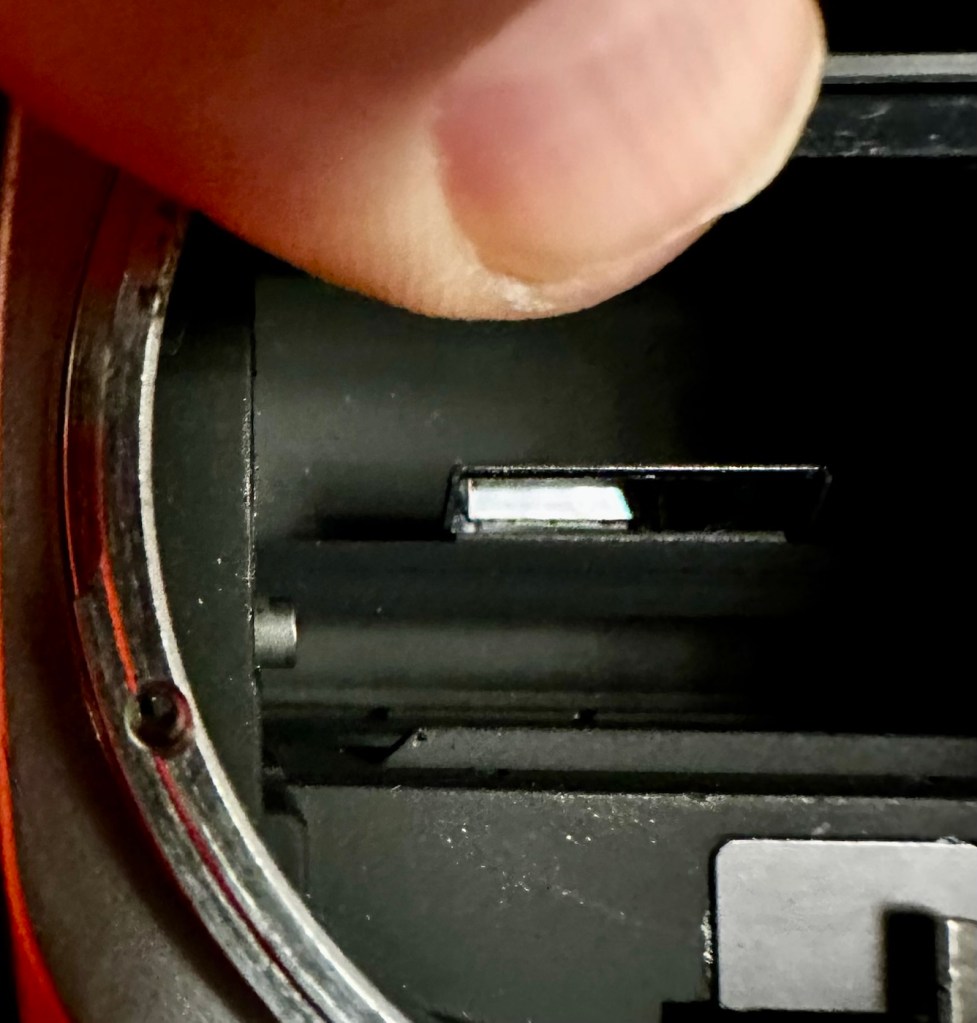
This camera does not have the typical split screen focus you find within most cameras of this age. All it has is a small rectangular two piece shape on a ground screen and that is it. This is where the QF comes in to play. You have to depress the shutter button down half way as you focus. As you focus, the viewfinder will display the exposure ratings to the right hand side of the viewfinder.
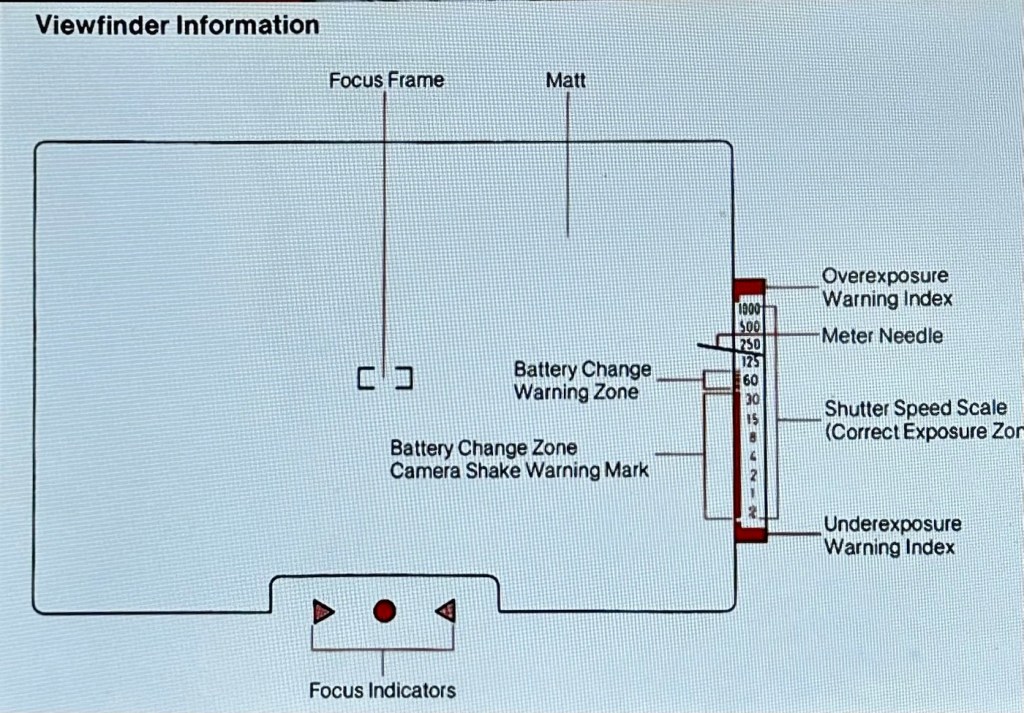
Viewfinder display info

At the bottom of the viewfinder screen is where the QF is calculated. As you focus you will see either one of two red arrows indicating that you focus the lens in the direction to which they are pointing. When the arrows extinguish and a green circle illuminates, that means the correct focus has been achieved. If you are happy with this and your shutter speed is not too slow and sits within the correct exposure zone, then go ahead and take your photo. it really is quite simple. A great system for those wearing glasses or for those with eyesight problems.

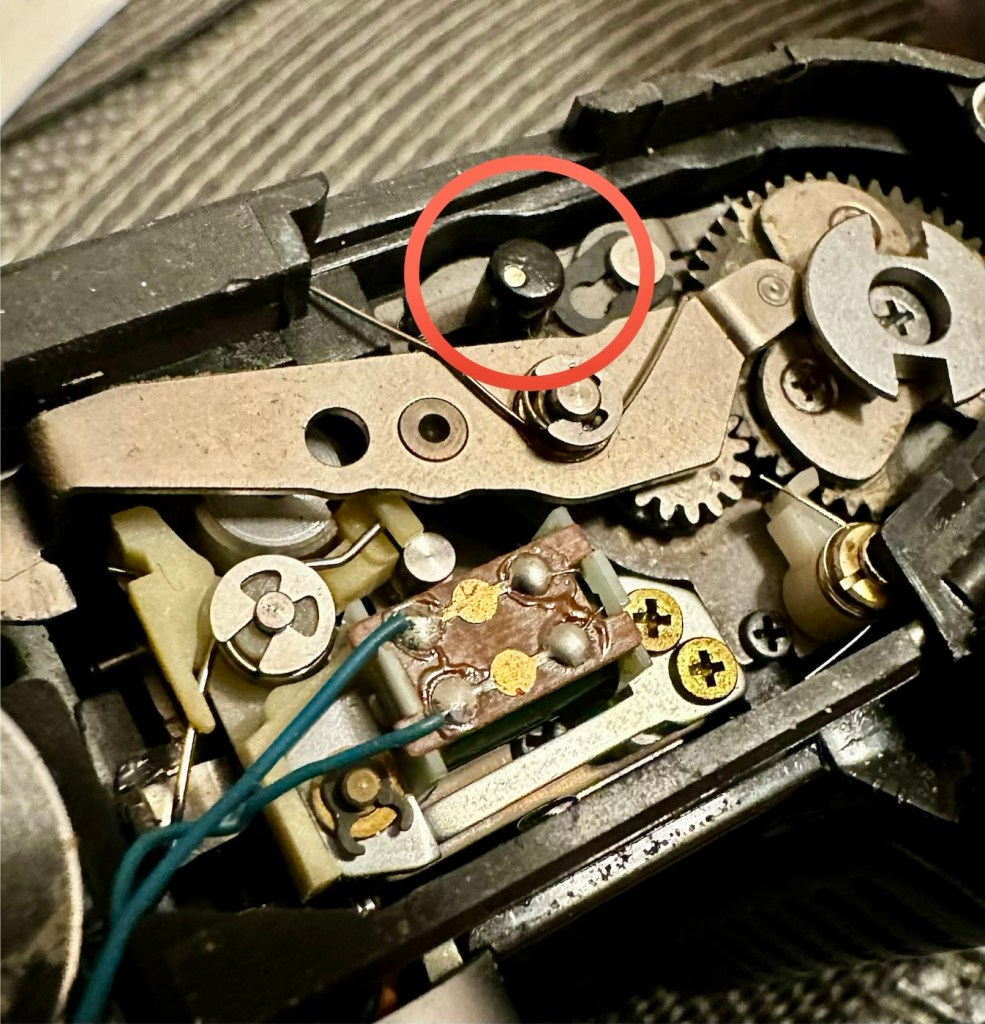
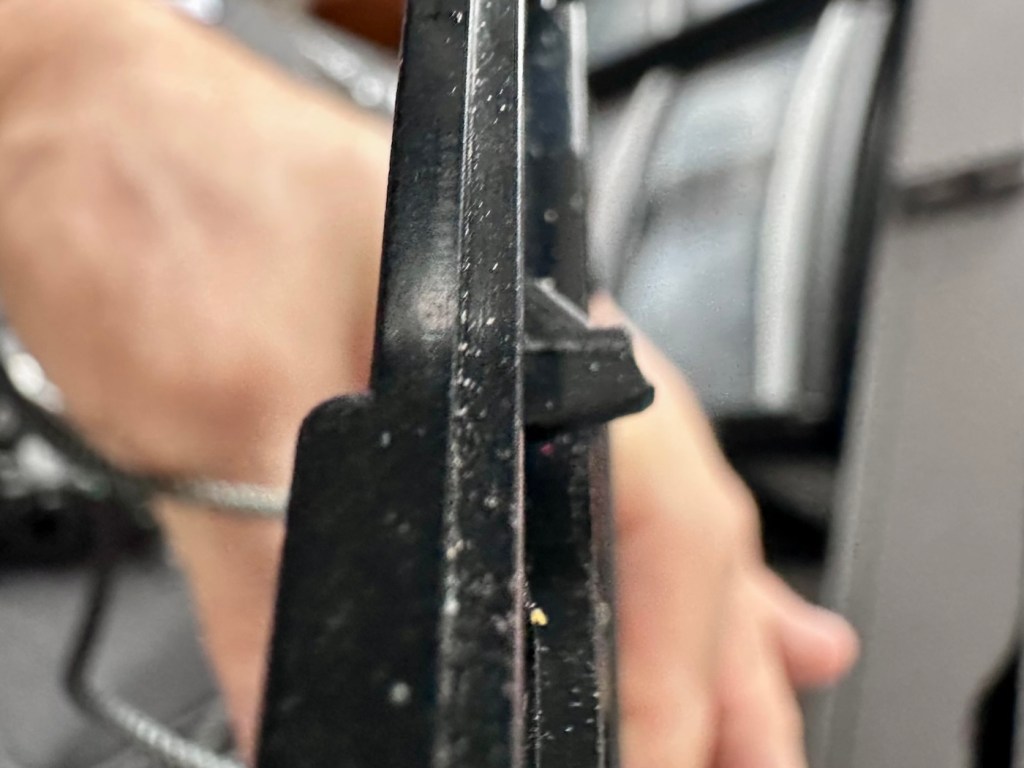
I have also noticed whilst testing the advance lever and shutter, that the take up sprocket moves freely in either direction, and this shouldn’t be occurring. The sprocket will wind the film onto the film collection point and then remain set, not allowing film to roll back and maintaining a taut film base across the rear of the shutter. It appears the rewind button at the base is pushed in permanently, and this would allow free movement of the sprocket whilst rewinding the film after use. There is an issue here that needs addressing.
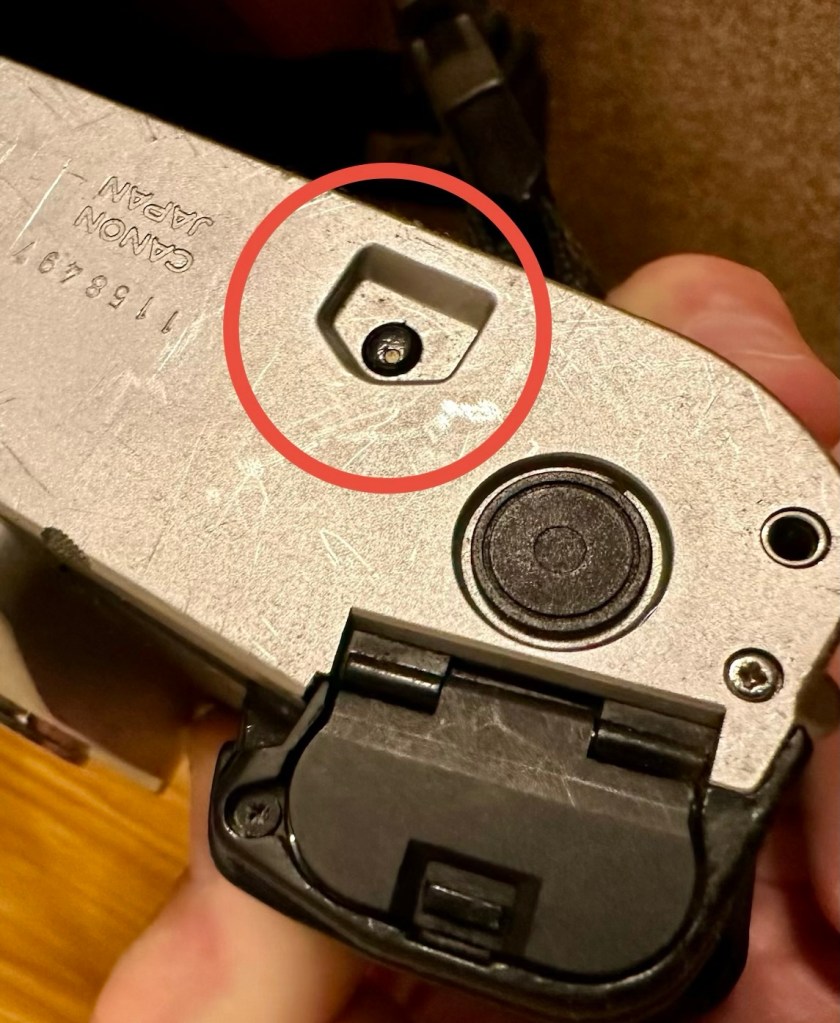
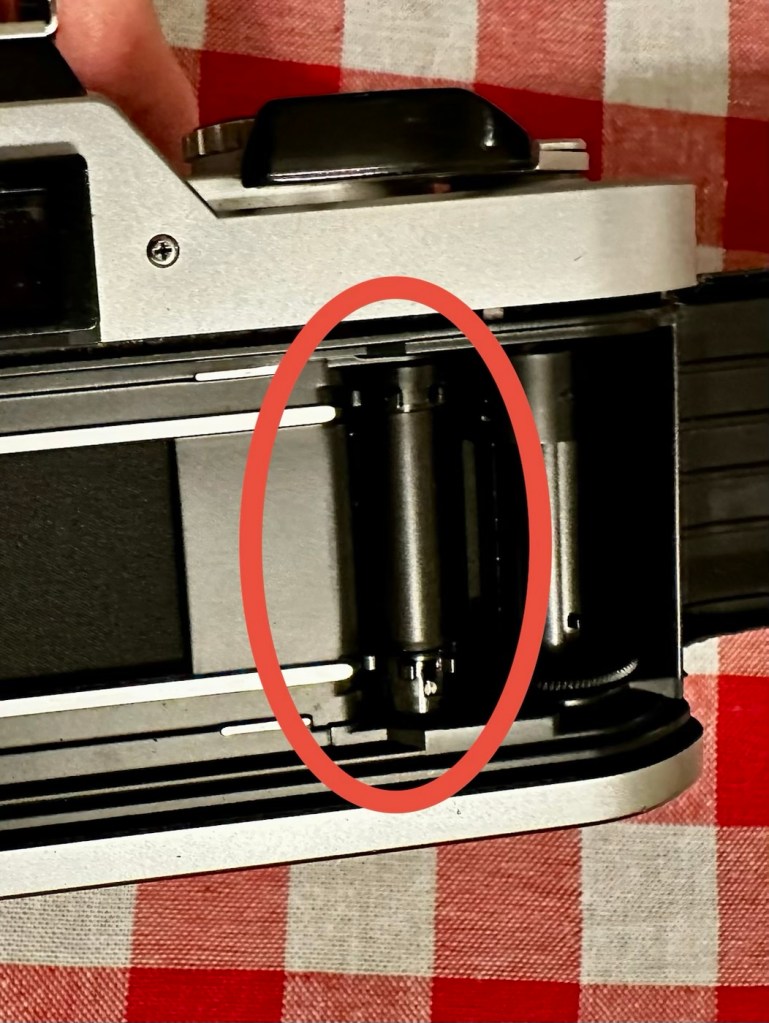
The camera itself is in a good condition cosmetically and considering its age, approx 43 years old, its condition is quite acceptable.
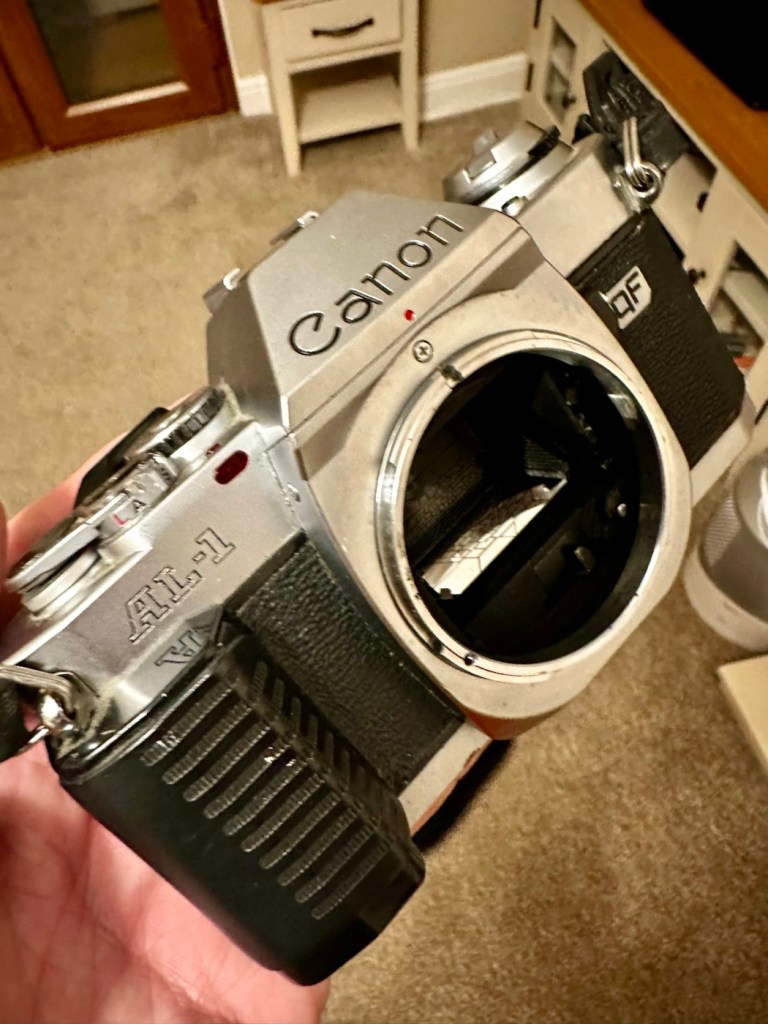
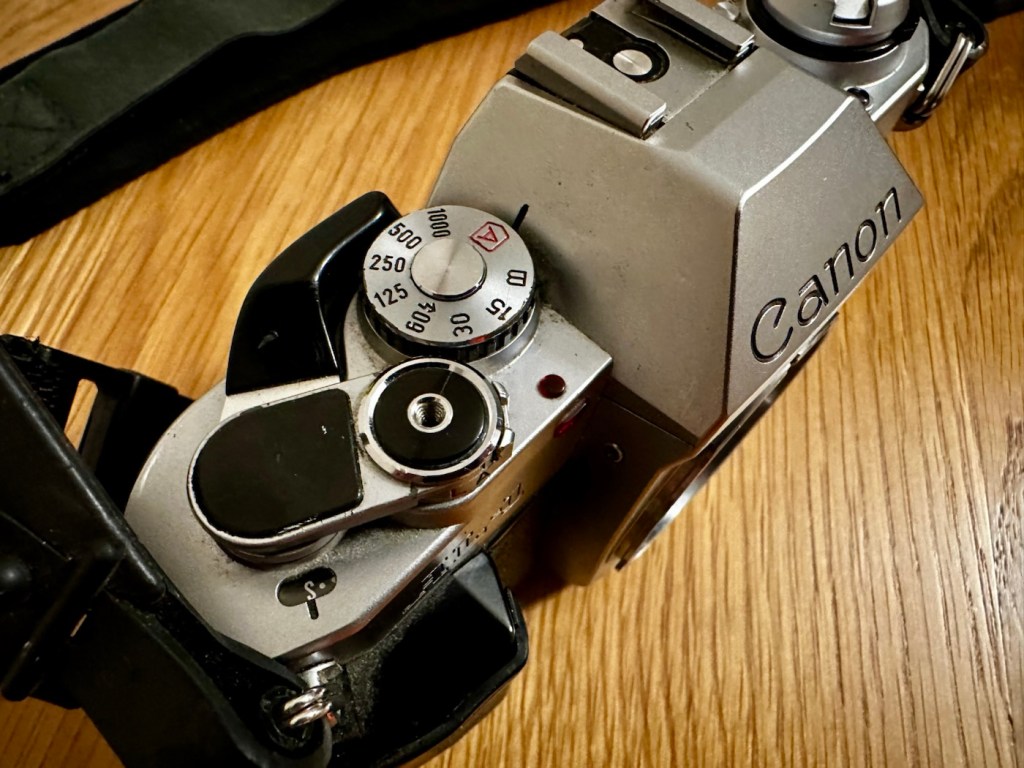
It is however very dusty and dirty and will need quite a deep clean.

I shall be leaving that big lens to one side for the purpose of testing, and will be using a standard 50mm FD stock lens for ease of movement.

Repair:

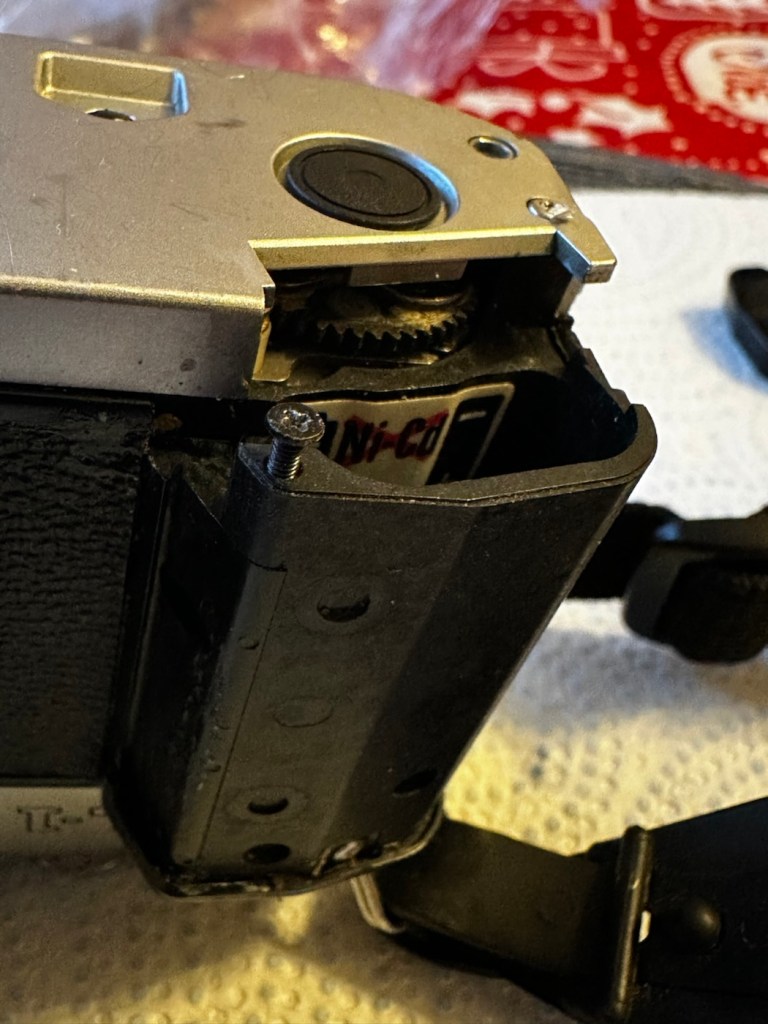
As we need power before we can do anything, my only option is to head straight for the battery chamber. I’m going to have to take the base off of the camera as there are a couple of issues that require its removal. The first will allow me a good unhindered access into the battery chamber and allow removal of the battery door that is contaminated with either battery acid or oxidisation. The second will allow me to attend to that take up sprocket issue and the depressed rewind button. I may even do some light cleaning and lubrication within this area.

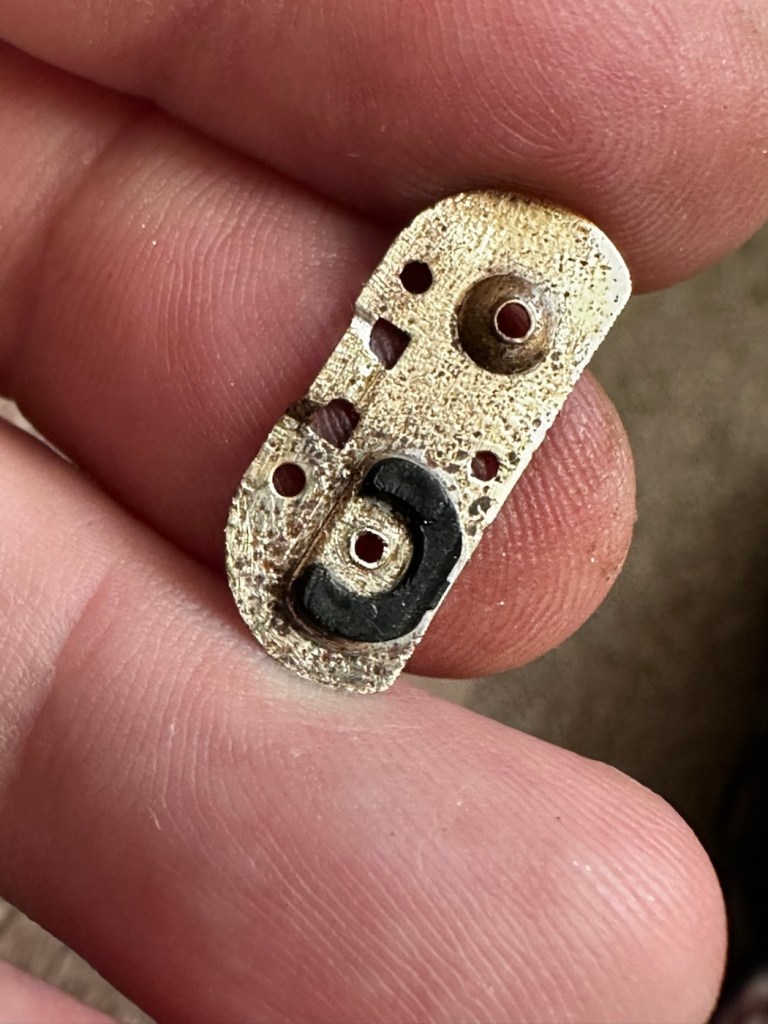
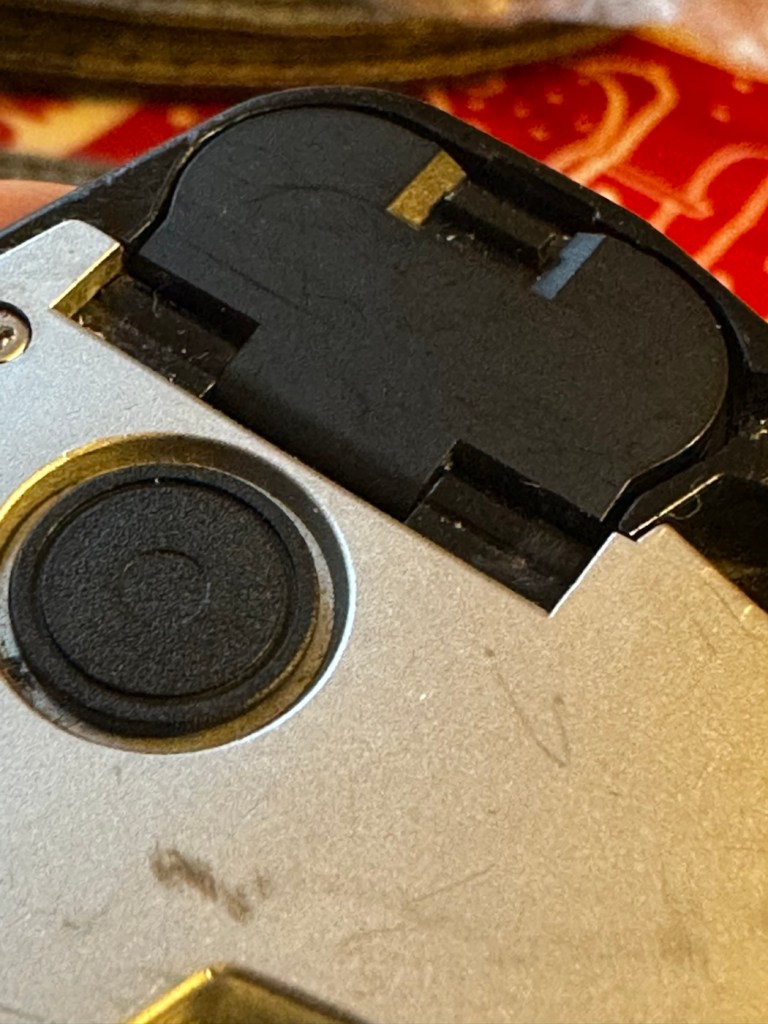
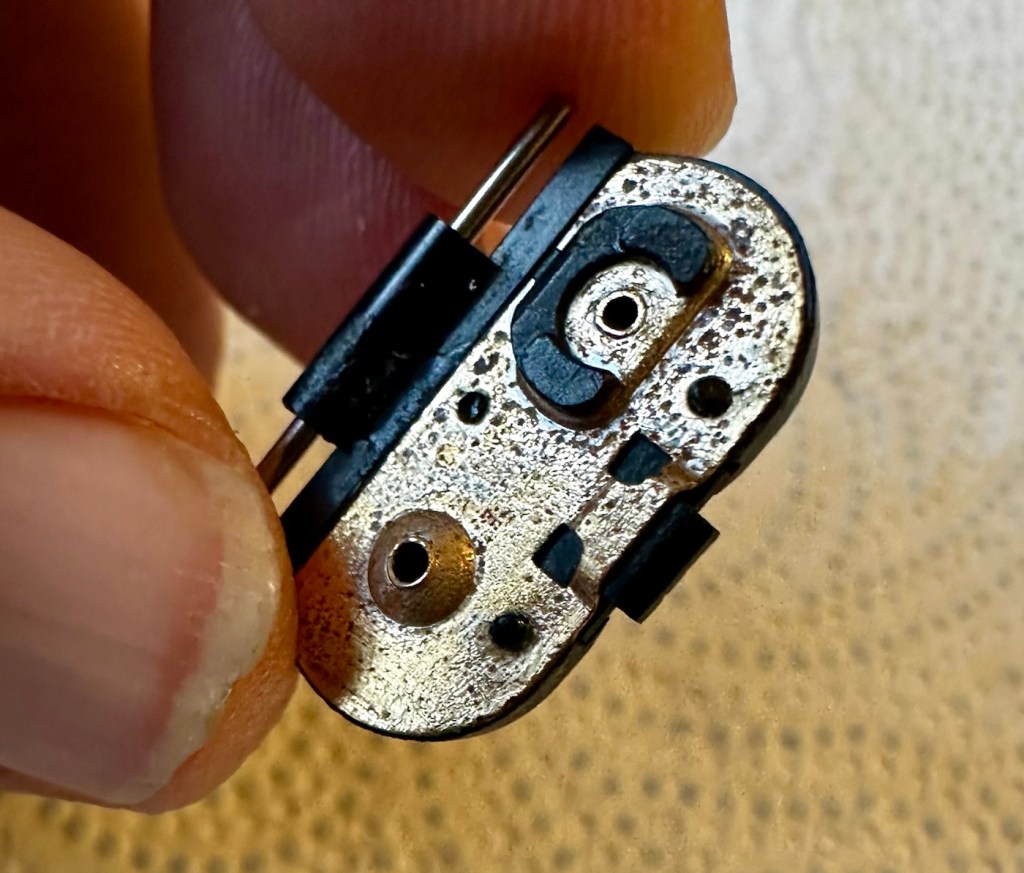
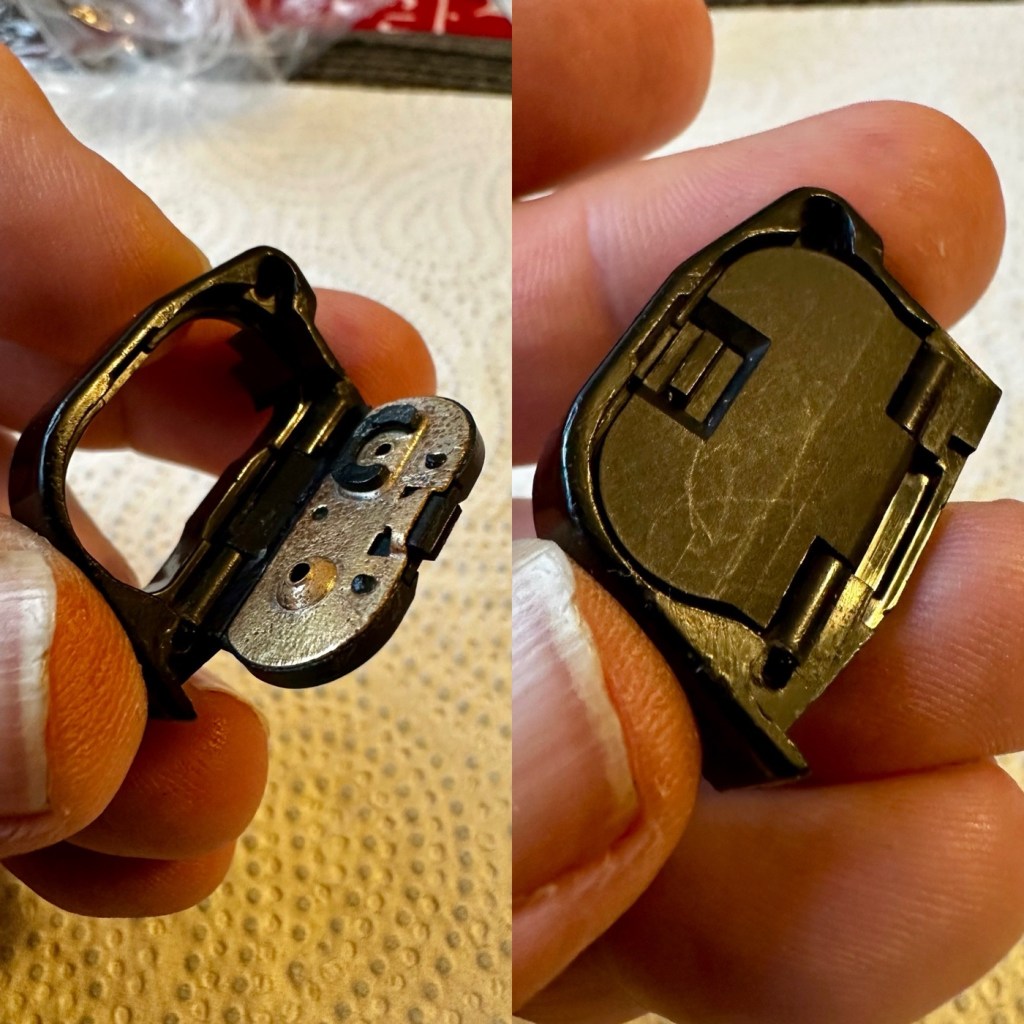
These cameras are notorious for the issue around the battery door failing. It has always been a problem around the latching mechanism, it fails and there are then a number of options to secure it ranging from elastic bands to custom made pieces of metal to sit on the base. There is a German company offering a 3D printed option for a replacement but it comes at a price in the range of three times the amount that I paid for the camera, so I won’t be venturing there. My battery base door does seem to be ok at the moment, the latch appears to be ok, the only issue being that the metal contact plate has come off the plastic door frame, as it was only held on with three plastic welds. It does allow me to clean the plate somewhat, however I now have to consider how I put it back into place, either I reweld, glue or screw. I could always use a Canon power winder that would also solve this issue. If I had the space at home and could set up my own 3D printer that I have had at home since my birthday earlier in November, boxed up in the corner of the living room, then maybe I could print my own? Either way I need the door free from the camera so as not to cause any further damage to it.
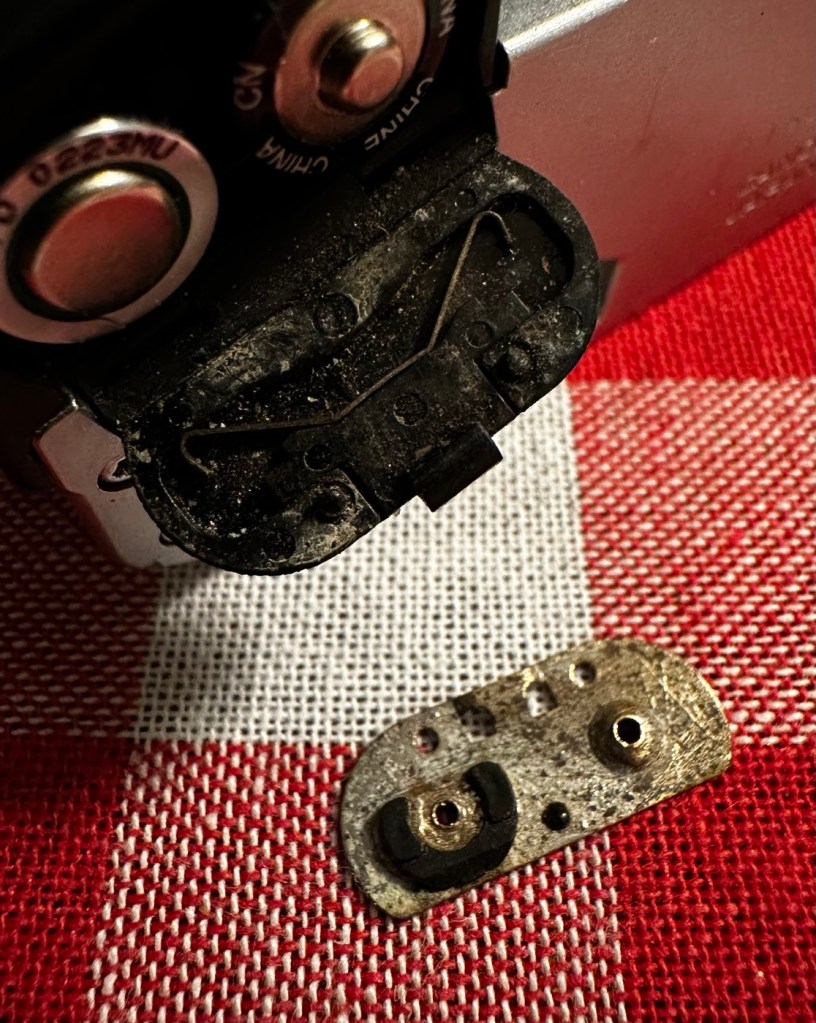
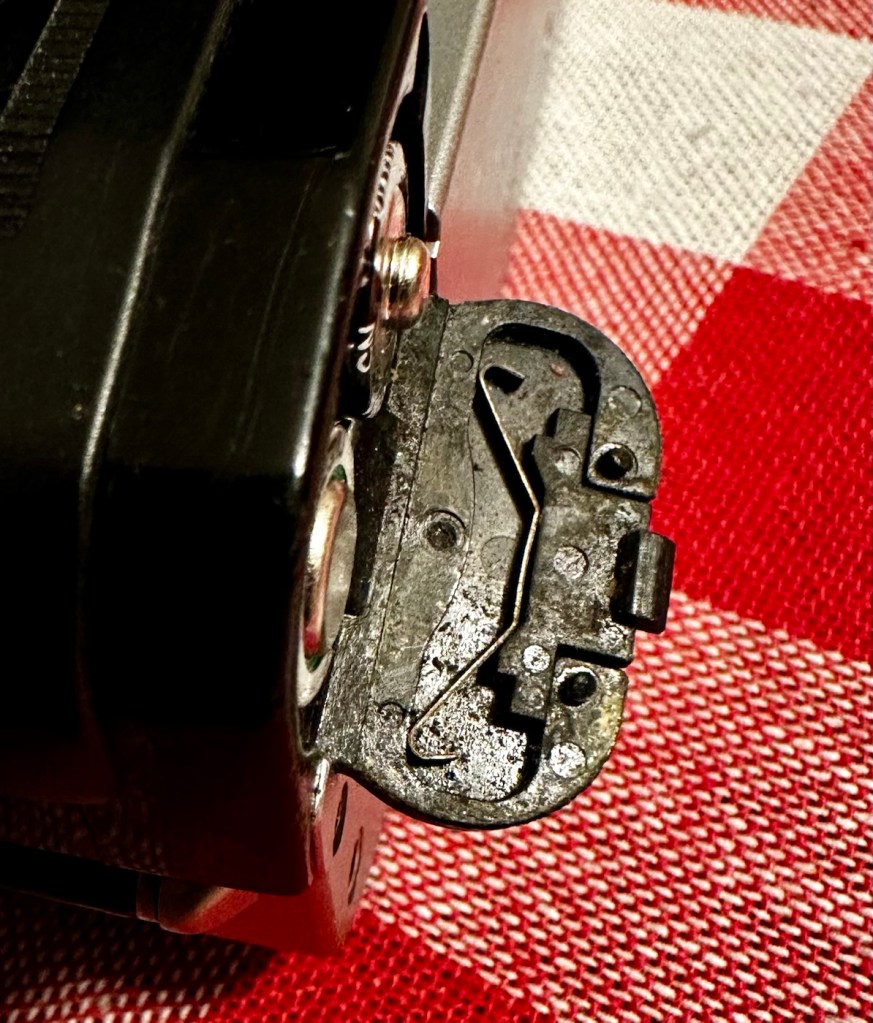
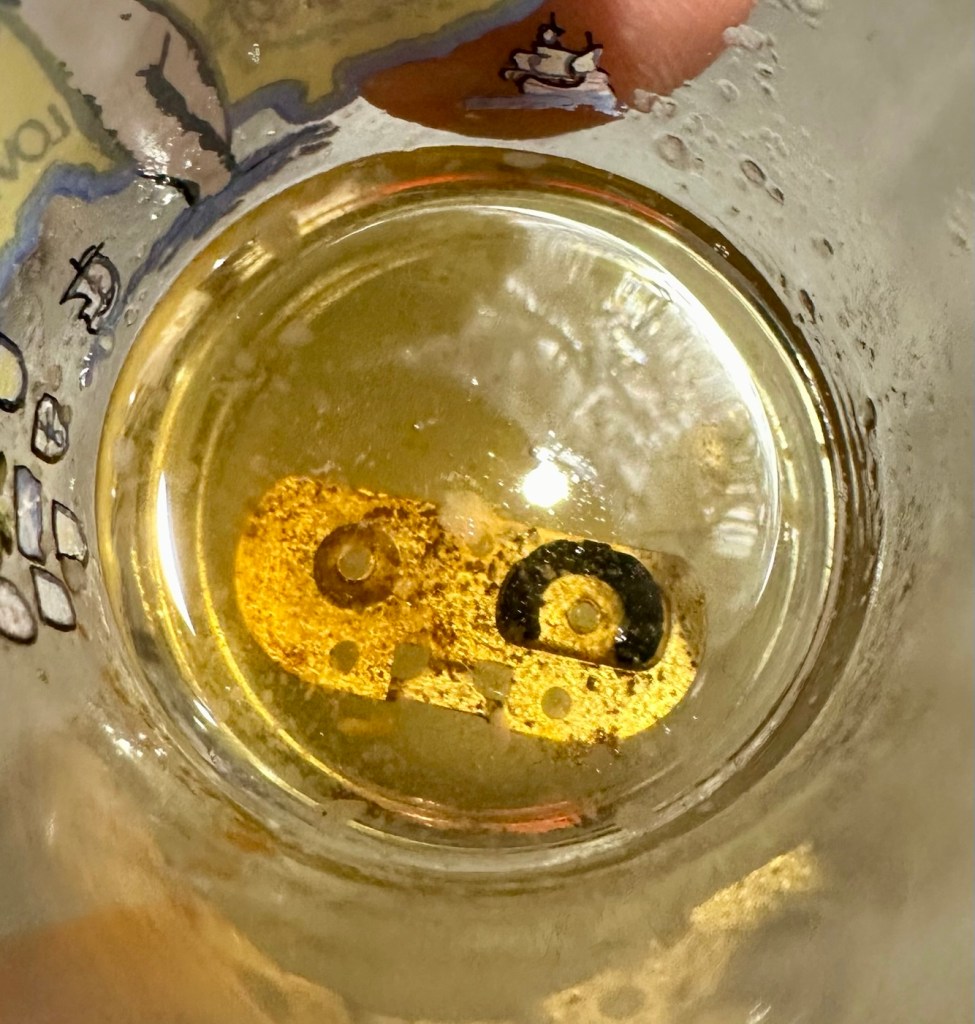
I have given a clean to the oxidised plate, by soaking it for a few hours in vinegar, that has lifted a lot of the dirt and oxidised material. I have cleaned it with IPA and then tested its continuity with a multimeter and the plate does have a good continuity across most of its surface. I’m going to just give a final buff with some fine sandpaper to improve its appearance and to ensure continuity across its surface is as good as it can possibly be. When I have achieved that, a good clean of the inner door and latch and spring will be carried out prior to its reassembly.

I’ve had the base off of the camera so I can carry out some maintenance to the battery rewind button and the top of the battery chamber. The battery door has been removed, cleaned and will shortly be reassembled and put back into place.
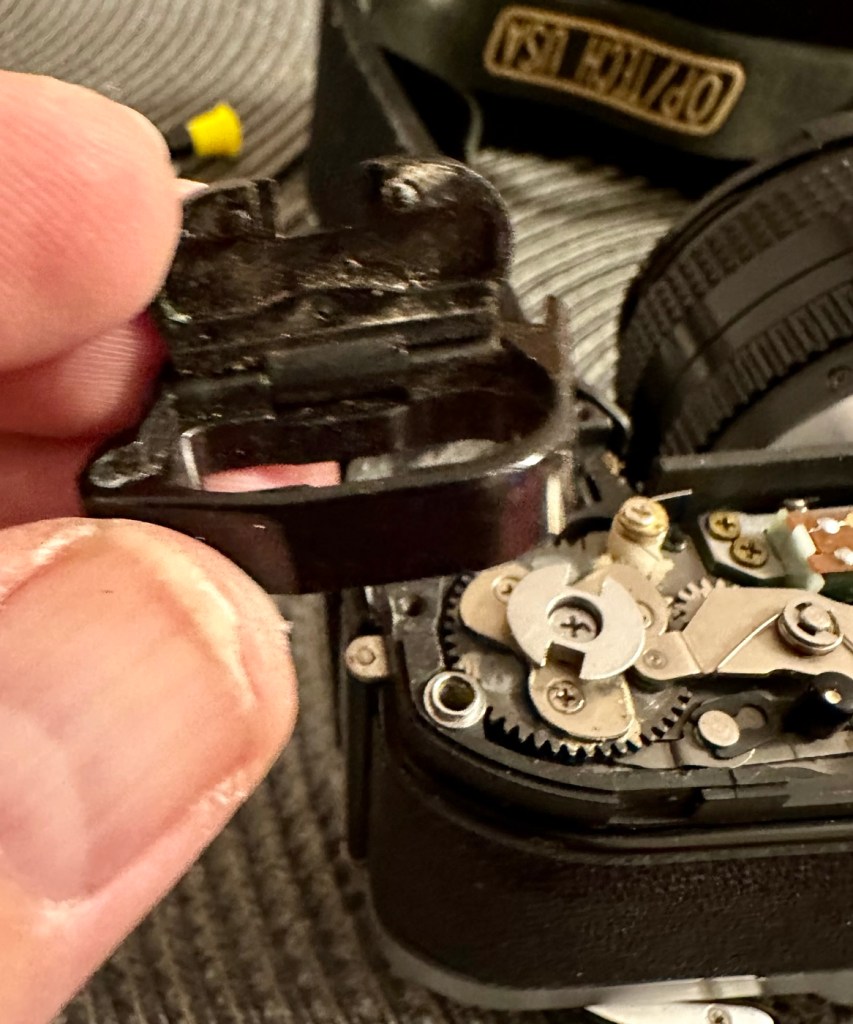
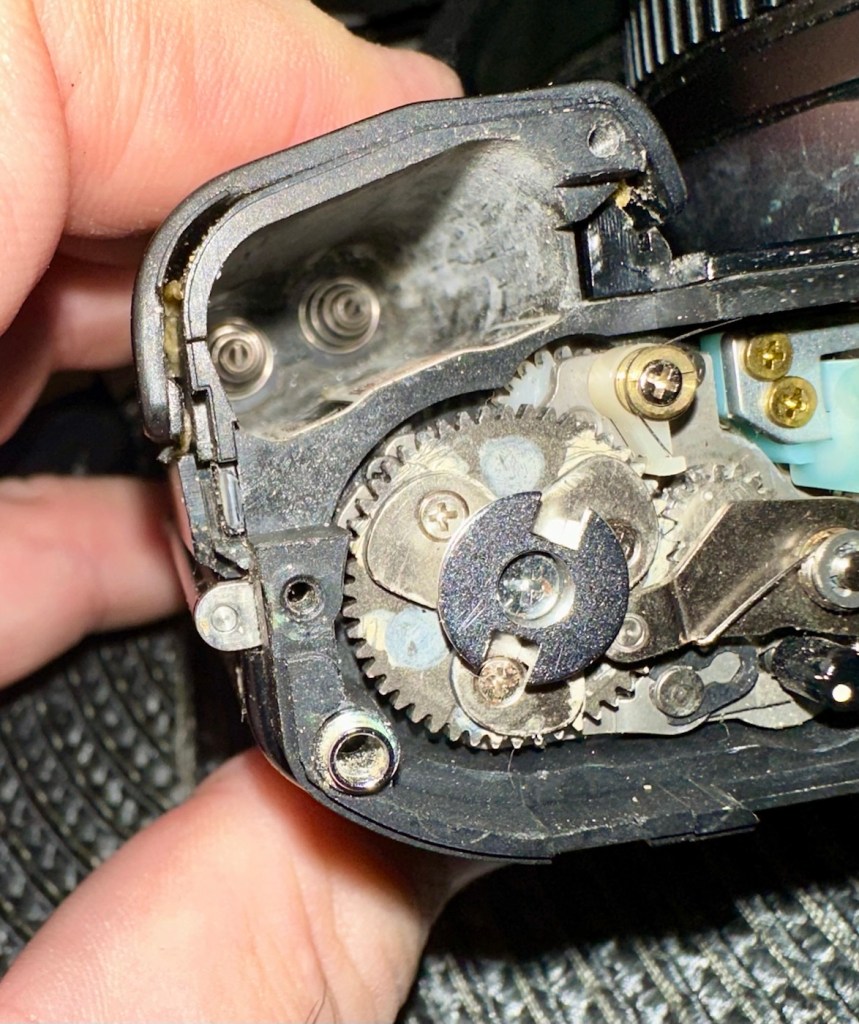
The rewind button is confusing me as it looks as if nothing is wrong, but I’m sure it is. I have made some minor adjustments to tension screws and the spool rewind without any improvement. I’ll come back to this later.
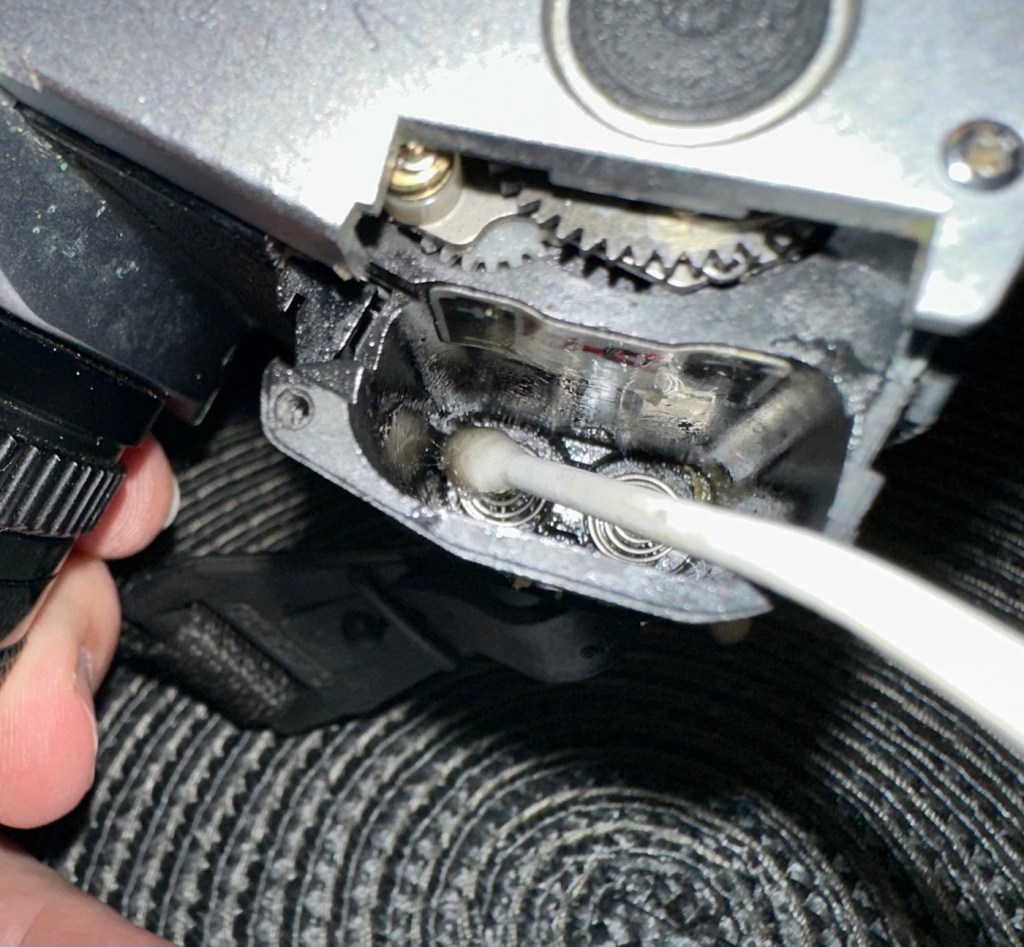
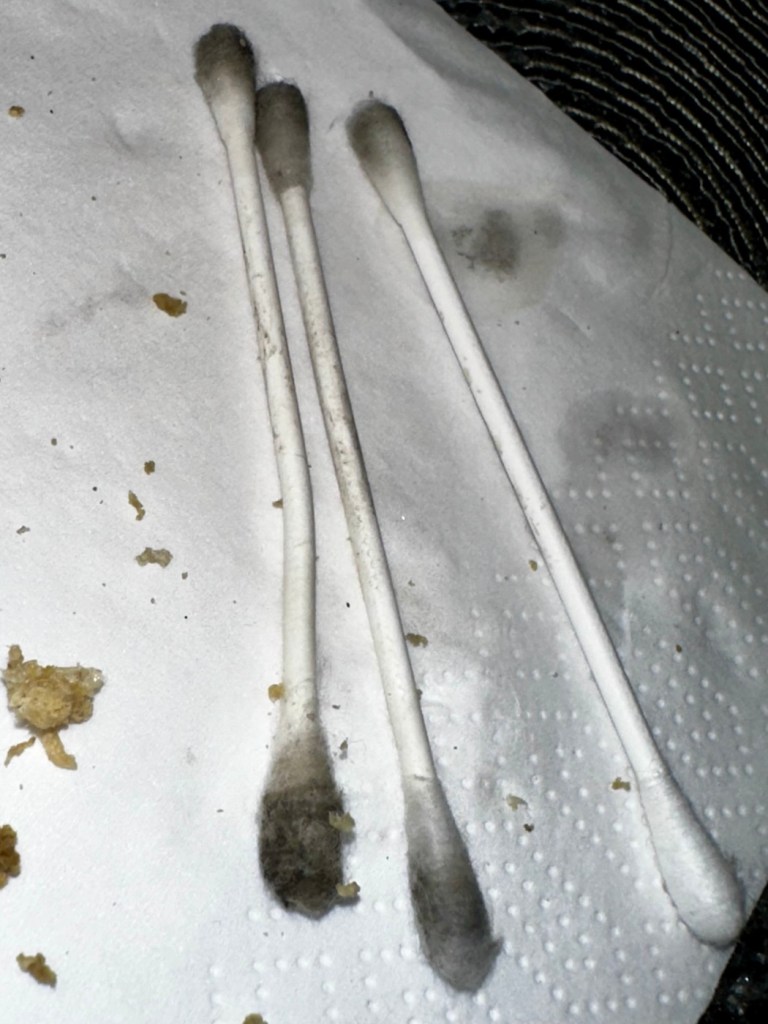
I have affixed the metal battery plate to the battery door using a small amount of superglue. I have bent the door latch spring a little to give it a bit more strength allowing the door latch to click into its stop position a lot more securely, hence the batteries will not be able to force the door open as they did previously.
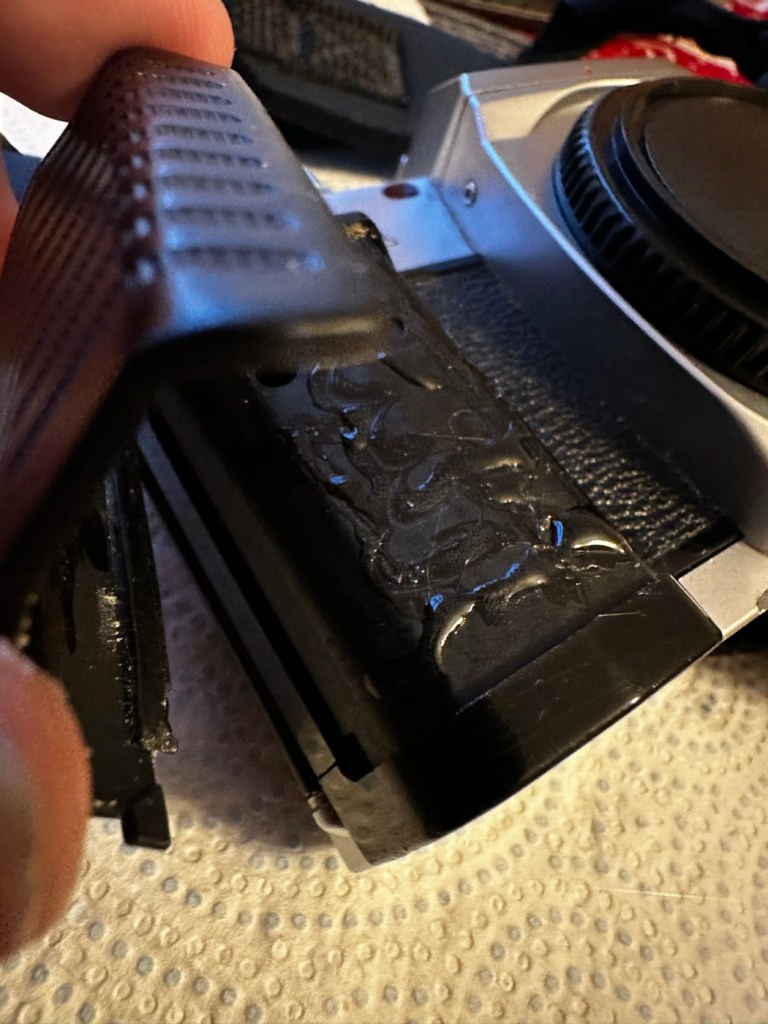
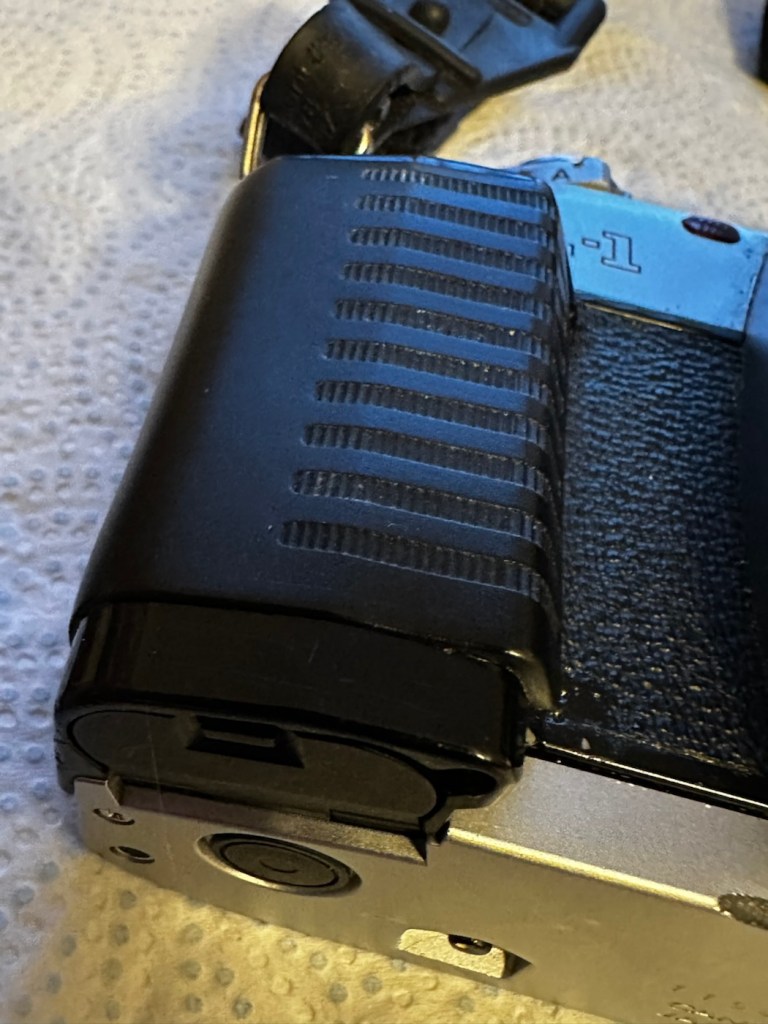
Next thing is to get the rubber hand grip back in place. For this I have used some contact adhesive.
I’ve rechecked what I thought was an issue with the film rewind button, and it isn’t a problem, it is working absolutely fine and as it should be.
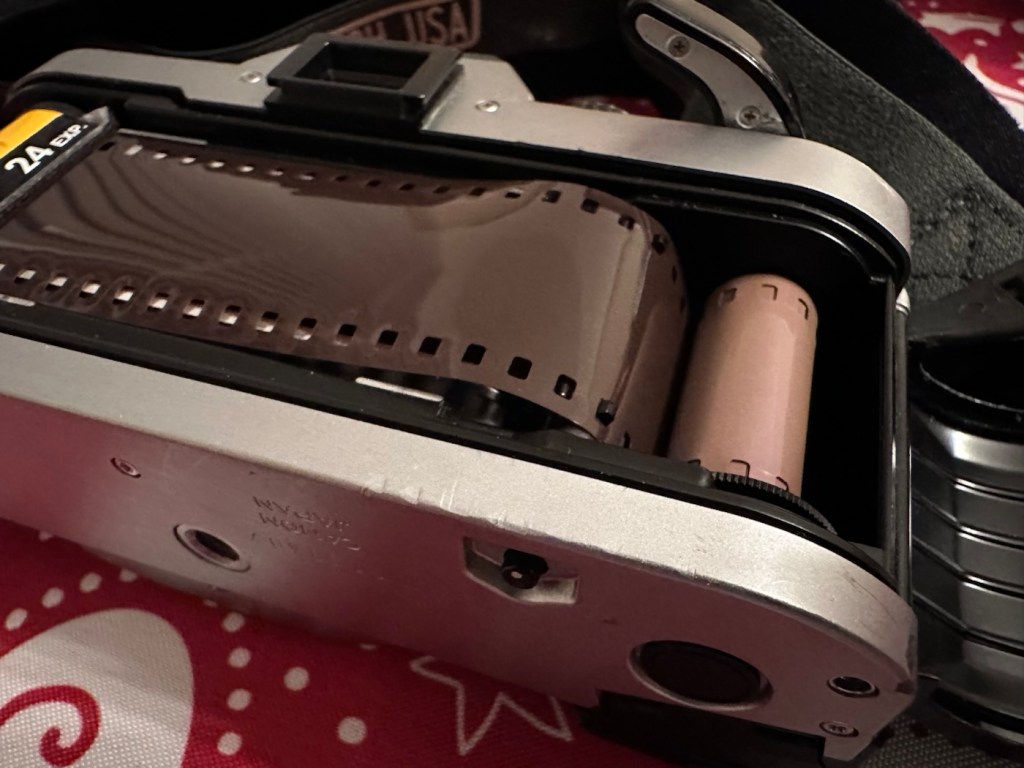
Test roll to prove rewind works

I’ve used an old test roll of film and as soon as the film is in place and winding, the bottom button pops out In theory locking the rewind spool so that it only winds towards the take up spool. When the base button is depressed, it clicks and allows you to rewind the film back towards the spool, it is working fine and was never an issue.

So the final job to do on this camera is to replace what is left of the light seals. There are eight pieces that need replacing on this camera, first I will hook the old seals out with a cocktail stick, I will then do this again with IPA to clean and remove the remaining bits, prior to cutting and installing the new seals.
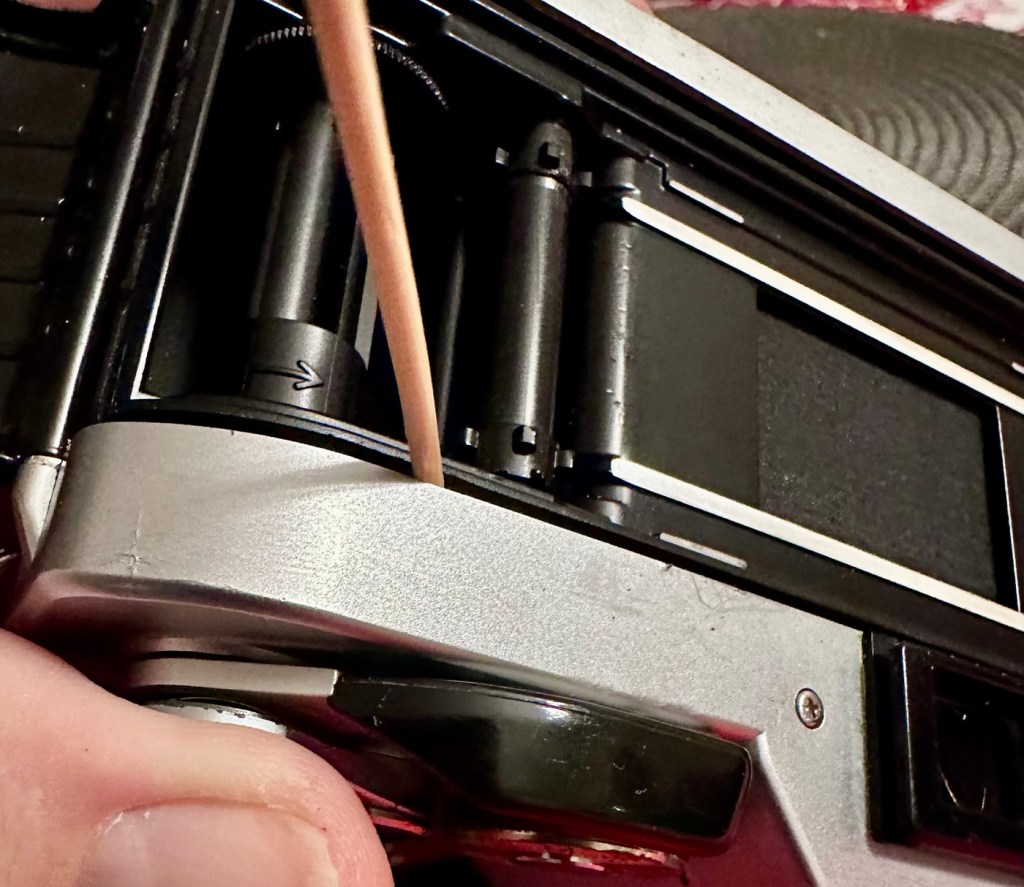
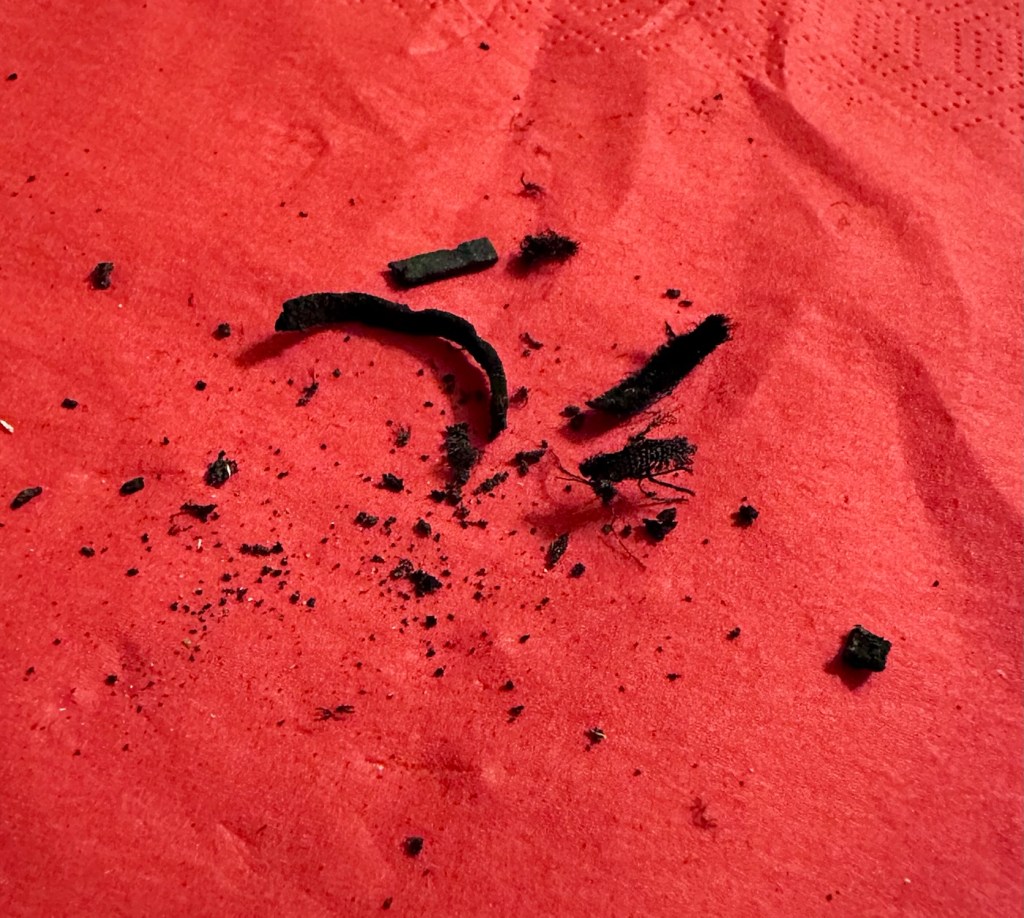
The light seals have all been replaced.
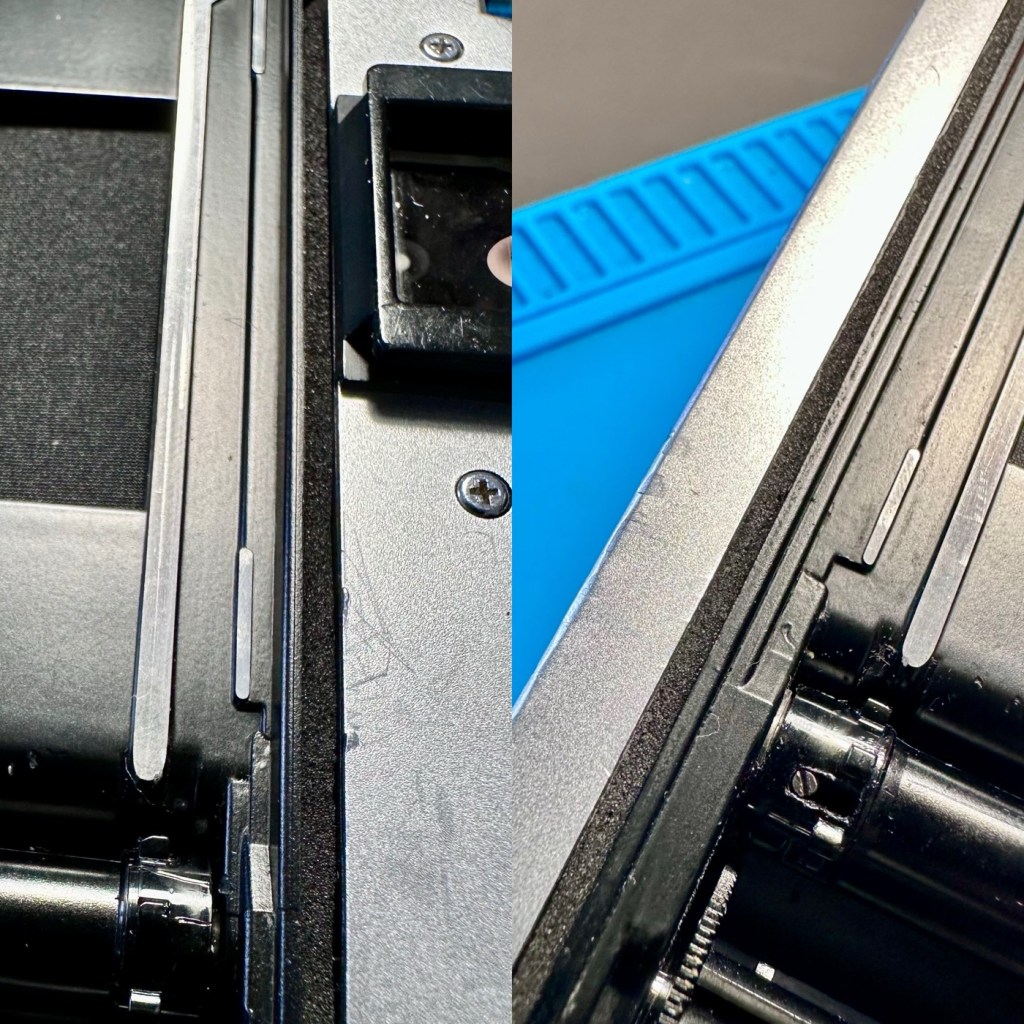
New light seals installed

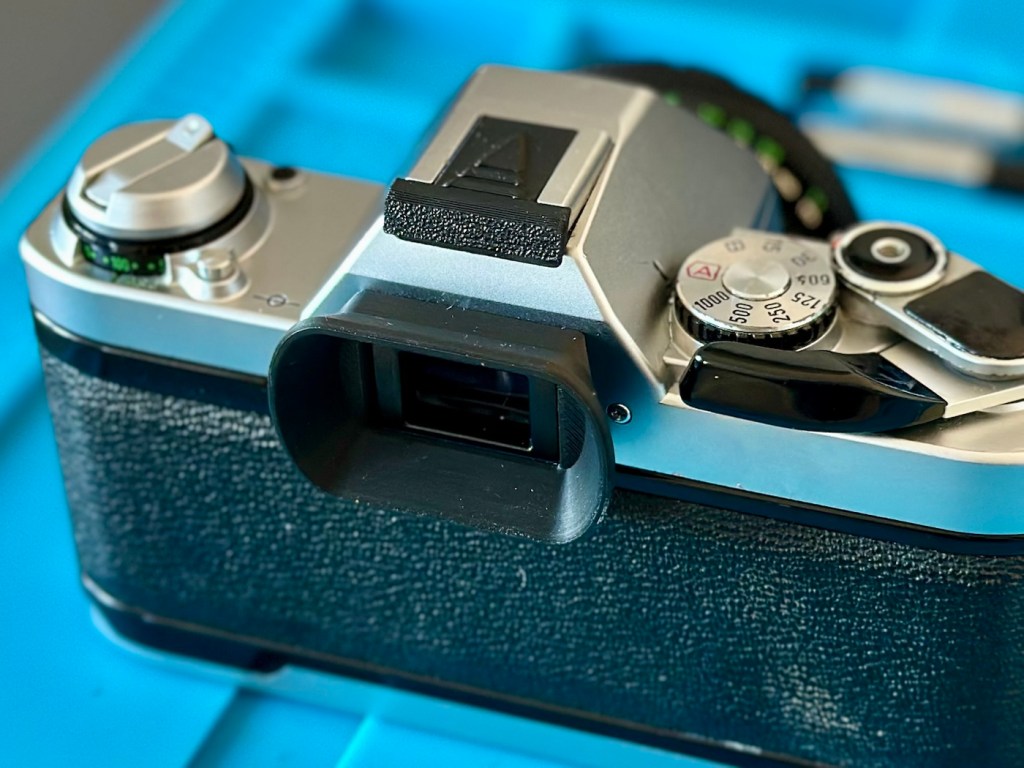
To add a little bit of a finish, I have also 3d printed a hot shoe cover and an eyepiece. It tidies things up a bit.

This camera is now repaired.

Result:

I love the quick focus on this system as there is no split screen focus. Just focus in the direction of the arrows in the viewfinder and when in focus you get a green circle 🟢 brilliant. I just love seeing the development of new systems that were being used in these old cameras that today are just taken for granted. There was so much invested into R&D in those days.
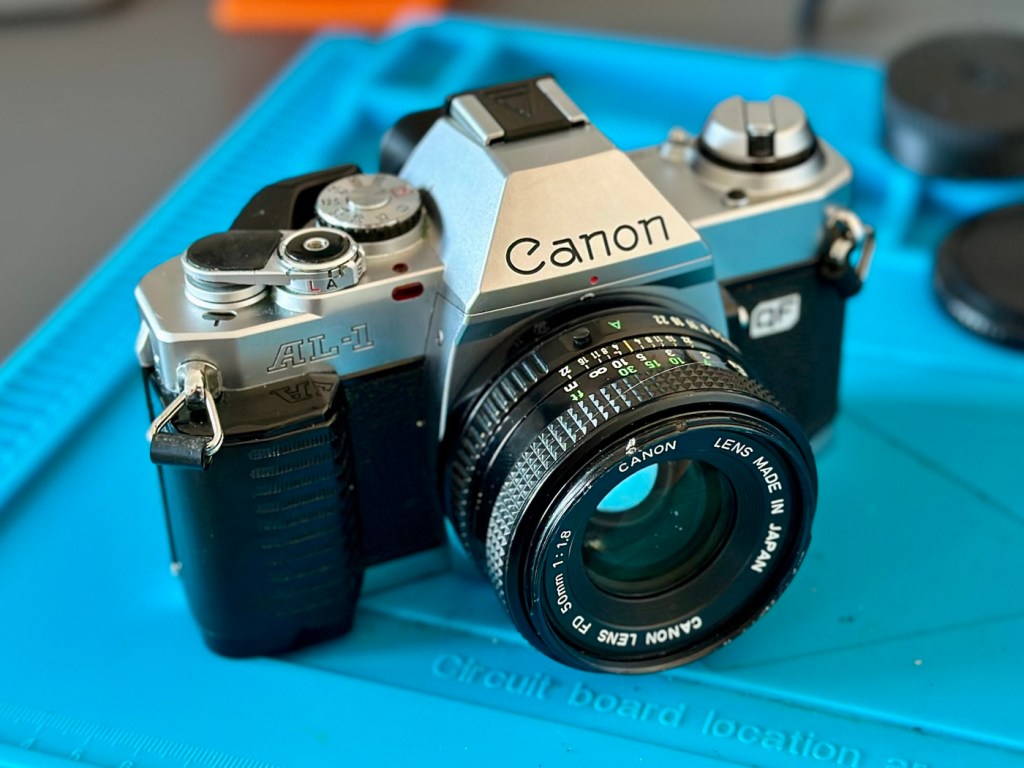
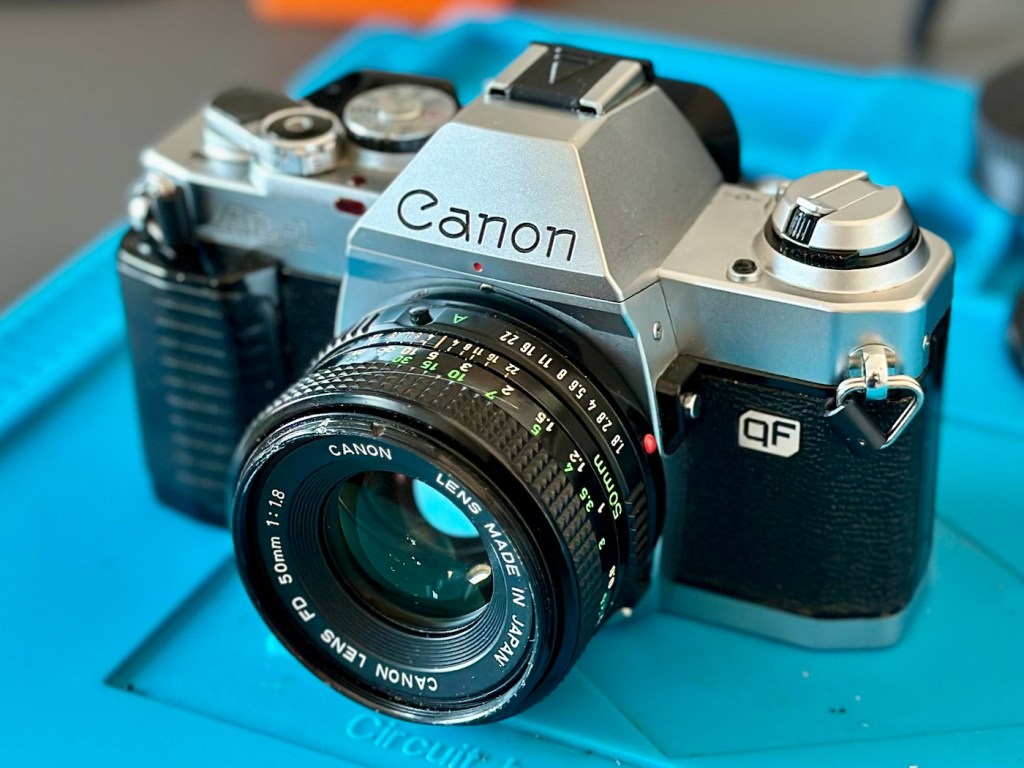
Another old timer from the early 80s given a fresh lease of life. Another one out of landfill and back into use doing what it was built to do. I love these old cameras.

Many thanks for passing by. Always very much appreciated.
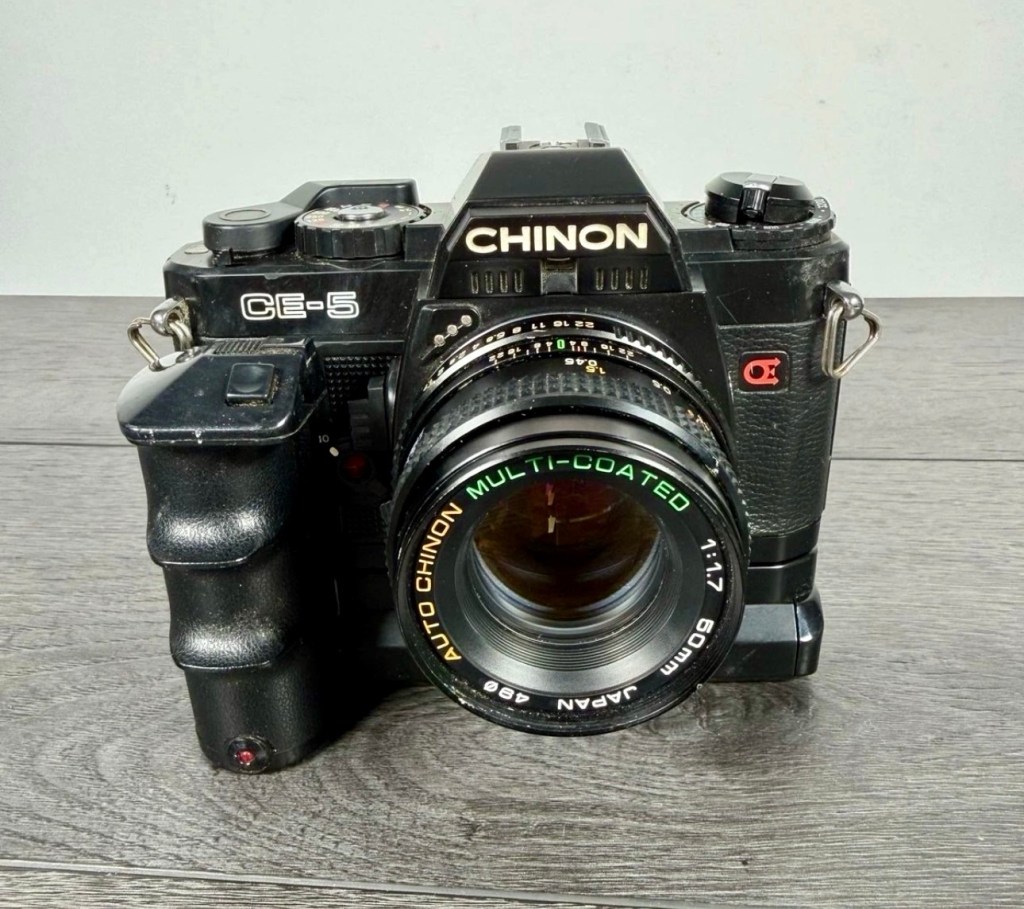
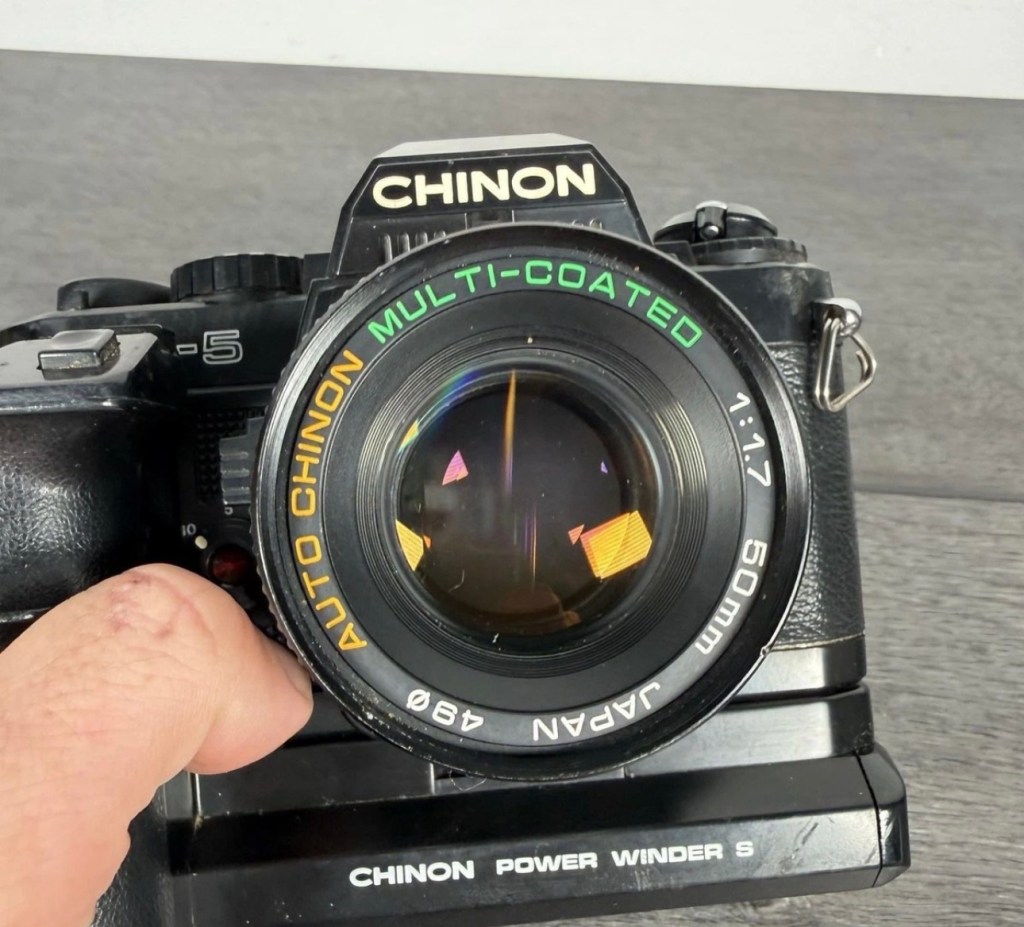
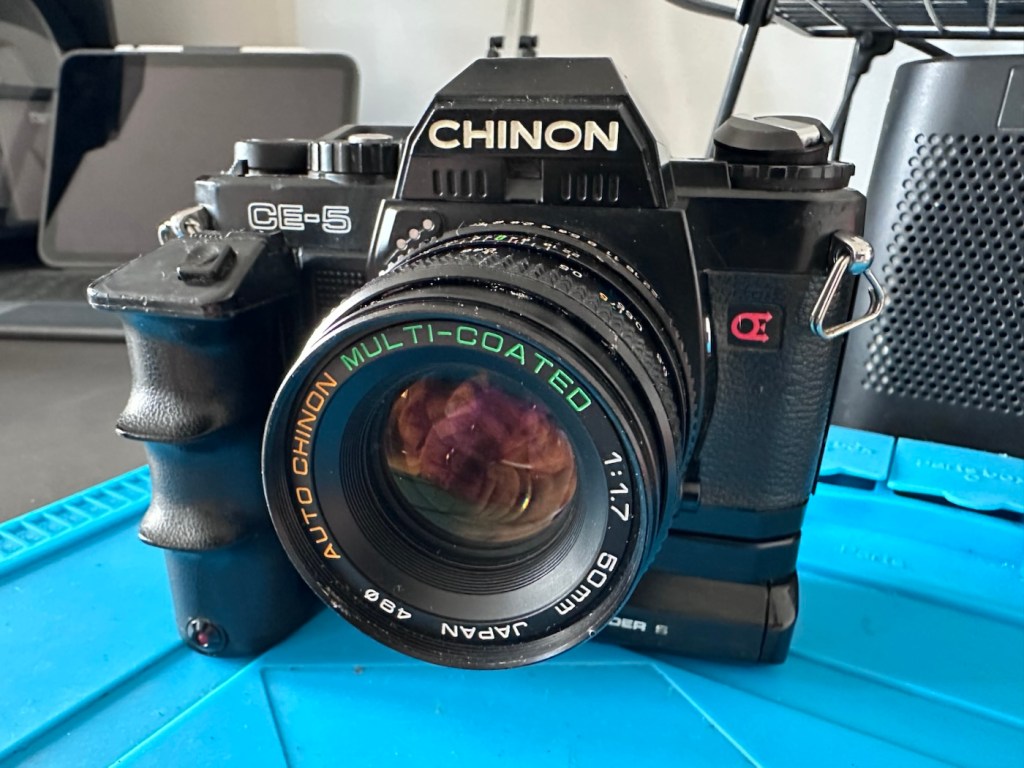
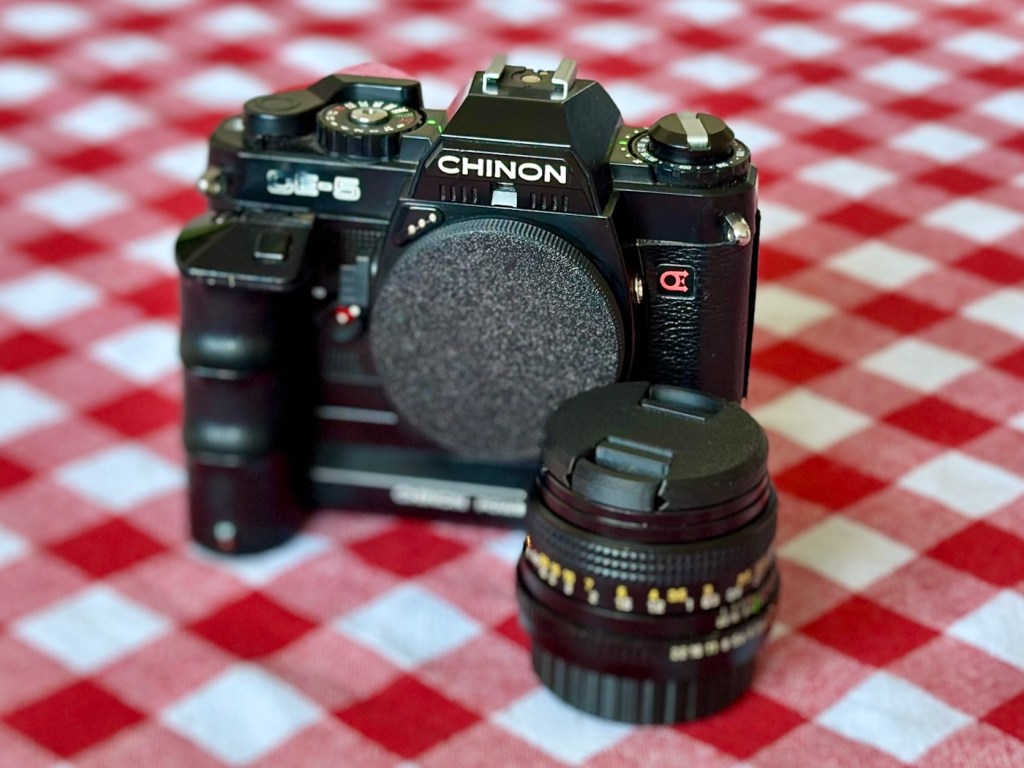
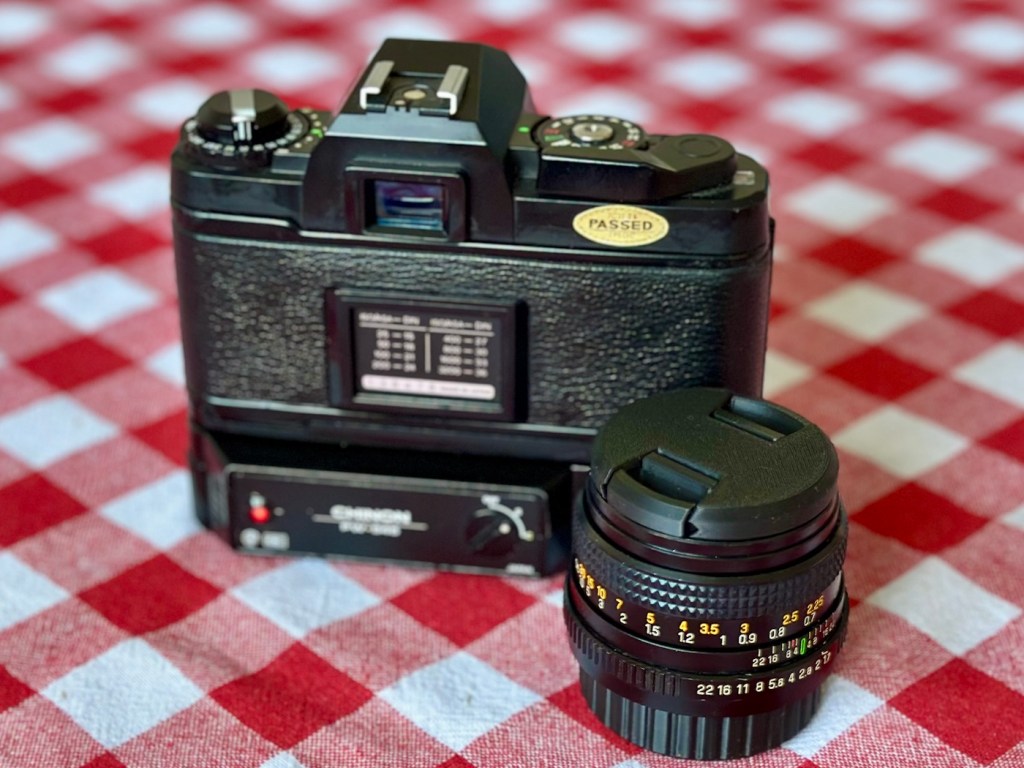
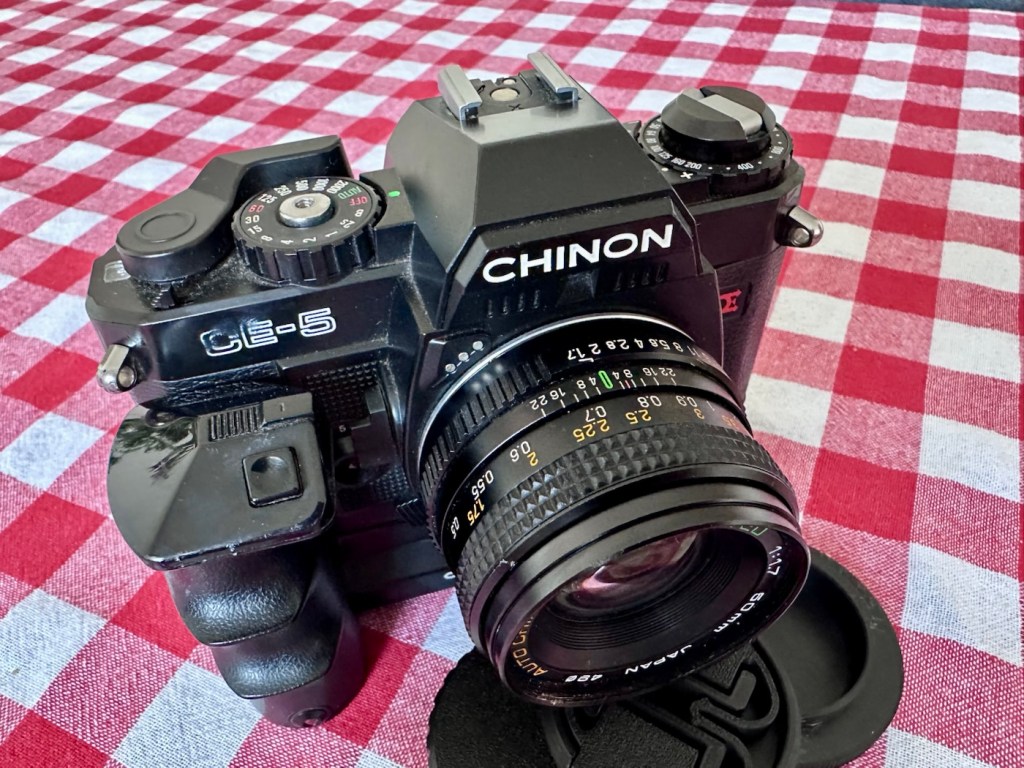
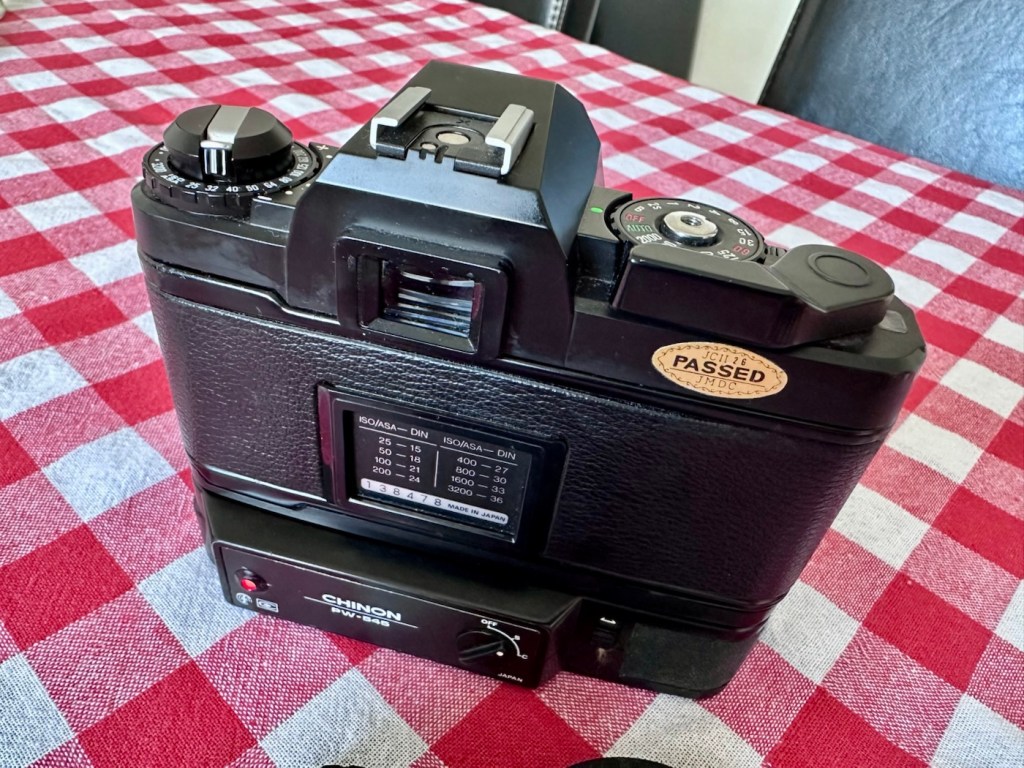
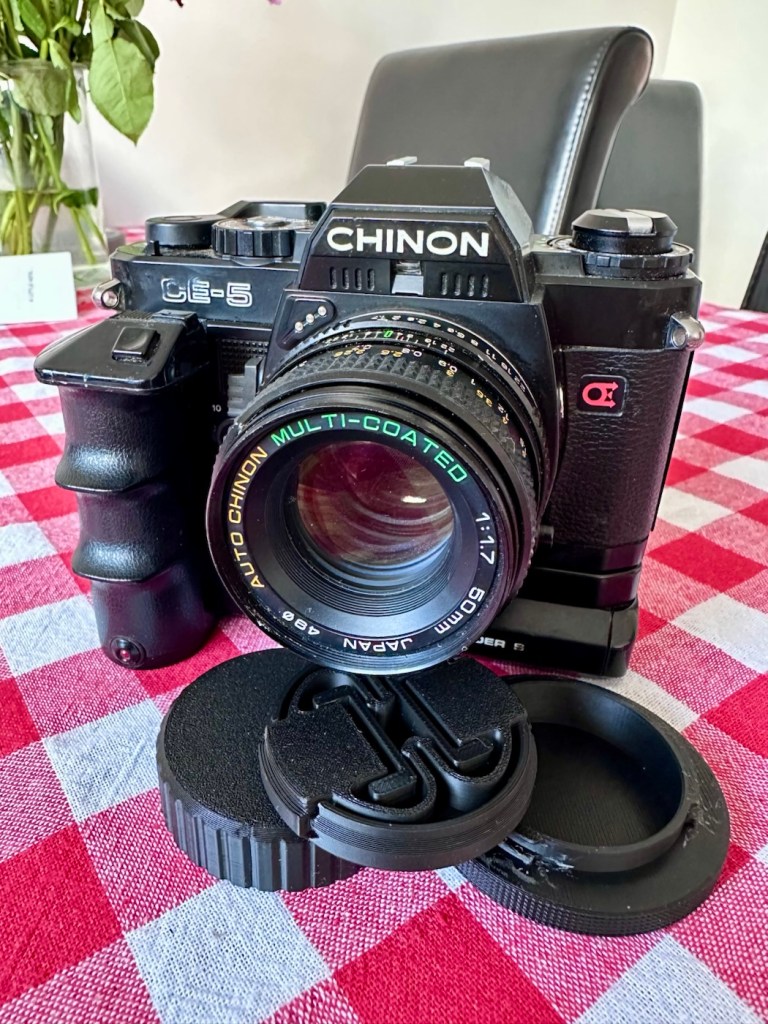
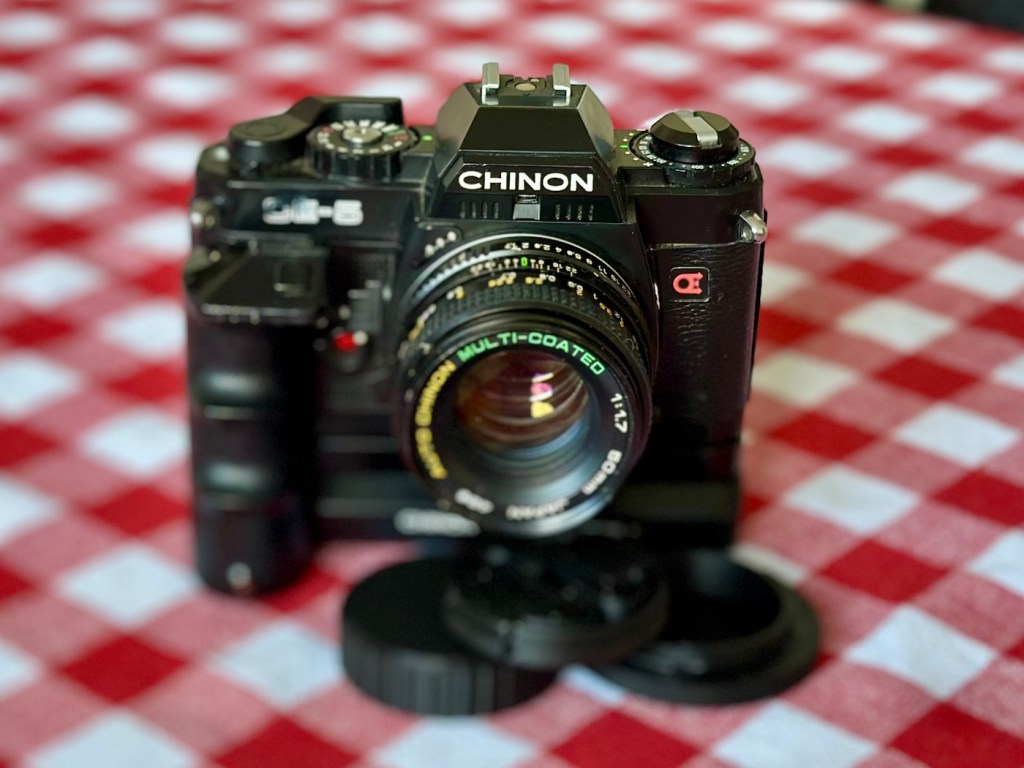
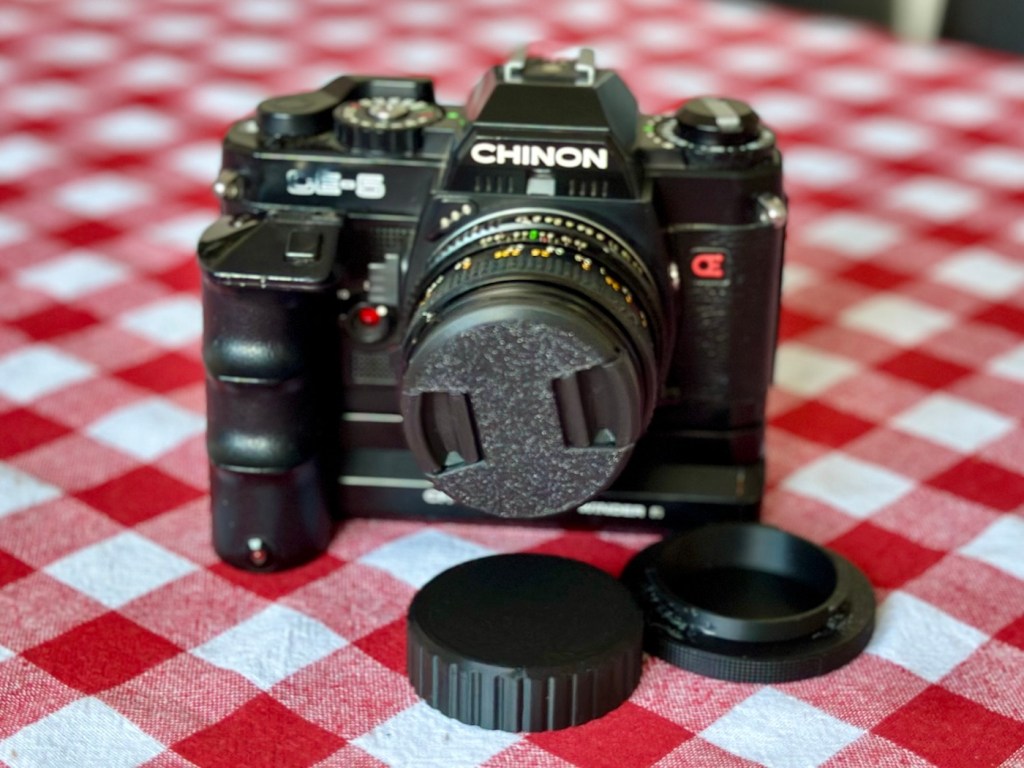
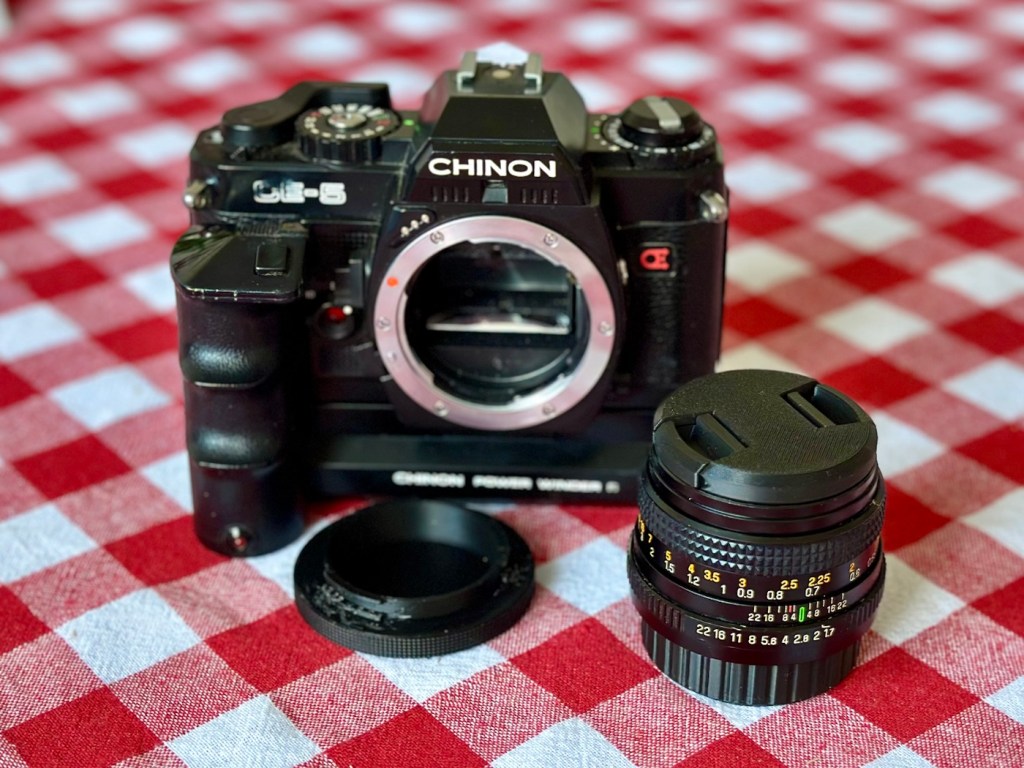
Chinon CE-5 35mm SLR and power winder

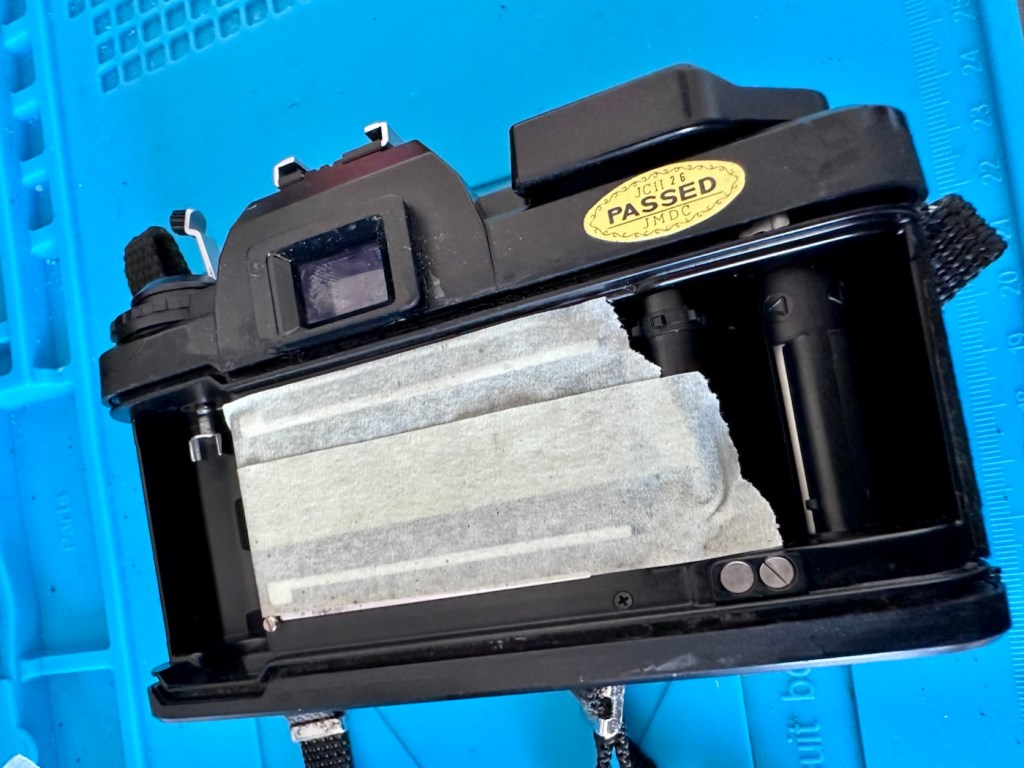
A heavily damaged Camera from 1981/2 needs some serious care and attention. A Chinon CE-5 35mm SLR.

Here’s what the listing stated:

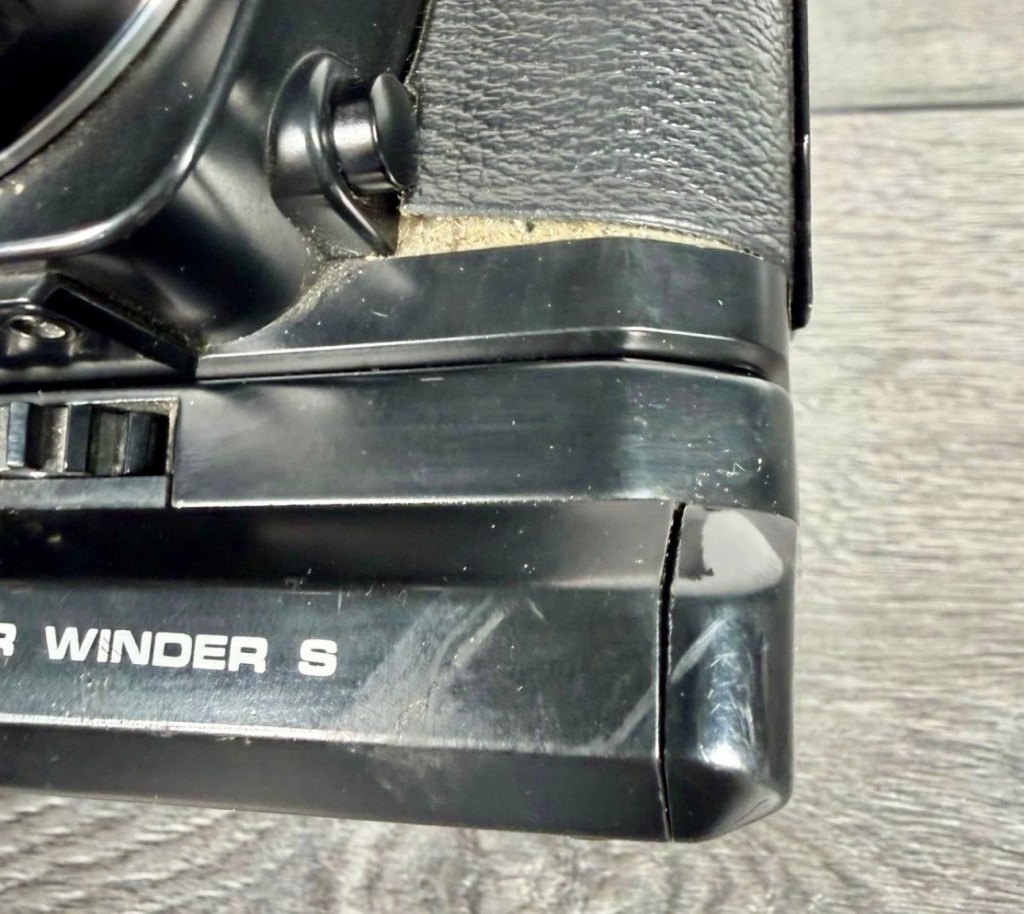
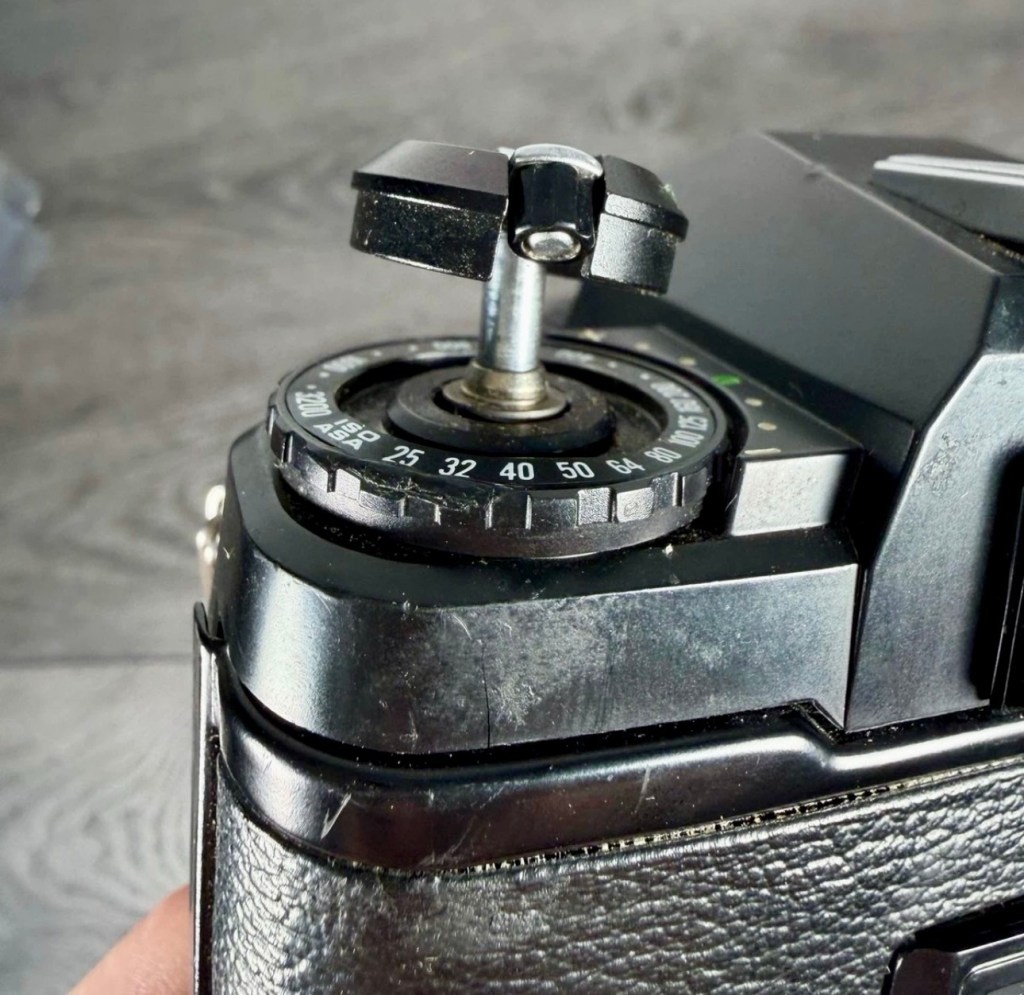
Please review all photographs carefully as the images form part of the item description and provide the best representation of the items cosmetic condition & any included accessories Any significant flaws or relevant information will be shown below if applicable. Camera, lens and power winder are tested and working. Body and power winder show scuffs, scratches and paint wear to edges and base. Film rewind crank is damaged/loose and sits high on its spindle at a angle Light seal foam around the film door shows ageing and residue. Lens glass is clear with light dust only. Supplied as camera body with fitted 50mm f/1.7 lens and PW-545 power winder only; no caps, strap, batteries, film or manuals included. 

Brand: Chinon

Model: Chinon CE-5 35mm SLR film camera.

Colour: Black metal and plastic body with black leatherette grip panels and matching black power winder.

Type: Manual focus 35mm SLR film camera with pentaprism viewfinder and built-in light meter.

Format: Uses standard 35mm/135 film cartridges loaded via the rear-opening film door.

Lens: Auto Chinon Multi-Coated 50mm f/1.7 prime lens with aperture and focusing rings plus 49mm filter thread.

Focus: Manual focus operation through-the-lens optical viewfinder with focusing aids.

Exposure: Auto exposure and manual exposure modes with selectable shutter speeds and aperture control.

Features: Built-in light meter, hot shoe for external flash, self-timer, ISO/ASA speed dial and compatibility with electric drive units.

Power: Designed to be powered by batteries for the camera electronics and PW-545 power winder (batteries not included).

Included: Chinon CE-5 35mm SLR camera body, Auto Chinon 50mm f/1.7 multi-coated lens and Chinon PW-545 Power Winder S motor drive only; no caps, strap, batteries, film, case or manuals are included.

Country of origin: Camera and lens marked Japan.

Keywords: Chinon CE-5, 35mm SLR film camera, Auto Chinon 50mm f/1.7, PW-545 Power Winder S, manual focus, auto exposure, Japan

EBay

Probably one of the most descriptive listings I’ve encountered on EBay. This alone gave me some confidence in making this purchase, as rather than the standard “Not working” non descriptive listing, I actually have a good idea as to what the problems are here, and they can also be seen in the photos in the listing.

These units were on sale between 1981-82 in the Uk via the electrical goods store – Dixons. As a result, sales of this camera were probably not as good as if Chinon had gone out on a limb and promoted their own product. There was a lot of snobbery in the photo trade, and cameras from electrical good stores were looked on as “cheap” alternatives. However, they couldn’t have been more wrong as the quality was very high, maybe just a bit more plastic than some would like, and the lenses were equal or more advanced than a number of other lens brands available at the time.

I was just starting out in photography, I had my first job in 1982 at a colour laboratory in Bushey, Hertfordshire Uk at this time, and saving my money meant I was able to purchase this very combo I have purchased today for a total of £28:00GBP with free postage, after negotiating down the sellers original asking price of £39:00GBP.

Back in 1981-82, i believe the package for the lens and camera was about £110:00GBP with the winder coming in at about £40:00GBP. A total outlay of about £150:00GBP at the time. Considering I was probably only earning about £300:00GBP per month back then, it was closer to the end of 1982 that I purchased my combo, and by that time it was near to the end of its production run in the UK. There were AF lenses that were available as options that were so big they actually dwarfed the camera. The lens in this combo is the standard 50mm lens that it used to ship with. That said I loved the camera, it was easy to use, no fuss and the auto focus on the camera was way ahead of its time, even though I didn’t have the AF lenses to use. So far ahead of its time that it actually beat all the big players to the finish line. The big names caught on though and very soon they were flooding the market, the snobs were happy once again.

I had to offload that camera after I’d given it some good usage. Computers were appearing on the scene and the money I made from selling it went towards my first computer purchase, a Sinclair ZX81.

I wish I’d kept the camera…..

No panic though as I now have another one to revisit those heady days of 1981-82. It just needs some attention.

Here’s some info about the CE-5:

The Chinon CE-5 was a 35mm SLR camera produced by Chinon, that was one of the first cameras to have autofocus-capable lenses produced for it. It was produced for about 12 months between 1981-1982.

Specifications

The camera had a Pentax K mount (addressed to in the specifications as the Chinon “universal mount”) with which its lenses were mounted. 3 autofocus pins were present upon the top-left of the mount, which the autofocus lenses interfaced with. These autofocus lenses were rather heavy and depended upon their own large, lens-mounted motors.

The camera had two modes: aperture-priority and full manual. The shutter speeds ranged from 4 to 1/2000 seconds (stepless) in aperture priority mode and 2 to 1/2000 seconds in manual mode, in addition to a “bulb” mode. The shutter was controlled electronically in both modes; and was a Seiko electromagnetic metal focal plane shutter. A multiple exposure switch was also incorporated into the camera, alongside a 5 or 10 second self-timer. 

The CE-5 was shipped with a full ground glass screen along with a split image range finder and a microprism collar to aid focusing. Other screens were made available.

An “X sync” flash hotshoe was incorporated, with contacts especially for the Chinon range of dedicated flashes.

The camera had the dimensions 135.5mm width x 88mm height x 50.5mm depth and weighed approximately 490 grams without batteries and lens.

Wikipedia

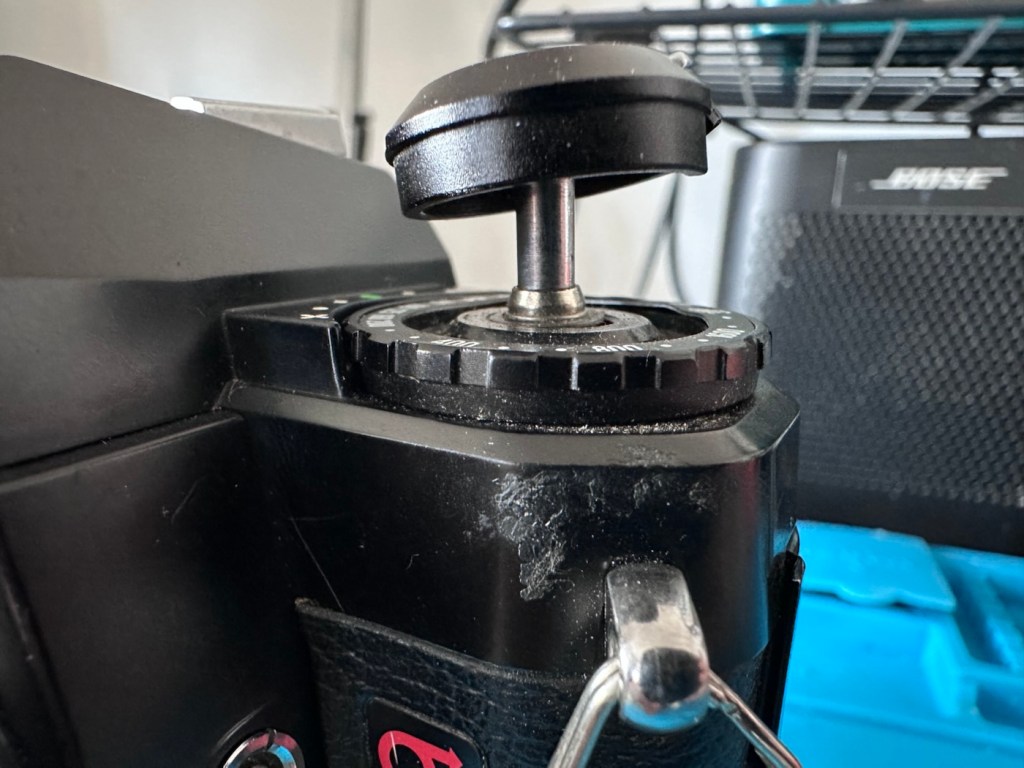
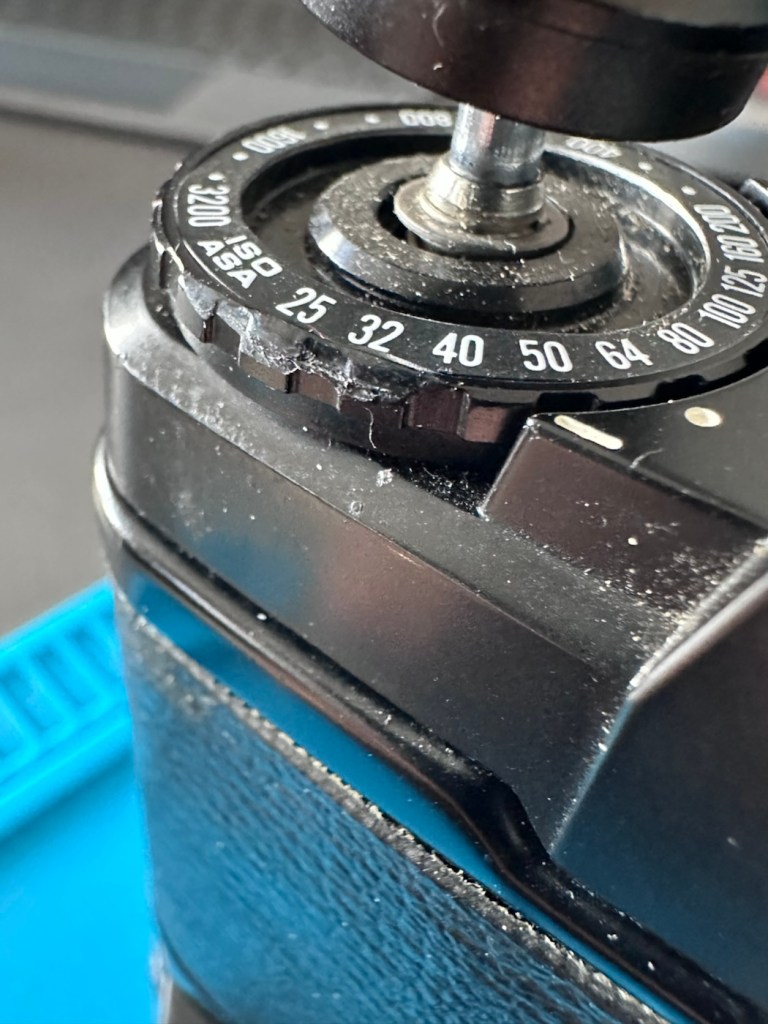
I very much suspect that this camera has been dropped at sometime. Just looking at the sale photos tells me this. It appears the corner where the rewind capstan is situated has a cracked body top, the capstan pin is also bent, the ASA counter also appears to have some damage, its fair to say this camera has suffered impact damage to that very part of the camera.

Ok so I need to now wait for the item to arrive to carry out a full assessment. The good thing is that I do already have a non working donor available in my spares box to carry out a little bit of a Frankenstein operation if I need to, and i think that operation may well be required.

Assessment:

The camera arrived and I must admit I’d forgotten just what a hefty lump it is. It is quite a weighty beast. The camera is pretty much as described apart from missing one major issue. There is an issue with the shutter mechanism timing, but I’ll come back to that later.

The camera received

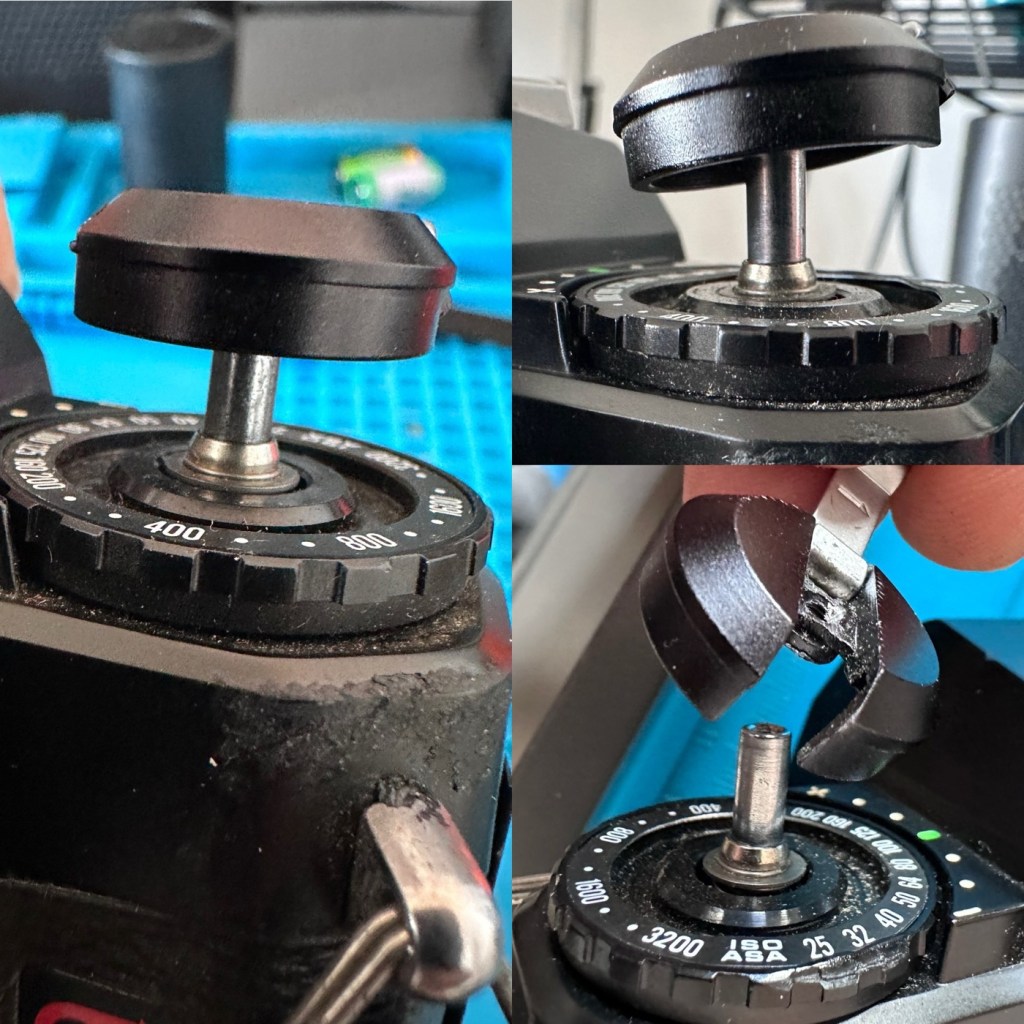
The top of the rewind crank is out of alignment and there is slight damage to the ASA ring beneath it. There are scuffs and scratches all over as described but in general it is not too bad cosmetically.

When I load two LR44 batteries into the camera base everything appears to work ok, the self timer works in the 5 second and 10 second mode, all indications work through the viewfinder and the shutter fires. However even though it fires it is at a slower, probably 100th of a second speed no matter what setting you have it in, Auto, 1/2000, or B setting it’s all the same. The B setting does not work at all, when the shutter is depressed the shutter springs open as it should, however it doesn’t shut when pushed again as it should, it remains open and you have to move the shutter speed ring to another setting for it to close again. There is a definite shutter speed fault that I suspect is as a result of this camera being dropped on one edge. Hence the damage to the area around the rewind capstan.

The lens is in a fantastic condition, showing no damage, it’s clean and free from mist and fungus.

The power winder is dead. It’s in a good cosmetic condition, but a quick look inside the battery chamber shows signs of battery contamination, hopefully I can resurrect this item.

The top case is cracked.

Repair:

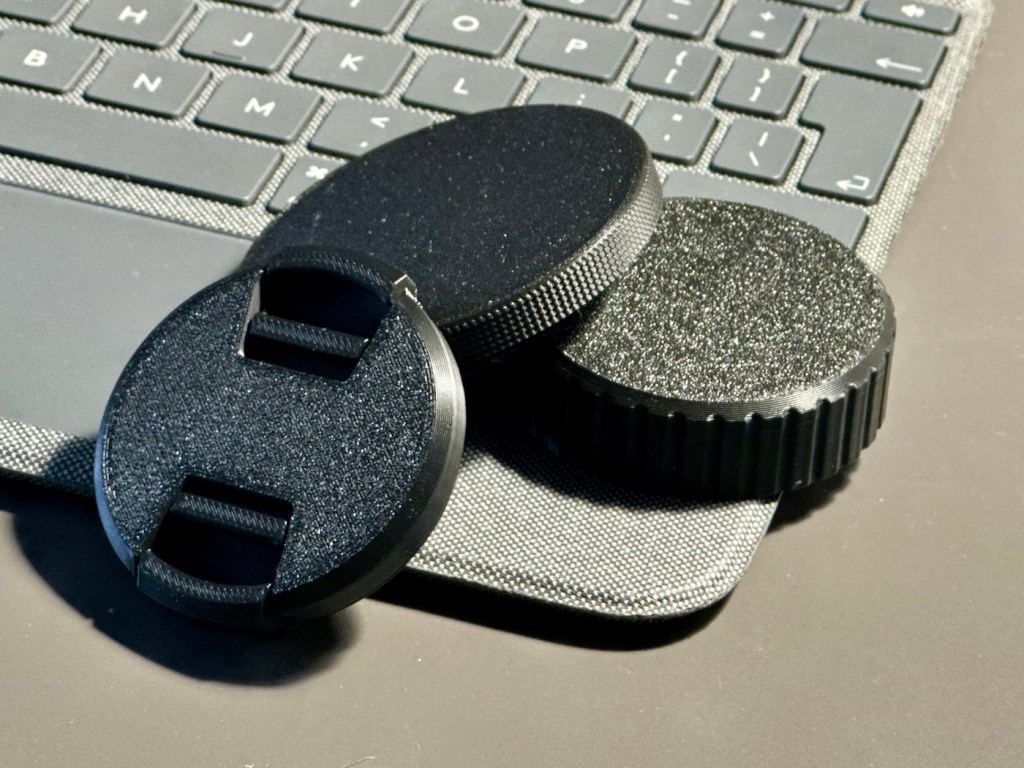
First. I’ll print off a body cap to protect the lens barrel when cleaning, I’ll also print caps for the front and rear of the lens as well, that way everything is protected from any further disturbance.

Lens cap, body cap and rear lens cap printed

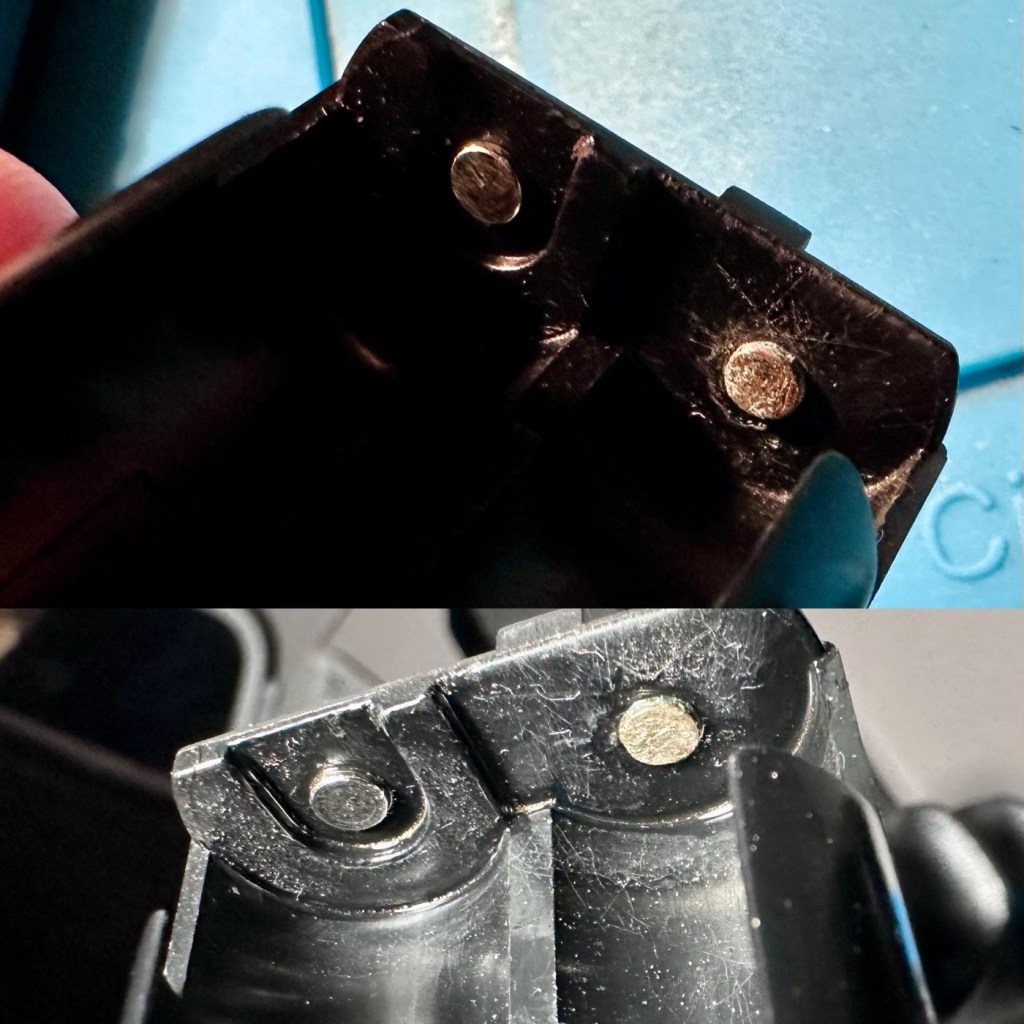
I’m going to start with the power winder as I now have it separated from the camera. There is a cartridge that inserts into the winder base that holds 4×1.5v AA batteries. The output therefore should be 6v but when the multimeter is used there is no voltage making its way through the cartridge. One of the cartridge contacts is tarnished and requires a clean. A quick buzz with my grinding tool cleans the contact and then a wipe over with a cotton bud soaked in IPA finished that clean. Batteries re installed and we now have continuity with a healthy 5.97v being supplied at the terminal ends.

Before (top) and after contacts are cleaned

However when installed in the chamber the winder is still non operational. A look into the battery chamber reveals further contamination on the contact inside that would mate with the contact I have just cleaned on the battery cartridge.

Further contamination

The power winder has to be dismantled quite considerably to access the contacts inside. You could probably do a clean without dismantling, however you will never know if any of the contaminants have gone beyond the contact. I tend to get into the machinery of things for piece of mind, and today I’m pleased I did as I was able to confirm that the contamination was only on the battery contacts.

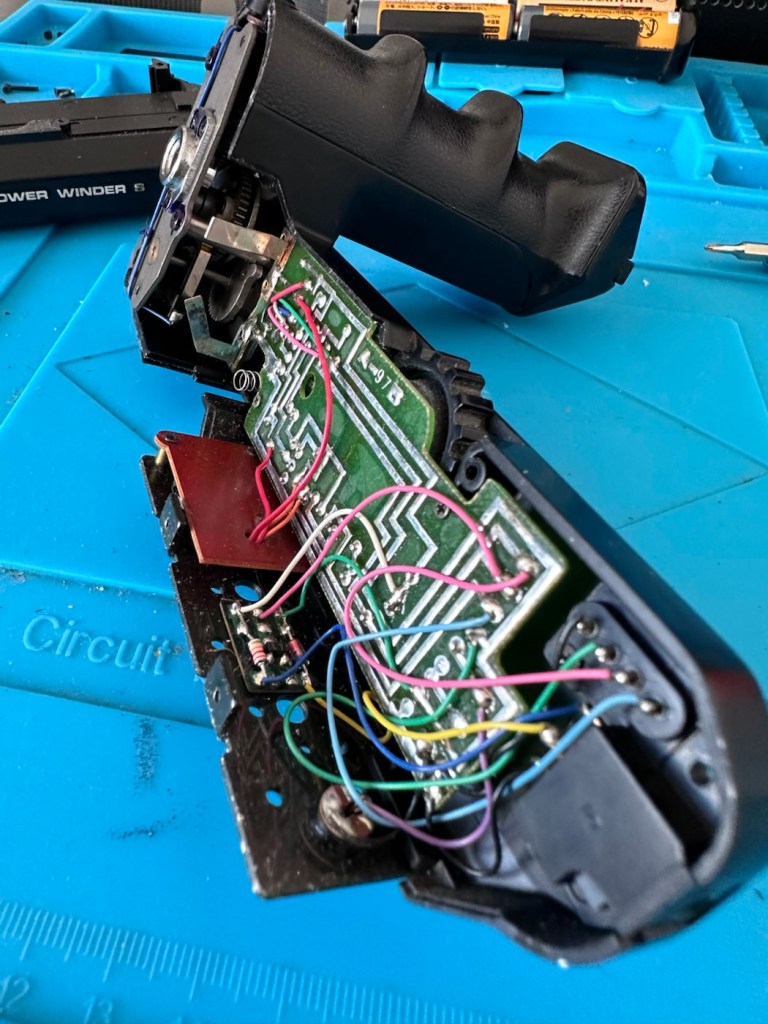
Power winder dismantled

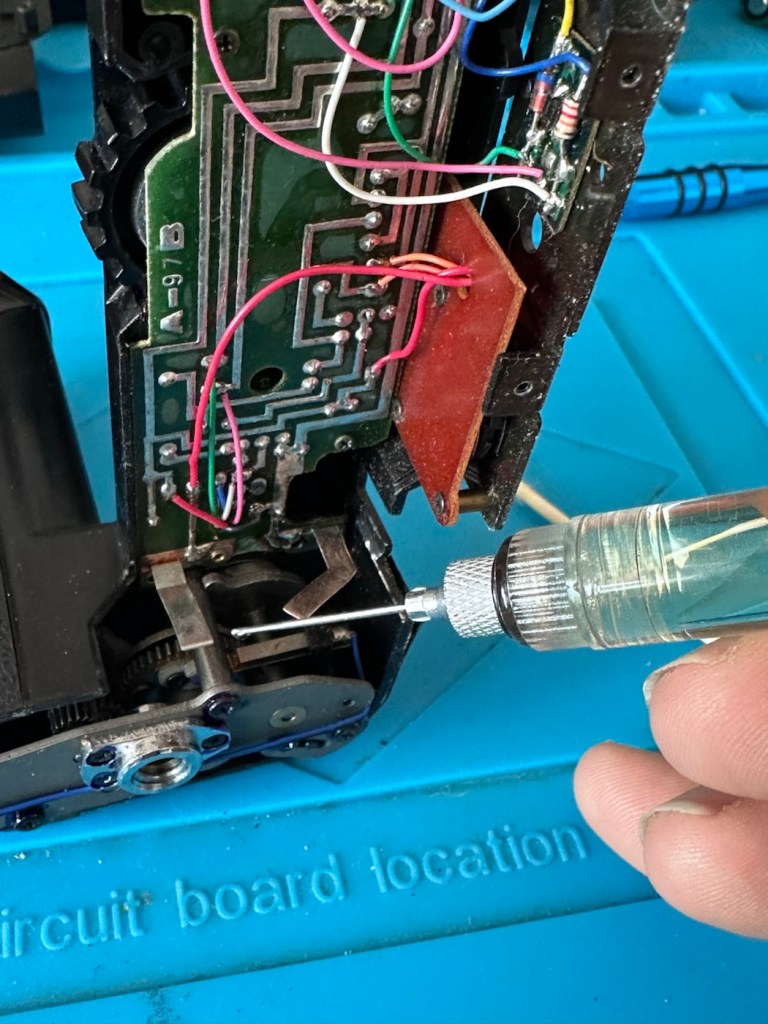
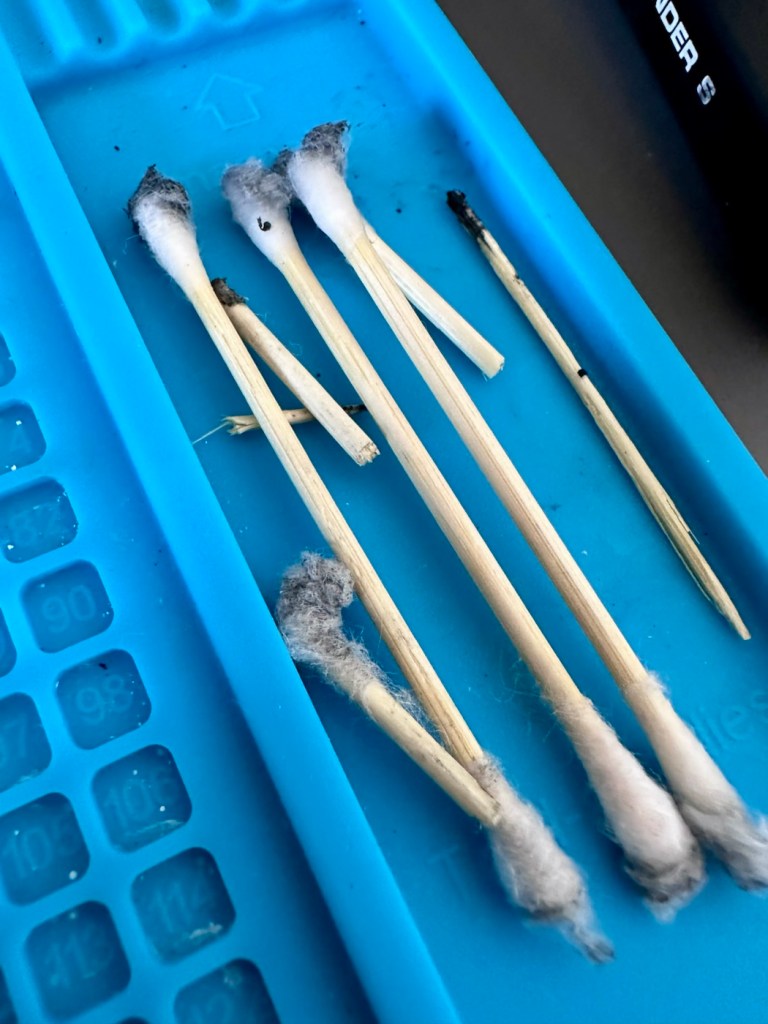
I cleaned the contamination with a grinding pen and then cleaned the contacts with some IPA. A blow through with an air gun removed some old dust and debris from the handle area, and whilst in here I lightly oiled all the cogs and gears in the handle area.

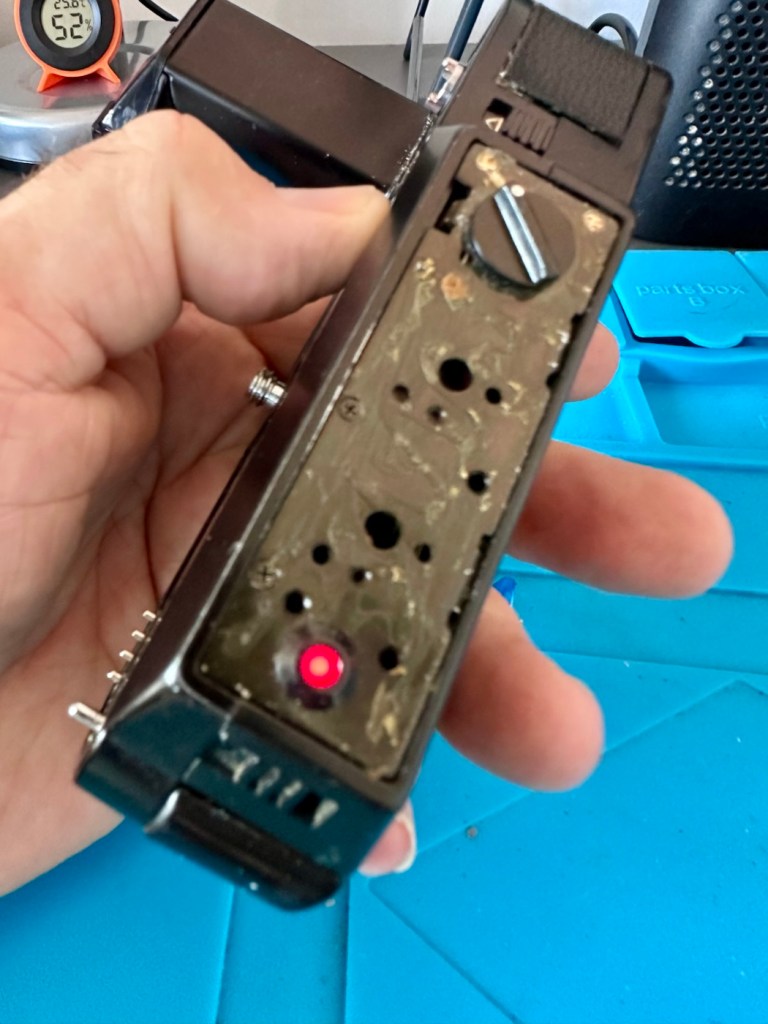
We have life

I’ve partially reassembled the winder and put the battery back in place and we have power lights when switched on. I connect the winder to the camera and it works just fine. There are two settings (S) single shot and (C) continuous shot that fires a frame every two seconds approximately. All are functioning well and working as they should. I now clean the outer of the winder of old glue and adhesive, re glue and put all skins and label back into place. This repair is now complete. Onto the camera now.

With the camera the first thing I am doing is checking the rewind capstan. When unscrewed the screw and spindle are straight, the actual damage is with the plastic cap that is bent out of shape and split on one side. As I stated earlier I do have an old donor camera so I have taken the ASA dial and the rewind capstan off of that to replace the damaged items on this side of the camera. I will also replace the cracked top as well. I must admit it looks good and appears to be functioning at this point. I’ll have to have it all off again when I investigate the shutter speed issues. But for the meantime it’s a needed job completed.

How it now looks (left) and how it did look (right)

Now we need to look at the shutter timing issue.

It took a time to get the top off due to there not being a lot of information available about breaking these units down. However I now know how to, and this took the best part of an hour for me to achieve, I’ve replaced the cracked top with the one from the donor camera.

As soon as the top was off there were three issues that welcomed me, I suspect these all occurred as a result of that drop that damaged the ASA dial and the rewind capstan.

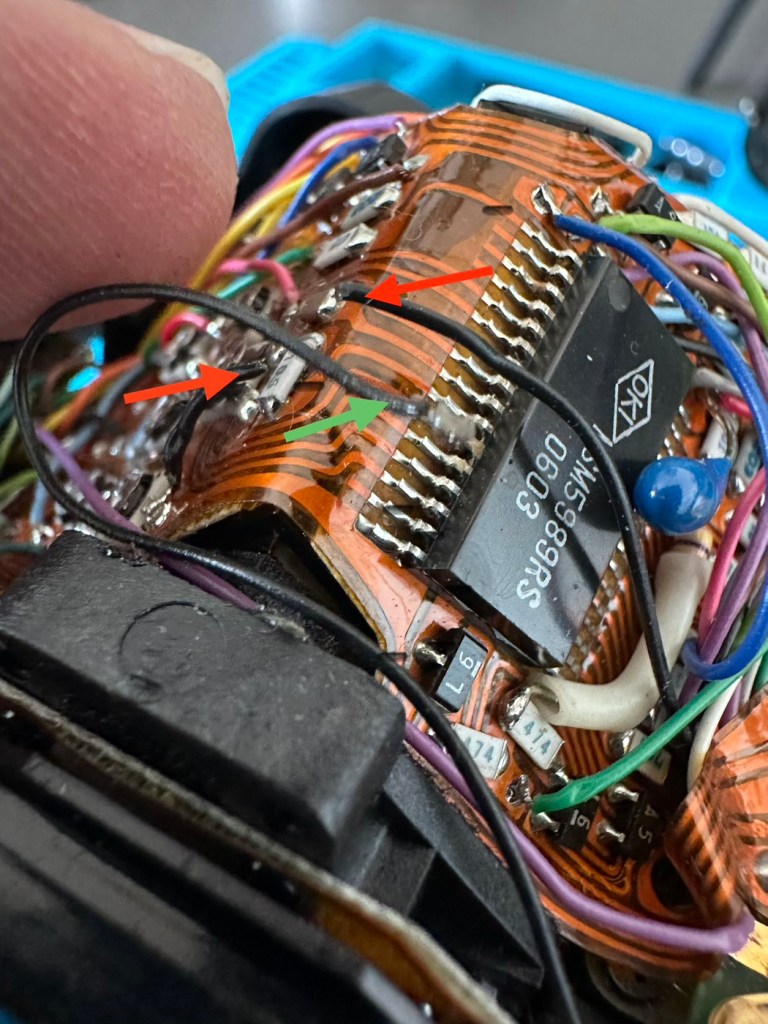
Firstly above the prism area there were what appeared to be three detached wires.

Red wires should be one and have been broken. Green wire is a rogue hot-shoe earth

In the photo above, you will see two red arrows. These wires they point to were once upon a time a single wire, somehow this wire has snapped. The wire that is indicated by a green arrow is a rogue earth wire that should be connected to the hot-shoe in the prism roof.

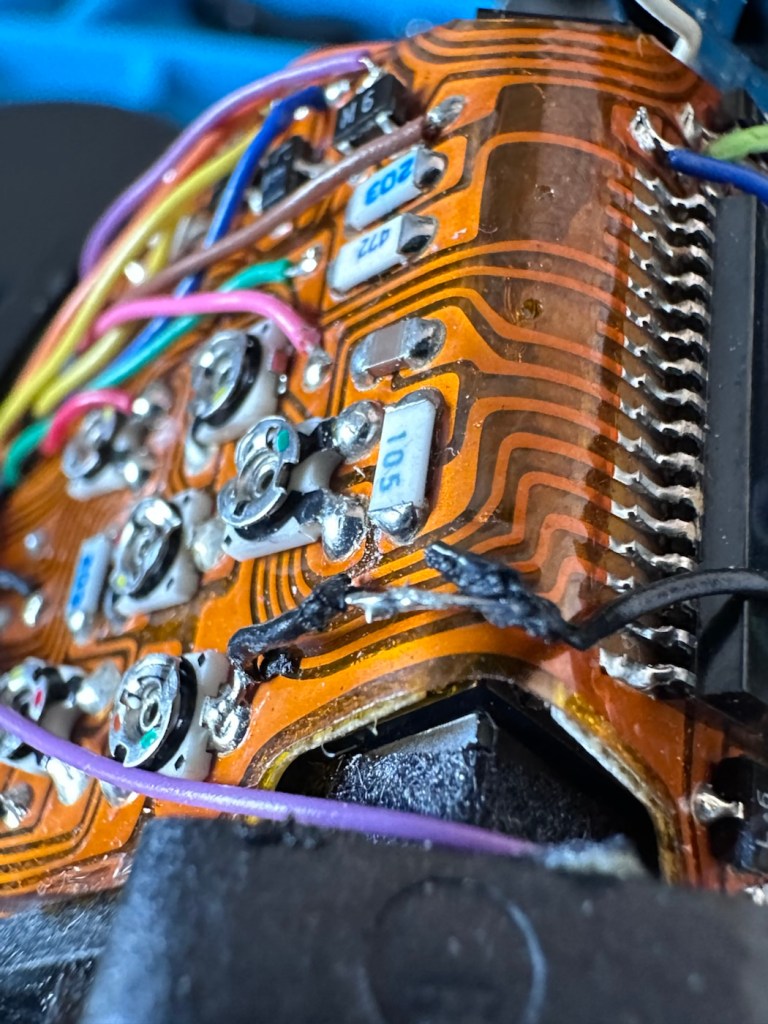
There was no way I was going to be able to route a new wire as it originated deep inside the body, and I just didn’t fancy going there today. Instead I melted the two ends slightly to expose some wire, I then used some multi core solder to tip the ends and as I had some room to move the wire slightly I joined the two ends back together with a solder joint. Once soldered I used some conformal coating to stabilise the joint, then covering it with a small piece of Kapton tape to ensure it was secure and not interfering with any other metal/components.

Soldered together, then conformal coating was used prior to being sealed with Kapton tape.

The rogue earth wire was then soldered back into place in the roof of the prism housing.

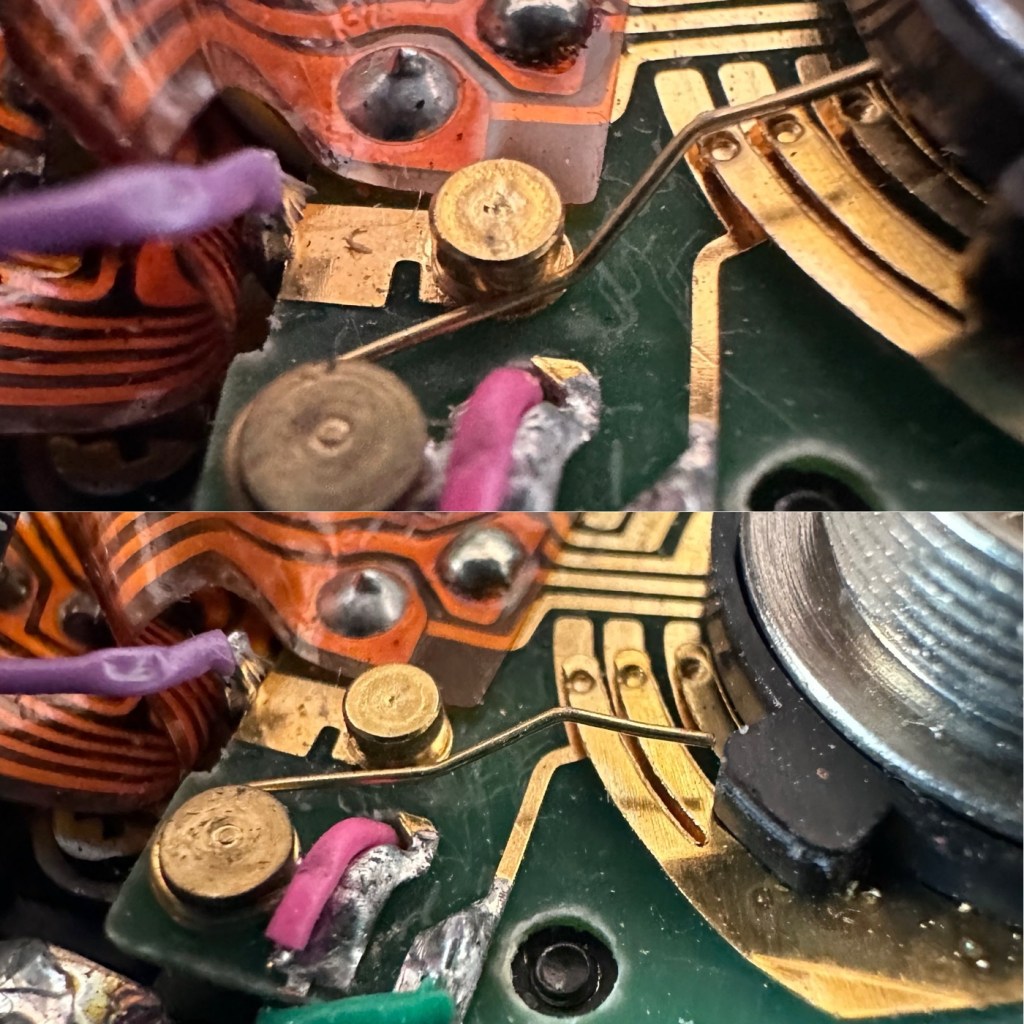
The issue with the speed settings appears to be as a result of disturbance, again related to that drop that caused the other issues. When the speed dial is removed you are left with a set of tracks with very fine copper contacts. One of these contacts is specifically for the “B” setting, it should sit shy of a contact point until it is required however from what I could see it was permanently activated, it didn’t look right so I adjusted it to sit properly, now when the dial is operated it switches in and out as it should. I don’t know how this affected the earlier tests that showed we only had one available speed, I can only presume the issue is a culmination of all the issues so far experienced.

At the top permanently on. At the bottom adjusted so it will switch in and out with operation of the dial

I have now commenced reassembly after giving a good blow through and a light clean of the contacts.

Batteries have now been installed and I’m reluctant to switch the camera on. But I have to, so I do. So far so good. I rewind the lever all good. I set the shutter to 2s and activate the shutter, it opens and then it shuts again about 2 seconds later, I move through the shutter settings and all appear to be reacting to their relative speeds, 125 sounds right, 2000 sounds very quick, they all are giving different speeds which is superb. And the “B” setting is now operational. This is fantastic. All indications in the viewfinder are as expected, and with the winder attached all systems are go. I think I’ve fixed it. Wow. I’m shocked.

Let’s get the light seals and bumper felt replaced now.

Bumper and light seals have now been replaced, an awful lot of felt came out of those grooves, I thought it would never stop coming

I always apply light seals slightly dampened on the adhesive side as this gives you a few minutes to reposition the felt, prior to it setting and drying. I’ve got it down to a fairly quick process now, I’m not perfect but I’m improving with each new set of seals.

So this camera is now complete.

Result:

We now have a perfectly good operating camera and power winder with a nice clean 50mm stock lens for a reasonable layout of £28:00GBP. It had an awful lot wrong with it, but thankfully having a spare unit to harvest parts off has helped with this repair immensely.

A lovely camera, much maligned from the early 80s now working as good as it did from the box. I just can’t wait to get a roll of film through it to show just how good a camera this was and still is.

It weighs a ton, but that’s how I love and remember my old cameras, they are such beasts but have immense character and original design appeal that modern cameras just don’t have today.

Another camera saved from landfill. A good result.

Many thanks for passing by, you know it is always very much appreciated.
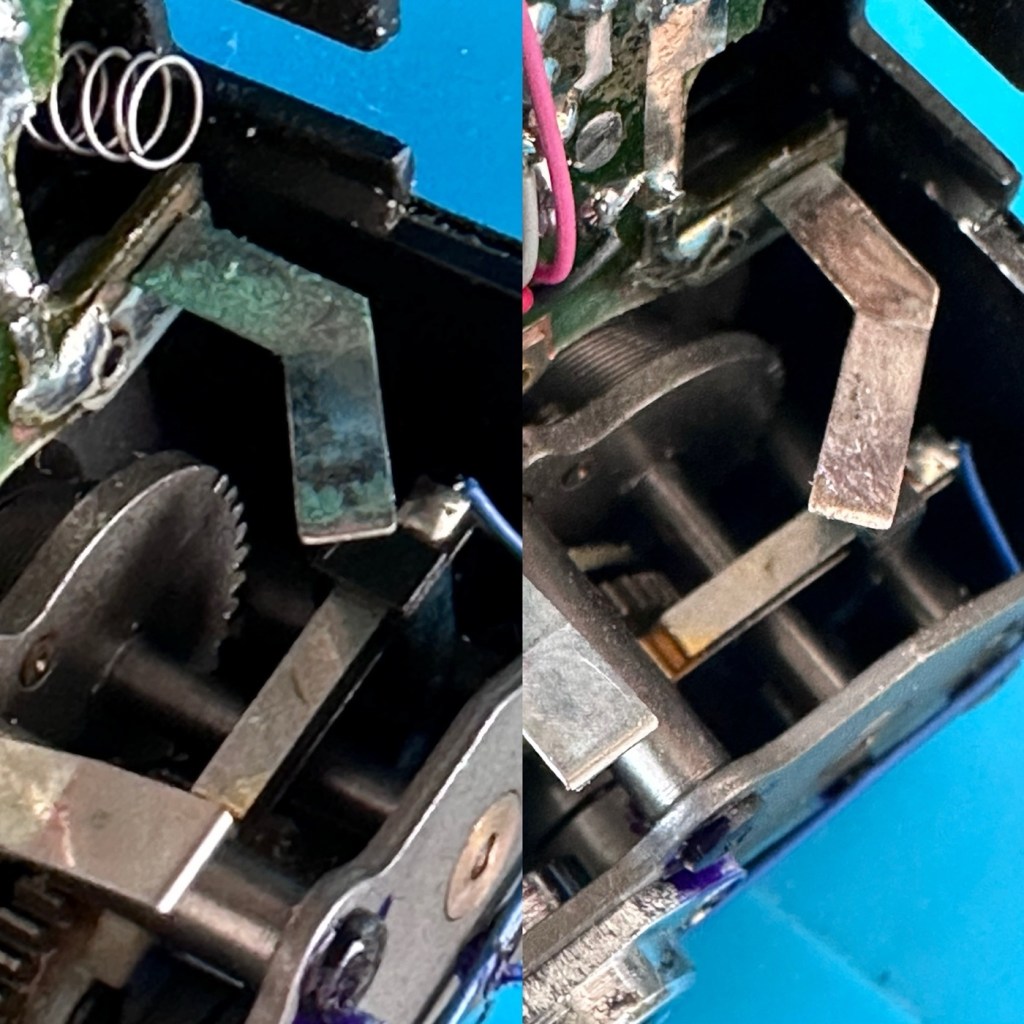
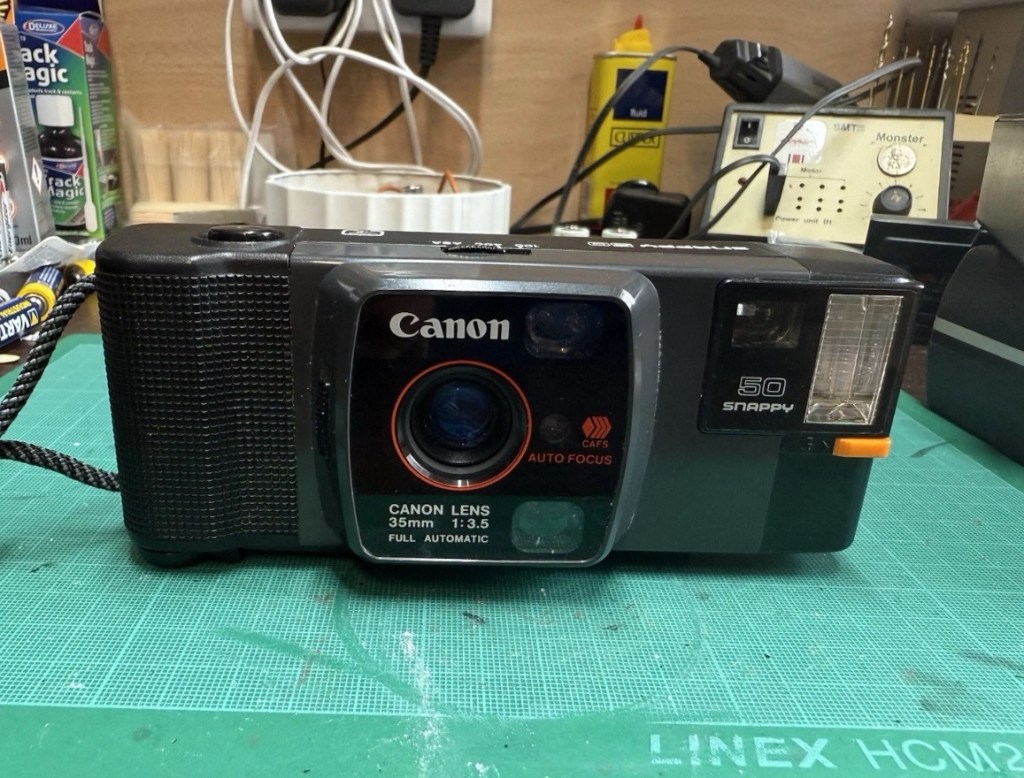
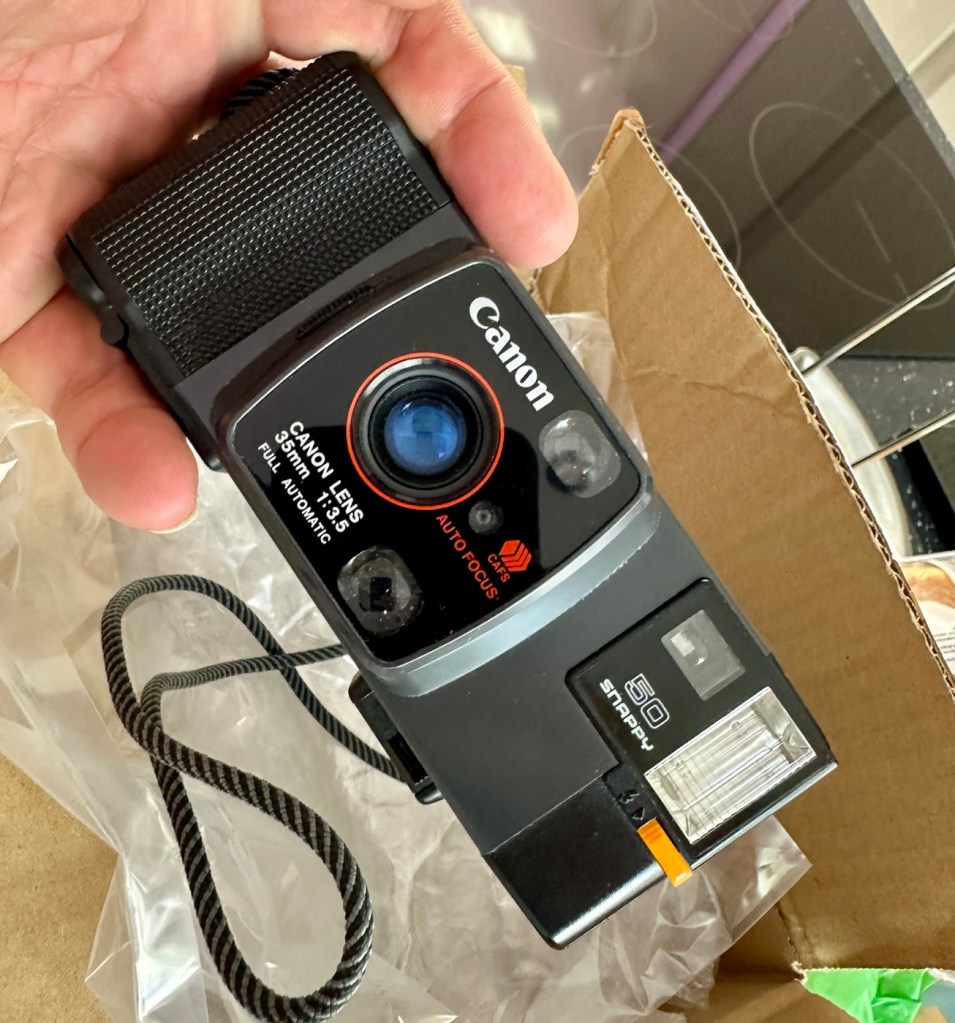
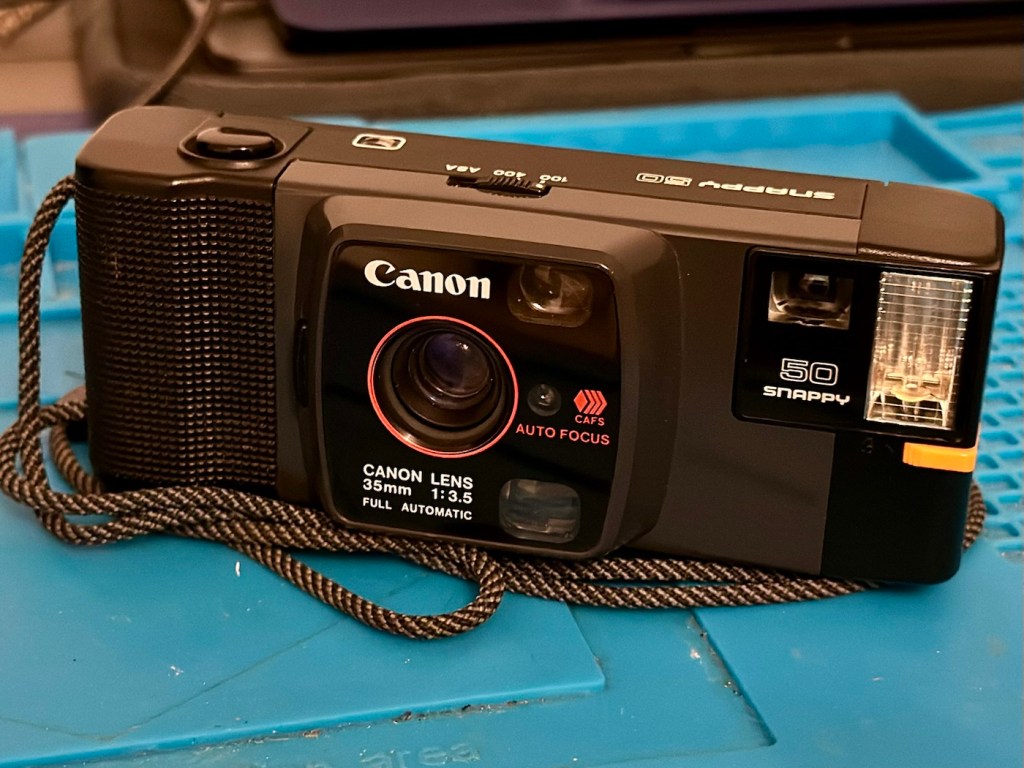
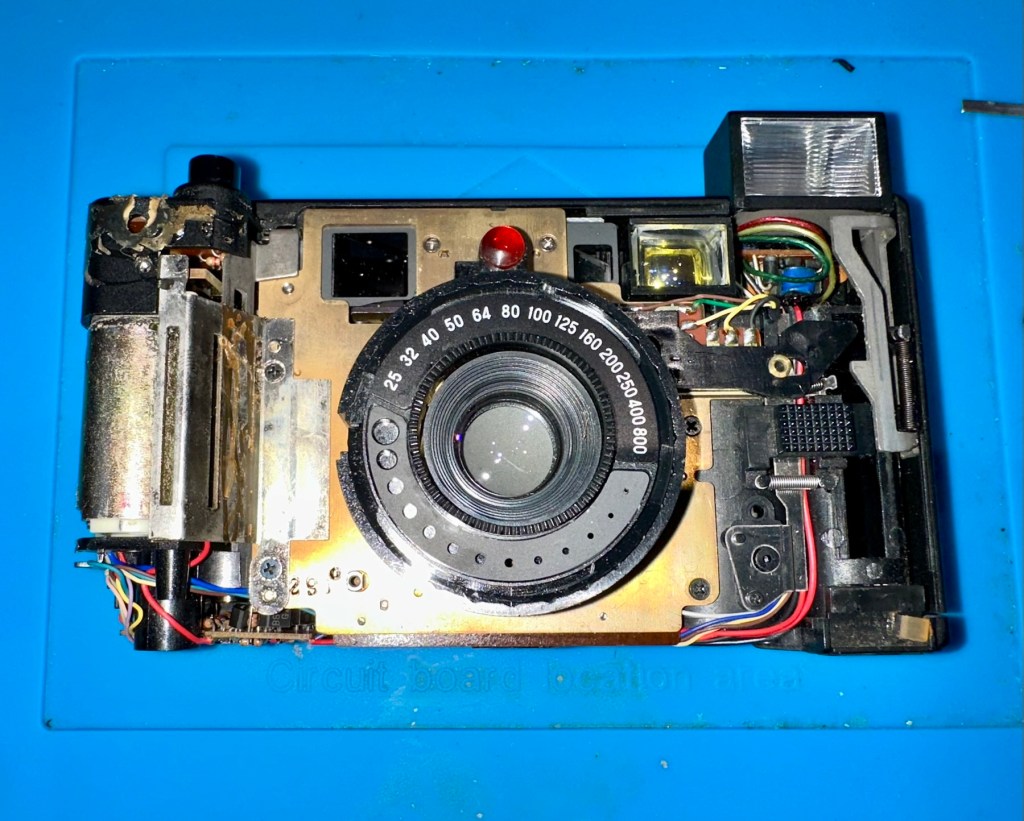
Canon Snappy 50 automatic 35mm camera

A compact Canon 35mm camera from 1982. It doesn’t work, so let’s make it work!

What the listing stated:

In generally good condition but does not power up
Sold as spares or repair

EBay

I came across one of these a few weeks back and was just taken by the shape and aesthetics of it. However i wasn’t going to pay a high price demanded by the seller, so i just hung around and waited for others to come on the market. I have just purchased this camera with free postage for a total of £1:13GBP. I’m confused, the seller will basically be paying me to take it off his hands as postage will be at least twice the value of what I have paid today. Let’s wait and see if this sale gets suddenly cancelled, as I suspect it may well do.

Anyway here’s a little bit of its history:

Released in July 1982 and based on a new concept, this is a fully automatic 35mm Lens-Shutter compact camera.

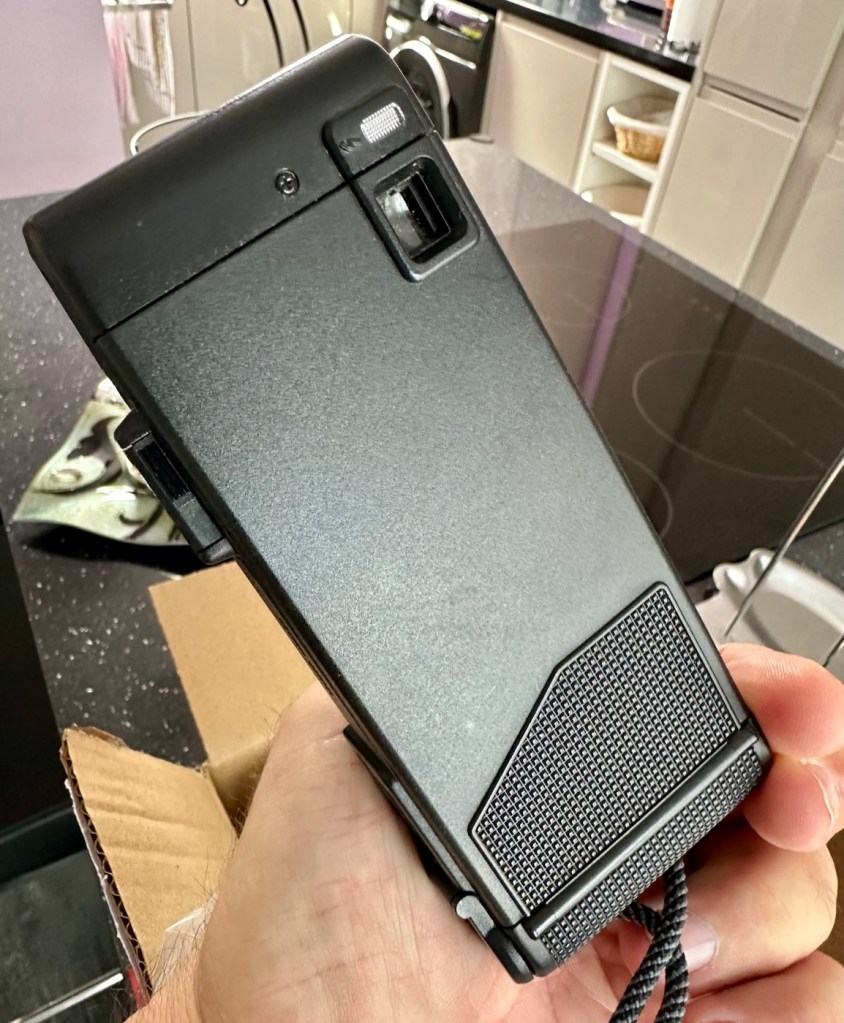
The camera height was reduced by about 30 percent, giving the camera an oblong and unique form.

The camera uses active autofocus with a solid-state near-infrared beam. EE and the aperture are controlled electronically with a program. Metering range is EV 8.6 (f/3.5 at 1/30 sec.) to EV 15 (f/9.5 at 1/350 sec.). The shutter speed is set within a range of 1/20 sec. to 1/500 sec. to suit the film speed.

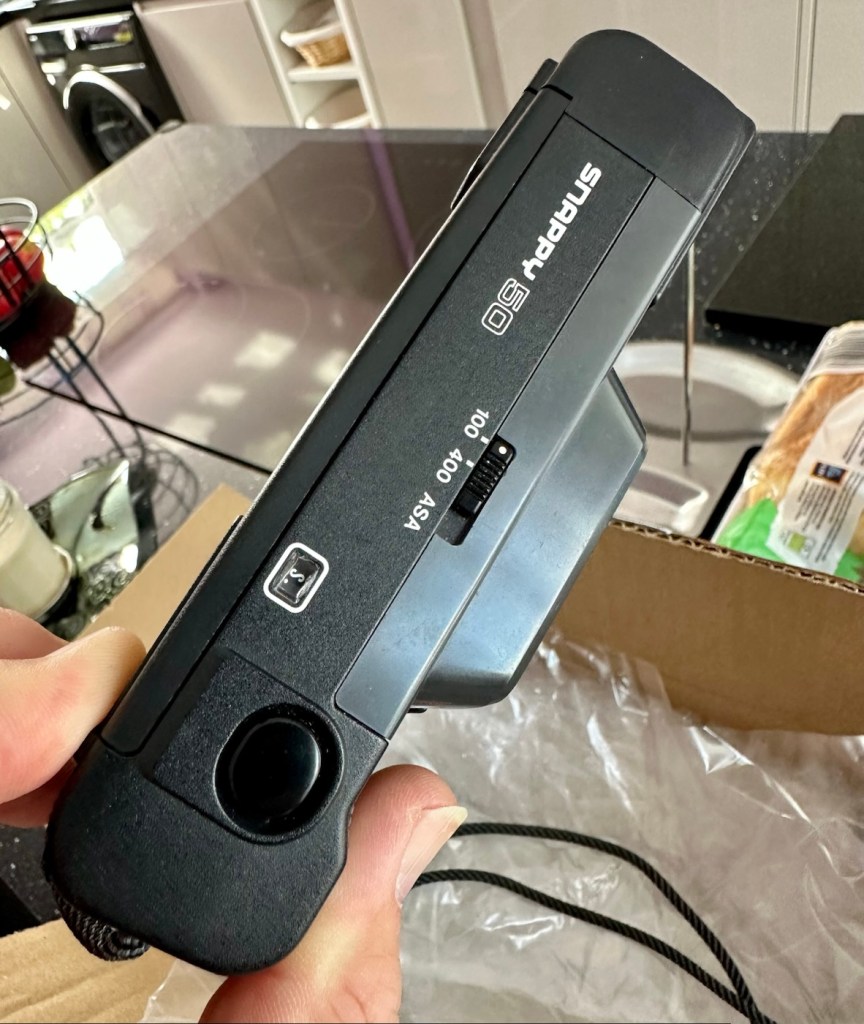
There is only two film speed settings. ISO/ASA of 100 or 400.

The built-in flash (Guide No. 11 at ISO 100 in m) must be turned on manually with a switch when the camera-shake warning lamp lights in the viewfinder.

Canon

I’ll just wait now to see if it turns up. I don’t know what the problem with it is, it’s just listed as a power up problem.

Well I’m shocked, I’ve received a postage notification so it is definitely on its way. Next stop…Assessment.

Assessment:

Well, it arrived, I’m shocked. It’s got to be one of the best packaged items I’ve ever received, never have I seen so much bubble wrap protecting an item that cost just £1:13GBP.

On top of that the sender has spent £3:45GBP on postage and charged me nothing. God I feel guilty now, least I can do is give him some glowing feedback.

Wow – And I paid nothing

Right, back to the camera. For a 44 year old camera it really is in beautiful cosmetic condition and needs nothing but a slight dusting to finish it off. But first I put in two AA batteries and can confirm it is dead. No life at all. Also, the film door is flapping about (So there was another issue!). I’m going to have to get inside this unit to see what is wrong. To be honest the unit is such a basic one, I suspect there isn’t a lot that can go wrong with it.

Repair:

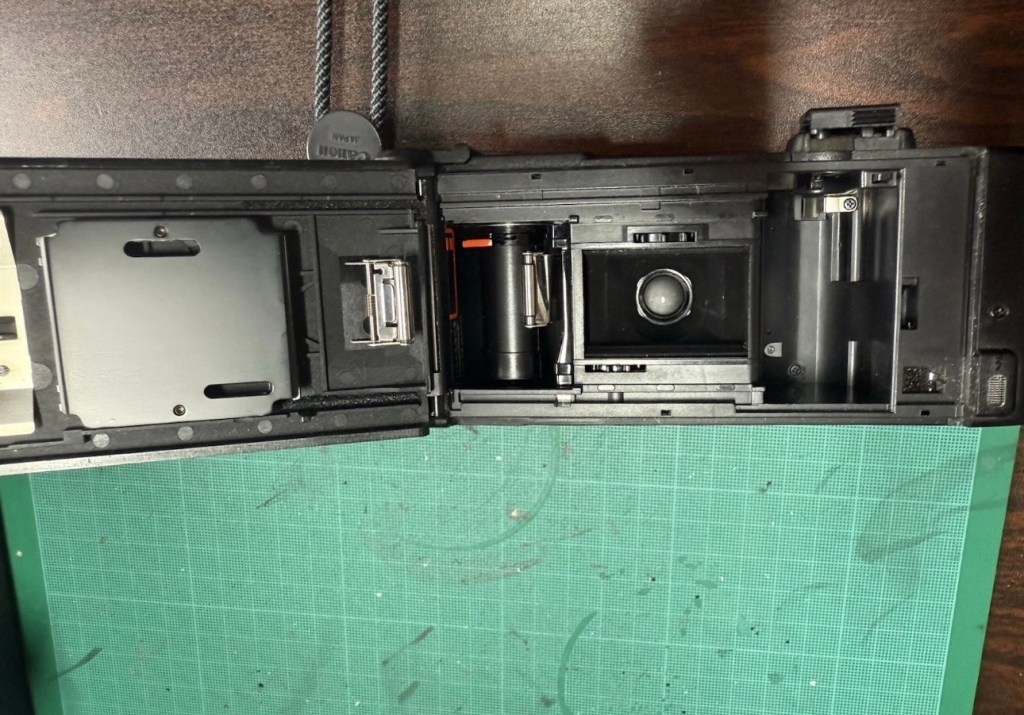
The film door issue is a simple one, and if I didn’t have a ton of spare parts spread around the place, I’d be quite annoyed to say the least. It would have been either a case of making a new catch for the door or building some Heath Robinson contraption to secure the door, looking completely out of place. However, I just so happen to have a complete rear door for one of these cameras so hopefully it should be a simple swap out of parts.

But before I do this simple replacement, I need to get the top and bottom off of the camera to check where the electrical issues lie.

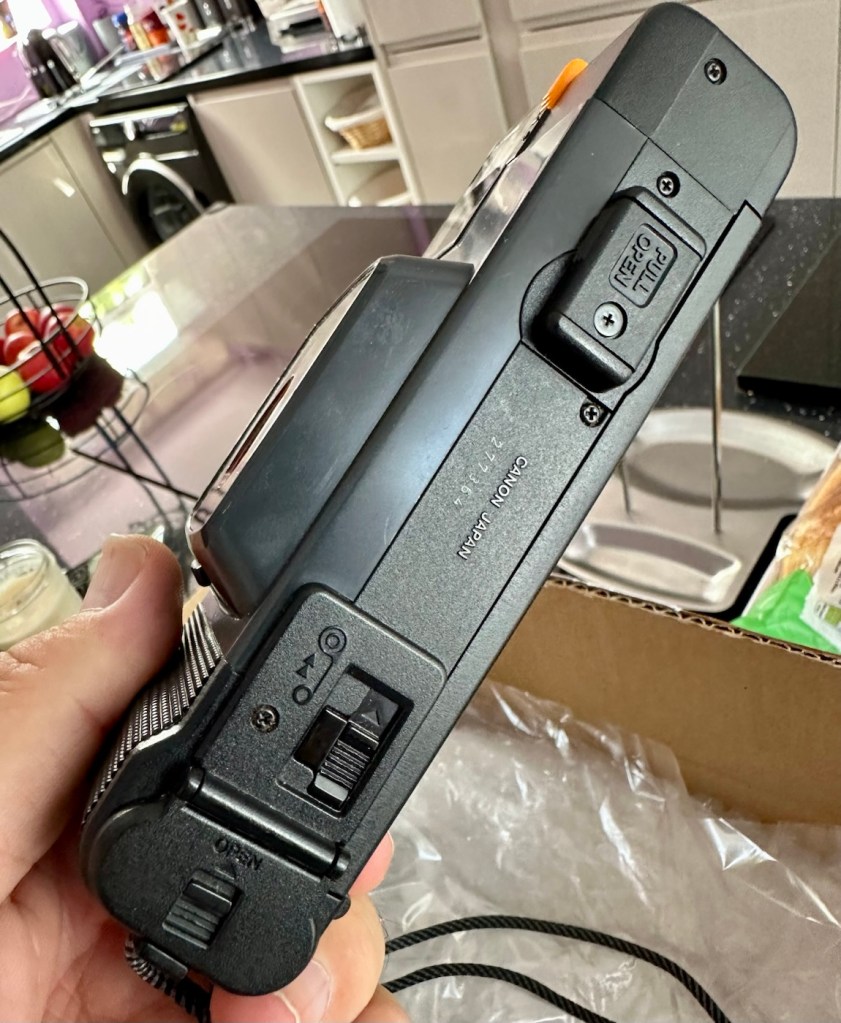
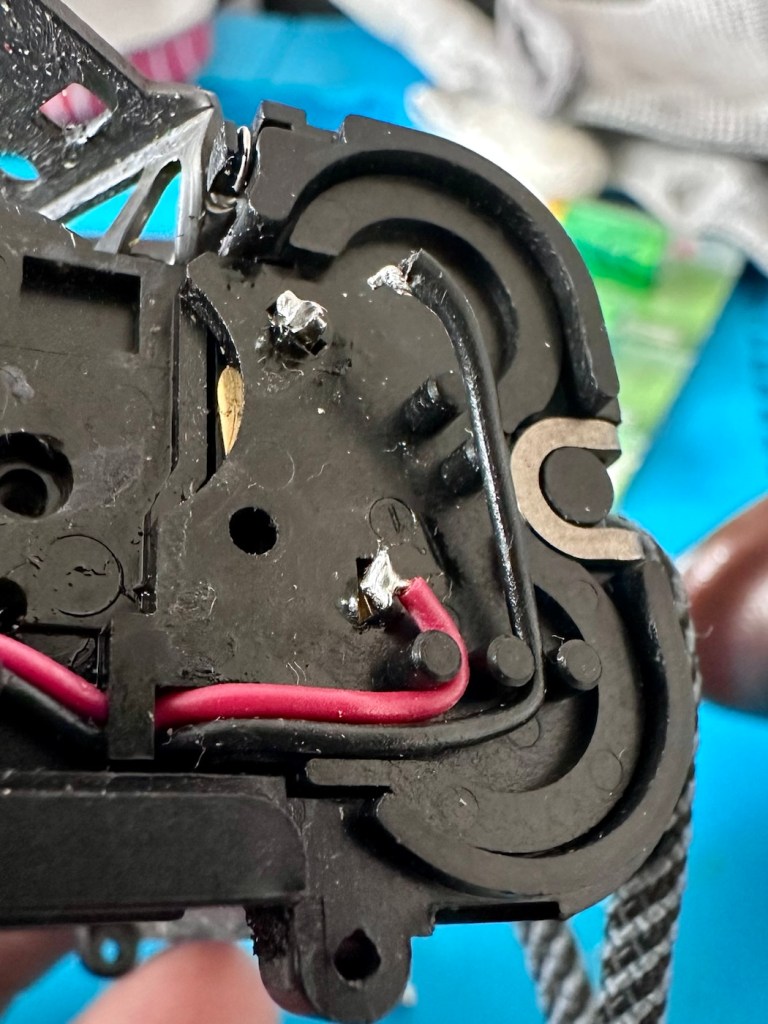
Taking the bottom off of the camera, the problem presents itself quite clearly. At the bottom of the battery chamber the negative wire has detached and needs soldering back into place.

Negative wore detached from battery chamber

I put the base back on and put two batteries into the chamber and the rewind motor instantly kicks in. We now have power. The shutter works and the winder motor operates as it should. When the rewind button is depressed the rewind motor kicks in as well, all seems to be good…..until!

The live supply to the flash was detached

I try the flash, and nothing. Not even the usual sound of the flash capacitor charging. Damn, I hope that capacitor isn’t dead! So now I have the top off of the camera and another problem presents itself just as clearly as the first. Not a problem here as I need the top off to replace the rear door.

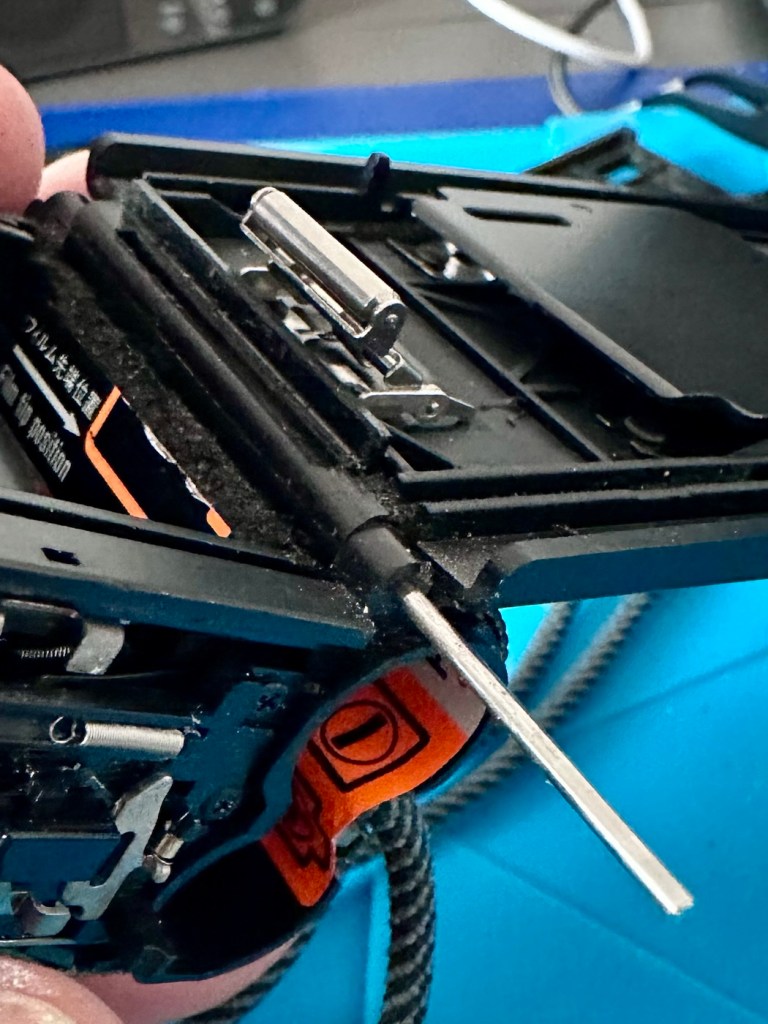
Rear door hinge removed and replaced

The live supply to the flash had broken loose and this also needed re soldering, in fact I re soldered about eight wires in total as it seemed that the solder joints in these critical areas could possibly be fairly. They may not be failing, but whilst I’m inside why not just do this simple task to prevent anymore premature failings?

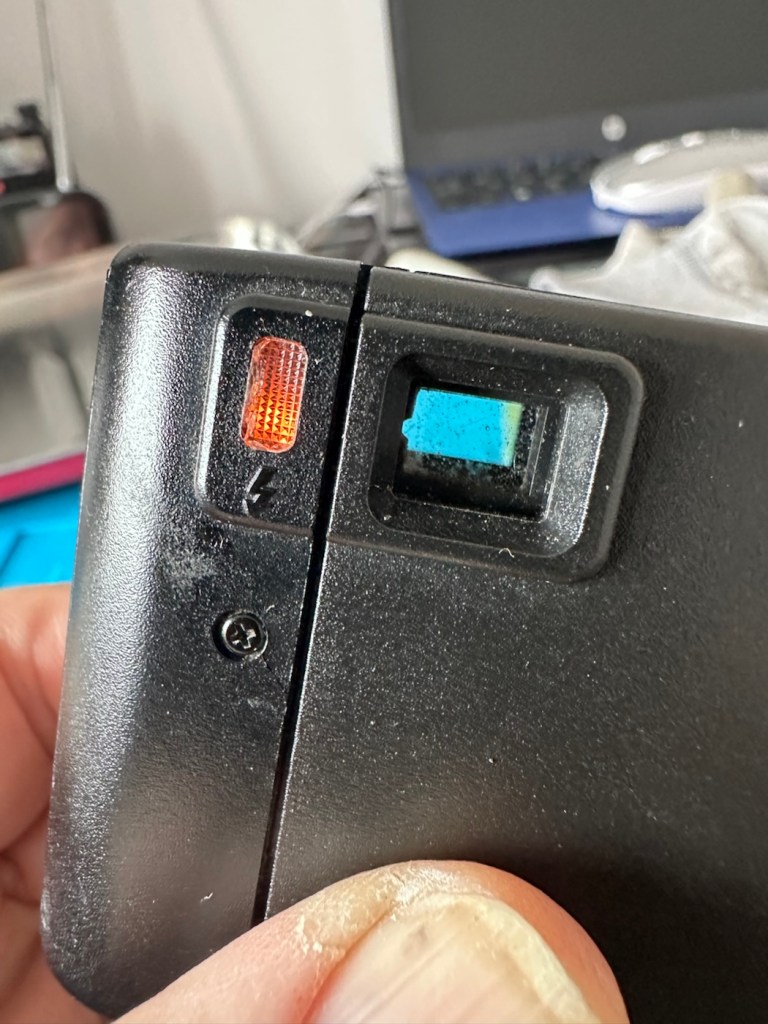
Batteries back in, flash turned on (it’s manual on this camera) and the check light illuminates. This camera is now fully operational.

Flash check light now illuminates

Result:

I’ve had a fairly simple repair here with some soldering and luckily, some spare parts available. These cameras are quite tricky to repair due to their compact build. Normally when you detach one part you have tiny springs and other parts that fly out, leaving you with a head scratching puzzle to add to your issues. However having dealt with these cameras in the past and having learned my lesson previously, I was very careful and took my time ensuring nothing occurred that would cause me any issues further along in this fix. I also open these cameras in a box, so if anything does fly out, it doesn’t fall onto a carpet disappearing into the pile, it just falls into the box, saving me the embarrassment of looking for a tiny piece of camera, that could be just about anywhere on the floor of that room. You learn from previous mistakes, I have, and i now have procedures in place to prevent such issues happening again.

All cleaned up and working
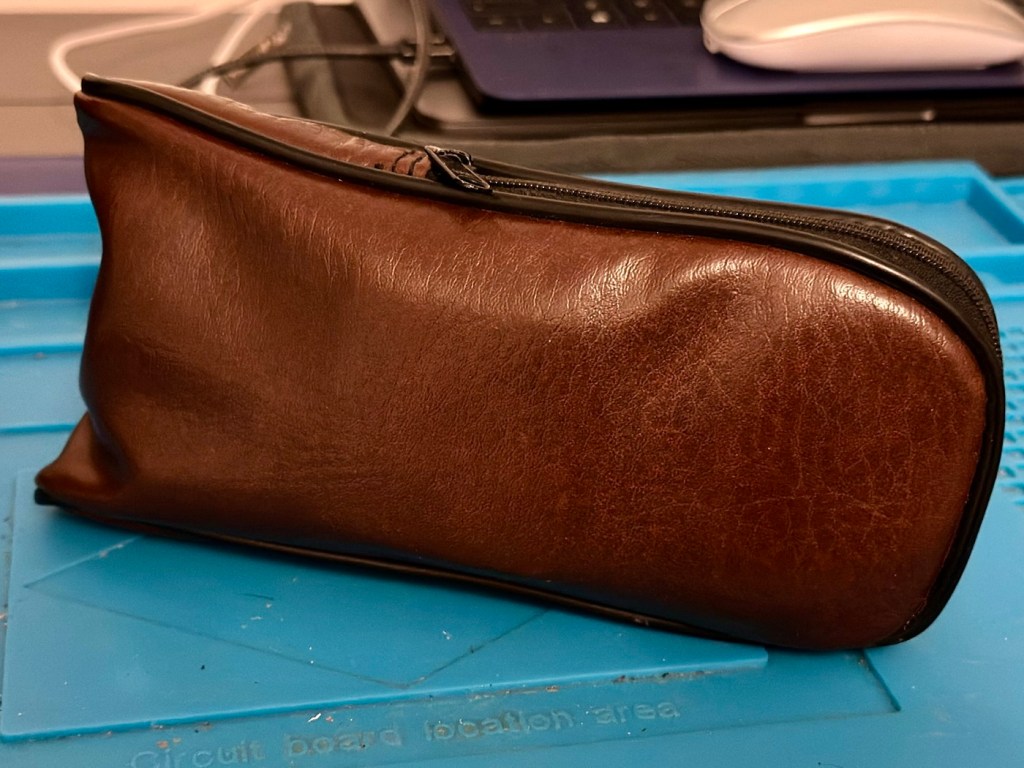
And neatly cased

We now have a lovely example of compact 35mm photography, rejuvenated, repaired and ready to get back to doing what it was designed for, creating memories.

And long may that last, another one saved from landfill, repaired, recycled and now with many more years of purpose.

Many thanks for passing by 🙏

Mamiya M Autofocus – 35mm point and shoot camera

What the listing stated:

Mamiya M point and shoot camera. It’s in fantastic original condition and is cosmetically excellent with original case and lens cap included. The lens appears to be bright and clear from the front. 
HOWEVER…when batteries are inserted the shutter does not fire and I suspect it is jammed somewhere. The lights come on and it goes “click” but the aperture does not open, nor does the film winding do anything. 
For spares or repairs only, I’m sure somebody with the know how could get it up and running again. 
Priced super low as I want it shifted and can’t bring myself to bin it! 
No returns please

EBay

Here’s a little bit about it:

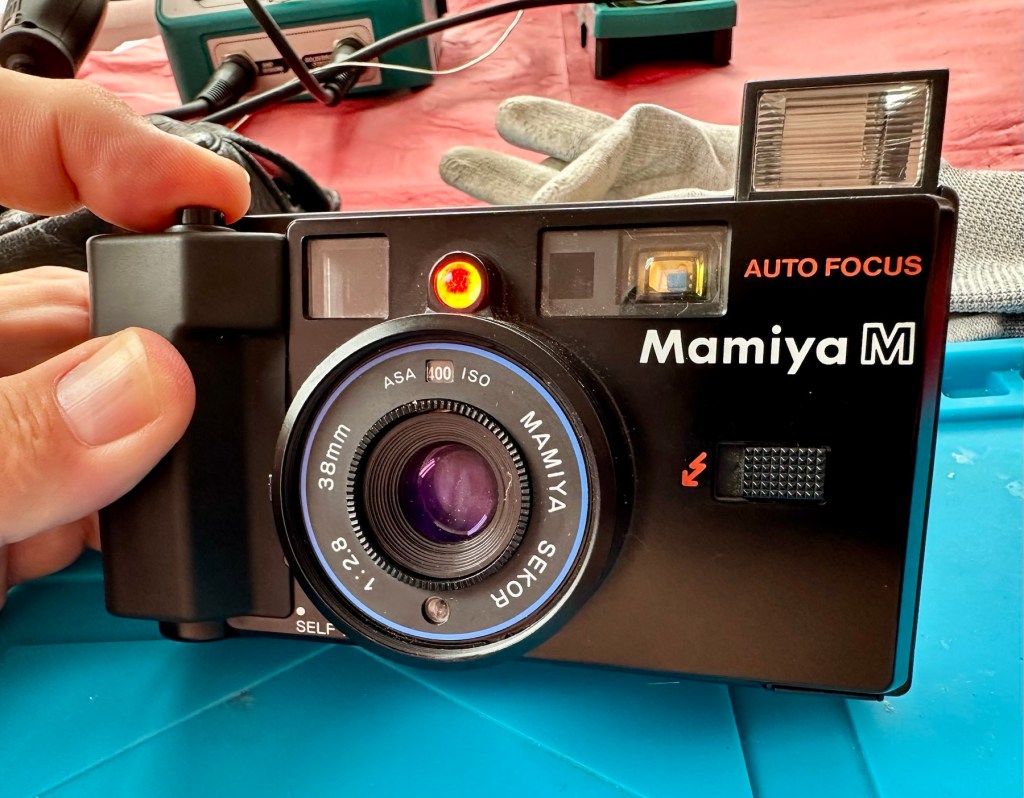
The Mamiya M is a 35mm autofocus compact from 1982.  It has a boxy plastic shape, with a fixed Mamiya Sekor 38mm f/2.8 lens.  The lens is four elements in three groups.  Exposure is fully automatic, based on the film speed, where the ISO is selected via a dial around the lens. Film speed available is 25 – 800 ISO.  

The metering cell is located just under the lens, but within the lens ring.  This allows for the metering to take into account any 46mm filter screwed onto the lens.  That is assuming it is not a graduated filter.  Fastest shutter speed is 1/500thsecond with the slowest at 1/8th.  The camera is always on, except when fitted with a specially designed lens cap, which triggers the off state.  There is a strategically placed switch it pushes against on the right side of the lens.  Most of these caps are lost, including mine.

Photothinking.com

I don’t know what attracted me to this camera, but the fact the seller just wanted rid of it at a cheap price was a starting point. It was advertised as £4:36 GBP and £2:45 delivery, a total of £6:81GBP. I bartered a bit and got it all in for £5:44GBP so I got it a little bit cheaper, a bargain if you like.

Mamiya has a great reputation for building high quality lenses. They were only in the 35mm autofocus point and shoot sector for a short while before immersing themselves totally into the medium format camera market. This 35mm camera was only in production for about a year or so, even though quite a few were produced, we are looking at the low hundreds of thousands, not the many millions, so the camera itself was not a major mass produced and marketed unit. It is a plastic preformed body unit. Known in polite society back in the day as “A plastic fantastic”.

If a Mamiya camera had a blue ring around the lens, specifically on its other models, it denoted a higher quality lens type, it was never confirmed this was the case with these small autofocus 35mm cameras, though many believe it is still the case. Photo quality with these little units was generally of a very high quality.

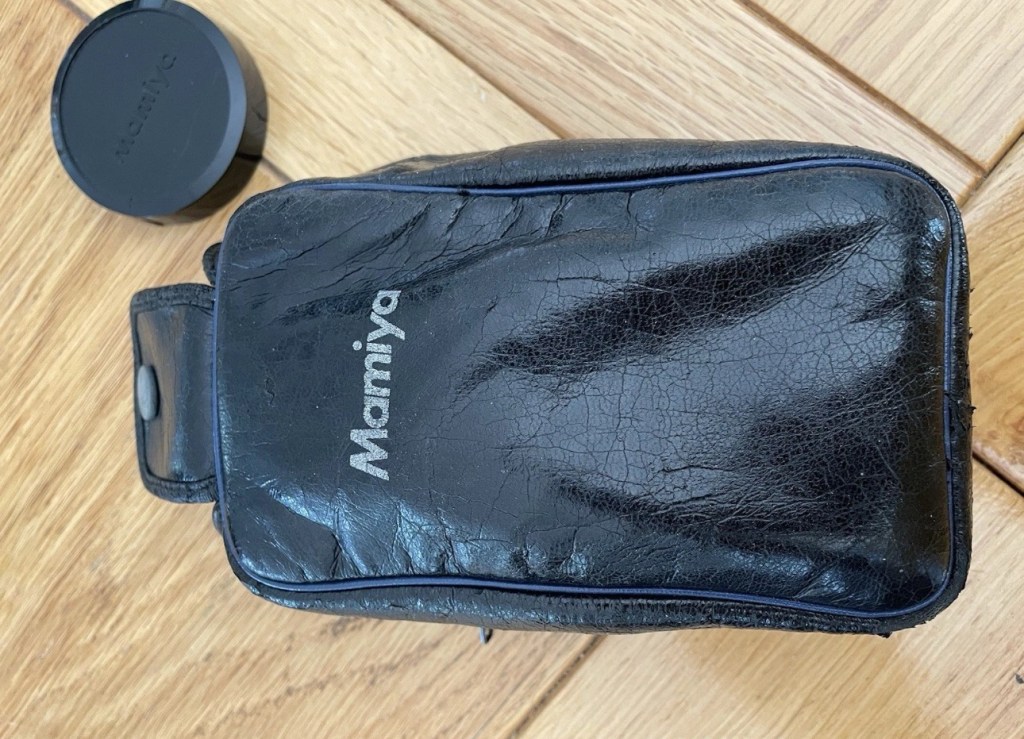
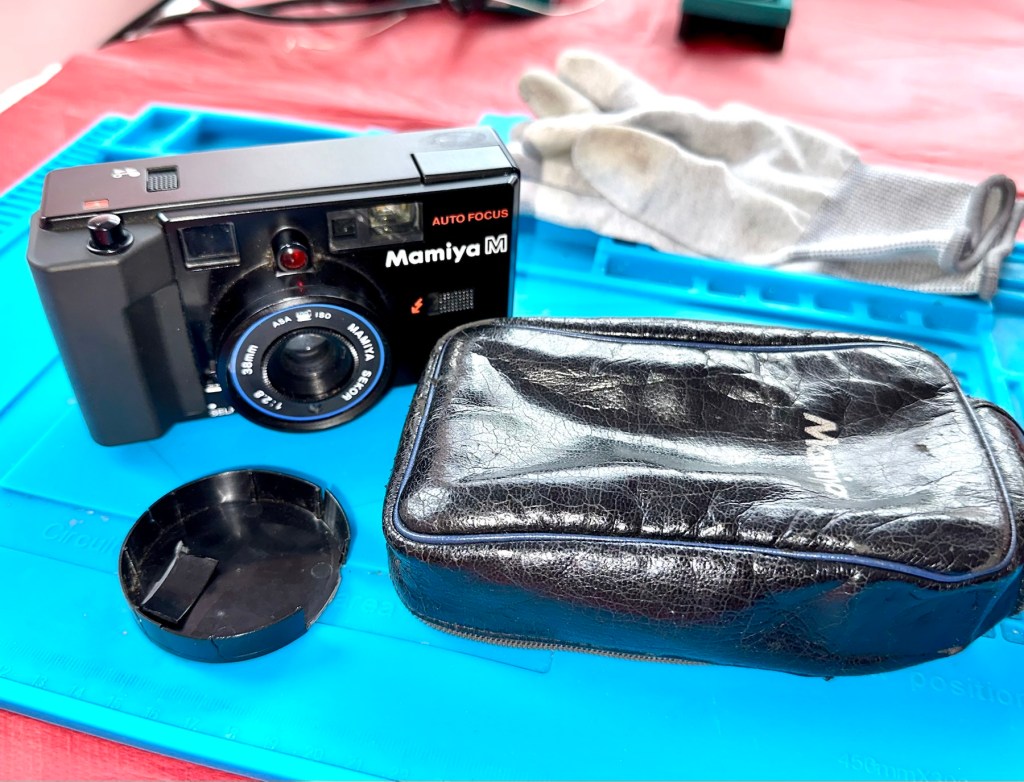
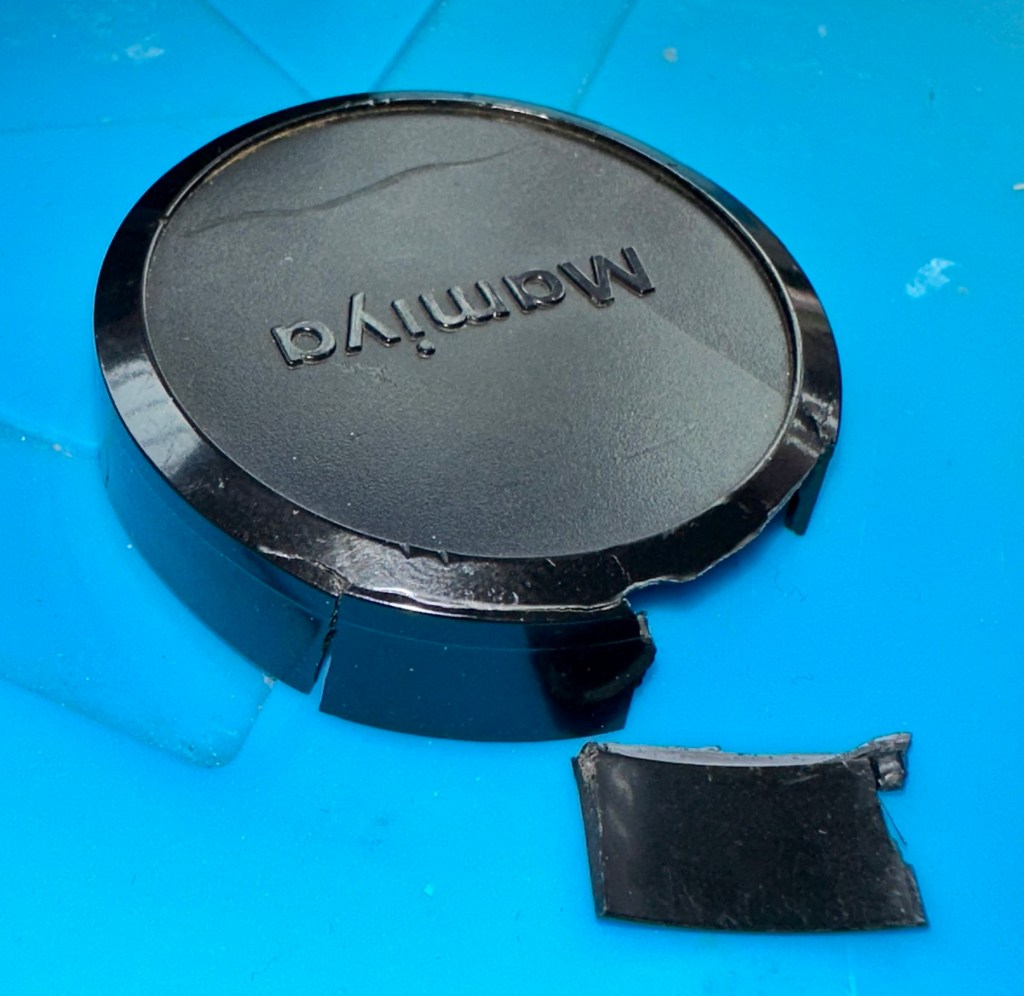
Lens caps with these cameras are very rare, this one has one and it is the original, and i suspect (from what I see in the picture) that there may be a small crack on the side of this one, but that is not an issue. This lens cap is integral to this cameras operation, as when it is placed over the lens, it turns off the camera, without it the camera remains live at all times, and would soon lose its power. It is an early power conserving device if you like. The camera looks to be in overall good condition, probably down to being stored in its original case.

You can view a lot more than I could ever tell you, just by watching this review by Mr.50mm that was posted earlier this year.

Excellent recent review

Since reading up a little on these cameras it appears that I may well have bagged a bargain, if it ever works. And I also believe the seller may well again be unaware of the operation of this camera and it may in fact be working just fine? Who knows? I have my suspicions but we will just have to wait until it gets here for assessment.

Below are some sale prices relative to this camera model that are currently selling on EBay, some extremely high prices compared to what I have paid today:

Current selling prices for this model

It’s plastic and so 80’s. And people obviously loved it. I’d like to be able to get this camera working again, and would love to run a roll of film through it to give it a test run. But first I have to assess it and see just what is wrong with it. I have a roll of old film available to test its “faulty” rewind system, and I have all my tools ready to crack it open and get inside, if I have to. So let’s get at it….

Assessment:

It’s arrived and I must say it is in an excellent cosmetic condition, probably down to being kept in its original Mamiya soft case. The lens cap I thought had a crack in, is actually broken, probably beyond reasonable repair, but at the moment that is not important. Let’s put that to one side for now.

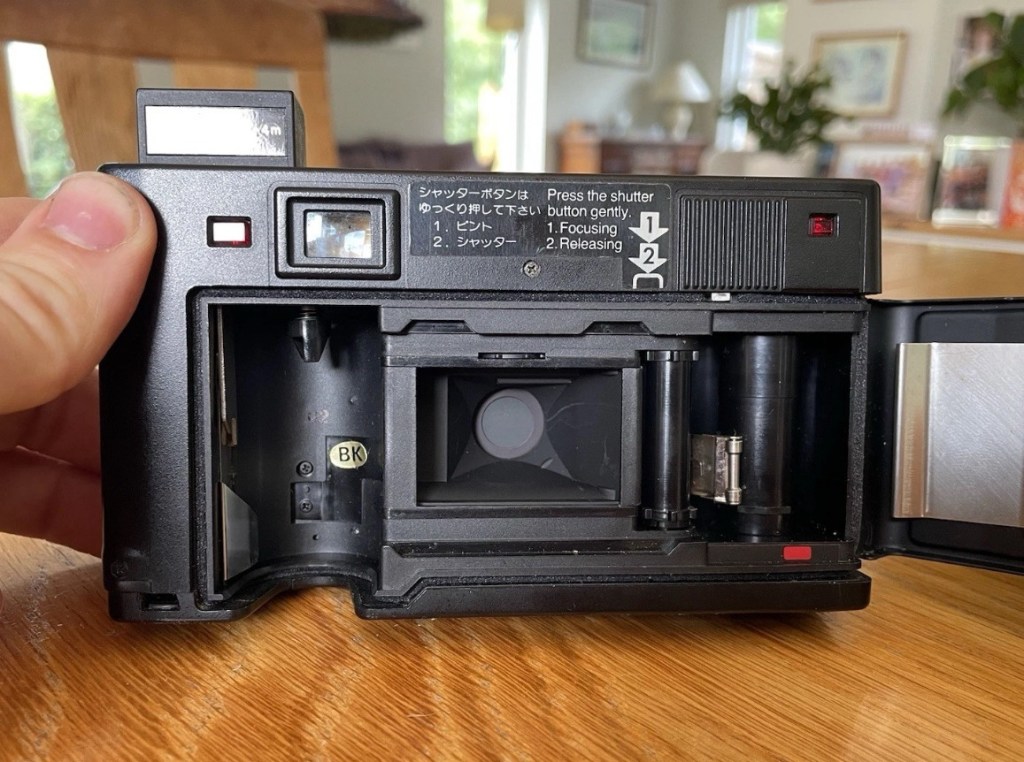
The actual camera is partially alive. When batteries are installed there is a red light that appears on the right rear side of the camera, this is the film transport light and should extinguish when transport is complete. The flash switch sticks a little, and when the flash is clicked into position the distance sensor light on the lens activates however the flash does not charge. The winding system is inoperative and does not auto wind at all. The shutter does not operate, despite the shutter leaves being able to move when gently coaxed.

There seems to be partial electricity throughout, this could very well be the issue. There just doesn’t seem to be a uniform continuity throughout the camera. This will need to be looked at. Something very weird is going on inside.

Repair:

I’m really annoyed, closer inspection shows there are 6 screws missing and someone has been inside this camera prior to me. Again I think I’ve been stung by the EBay curse of “Spares and repairs- no returns” will I ever learn?

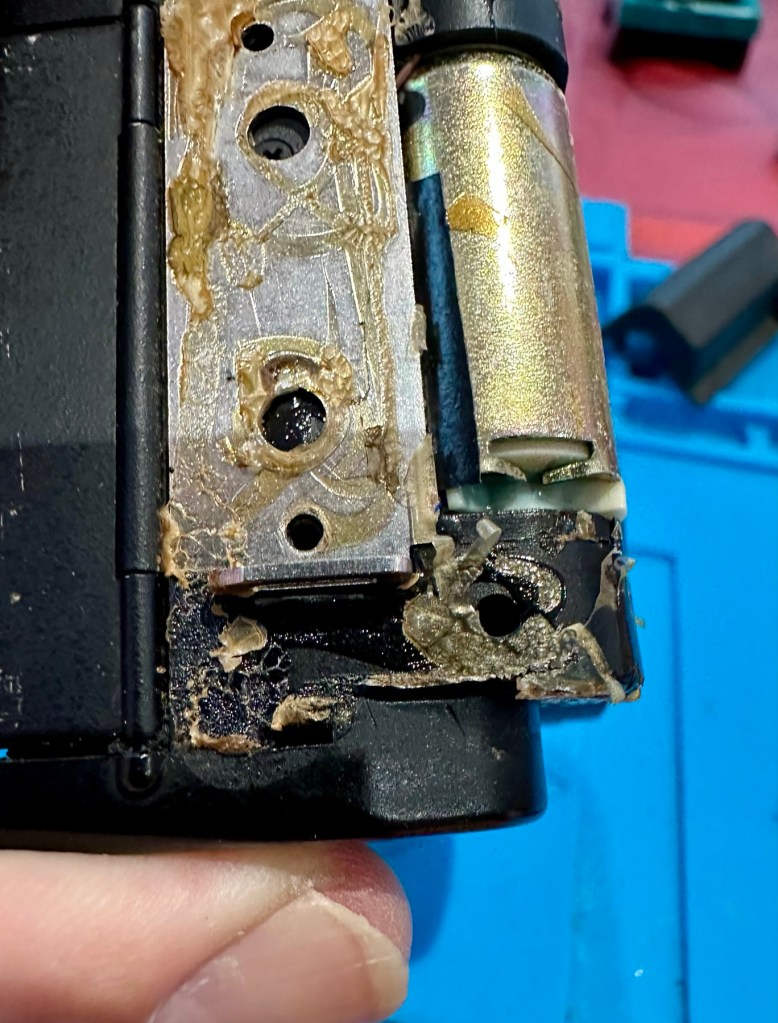
I’ve removed the remaining screws, and had to peel off the rubber grip to access and expose the motor and associated component board in this area. There will need to be a lot of cleaning here before gluing it all back in place.

I’ve managed to get the flash charging light illuminated, and a current of 214v in the flash confirms that the Flash capacitor is holding a charge and more importantly, receiving a charge from the battery circuit. But I cannot get it to fire. There seems to be an issue with the shutter mechanism and the related electrical circuit in this area. The motor is not working, it’s either dead or not receiving power. I need to look in this area a little more thoroughly.

Front fascia removed

I’ve now removed the front fascia and now have a good view of the overall workings inside the camera.

Ive taken out the lens and the leaf shutter, these seem ok and are working freely when operated. To me it looks as if the mechanism that triggers the leaf shutter is either seized or the variable capacitance system located at the top of the camera, that is basically just a needle on a circuit board connected to the focus light, could be at fault, it does not freely move on each camera actuation as it should, and this is not a readily available part.

That faulty part of the board
Misfiring- faulty

It seems the deeper I delve into this camera that I am finding more issues, and I’ve just found two parts that are incorrectly installed that are on a cog system connected to the motor. I’m fighting a losing battle as it appears the person who has been here before has probably added to the issues of this camera in their attempt to fix the original issue.

On top of the missing screws I’ve now found a missing capstan cog related to the leaf mechanism that would help explain a certain lack of movement in areas. The motor is dead, I’ve taken it out and used the bench power supply and it is non responsive. Even after spraying with some contact cleaning fluid and sitting there spinning the axis to get the solution absorbed, there is still no response. It’s totally dead and will require replacement.

Result:

Well. Once again I have been mislead by incorrect descriptions on the auction sites. It’s a shame really as this is a lovely camera and if it had not been tampered with inside, I’d probably be posting a different review today, one that would be more positive. With screws, cams and cogs missing I was pretty much set up to fail here.

I’ve reassembled the camera and it is now back in its pouch. The positives are that I have learned a lot about how this camera operates, and just dismantling and reassembling the camera allows you to learn a lot about it, and the technology used during that period in time. All the screws that I removed have gone back into place with none leftover, yet another positive.

So it’s a failure I’m afraid, but it will be kept and either used as spares or I will obtain a suitable donor to get this one up and running, it will not be disposed of in any way. It will be reused. I’ve only paid a small amount for this, it’s worth it for the spares alone.
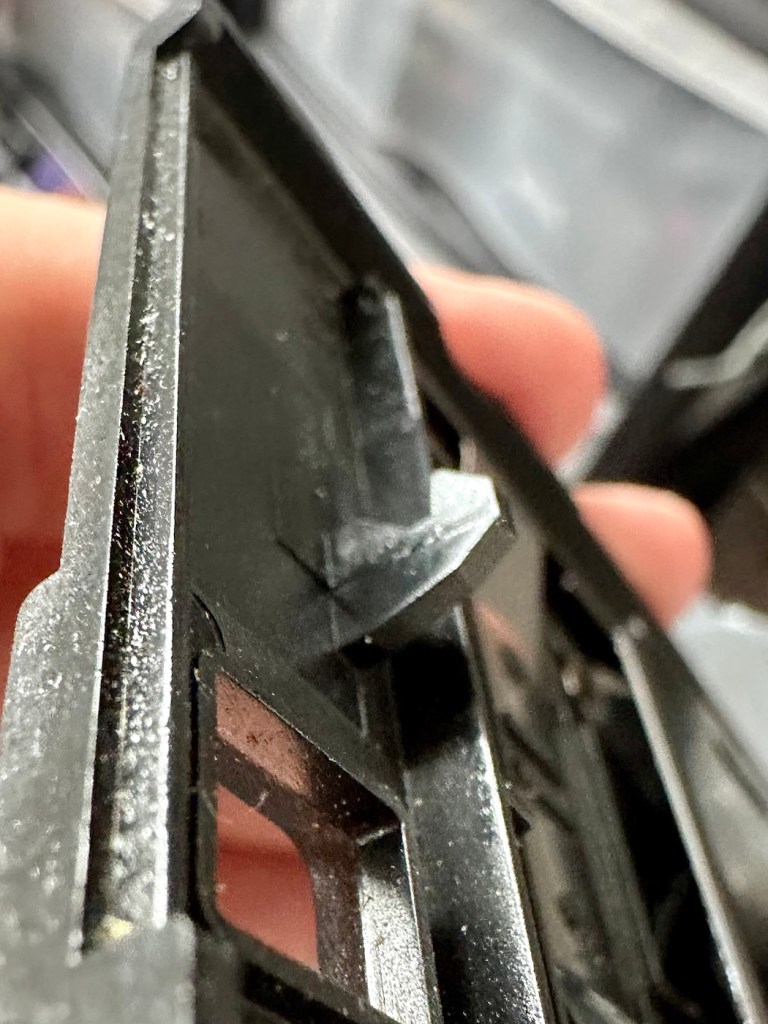
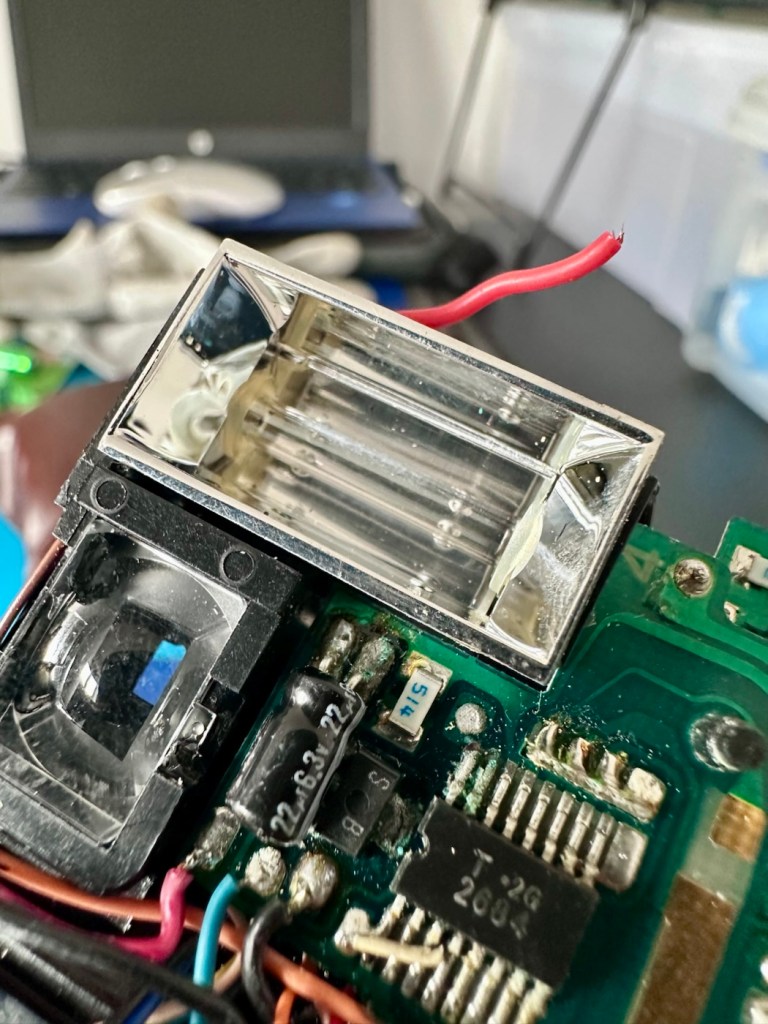
I have already set up a notification on the auction sites for when another suitable camera becomes available. I will update this post or post a new one that incorporates either the repair of this unit or its use as a spare parts donor, when that time comes.

Thanks for passing by. Its appreciated.