

What the listing stated:
THIS UNIT IS FAULTY
SUTIBLE FOR SPARES / REPAIRS ONLY
SOLD AS SEENFAULTS INCLUDE BUT ARE NOT LIMITED TO,
MIRROR STICKS
COMES WITH EVERYTHING SEEN IN IMAGESNO WARRANTY PROVIDED
EBay

Just couldn’t let this one go. Whilst browsing the sites for my next challenge last evening, this little bundle of joy just popped from one of my preferred sellers for a quick sale, it was about 11pm and was just posted at a sale price of £30:00GBP, however with a voucher I had, I was able to secure it at £27:00GBP. Considering this is a good quality camera of the mid 90s it also comes with the added bonus of an MB10 battery grip, superb value in my eyes. A lot of camera for a very low price.
Here’s a little bit about this camera:
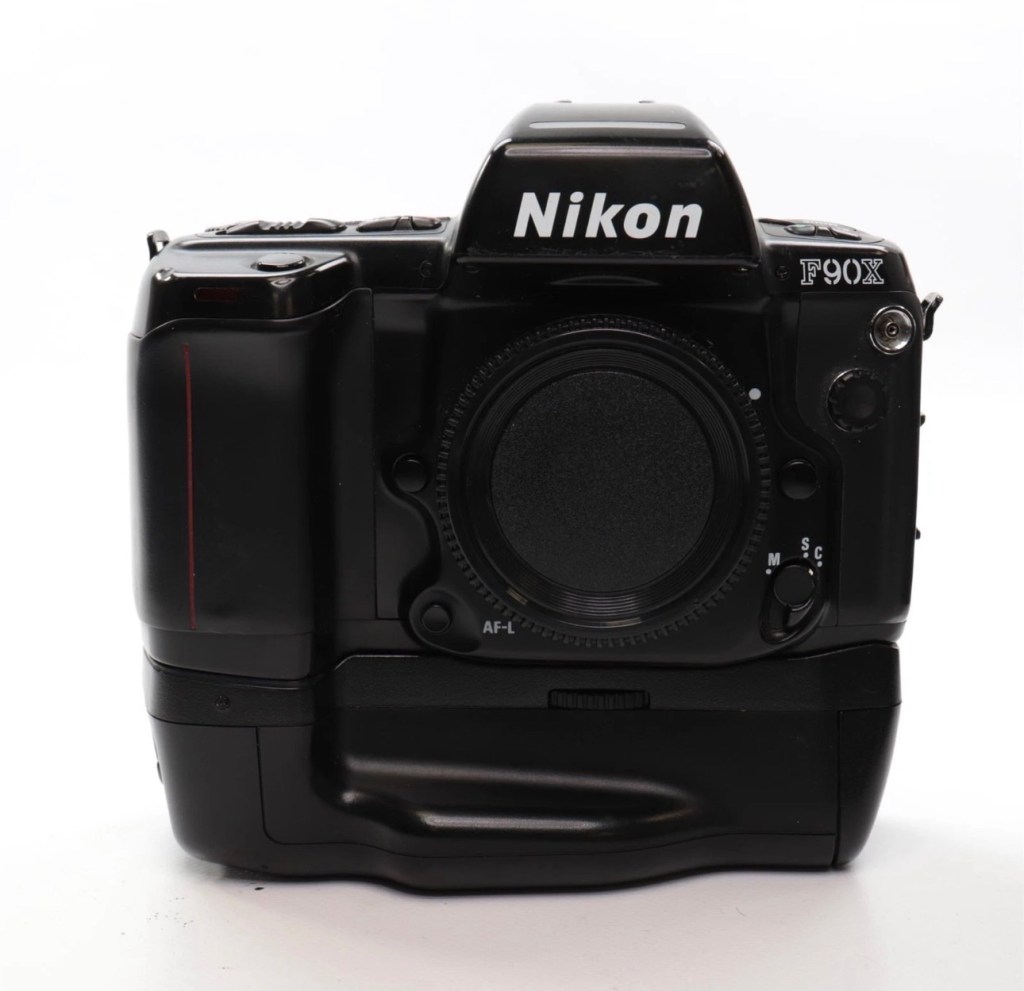
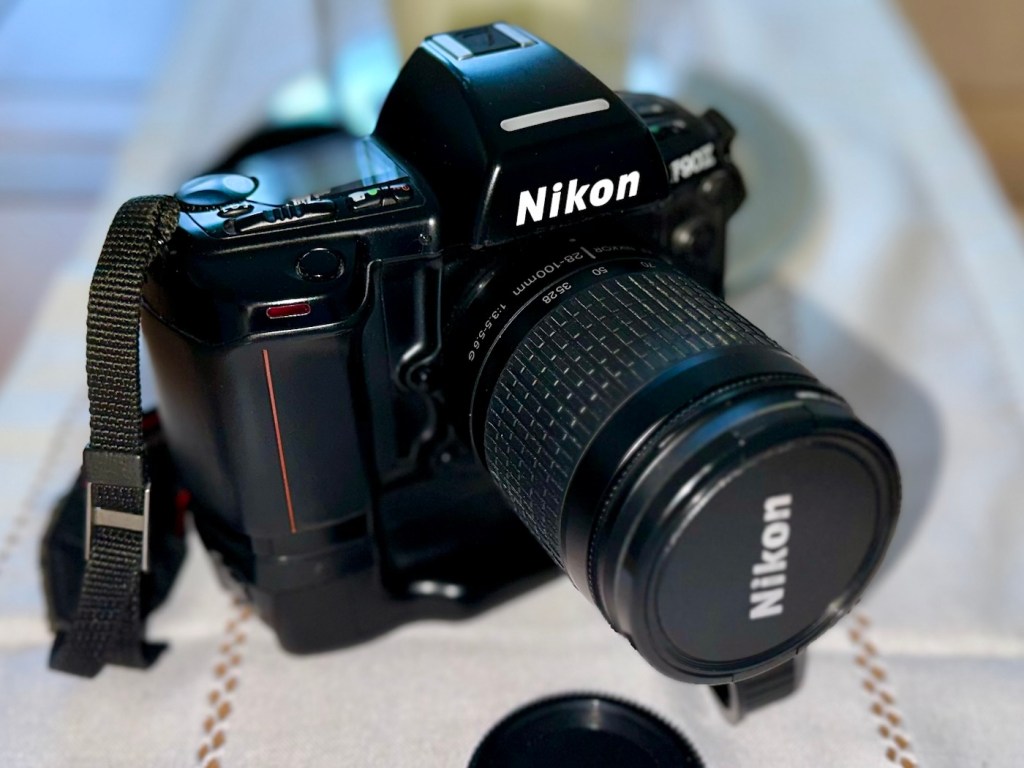
The Nikon F90x is a 35mm autofocus SLR using Nikon’s F lens mount. It was targeted toward the advanced amateur or prosumer; its feature set is comparable to that of Nikon’s current D100/200/300 SLRs. The name N90s was used for marketing in the United States; everywhere else, the camera was called the F90x. This camera was also used as the base for the Kodak DCS 400 series of digital SLRs.
The N90s/F90x was introduced in 1994 and discontinued in 2001. The camera’s predecessor, the N90/F90, was introduced in 1992 and discontinued in 1994. The successor to the N90s, the F100, was introduced in 1998.
Features & Specifications
Nikon N90s global naming N90S adapted into Kodak’s DCS460, a 6 Mp Digital SLR
- Bright viewfinder with 92% coverage, .78x magnification
- Current settings are displayed at the bottom of the finder; information area is automatically backlit in dark conditions
- Top LCD displays current settings and facilitates changes
- Backlit for use in dark conditions; the backlight switch is near the left die of the viewfinder
- Cross-Type Wide Area AF System
- Choice of wide-area or spot AF
- One CAM246 AF sensor
- Continuous AF mode with release priority in addition to standard AF with focus priority
- 4.1FPS capable with continuous AF; 4.3FPS with standard AF
- 2FPS mode available
- 3D Matrix Meter when used with a D or G-type Nikkor lens
- Center-weighted and spot metering are also available and usuable with AI lenses
- 3D Multi-Sensor Balanced Fill-Flash capability (with Nikon Speedlights SB-800/80DX/28DX/28/27)
- Seven Vari-Programs: Portrait, Portrait with Red-Eye Reduction, Hyperfocal, Landscape, Silhouette, Sports, Closeup
- Explained in detail in the instruction manual
- Four exposure modes: Program, Shutter-priority, Aperture-priority, Manual
- Shutter speeds of 1/8000 – 30 seconds + Bulb
- Flash sync speed of 1/250
- Flash sync modes: normal, slow, rear, red-eye, FP high-speed
- Self-timer: 2-30 seconds
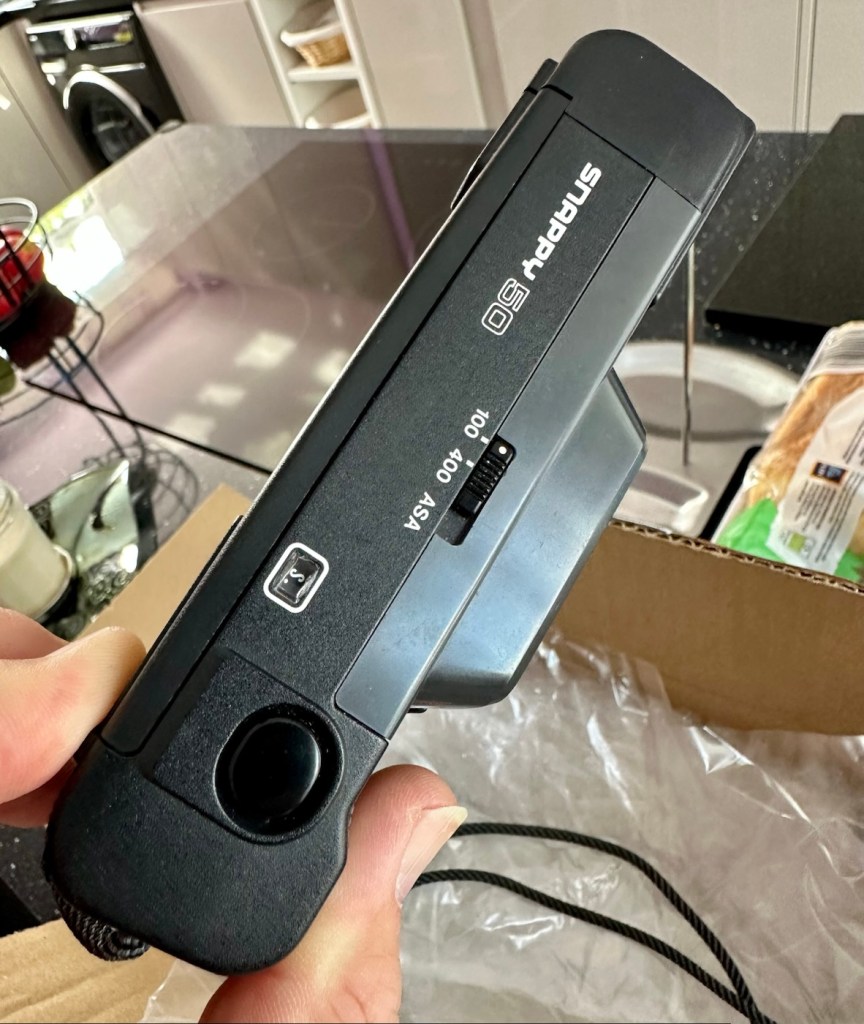
- ISO/ASA Range 6-6400
- DX-enabled (automatically reads speed information from film canisters)
- Eyepiece shutter stops excess light from entering the viewfinder and interfering with metering
- Overall strong build throughout (comparable to Nikon’s current D100/200/300SLRs)
- Stainless steel lens mount
- Requires 4 AA Batteries
- Extensive system compatibility & accessories; see below
Accessories & Compatibility
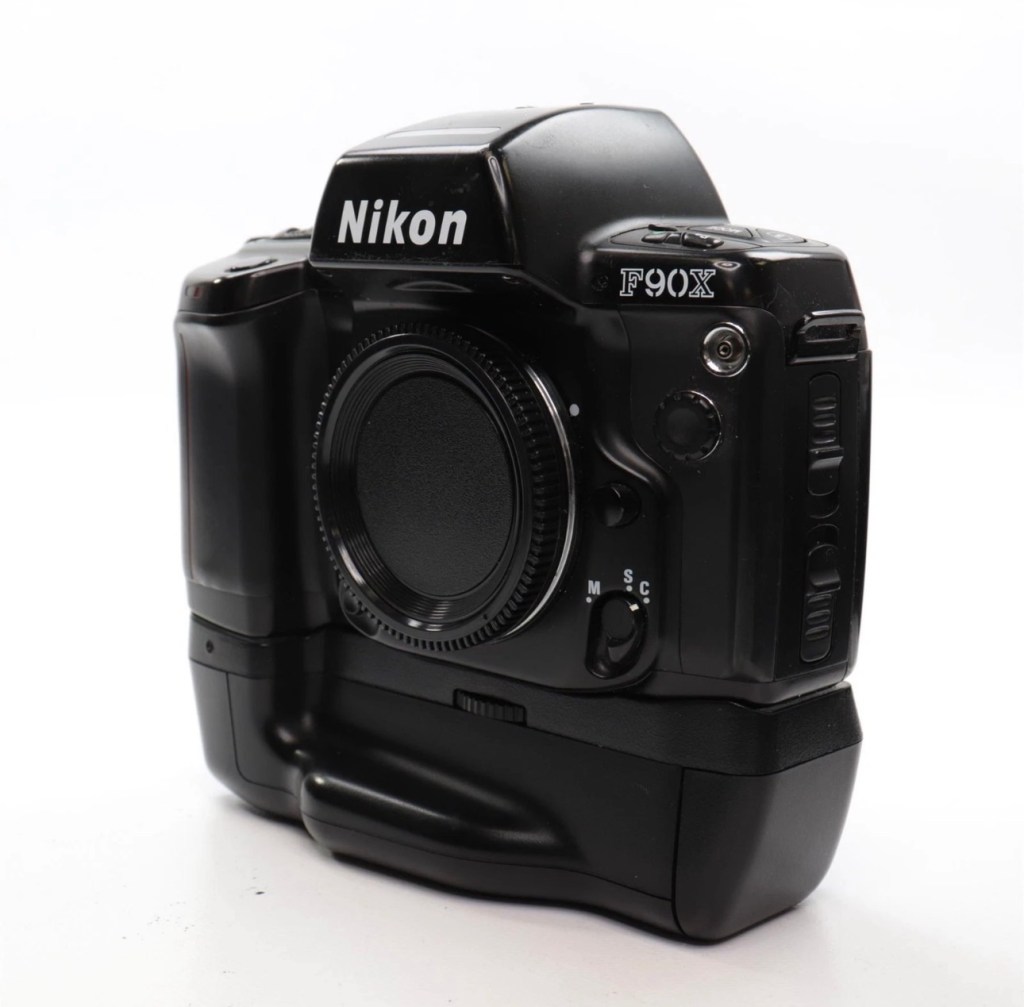
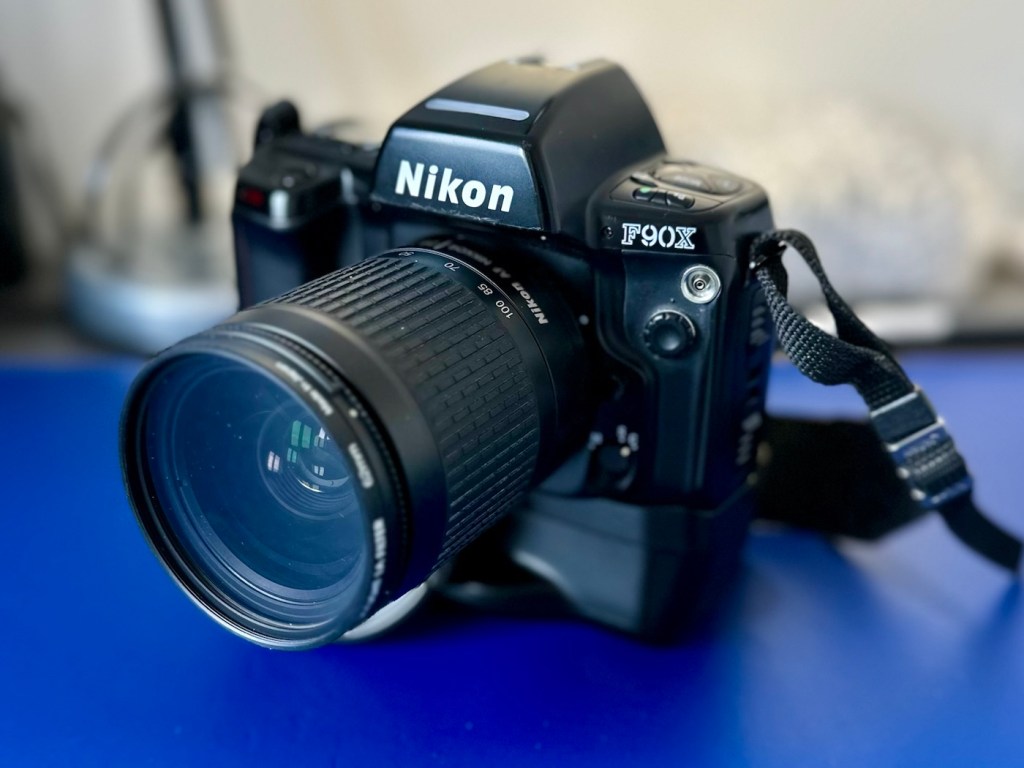
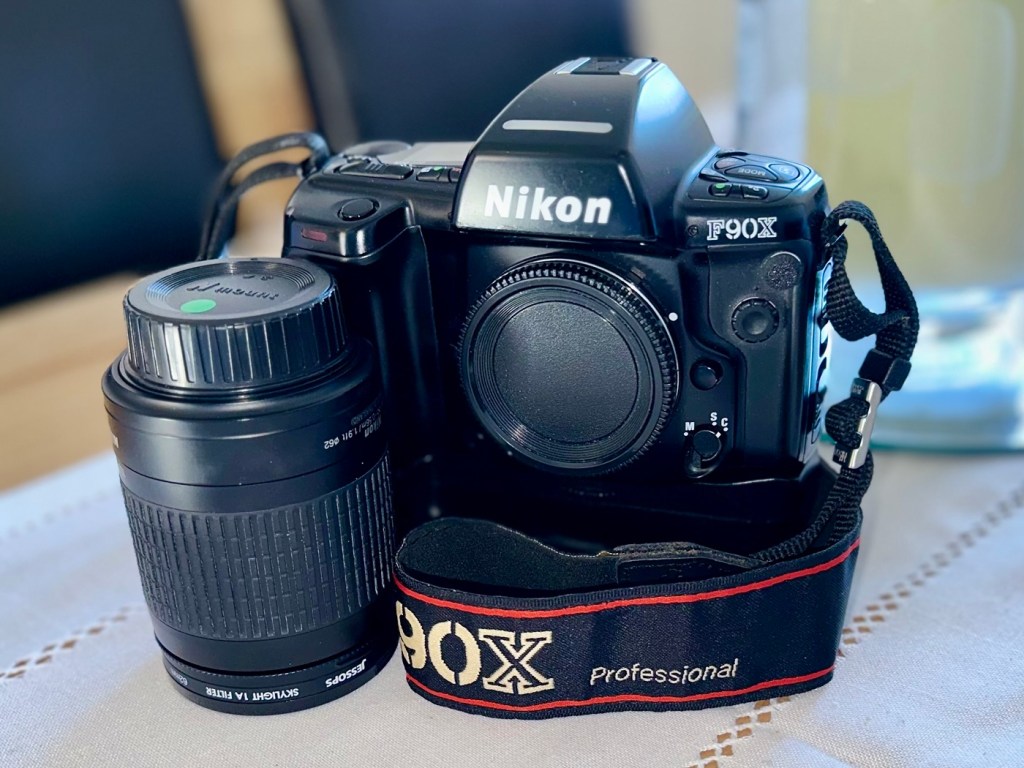
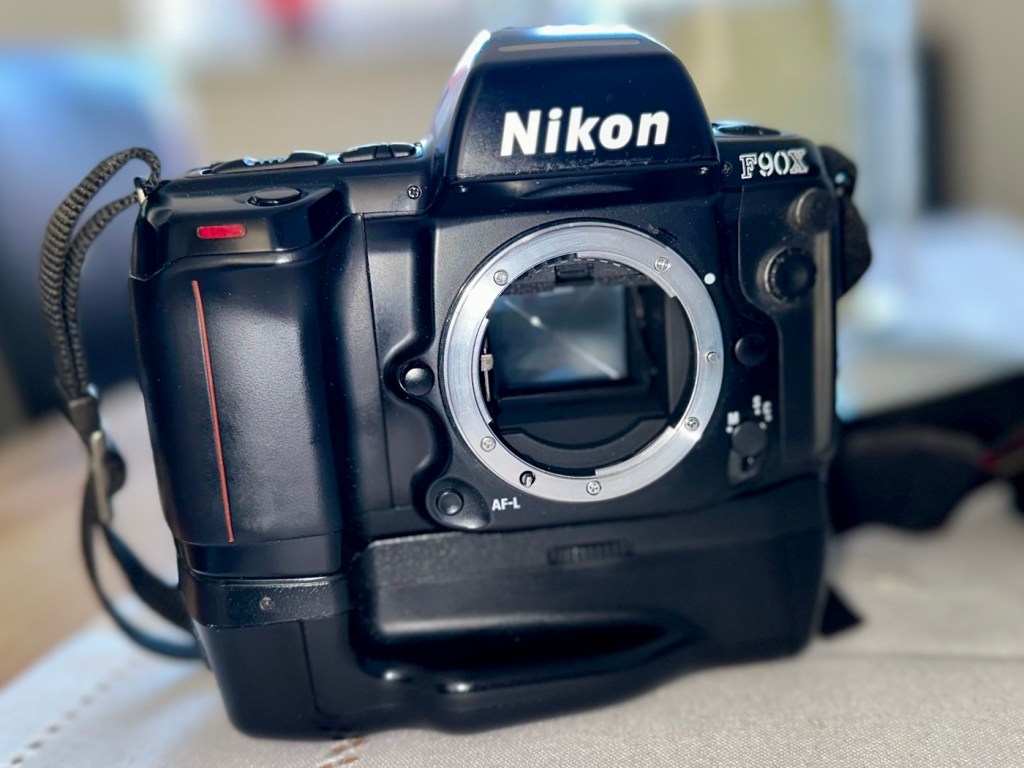
F90X with MB-10 grip
The N90s/F90x is compatible with nearly all Nikkor F-mount lenses as well as all Nikon SB series speedlights.
Additional, camera-specific accessories available are:
- MF-26 Multi-Control Back
- Long Exposures to 100 hours
- Freeze Focus: triggers the shutter as soon as a subject comes into focus
- Custom Reset: customizes which settings are affected by the green-button reset
- Date Imprinting: can also imprint shutter speed and aperture information
- World Clock
- Flash exposure compensation
- Interval timer: up to 100 hours between pictures for 99 frames
- Limit frame count in continuous shooting mode
- Multiple exposures
- Customize which settings are affected by AE-L and AF-L (auto-exposure lock and autofocus lock)
- MF-25 Data Imprint Back
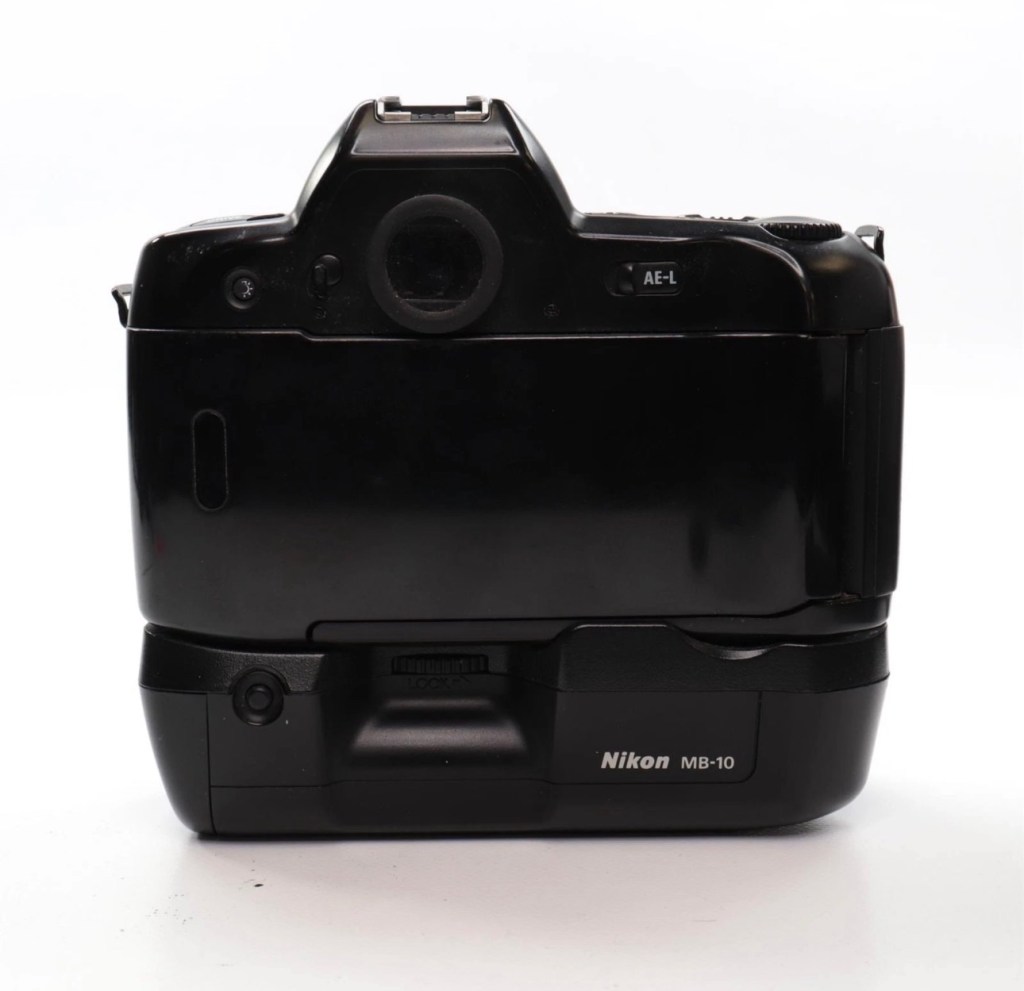
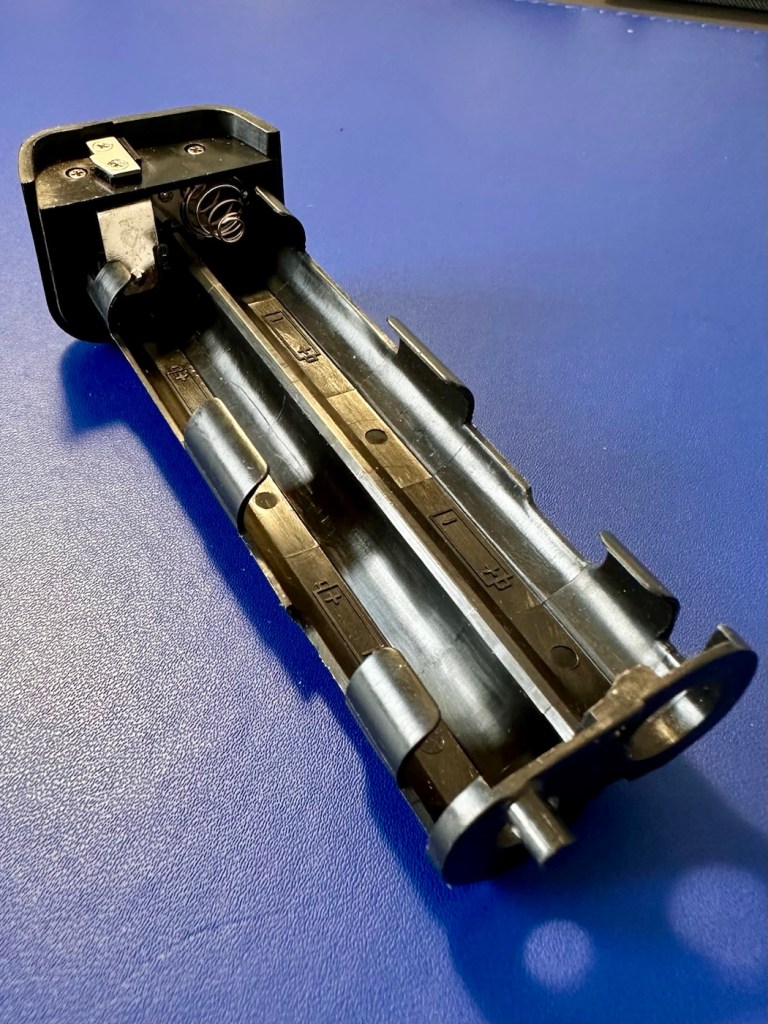
- MB-10 Vertical Grip
- Takes 4AA batteries or, with the MS-11 battery holder, two CR123 lithium batteries
- Interchangeable focusing screens
- E screen provides grid lines in the viewfinder
with 28-80mm, 20mm and 80-200mm
Lens Compatibility
- All functions, including autofocus, work properly with Nikkor AF, AF-I, AF-D, and AF-S lenses.
- AI and AI-S lenses are usable, with the loss of these functions:
- Autofocus
- Shutter-priority exposure mode
- Programmed exposure mode
- Vari-program exposure modes
- 3D Matrix metering (though center-weighted and spot metering remain functional)
- The camera does not use VR with any lens.
- G-type lenses (lenses without aperture rings) can be used with the loss of some functionality: only the lens’ smallest aperture can be used in manual or aperture-priority exposure modes.
Camera-wiki.org
Now my experience with this seller is that unless it is absolutely perfect he will not even entertain it. He doesn’t take the time to check and fettle, if it isn’t working from the start he will just get rid of. This attitude of his has meant I’ve had some right bargains in the past with very little wrong with them. I refer you to a recent purchase Canon EOS D60 that had very little wrong with it, but was also a lot of camera for a very low price.
Now I’ve always wanted a Kodak DCS 400 series camera, especially a 460 version as it takes me back to my days when I was working at Kodak in Harrow, I remember when the DCS 400 series came out and back then they were introducing such a new technology that they were commanding a huge price of around $35,000 at the time. These cameras were basically digital versions of the film camera I have purchased above. So whilst I’m on the lookout for a reasonably priced DCS 400 series camera, I guess I will just have to do with the camera that started it all off. And for £27:00GBP I’m not complaining.
I think I may know why this mirror is sticking, and if it is what I believe it to be it could be quite an easy fix. (Famous last words)
So let’s stop all the reminiscing, and wish list writing and get on with this camera’s assessment.
Assessment:
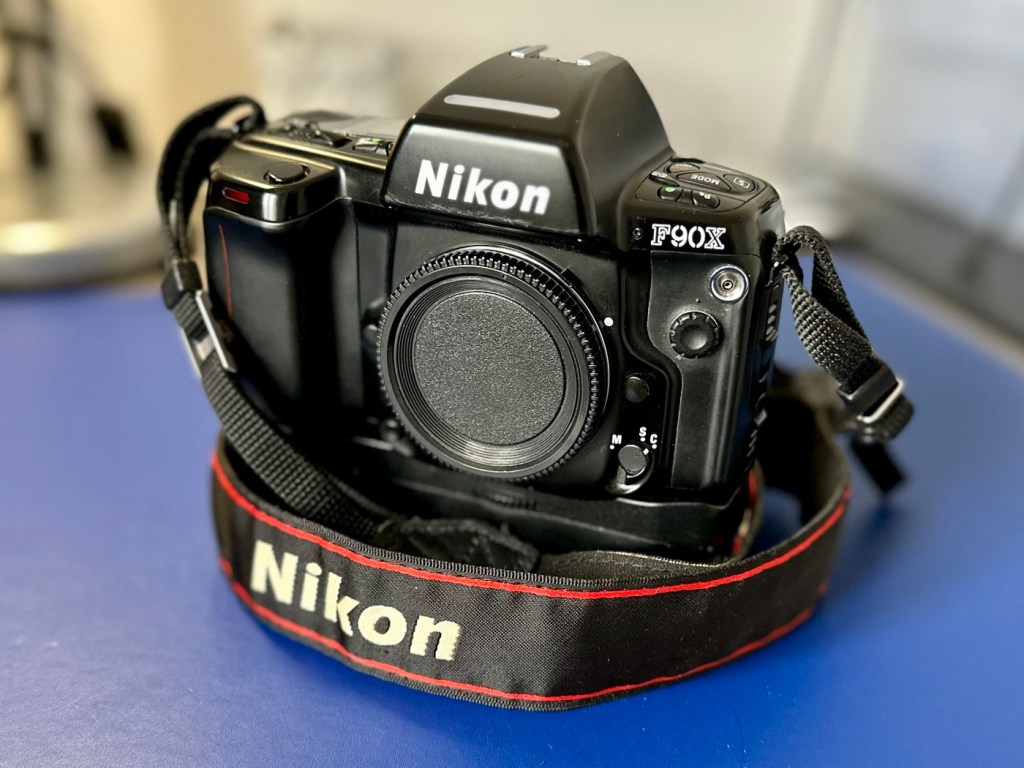
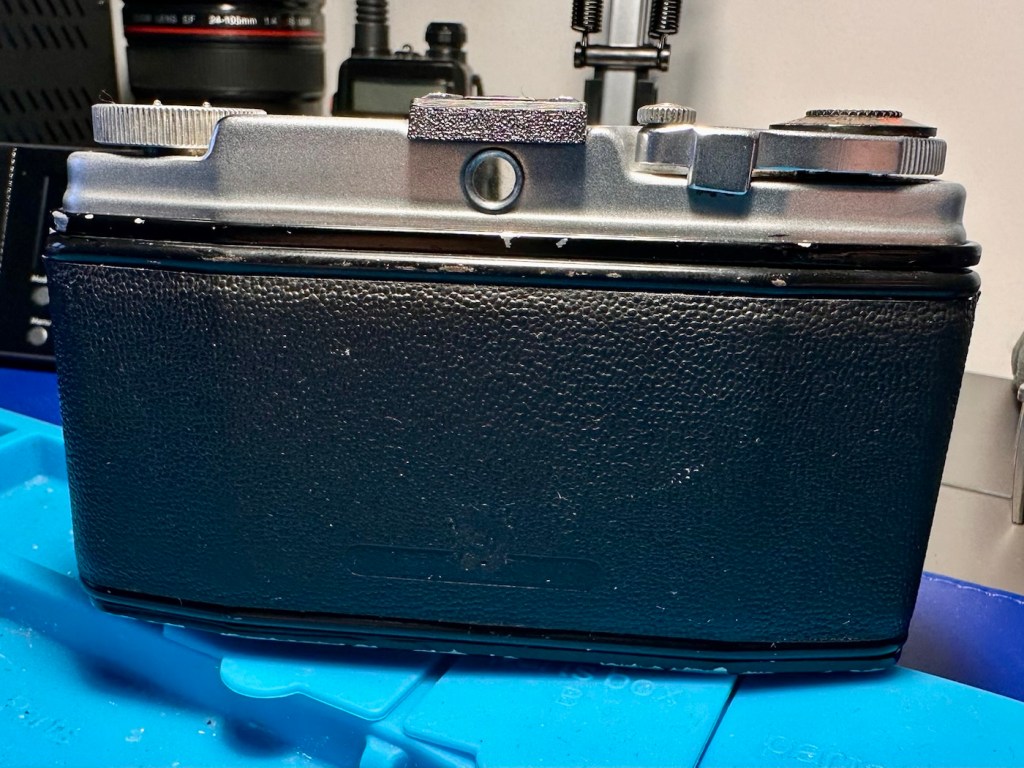
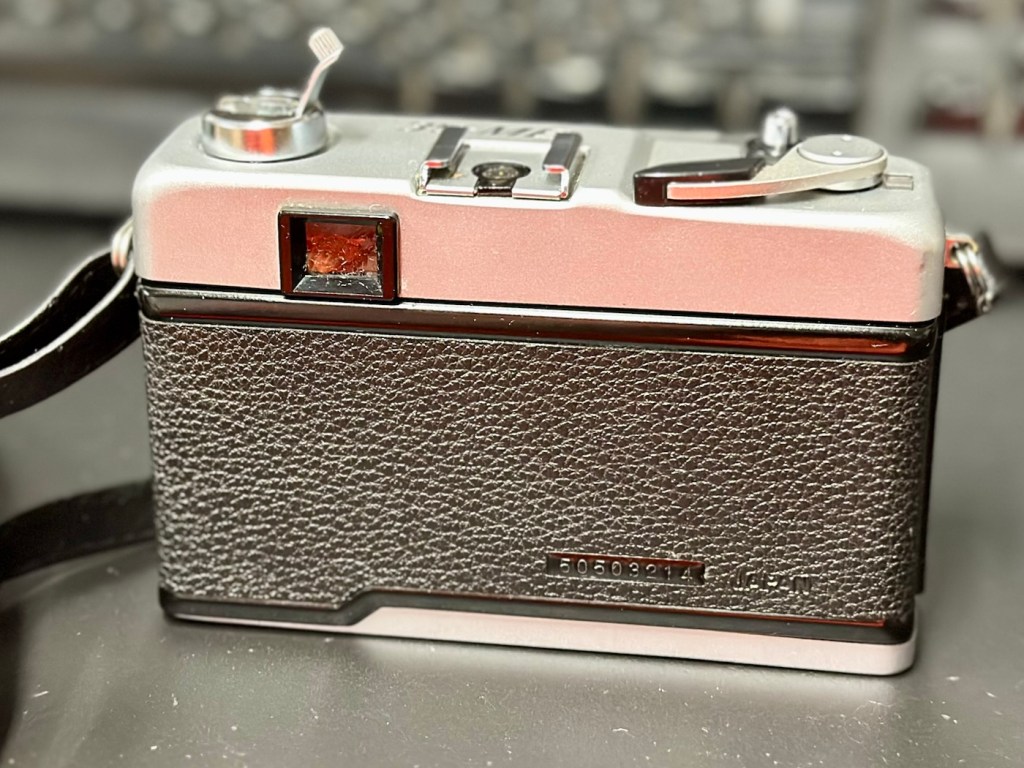
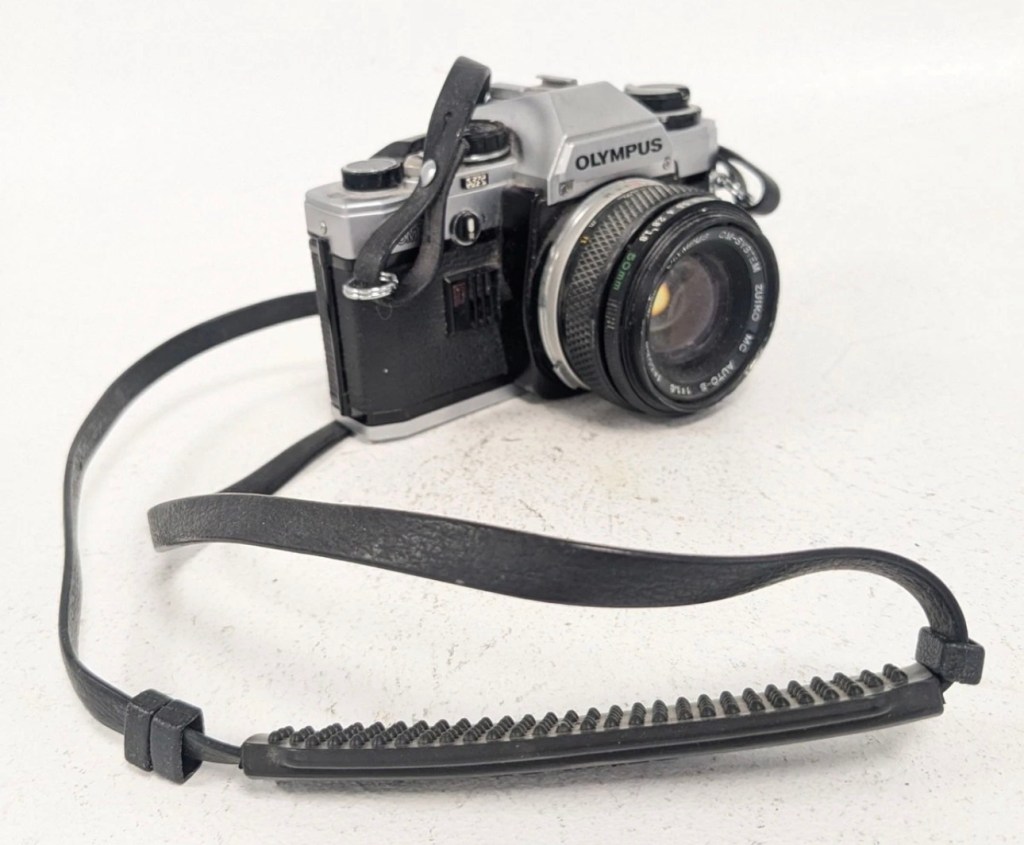
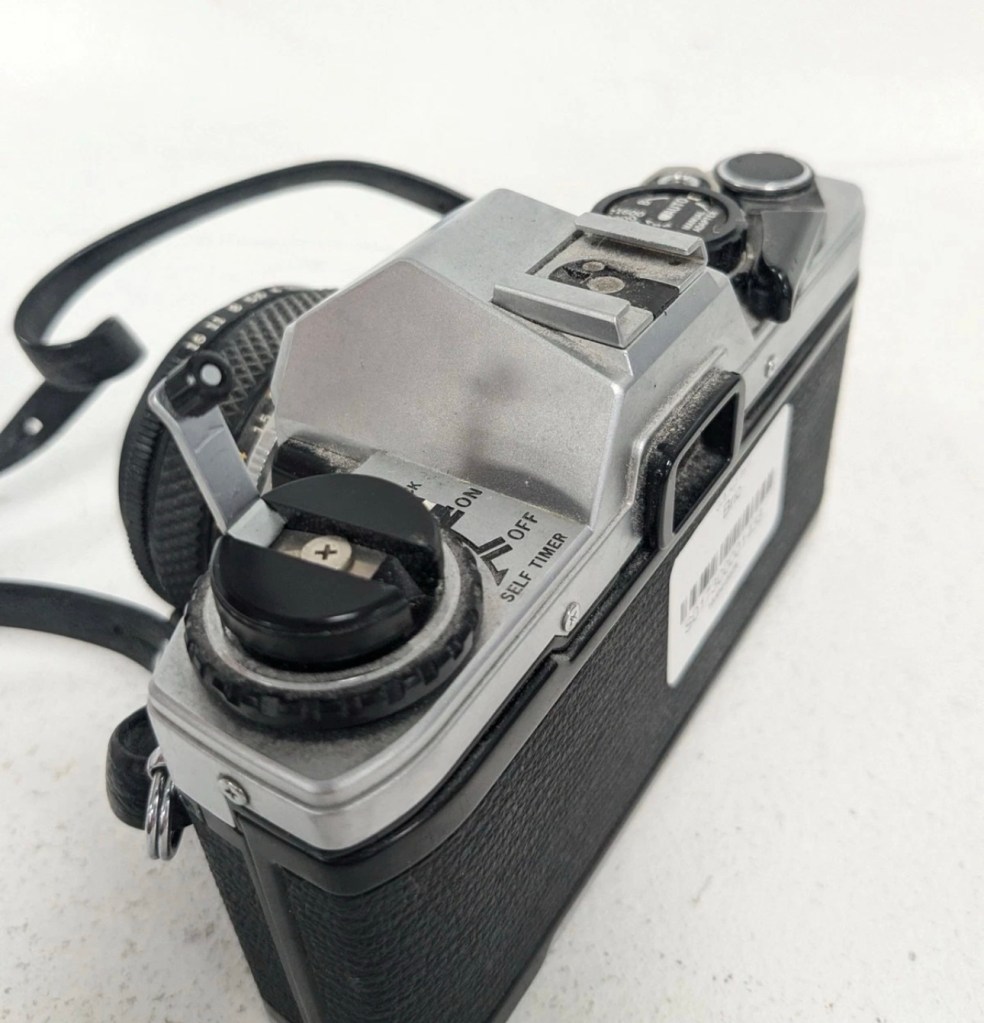
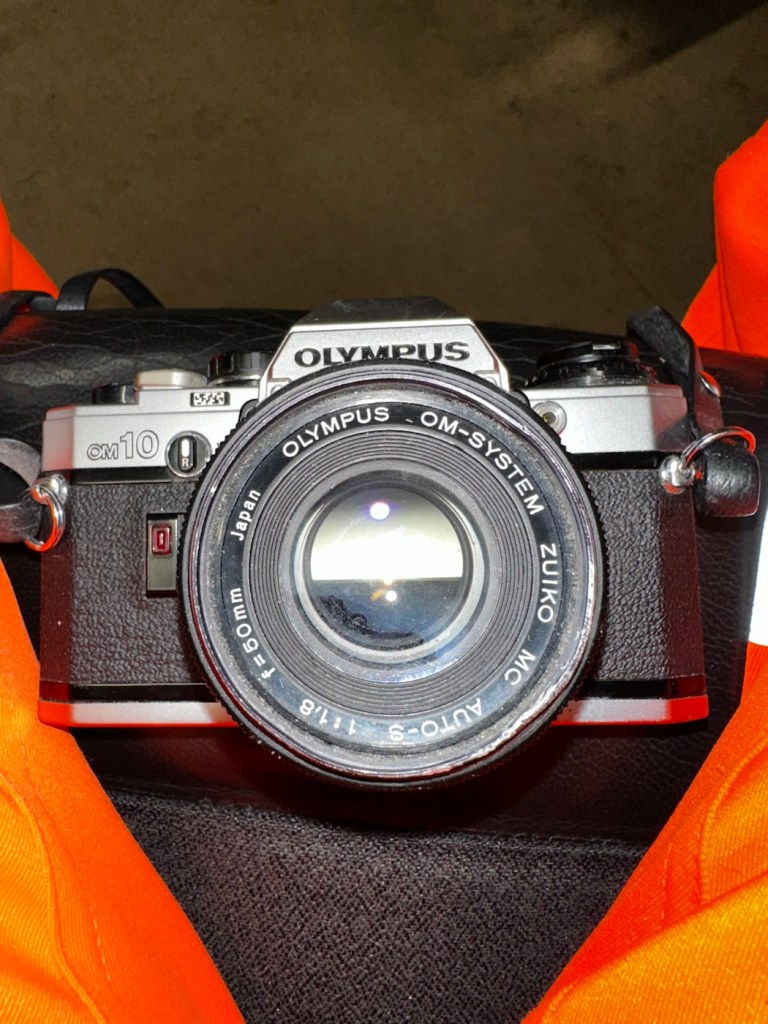
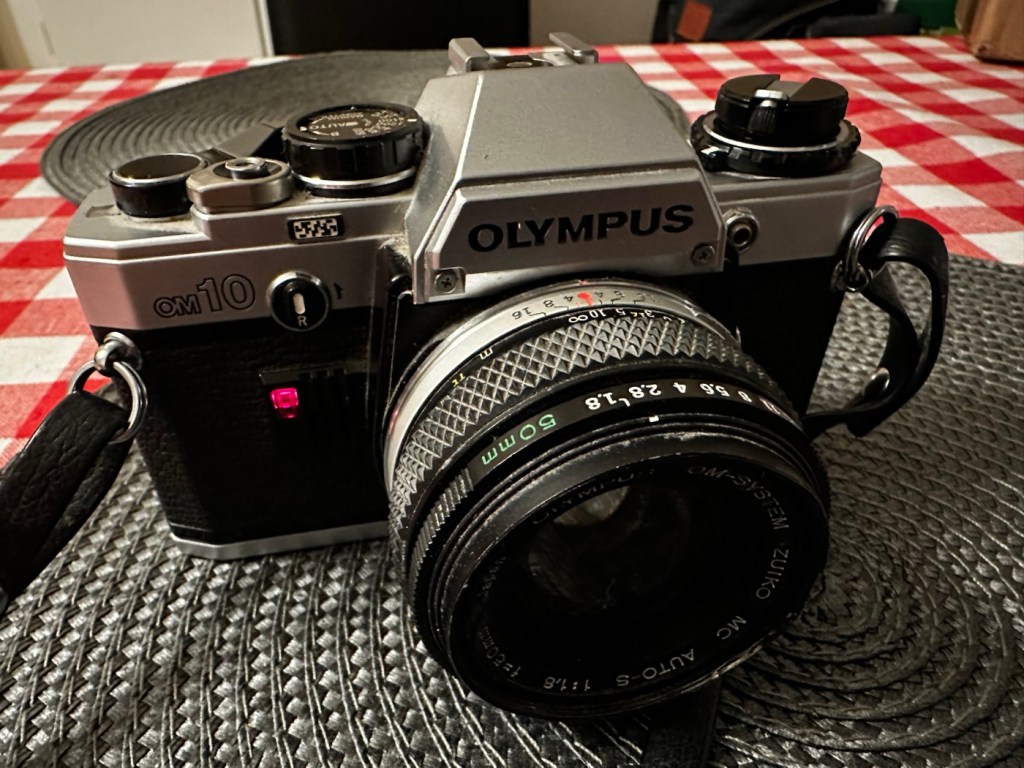
It’s arrived, and as expected it’s a beautiful looking item in an extremely good condition.

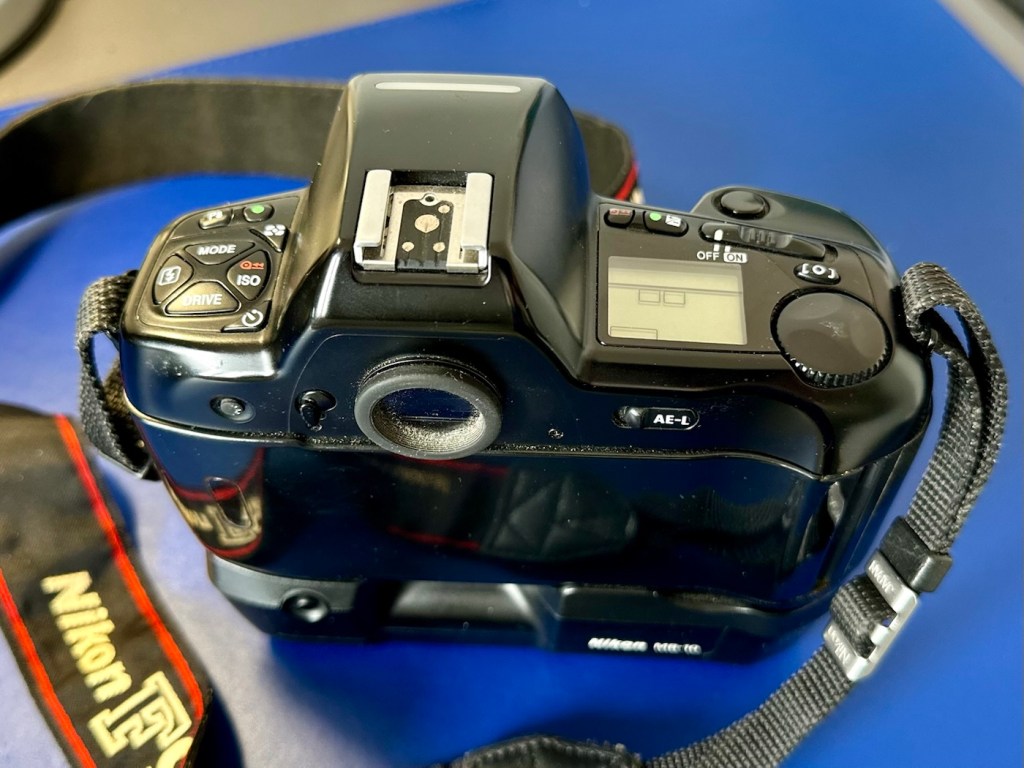

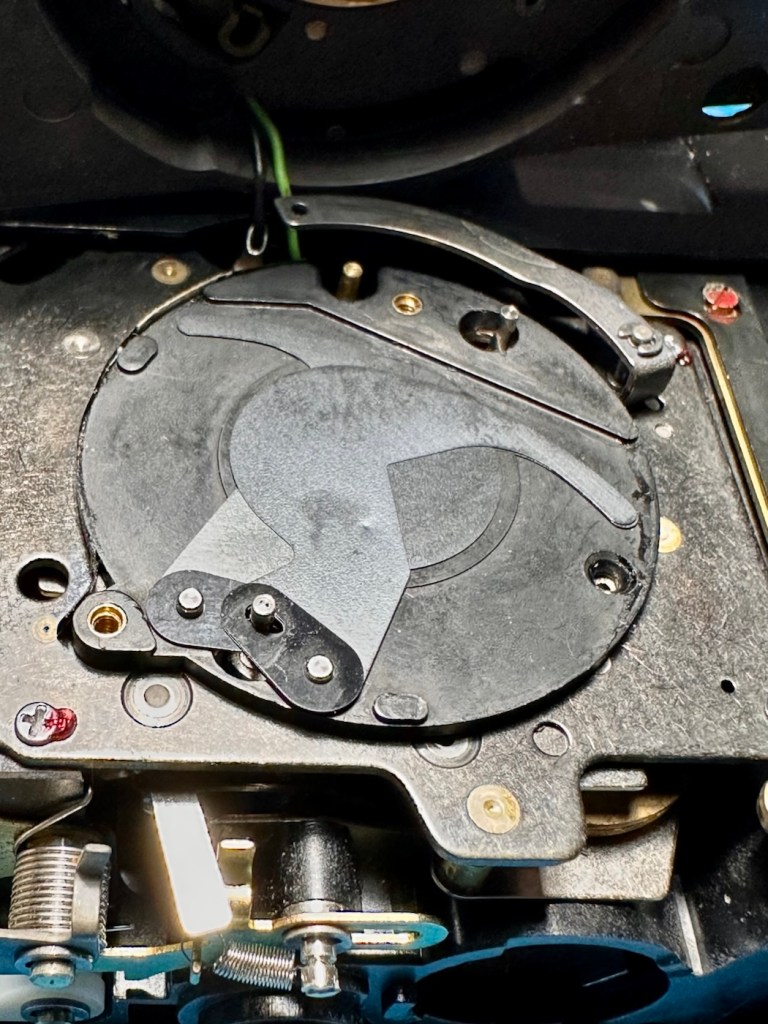
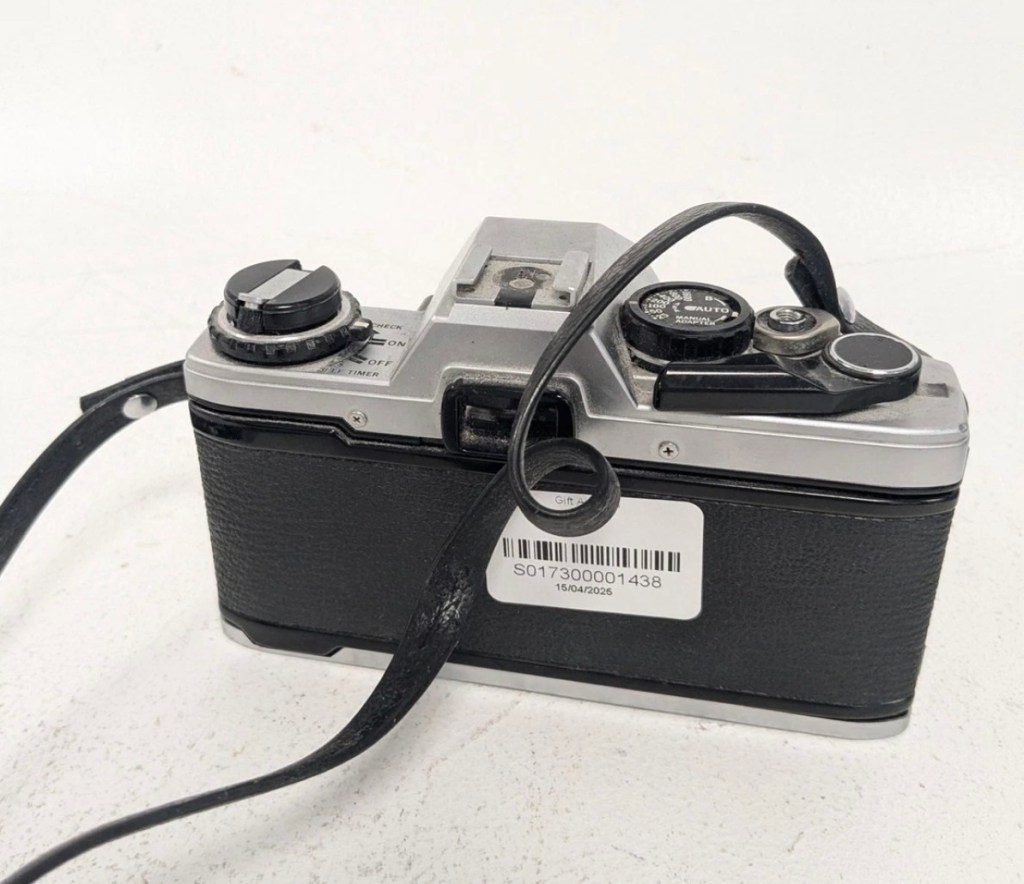
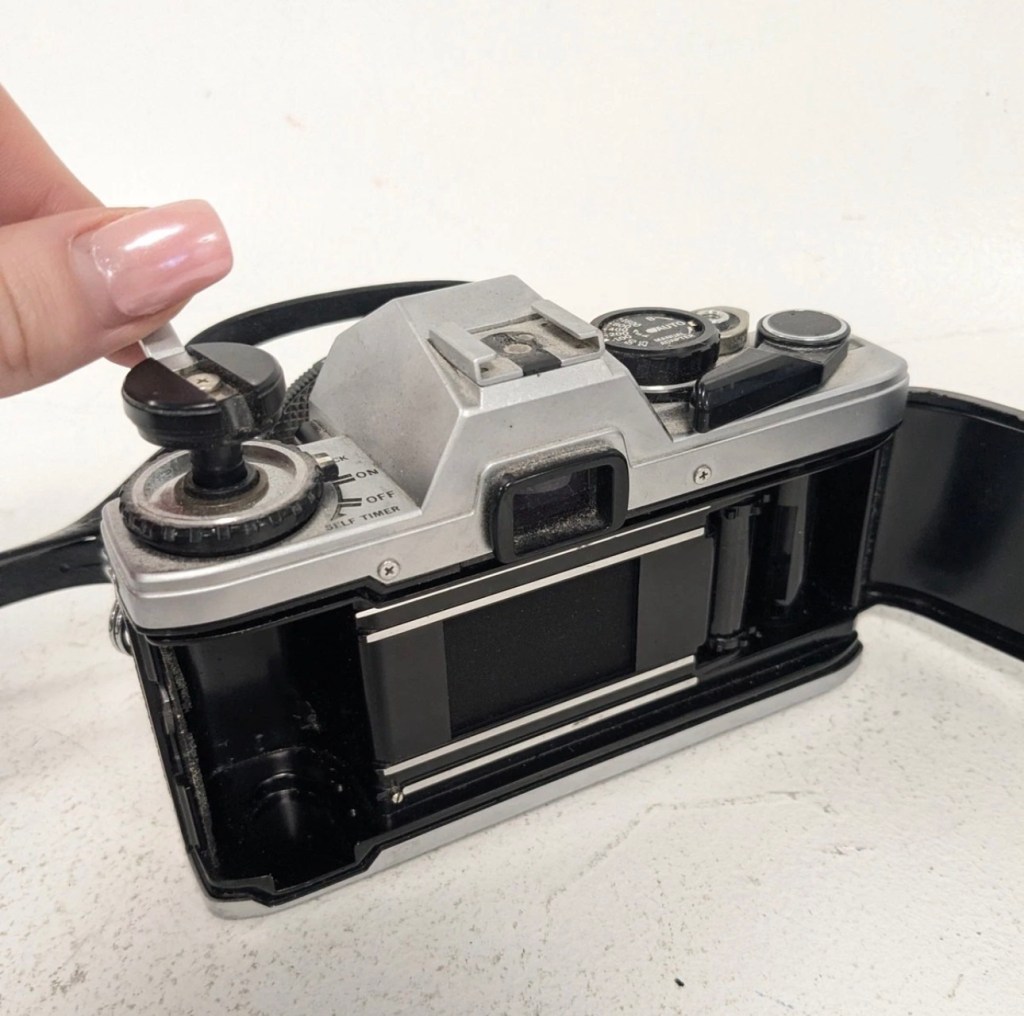
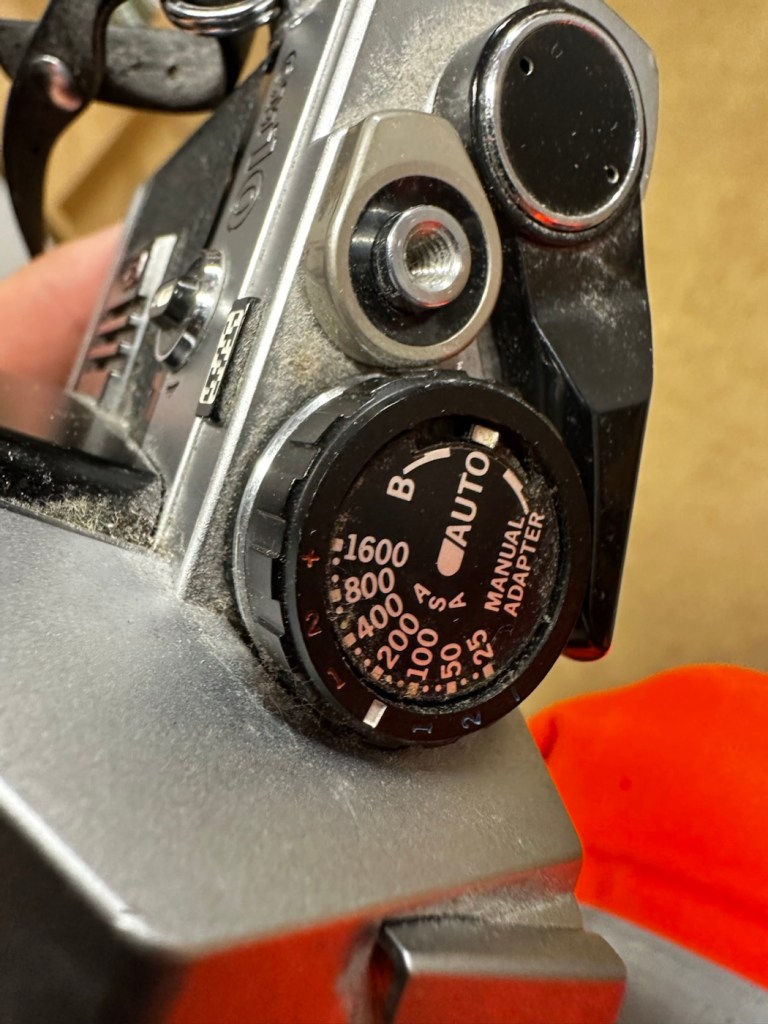
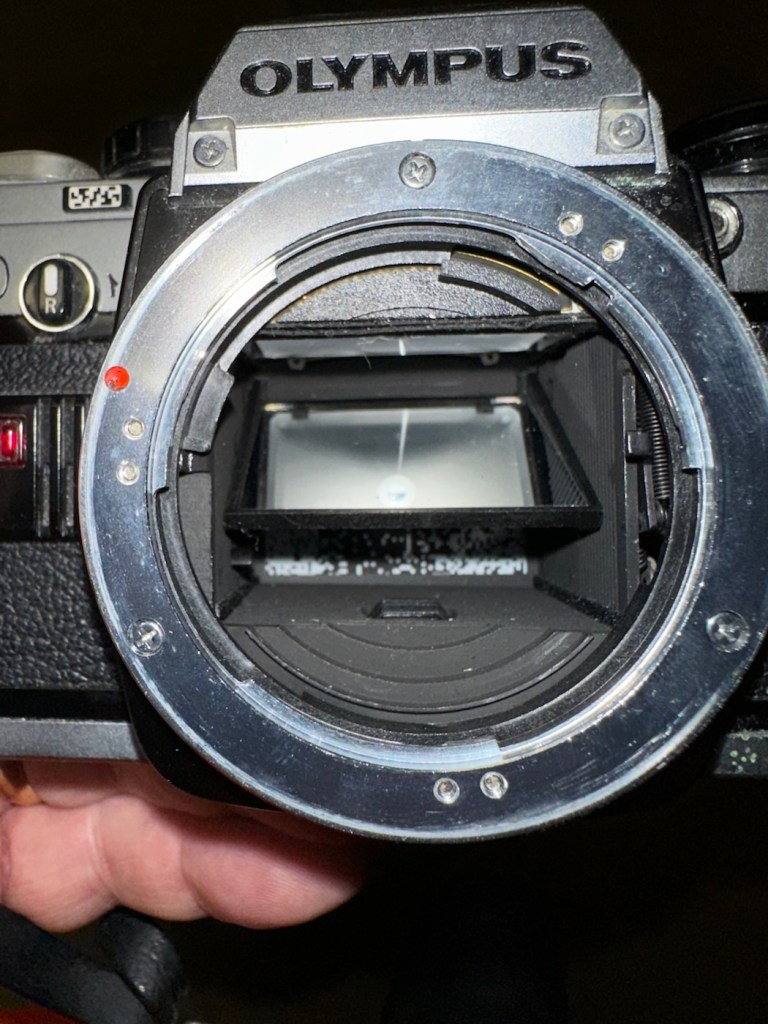
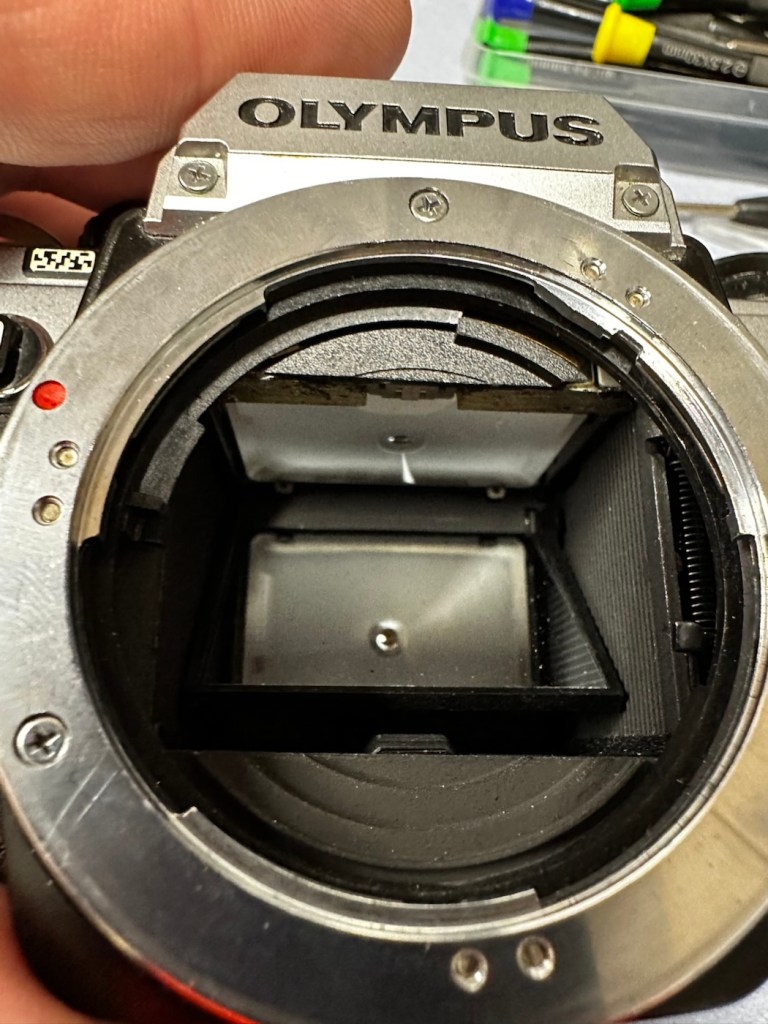
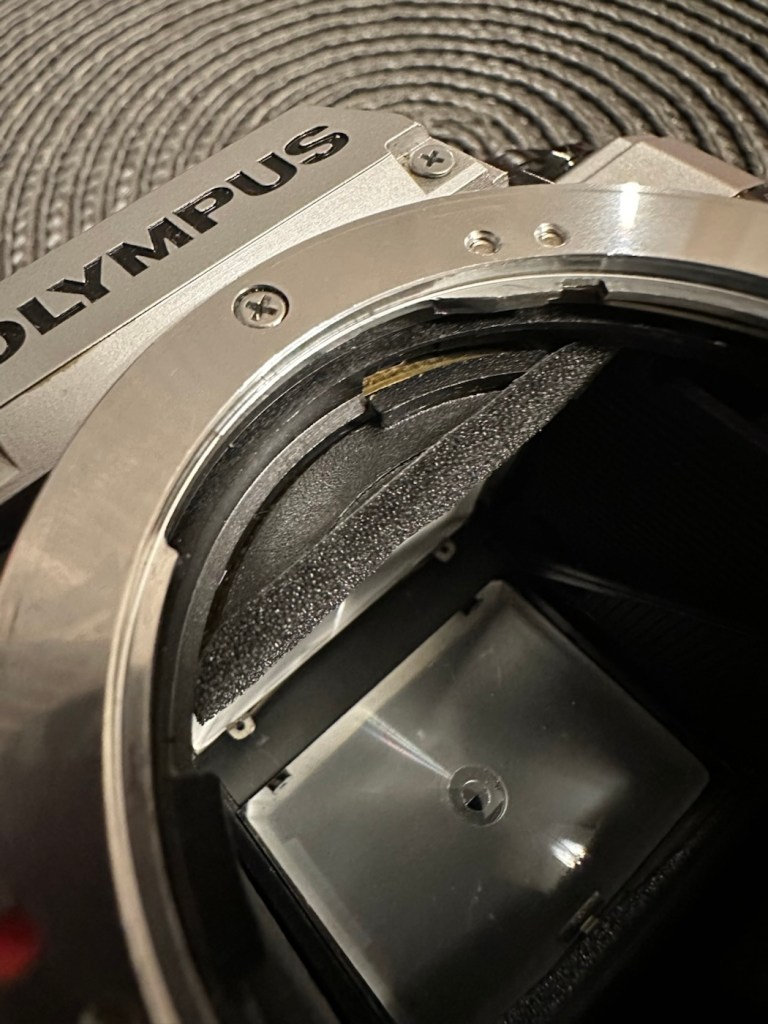
The mirror appears to be in a semi raised position, the battery pack is clean with no signs of contamination and battery leakage, so now seems a good time to put in four AA batteries and slide the battery pack into place and secure it.
Turn the battery on and the mirror clicks back into its closed position. And here I am, probably 40 or 50 actuations later and I can’t recreate the sellers fault of a sticking mirror. The mode the camera is set in, is indicating long exposure times, maybe this has given the impression of the mirror sticking when in fact it’s just doing what it should relative to the light it is seeing. I need to check in clear daylight, but I’m sure this is part of the issue….if there is one.
I have a 28-100 lens mounted that I use for testing, the autofocus is working really well and all seems good.
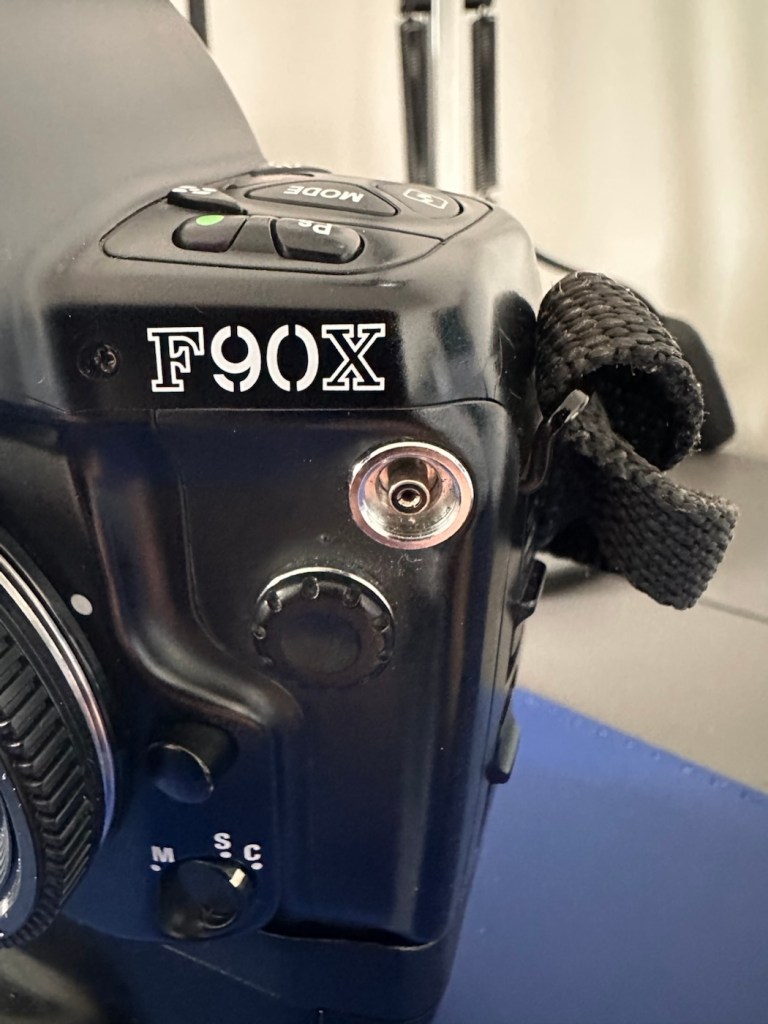
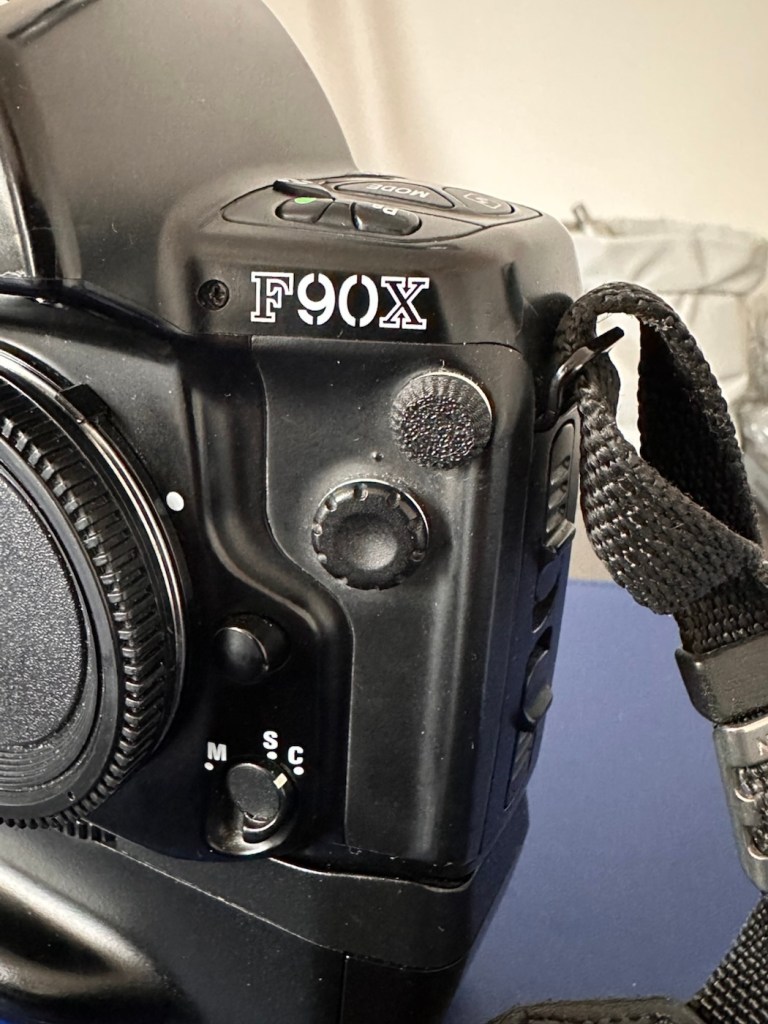
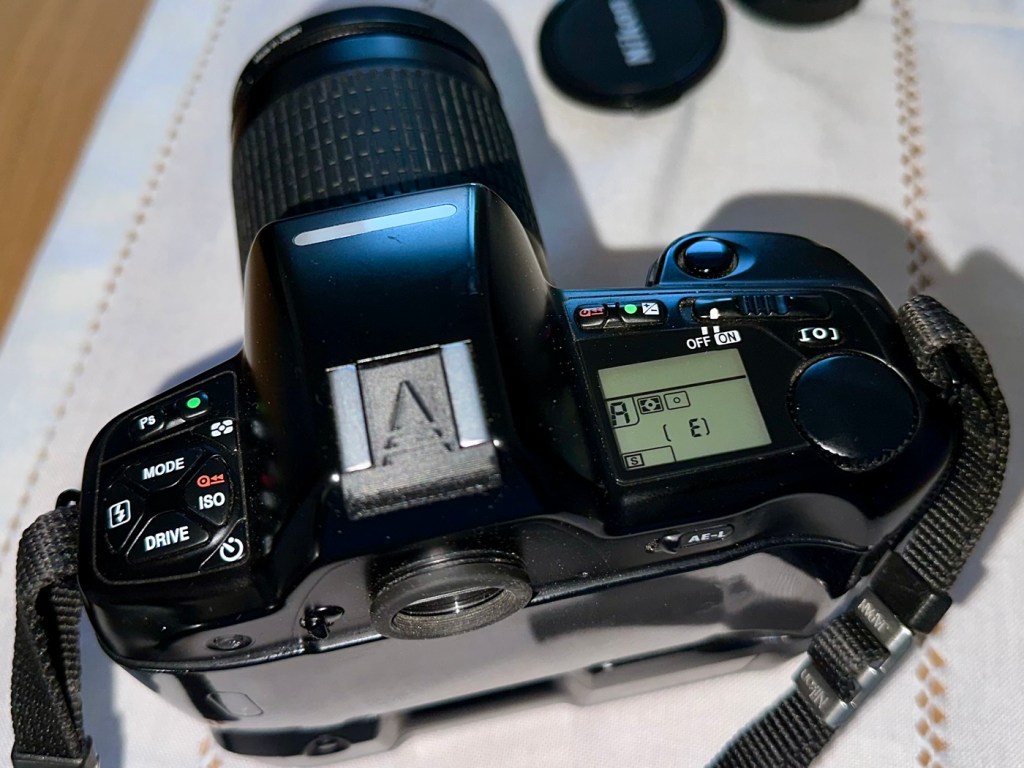
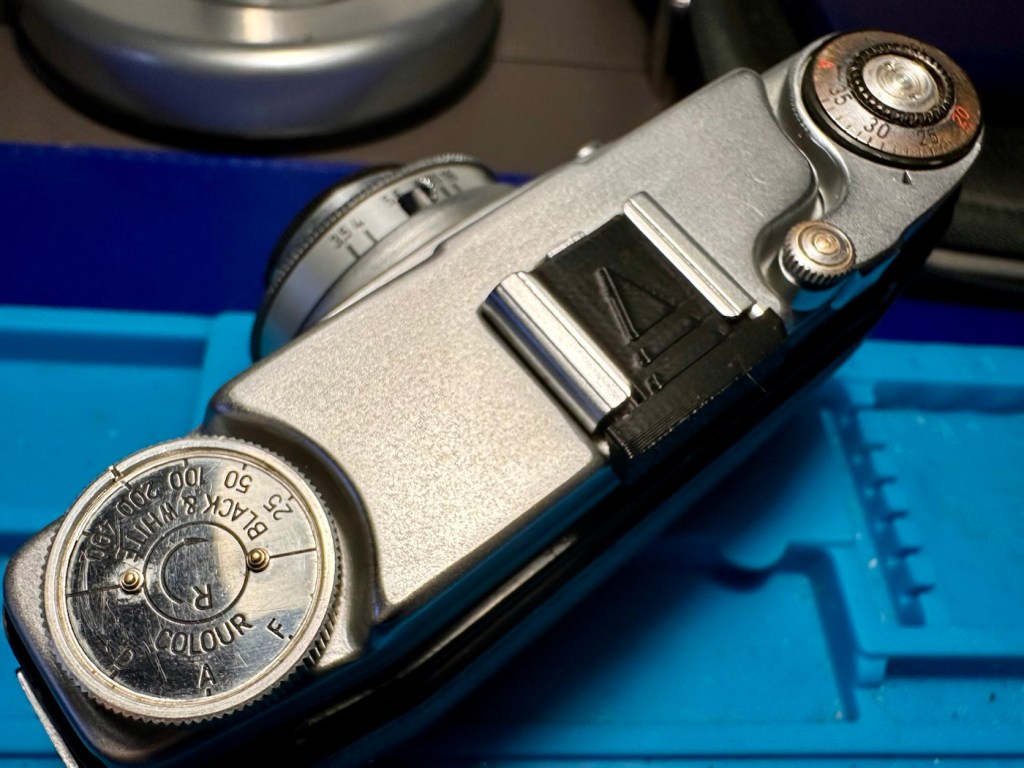
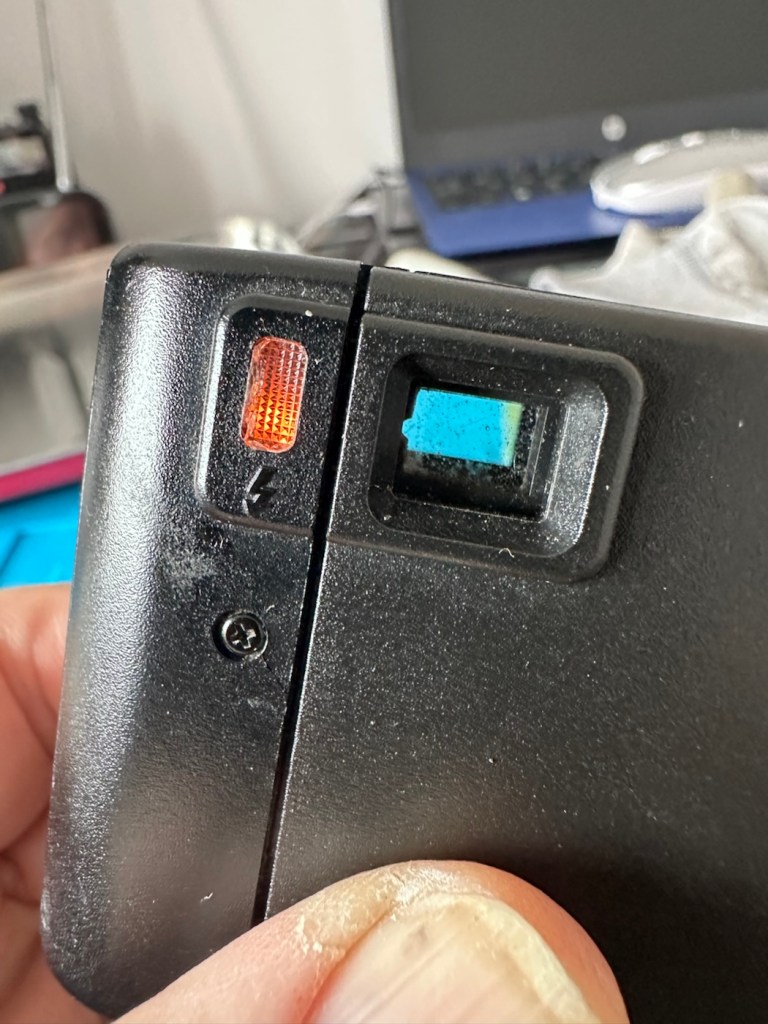
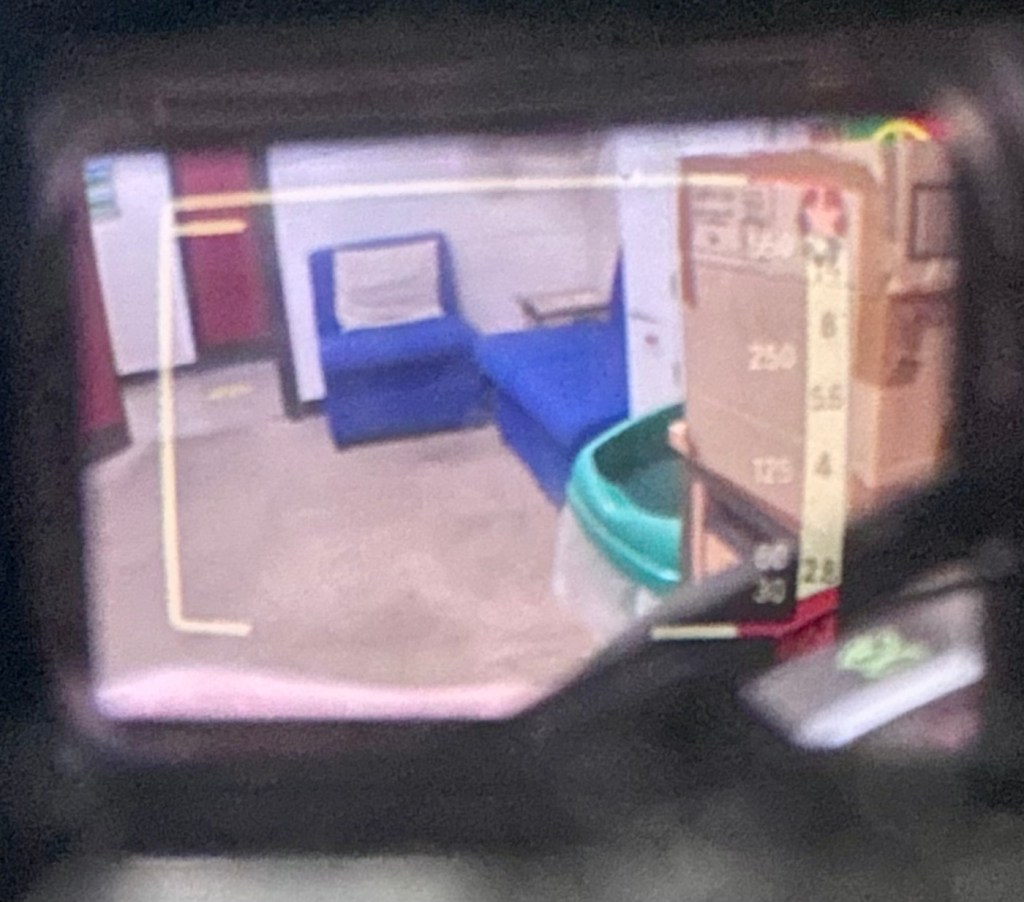
However, take a look at the picture below. It contains two photos of the LCD screen on the top of the camera. What do you see in the top photo that would make you think there is an error?
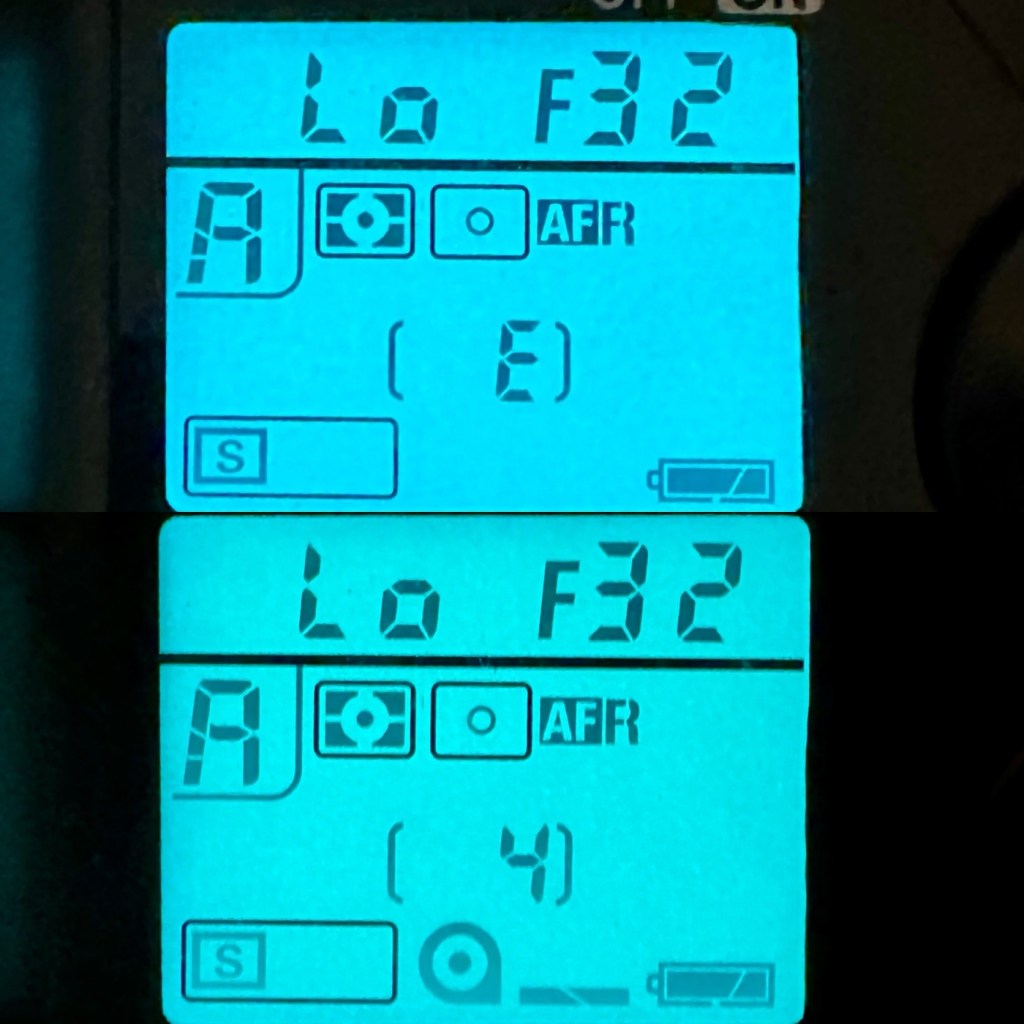
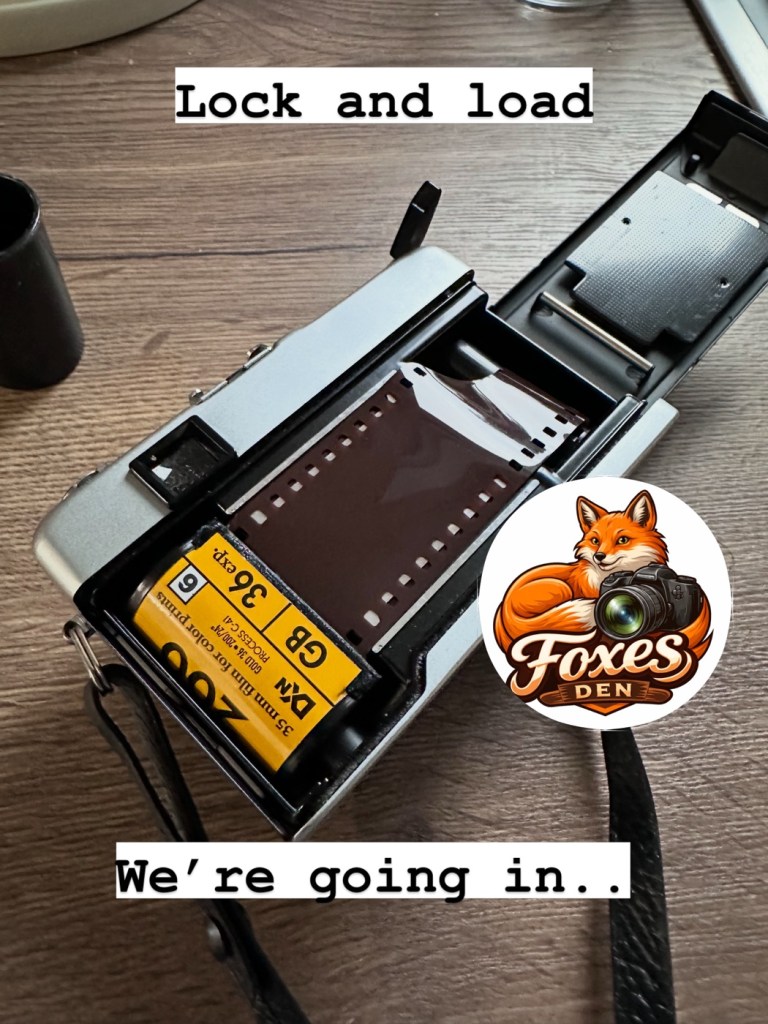
For the un-informed, those who are not familiar with this camera or its operation, you will instantly see the letter “E” that is commonly known as an error indicator, in later models it is shown as “ERR”. I do believe the seller has possibly mistaken this for an error code, but if you refer to the bottom photo where I have now installed a test film, it becomes clear that the “E” on this camera represents the word “empty”. No film installed, a simple and easy to make mistake. The bottom picture indicates a film is installed and that 4 exposures have been taken.
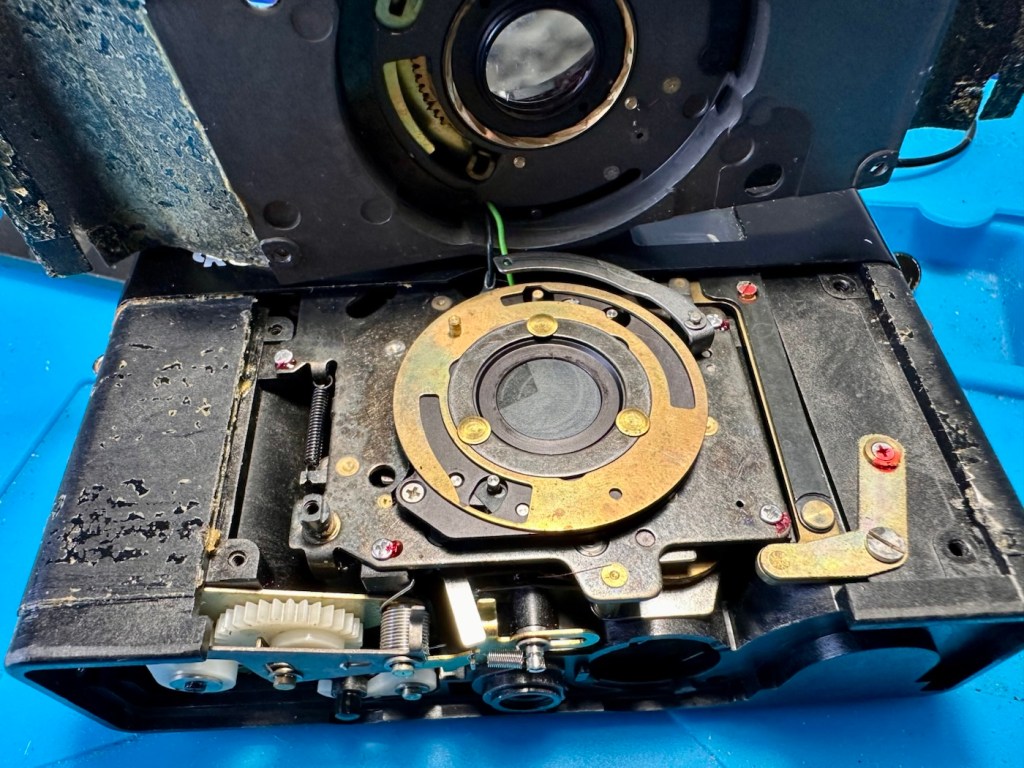
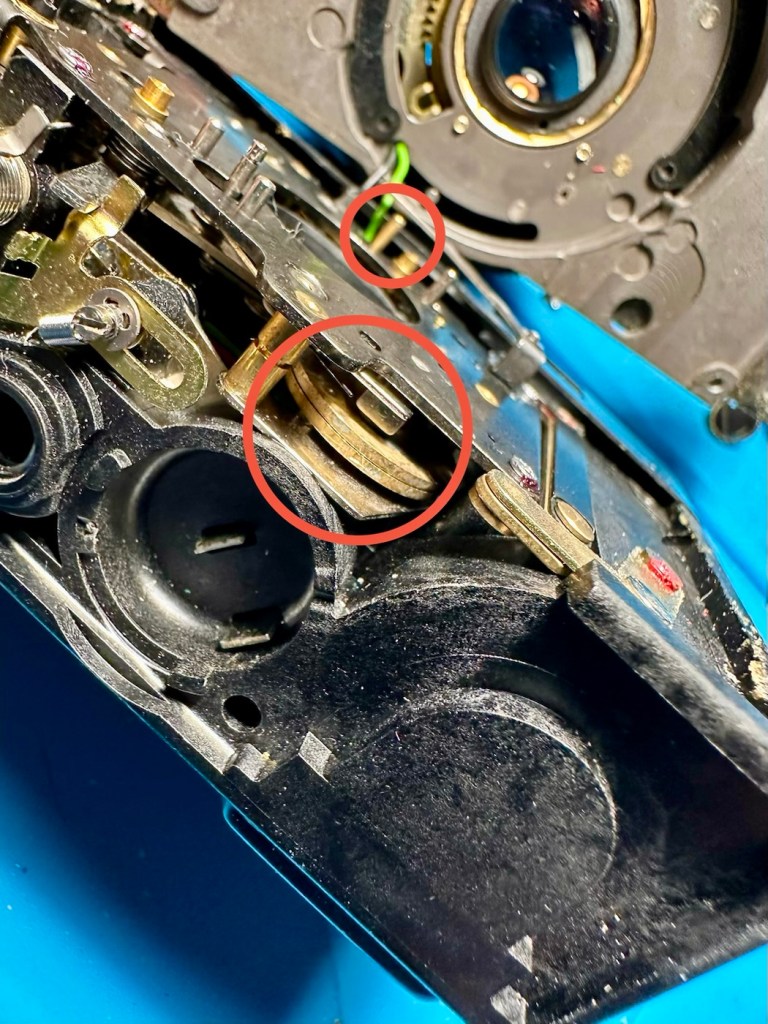
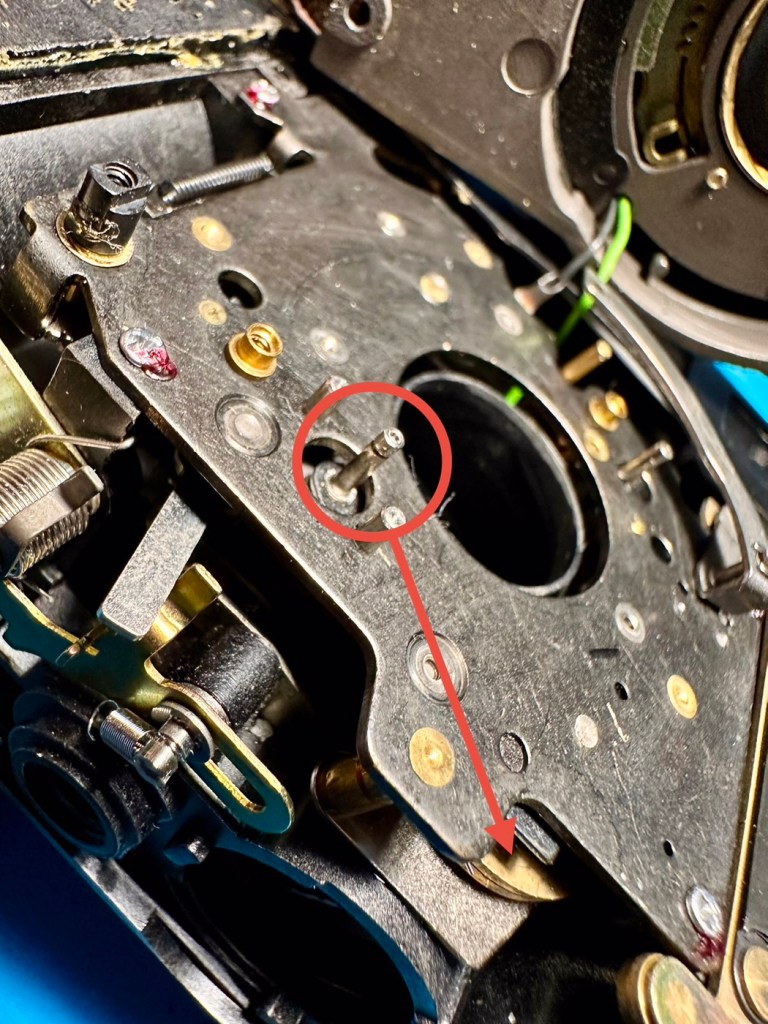
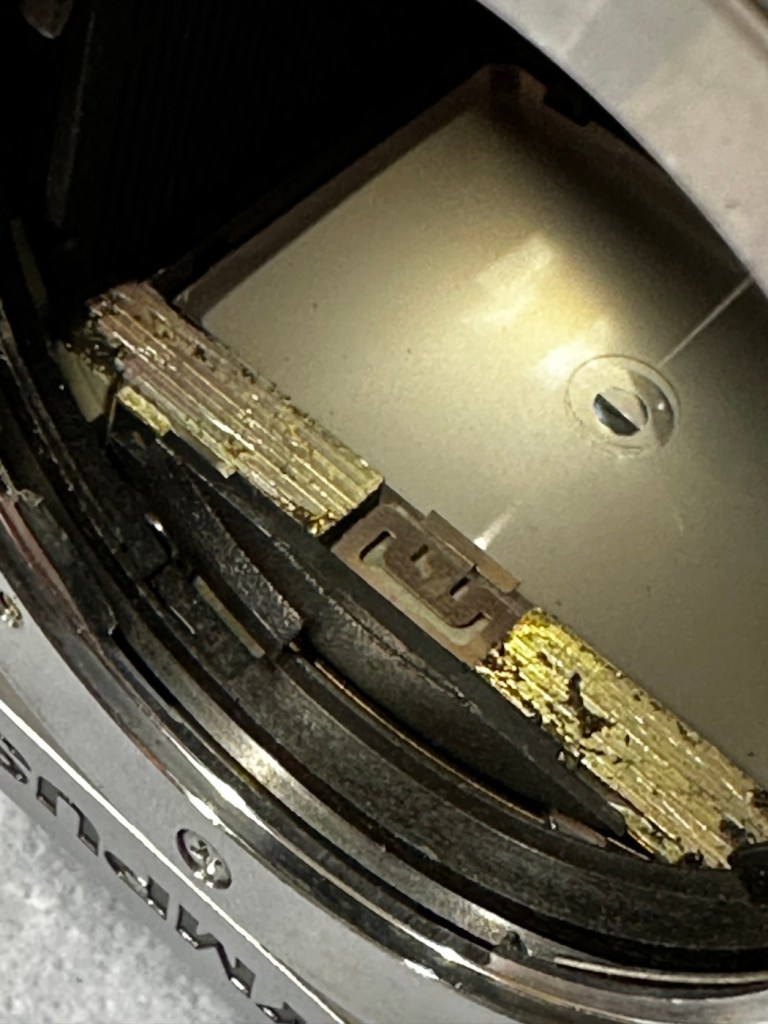
As these cameras have in the past been known to have a mirror sticking issue, I will replace the mirror bumper felt. It is well known that when the felt has deteriorated to such a level, the felt becomes sticky, and the mirror just sticks to the felt when it opens. It’s an age related issue that is easy to repair. Even though I have not experienced it with this unit, I will replace it as it will probably fail at some point. I will also check the light seals and replace them if I deem this necessary.
Repair:
The light seals do not need replacing. In fact there are only two small spots of light seals on this camera and both are in good condition.
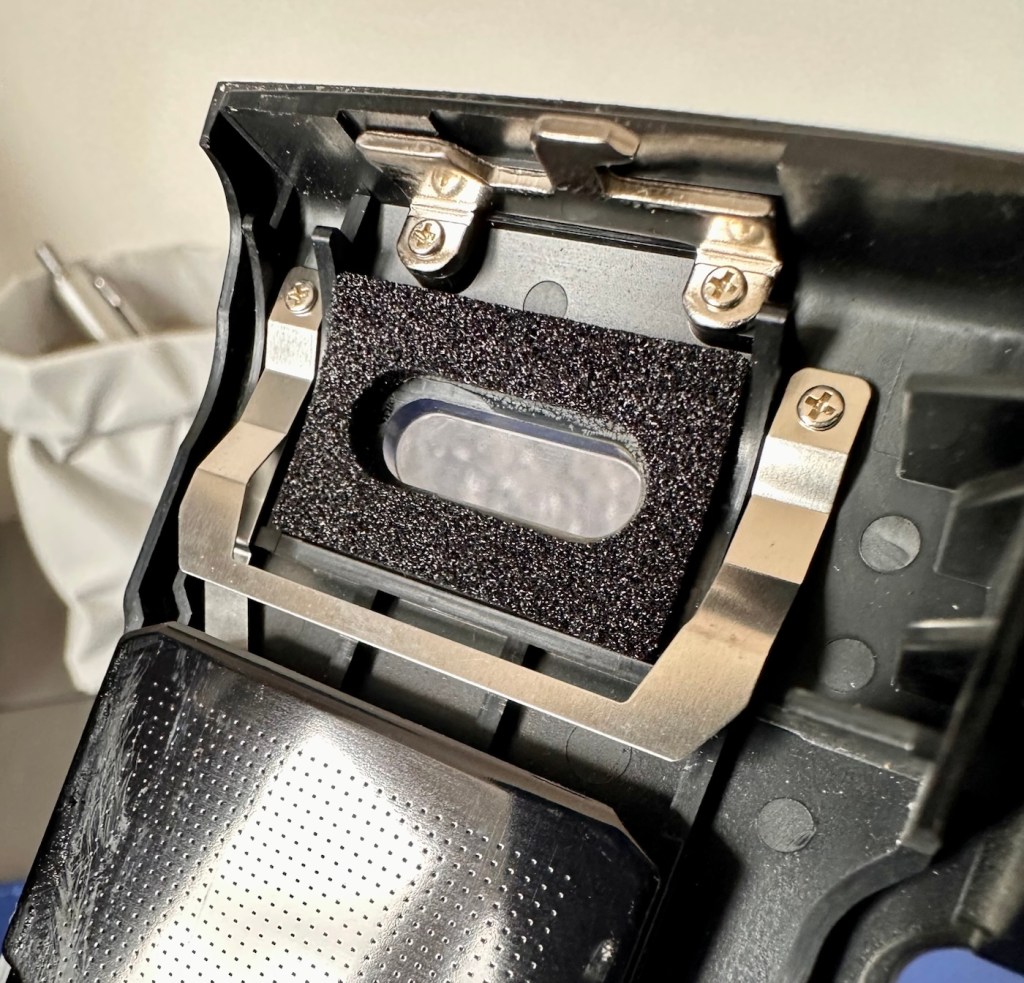
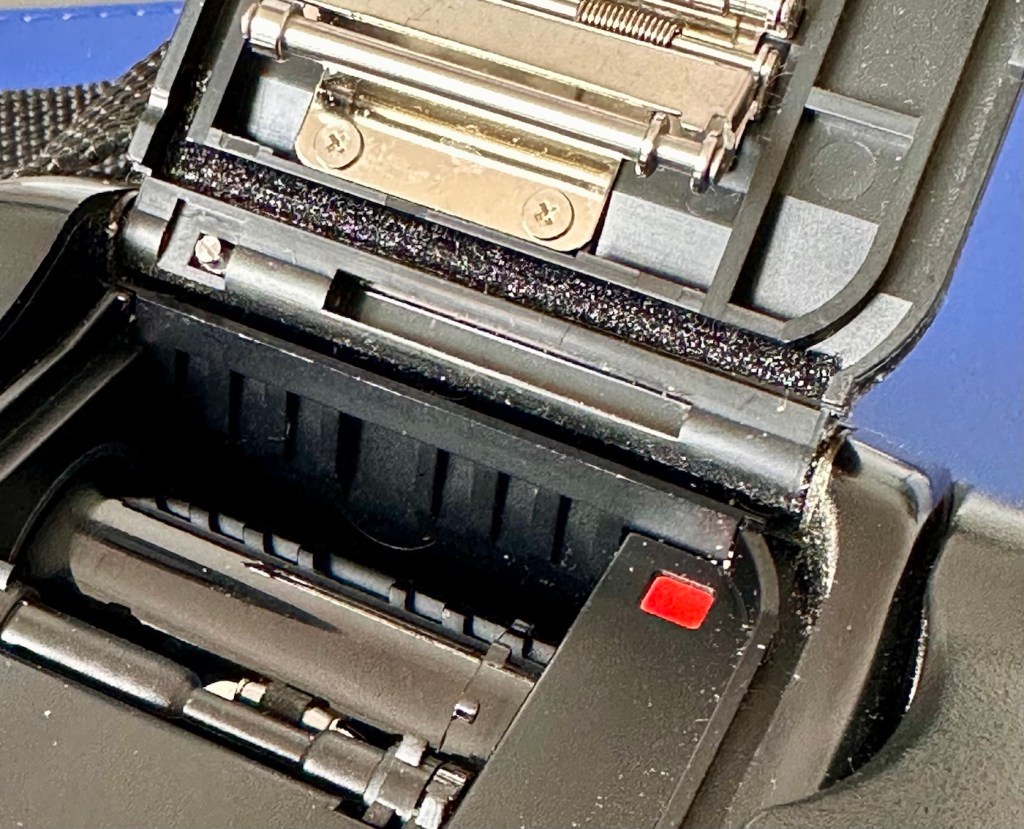
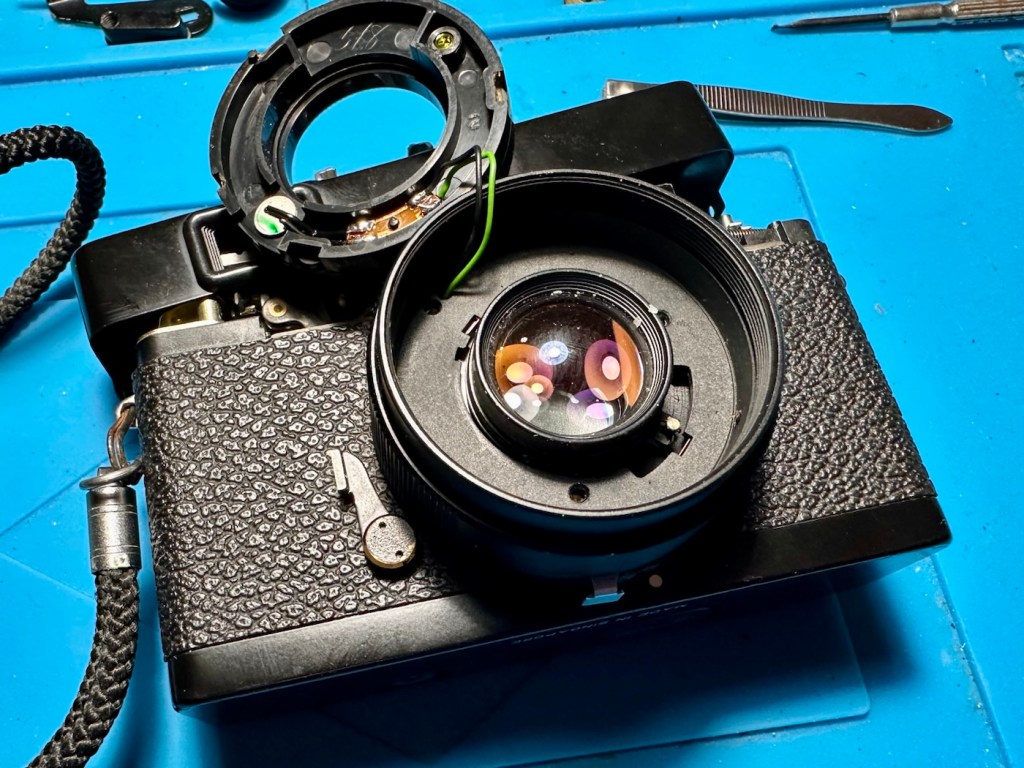
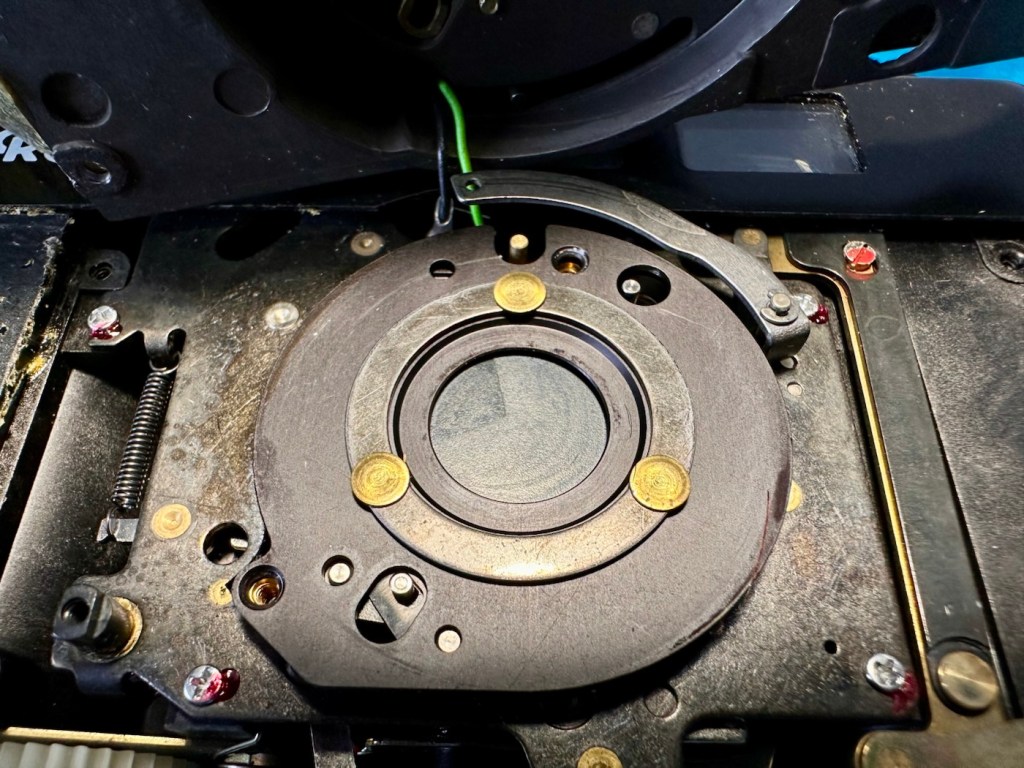
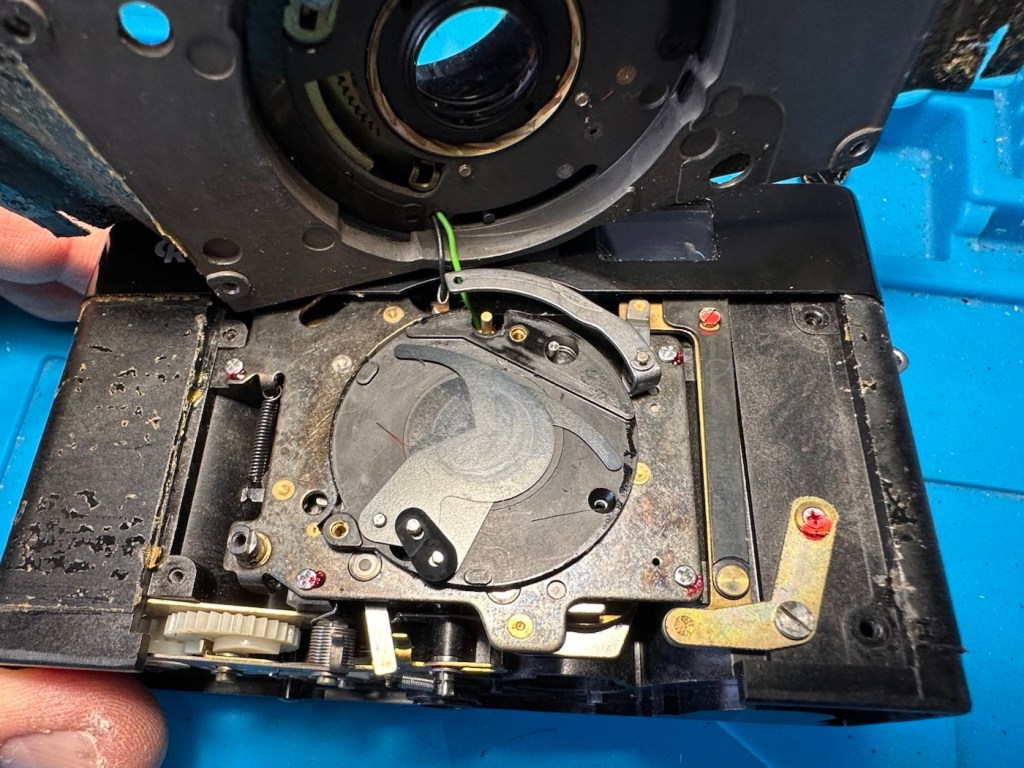
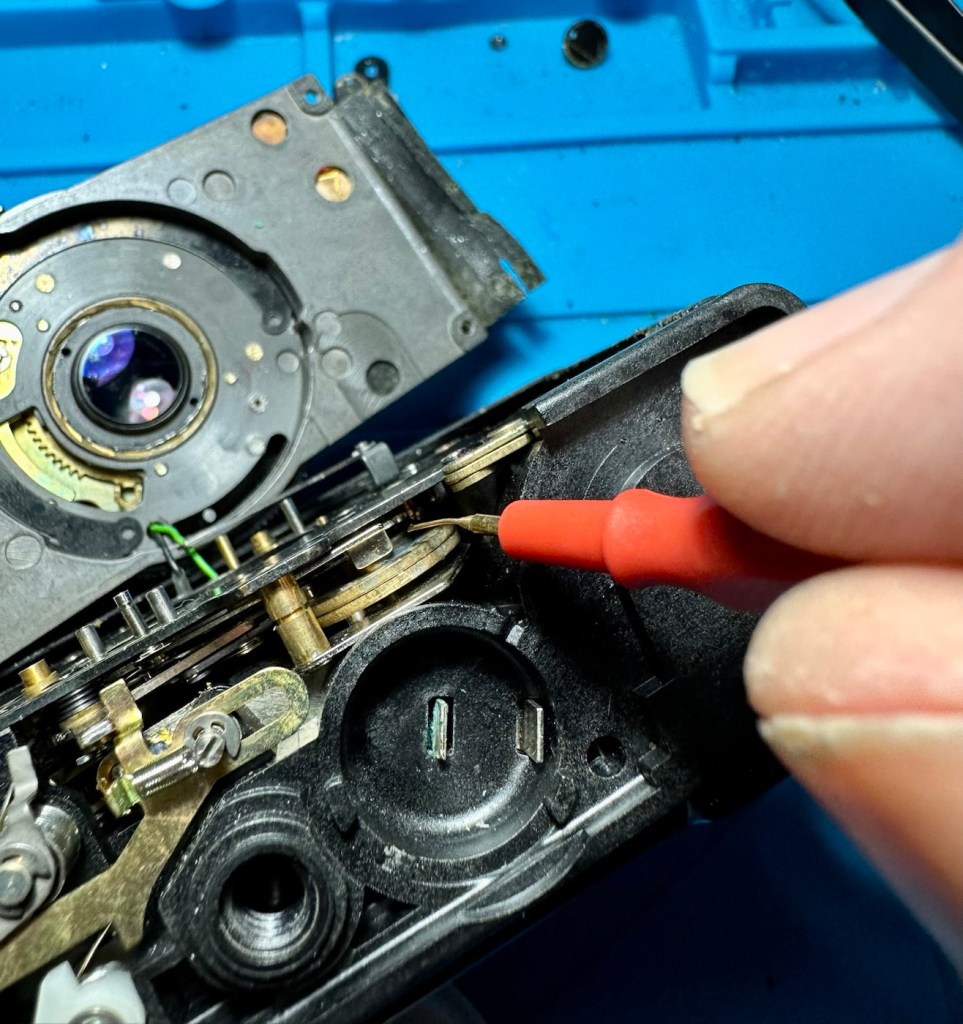
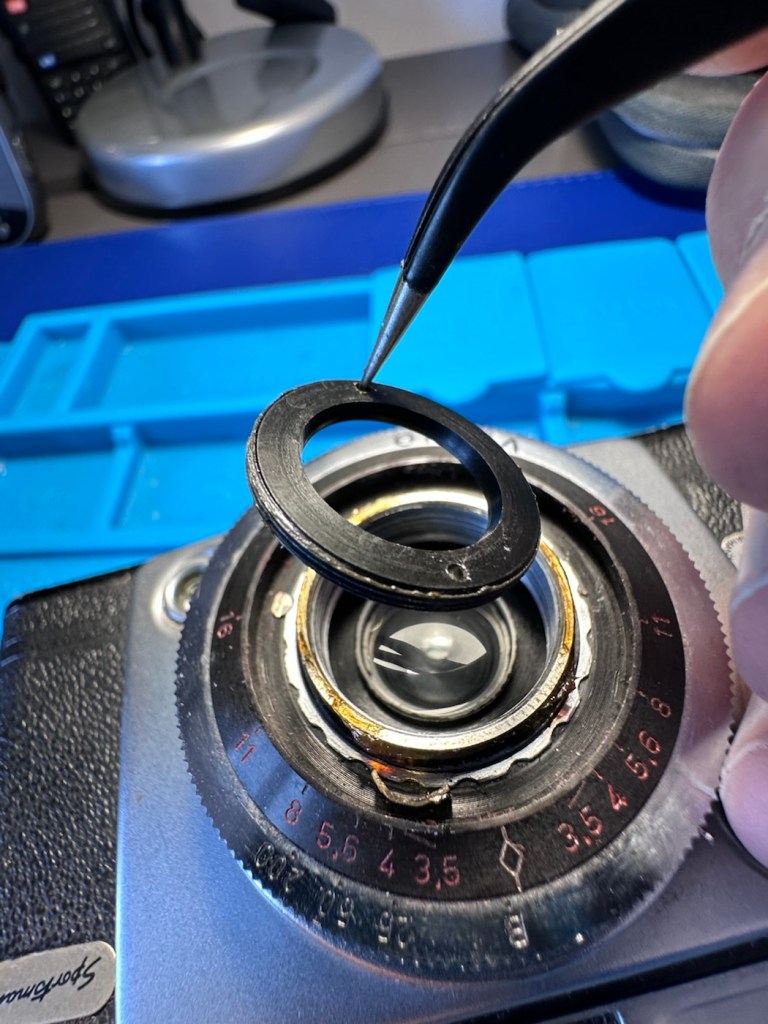
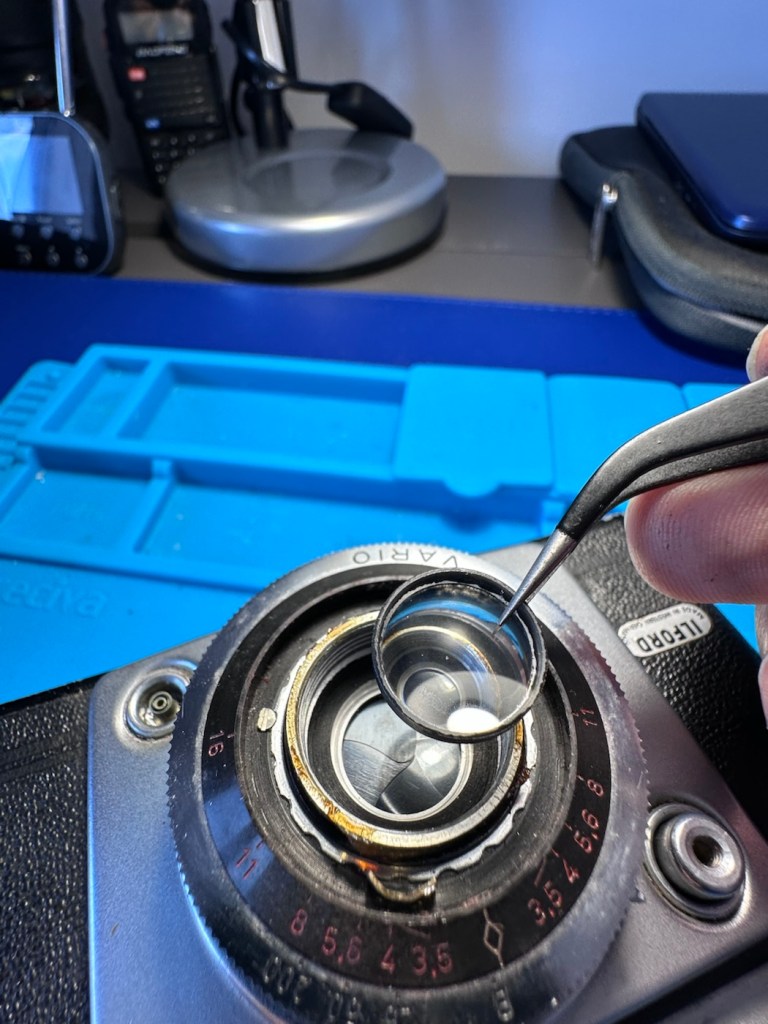
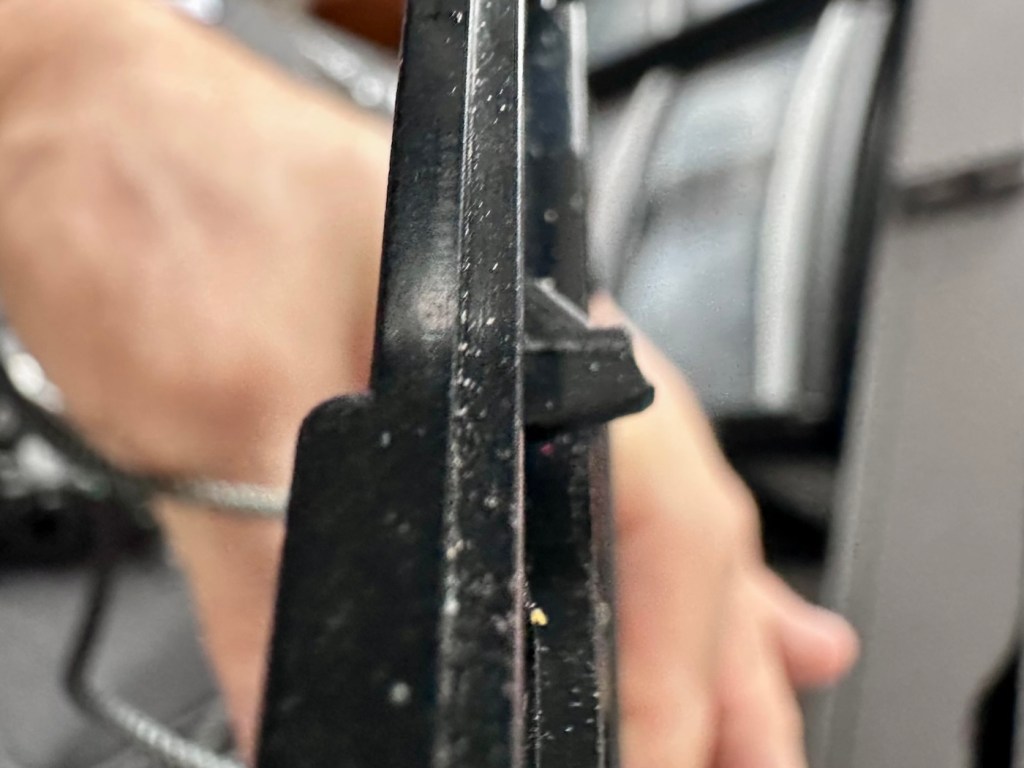
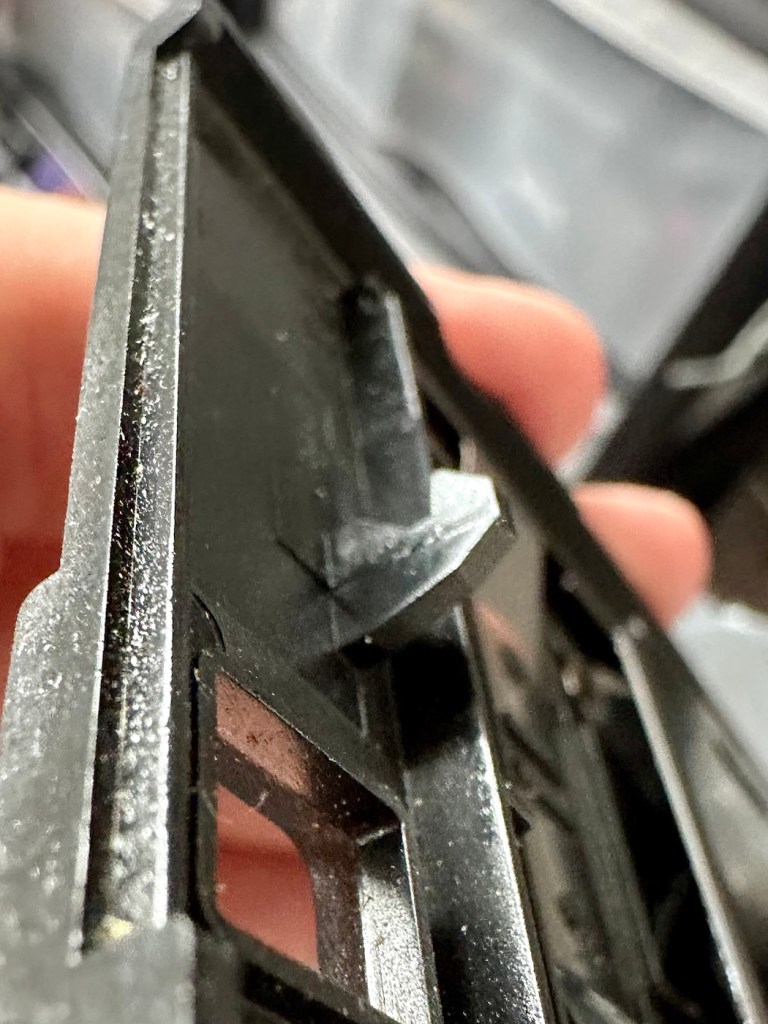
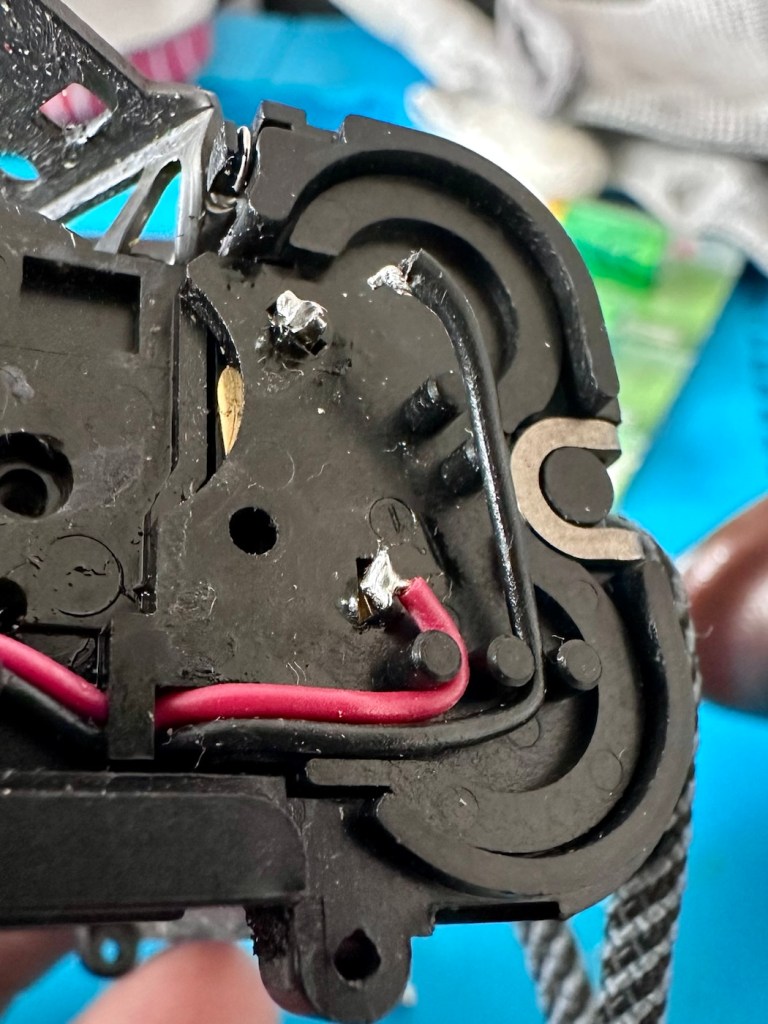
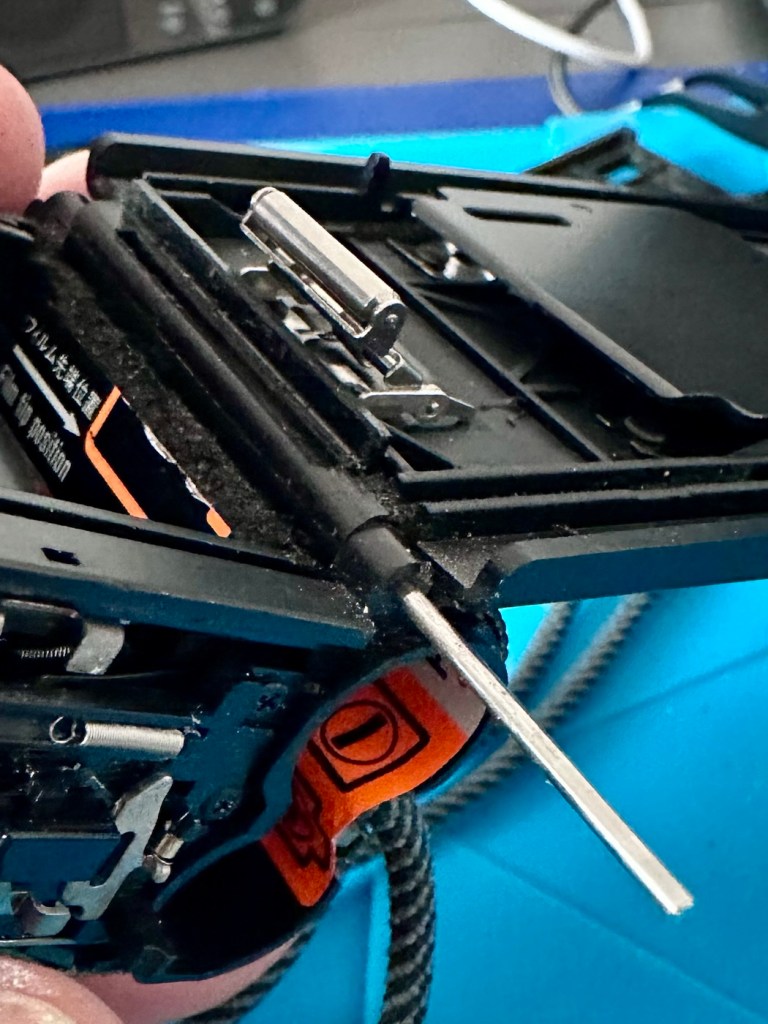
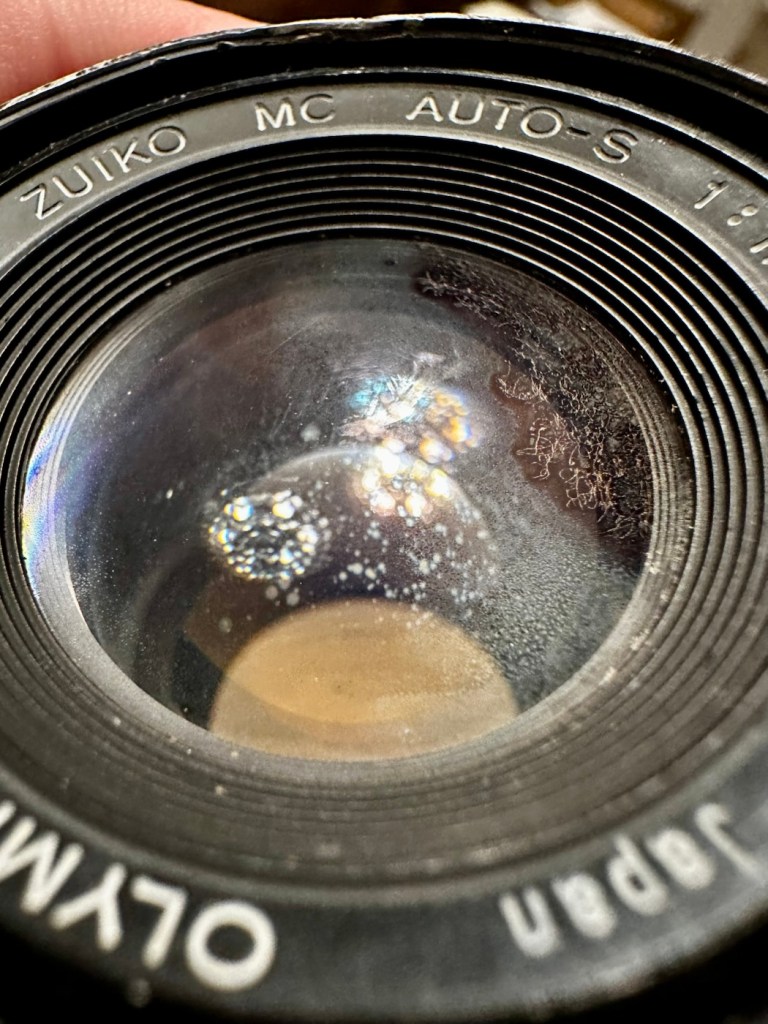
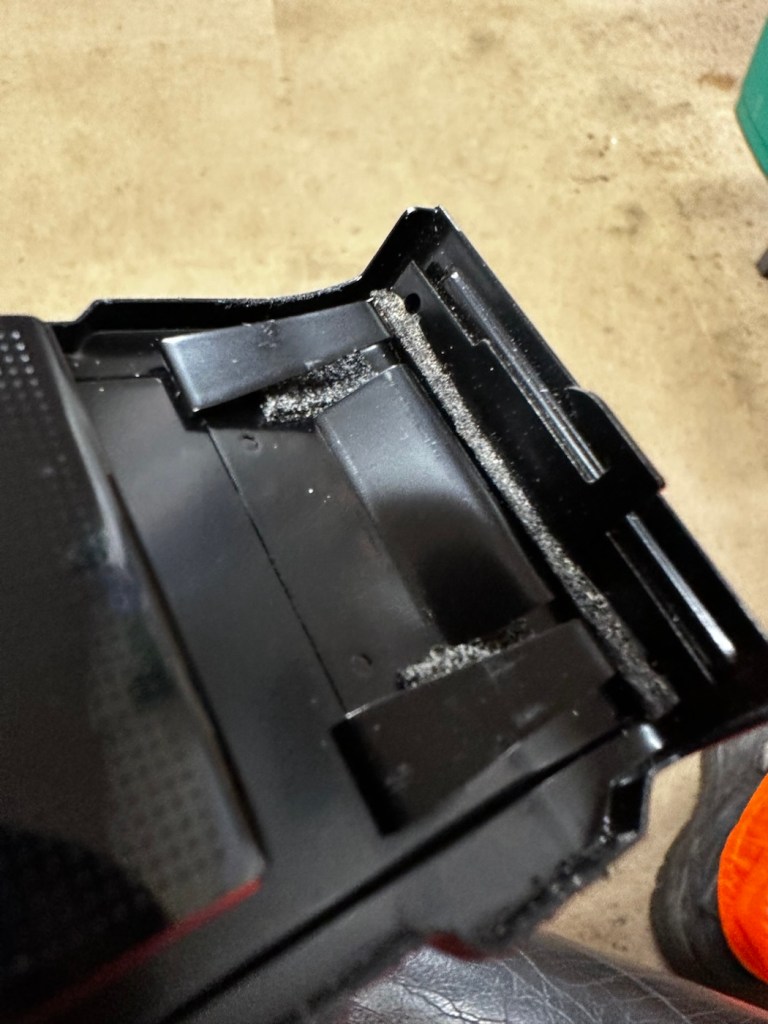
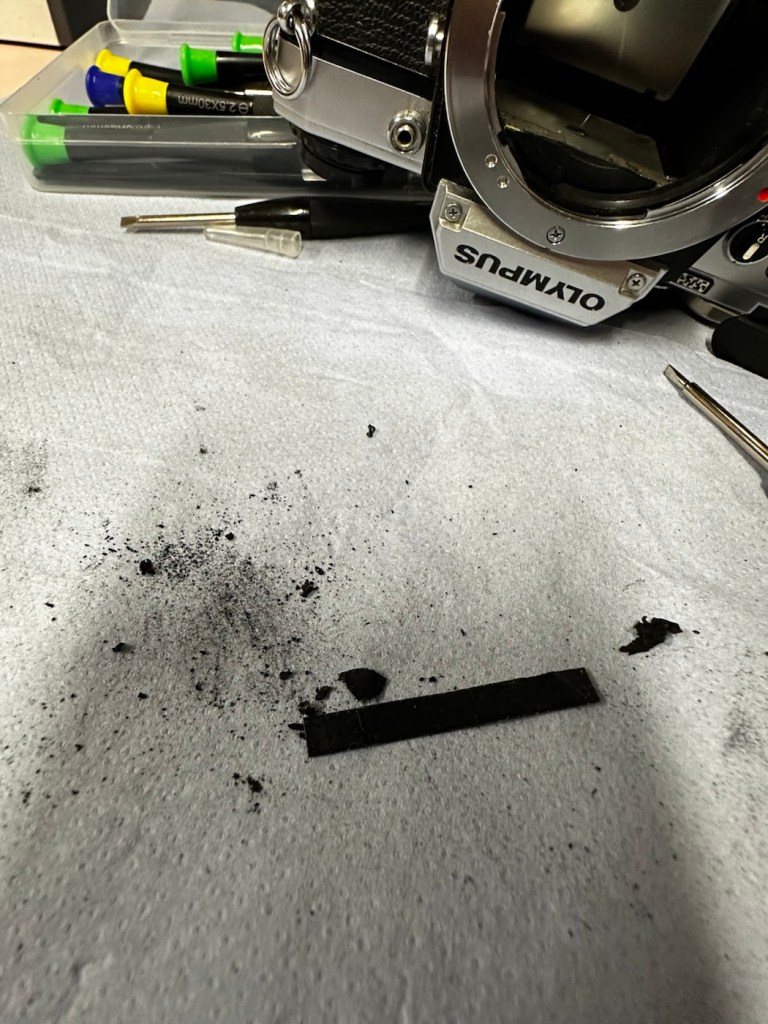
However the bumper seal was showing signs of degradation, so this has been replaced.
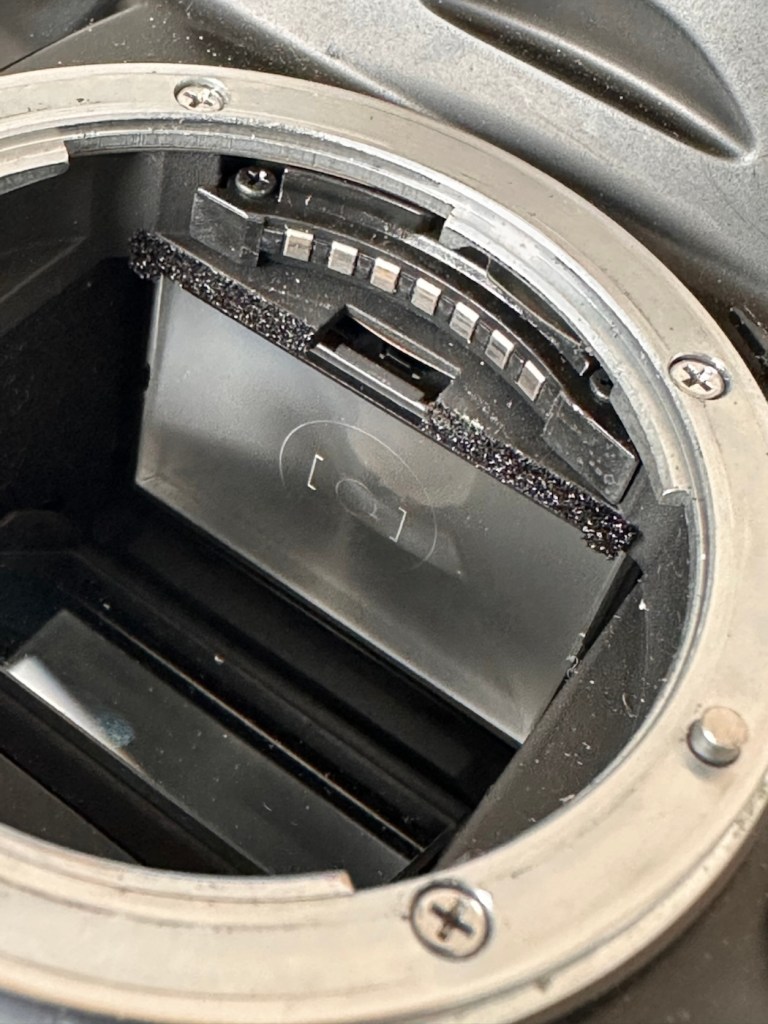
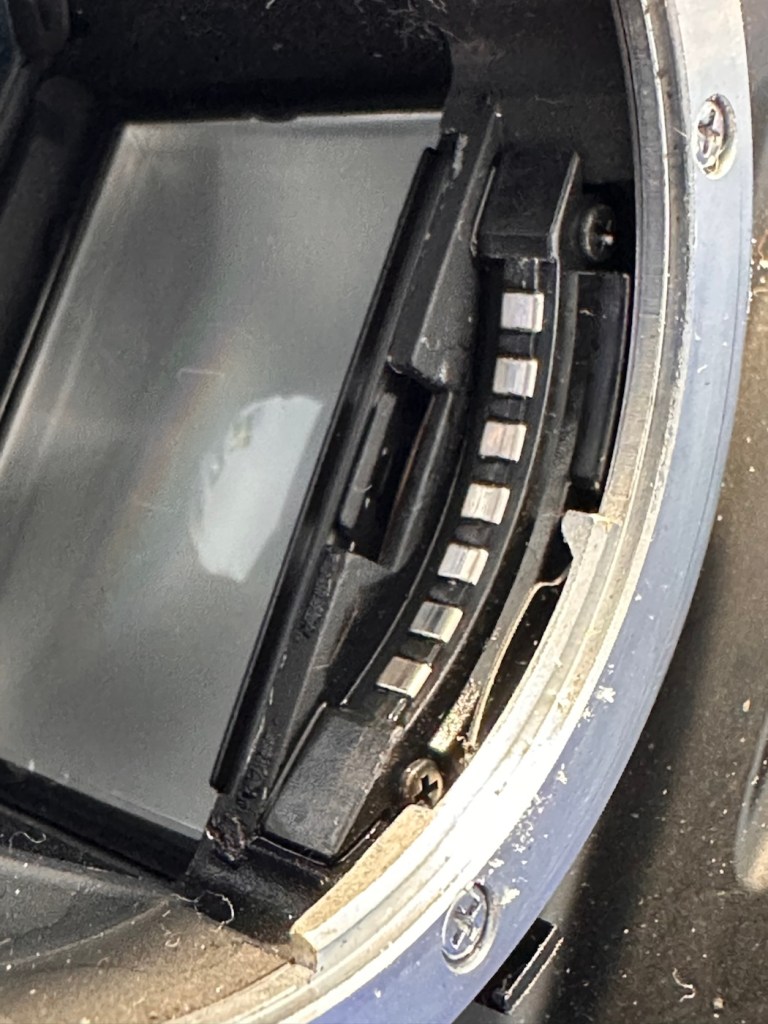
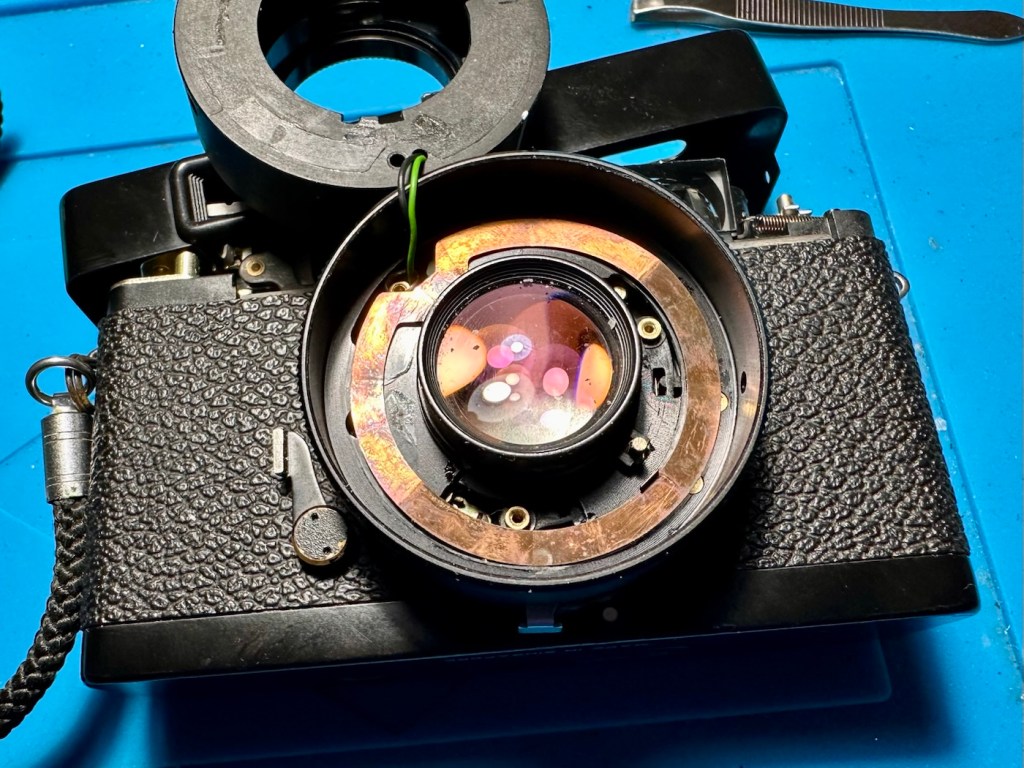
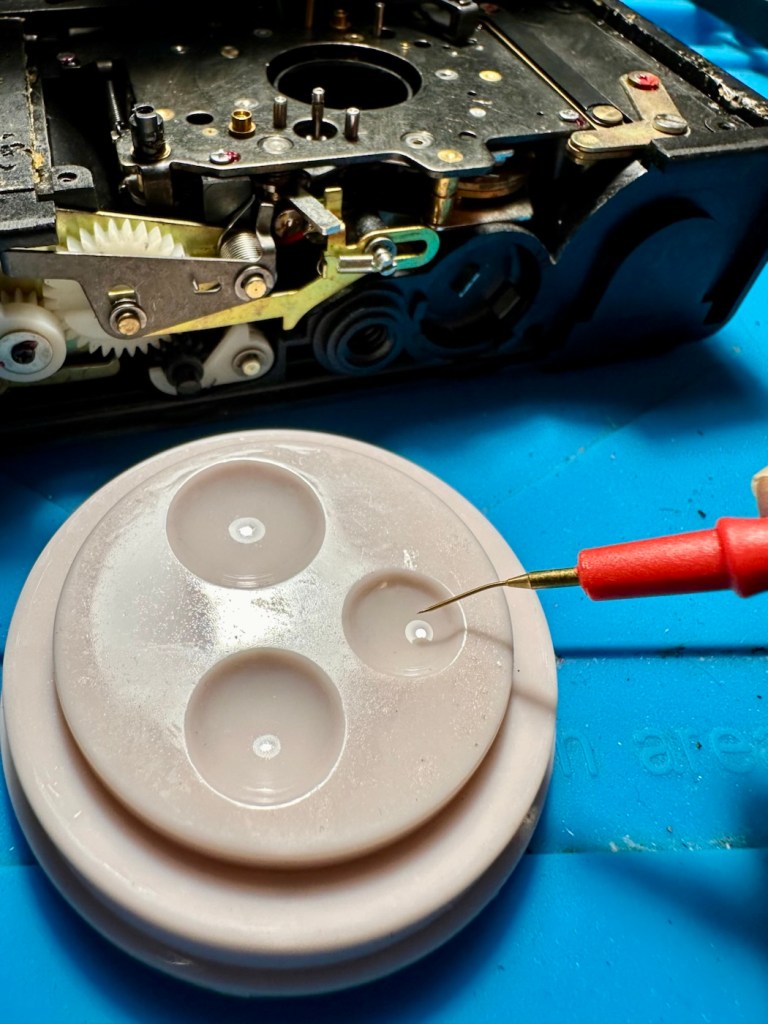
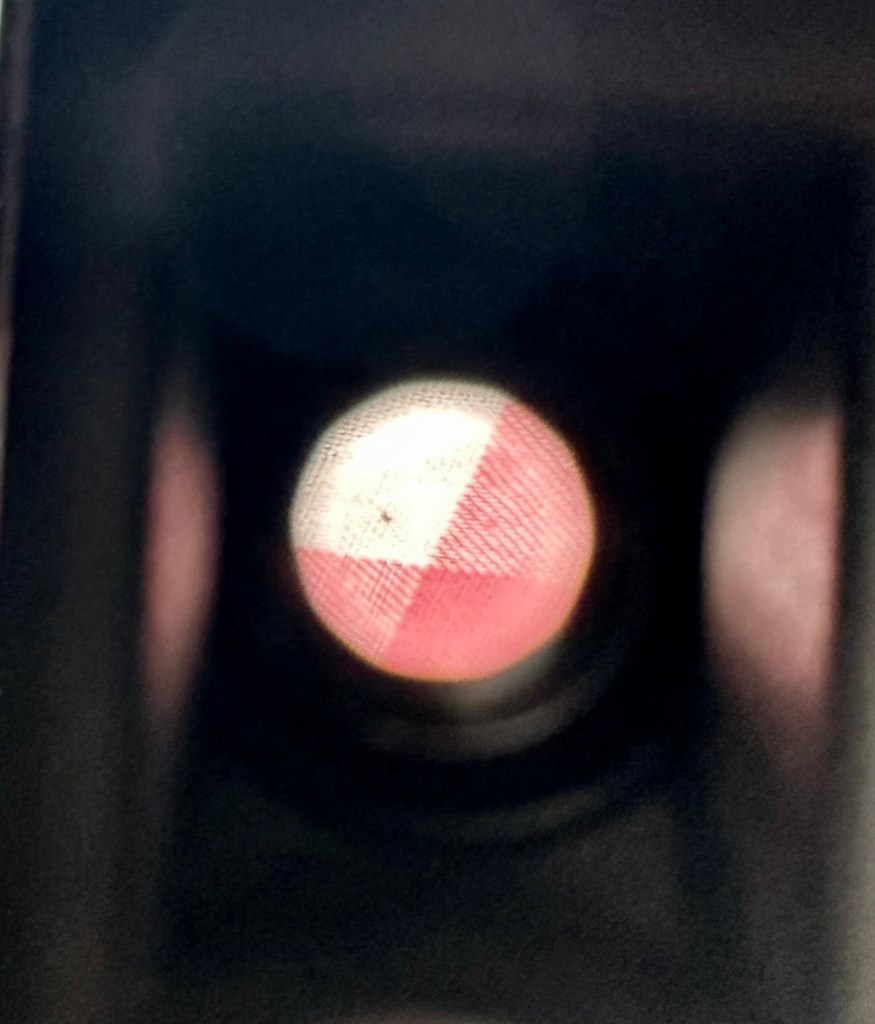
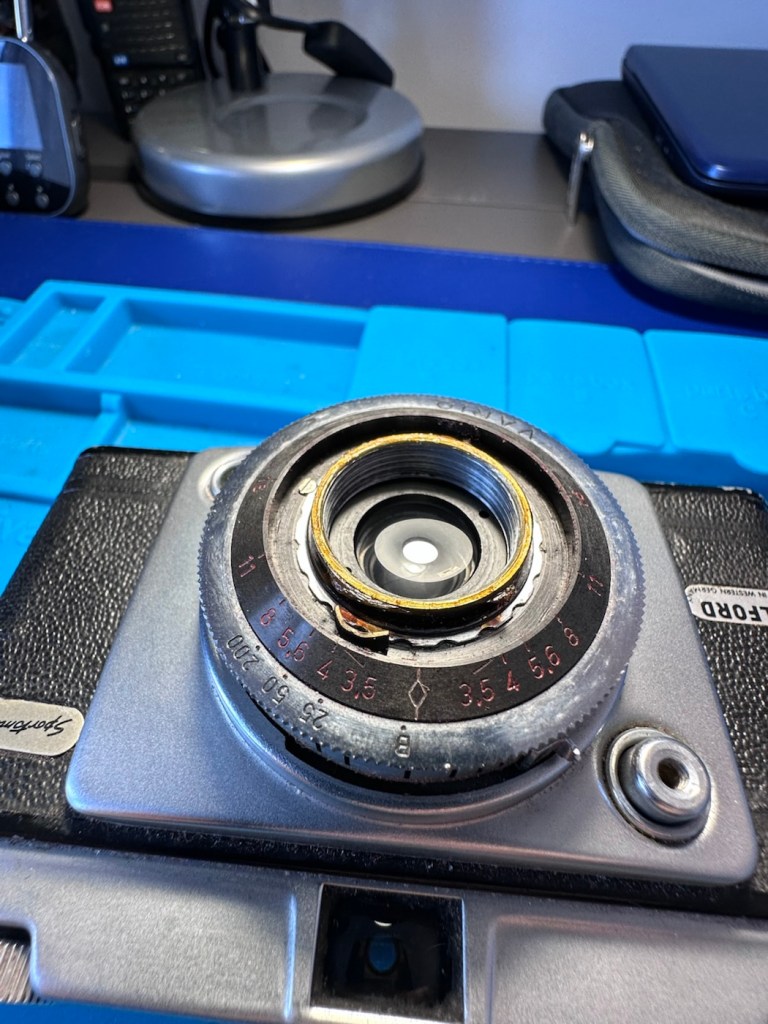
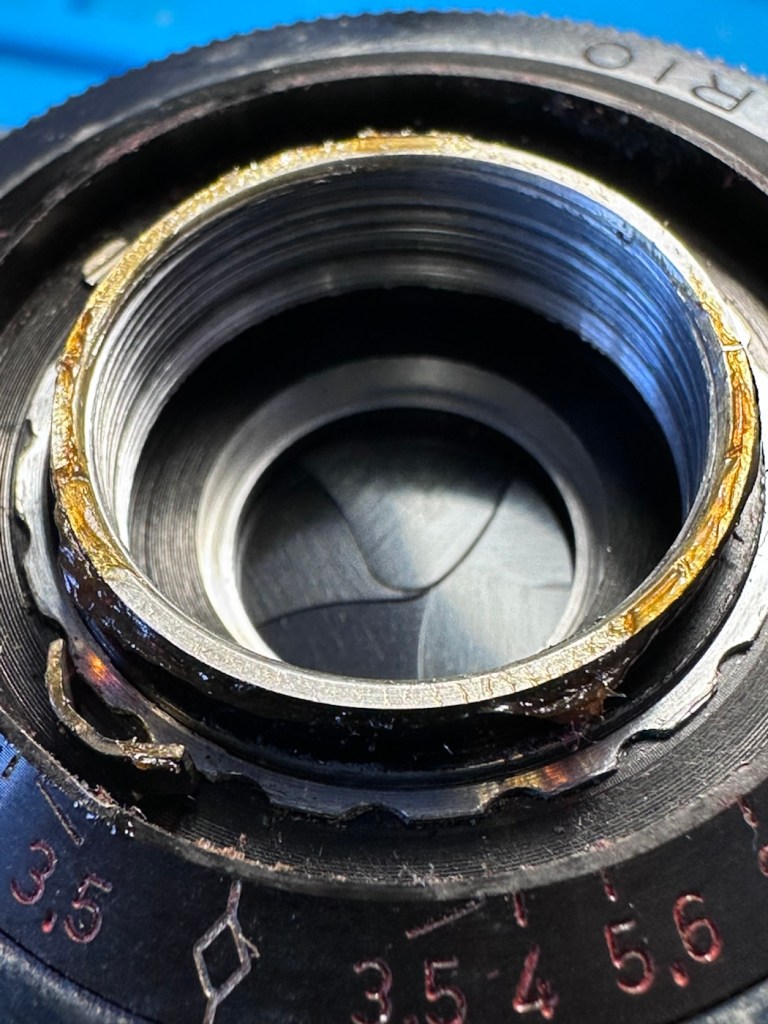
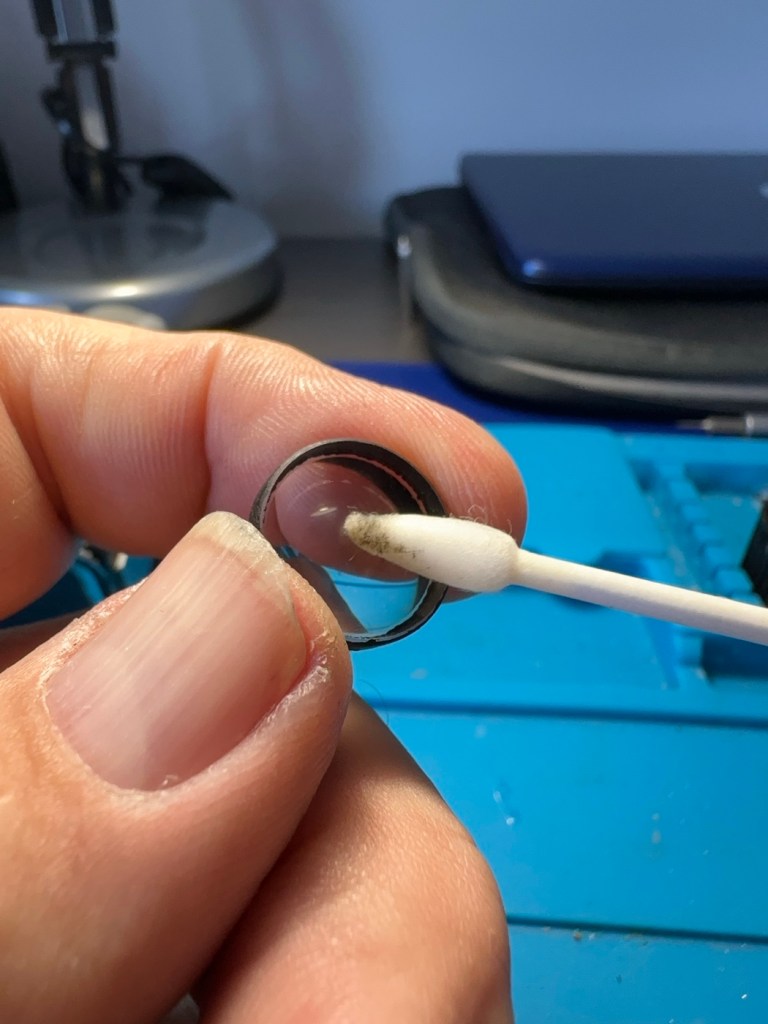
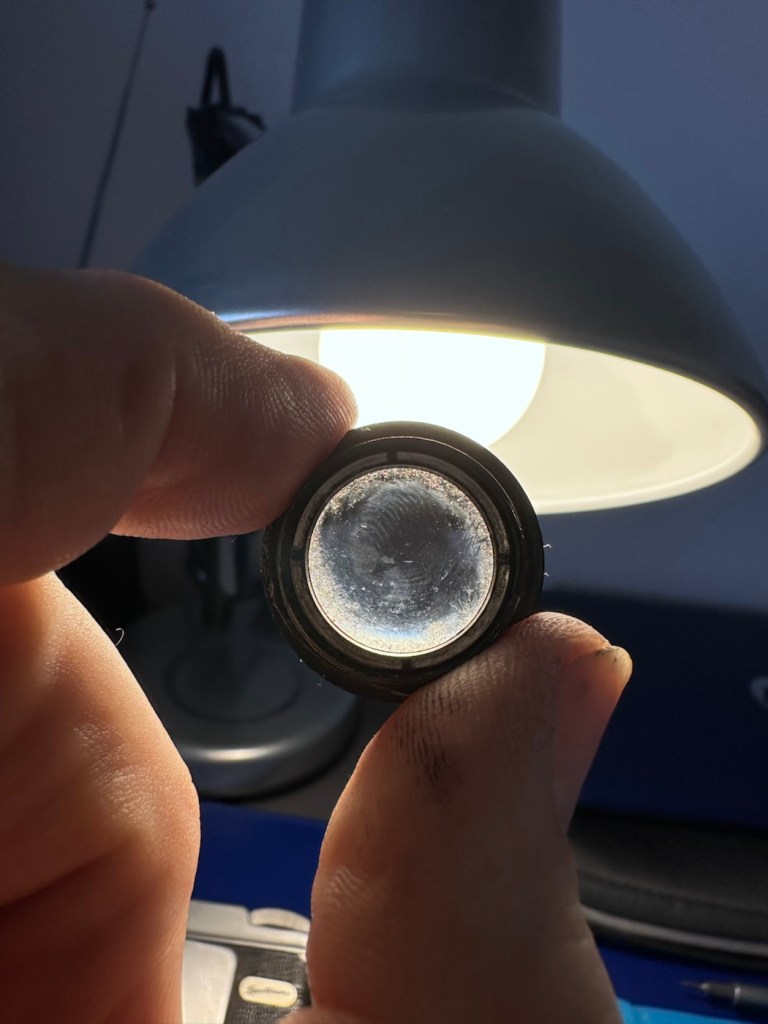
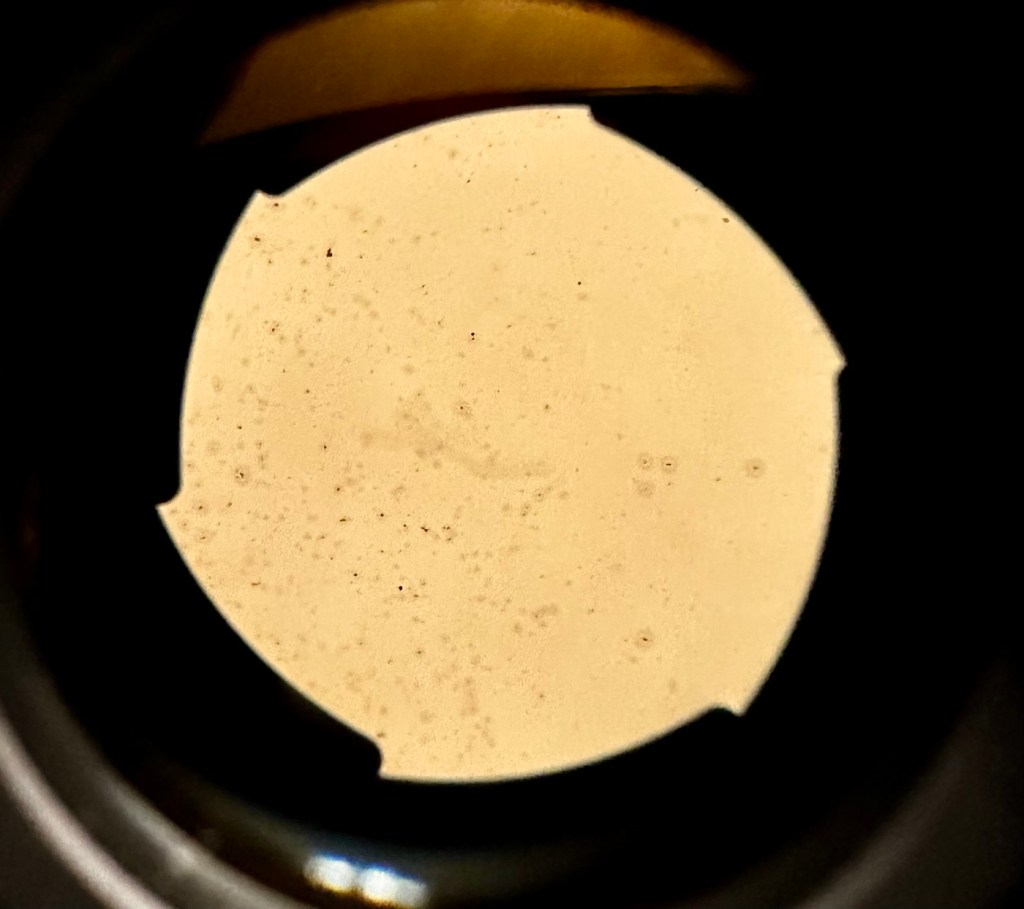
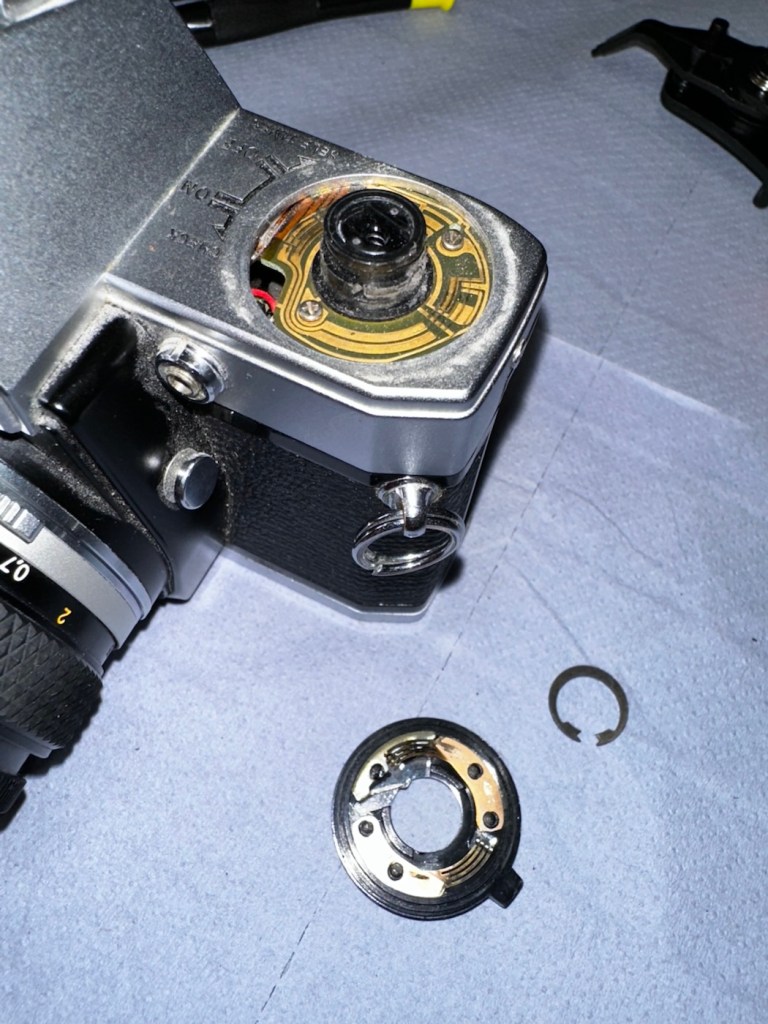
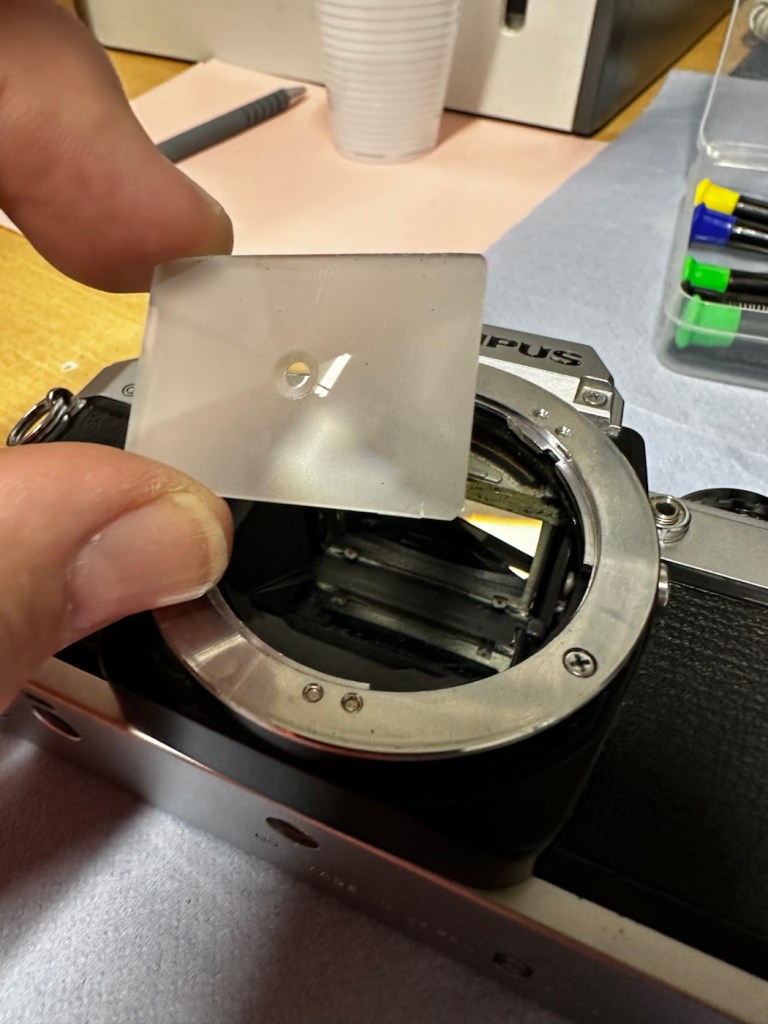
The old seal peels out but leaves a sticky residue behind, this has to be removed with some IPA prior to cutting new foam to size and reinstalling. Whilst I was in the lens are I also removed the focussing screen to clean it and remove the old ingrained dust and dirt.

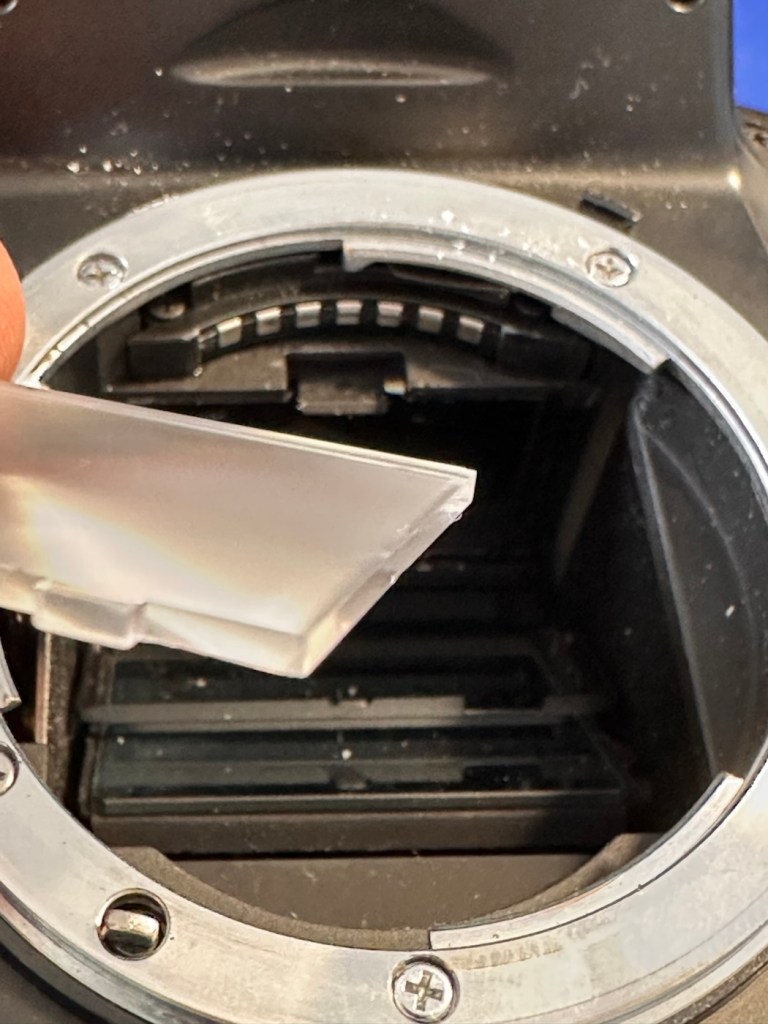
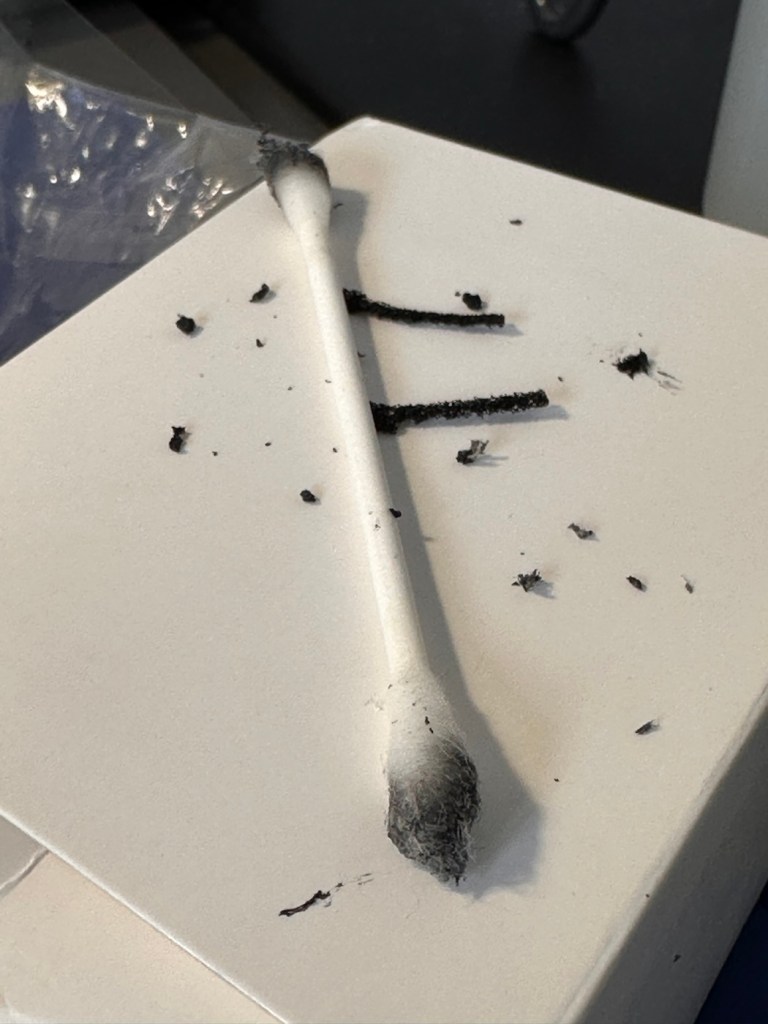
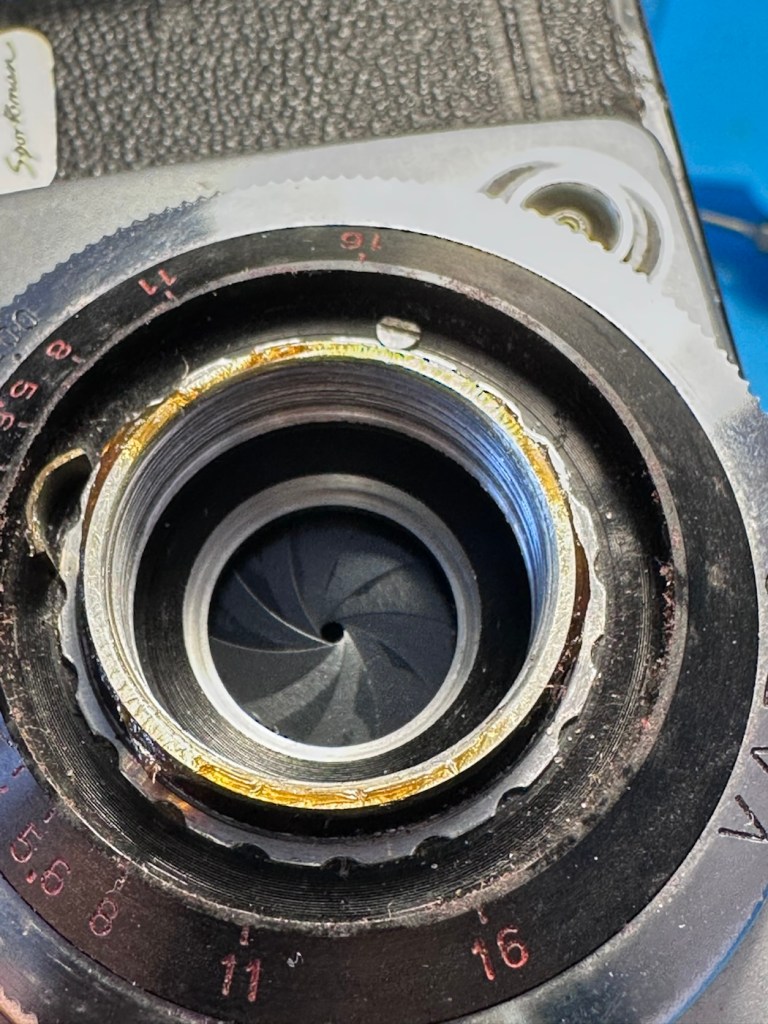
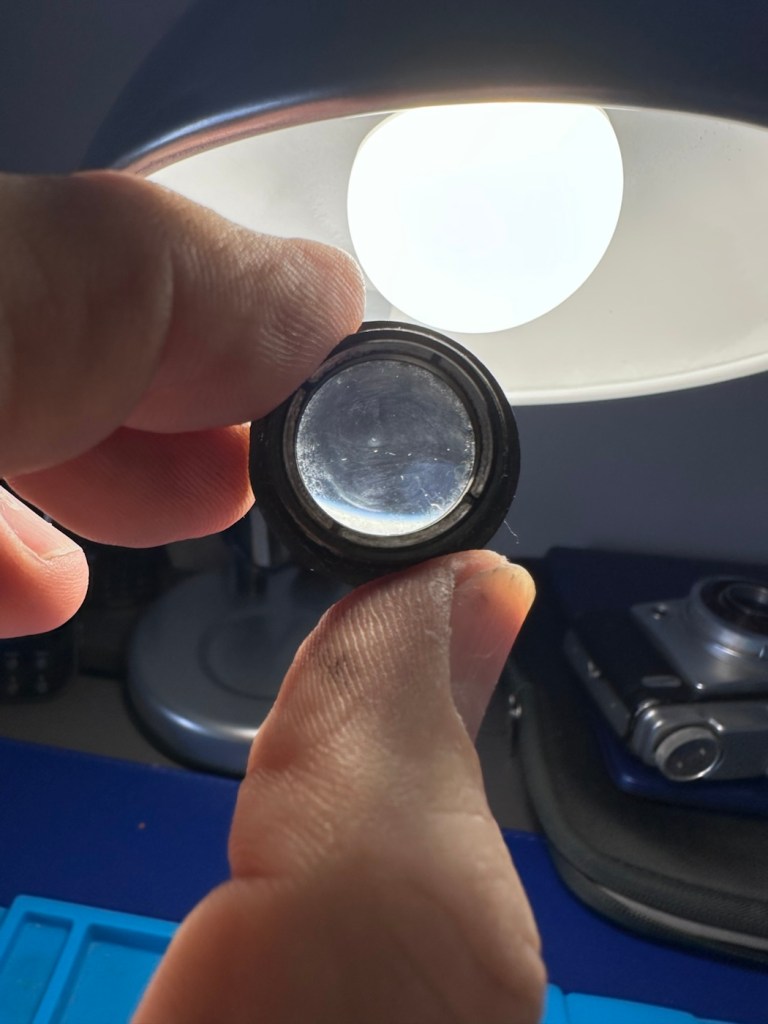
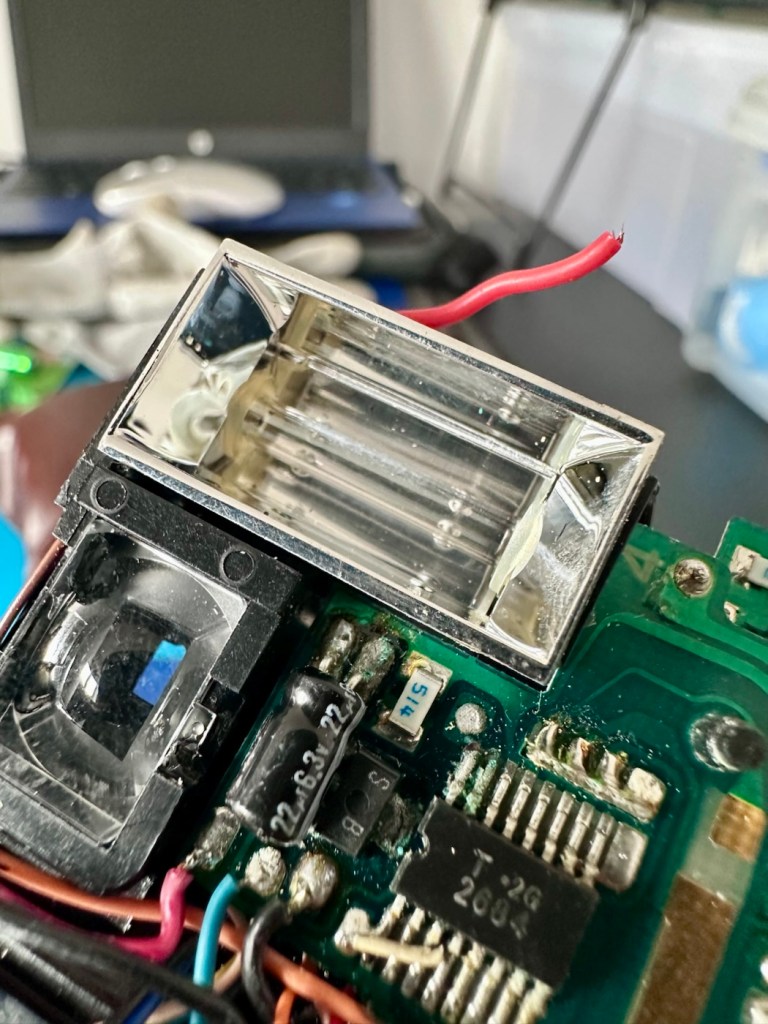
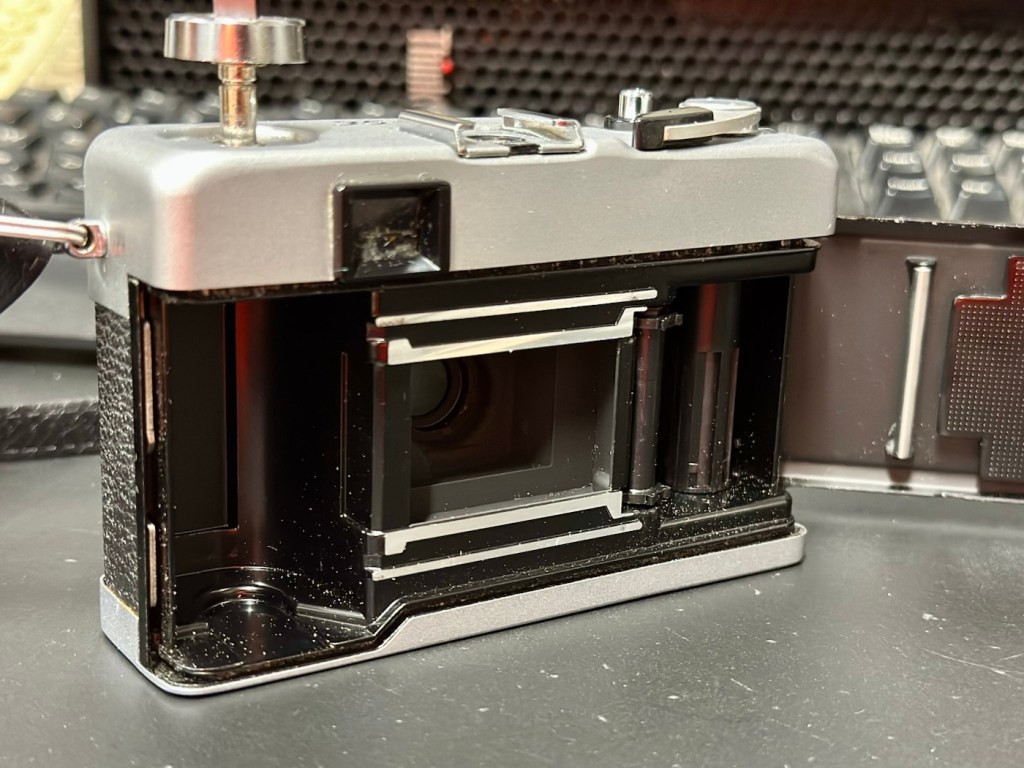
The area within the mirror area is now clean and dust free after I have used a small air blower to get the last of the debris out of the barrel area. Mirrors have been cleaned and polished and the body cap has been put back on the front of the camera to ensure no further dirt or contamination gets in there whilst I work on the outside.
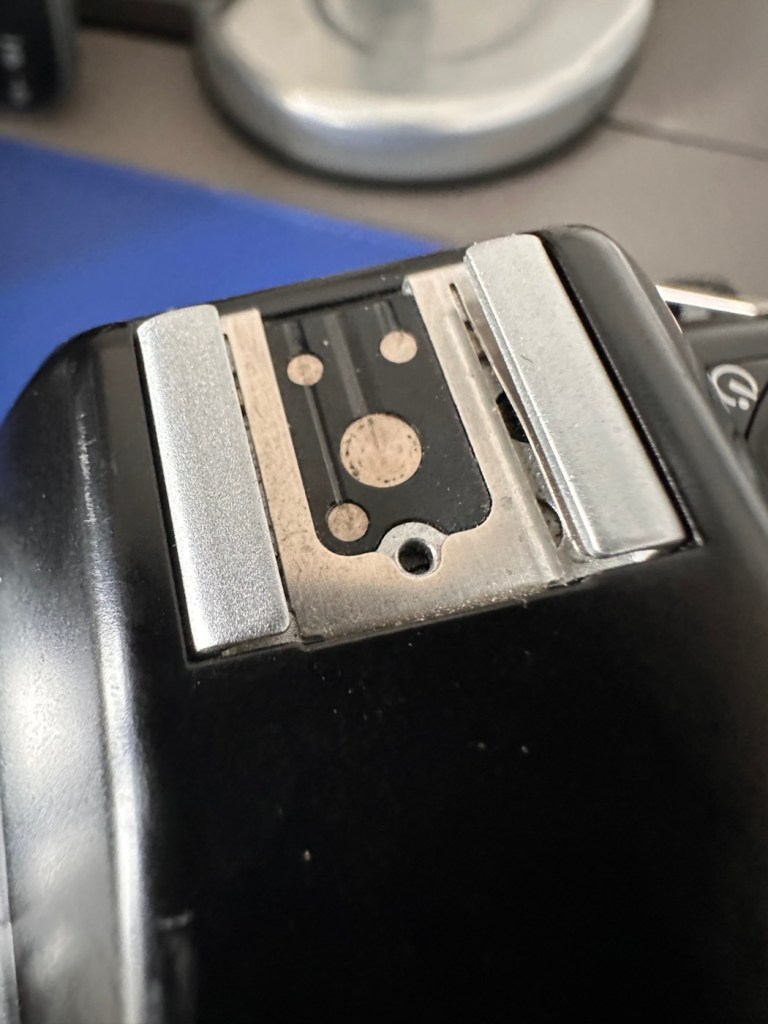
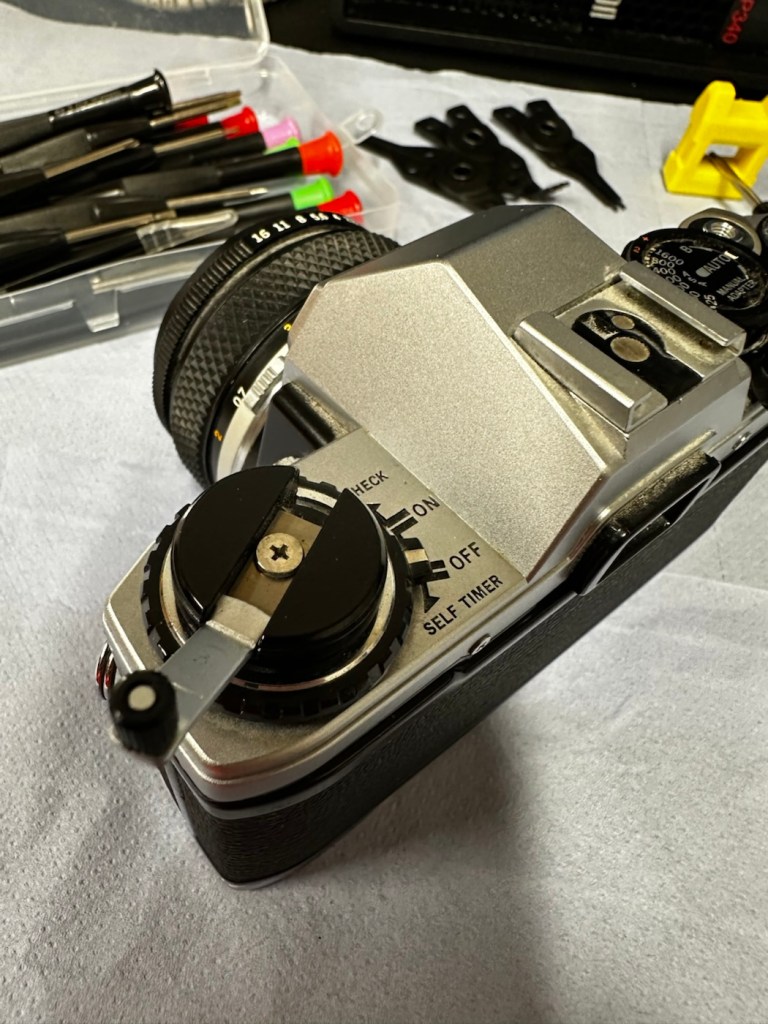
I’ve printed a hot shoe flash cover purely for aesthetic reasons, I’ve also printed a sync cable cover, for similar reasons, but generally just to ensure any open and exposed areas are covered up. It does make it look a lot nicer.
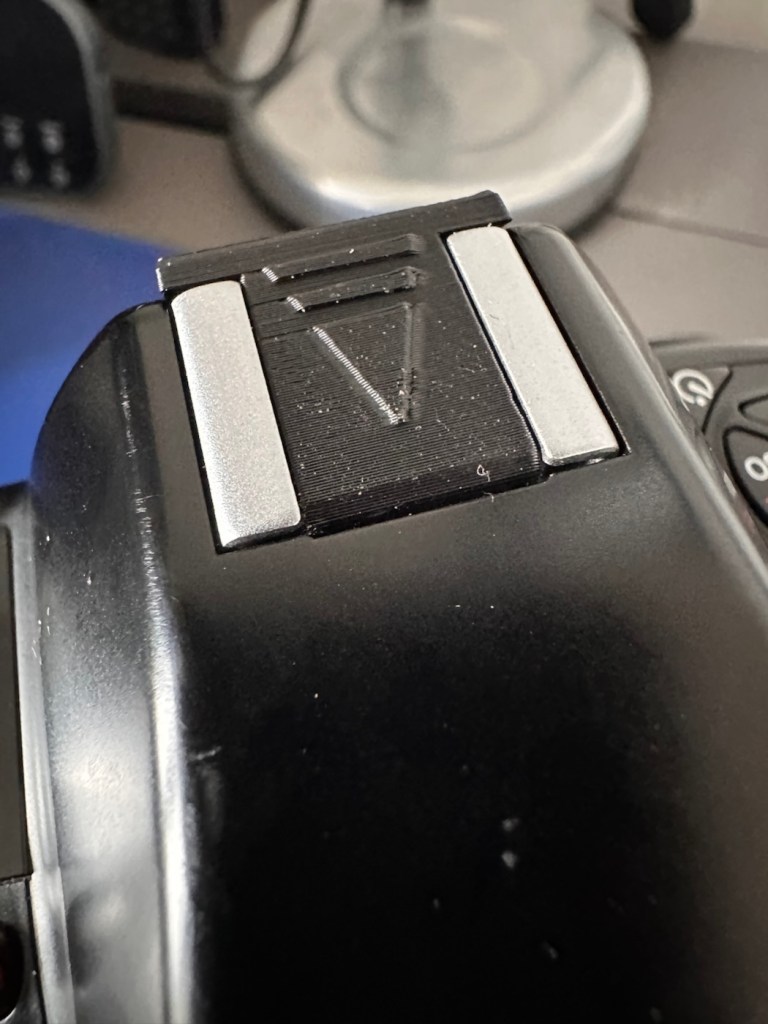
The sync cable cover also helps keep the exterior tidy as well as protecting the connector.
All I need to do now is clean the exterior of the camera where there is some light dust and dirt. When this is done I will use my usual car cockpit polish to finish the camera off.
When that’s done I will do a quick fly through of all the settings to check if they are all functioning as they should.
Result:
The camera has cleaned up very well and looks glorious. All settings are functioning as expected, and there have been no issues with a sticky mirror or any other issues. The camera is just working well and doing exactly what it should be doing.
I’m using a G type lens so I’m restricted on the type of photography I can do, it stays on its lowest aperture (F:32) but that’s perfectly fine In bright sunlight conditions. I need to purchase myself another lens for testing to allow me the use of the full spectrum of apertures on this unit. That said, my lens has performed perfectly on this unit.
As I’ve stated before, this seller is one of my favourite suppliers as his cameras are always in a good condition, he doesn’t like anything unless it’s absolutely A1 perfect, so this is where i benefit as every unit I have purchased from him is perfect in my eyes, and in many cases need very little doing to them to bring them back into a working condition. This is one such unit.
So, I have yet another lovely piece of 90s “Big” tech restored and working perfectly. The next thing I need to do is to put some film through it. I’ll let you all know when I’ve done that.
Thank you for passing by, have a wonderful weekend, I really appreciate your being here.
Take care.


You must be logged in to post a comment.