

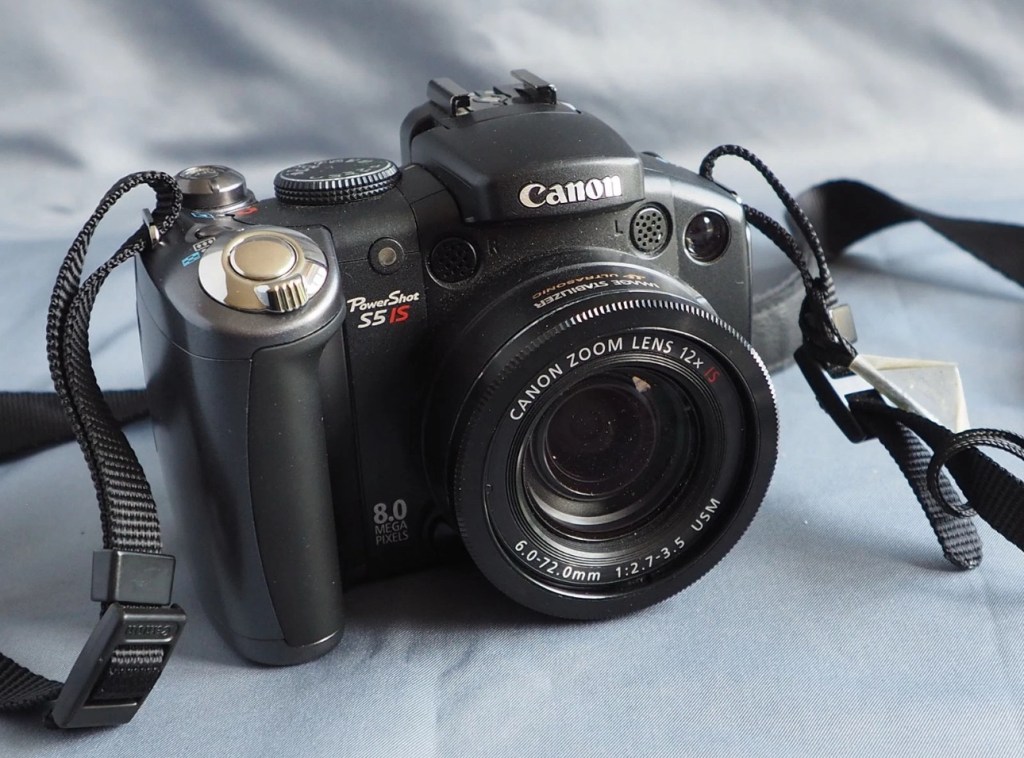
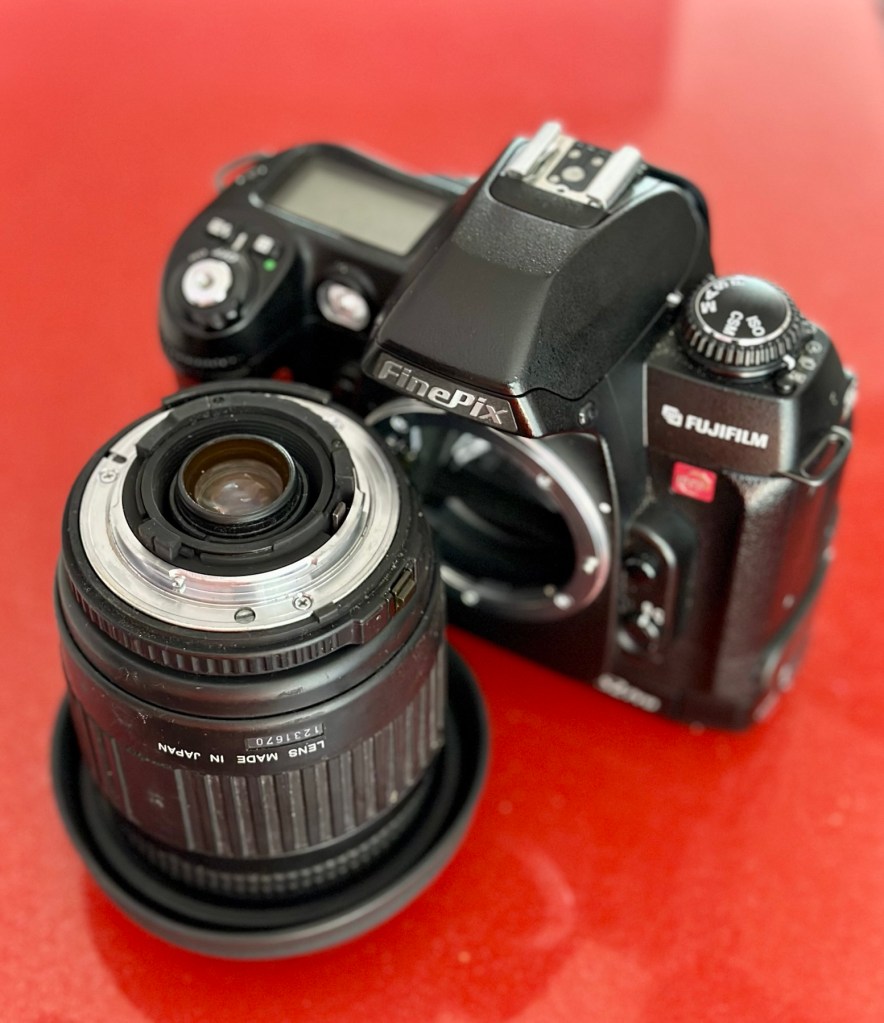
The EOS1 N was a professional 35mm camera from 1994, it is currently 31 years old. This model is basically the EOS1 N with the E1 drive booster/winder earning it the HS suffix.
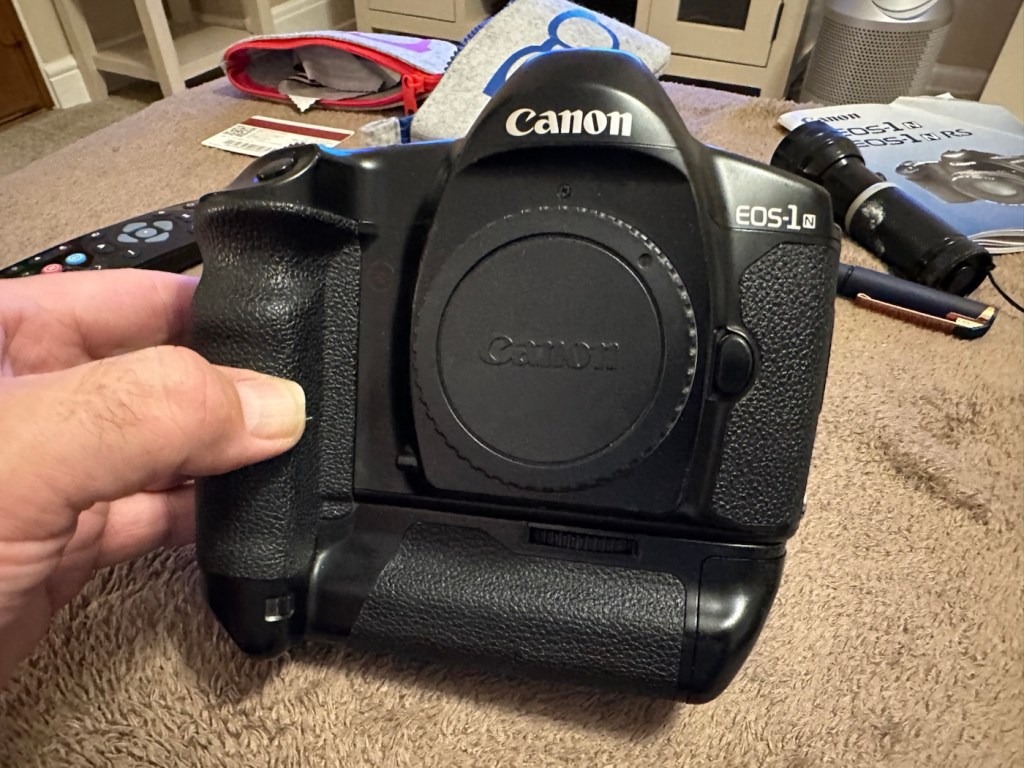
These are beautiful analogue cameras and over the years I’ve had a fair few of these pass through my hands, I have not however owned one with the E1 booster/winder before. I’ve recently had a number of cameras passed on to me by a good friend and that post can be found here: Cameras…i need more!
This is one of those cameras that he passed onto me and it carries the well known BC fault. We’ll come on to that later, in the meantime here is a little history lesson, of the evolution of this camera.
The EOS-1N is a 35mm single lens reflex (SLR) camera body produced by Canon. It was announced by Canon in 1994, and was the professional model in the range, superseding the original Canon EOS-1.The camera was itself superseded by the EOS-1V in 2000.
The original EOS-1 had been launched in 1989, two years after the company had introduced their new EOS autofocus system. It was the company’s first professional-level EOS camera and was aimed at the same photographers who had used Canon’s highly regarded, manual focus professional FD mount SLRs, such as the Canon New F-1 and the Canon T90. On a physical level the EOS-1 resembled the T90, which had been designed for Canon by Luigi Colani. The EOS-1N was a revision of the EOS-1, with five autofocus points spread across the frame rather than a single centrally mounted autofocus point, plus more effective weather sealing, a wider exposure range, and numerous other improvements. In common with the EOS-1, the 1N used Canon’s A-TTL automatic flash system, and does not support the more modern E-TTL.
Assessment:
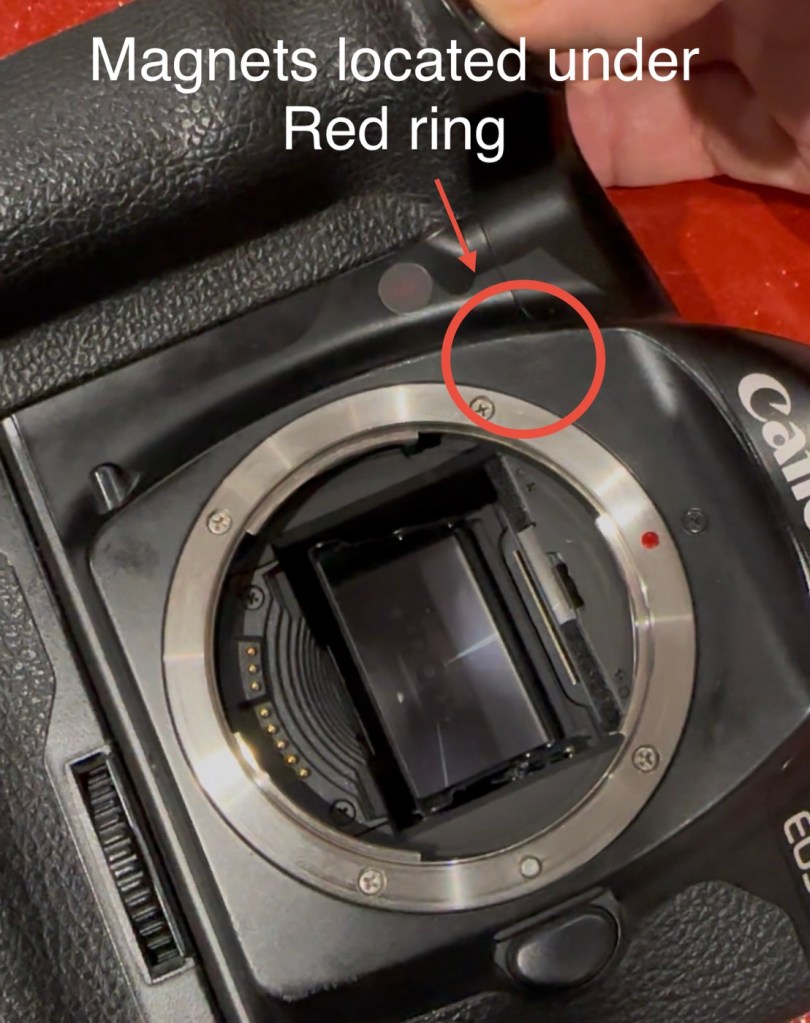
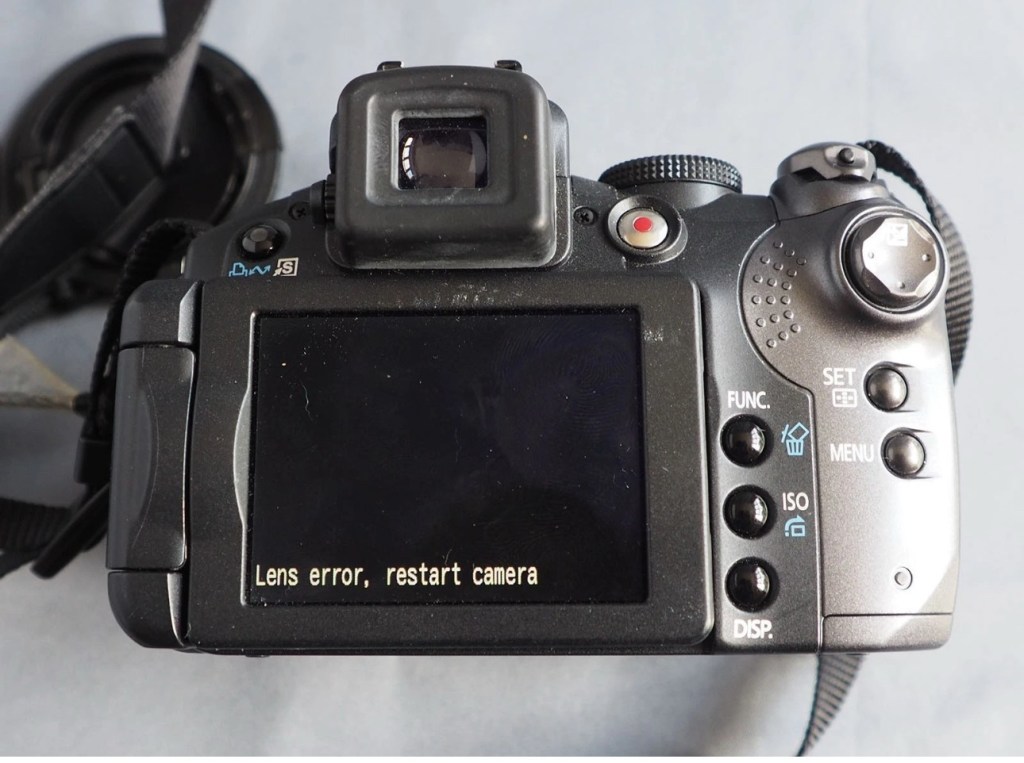
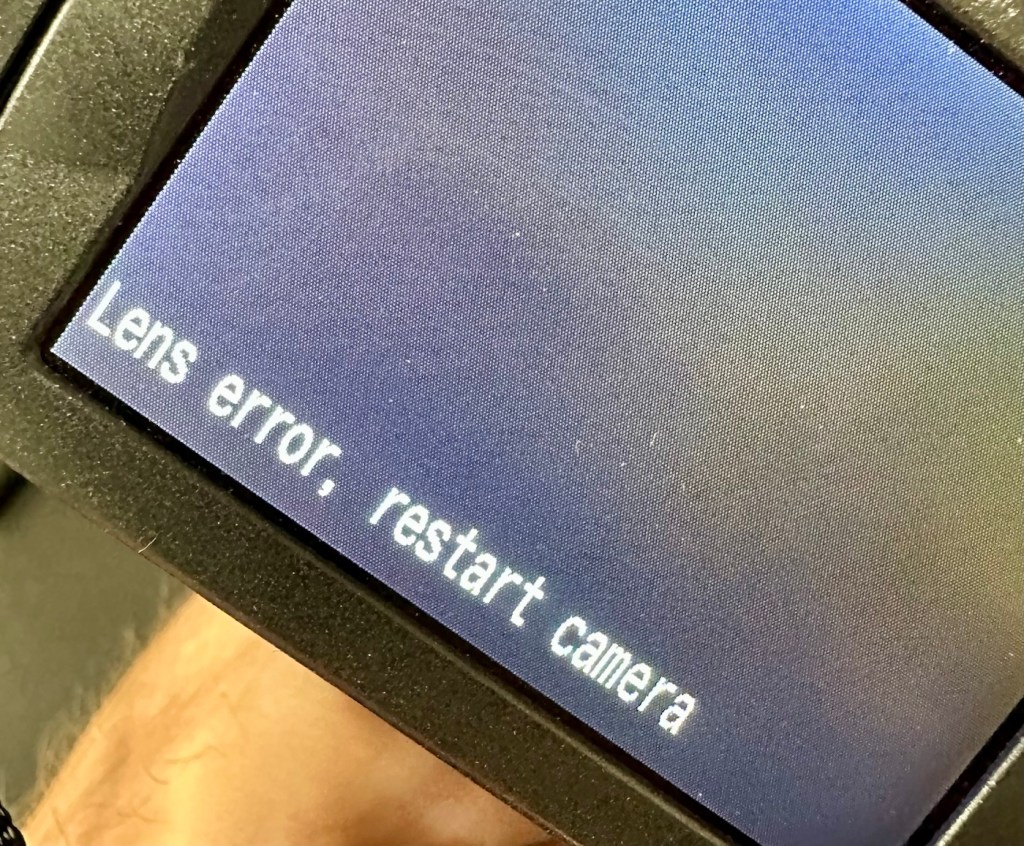
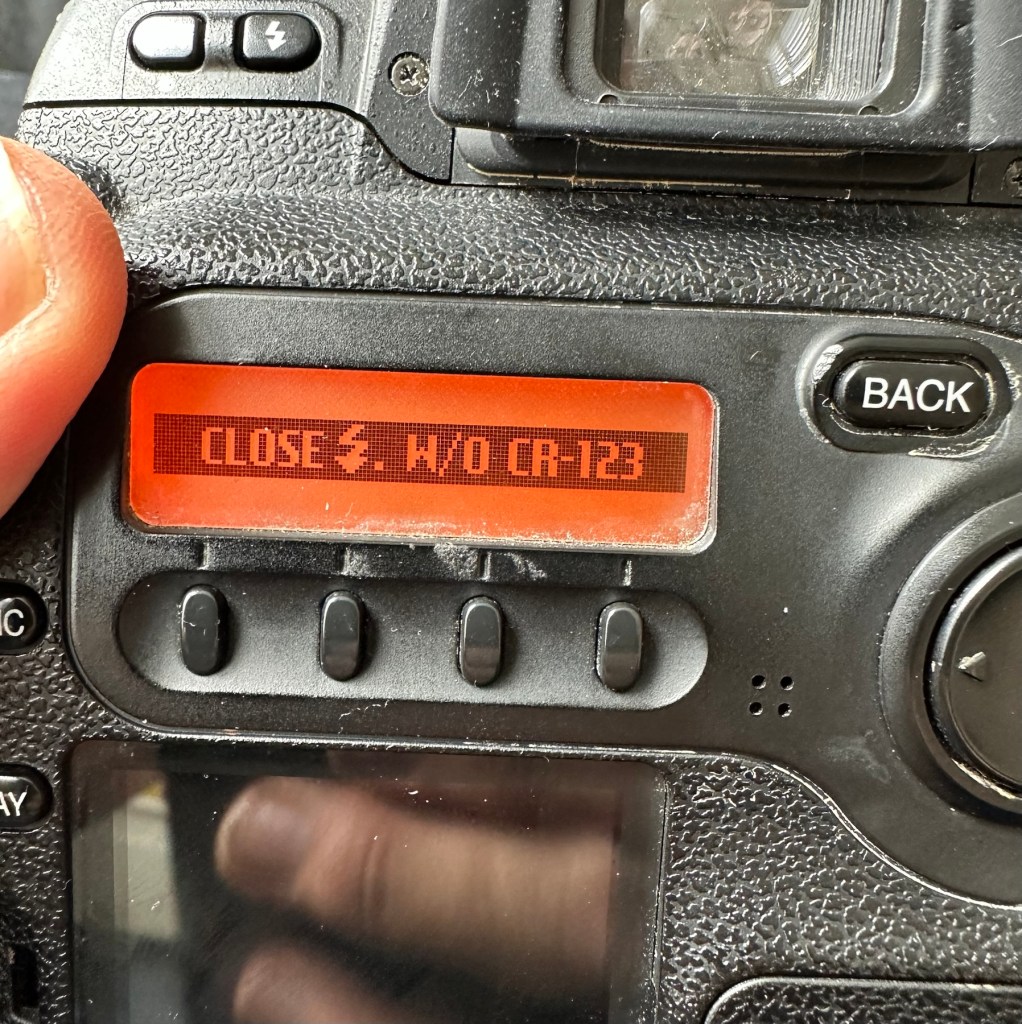
Right, let’s get on to the problem. The BC fault is a blanket fault, covering a multitude of issues, predominantly electrical, even addressed in the accompanying instruction manual as a potential battery issue. However the issue that it is more associated with the fault is the failing shutter mirror magnets. See the video below.
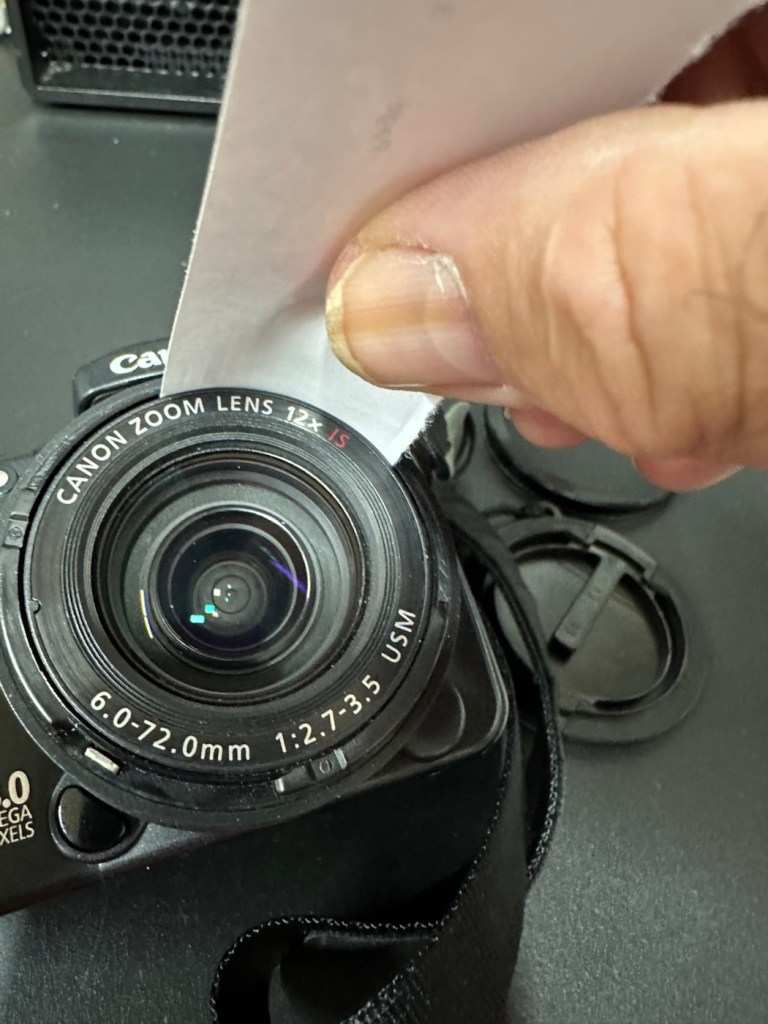
The video above gives a very good insight to the issues, and what to look for and how to get the shutter operational again. It’s not a permanent fix, sometimes the magnets haven’t been used for such a long time that they just seize up. They can be de magnetised, they can just be dirty, either way it’s worth having a look at, to try and restore what is in all aspects a very good camera. It seems to be an issue that an open or close signal is sent, however the magnets for some reason do not react, dirt can be a contributing factor. Below I have put together a very short video of my own camera, the early part shows me trying to get it working and showing the BC indication, the second part shows the mirror “sort of” working after I have tapped in the area just above the top screw on the left side of the lens mount under which the magnets are situated.
It still doesn’t work properly though and is extremely intermittent, but it’s a start, it proves the fault. I have also used a strong magnet to fool the internal magnets, this works for a couple of firings but that’s it. This also adds credibility to confirm the magnet issue.
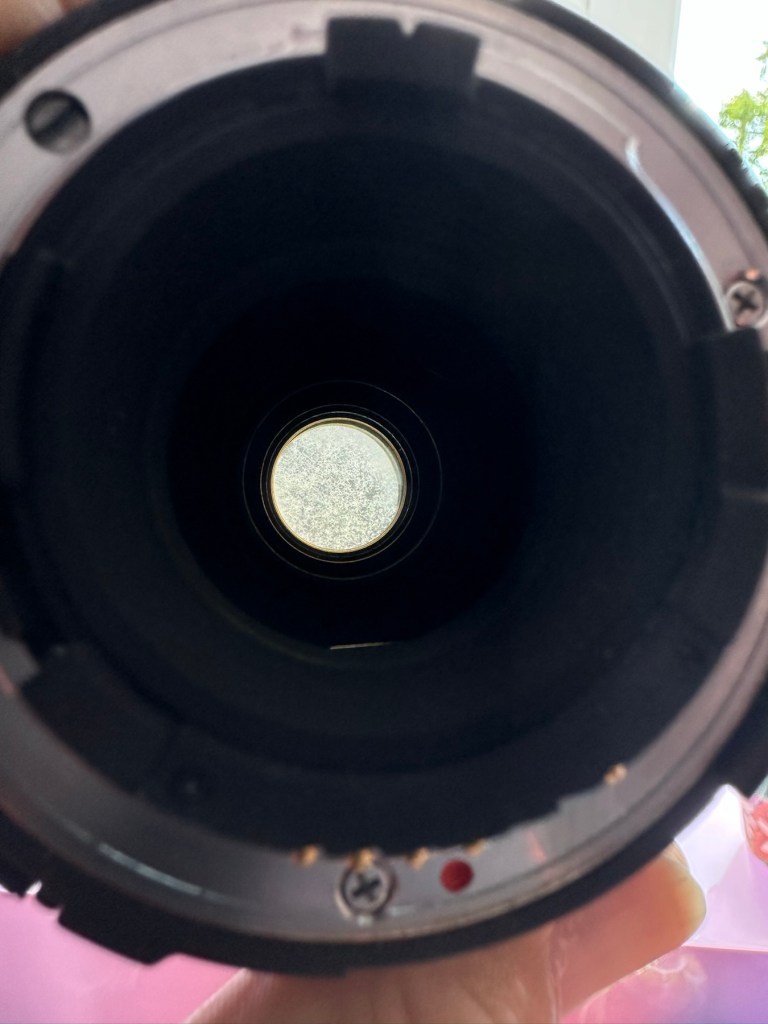
I haven’t yet taken the fascia off to access the magnets, I’ve just tapped in their general area, or probed with a strong magnet, this was enough to allow the shutter to intermittently fire, and it is now quite apparent that this is the issue I have with this unit.
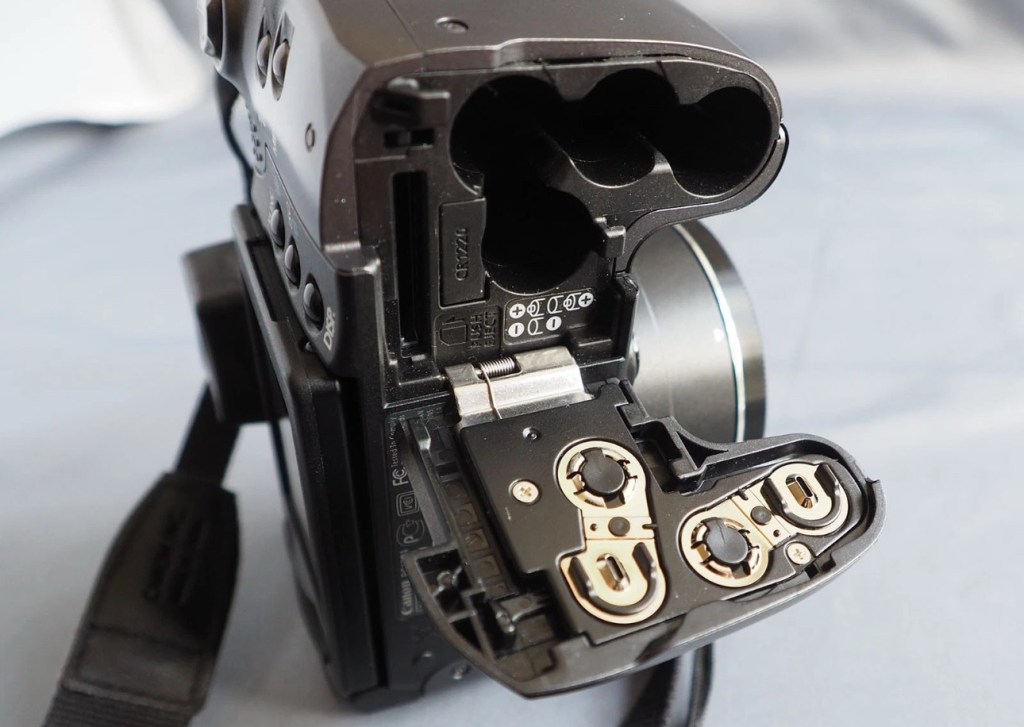
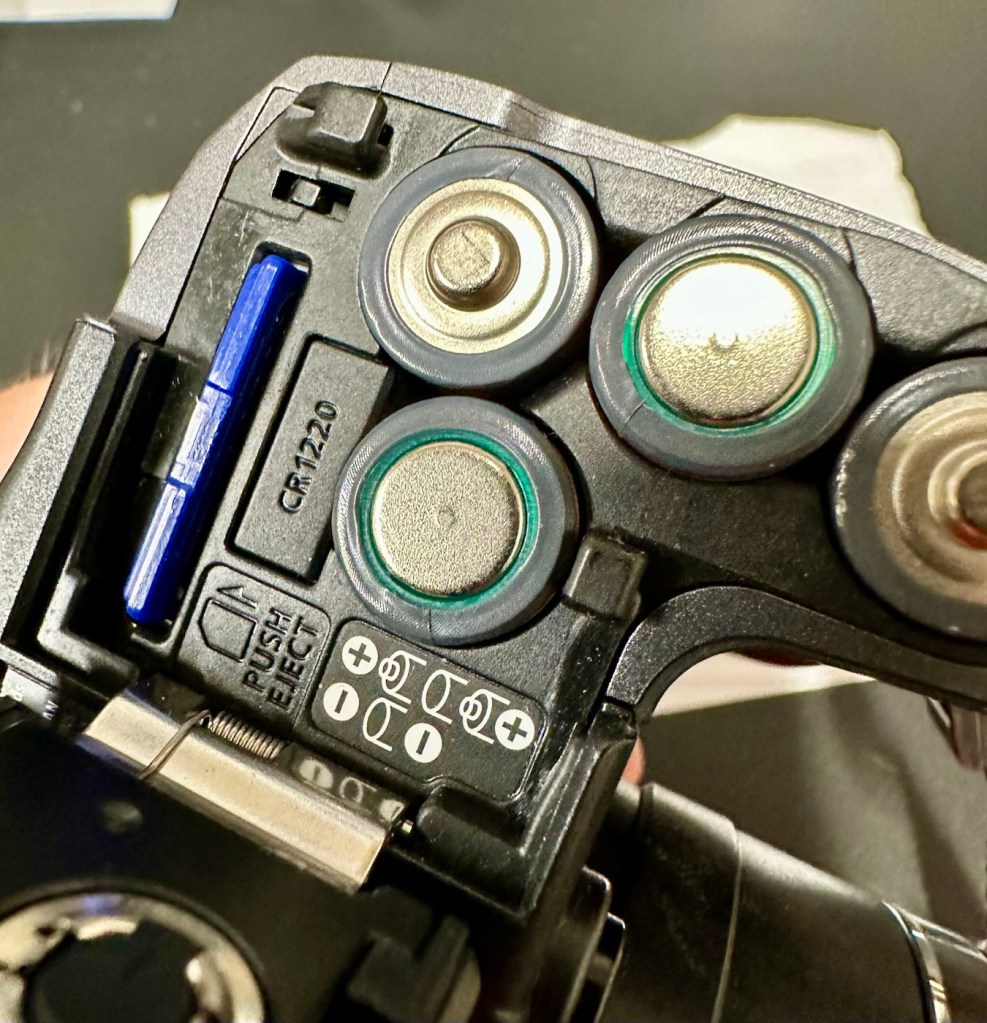
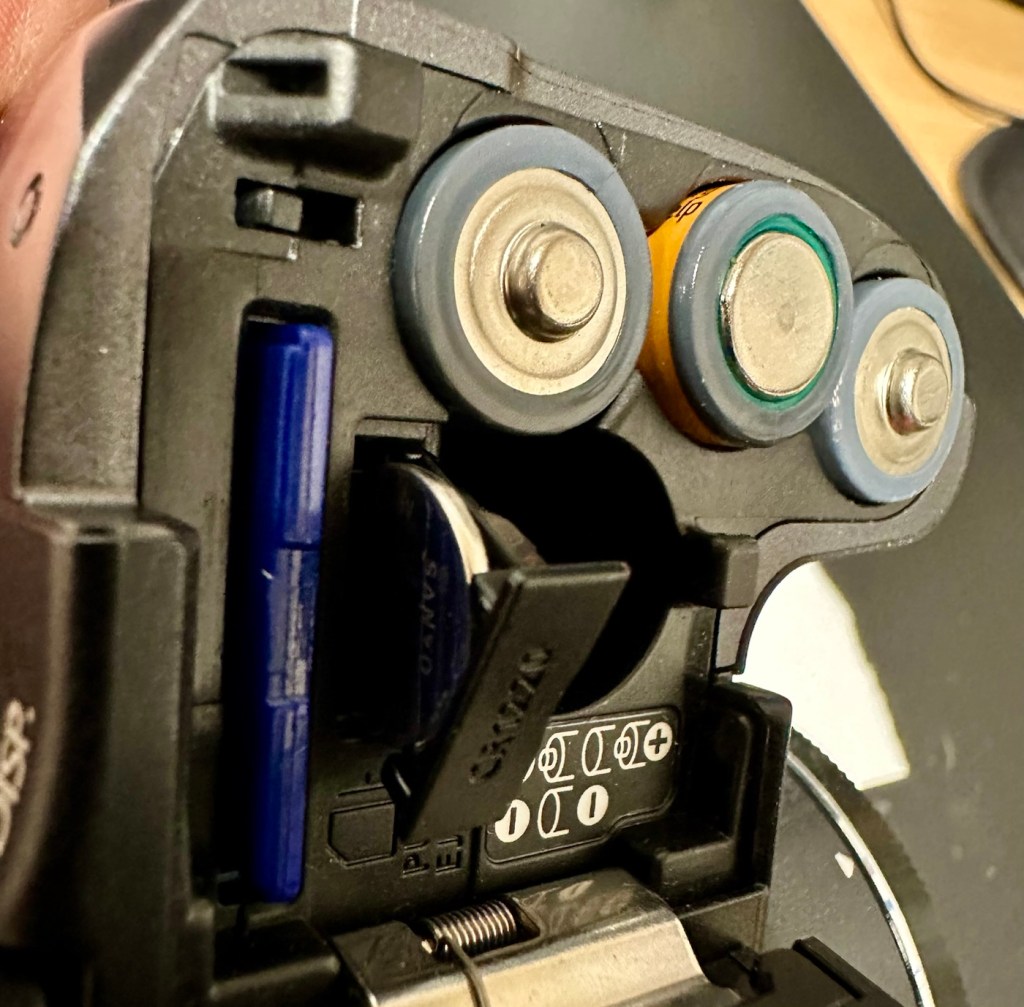
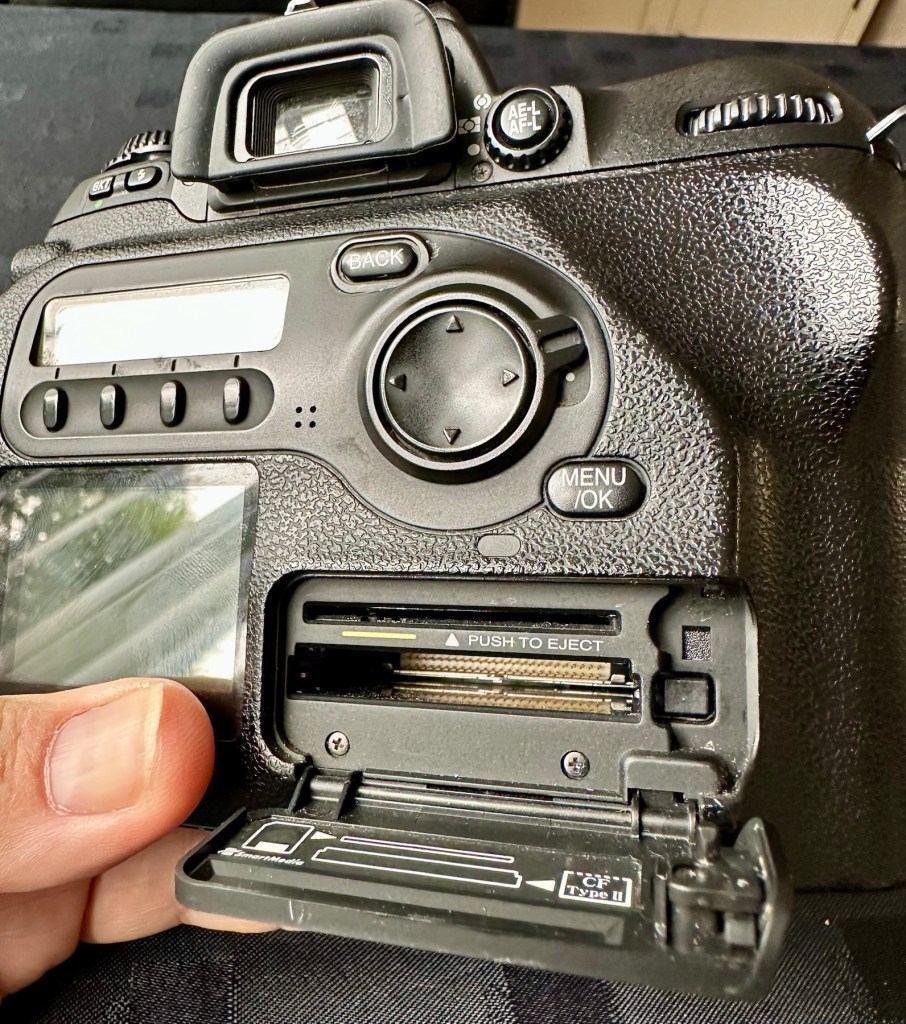
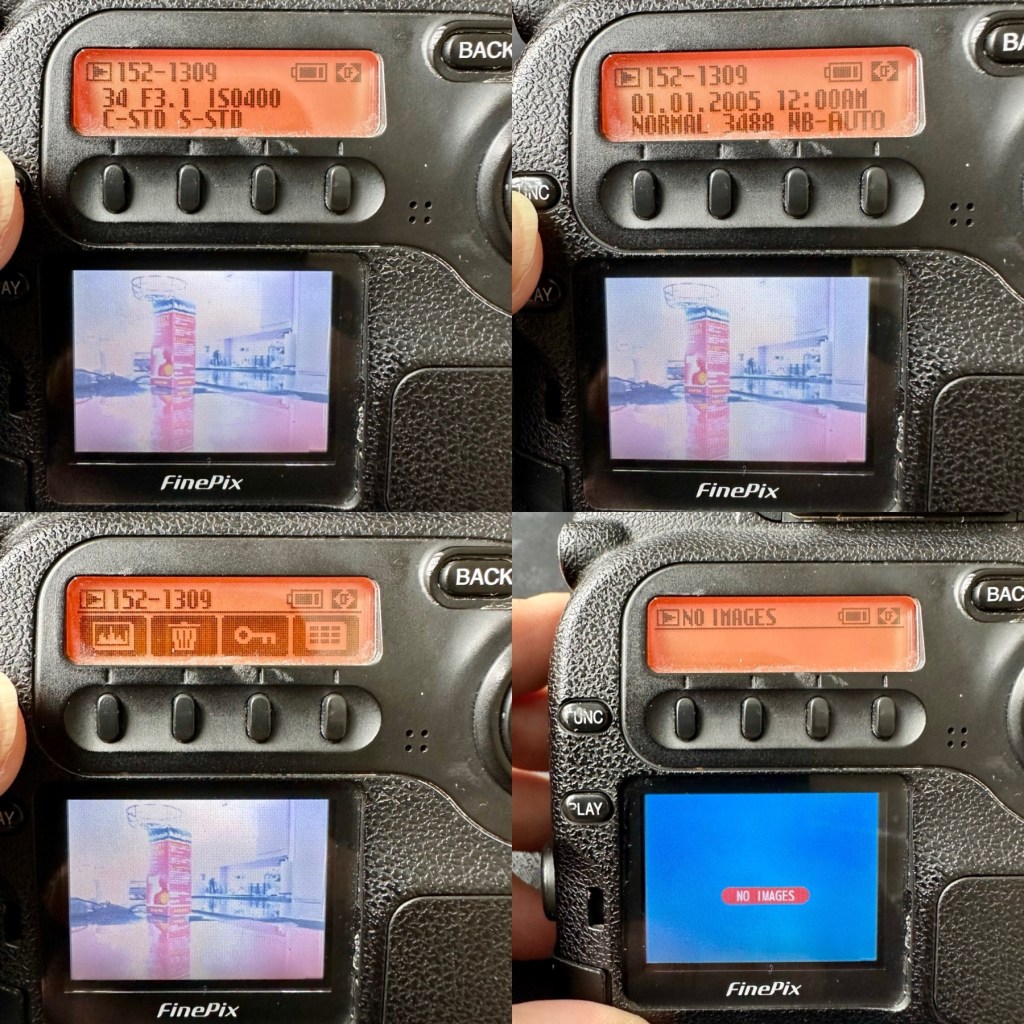
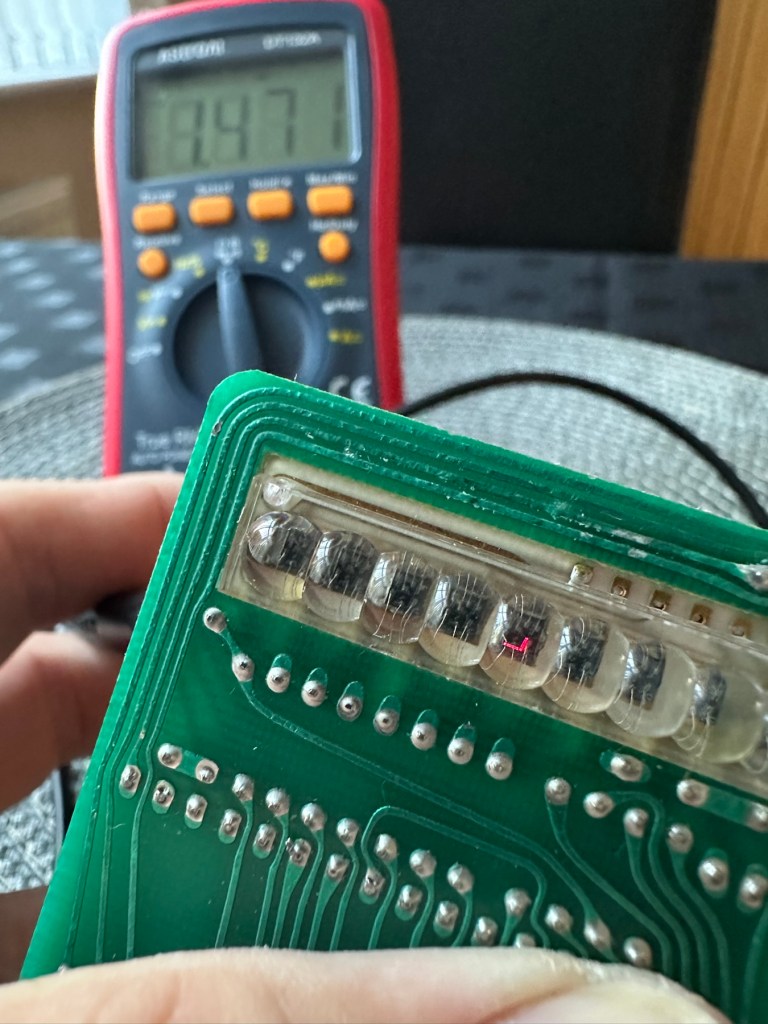
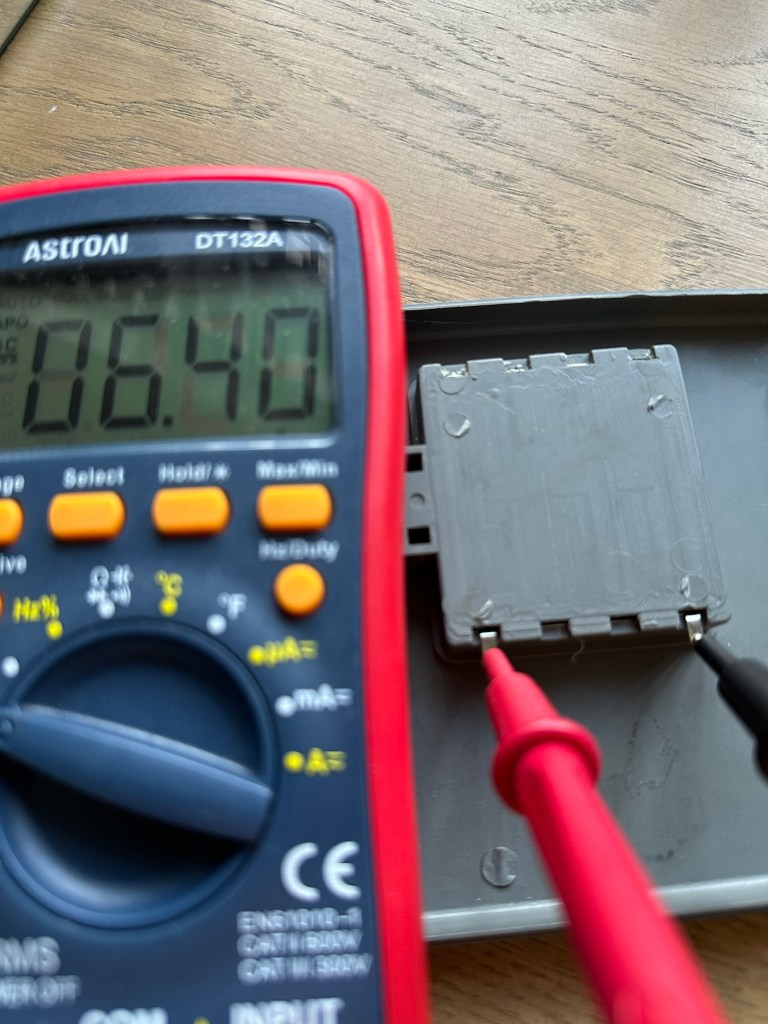
I’ve done some further checks to confirm the fault. If you turn the camera on and open the small door to the right on the rear of the camera, there are a number of buttons inside that allow you to check battery levels and to do resets, and so forth.
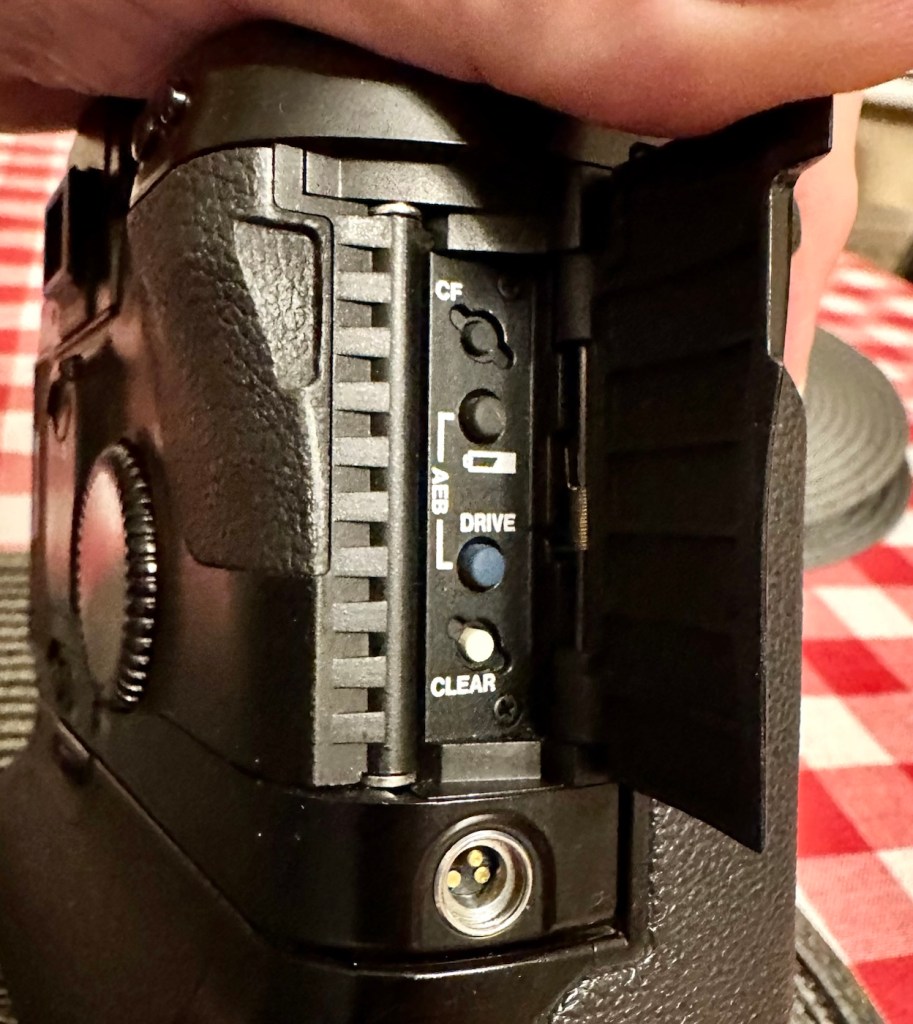
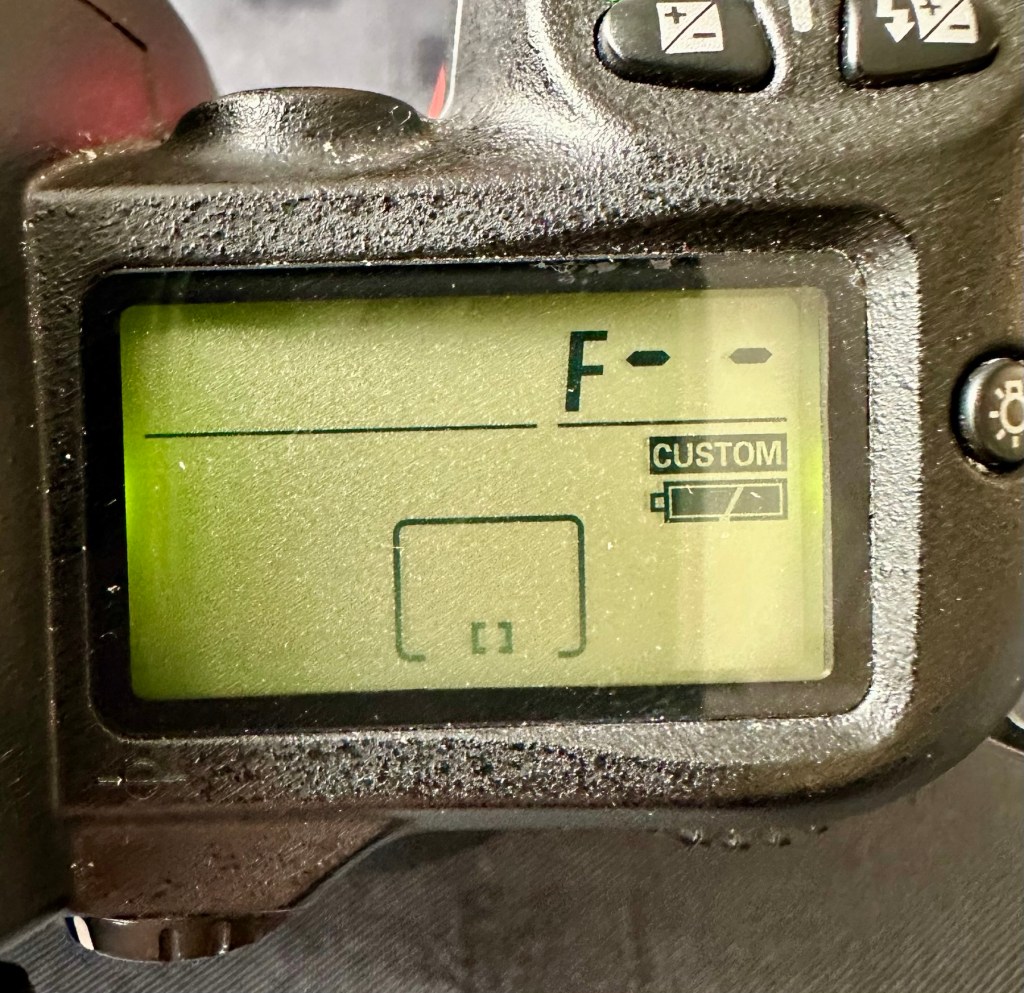
By pushing both the clear button and the battery check button together, you can get a fault code to appear on the screen on the top of the camera.

Here as you can see, I have fault code number 6. If you look at the chart below supplied by Canon you will see it refers to a mirror fault, more specifically the mirror is up, but didn’t switch back to on from off, as I mentioned in the above paragraph.

As you can also see above, fault codes 6,7 & 9 refer to the mirror operation issue.
I’ve done all I can really on the outside of the unit, and I think I have conclusively proved the area of the fault. Before we look at replacement of the part, I am going to give it a good clean to see if that will clear the issue. I’ll worry about spare parts later if required. Let’s get the fascia off and have a closer look.
Repair:
I’ve been a right stubborn sod with this one. I really didn’t want to dismantle this camera at all. Something inside was telling me it was unnecessary so I decided to persist with what I had been doing earlier. If only I could get the magnets to fire for a few exposures at a time, it would be just like a coughing car engine clearing out its system and kicking in to life, once it bites you can accelerate it a little more until it starts ticking over. Old motors and cameras are a strange but similar comparison, the longer they are left unused the more inclined they become to not partake in doing what they were made to do, whether powering a car or taking photos. Stop using them and they do just that. Stop.
Well, that’s what I think anyway, My world is as simple as that. And I think it might just work.
So I have persisted….
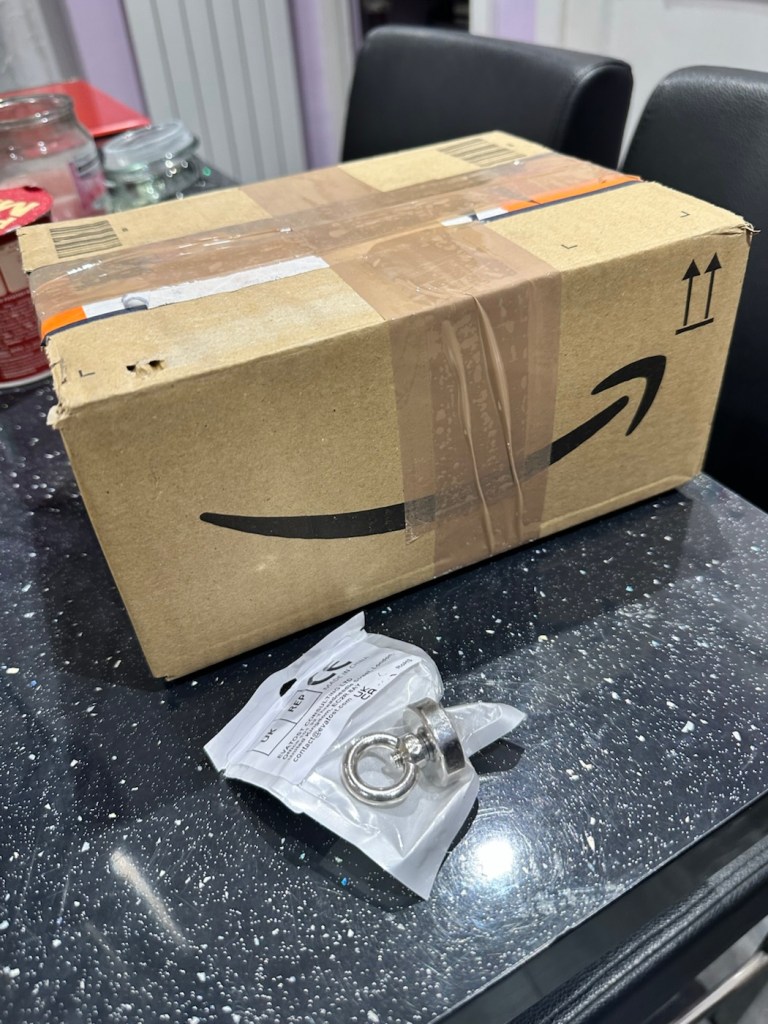
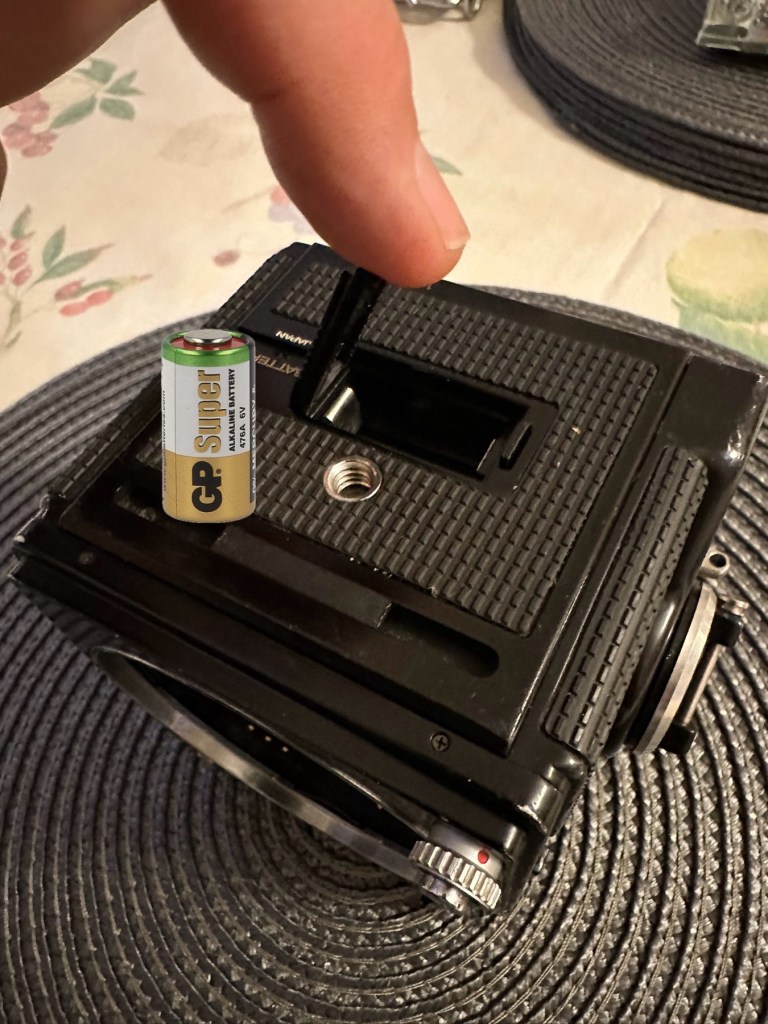
And purchased a much stronger magnet a “Rare earth” one to be precise. These are the sort of magnets they use for magnet fishing, however this one is small and despite having credentials behind it saying it has 19kg of pulling power I’d suggest that is a lie. Probably a maximum of 3kg if you’re lucky, but either way more than sufficient for me wanting to kick start a tiny electro magnet in a camera.
The most surprising issue around this magnet is the absolute ridiculous size of the packaging that it came in.
So I persisted with the magnet, around the lens ring. I reset again and again. Nothing. I used my knuckle to tap the area near the magnet, a single cough, good. More resets, single coughs, more taps two coughs….this is good. I set the camera to high speed wind, kept the exposure button depressed and continued tapping, five or six coughs then stop. It’s an improvement. The magnet is starting to pick up. More tapping then I’m getting about 20 coughs with an obvious delay on one or two activations… we are now getting somewhere.
I put the rare earth magnets near the camera magnet and then switch off and reset. I turn back on again and then get a good 15 seconds or so of rapid fire, the internal magnets are clearing. I remove the rare earth magnet, reset again and the old girl fires into life for about 30 seconds continuously with only the occasional “misfire” the internal magnets are sparking back into life.
You get the idea.
Once you get these magnets operational, the best thing you can do is continually fire them, until they fire smoothly. This camera has not fired up for years, and these components inside are made to be used, and just like someone trying to keep fit, similar to a muscle, if you don’t use it you’ll lose it, it’s the same with these cameras, they need to be used on a fairly regular basis.
I did a 3 minute firing and I’m pleased to say she is now chugging away beautifully with no coughs and splutters. I’m sure glad I persisted with my hunch. I was right. And believe it or not. The battery levels are still good.
I’ve put together a little video here showing it working before and after.
Well what more can I say. It appears to be working.
Result:
To say I’m chuffed with this repair is an understatement. Sometimes you don’t have to dive in and start dismantling to get results. Do your research and make your own plan of attack with the information you have at your disposal. You will find equal amounts of good and bad advice out there, you’ll soon become aware of the differences, just follow your feelings and do what you think is right, if it’s wrong, well you’ve learned a lesson.

I am so looking forward to getting a day out with this camera and really letting her loose. I just love the sound of these clunking old machines, I don’t understand why anyone dislikes them. I loved visiting air shows when you had the big old really noisy aircraft that shook your soul from head to toe, they then sanitised that with super quiet aircraft…so boring. They’ve done that to cameras as well that nowadays make no noise. I love these old cameras, every click, clunk and whir brings back superb memories to me. I just love old cameras. I like to think I’m helping a few last just a little bit longer.
Many thanks for passing by, it’s always very much appreciated.
Peace to all.


You must be logged in to post a comment.