

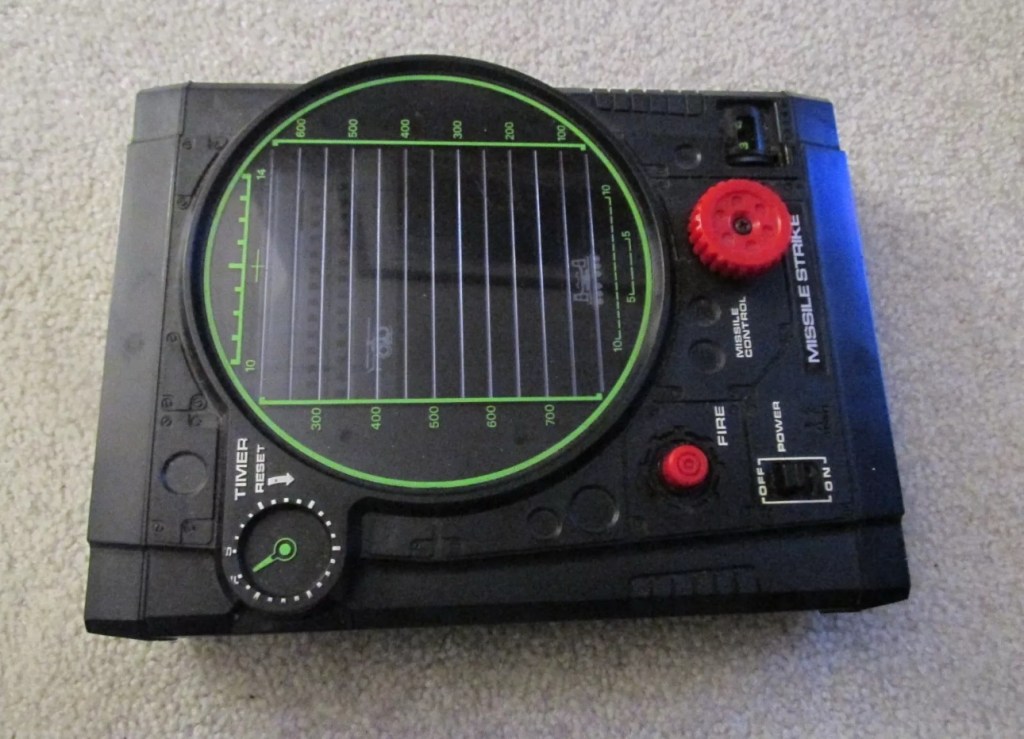
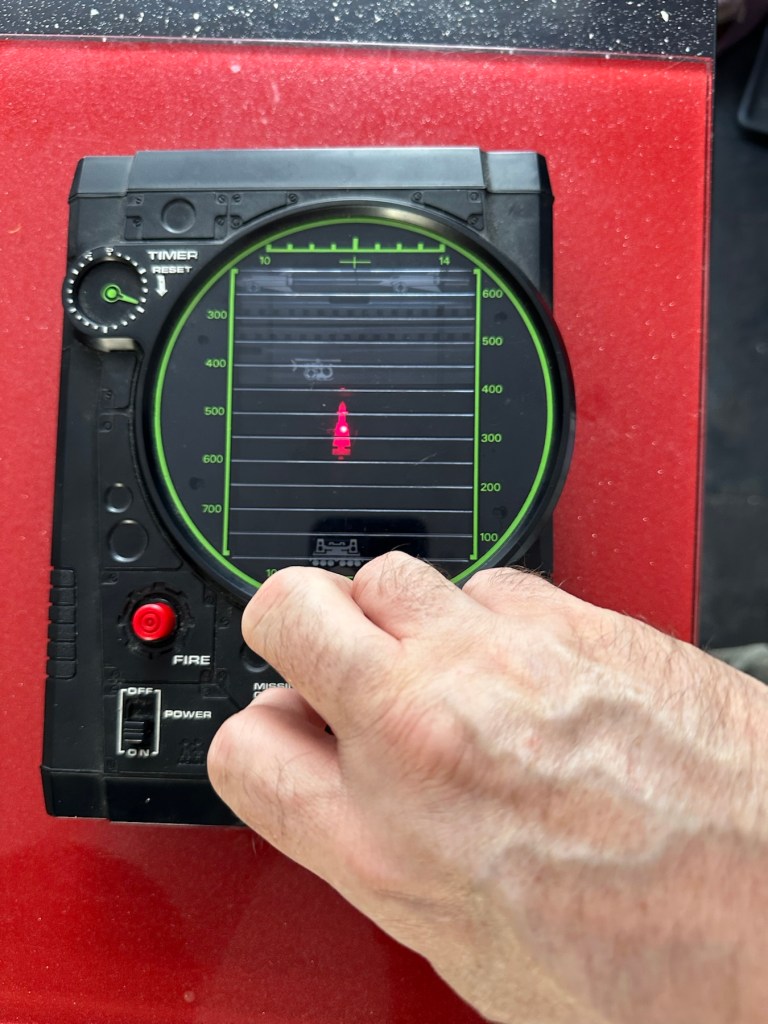
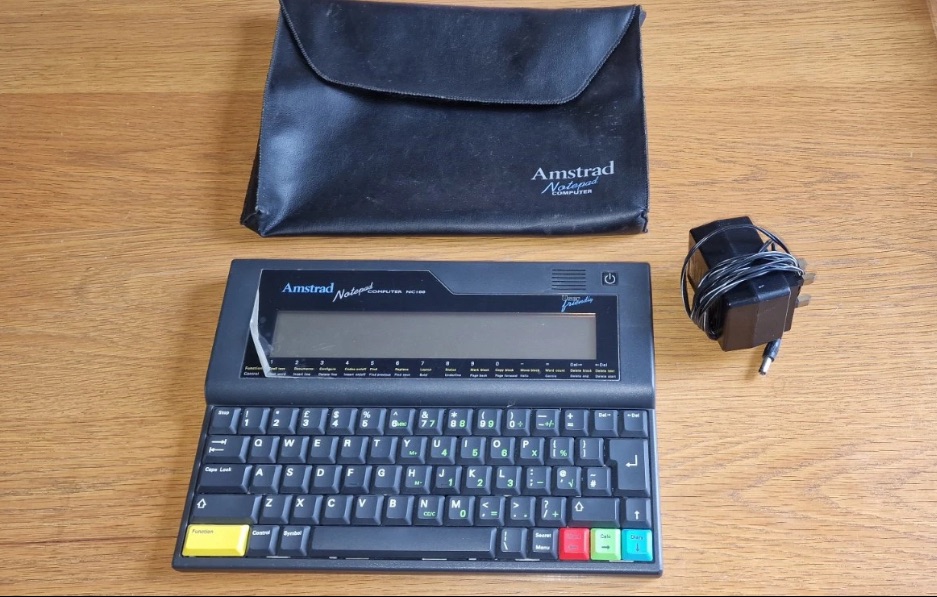
What the listing stated:
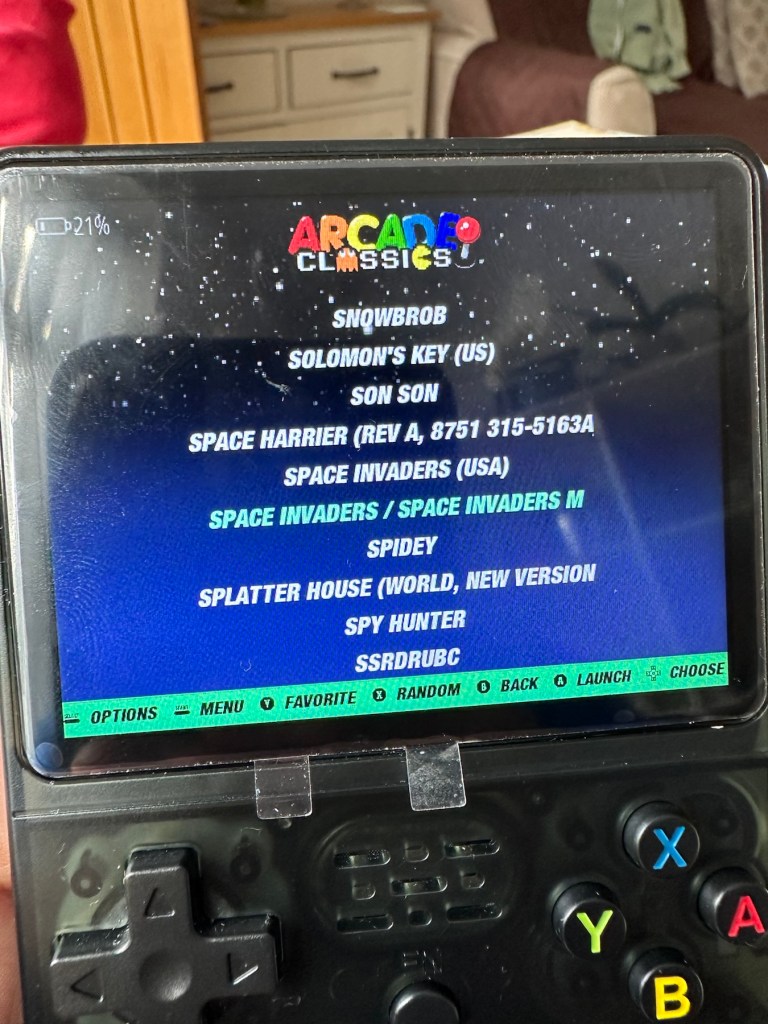
Item is for spares repair only. Powers on but appears to be stuck on game.
Please view photos for details of listing
Any questions please message me
EBay
Here’s the info:
Whether you missed out on the gaming golden age of the 2000s or want to introduce your kids to those unforgettable classics, the R36S Retro Handheld Video Game Console supports 15,000 iconic games, making it your gateway to reliving the magic. It’s the perfect way to take a nostalgic trip back and rediscover the joy of childhood favorites.
Revisit your childhood memories with the R36S. Whether you’re rediscovering the excitement of Super Mario, the thrill of Pokémon, or the challenge of Zelda, the R36S brings your favorite games back to life.
Perfect for those who want to experience the magic of the 80s and 90s games all over again.
Equipped with dual joysticks, L/R bumpers, and a vibrant 3.5″ HD IPS display at 640×480 resolution, the R36S Retro Handheld Video Game Console delivers precise control over gameplay mechanics and stunning visual clarity. Enjoy enhanced color accuracy and fine details for a gaming experience that perfectly blends nostalgia with modern innovation.
r36s.co.uk
I’ve managed to secure this item for an all in price of £16:25GBP and thats including the postage. The seller had a number of these selling, I suspect they are customer returns as they still have screen protection, they are in original boxes with stickers on them, and that makes me suspect they are returns.
I think I may have paid over the odds for this unit.
The fact that as soon as this batch were purchased, another set had taken their place on the selling platform confirms this. On the r36s.co.uk site, these consoles retail at around £65:00GBP, you can get similar items from other Chinese outlets that are considerably cheaper. This is an emulator unit that runs via the Linux operating system, and is supplied ready installed with around 15,000 games already on the unit utilising a number of gaming system platforms. As the operating system is open source, you can also add additional games should you wish to do so. The one I have purchased is stuck on just the one particular game i believe. I think I have some work to do.
I very much suspect the issues with this unit lays solely with the software and are not in anyway hardware related. I could however be very wrong. My knowledge on these systems is very limited so I’m going to be very reliant on information and tutorials that i can find on line.
And i may as well download some operating instructions prior to its arrival, just to be a step ahead and furnished with the most basic knowledge of its operation, maybe then i won’t come across as a totally clueless clown.
Assessment:
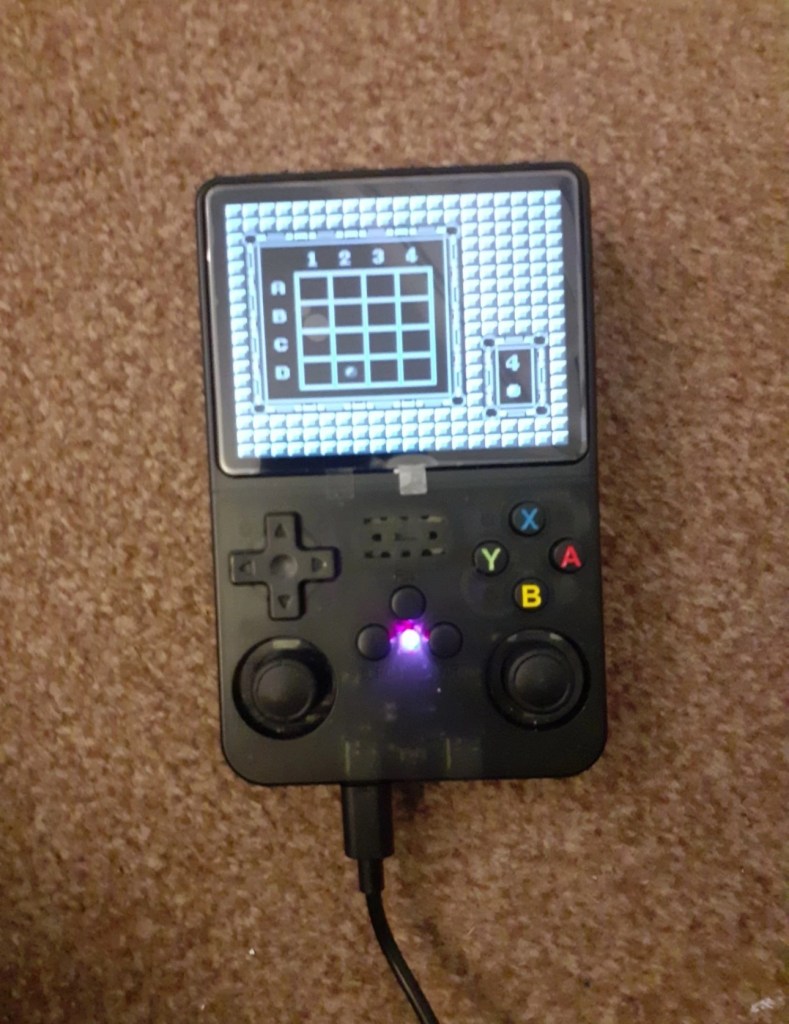
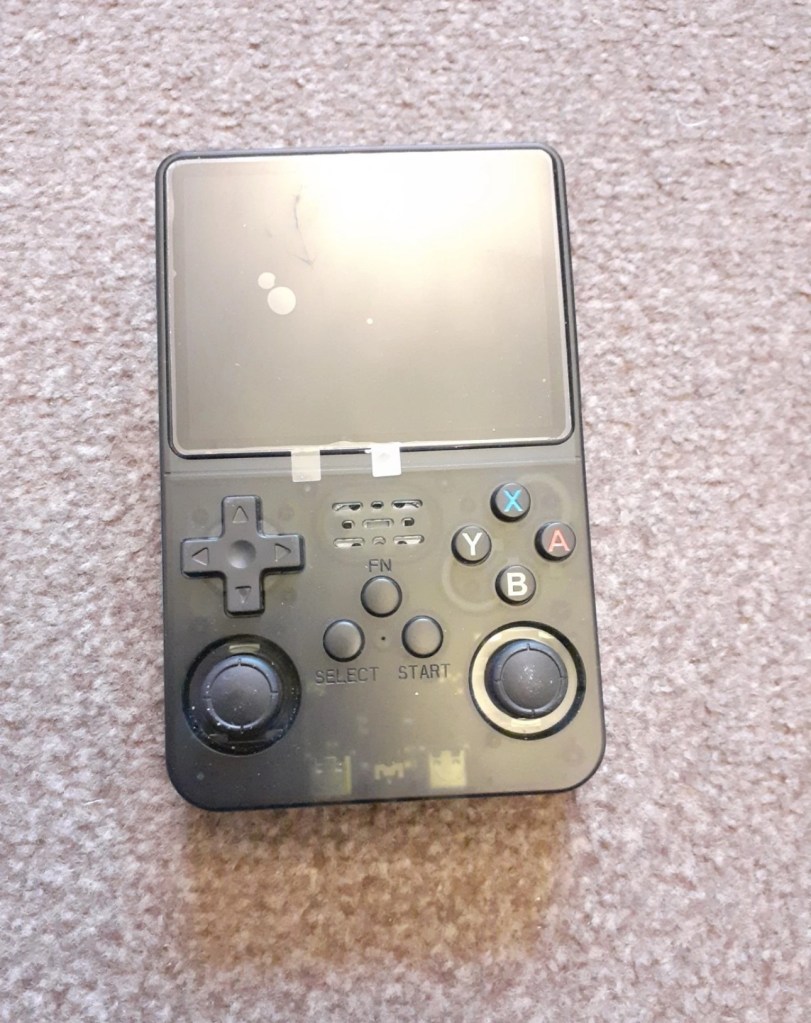
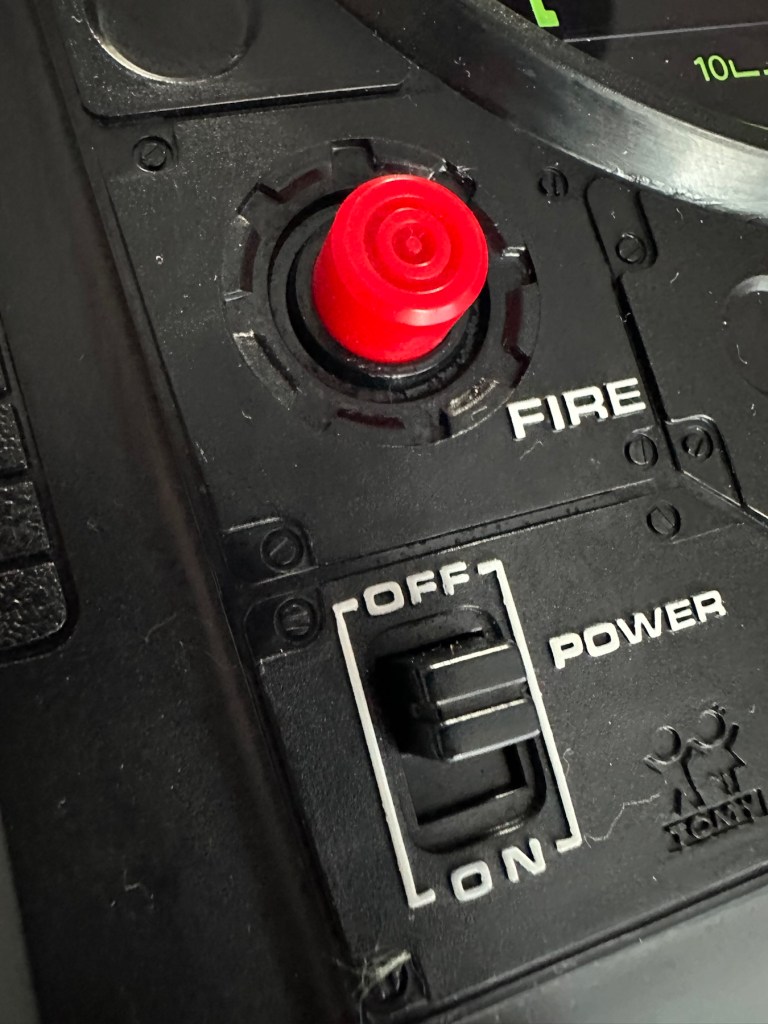
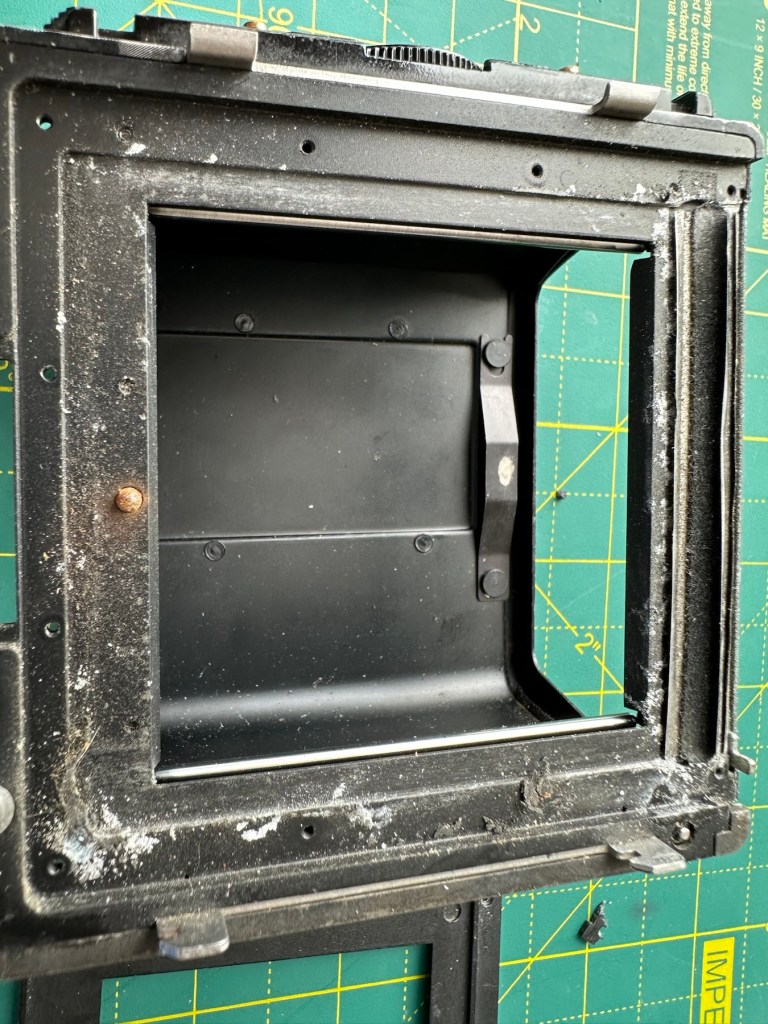
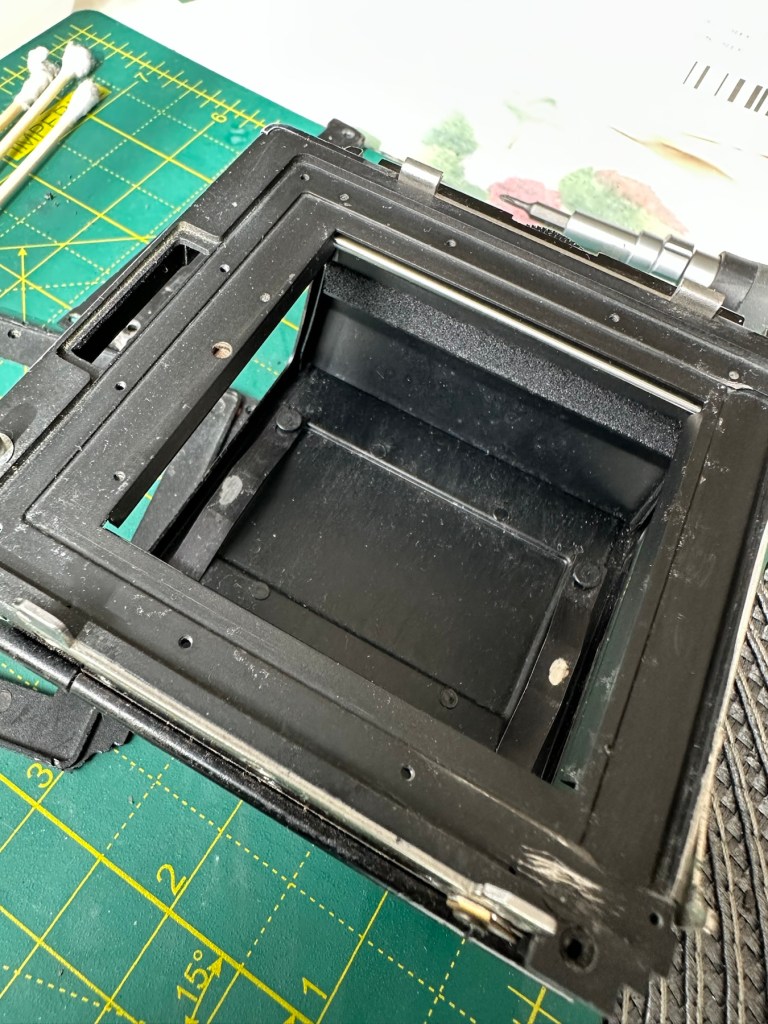
It’s arrived and cosmetically it’s fine. It just doesn’t work. It doesn’t even do what is stated in the listing. More EBay untruths.
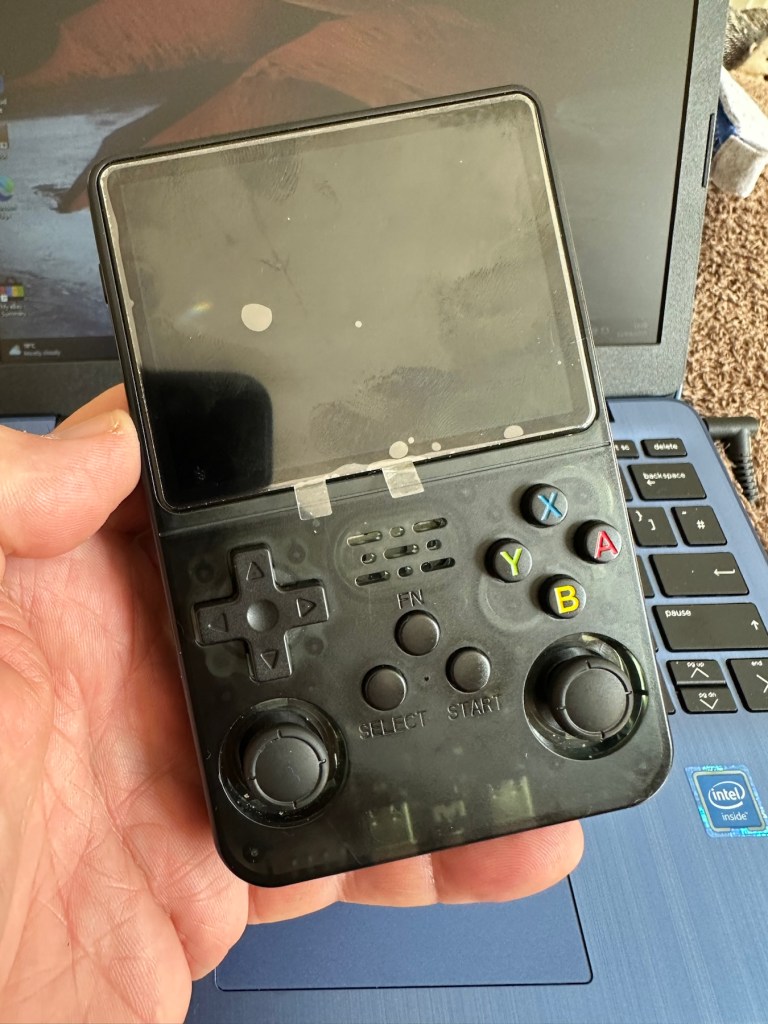
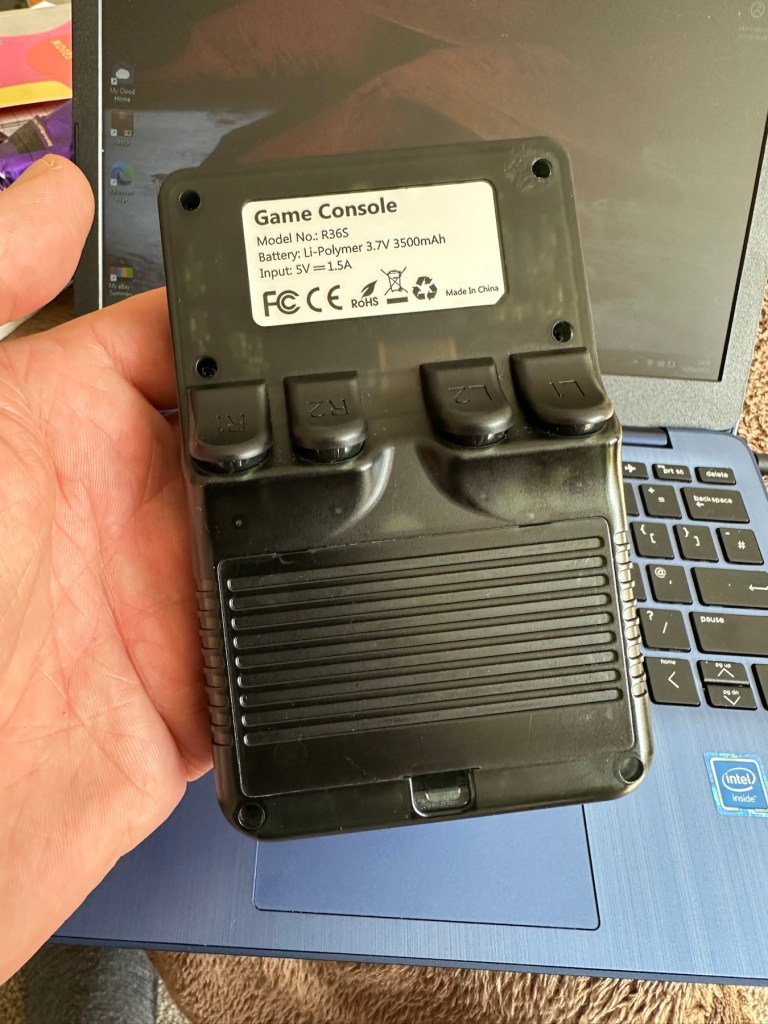

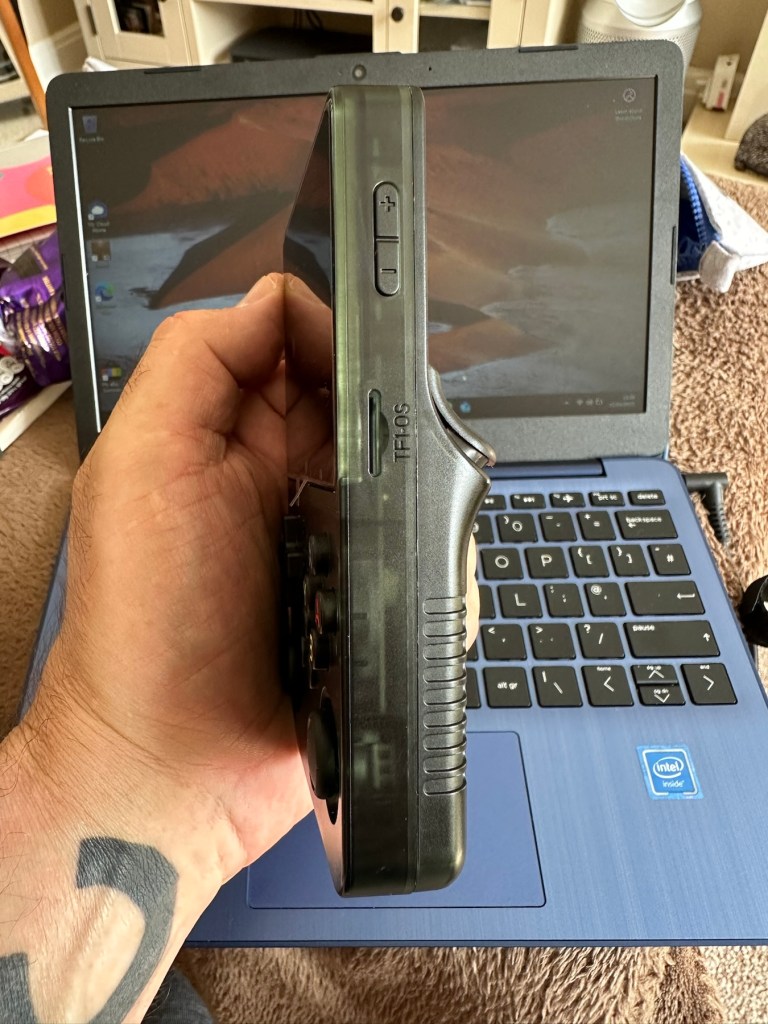
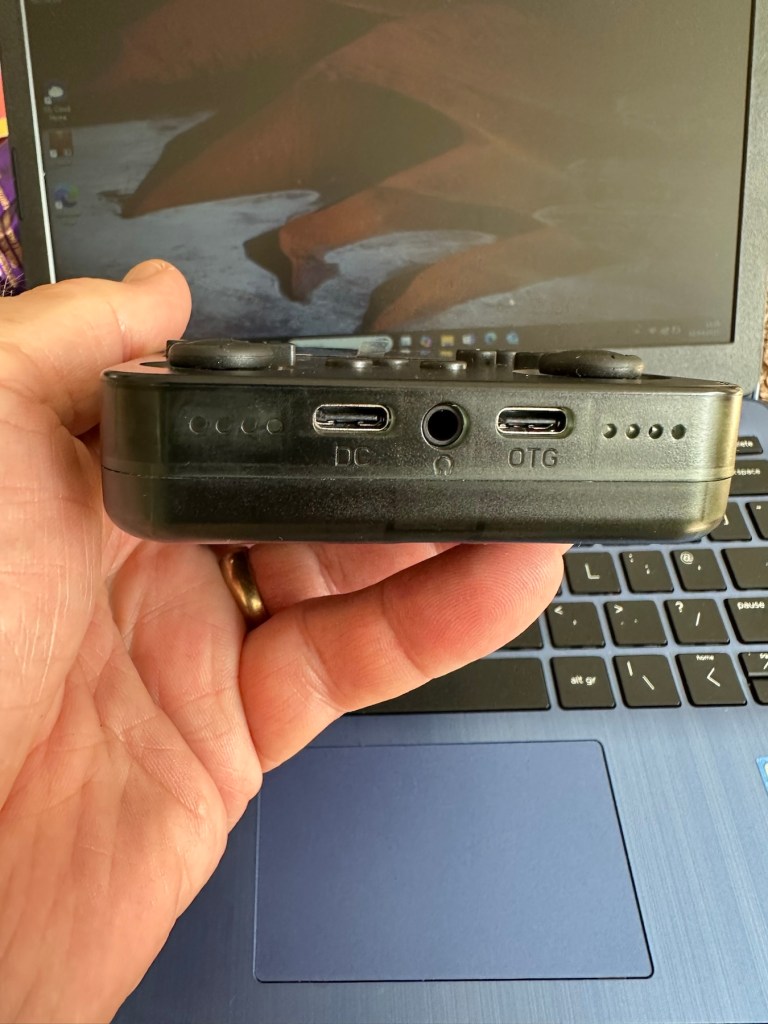
Powers on, charges ok and that’s about it. Box looks nice. Finding it hard to talk of anything else positive. Oh, and it’s not an original it’s a clone machine… cheapo copy. Any way, let’s have a look at getting it to work.
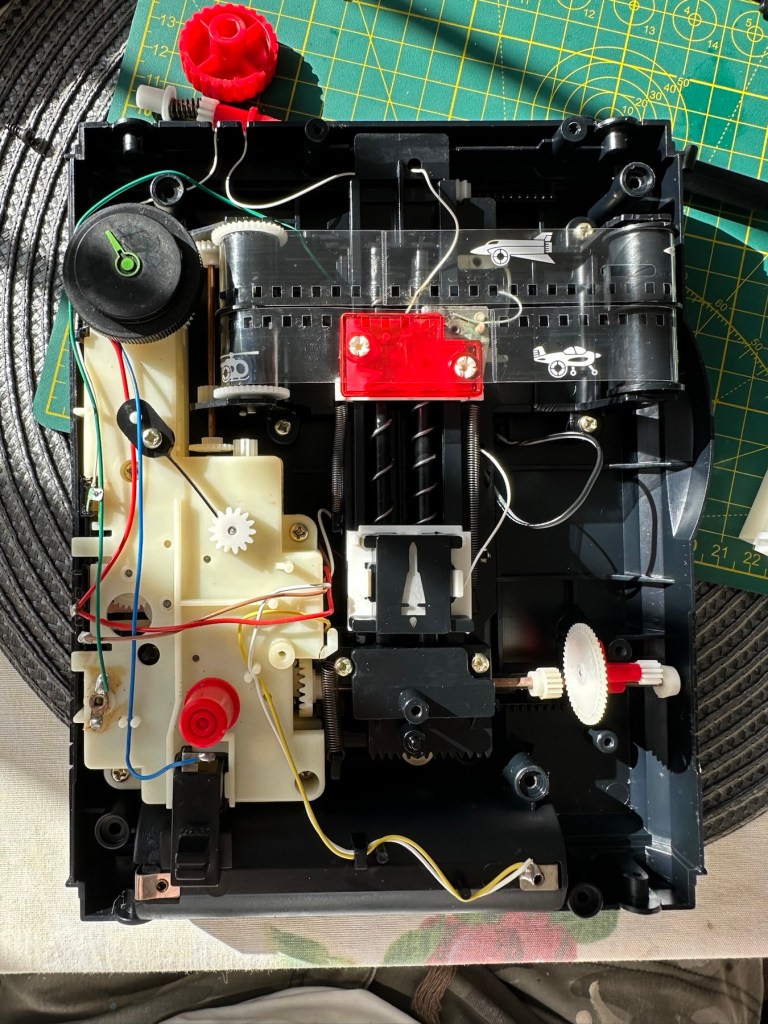
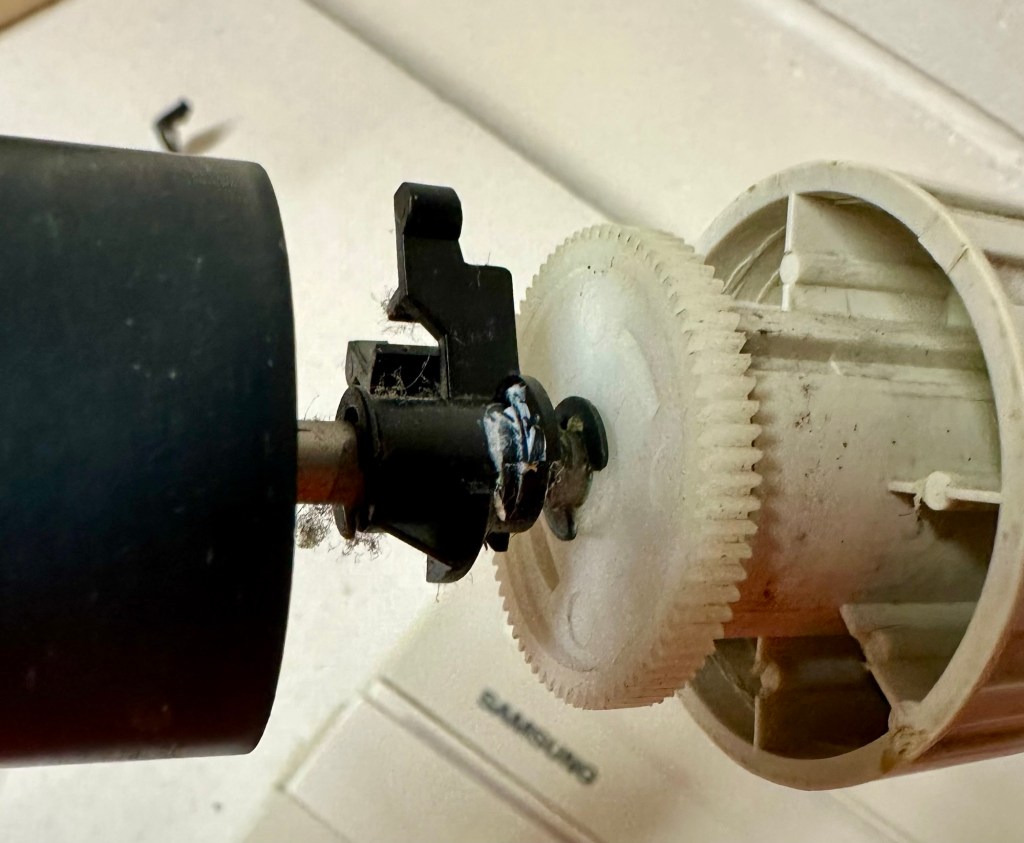
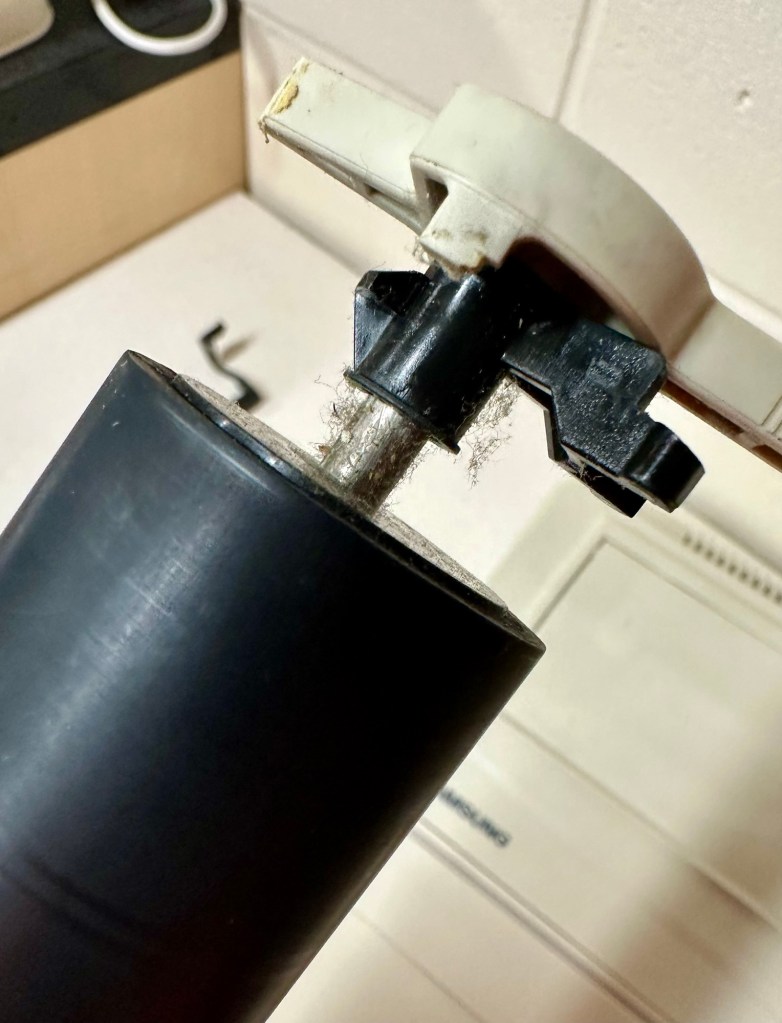
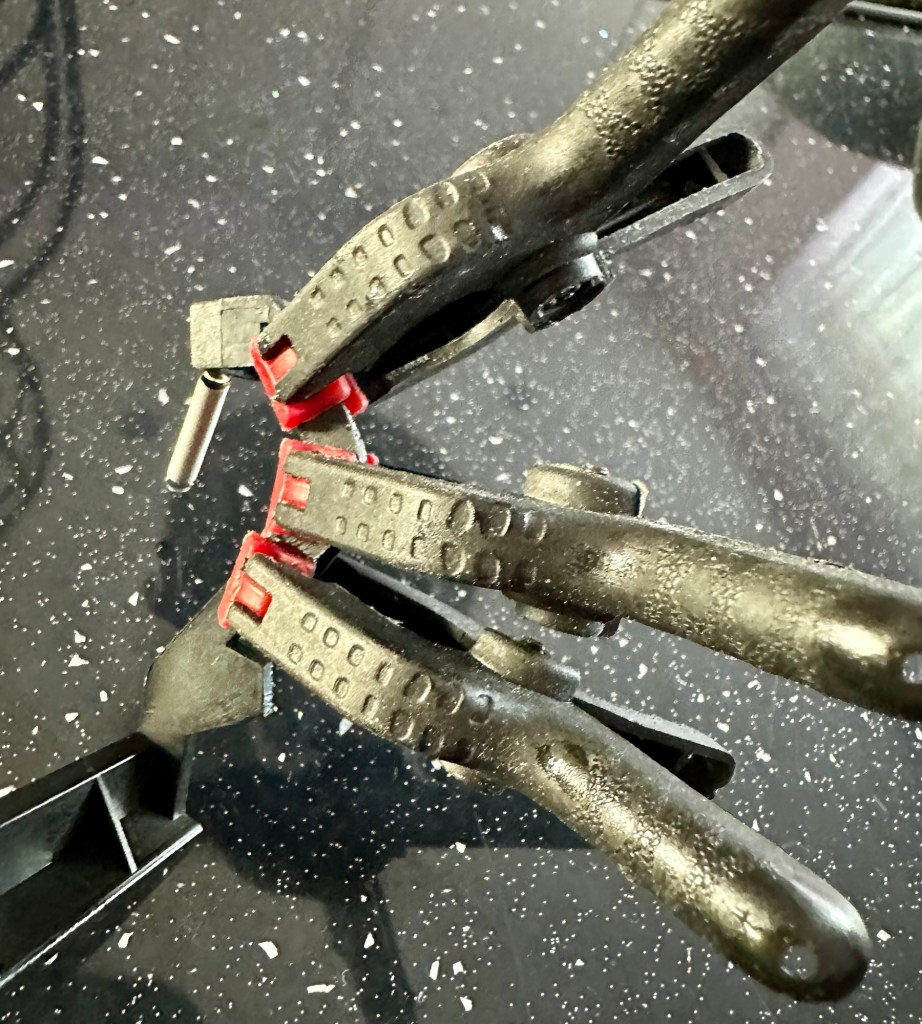
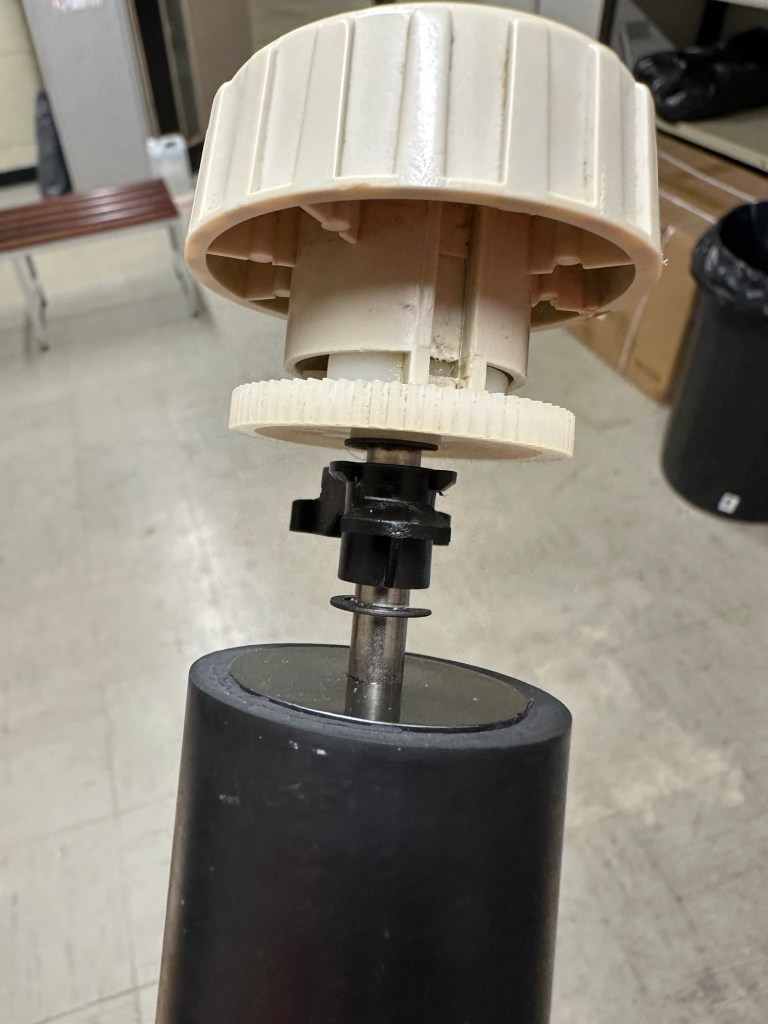
Repair:
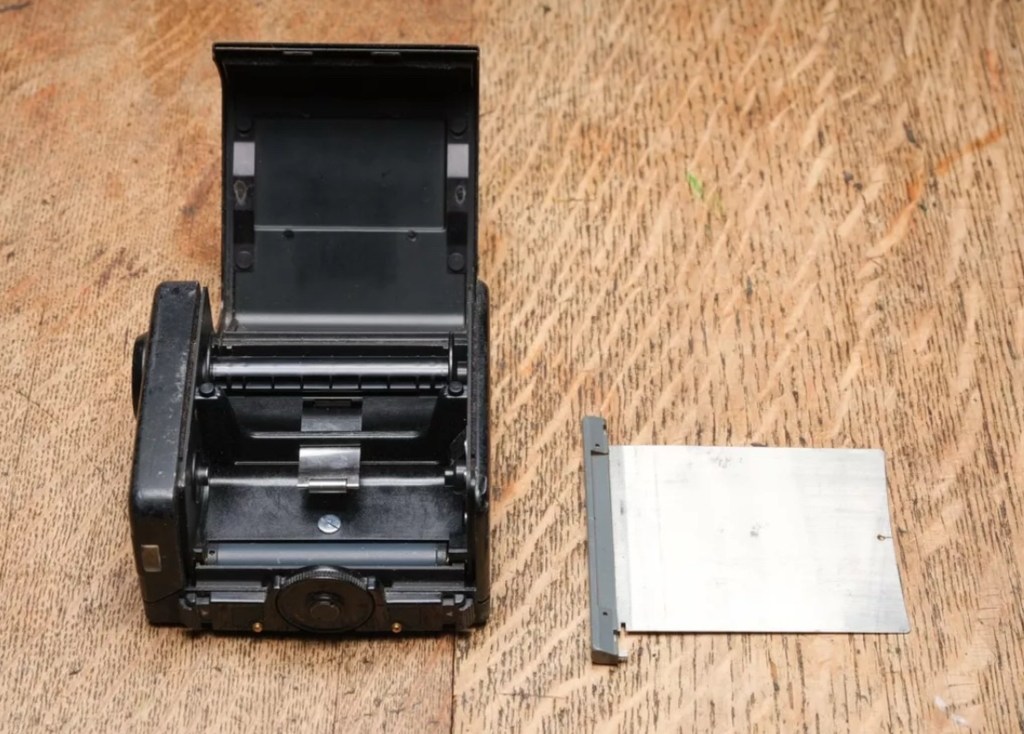
So first thing was to download a new OS for the unit, unzip it, and download it to the removable sd card, easier said than done. I think I’ve probably lost all the games that were installed, but without a system to run it all, what’s the point. I can always download games later, I have however backed up a number of files as suggested so let’s just wait and see.

The first operating system downloaded did not work, because now I’ve been informed that this machine is one of many clones out there, it’s not original. Lovely. Not a problem, we can still get another operating system, it’s just going to take a bit more of my time to do so, and god knows how long it will take to download the games. This is the biggest pain in the ass with these systems, the sourcing of the programs to ensure the system runs smoothly.
But it will be repaired. And I’m in no rush. I’m off out for a while.
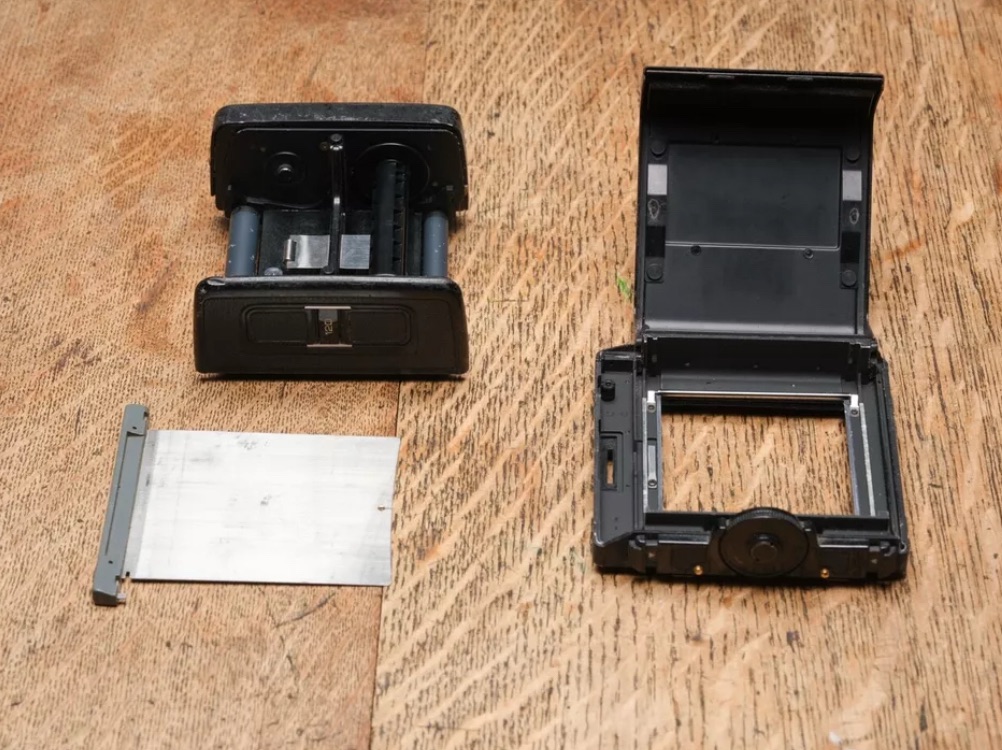
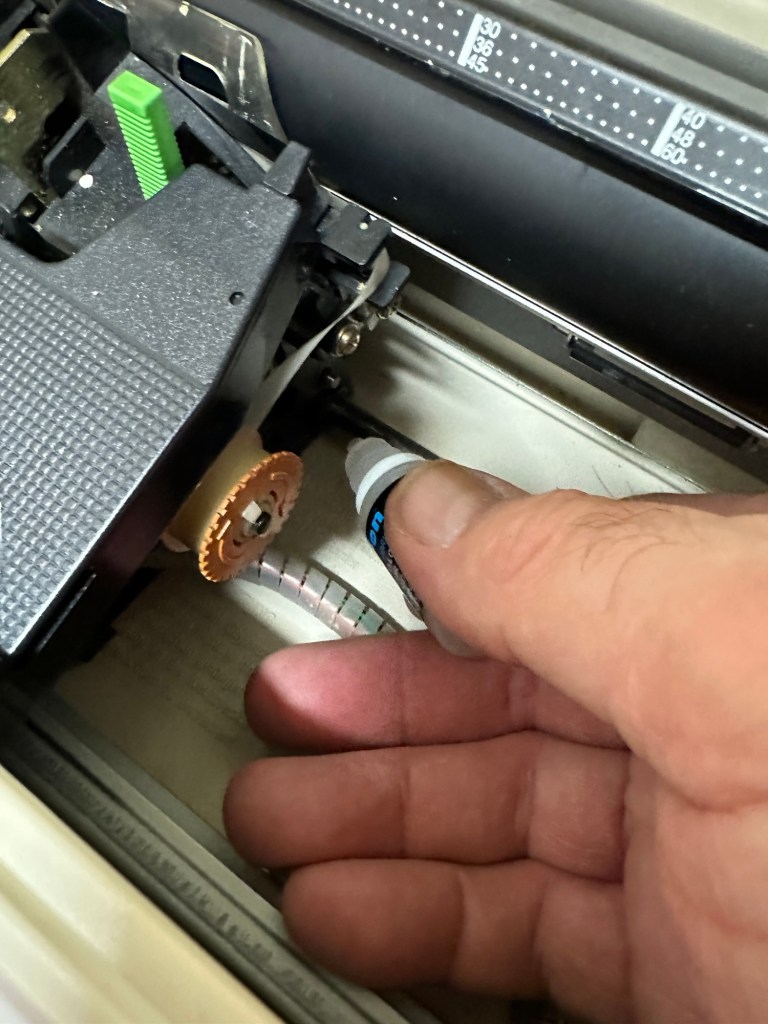
I have had to download an alternative operating system ArKos_K36_v2.0 to my computer. It then has to be run through a disc imager programme to prepare the disc and install the correct partitions and system information, onto the micro SD card used by the unit.
That all done, time to plug the card into the unit and see if it turns on.
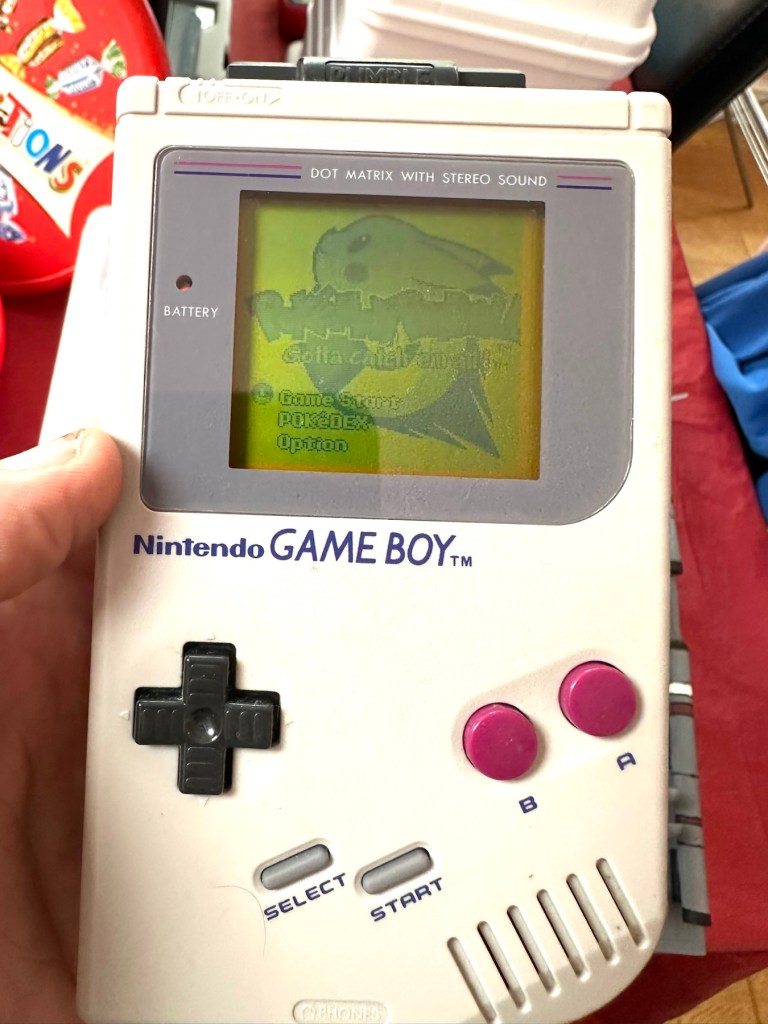
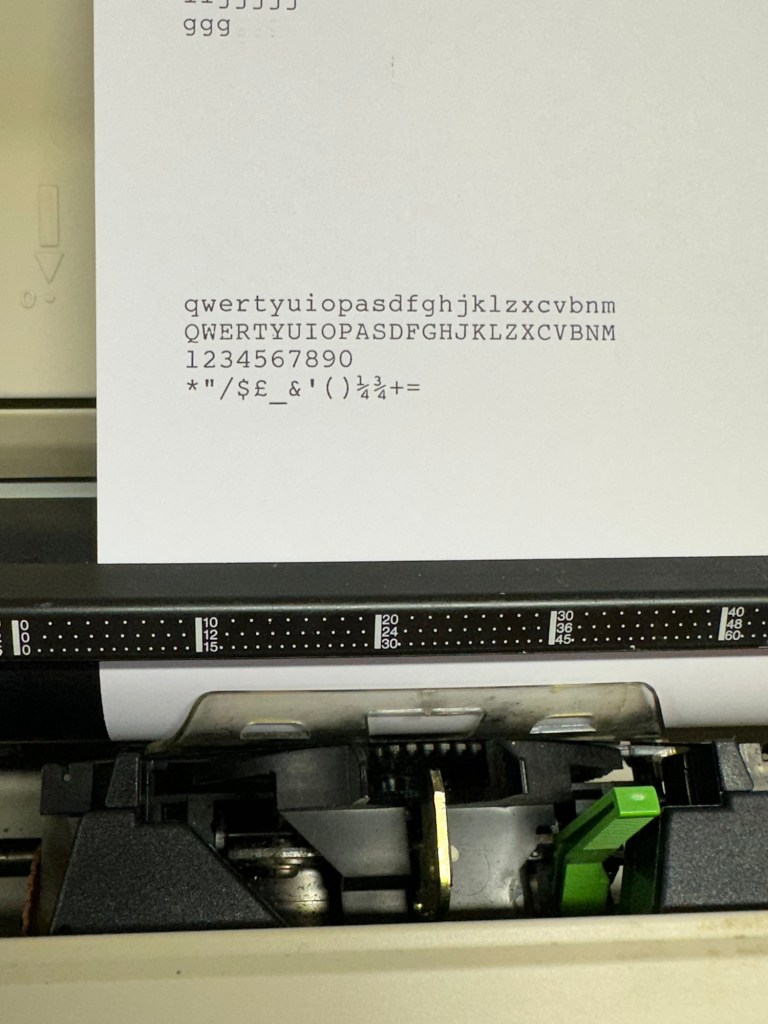
Hallelujah! It works.


Having to format the original card obviously erased all the games that were originally on the card. There were around 15000 games on this unit, but let’s be honest most of them would have been games that were either inferior, similar to others, or just used to bloat the card out. I’m now in a position where I can be choosy about the games I load on the system, and this will allow me to not have it so cluttered.
This is where it gets a little more tricky.
There are a number of people and sites I have spoken with or looked to, to find out the information required to carry out these tasks. And for someone who hasn’t messed about with computer and program files and structures for many a year it is quite daunting to say the least.
I have downloaded a file that is recommended and contains many of the 15000 games originally on the card but with a lot of the bloatware removed to make it a more structurally pleasing and easier to handle package. It’s called the Tiny best set go package and is downloaded from GitHub.
These games are broken down into Rom packages and have to be removed from the download and placed into the easyrom folder on your operating system, it’s a little more complex that that but that is the crux of the task. I won’t go into finite detail as it will bore your asses off and there is plenty of information on how to do it already out there.
I will recommend this one guy as having a superb little site regarding hand held consoles such as this and their issues: Handheld database
Anyway the task has been completed. I’m probably not going to get involved with such time consuming repairs as this again. It’s been a learning curve, but just too time consuming for me. I’ll leave these issues for the younger generation.
Result:
It works. It’s been saved from landfill and there is no better outcome than that. To be honest it’s unbelievable that so many games and so much information can be held on such a small memory card.

In general the game quality is really good, only let down sometimes by the way that the emulator software interprets the program in question. There is more than enough on here to keep anyone occupied during some downtime. There are many classic old school games on here that will also keep the old farts like me amused as well.
Overall it’s been a tough repair, I pretty much knew from the start what the issue would be and went into this repair totally blinkered. I have learned a lot from it, but will I be working on these again? I doubt it unless one of the younger members wants one then I might have another go. But until then it’s job done, another bit of throwaway hardware saved from the scrap heap.
Edit: I couldn’t keep away could i? I found a chap local to me who works on these units, and he has kindly offered to assist me if I should ever need anything clearing up. Well I couldn’t resist that offer and in two emails he has shown me just how to get these games downloaded, it’s simple when you know how.
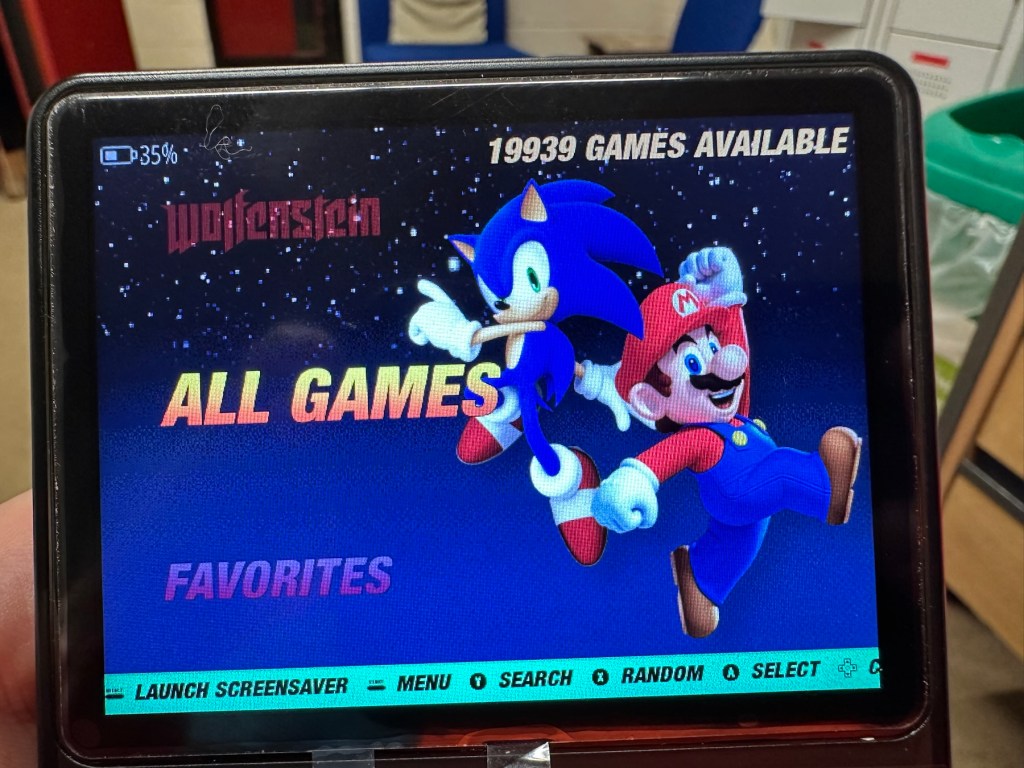
So simple that rather than download a few games I’ve gone a tad over the top and now have 19939 of them. That should see me right beyond my natural existence and into the afterlife. What a lovely fellow. There are still lots of nice and helpful souls around.
Success.
Thanks for passing by, it’s always appreciated.


You must be logged in to post a comment.