Atari Lynx 2 handheld games console

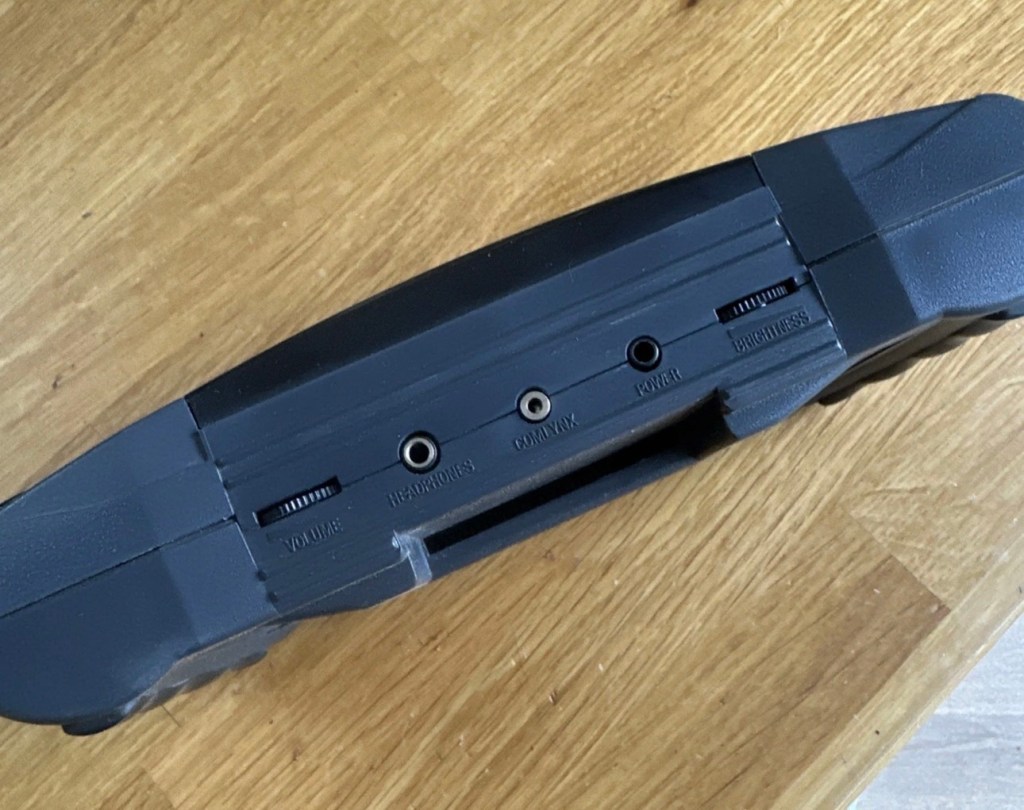
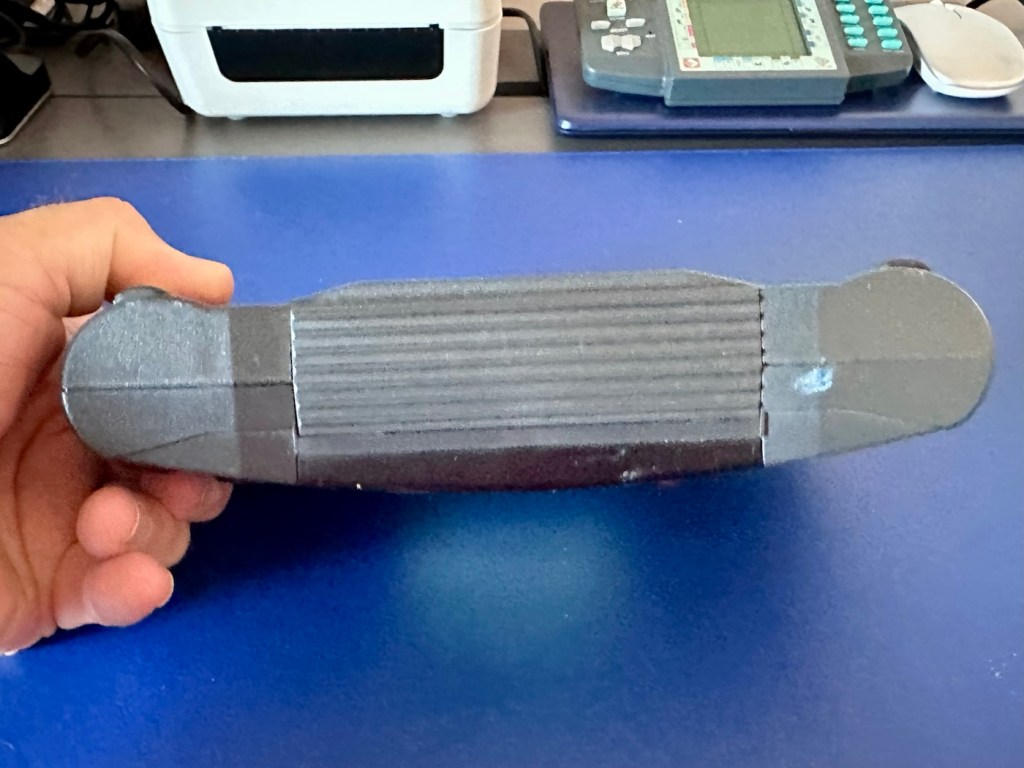
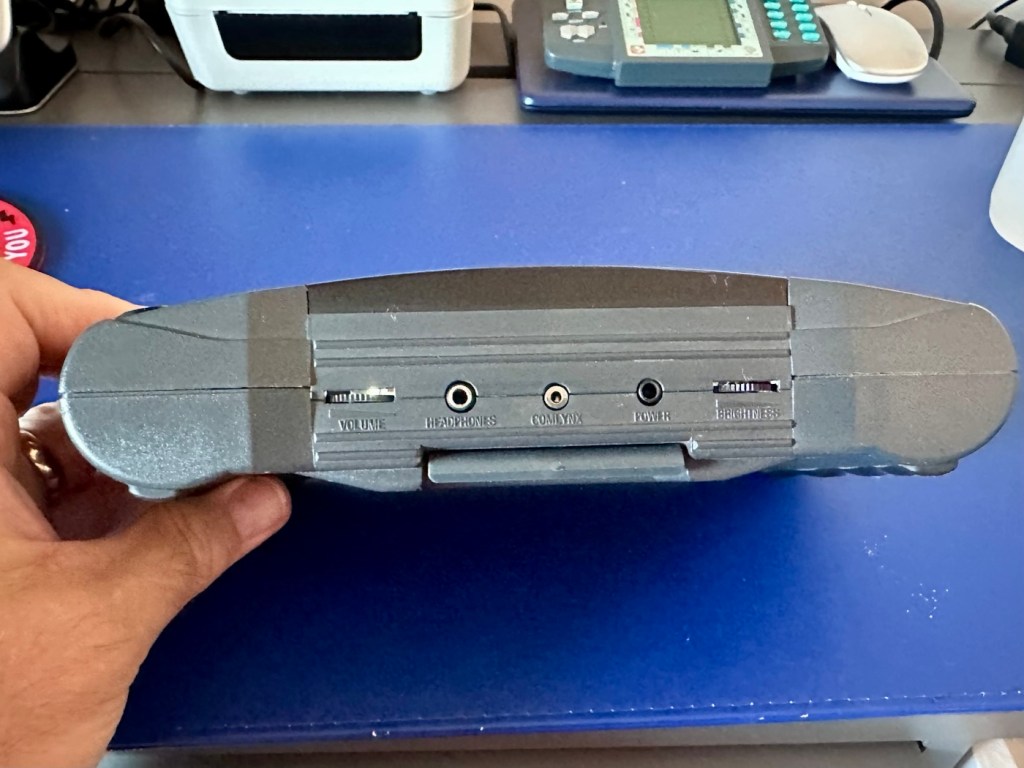
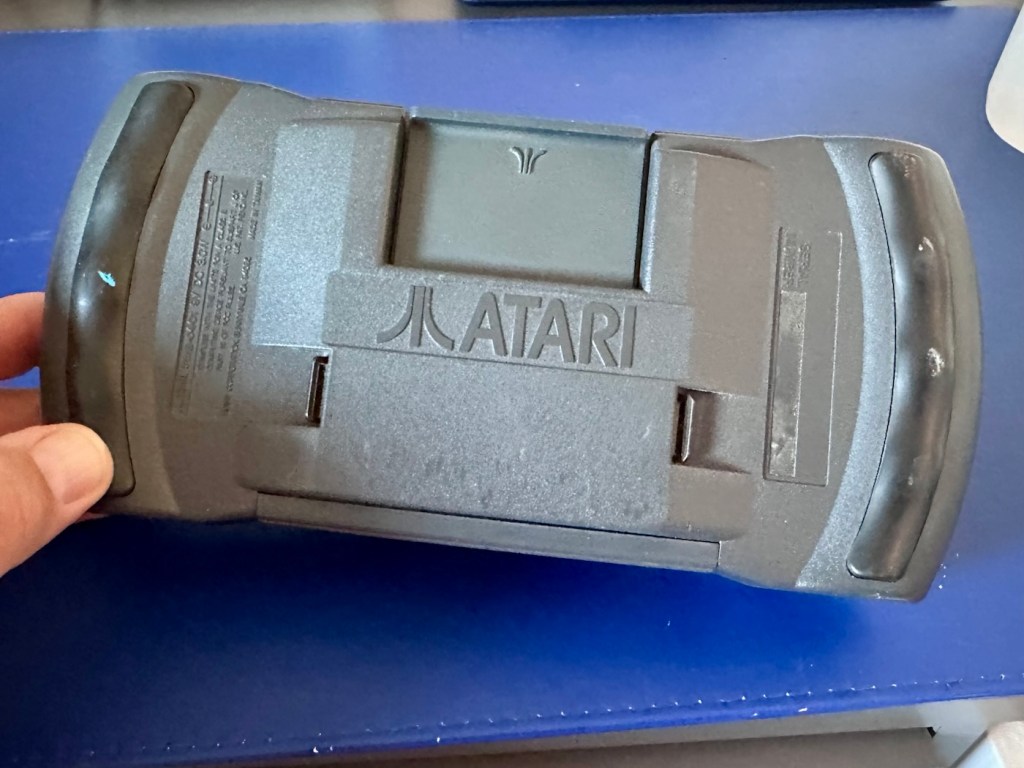
Meet Mikey, and Suzy! Well it’s actually an Atari Lynx II from 1991. Mikey and Suzy were the names given to components within the console. Anyway it doesn’t work, so let’s try to breathe some life into it.

What the listing stated:

The product is an Atari Lynx 2 handheld console, originating from Japan. It is a spare or repair item, as it is not in working condition. The package does not include a charger. This vintage gaming device, released by Atari, offers portability and gaming capabilities. Ideal for collectors or enthusiasts looking to fix or restore a piece of gaming history.

EBay
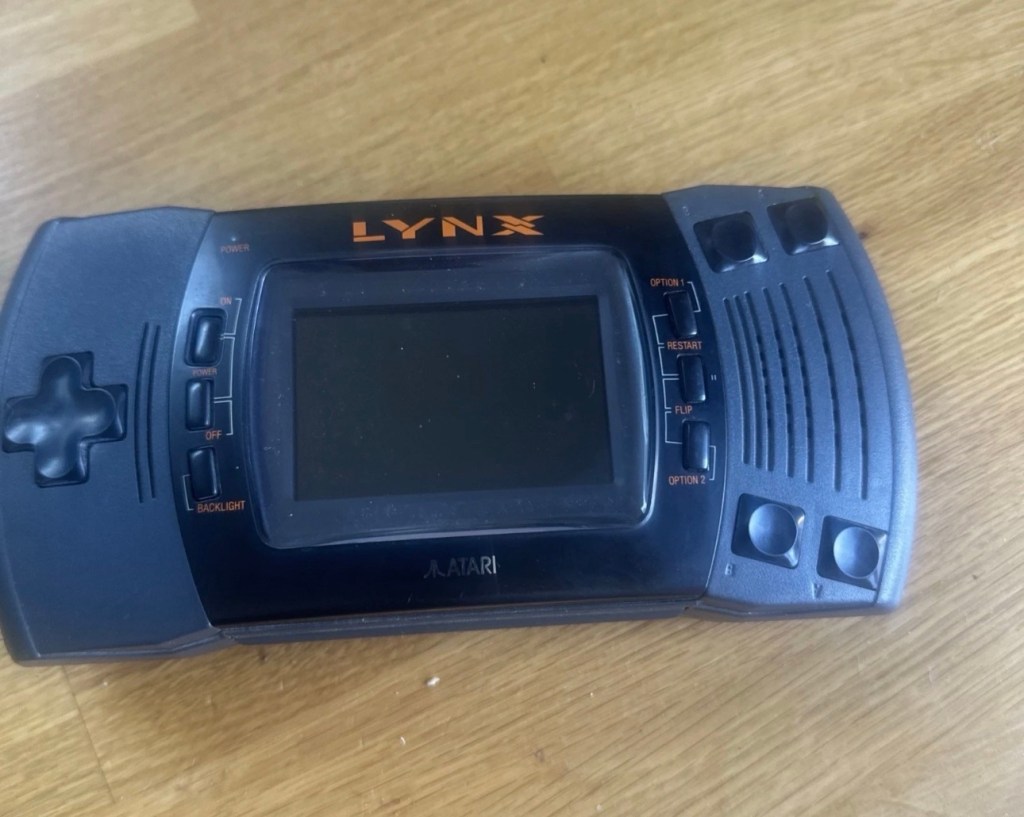
It’s a faulty item, one of many I have been chasing over the last few months, however their resale prices even when faulty, can command some quite hefty prices. I’ve managed to purchase this one at £65:00GBP and that is a price I am content with, as some of the recent ones I have seen went for a higher price even with parts missing or body damage. Cosmetically this one appears to be in a good condition with everything intact. However, the actual fault has not been declared, just that it is faulty and not working. I will have to do a little fault finding to pinpoint the issue, though I suspect initially that a full capacitor change will be the order of the day.

I want this to be part of my personal collection, alongside the Lynx 1 that I also have.

Here’s a little bit of information regarding this unit:

The Atari Lynx II, released in 1991, is the sleeker, redesigned version of Atari’s pioneering 16-bit handheld color console. It addressed original flaws by offering improved battery life, a backlit LCD, and stereo sound, while retaining impressive hardware features like hardware sprite scaling and a unique “lefty” flip mode. 

Key Features and Design

The Lynx II packed advanced technology for its time, including several highly unique design choices:

The Display: It features a vibrant 3.5-inch color LCD. Unlike the original, the Lynx II included an option to toggle the backlight off to save battery. 

Left-Handed Mode: Because of its symmetrical control layout, the entire system can be flipped 180 degrees. The internal software features a “flip” button to invert the screen, converting it into a truly left-handed console. 

Vertical Gameplay: Some games, such as Qix, are designed to be played holding the system vertically like a book, taking advantage of its unique design architecture. 

Comlink Play: It supports up to eight players for local multiplayer over “ComLynx” cables. 

Hardware & Power Specs

Processor: 16-bit custom CMOS chip (nicknamed “Mikey”) running at 16 MHz.

Graphics: Custom graphics chip (nicknamed “Suzy”) featuring hardware sprite scaling, zooming, and distortion.

Battery Life: Runs on 6 AA batteries, which deliver about 4-5 hours of gameplay with the backlight on. Due to this high power consumption, an AC adapter was a common necessity. 

Courtesy t’internet

So, without any further suppositions as to what’s wrong with it, let’s just await its arrival to carry out a full assessment.

Assessment:

I believe that to do a proper test on these units you have to have a game cartridge installed, this is my first issue, I don’t have any cartridges so I have had to purchase the cheapest one I could find for testing purposes. I’ve managed to pick one up for £11:00GBP and to be honest that isn’t too bad. It may well be the worst game they ever produced, who knows? But it will be fine for testing purposes.
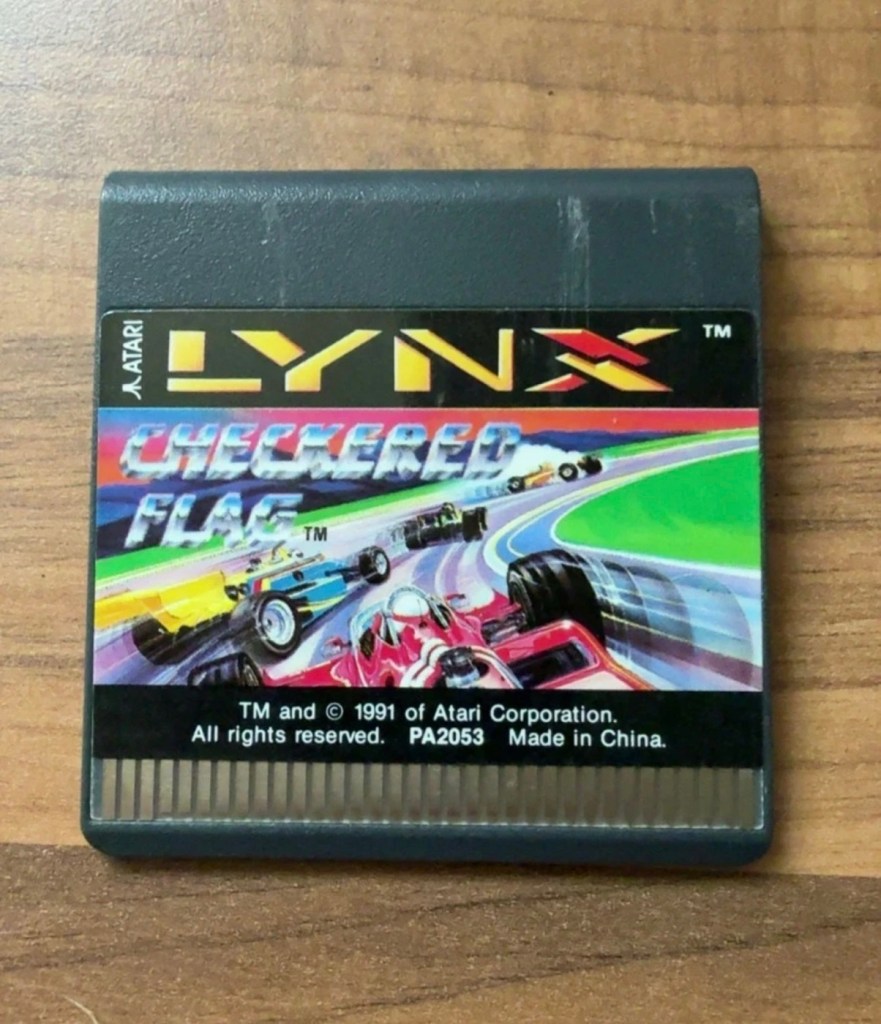
Checkered flag for the Atari Lynx

Well, we still wait. Two weeks down the line and only the game cartridge has arrived. Not much I can say about that apart from it looks ok.
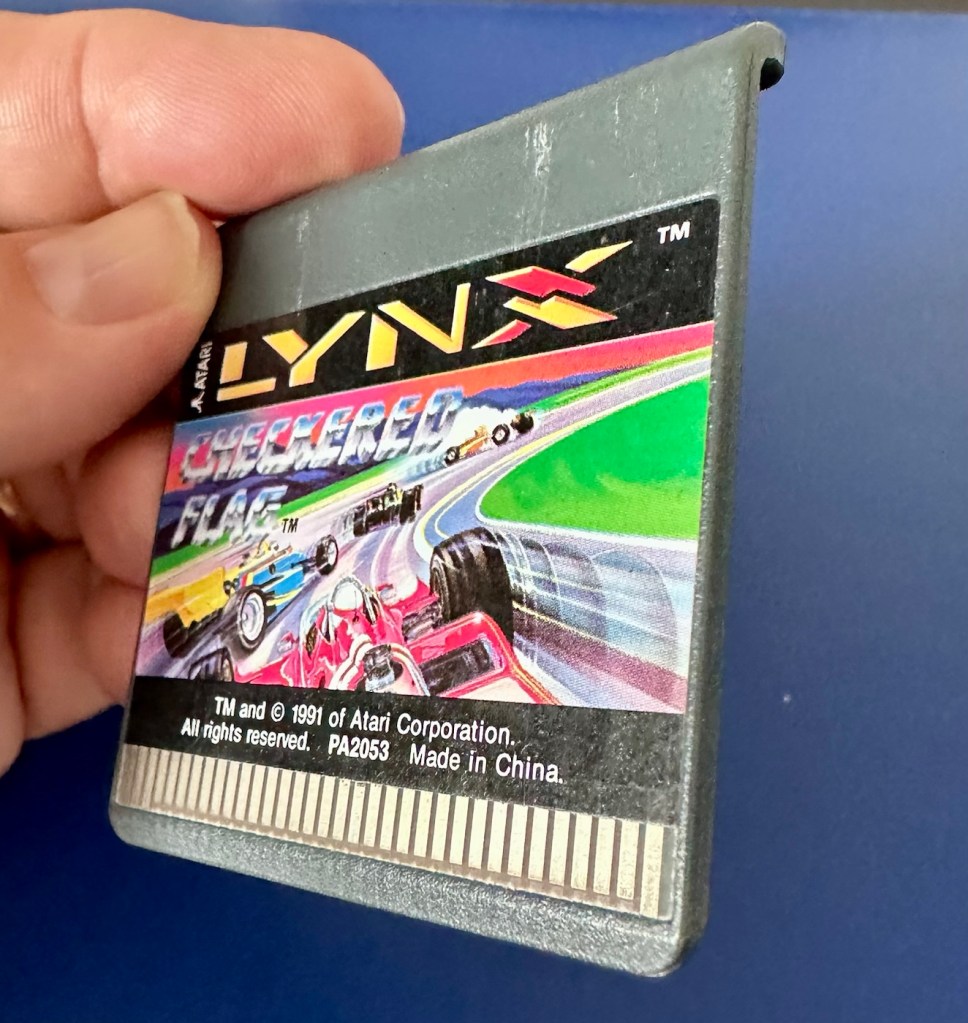
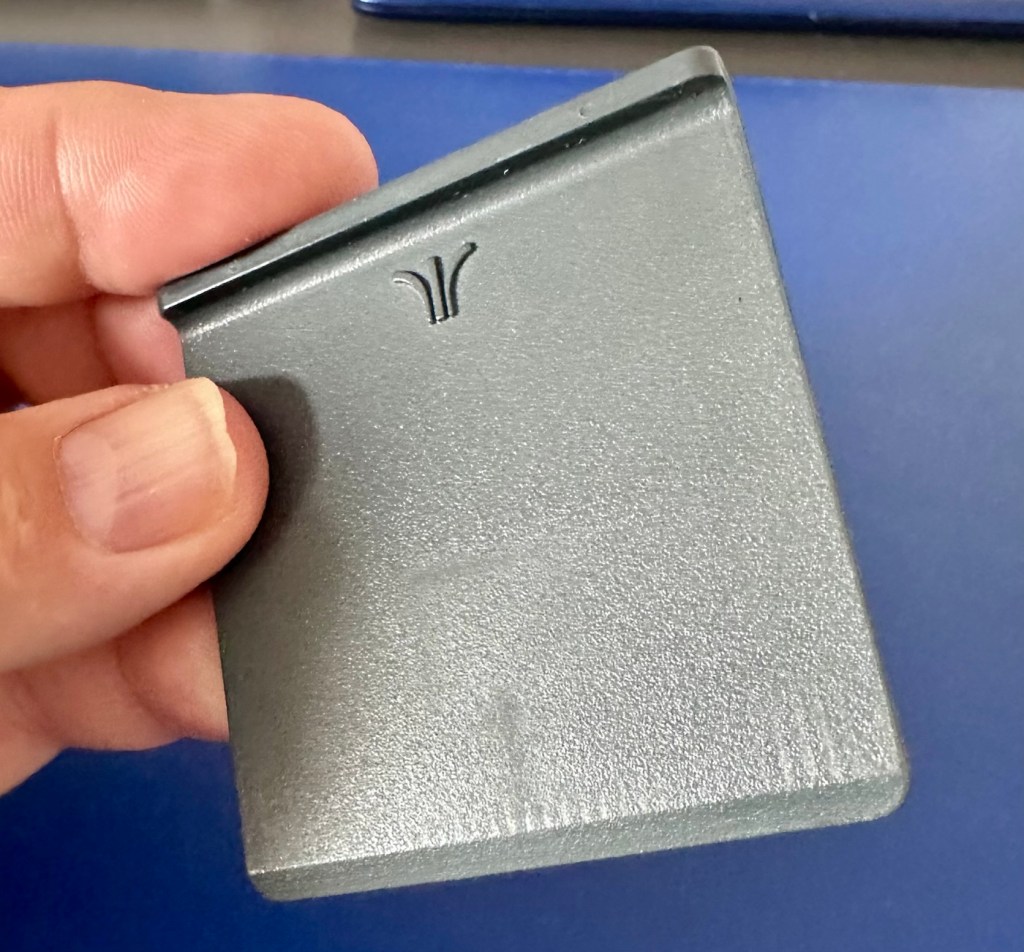
If the game doesn’t function there is not a great deal I can do here. As you can see it’s just a wafer thin plastic plug with no user access available. About the only thing you can do is clean the contacts.

We just need the console to arrive now……

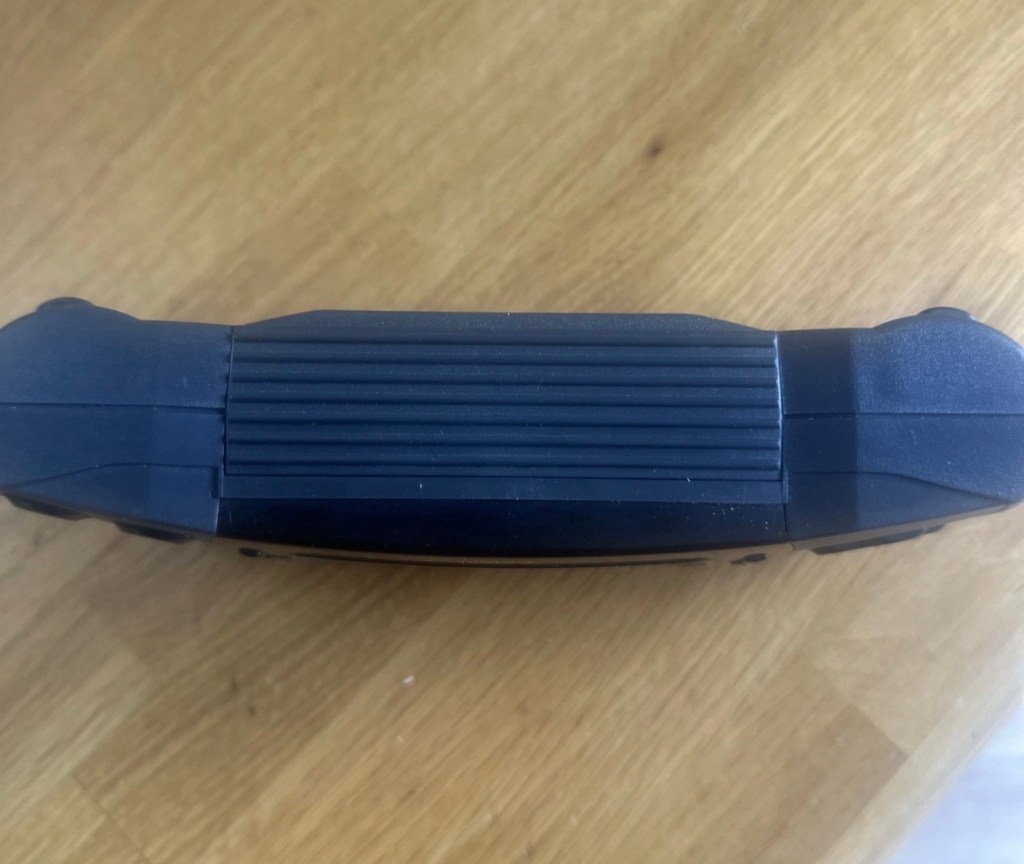
And it’s arrived and to be quite honest it is in a good condition cosmetically, and for an item that’s now 35 years old it has been well looked after. No need to put any batteries in as there are already a fresh set in there, I have checked their voltages and they are fine. 6 x AA batteries turning out around 9 volts, the units requirement.

As I have previously stated, without a game cartridge installed the unit does not turn on. When a game is installed and the unit is turned on, I get an audible short “click” and the back light of the screen comes on, I get nothing else and am unable to get any sound or adjustment on either the volume or screen contrast dials.
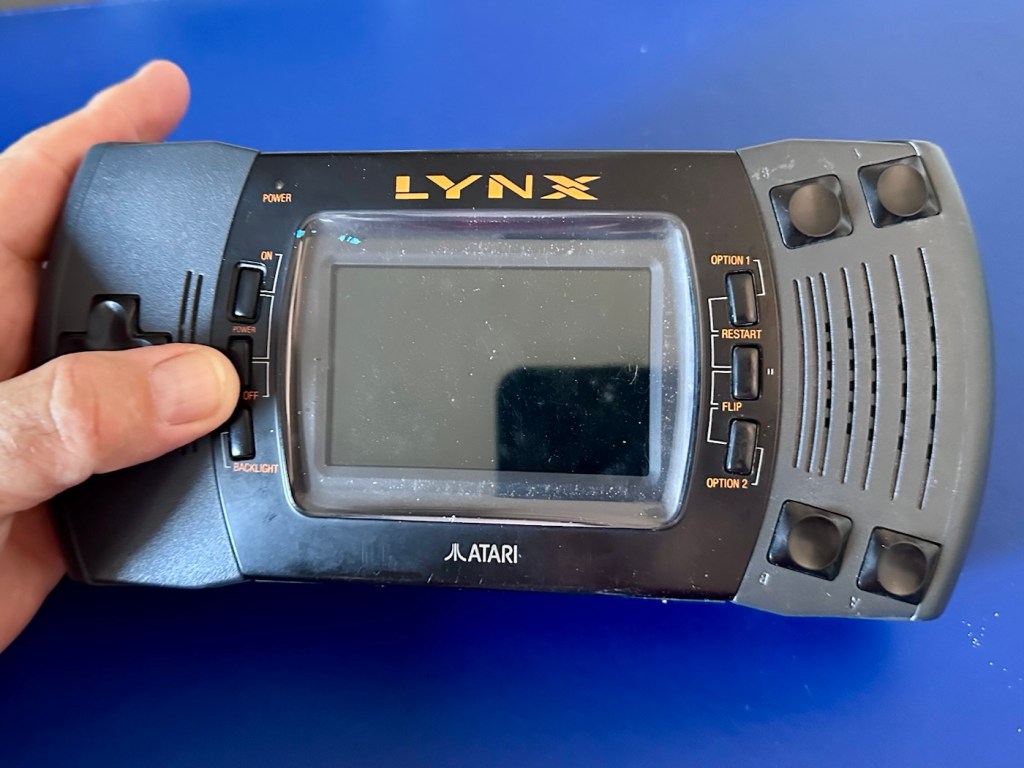
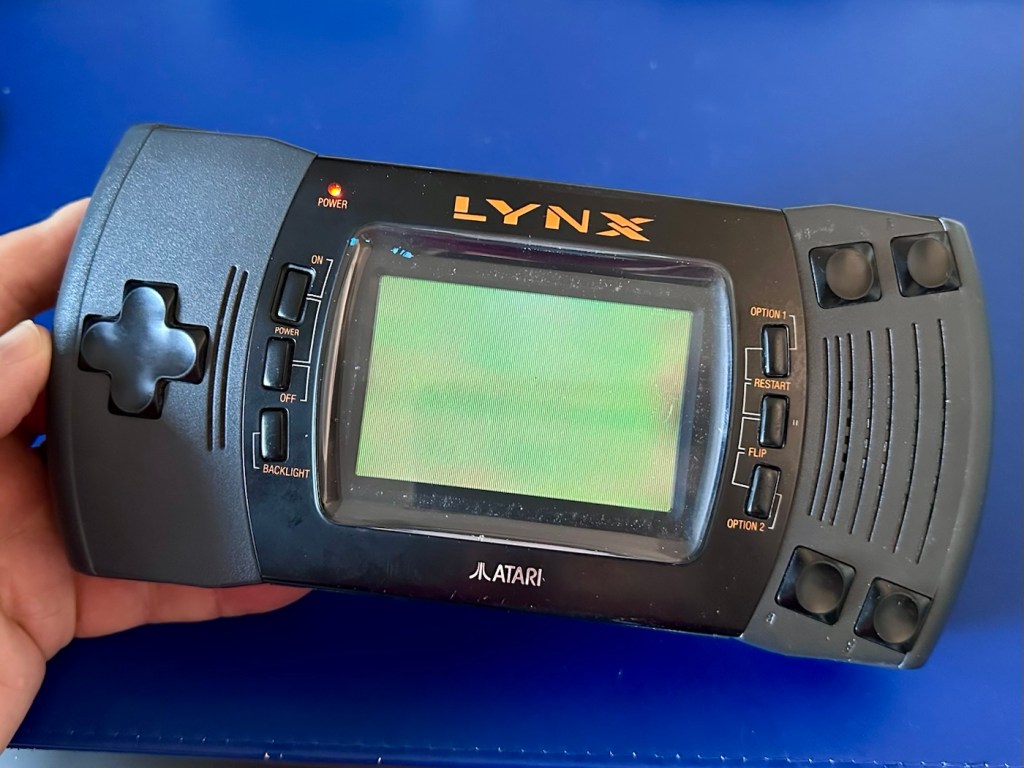
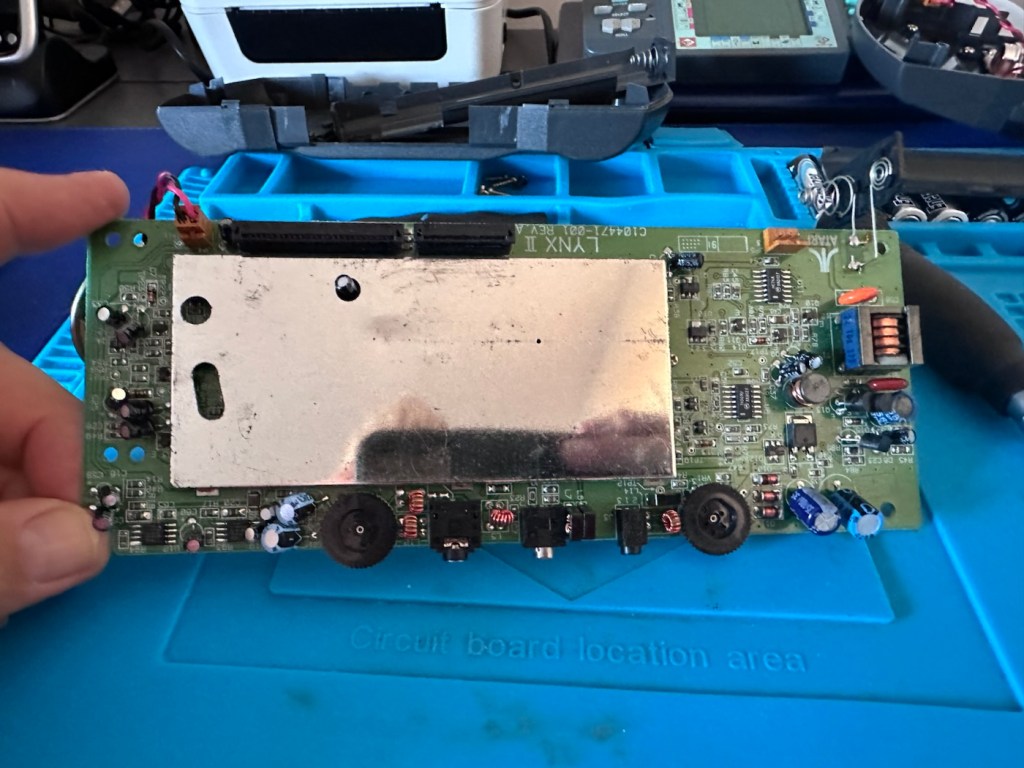
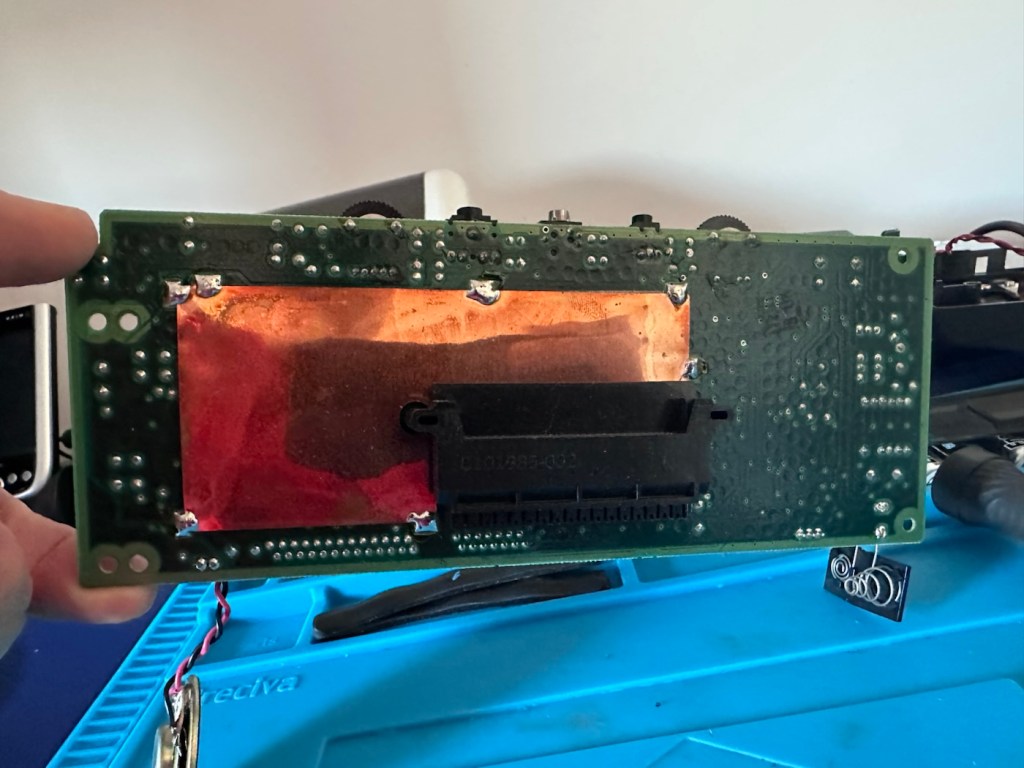
It’s looking very much like either a screen issue, or an issue related to the failed capacitors on the main board. There is one particular capacitor “C41” that controls the main power board that is notorious for failing. I will check this initially to see how it is fairing, if it is ok I will make my way through the board checking other components as well as looking for other points of known failure such as weak solder joints.

Repair:

Firstly, let’s get into the unit, and this requires the removal of five screws in total.
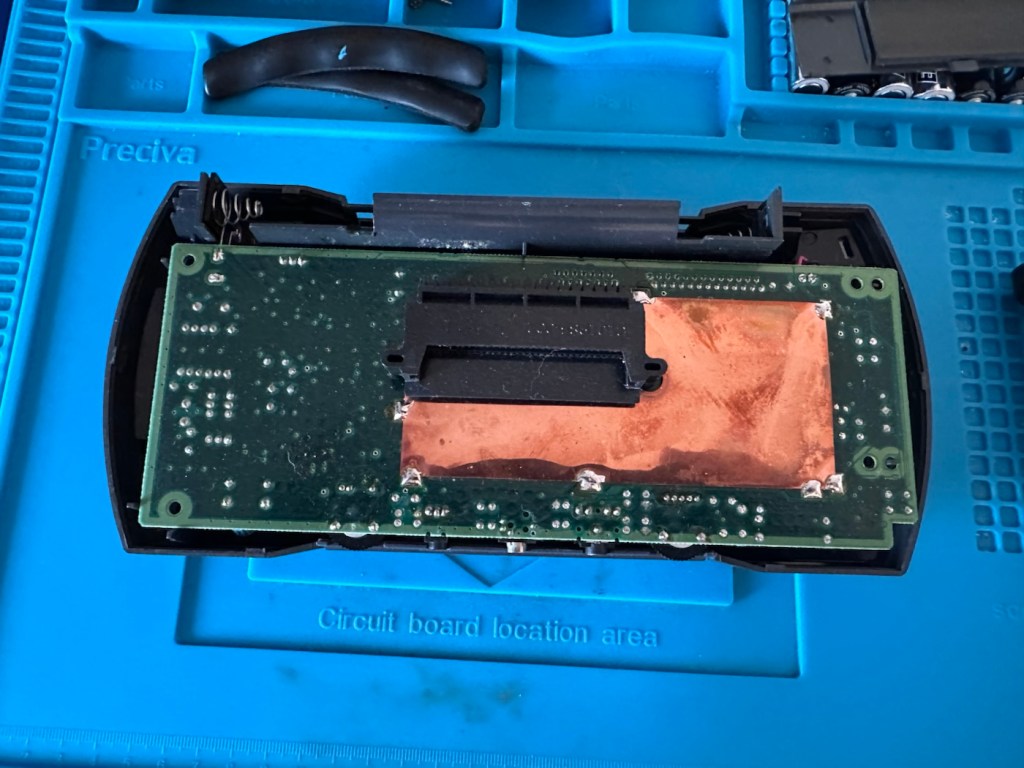
The back should then lift off. Carefully remove the two screen ribbon cables, the power jack and the speaker jack and the whole of the main should just lift out.

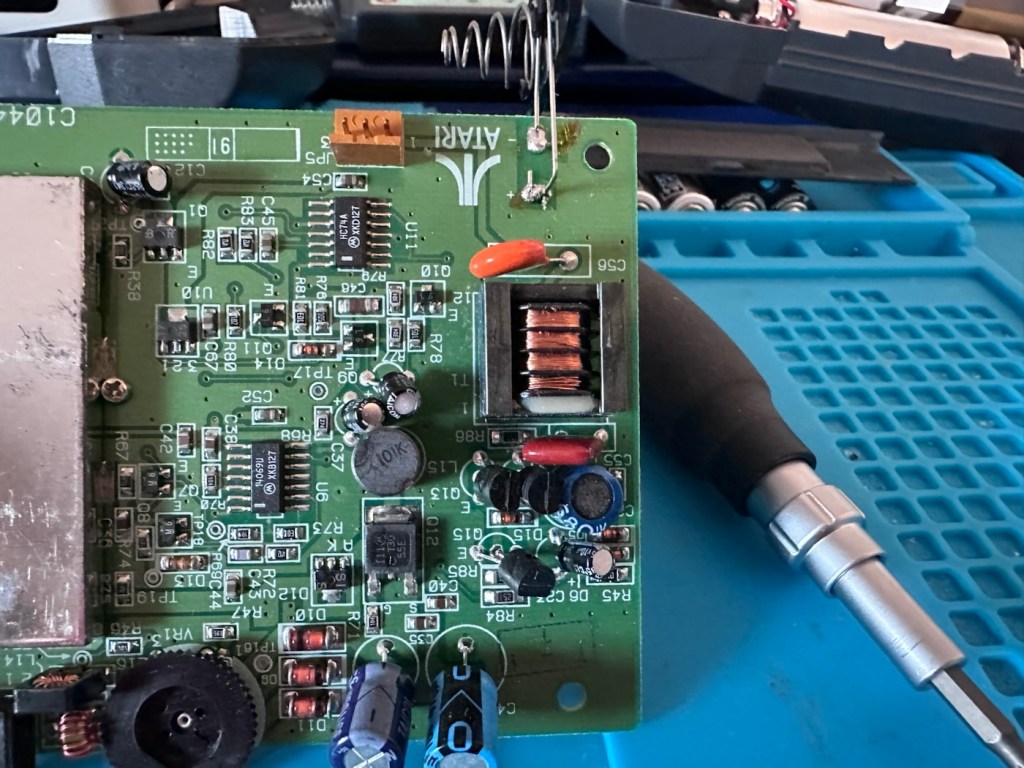
A word of warning here. The power side of the board has a number of points that if touched will give you a nasty jolt of many hundreds of volts, a very quick and potent shock and you will certainly know what’s happened. Be very careful handling anything in this area, especially around the capacitors, and always make sure you bleed the power once the power source has been removed. If you are working live in this area, please be very careful. It’s amazing that just 9 volts of injected power can create such high voltages. You have been warned!

I’m going to order a full replacement capacitor kit, for an item of this age it’s probably a wise investment if you want the unit to be around for a good few years yet, even if the caps are not at issue they would probably need doing in the end anyway. The capacitor kit in its entirety (number of caps*) costs £9:80GBP and that’s a really reasonable price to pay to ensure the units usage can continue for many years to come.

The capacitor kit has arrived and there are 24 included. I think there are only 20 to replace (I could be wrong) so I may have a few left over.

The capacitor kit

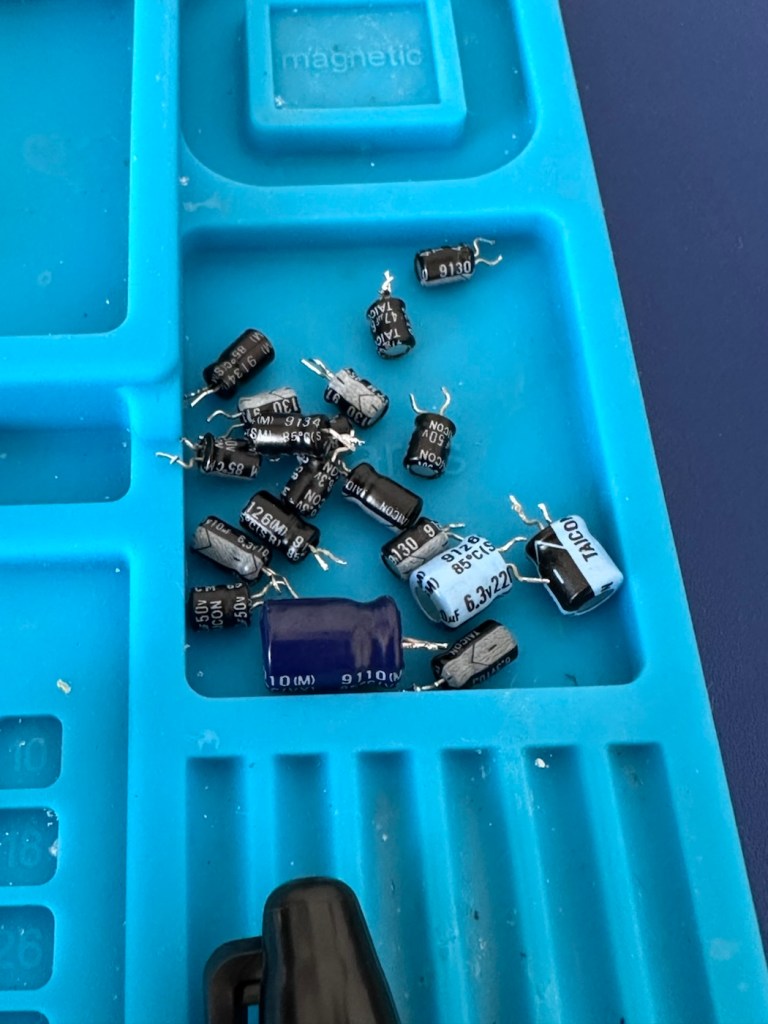
I’ve started by removing the most prominent known capacitor that falls and that is C41. It’s a 10v 470uF value and has a tolerance of +\- 20%. So in Theory this capacitor has a value that can fluctuate between 376 and 564 micro farad, and the one on this board is registering 514uF. In theory it is still working, however it’s gradually creeping closer to to the limits of its tolerance.
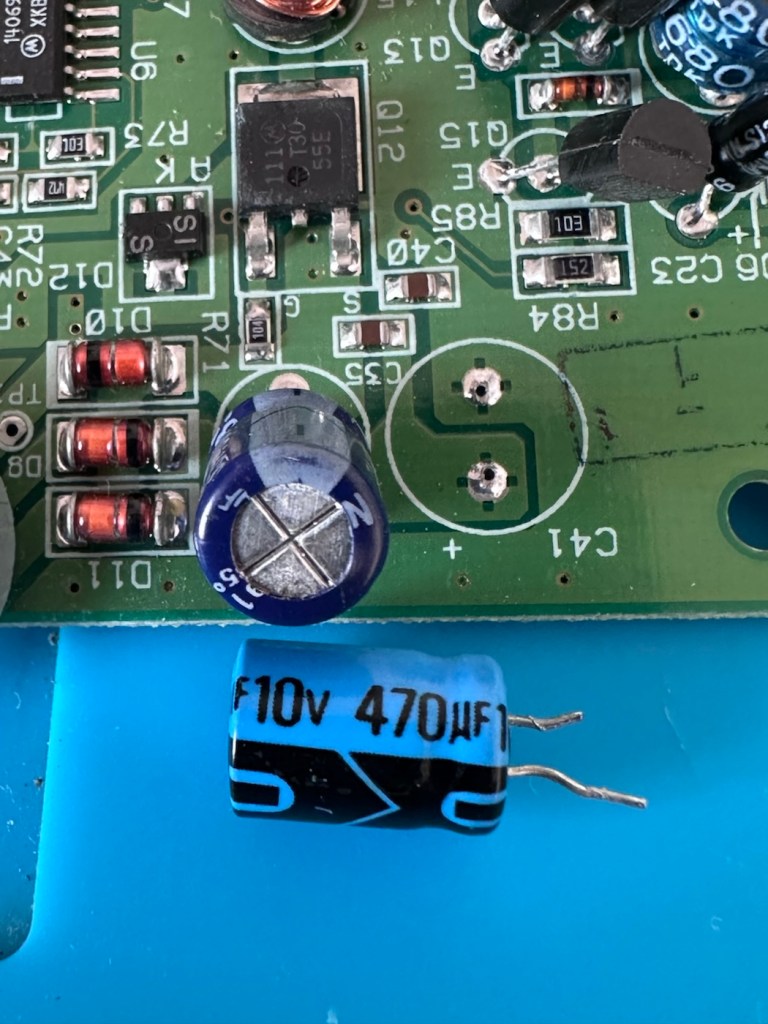
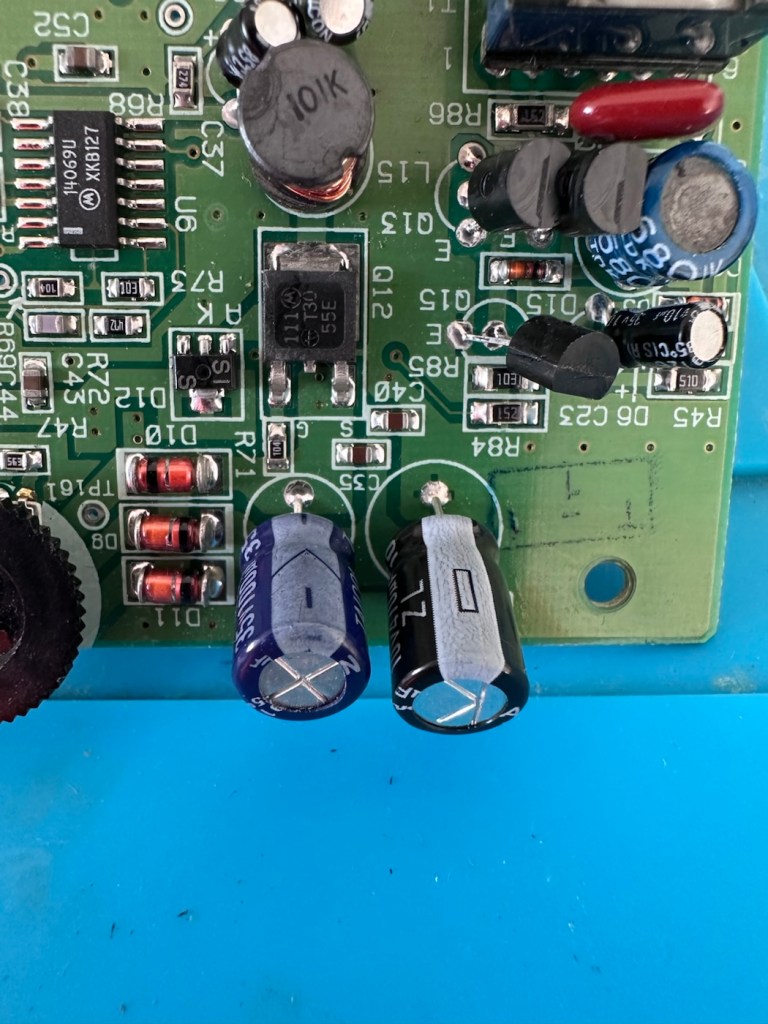
And to be honest, that was pretty much the same result with the other 19 I replaced. All were within their tolerance but at the higher end. The problem here is not capacitor related, however it’s always a wise move to replace them, before they finally go bad and cause other issues.
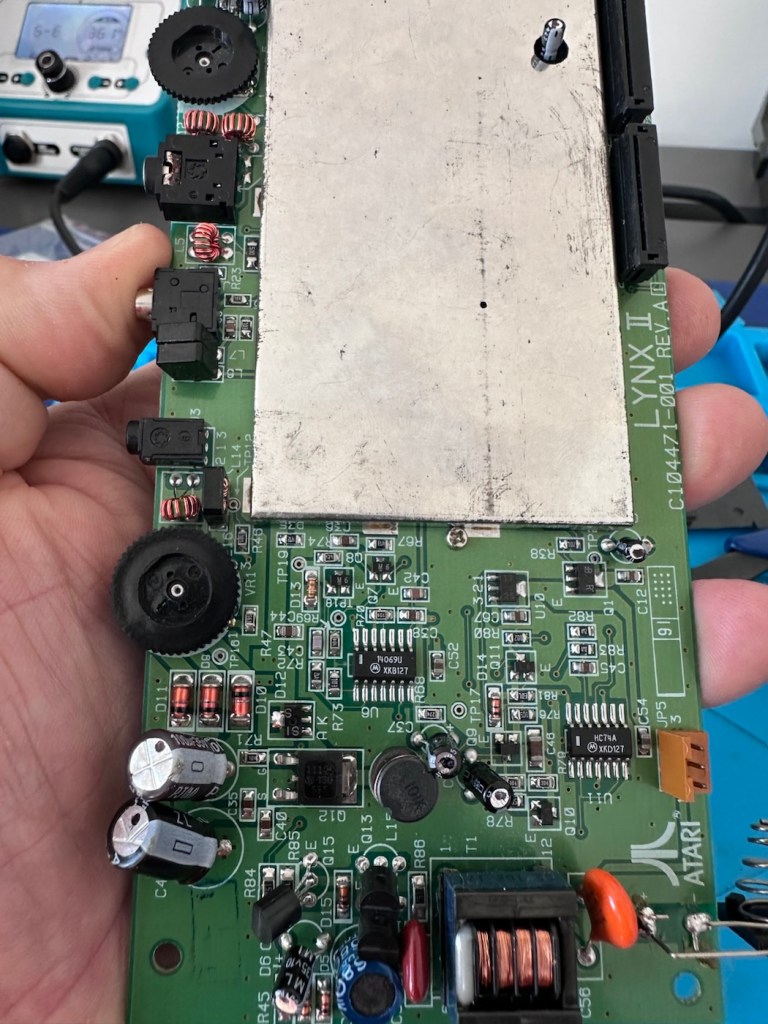
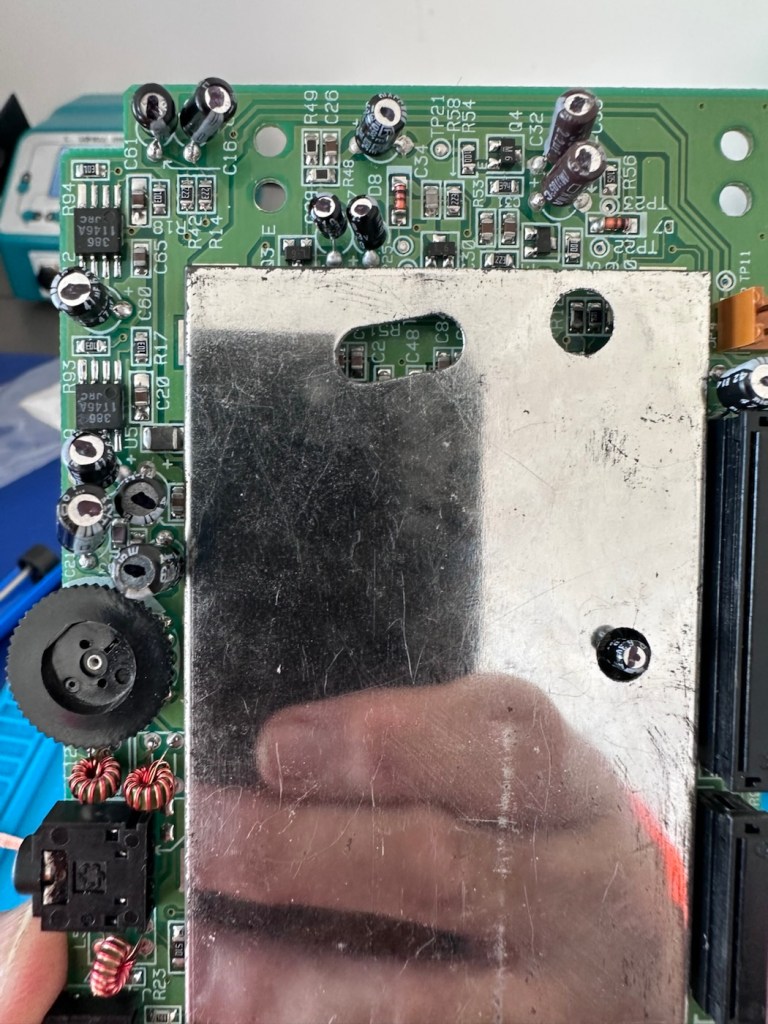
The recap has been successful, however I know it’s not going to make a difference, and putting it back on power confirms this. There is no difference to what I was experiencing when I first tested the unit.

No change

Annoying though this is, it is a job that needed doing and I’m now going to have to focus my attention elsewhere. I’ve checked the polarity of all the capacitors and I’m confident they are installed correctly and in the right positions. There are a few tests and checks to yet carry out, I’ll just have to do a bit of investigating to take this repair further.

These boards and their components such as the main chips and ram were developed to work with a power of 5 volts. However the problem here is that the supply via batteries or via an external power supply is 9 volts. Here lies the issue. On these units the power suppression part of the circuit, those components that filter and lower the voltage from 9v to 5v were known to fail, and when they did they failed quite spectacularly. With no protection built in to stop a surge of power, if some did fail, the full 9v would be supplied to most sensitive components rendering them beyond useless, and non repairable unless you have another donor board. Worst case scenario here is that the main CPUs of which there are two, could both be dead. In which case I may have purchased an expensive paperweight! But hey, let’s not go there just yet as there are a number of things we can do to check.

Next thing I have been doing is testing voltages around the board, and they are a little erratic to say the least. It is pointing towards the power board having its usual known issues. I’ve bypassed the power circuit to run a pure 5v through capacitor C14, same outcome here, this disappointed me as I was hopeful the game would kick in, it’s looking more like one of the chips have blown, the further I investigate.

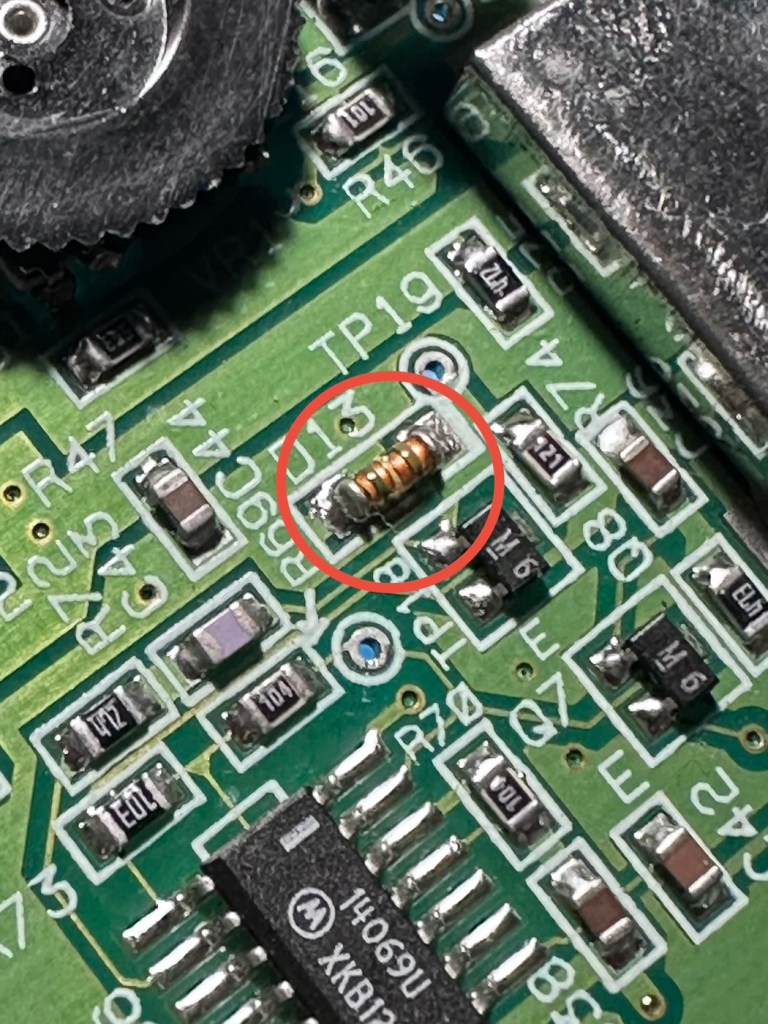
I have done a bit more testing around the power components and I have definitely found an issue with a diode D13, it’s letting power through in both directions and this is not right. I suspect there are more affected components in this area so I’m just going to go ahead and purchase a complete pack of replacement components for those known and prone to fail, on the power circuit. This will cost me £6:79GBP, another cost to add to this project.
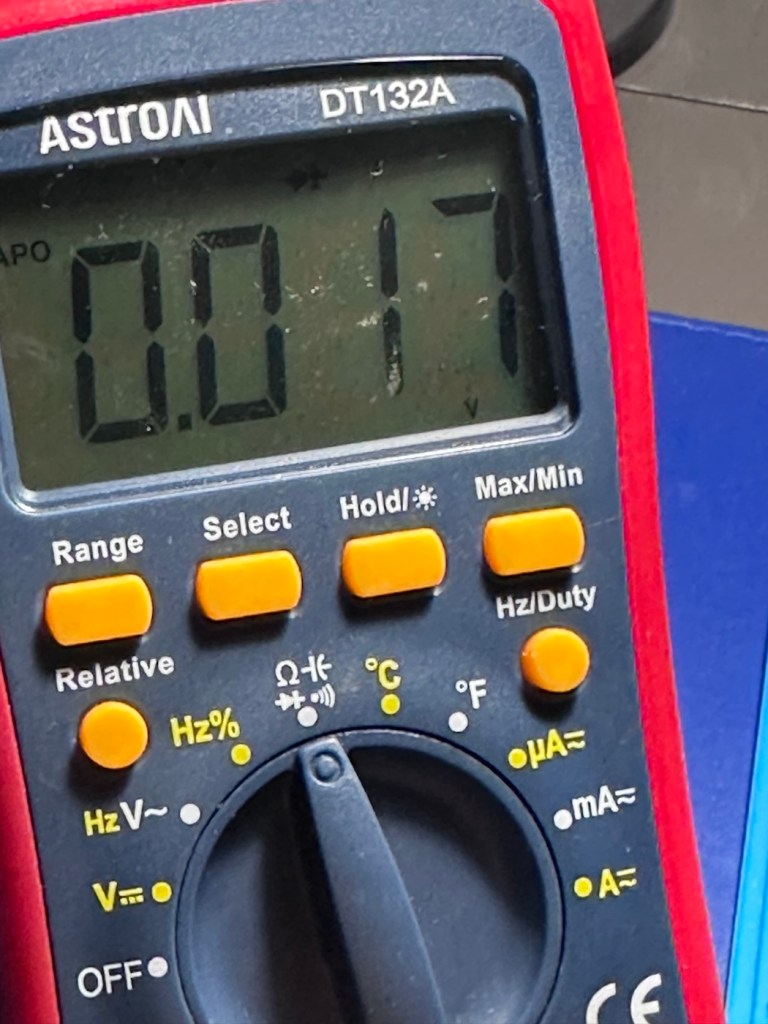
I’m not hopeful though. Current testing results are all pointing to something more terminal. We will persevere for the short term though.

The parts required for the power board refresh have arrived.
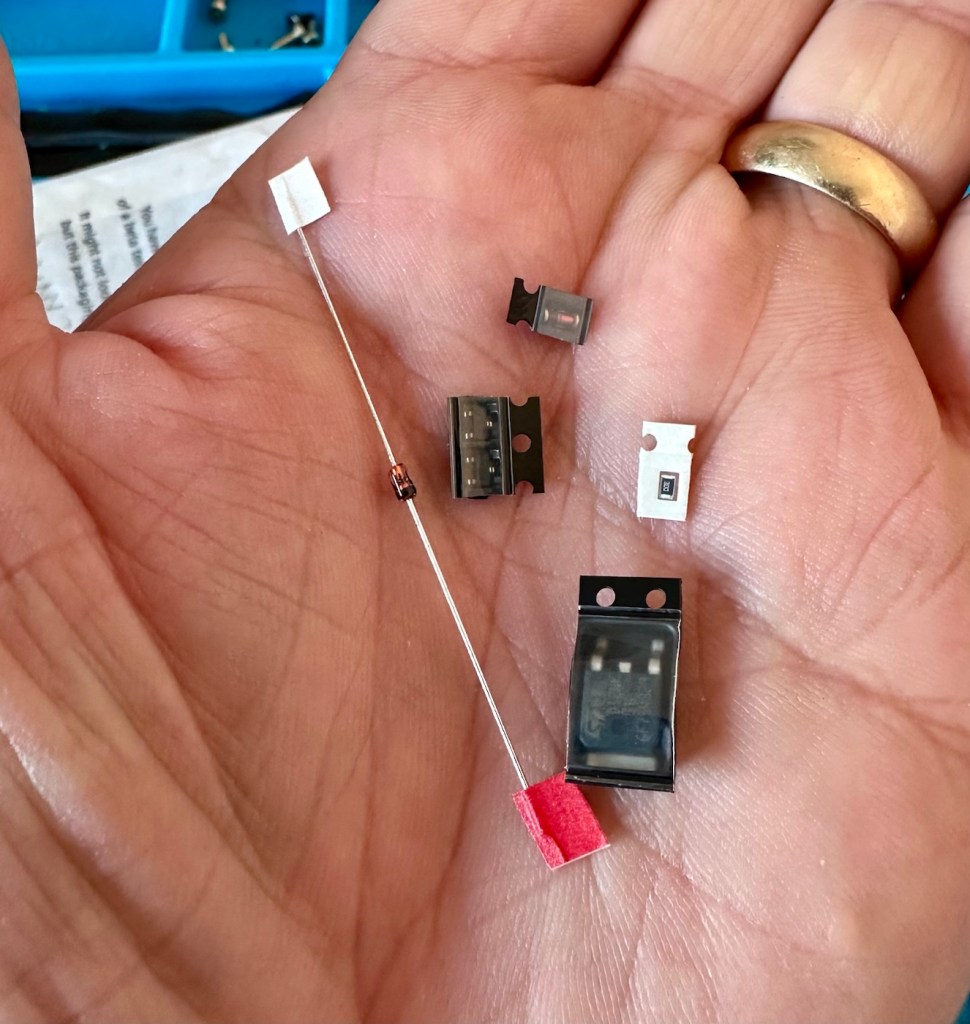
6 of the tiniest replacement parts

And they are minute in size. Installing these components is going to require a lot of patience and concentration.

The company that sell this power board refresh kit in the UK is ZedLabz.com and this is what their accompanying paperwork states:

Within this kit you will find a replacement Mosfet, two transistors, a resistor and two zenner diodes of different mounting types.

Part locations:

Q11 – Mosfet

Q4 & Q13 – Transistors

ZD1 – Zenner diode (two mounting types included)

R56 – Resistor 30ohm

This parts kit can be used on an Atari Lynx 1 or 2 handheld. One surface mount SMD and one axial through hole zenner diode are included, making it suited to both Atari Lynx 1 & 2, you can choose which type of diode you want to fit.

The kit also includes a resistor which can help with some models to push up the voltage enough to get it stable.

The parts we supply in this kit are from Major distrbutors only ensuring they are genuine.

Console dissasembly and internal soldering required.

ZedLabz.com

No kidding there! It should really say some soldering of components slightly smaller than a grain of rice is required. Let’s stop the whining and just get on with it.

I have replaced all of the five components that needed to be replaced, I’m really quite pleased with the job I have done considering just how tiny these components are, my soldering skills appear to have improved somewhat as a year or so ago I wouldn’t have even attempted such a job. That’s the positive.

But now the negative.

It’s Dead, very dead.

There is still no improvement despite pretty much an entire rebuild of the circuit. I have checked all voltages and they are in the right place showing the correct values. It’s been recapped, the power board has been rebuilt, all solder joints have been checked and ribbon cable connections have all been reflowed.

Result:

My conclusion that the previous owner was well aware of the issues, they probably contributed to the problem and the unit has been sold on as “spares and repair only”. I have failed to pay attention to the old Latin saying “Caveat Emptor” or buyer beware.

The situation is this. A new LCD screen can be purchased to drag the unit into the 21st century, but there is no point when we have no sound and vision being produced. The problem here is that the 9v power supply has already been able to get to the delicate parts of the circuitry where only 5v should be in attendance. I am 99.9% certain that the ram chips as well as the two logic chips “Mikey & Suzy” have long departed. And there lies the problem. The two logic chips are as rare as hens teeth and are pretty much only available when transplanted from a donor unit. The unit is basically dead, it’s just a paperweight.

I will put the unit into storage until a later date, when I have done a lot more research and who knows I may even find a suitable donor board to transplant those two logic chips.

For now the project is on hold. I don’t like writing of failures as many hours of work over many weeks has been dedicated to this project. You can’t win them all though, and some you just have to step away from a project to get a fresh aspect on it. Having this log of activity is fantastic for me though as it will now become the reference for where I go next.

It’s a learning curve, that’s for sure.

When I come back to the project I will obviously link to this post.

Thanks for passing by. It’s always very much appreciated.
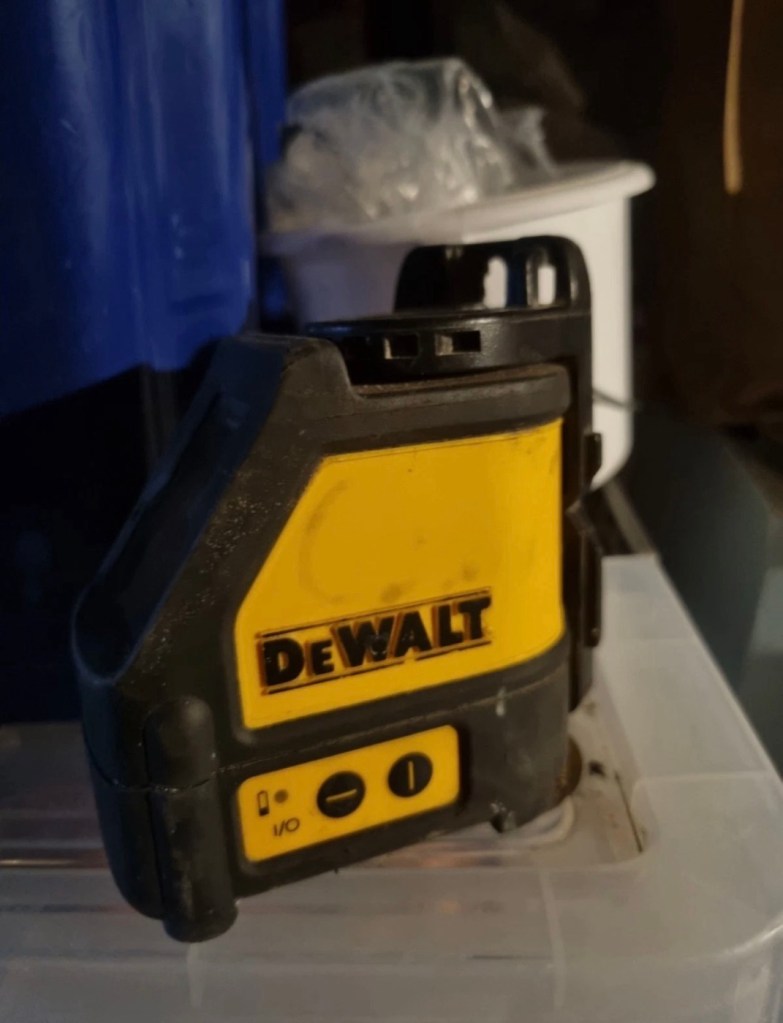
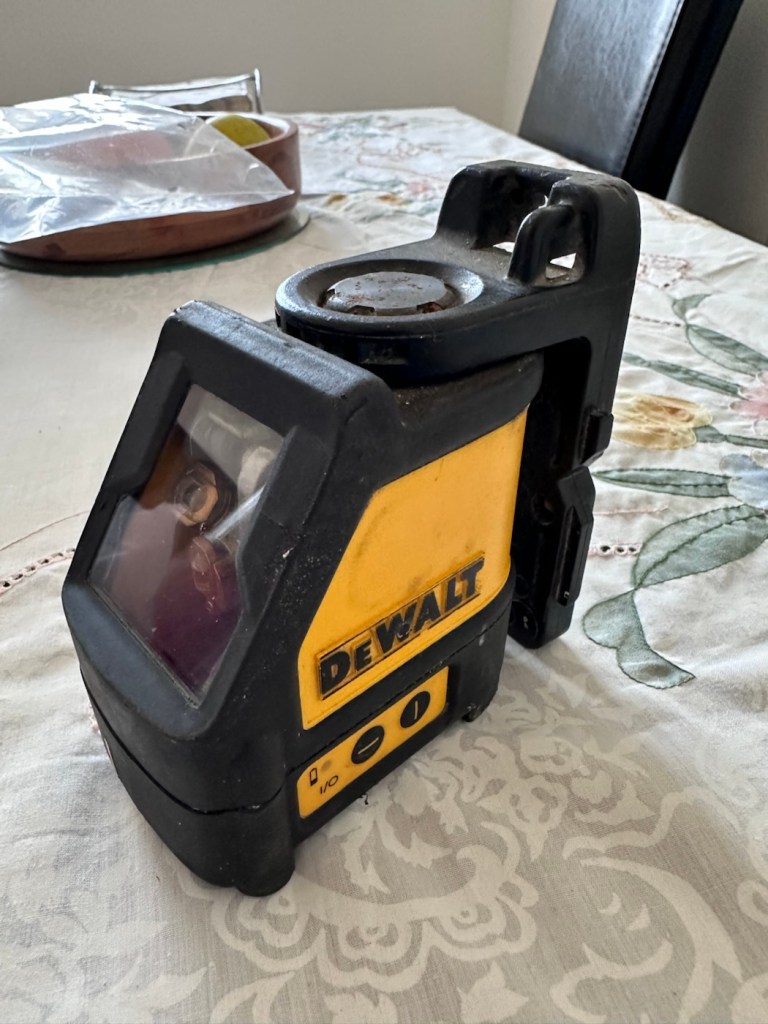
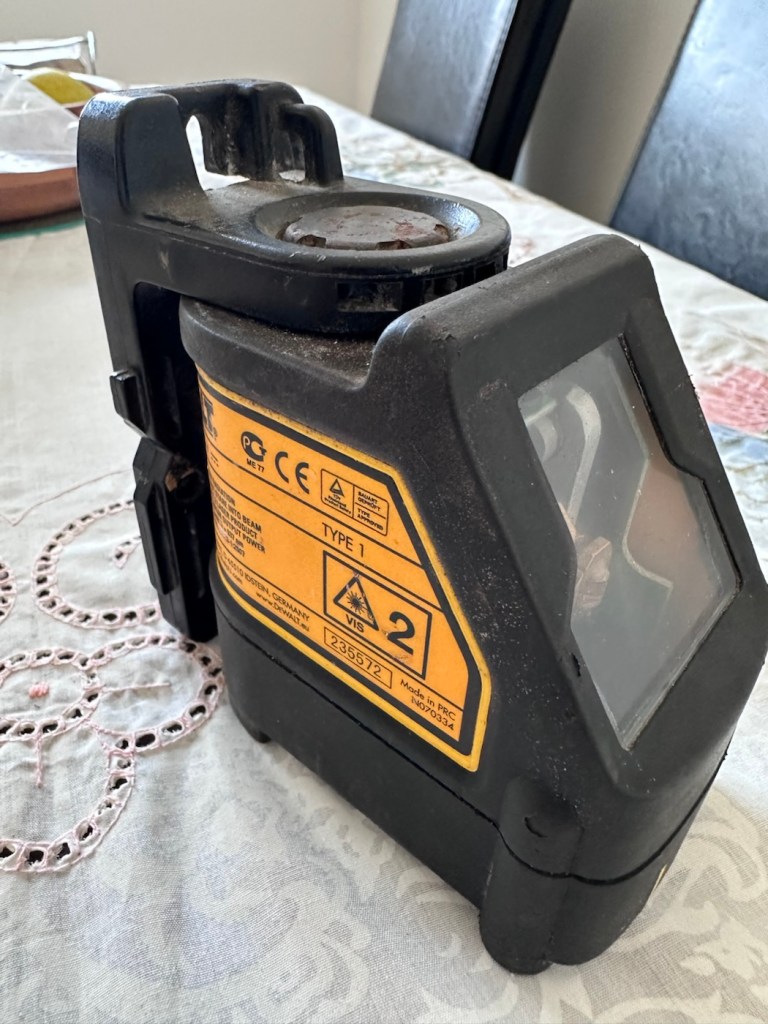
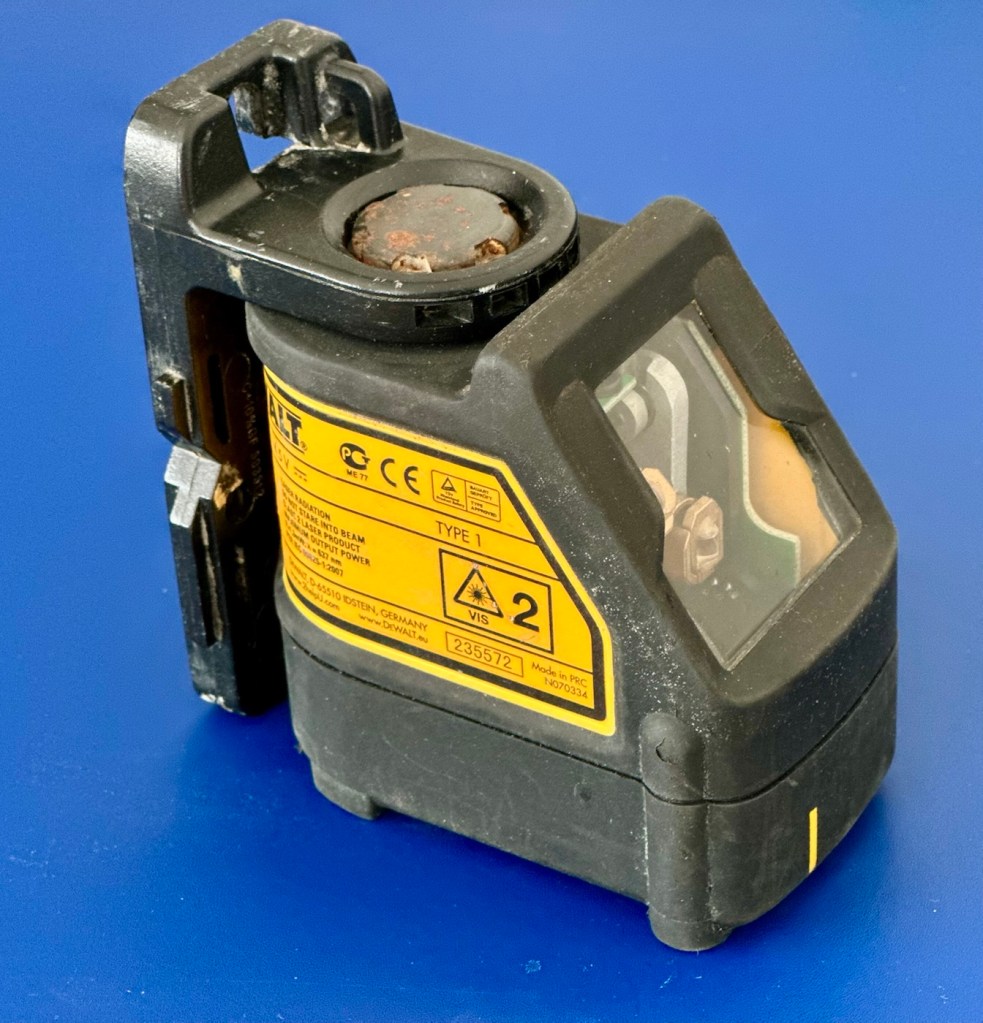
Dewalt DW087 Self-Levelling Cross Line Laser

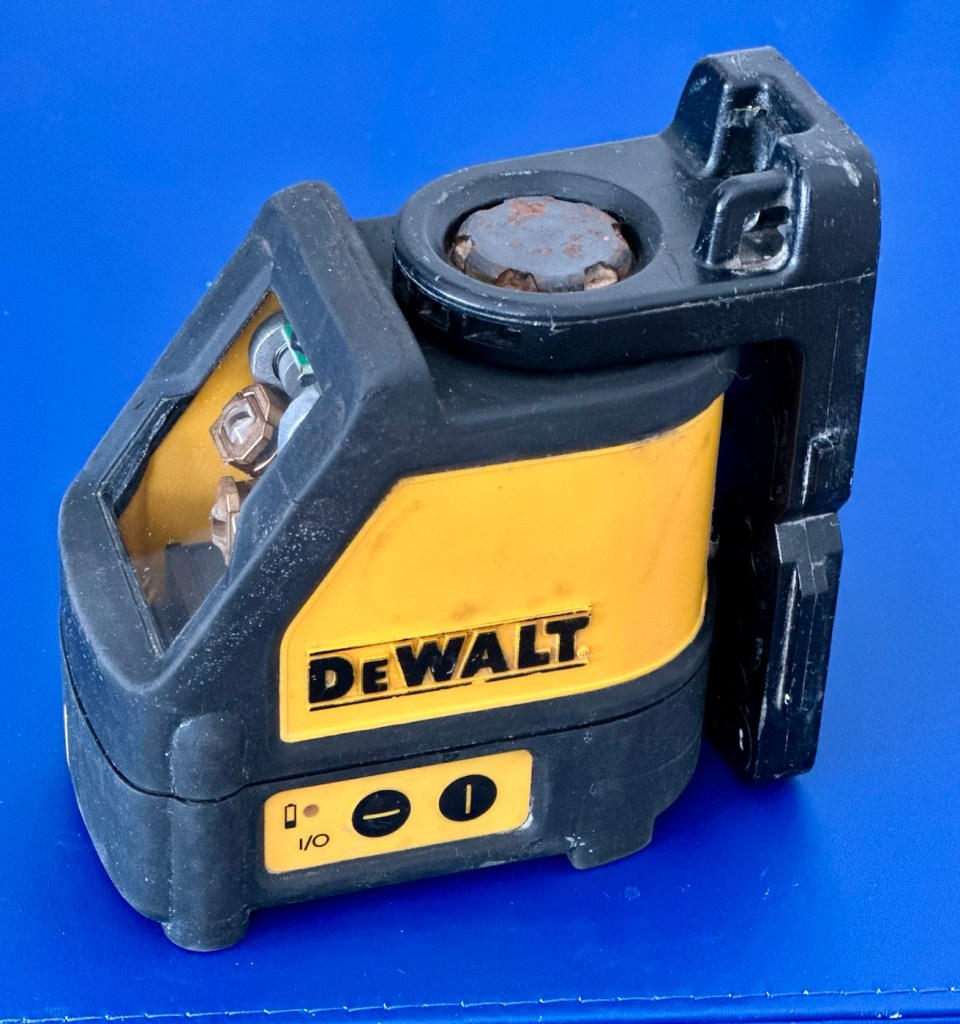
Just picked up a badly damaged Dewalt laser levelling unit. Old and damaged, can I bring it back to being useful again? I can only try.

What the listing stated:

think the batteries melted in the chamber. does not work at all.

EBay

Straight to the point, the words “severely knackered” I think, would probably be a more appropriate quote, however I must be patient and await its arrival.

When working and from new, these little laser levelling units retailed for approximately £175:00GBP. However they are of the older red laser model and new units use a green laser, so the older red laser version is now out of production, but still well sought after on second hand markets where it can still command prices in the £50-60:00GBP range. I’ve paid the princely sum of £6:00GBP for this one, so I’m very happy with that. If I can get it working it will go into my own tool kit for use.

Here’s a little about this unit:

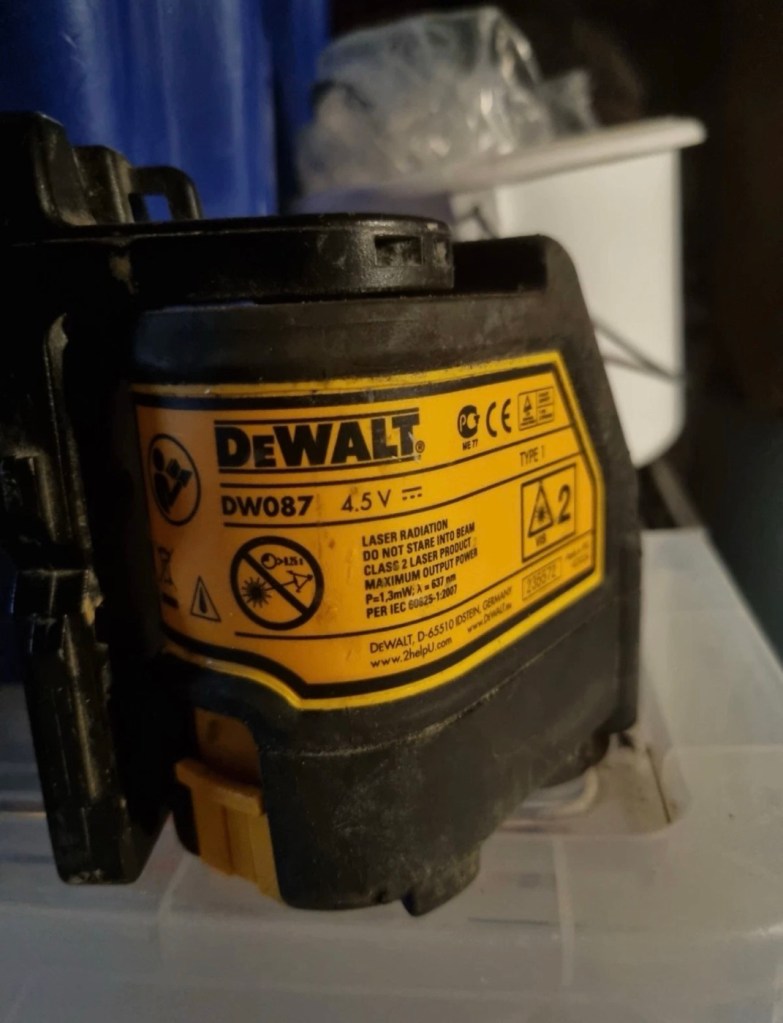
A new DeWalt DW087 (or the DW087K kit) generally retails for around £178 to £185. However, because this specific model is an older red-beam line laser, used or refurbished units are widely available across secondary markets, typically ranging from £50 to £80 depending on condition.

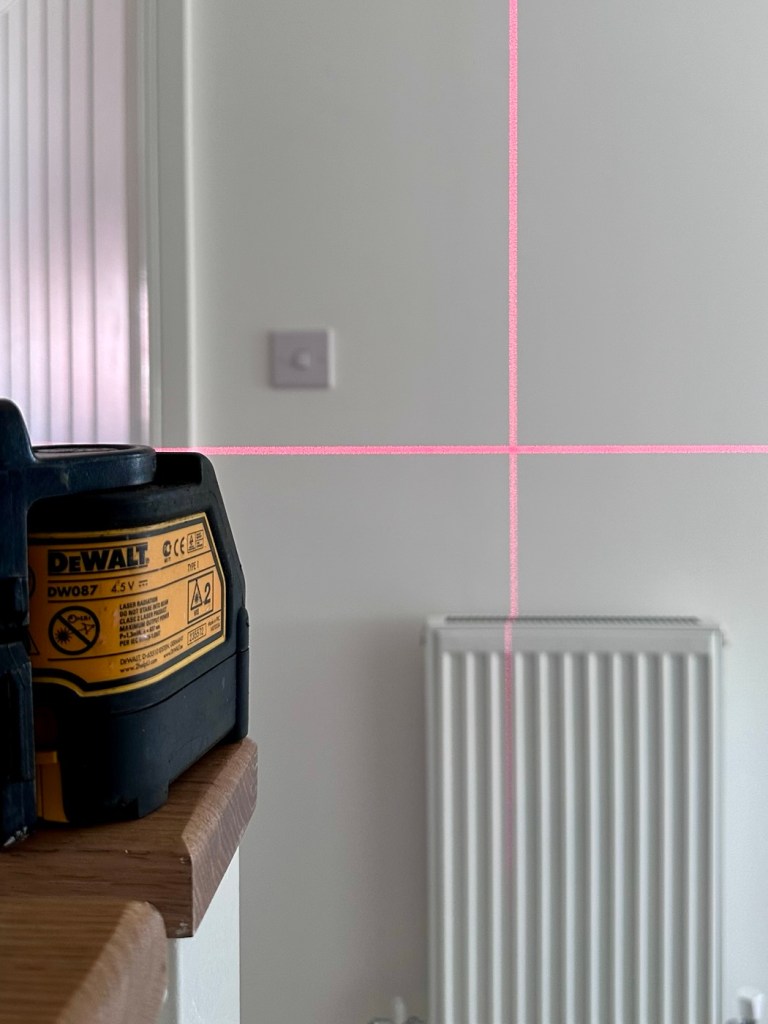
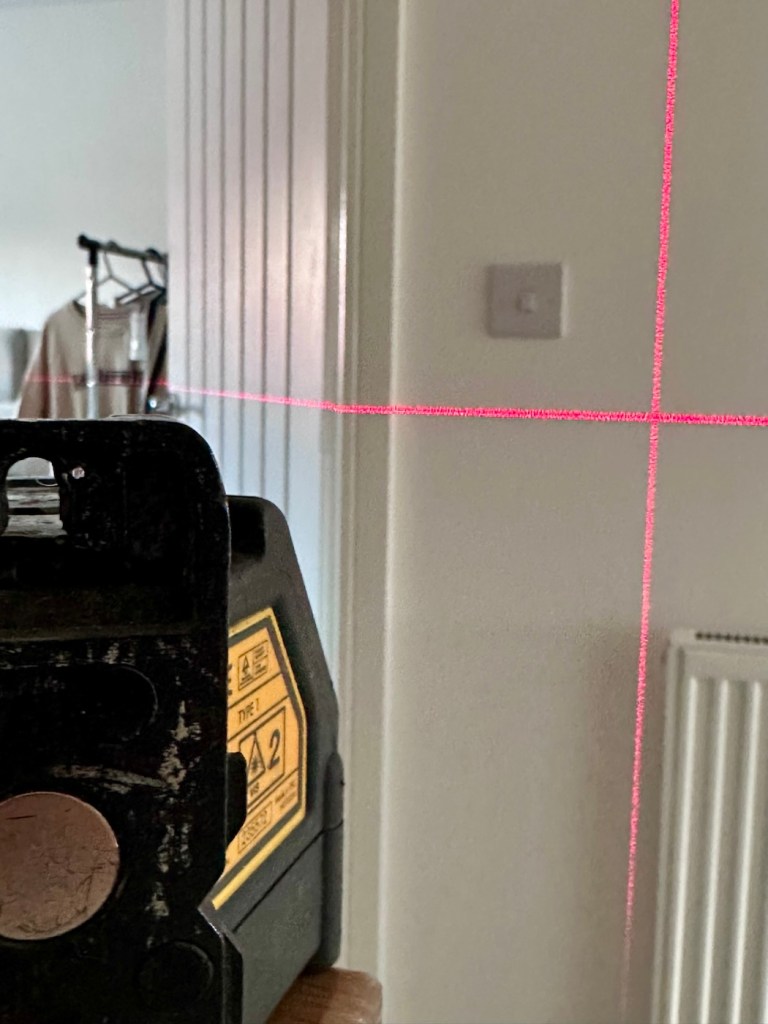
The DeWalt DW087 (often sold as the DW087K) is a self-leveling cross-line red laser. It projects bright horizontal and vertical lines with an accuracy of ±0.3 mm/m and features an indoor visibility range of up to 15 meters. Powered by 3 AA batteries, it includes a built-in magnetic pivot bracket for quick metal mounting.

So. Basically it used by tradesmen and women to set up a visual laser projection around an area. Just think about putting up kitchen cabinets or worktops, and you’ve probably witnessed one of these in action. The one I have purchased sounds as if it is in a pretty poor condition, the lack of pictures showing the battery area speaks volumes and is probably hiding a crime scene, however I’ll just have to wait and see.

Assessment:

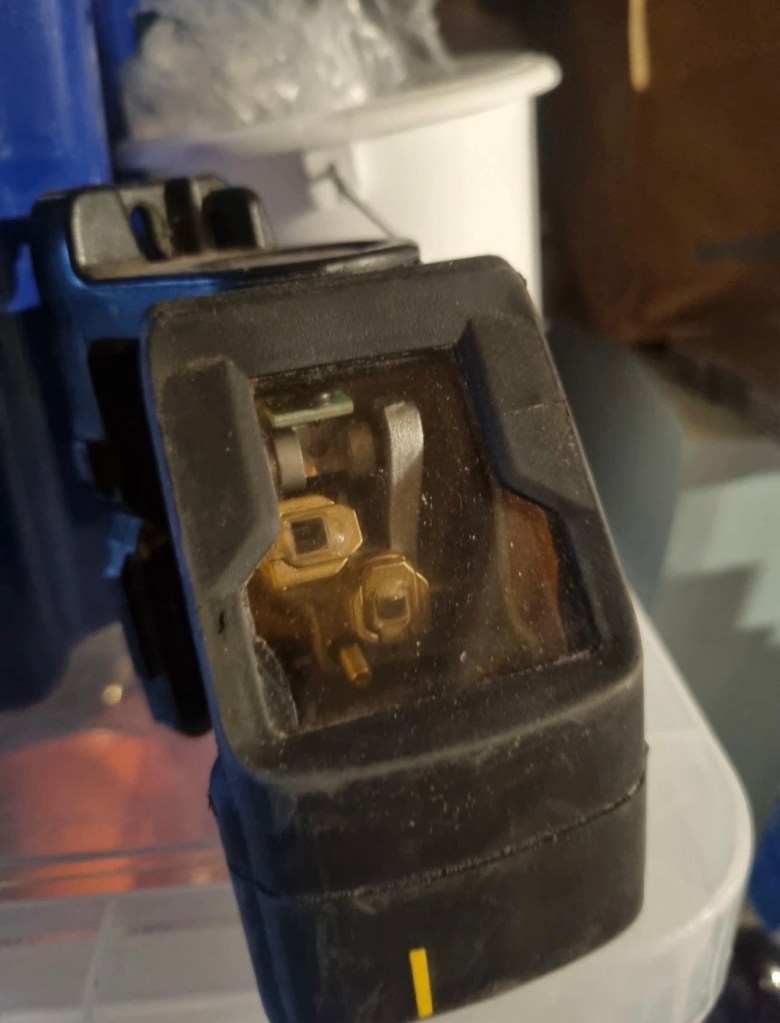
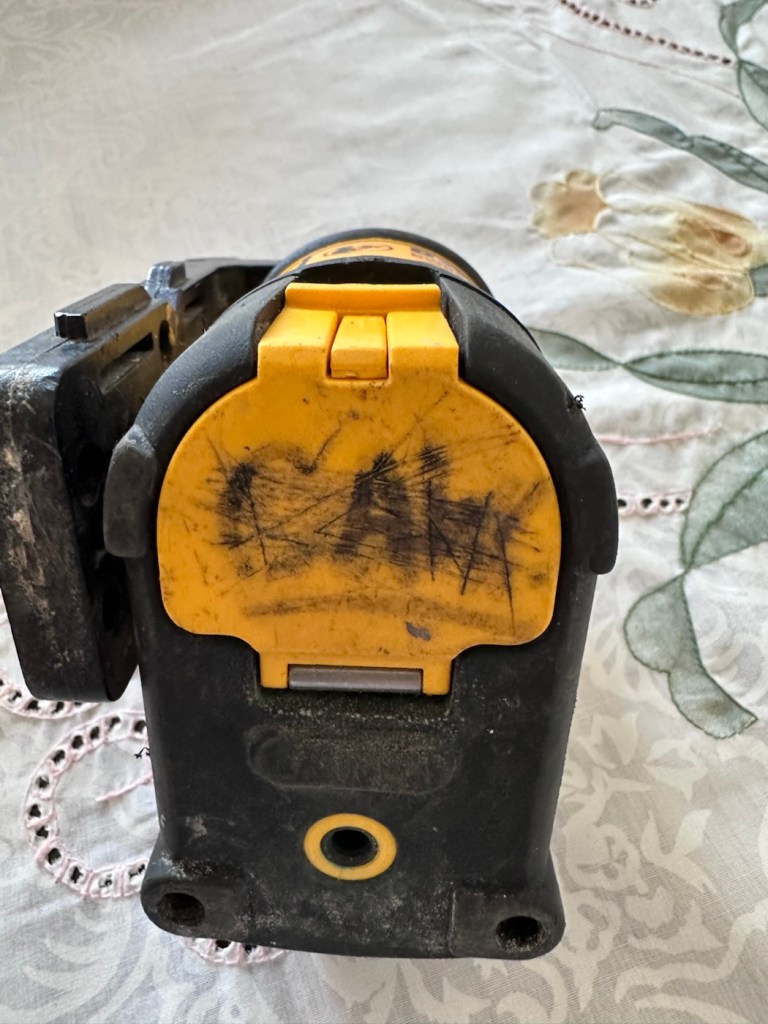
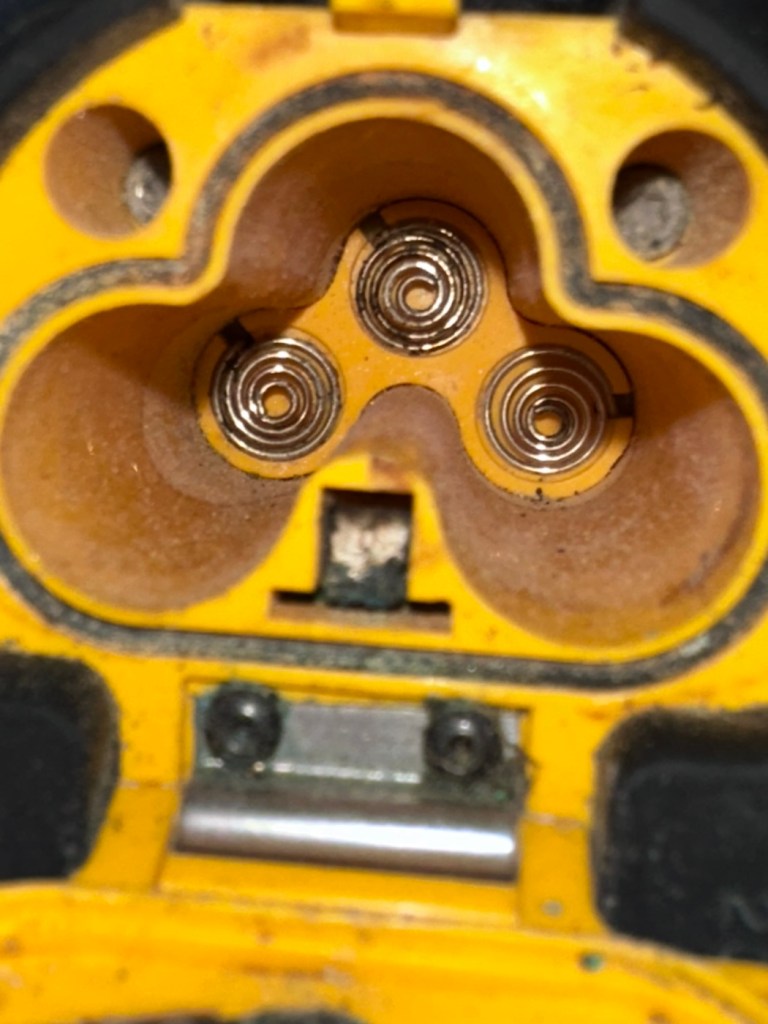
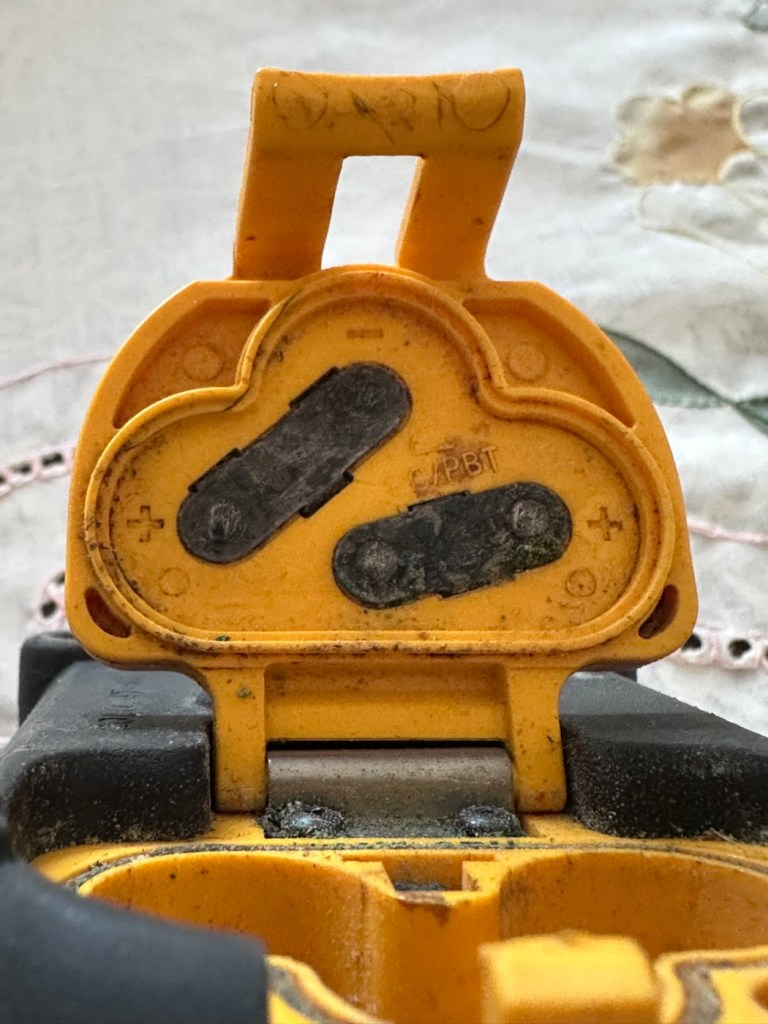
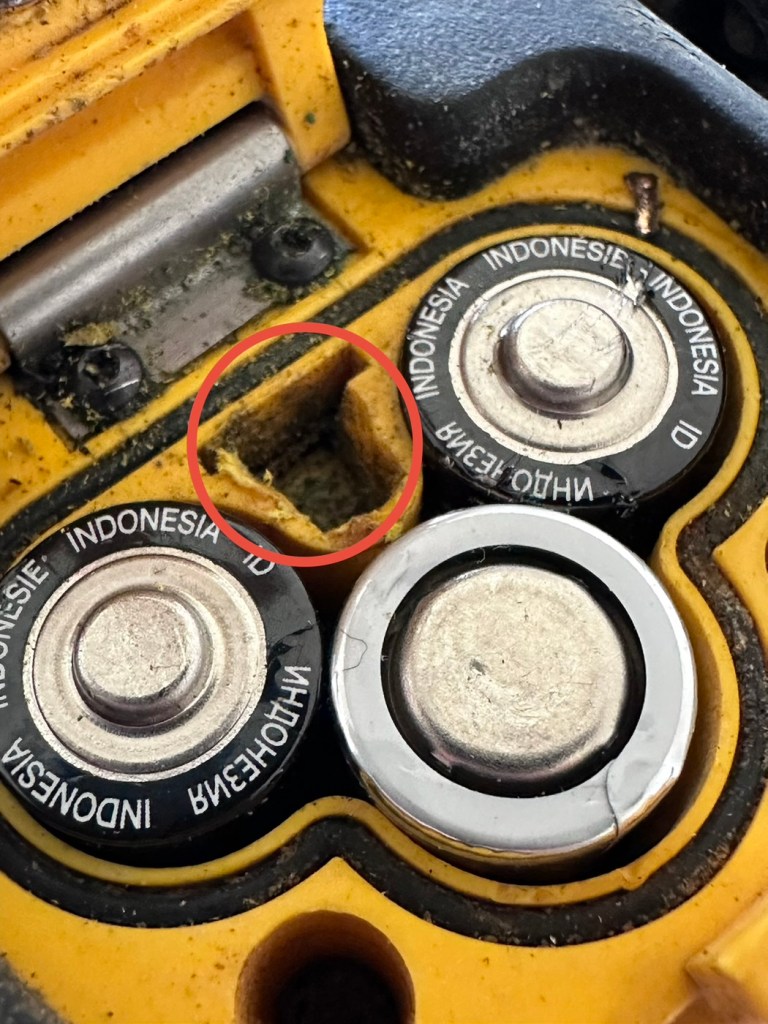
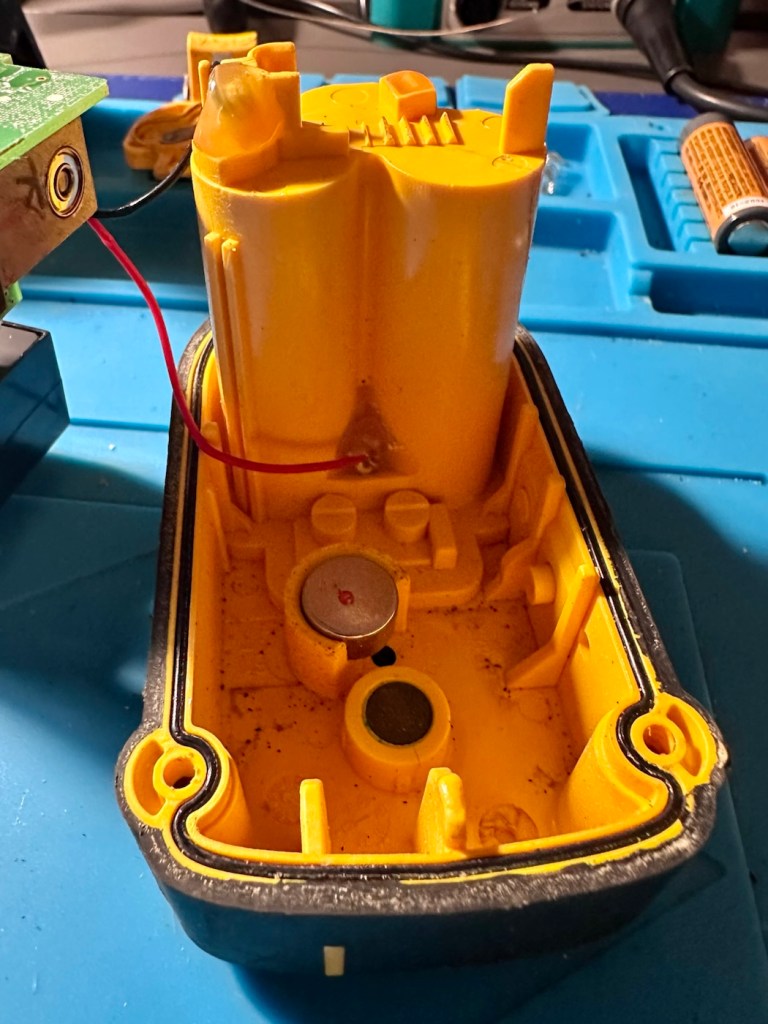
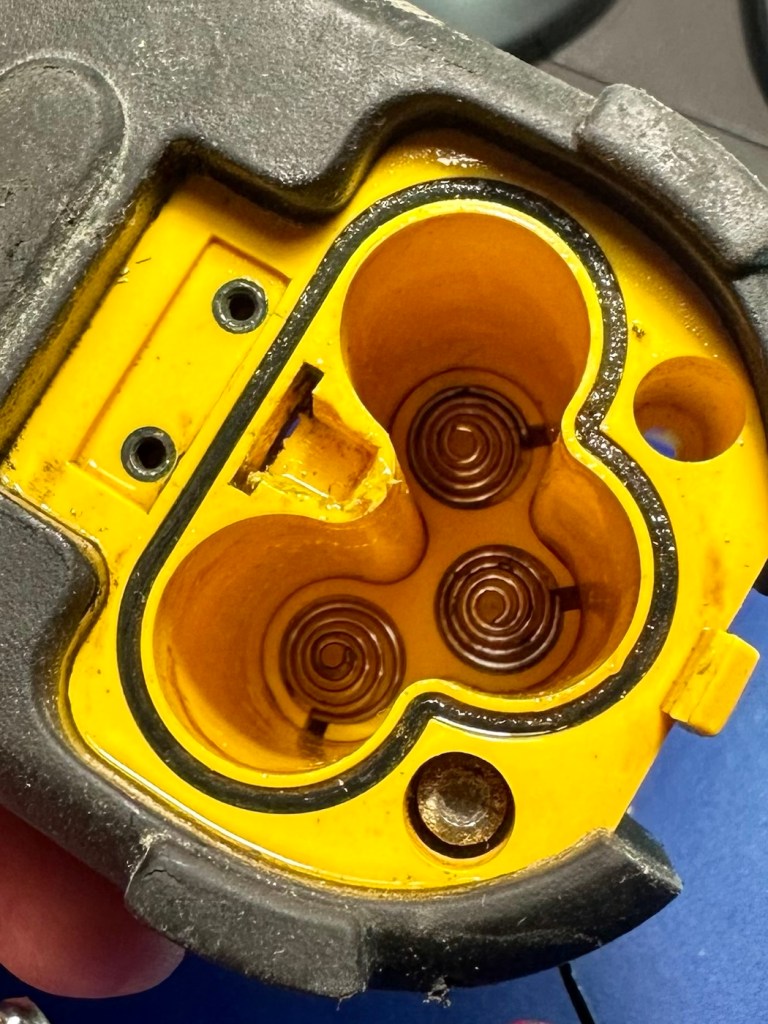
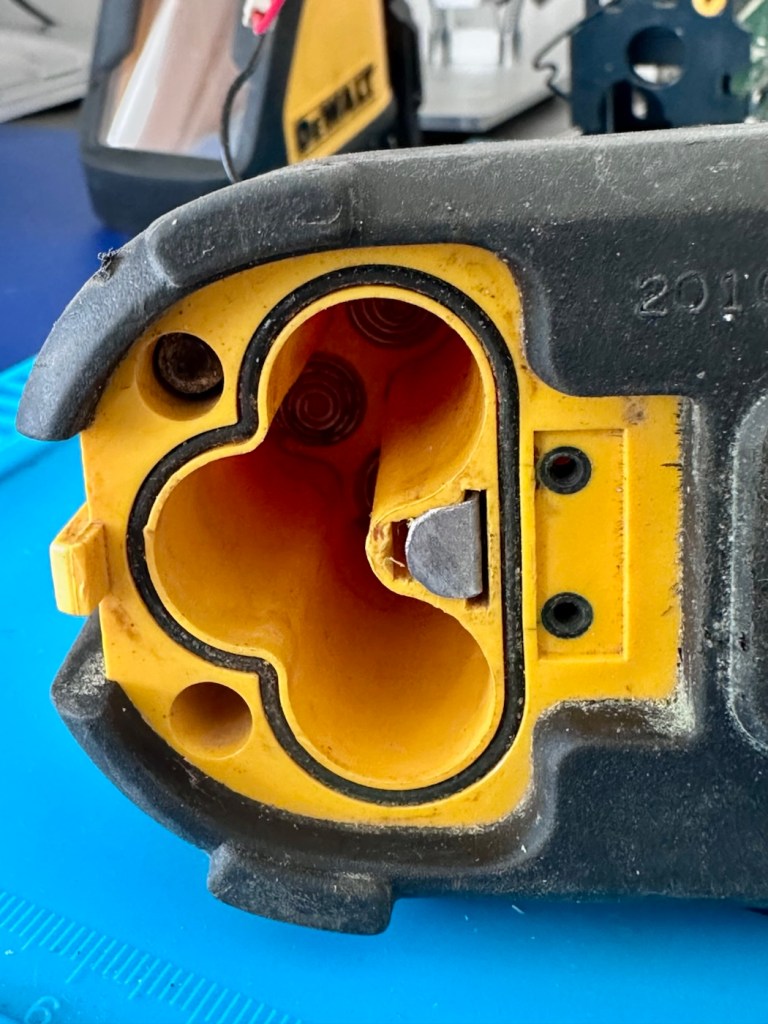
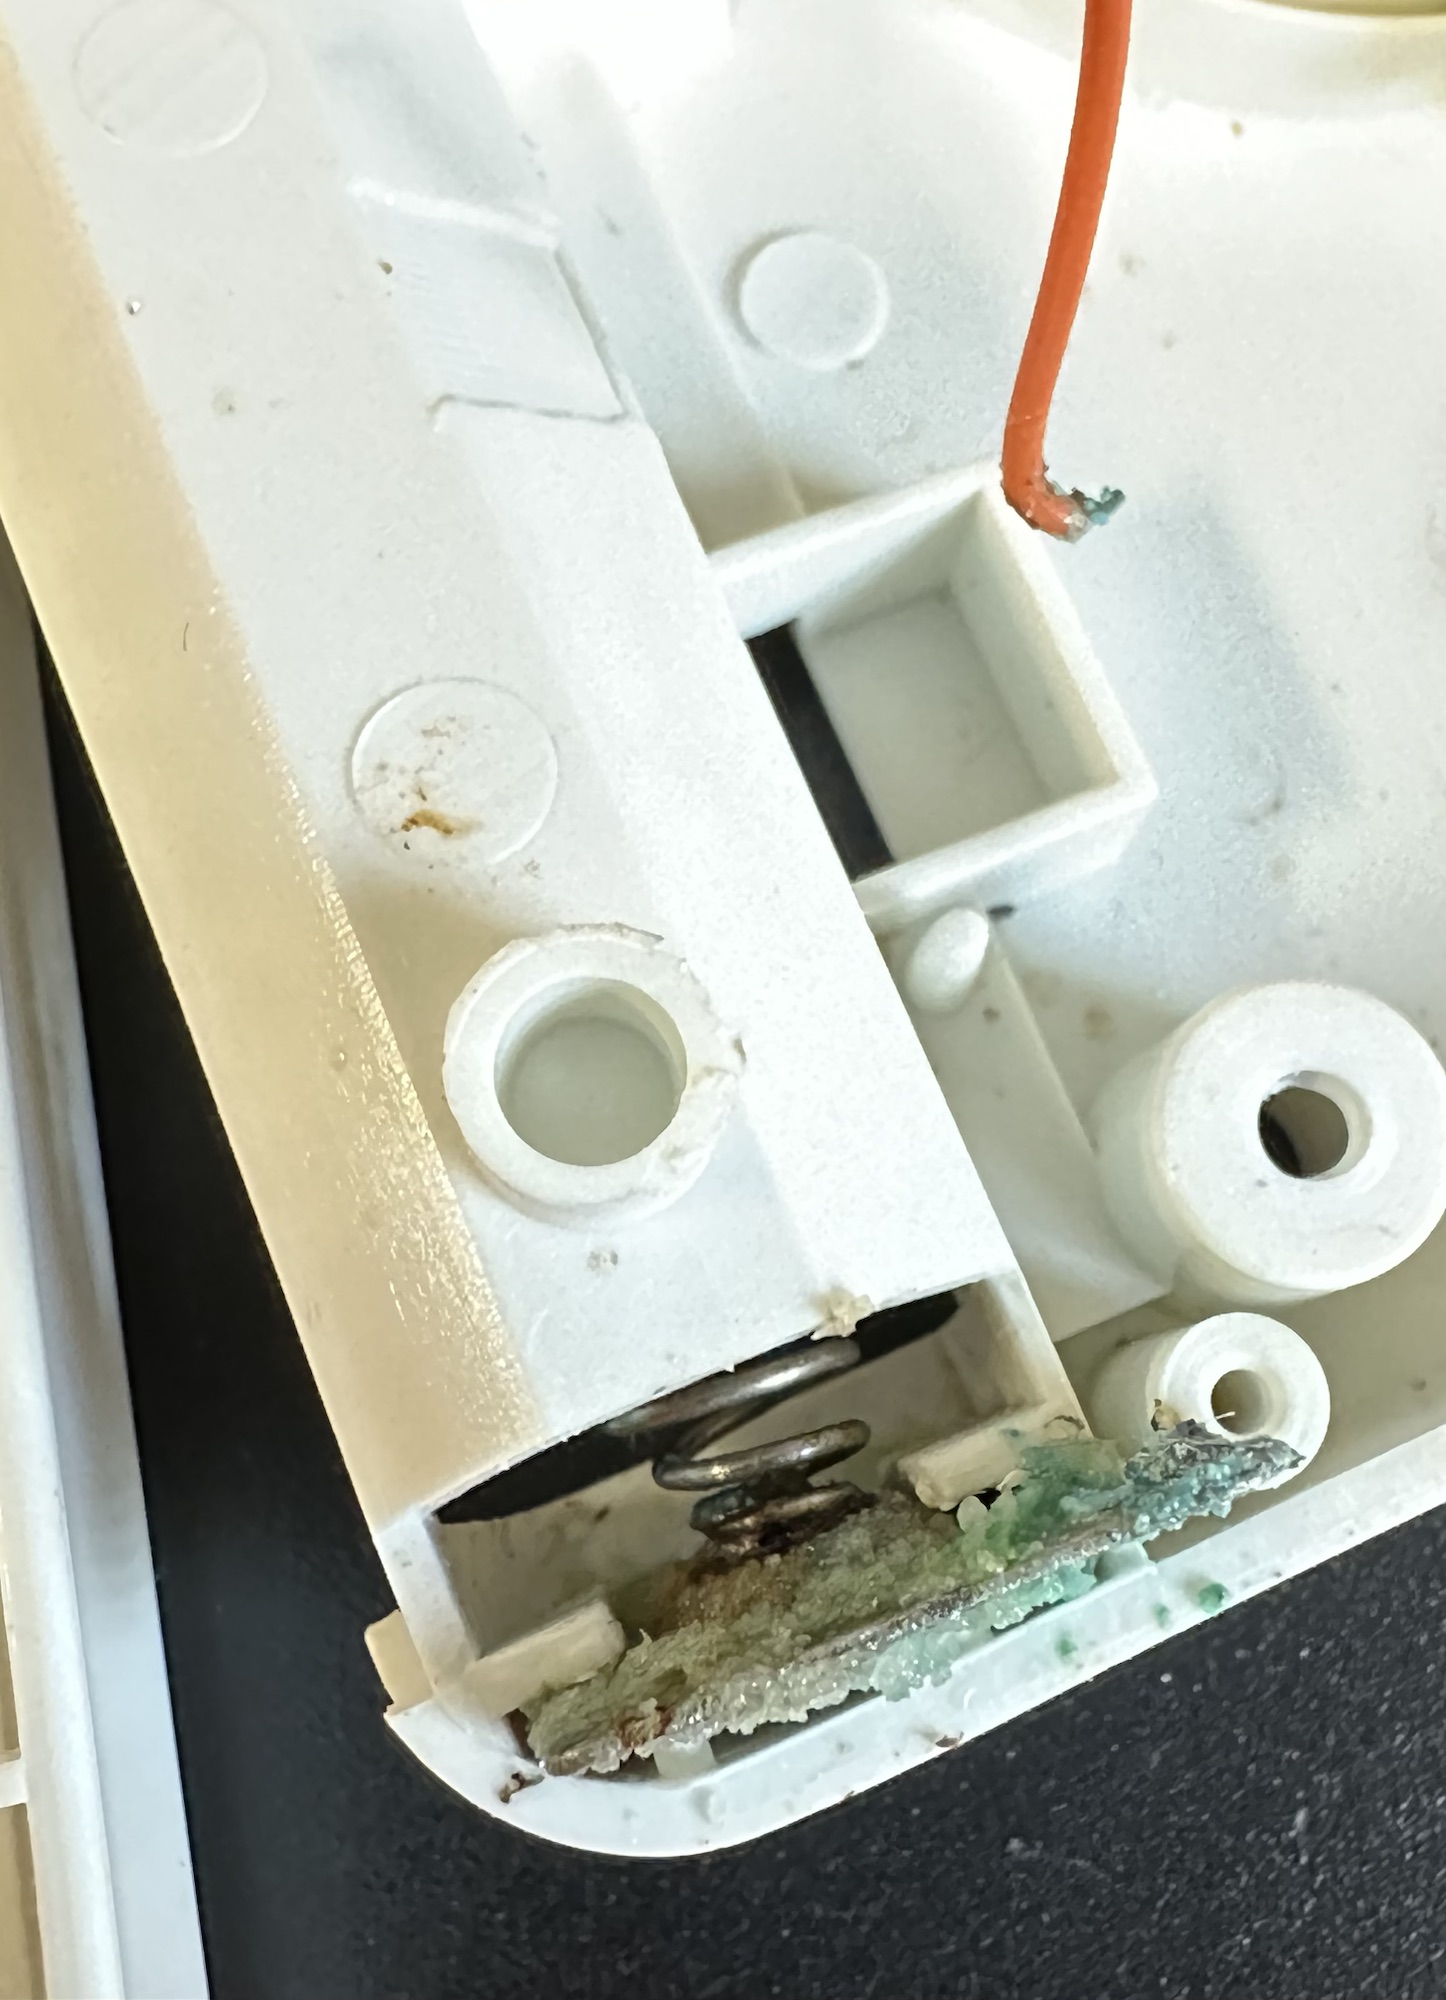
It has arrived. It’s as expected, looks like it’s been around a few building sites and most definitely does not work. The good thing is that the description of the batteries melting in the chamber was not so, in all truth it appears they have corroded the contacts a little, and one point of contact required to complete the circuitry appears to be broken.

It’s dirty no doubt about that, but it can always be cleaned.

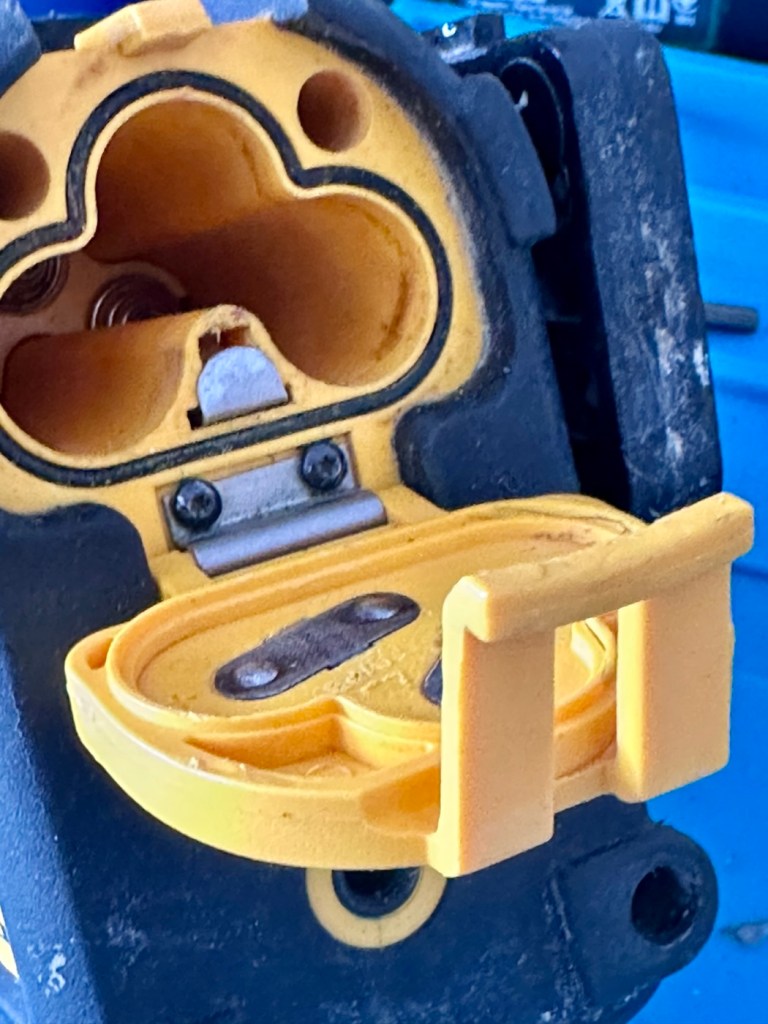
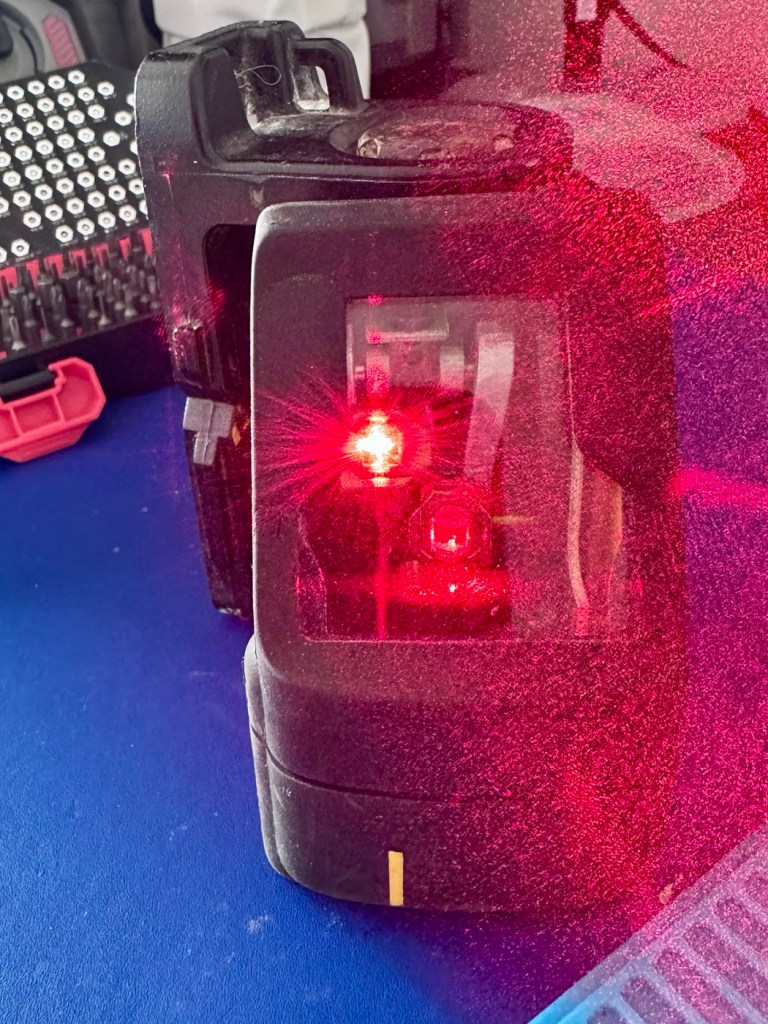
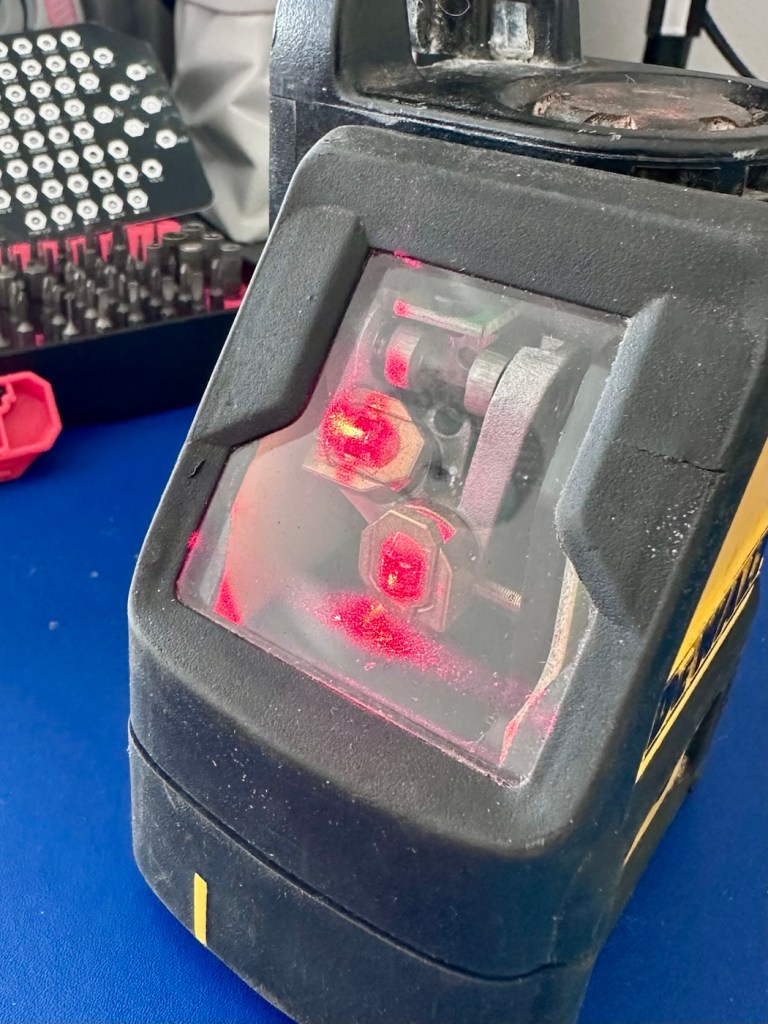
The missing contact

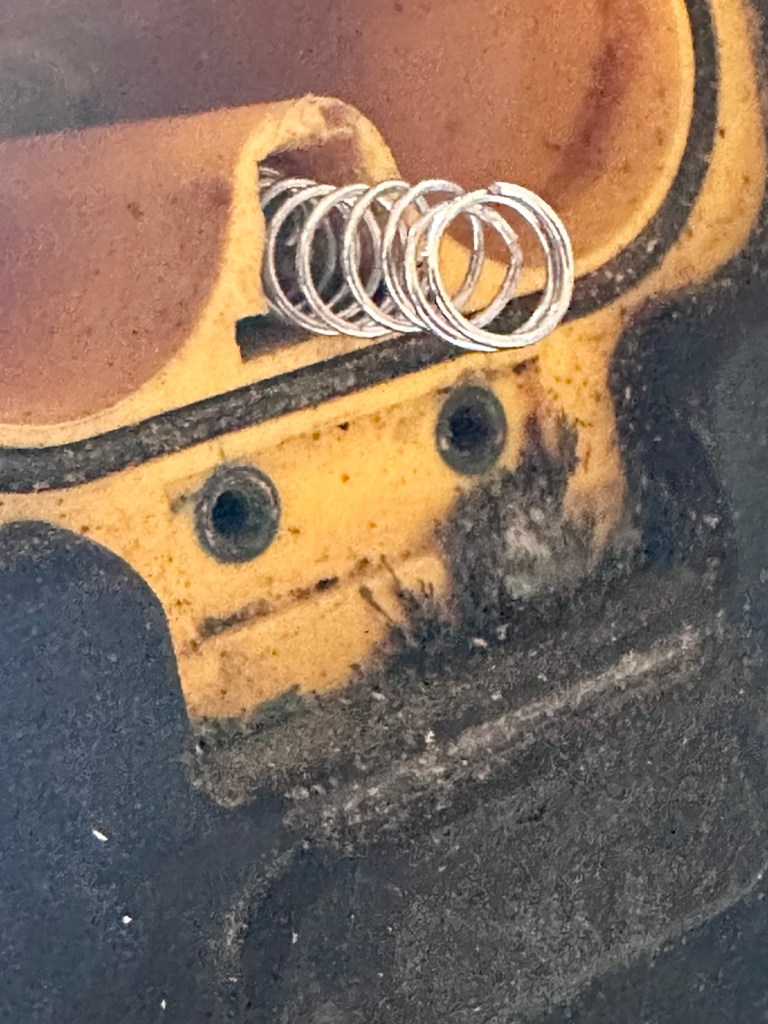
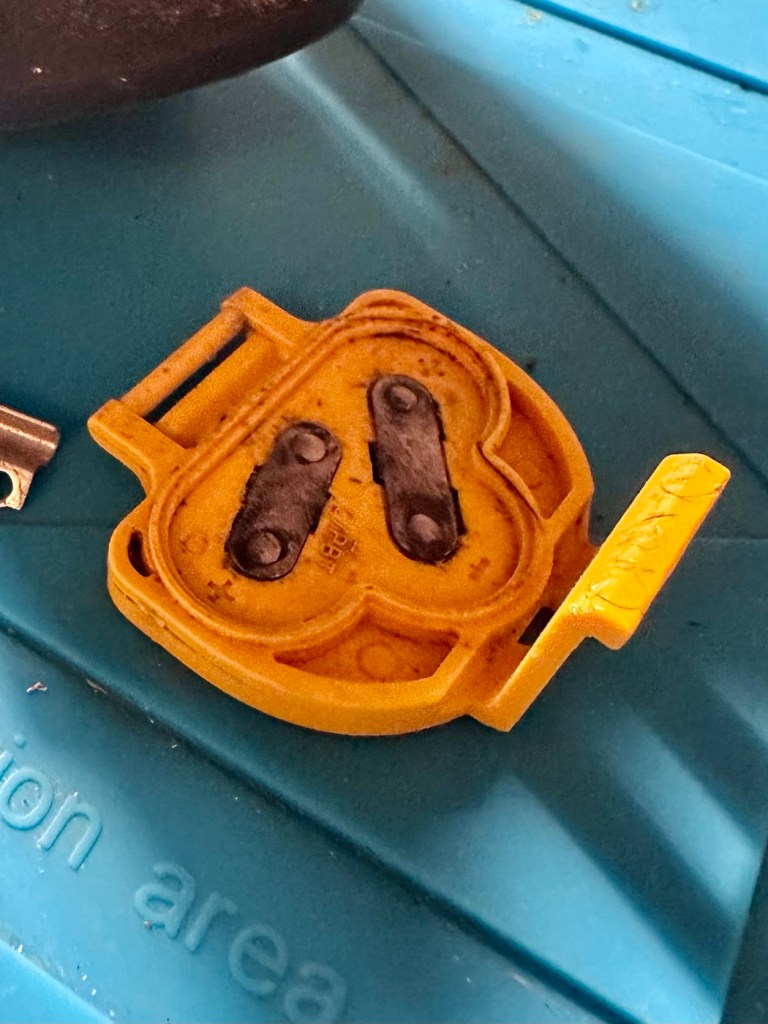
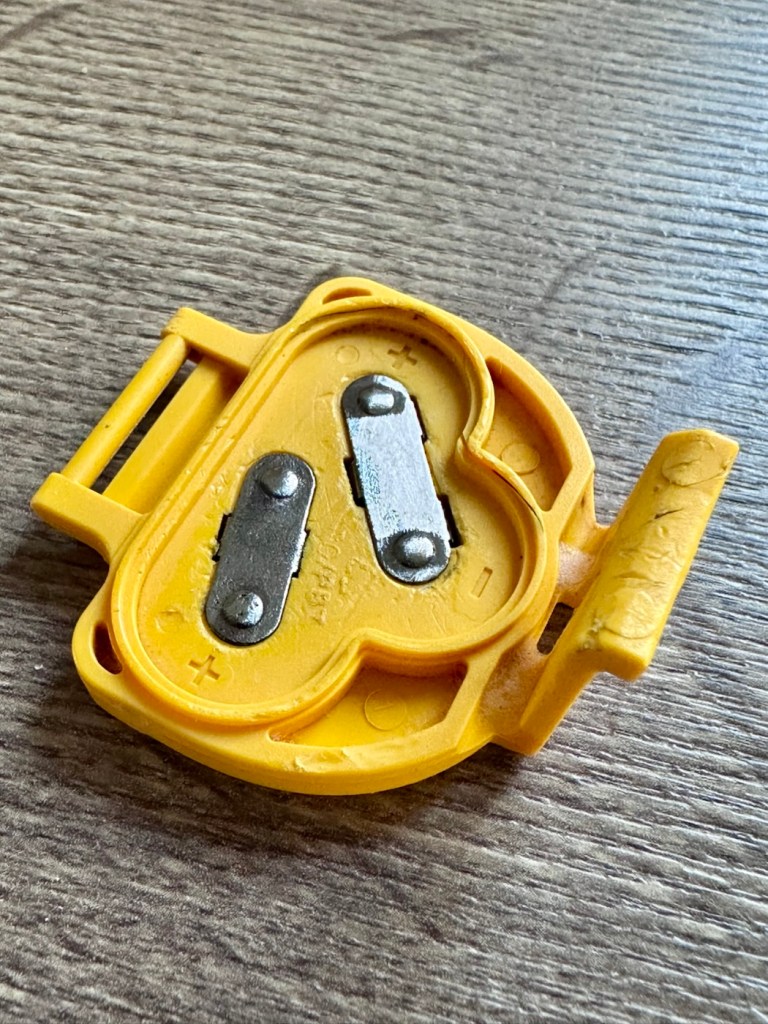
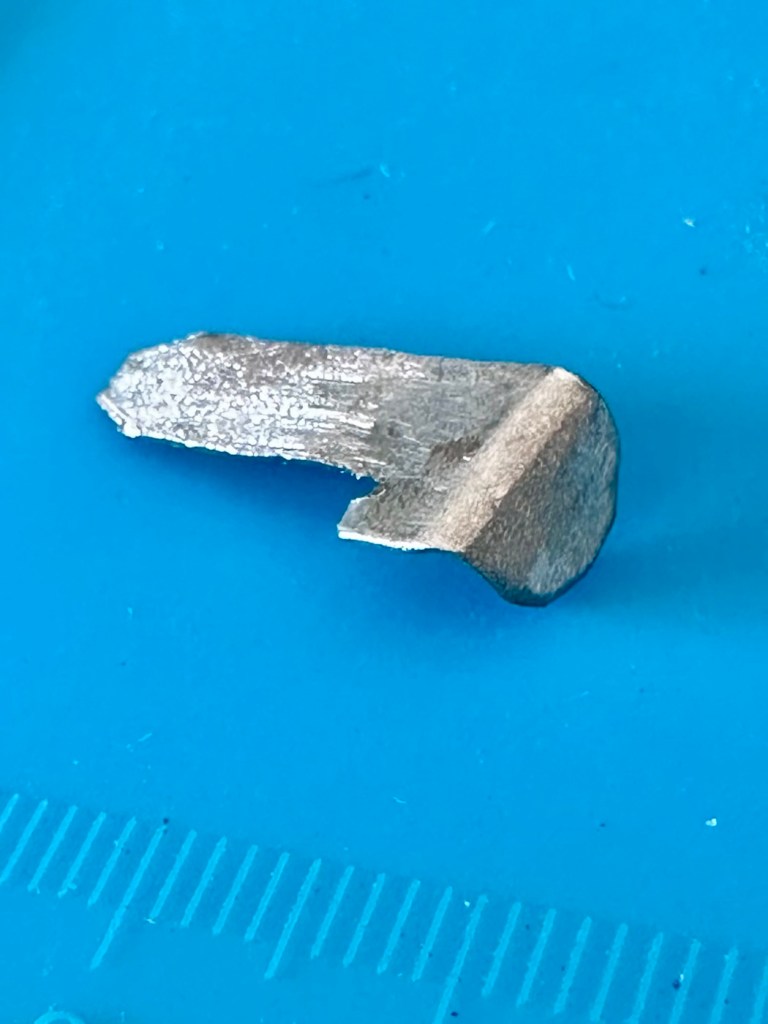
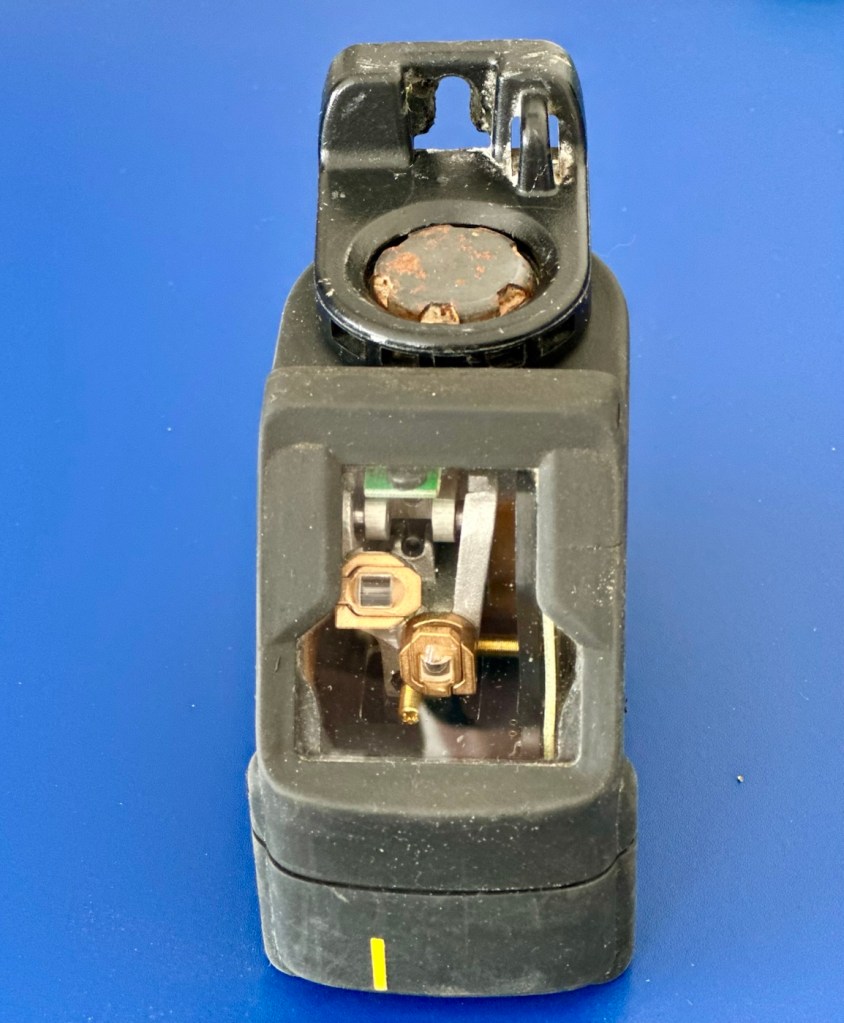
There is a missing contact as highlighted in red, in the picture above. This connects with the battery contacts in the battery lid. When a circuit is made the level will work. There is a small piece of metal strip at the base of this hole, the remnants of the contact that should be there. I have managed to get the unit working by temporarily putting a small spring in here to bridge the contact. This will have to be replaced or repaired though.

Repair:

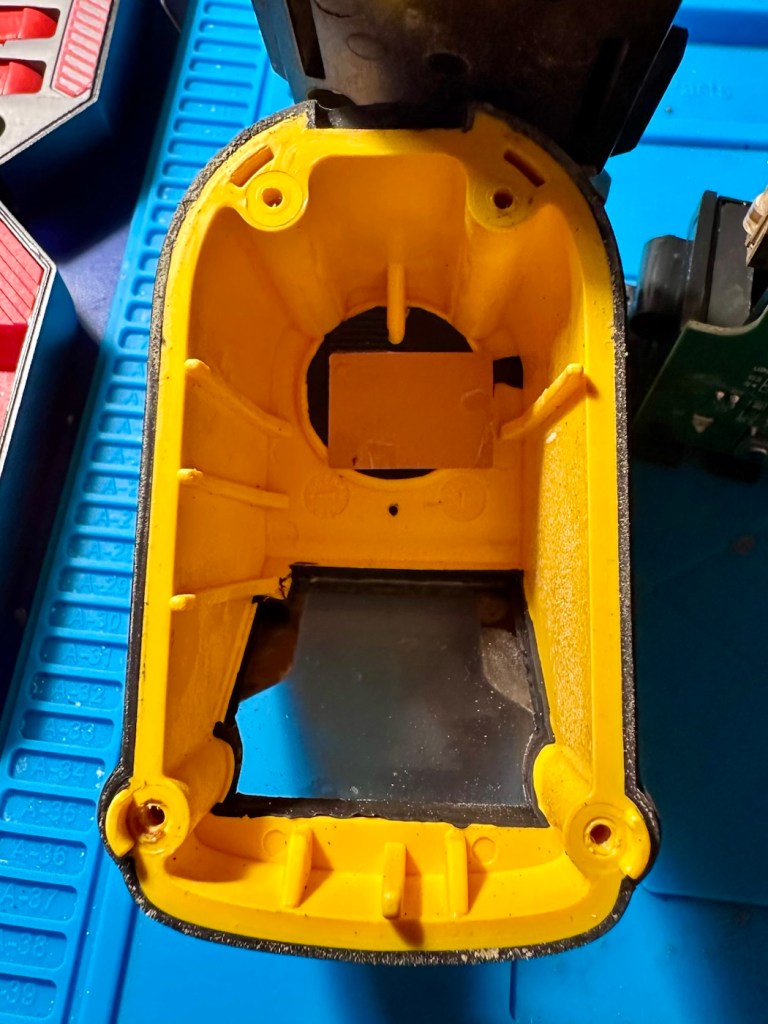
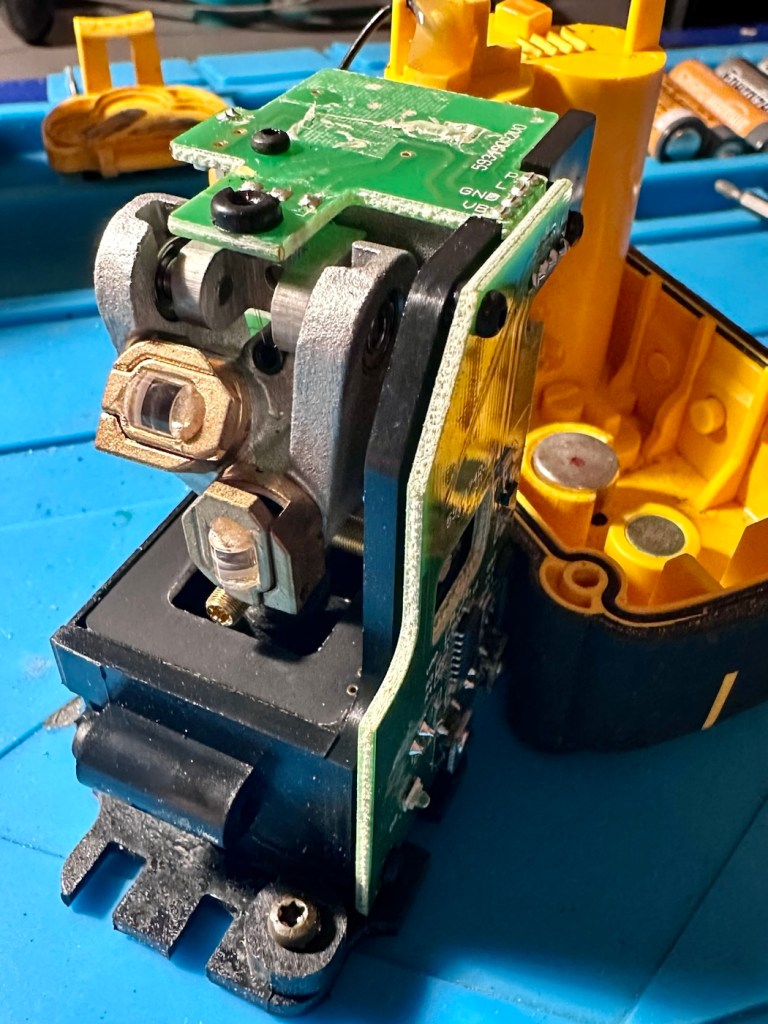
The first thing to do is to get the unit disassembled, and that is surprisingly easier than I thought. Four screws later and the body can be pulled apart. Another two screws removes the battery flap. Easy.

There are a couple of rubber gaskets that fit in between the two parts to ensure an airtight seal and to stop the ingress of dirt. I have given the lenses a clean with a camera lens cloth, I have cleaned both inside and out of the window and given a good blow through with some compressed air. I have used a multimeter on the power led in diode mode just to check that it is operational, and it is. There is nothing else needing attention within the internals.

Turning my attention to the battery chamber and battery lid I give both a thorough clean, the negative terminals in the battery chamber are cleaned with an IPA solution to improve their appearance, the whole chamber is cleaned in the same manner and is looking good.

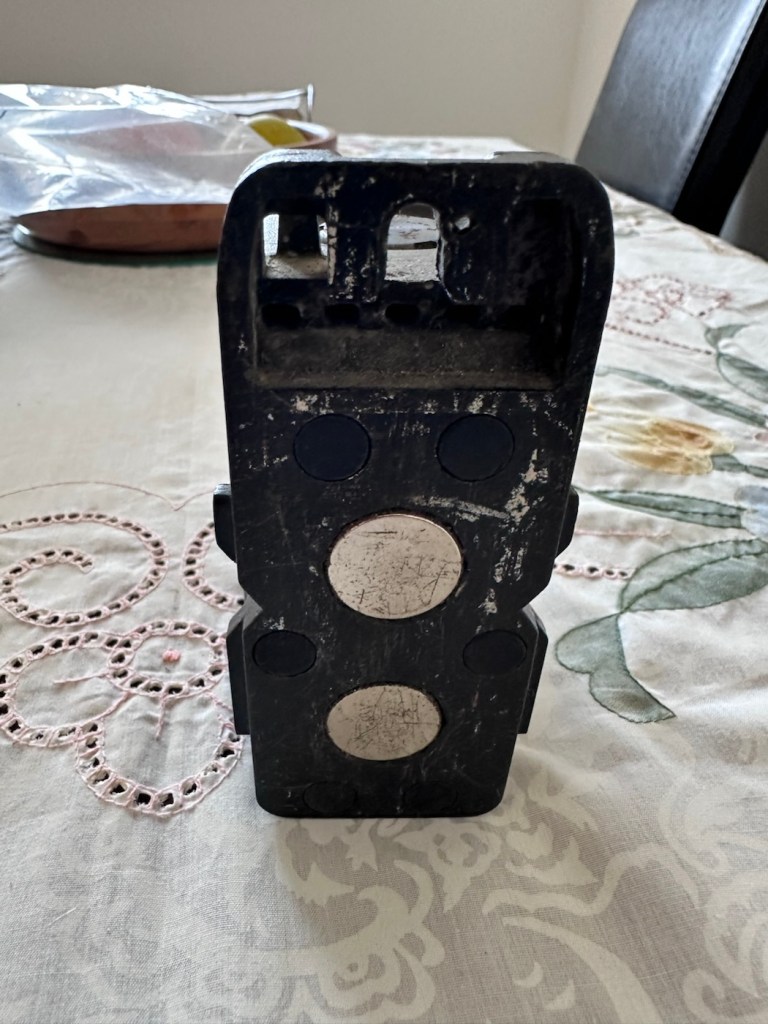
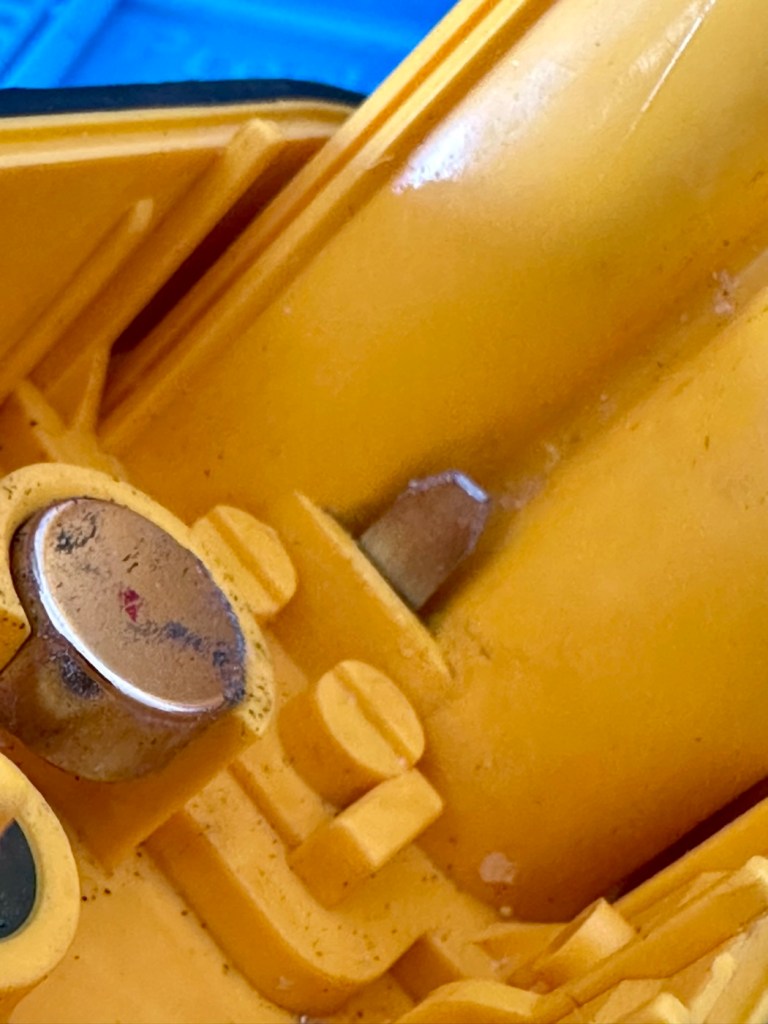
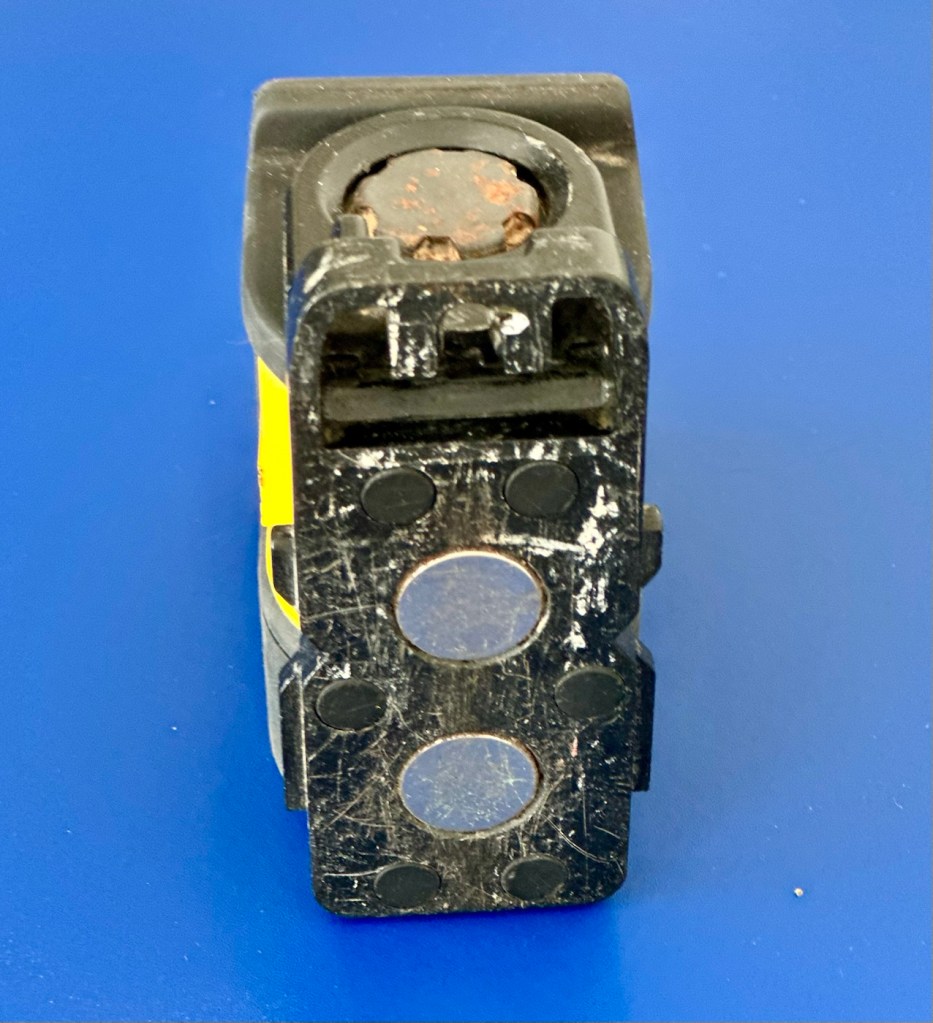
There was a collection of what appeared to be iron filings where the battery lid joins the body, and this is because on the opposite of this point, there is one of two strong magnets that keep the lasers level. Holding the unit over a bin and lifting the magnet out ensured a nice little rainfall of iron filings into the bin and not all over my workspace. With the magnet now replaced I gave this same area a further good clean with IPA.

The battery lid has been left to bathe in a dish of white vinegar to help remove the remainder of the tarnishing to the battery contacts attached to it. It’s worked ok, a final tidy with a grinding pen has brought this up well, looking a lot better than it previously looked.

I now need to look at that broken contact.

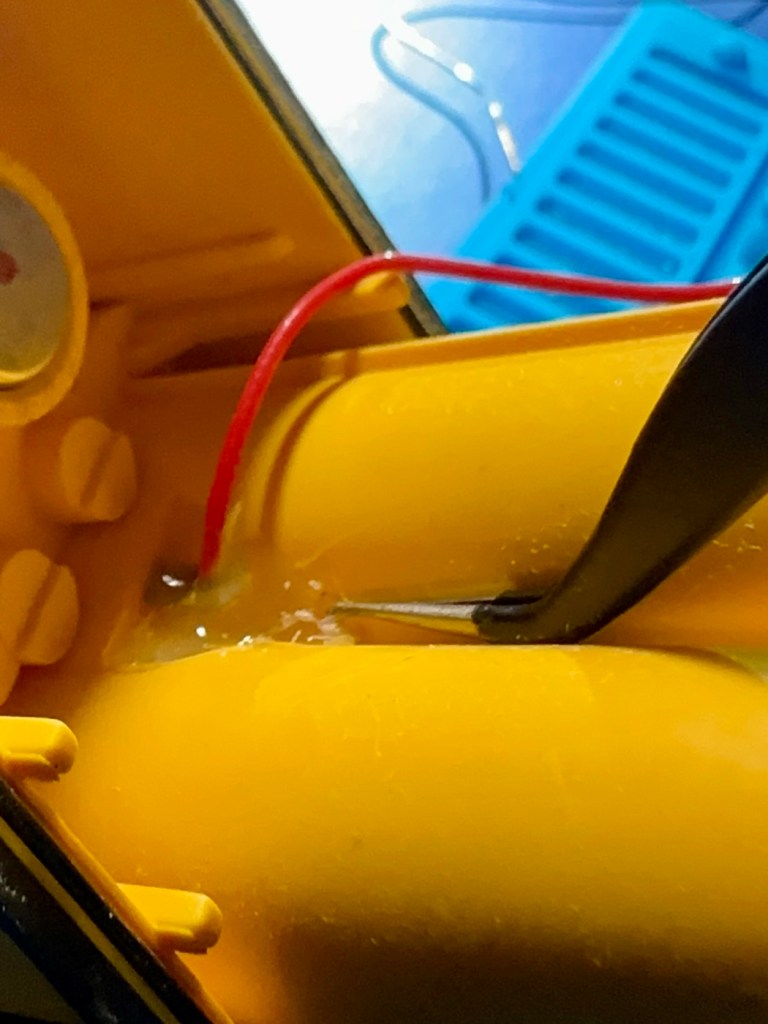
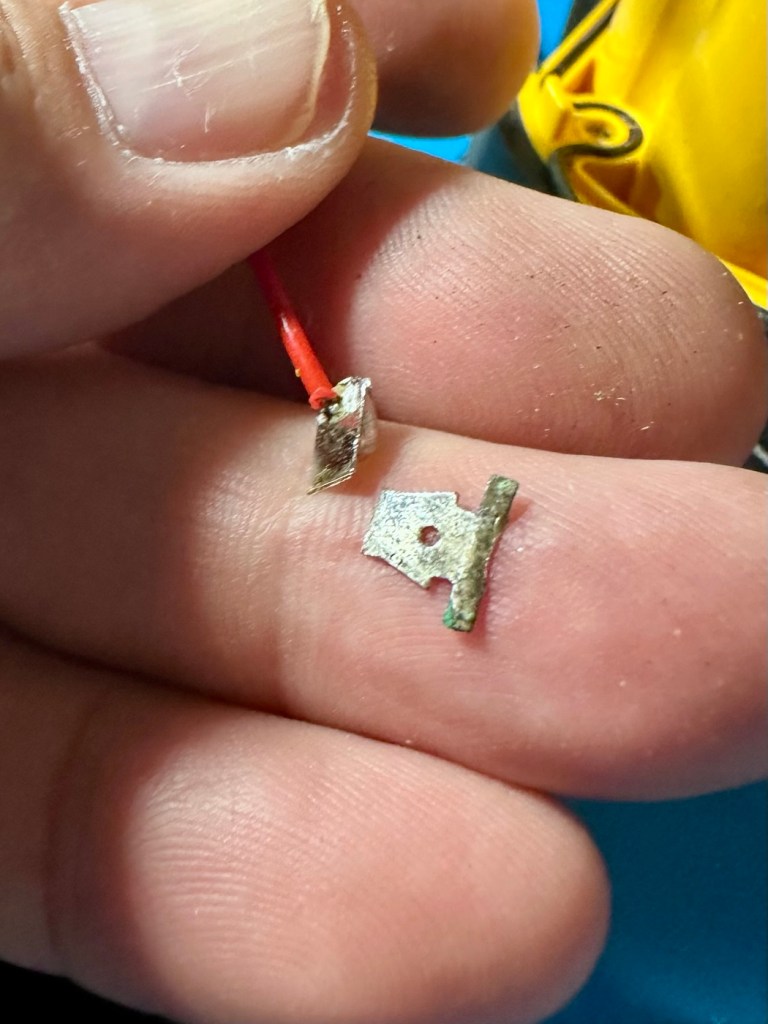
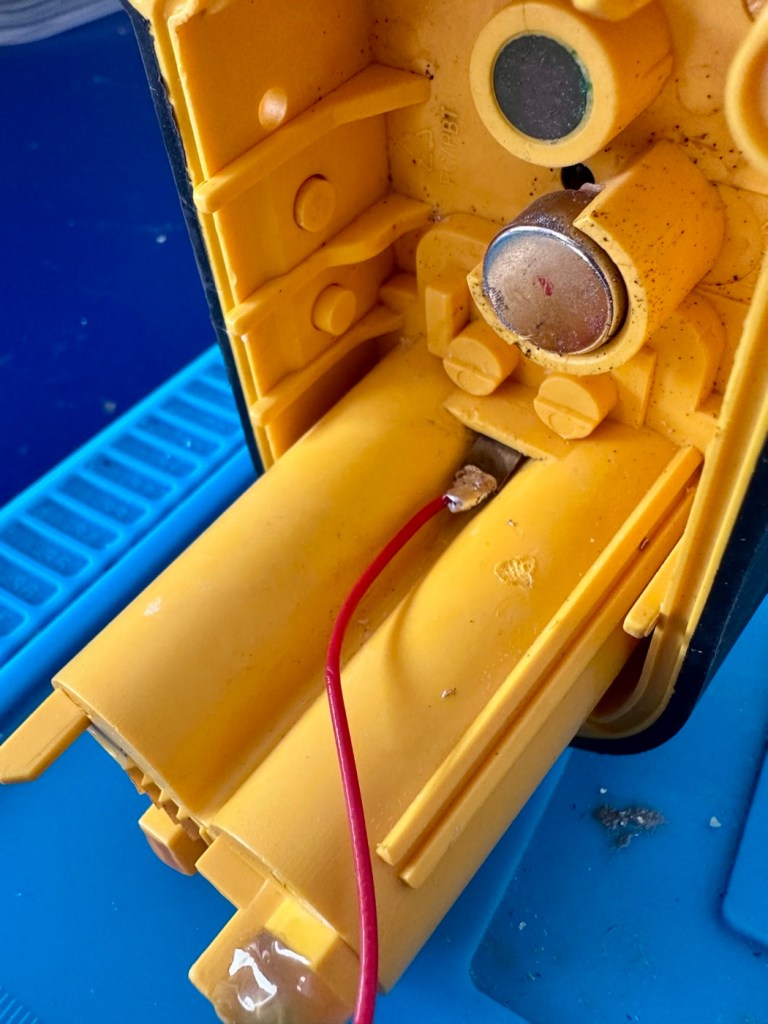
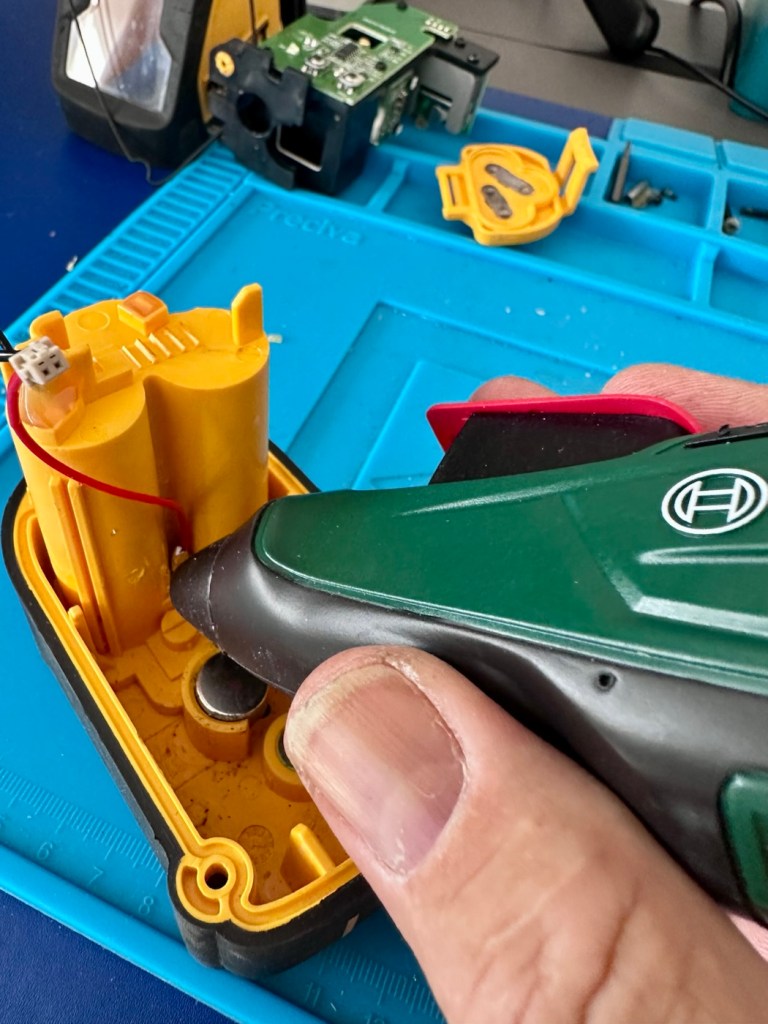
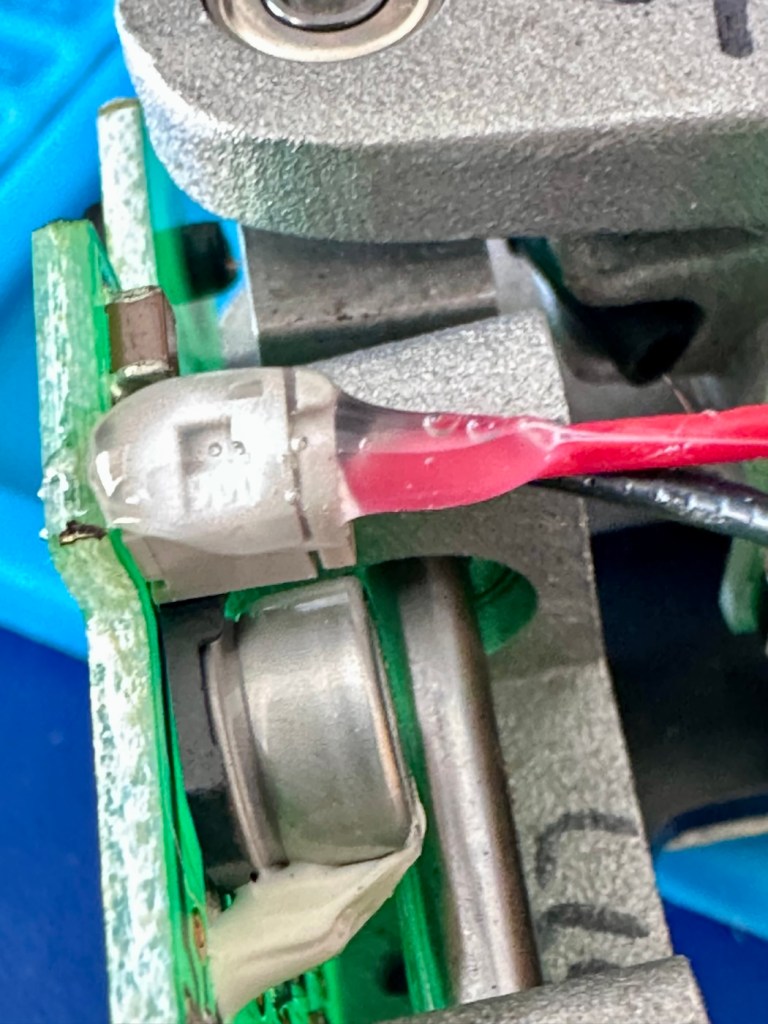
The wiring for the contact has been hot glued into place on the reverse of the battery chamber. I used some IPA to loosen the old glue and that allows me to remove the remainder of the broken contact. The top part missing from the inside of the chamber has long gone. I will have to fabricate a replacement myself. The wiring you see above was also hot glued to a plug on the main circuit board. Again, an application of IPA softened the glue and I was able to remove the plug from the circuit board to be able to work freely on the battery chamber. When the work is complete I will re glue both these items back into place prior to reassembly.

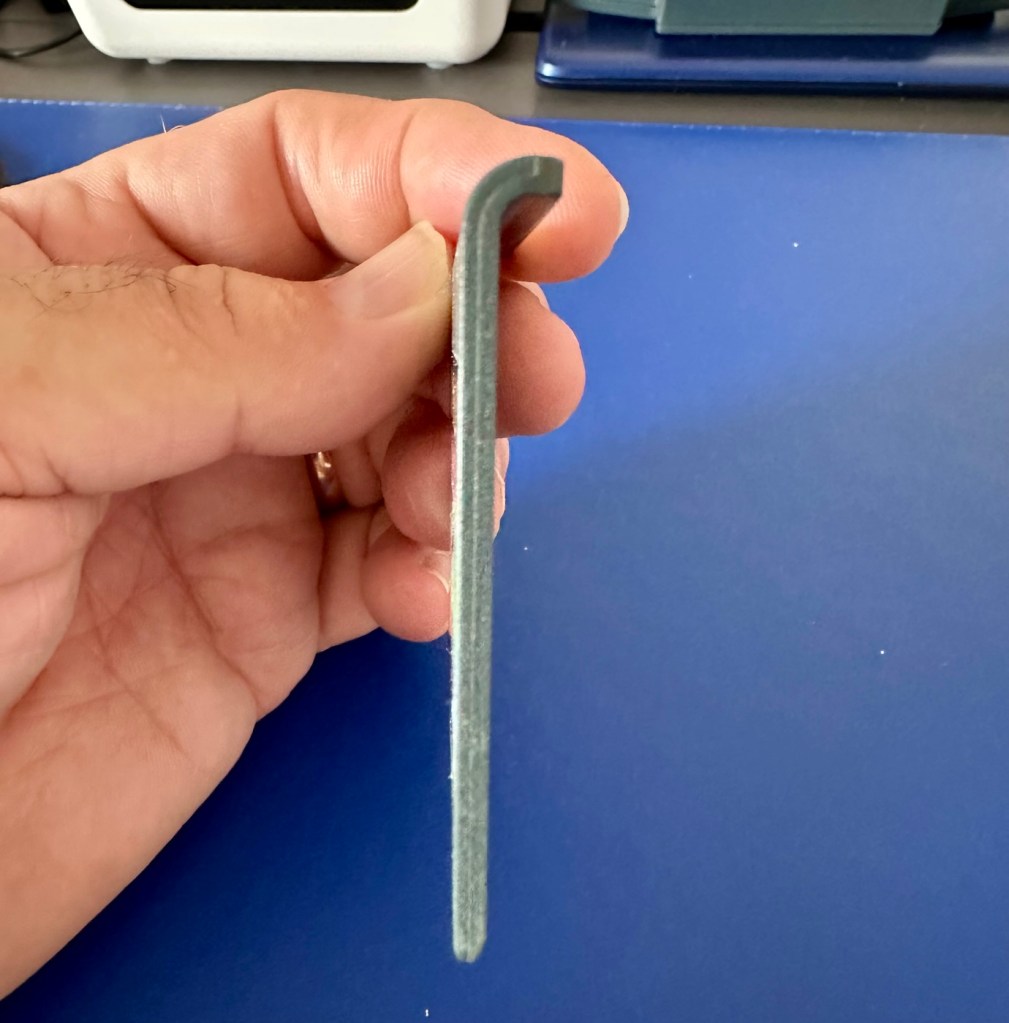
I’ve formed a small contact out of a piece of pliable metal to use in the device.

It fits nicely and is cut in such a way that it won’t push through into the chamber when a slight pressure is applied. I’ve hot glued both surfaces that I had removed glue from in the first place to gain access. Now the unit is being reassembled they’ve been glued just as they were previously.

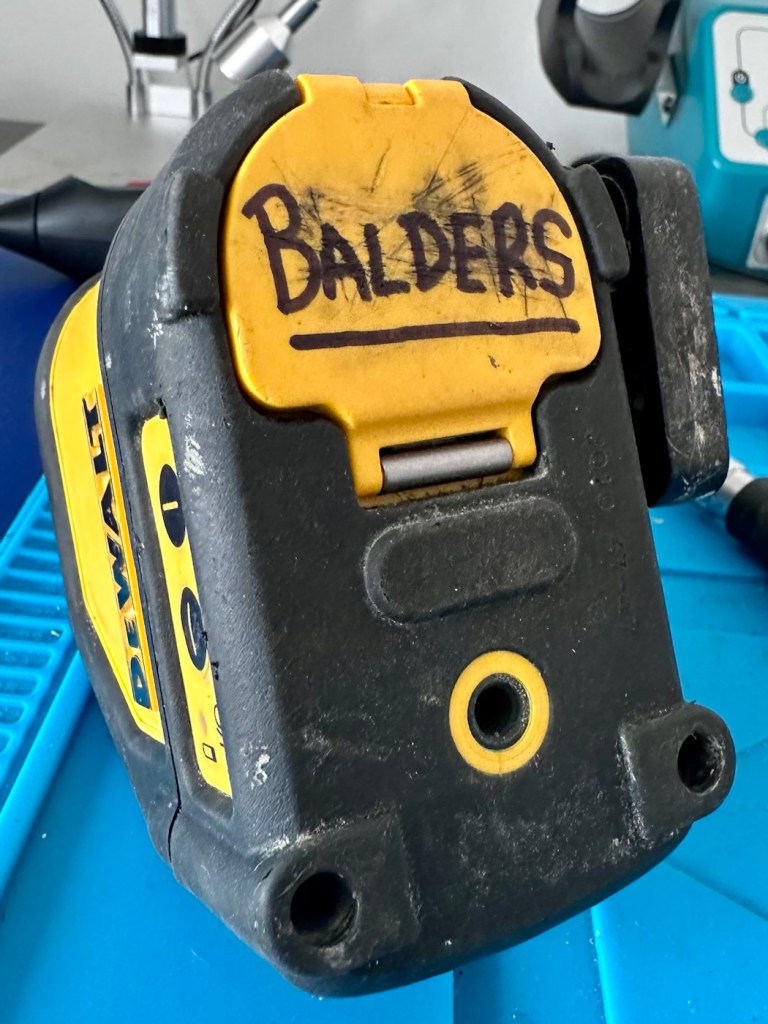
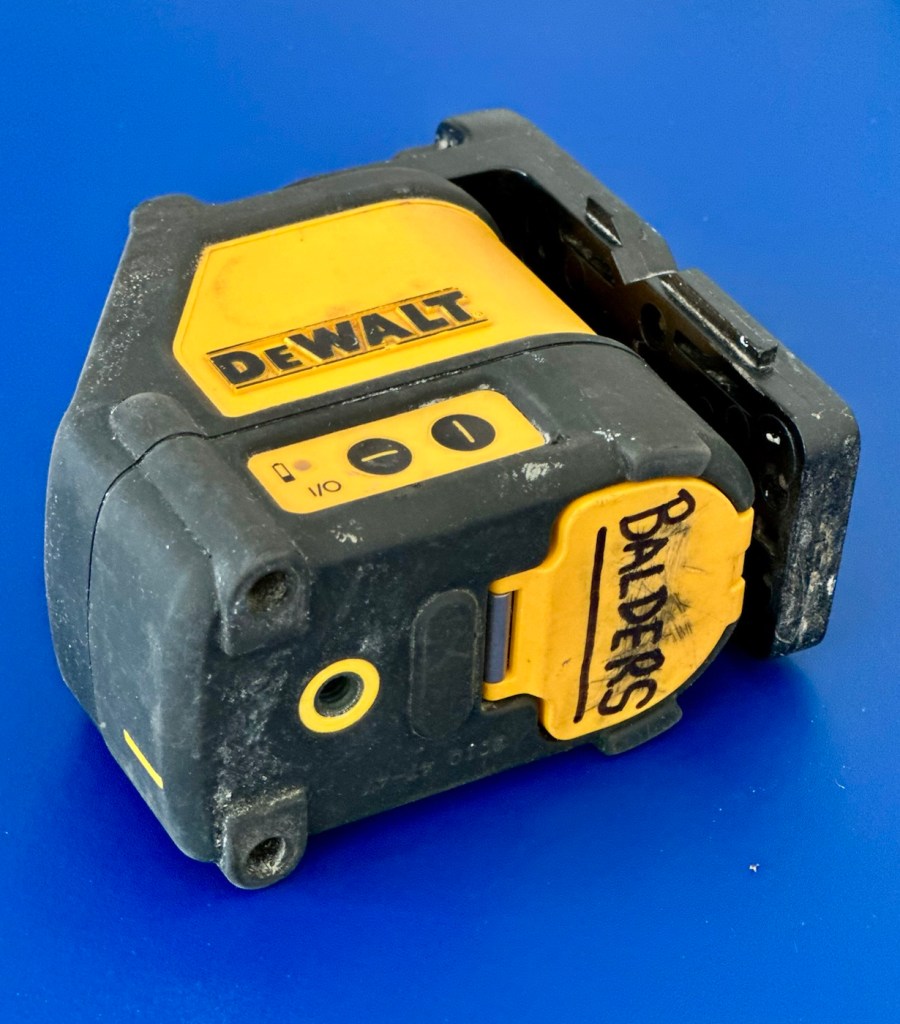
Now the unit is back in one piece it’s now time to reattach the battery chamber lid, and in time honoured tradition, I’ve daubed my nick name on the lid, as this will now go into my toolbox in my garage.

Now all that is left to do is switch it on.

And it works just fine….

Let’s now just give it a practical clean, it’s a working item for rugged situations so it isn’t going to look “Shop” new. But it will be an awful lot cleaner.

Result:

A tool that originally retailed for £175:00GBP and available on the auction sites, in good working order of between £60-£90:00GBP was purchased, non operational for the grand total of £6:00GBP. If that isn’t a bargain then I don’t know what is.

For little more than a couple of hours work I now have a valuable practical item to add to my toolbox because someone else just couldn’t be bothered to spend the time on it to get it working. Lucky me.

Definitely another item saved from landfill, with a new lease of life that should go on for many more years yet.

I’m very happy with it, this was a pleasure to work on.

Many thanks for passing by, as always it is very much appreciated.

HP Jornada 540 Series PDA Pocket PC

I have two faulty pocket PC units that I can hopefully combine into a “Frankenstein” unit. Can we get at least one of them working again?

What the listing stated….mostly AI produced I guess?

Untested, no charger, docking station only by Hewlett Packard

32MB Jornada PDA 540 Series Pocket PC Windows & Docking is a highly functional device that comes with some amazing features. This device is perfect for individuals who desire a highly efficient PDA Series. The device is sold as untested and is compatible with the Windows operating system. The brand of this device is HP, which is a well-known brand in the tech industry. The PDA Series is HP Jornada and it comes with an installed memory (RAM) of 16 MB. The display size (pixels) and screen type are unknown, but it has a model number of 540. This device comes with a docking station that allows ease of use for individuals.

EBay

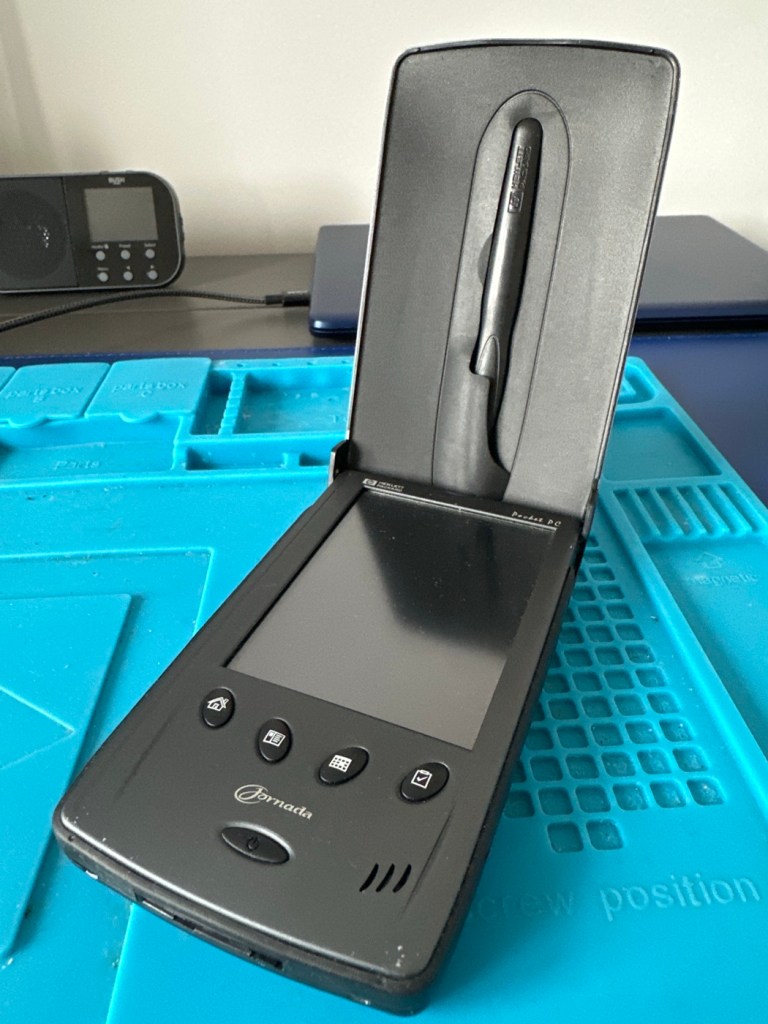
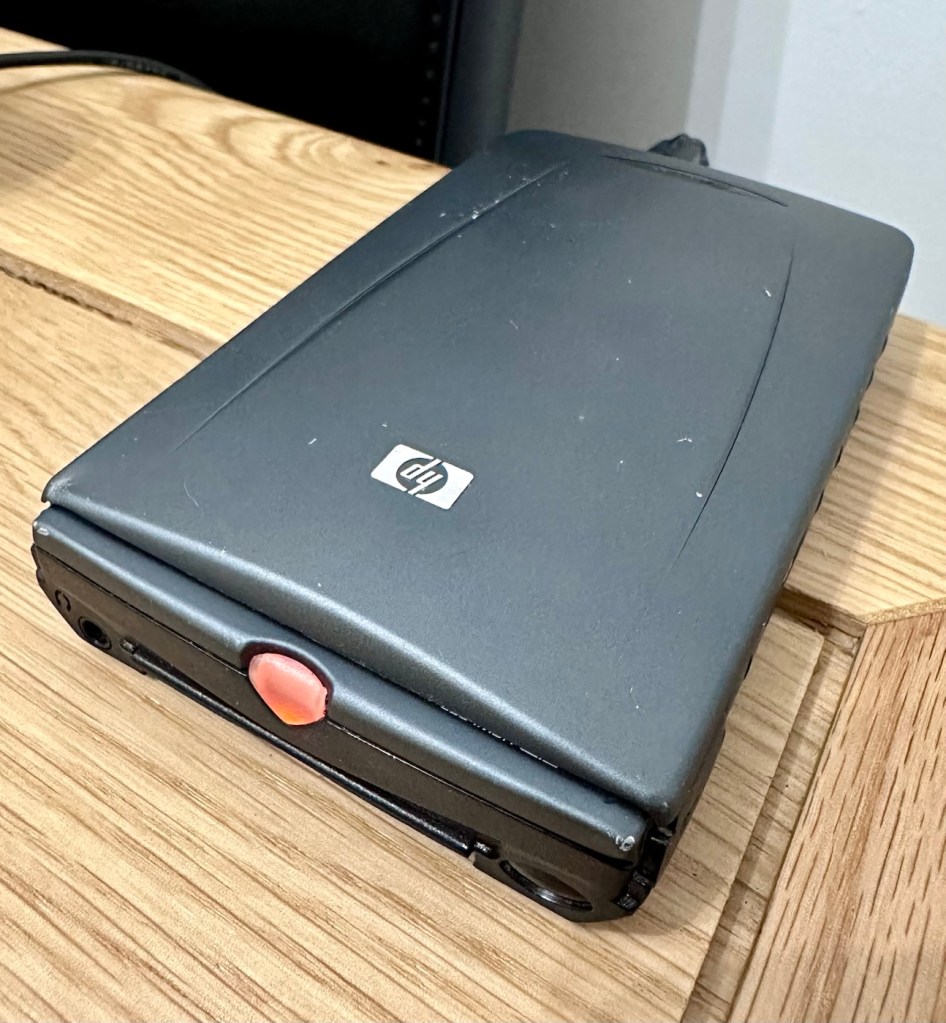
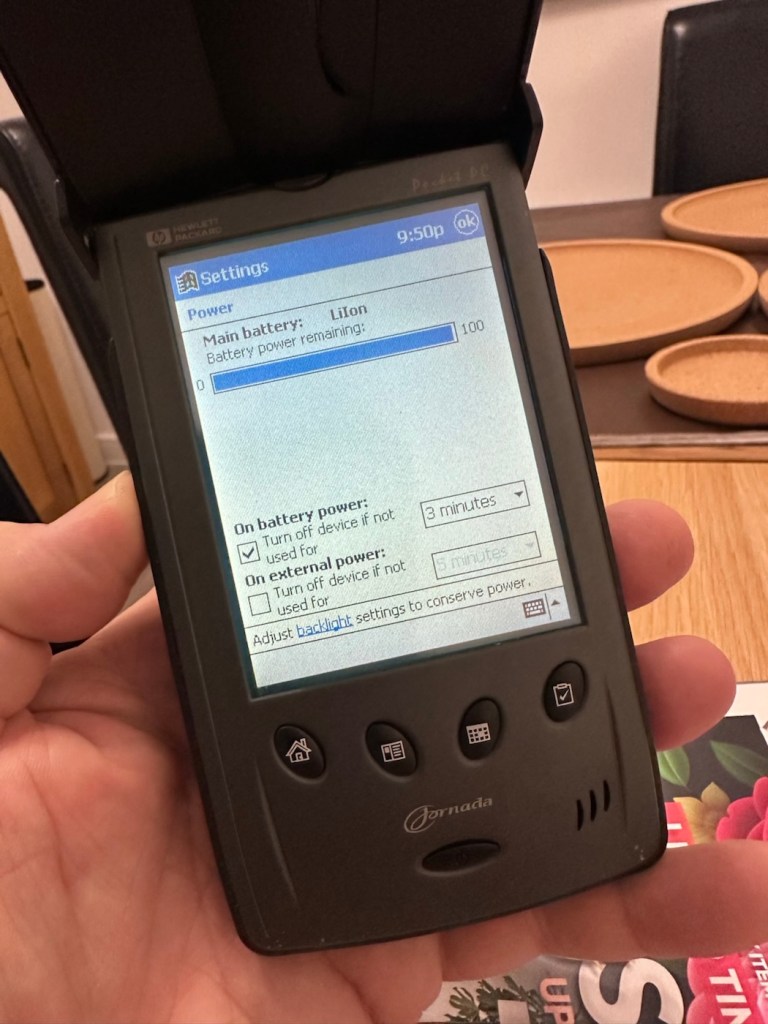
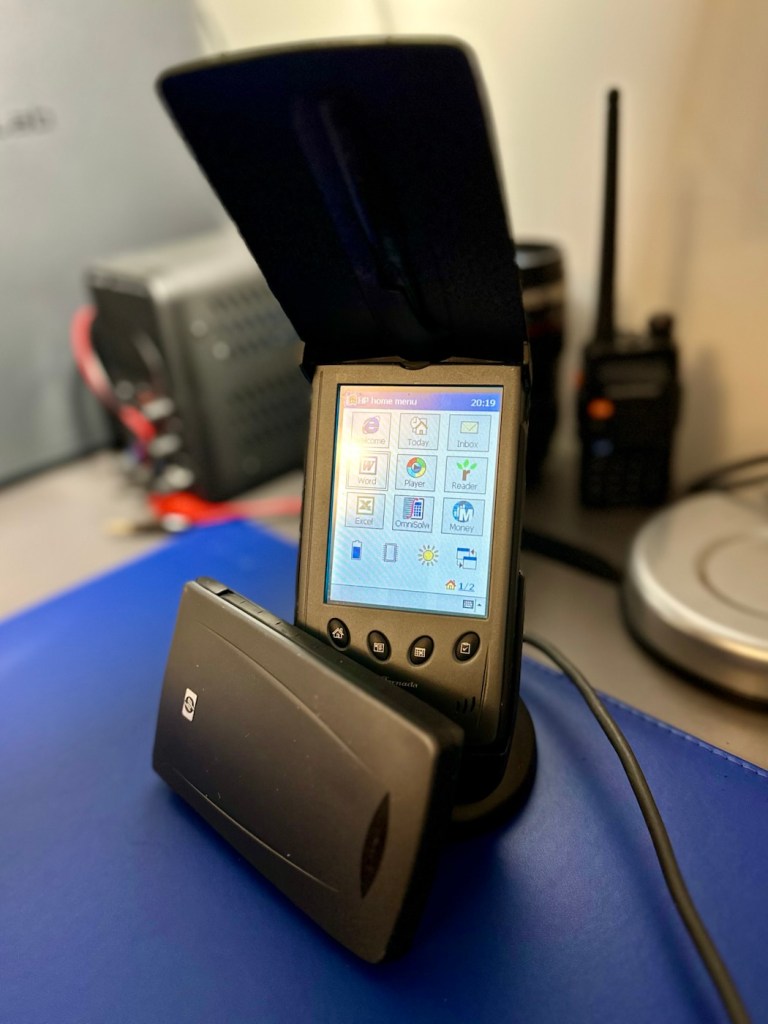
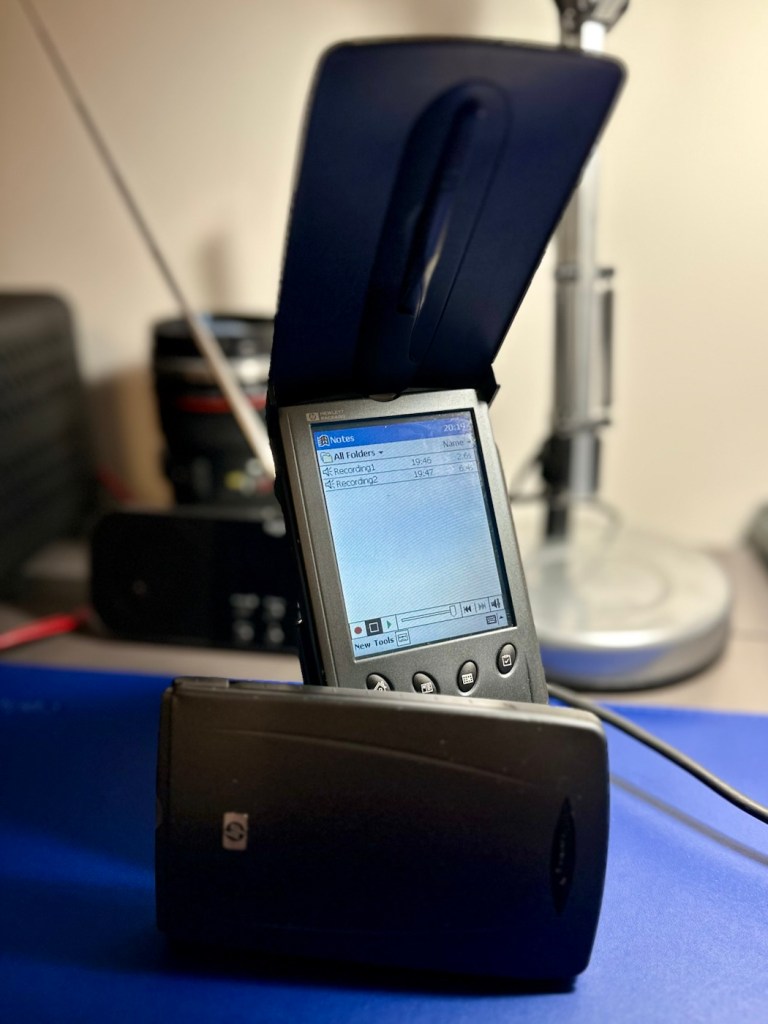
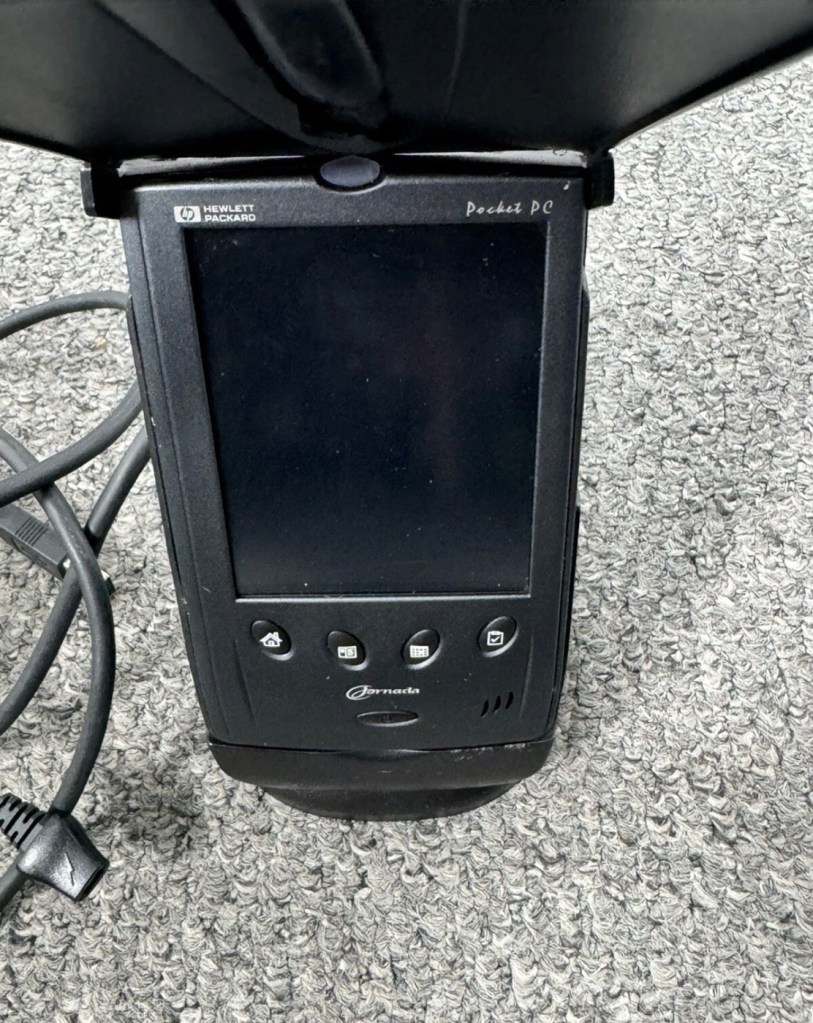
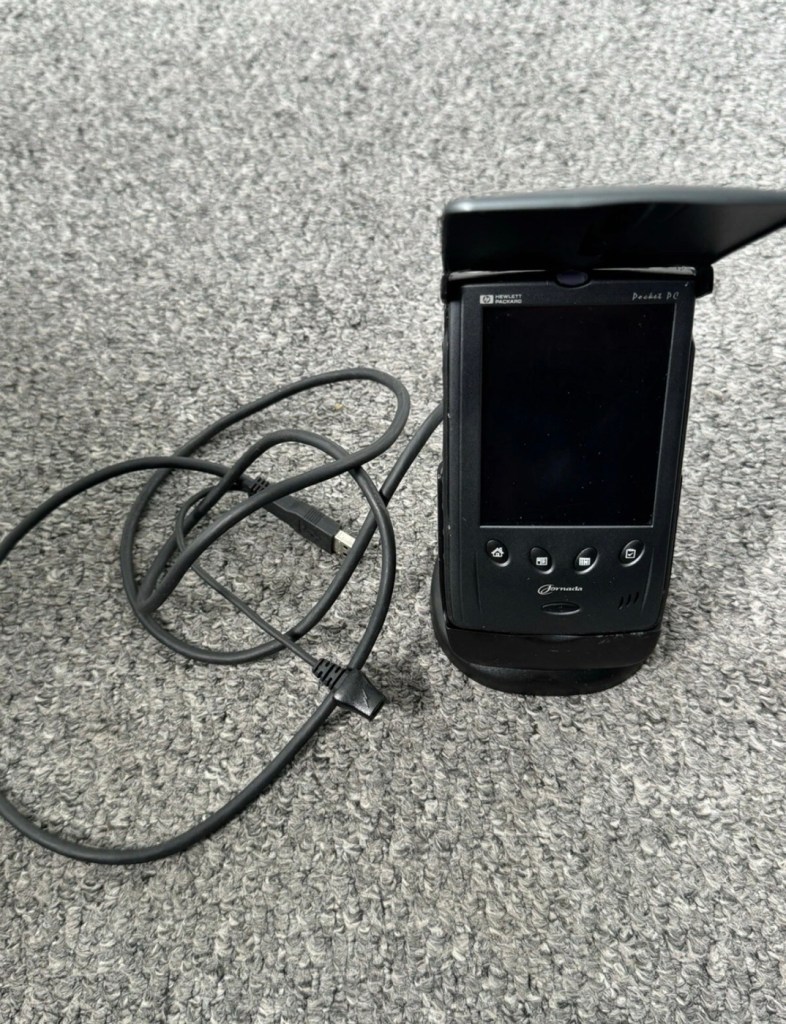
And this is my original old 540 (548) Jornada.

I just know this is going to be a challenge, and to be honest i will have two of these when this one arrives. This is the 16 mb version, released in Mid 2000, currently aged at around 26 years old. I’ve had a dead one sitting in one of my junk drawers for a couple of years now and I though it would be a good challenge to get at least one of them working again, another one of my Frankenstein projects if you must. I have no charger for these, the chargers are priced at a premium with the online pirate community, (Robbing swines!) so I will just have to make do. At least with the docking station that this unit has I have somewhere to start from. I suspect both batteries will be dead so I may have to use some jiggery pokery to get some power into their circuits to see if we can get any signs of life.

But whilst we await the arrival of this unit, here is a little bit about this PDA:

The Jornada was a line of personal digital assistants or PDAs manufactured by Hewlett-Packard. The Jornada was a broad product line that included Palm-Size PCs, Handheld PCs, and Pocket PCs. The first model was the 820, released in 1998, and the last was the 928 model in 2002 when Compaq and HP merged. The Jornada line was then succeeded by the more popular iPAQ model PDAs. All Jornada models ran Microsoft Operating Systems that were based on Windows CE.

Jornada 540 series

The HP Jornada 540 series, including models 545, 547, and 548, was released in July 2000. As one of the original Pocket PC platforms, it featured a 12-bit color display, 32MB RAM, and USB connectivity running Windows CE 3.0.

The Jornada 540 series was one of the original models of Pocket PC, when the platform was first announced. Sharing the Operating System, CPU and memory card slot of the 520 series, it featured a 12-bit display (originally advertised as 16-bit display) and USB connectivity. Two models were made available that were identical except for the amount of RAM. The 545 had 16 MB RAM and the 548 had 32 MB RAM.

Wikipedia

Assessment:

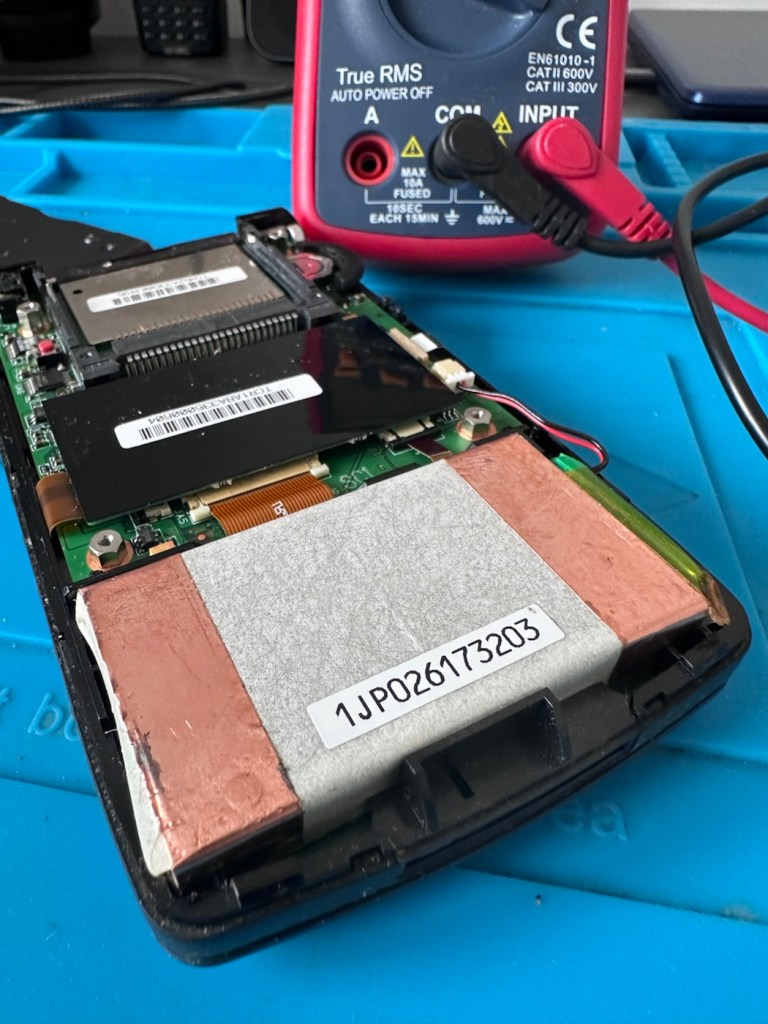
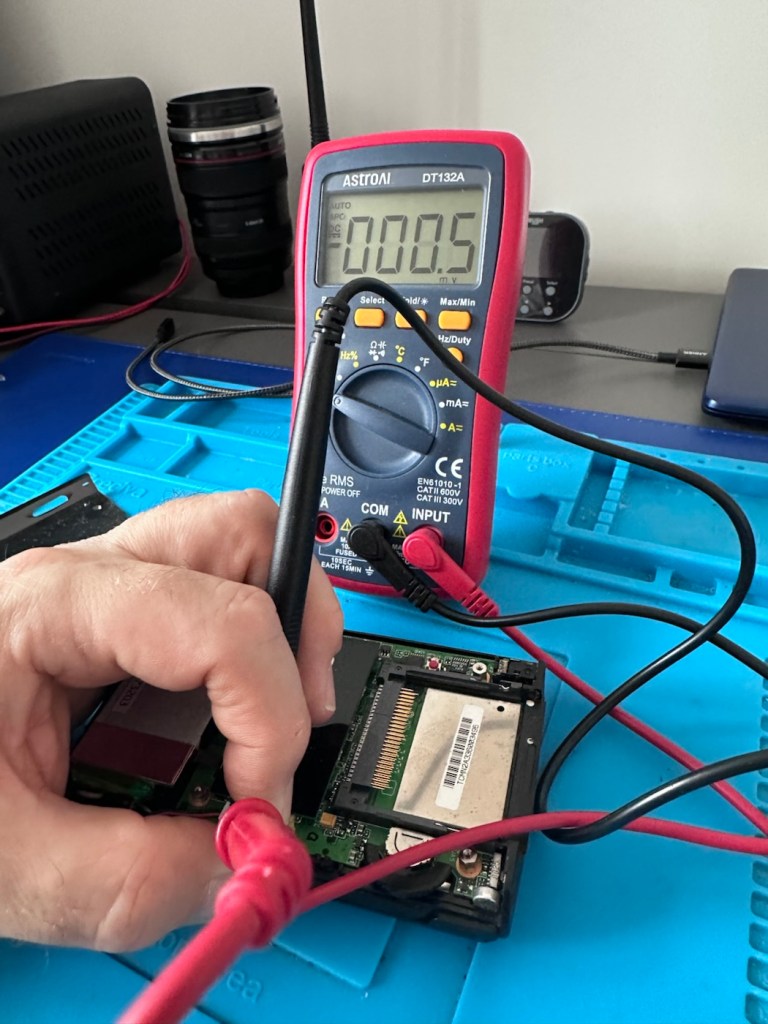
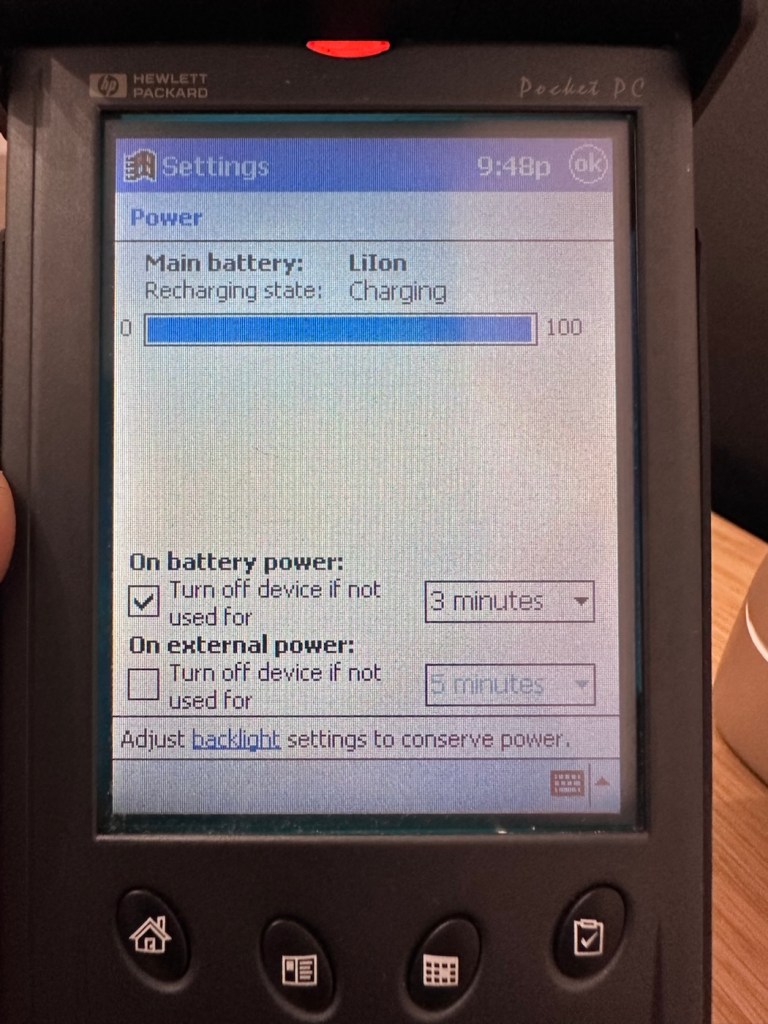
The old one I originally had is in fairly good condition, only displaying age related wear and tear. It has its original touch pencil, and is pretty much all there. Its battery (a 3.7v Li-ion) is very dead though (see pictures above) I have no means at present to see if I can charge the battery.

My original old unit

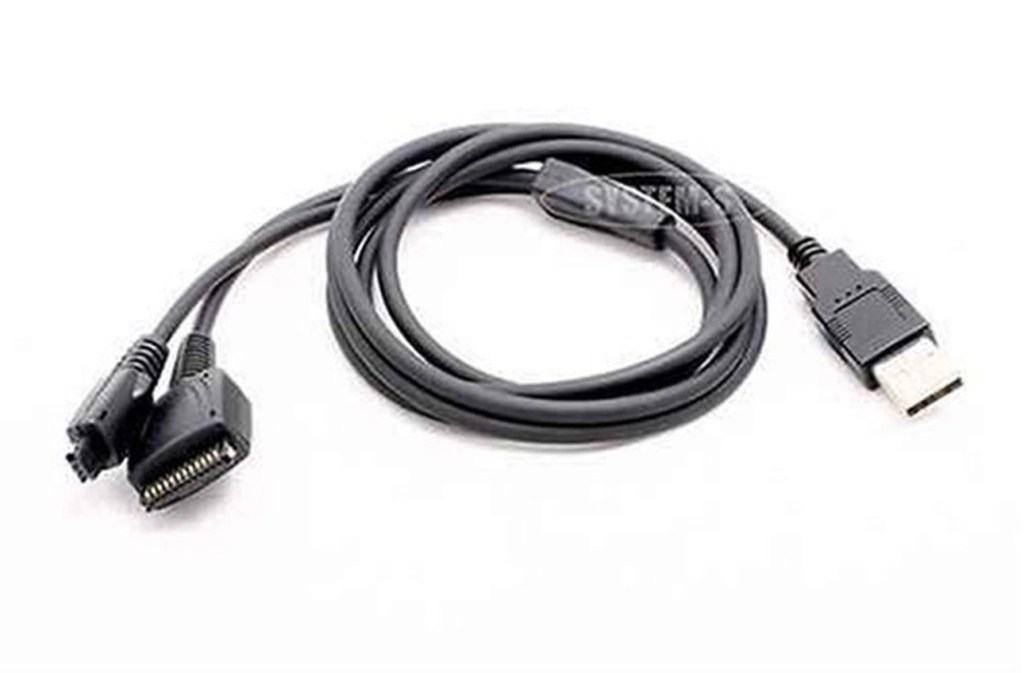
I have however found a charging alternative that will not break the bank. I have found a chap in Germany called Edgar, that runs a business selling cables and peripherals for older units, as well as more up to date systems, his shop is in Hannover and his company is: systemhauszakaria.com. I have managed to get a USB charging unit called a System-S USB Charging cable, that has the connectors required for this unit, and being a USB cable I can use a suitable plug for the mains supply , if required.

The System-S USB charger cable

The cable includes a data transfer cable that also fits the unit, however my main task is to try and get some power into these units.

Let’s give it a go.

I’ve used the new lead, left the unit on and monitored it for about 90mins, and it does appear to be taking a charge. An Orange light indicates that charging is taking place.

Charging unit

The unit displays as 100% charged with the charging lead in. when disconnected it drops to about 50% but within a couple of seconds it shows as 100% again, this could be a time delay of some sort whilst switching to the battery circuit.

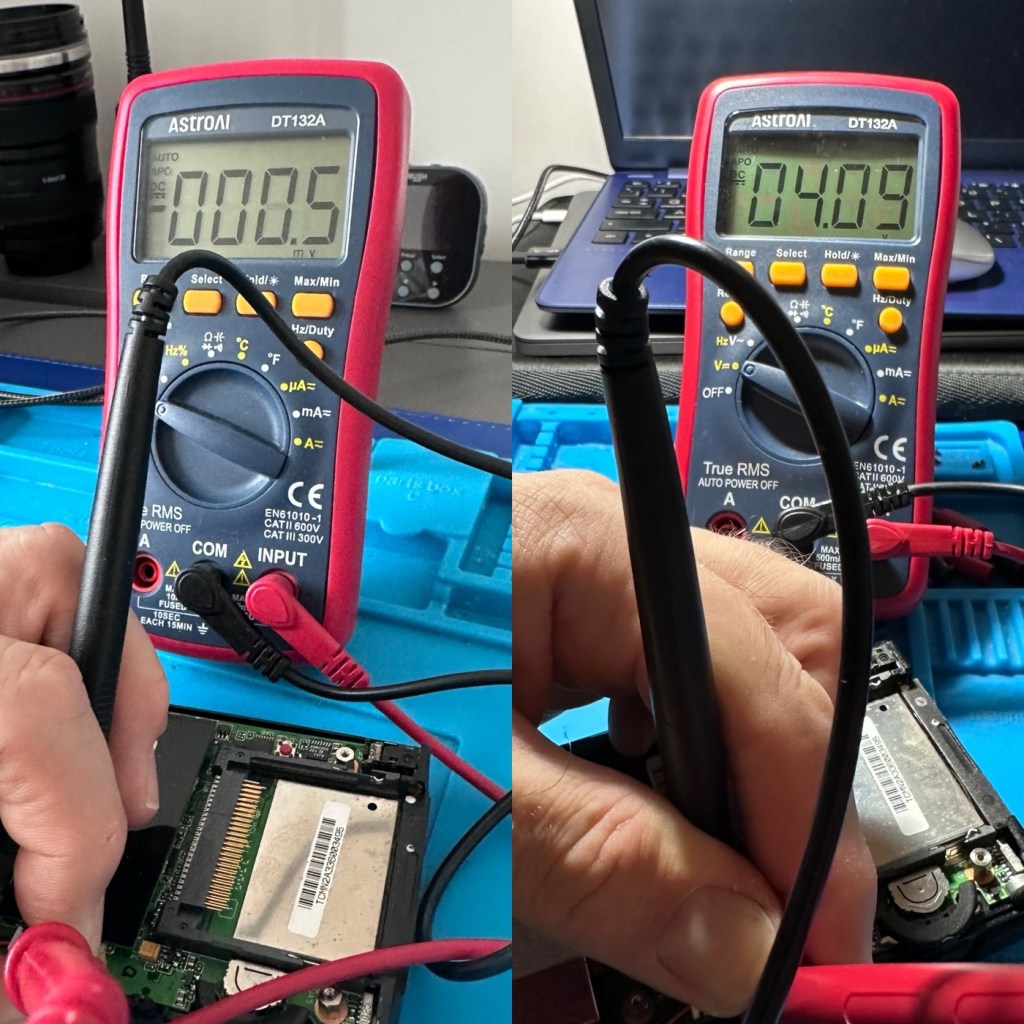
At this point I thought it would be worth getting the back off again, to check the battery charge. If you remember earlier in this post, this old unit that had sat unused in my desk for the last couple of years and when last tested the battery was dead at about 0.5mA. However this is a transformation, as when the battery was now tested its voltage was 4.09v. Now, a 3.7v Li-ion battery such as this should have a max charge voltage of 4.2v, so in theory this battery is in quite good condition considering its age. There may be a little deterioration, however considering this battery is possibly 26 years old it’s held up very well.

Before charge, and after

The unit will be left for a while to see how the charge holds. 10hrs later, untouched and off charge, I can confirm the power is still indicating 100%, this pleases me as it shows the battery is still good and has a good life inside of it. Very pleasing for what is potentially a 26 year old battery.

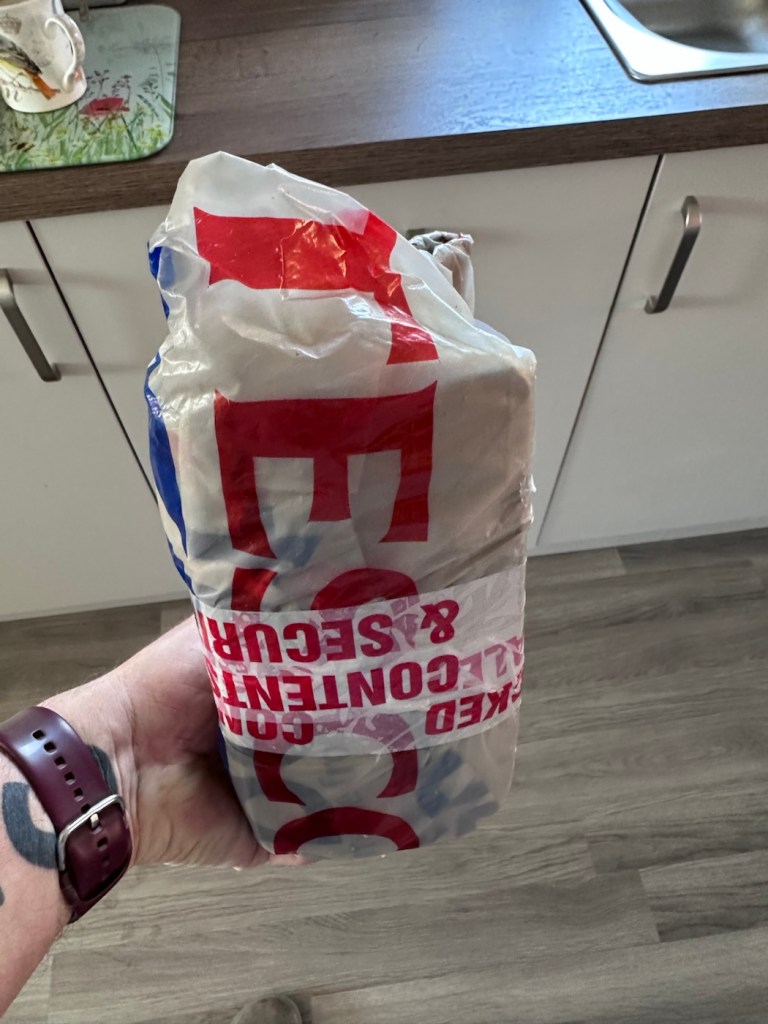
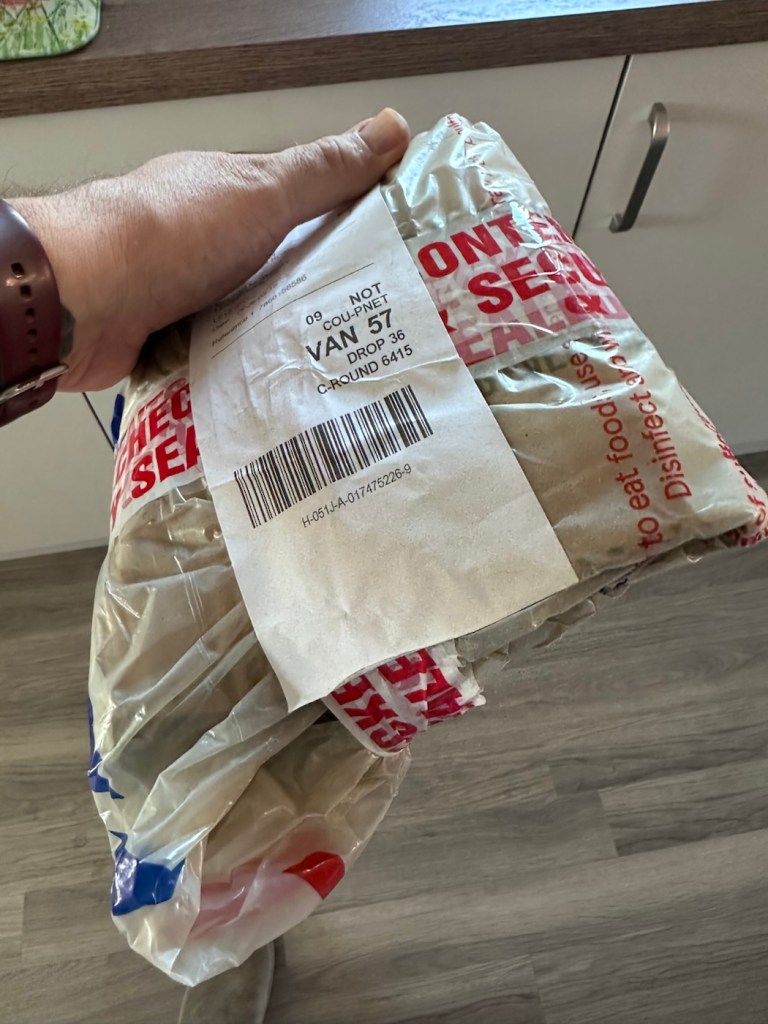
The new unit has now arrived and I’m surprised it got here after being posted in a couple of old carrier bags, no padding just a couple of old bags. I suspect the seller wanted it off his hands, they probably had little faith in it ever working again.

However, despite this, the actual unit appears to be in quite a good condition. It’s free from dinks and scratches and both the unit and the charging cable appear to be in a good order.

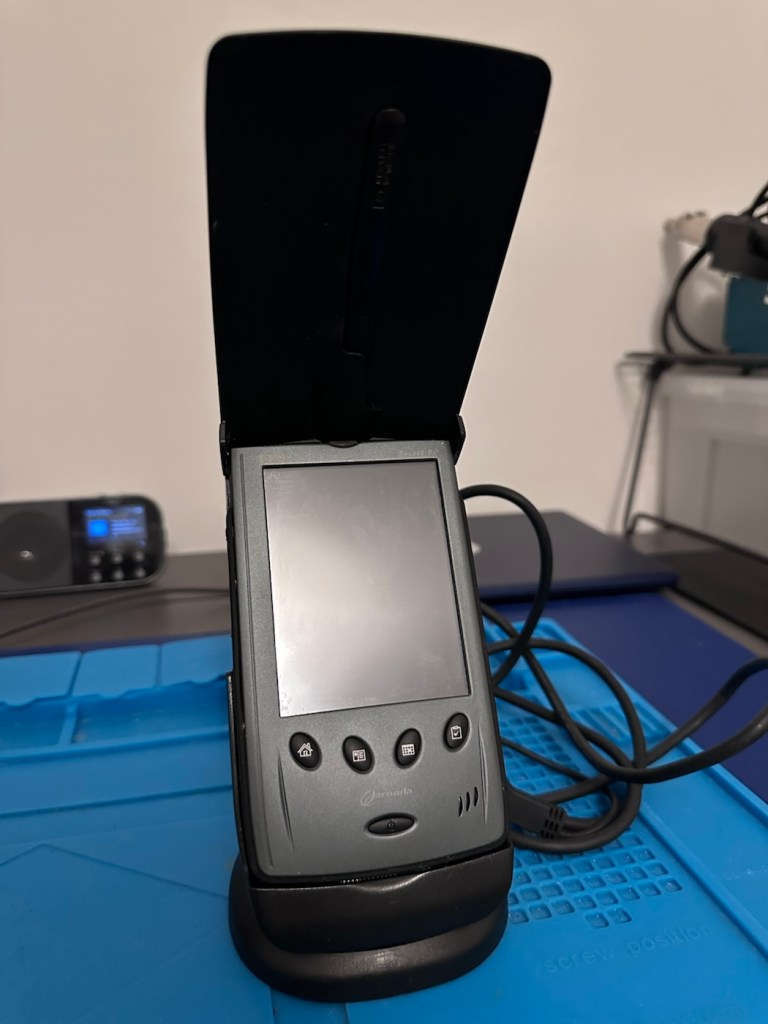
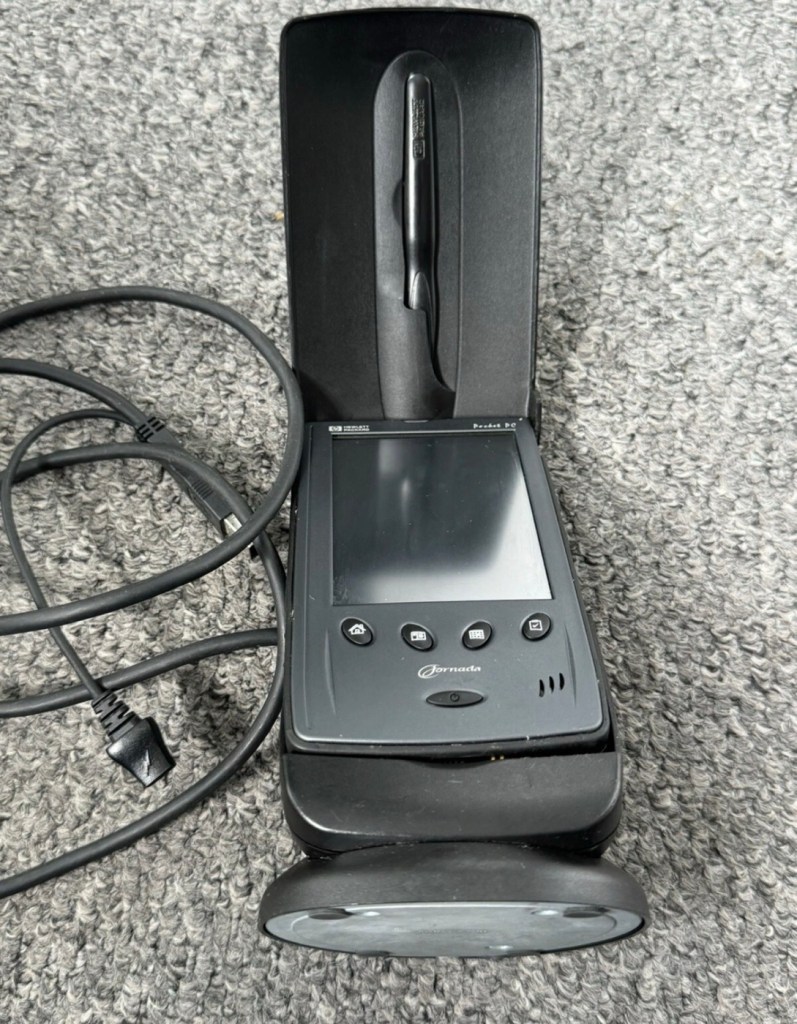
The new unit and charging cradle

Now, the good thing is that both these units have their original touch pencils. This cradle has a cable connected to it and a USB socket, however that USB socket is for data transfer and not charging. To charge, the new System-S USB cable has to be connected in line. The cradle will then charge. And it looks as if it is doing just that.

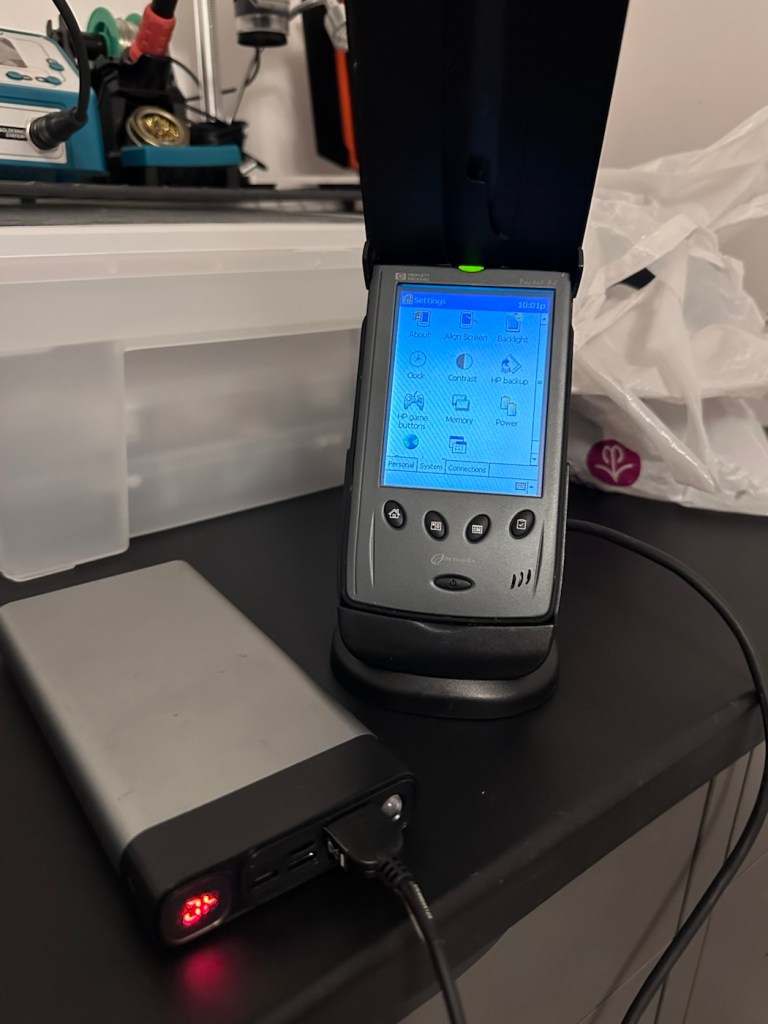
This time i have connected the new unit and cradle to a Power bank charger to see if this works, and it appears to be doing just that. It drained the power bank quite quickly, it only half charged, I’ll have to put it back on the household power tomorrow to fully charge it and check its battery capacity.

Tomorrow has arrived and the unit has been on charge for a couple of hours and it is indicating as fully charged. Back on the bench with the back off I can confirm the battery charge is reading at 4.08v so it is pretty much the same reading as the other unit.

New unit and cradle with power bank charger

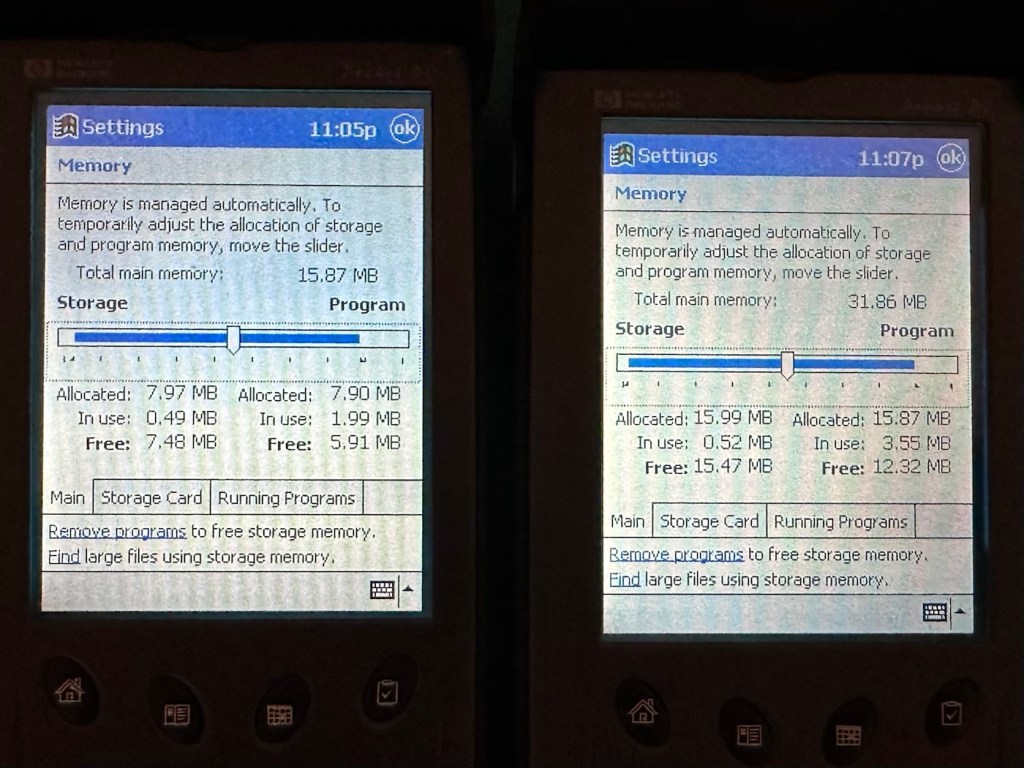
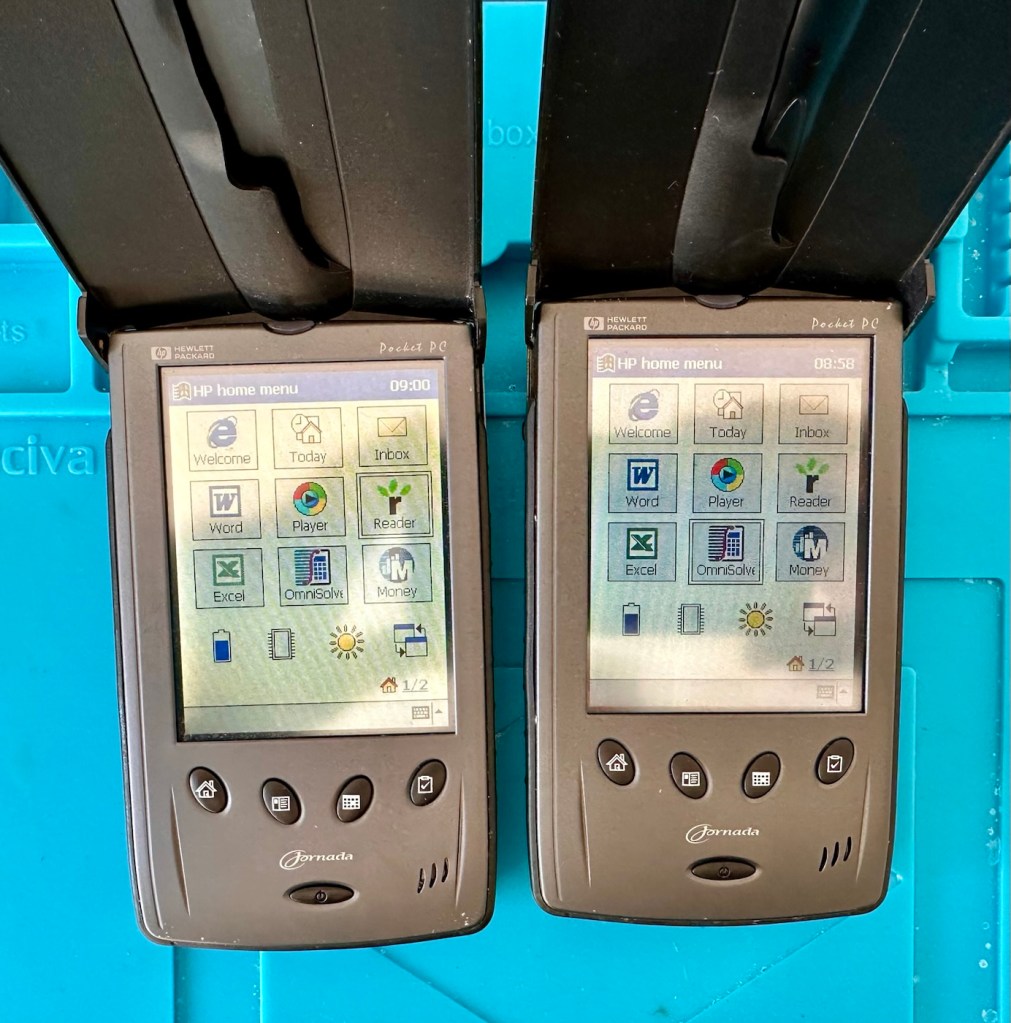
These two units are both of the 540 series however the newer one that came with the cradle has only 16MB of memory (The 545) whereas my older one (The 548) has 32MB of memory. It appears that HP created three variants in the 540 range and I now have two of them. The 545 had 16 MB RAM and the 548 had 32 MB RAM, the one that escapes me, the 547 was also a 32MB variant. (I’m going to have to get one now just to complete the set)

545 on the left, 548 on the right

Repair:

Less of a repair and more of a resurrection to be fair. I said it would be a Frankenstein project, and that’s exactly what it has been. Both units have charged well despite my concerns, they have been charged in a monitored environment and neither are showing signs of overheating, irregularities or any battery swelling or other issues. The battery management system on both batteries seems to be doing its job, and doing it very well.

I’m going to use this section to test some of the functions, to look at the installed program package and at the same time monitor battery usage along the way.

And as with all my projects, a thorough clean of the units is going to be carried out, it’s just got to be done.

But first I’m going to leave these units for a few days to see if the batteries drain.

Three days later

Three days later it’s good to see that when turned on, both units are holding a similar, slightly discharged reading that is to be expected. I’m pleased at this, and it appears that both batteries are holding out well and working very well after a long period of inactivity.

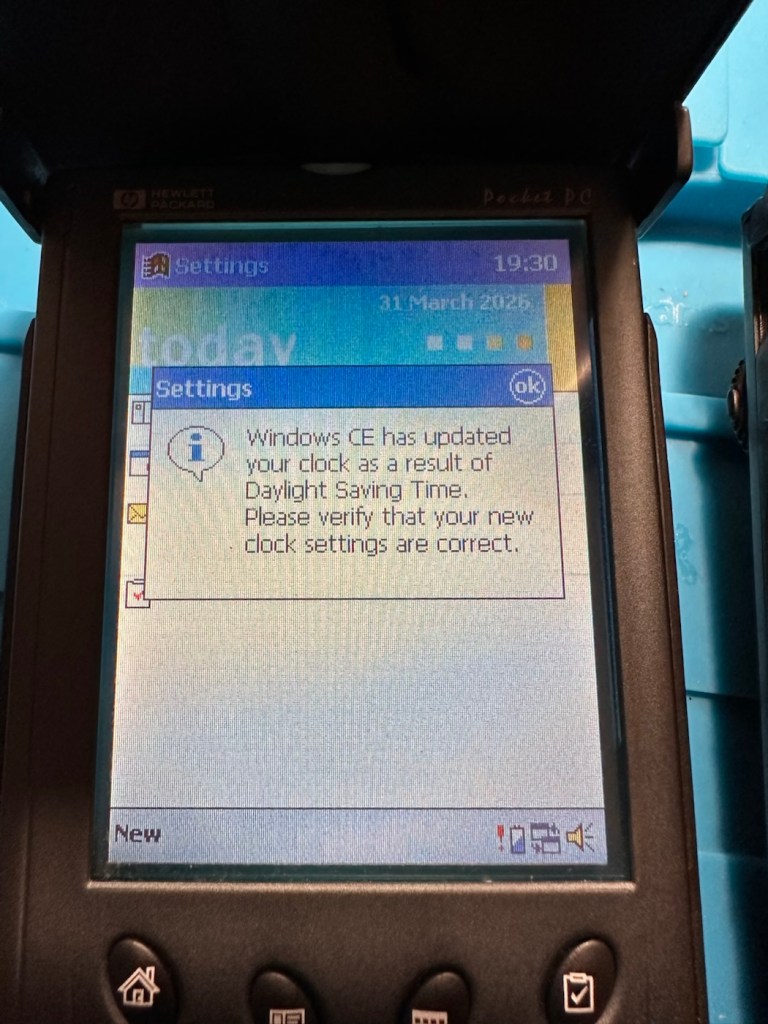
Left again for a couple of more days and both units are now prompting me to accept that the UK has now turned to daylight saving time, (as it has) and this is another good sign that shows that all is working as it should be.

What am going to do with these units? Please don’t ask me that as I just don’t know. I’m probably just going to use them for note taking, maybe for a to do list for my work room, but in reality they will probably just get stored in a sealed bag with some silica bags to keep them dry, until I either move them on or find another use for them.

Good job 👍

The package originally installed on these units consisted of the following:

  • Microsoft Pocket PC Suite: Pocket Outlook (Calendar, Contacts, Tasks, Inbox), Pocket Word, Pocket Excel, Windows Media Player (for audio/video), and Pocket Internet Explorer.
  • HP Productivity Tools: HP Home Menu, HP Task Switcher, HP Image Viewer, HP Backup, and HP Emergency Backup.
  • Third-Party & Utilities: LandWare OmniSolve Calculator, Developer One CodeWallet Pro (for passwords), AvantGo (for offline web browsing), and PeaceMaker (for infrared contact exchange).

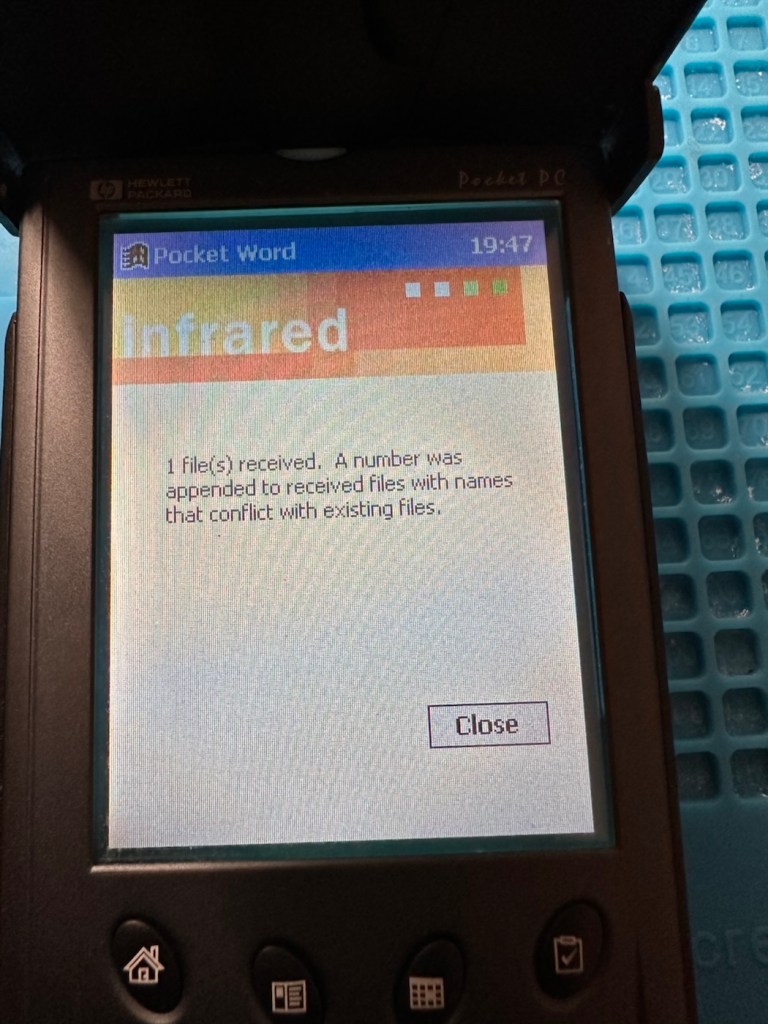
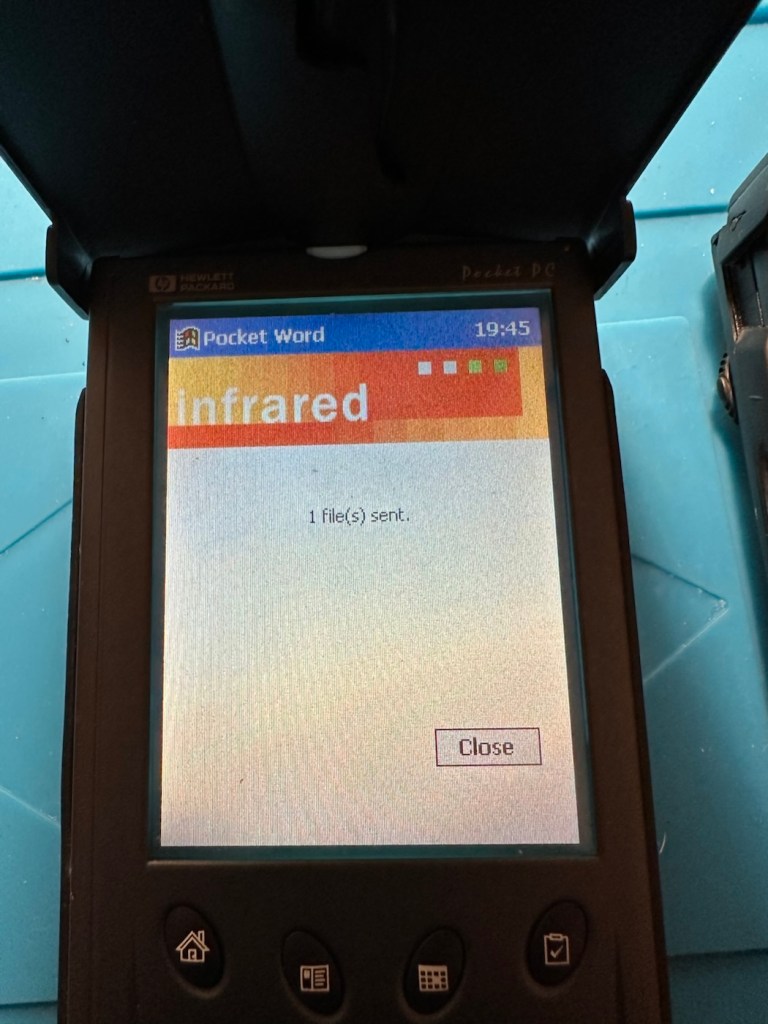
One item I wanted to test is the infrared transfer ability between units. I’ve made a small file within the word program, set one unit to transmit on infrared and the other to receive. On sending the file, this task worked fine.

The transfer worked however both units have to be within a very close line of sight to do so, it just shows how much file transferring has moved on within the last 25 years or so. We have been spoilt.

These units are both working fine.

Result:

Full Microsoft CE package
Working as they should be

There are many uses listed for these units online including MP3 players and television controls. However, I think using as a to do list for my workspace is probably the most appropriate usage for me. I need organisation in my life, so what if I’m using technology from quarter of a century ago.

Why not?

Two perfectly good items saved from landfill.

Small victory, and that’s good enough for me.

Many thanks for passing by. It’s always very much appreciated.
Our total love and devotion

If you could make your pet understand one thing, what would it be?

As I’m sure, anyone at all that pays any attention to what is written in these posts, will know we lost our best friend Alf, our beloved pet dog on 16th August last year. There’s probably a lot of you out there who are probably saying,“ For gods sake man just get on with it”.

Easier said than done I’m afraid. If you read the facts and figures, animal grief is just so real, especially in an animal loving country such as ours.

I’ve never really experienced it in such a manner before, but this time we’ve really struggled. I think I summed it up at its peak here: Is there a cure for a broken heart 💔 . There are a number of other posts about him but this one sums up the raw feelings when we lost him.

We’ve never been able to have children in our life, it’s complicated. Especially when you spend your life with the most wonderful woman who would have made the most fantastic mother, it really is heartbreaking to see her interactions with children and the love she shows them. Then in the quiet moments I really see how it affects her. All I can do is comfort her.
Alf – our little fellah

This is where Alf strolls in. He was to us, what was always out of reach, a kind of surrogate if you like. It was fate how we found him and he had the starring role in our lives for eleven beautiful years.

To answer the question: If I could make my pet understand one thing? It would be:

You were our love, our confidante our life. Our most precious companion. And we miss you so much.

Yes it’s more than one thing I know. But when a kindly loving soul enters your life and has such an effect on it, you just can’t label them with one singular credit, one word, It just can’t be done.

Life is a strange voyage. Sometimes when you can’t have something, you are blessed with the most perfect alternative. I believe we were blessed. His time came and he had to move on. I just hope some where, another couple who have maybe suffered similar issues as we did, are now experiencing some wonderful “Alfie” time. That little fellah truly had wings.

Love you for always lad.

Peace.

Stop fighting Demons

What could you do more of?

Now there’s a very open question.

  • Give more to charity?
  • Be happy?
  • Have time off?
  • Spread joy and happiness throughout the world? YAWN 🥱

There is so much we could do more of, personally it has always been a challenge for me to be a better version of what I am. My good lady challenges me regularly asking why I think this, and to be honest I just look back at my father and compare myself to him, he was a nasty horrible man.

She keeps telling me there is no comparison and I’m nothing like him, but to me I can see comparisons and that’s what I don’t like. That’s why I challenge myself to be better than him, and constantly try to do more of that.

He’s been dead getting on for twenty years now, and he haunts me to this day.

I could certainly do more of dropping the demons and getting on with what I have left. It’s a fight.

And it looks like that’s what I’m destined to do, more fighting.

Be kind to all you meet today. Have a great day.

Weir-y

Weir – Sunnyhurst brook

Taken whilst attending a wedding in Darwen Lancashire.

Sunnyhurst brook has some lovely weirs on the stretch near the olde kiosk. However like many rivers in the Uk its water is brown and lifeless. A shame as it is a beautiful feature and would look glorious if it had a restored habitat.

Such a shame.

Taken on an iPhone 14 Pro Max

Dinner for 14 please..

If you could host a dinner and anyone you invite was sure to come, who would you invite?

Strange one this, it would have to be a mix of those who are living and those who have passed.

It would be something like this:

  • My Wife – we always have plenty to talk about, relevant and irrelevant.
  • My brother John – passed away a few years back, but such a funny soul.
  • My Mum – again passed away but such a beautiful kind soul.
  • Karl Sagan – this guy cemented my interest in the universe with his Cosmos tv series and the book I still have to this day.
  • Professor Brian Cox – the modern version of Karl, and someone he could talk to, I’d love to eavesdrop this conversation.
  • Michael Stipe of REM – my favourite group, I have so many questions and what a lovely guy.
  • Michael Collins – Apollo 11, what was it like to be floating about out there when your colleagues were getting all the acclaim on the lunar surface?
  • My Brother in law Tel – always good company.
  • My sister in law Liz – absolutely lovely, and always ready to stir it up.
  • My sister Anne – a duplicate of my dear mum.
  • Bob Marley – my introduction to Reggae.
  • Bing Crosby – my dad’s favourite singer, and I was brought up listening to him, as I don’t want my dad there this would be close enough to him.
  • My Nan – Dads mum. A lovely tortured suffering soul that would do anything for anyone.

That’s about it. What a mixture of people. I’m sure I’d sit there for ages just holding the hands of my loved ones and just listening and savouring every little moment.

Perfect

Happy days everyone

Tiger “Sonic the Hedgehog” handheld console

What the listing said:

Console is sold as nonworking, shows no sign of life. Item is in good physical condition but there is a lot of corrosion in the battery compartment

Ebay

I’ve decide to look into what seems to be the “New Antique” sector of retro gaming. The prices being commanded for 1980s/90s old school gaming is crazy with many small handheld items that would have cost a couple of pounds being sold into the hundreds. Absolutely nuts!

Sonic – Tiger console

My decision making process on this was simple. I love hedgehogs, we have plenty of hedgehog visitors to our garden, so what better game than “Sonic the Hedgehog?”

Anyway, at the cheaper end I managed to bag this for £9 GBP. If I get it working, those units are selling between £20 – £45 so I should at least get my original outlay back, pending on what work needs doing.

So here we go….

Well, it’s arrived and cosmetically it looks fine.

Looks good cosmetically

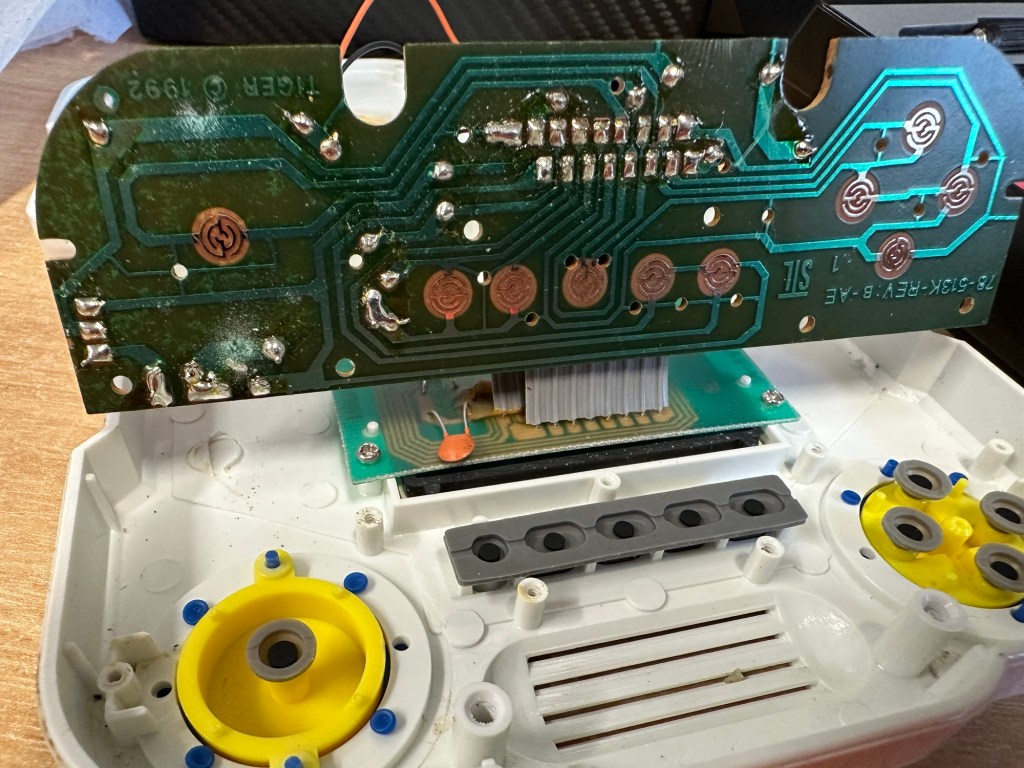
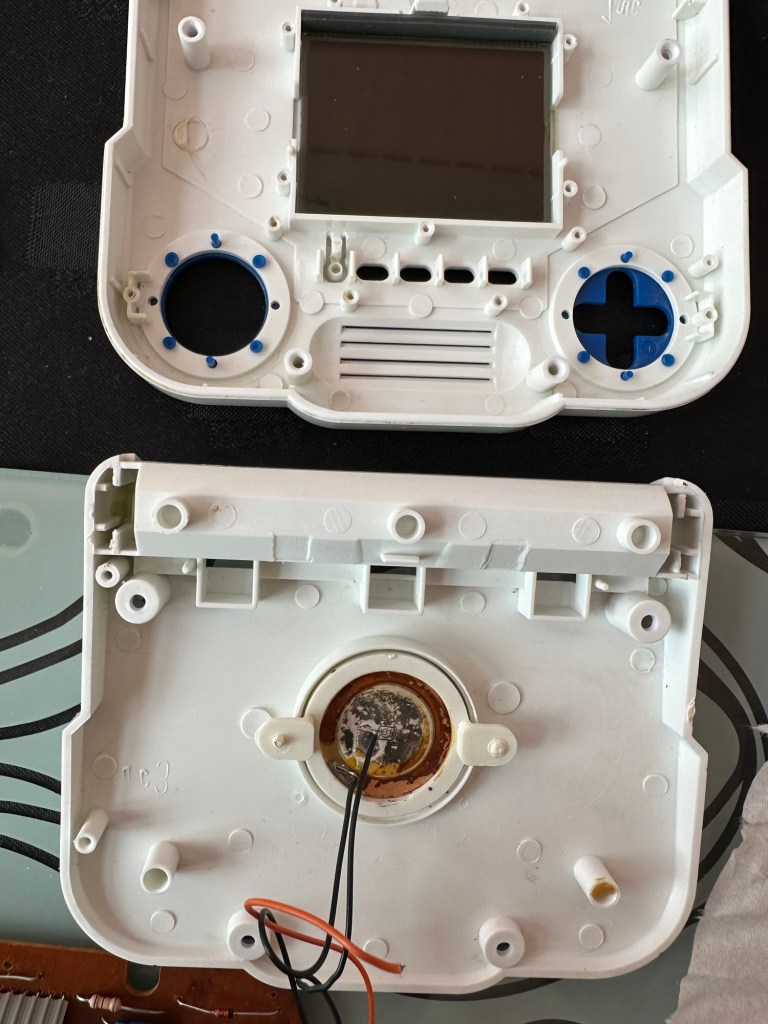
Now I opened the battery compartment and could see no corrosion, on opening further I noticed some of the screws had been threaded so I guess someone has been in here before me. And I was right. The corrosion can be quite clearly seen on opening the unit.

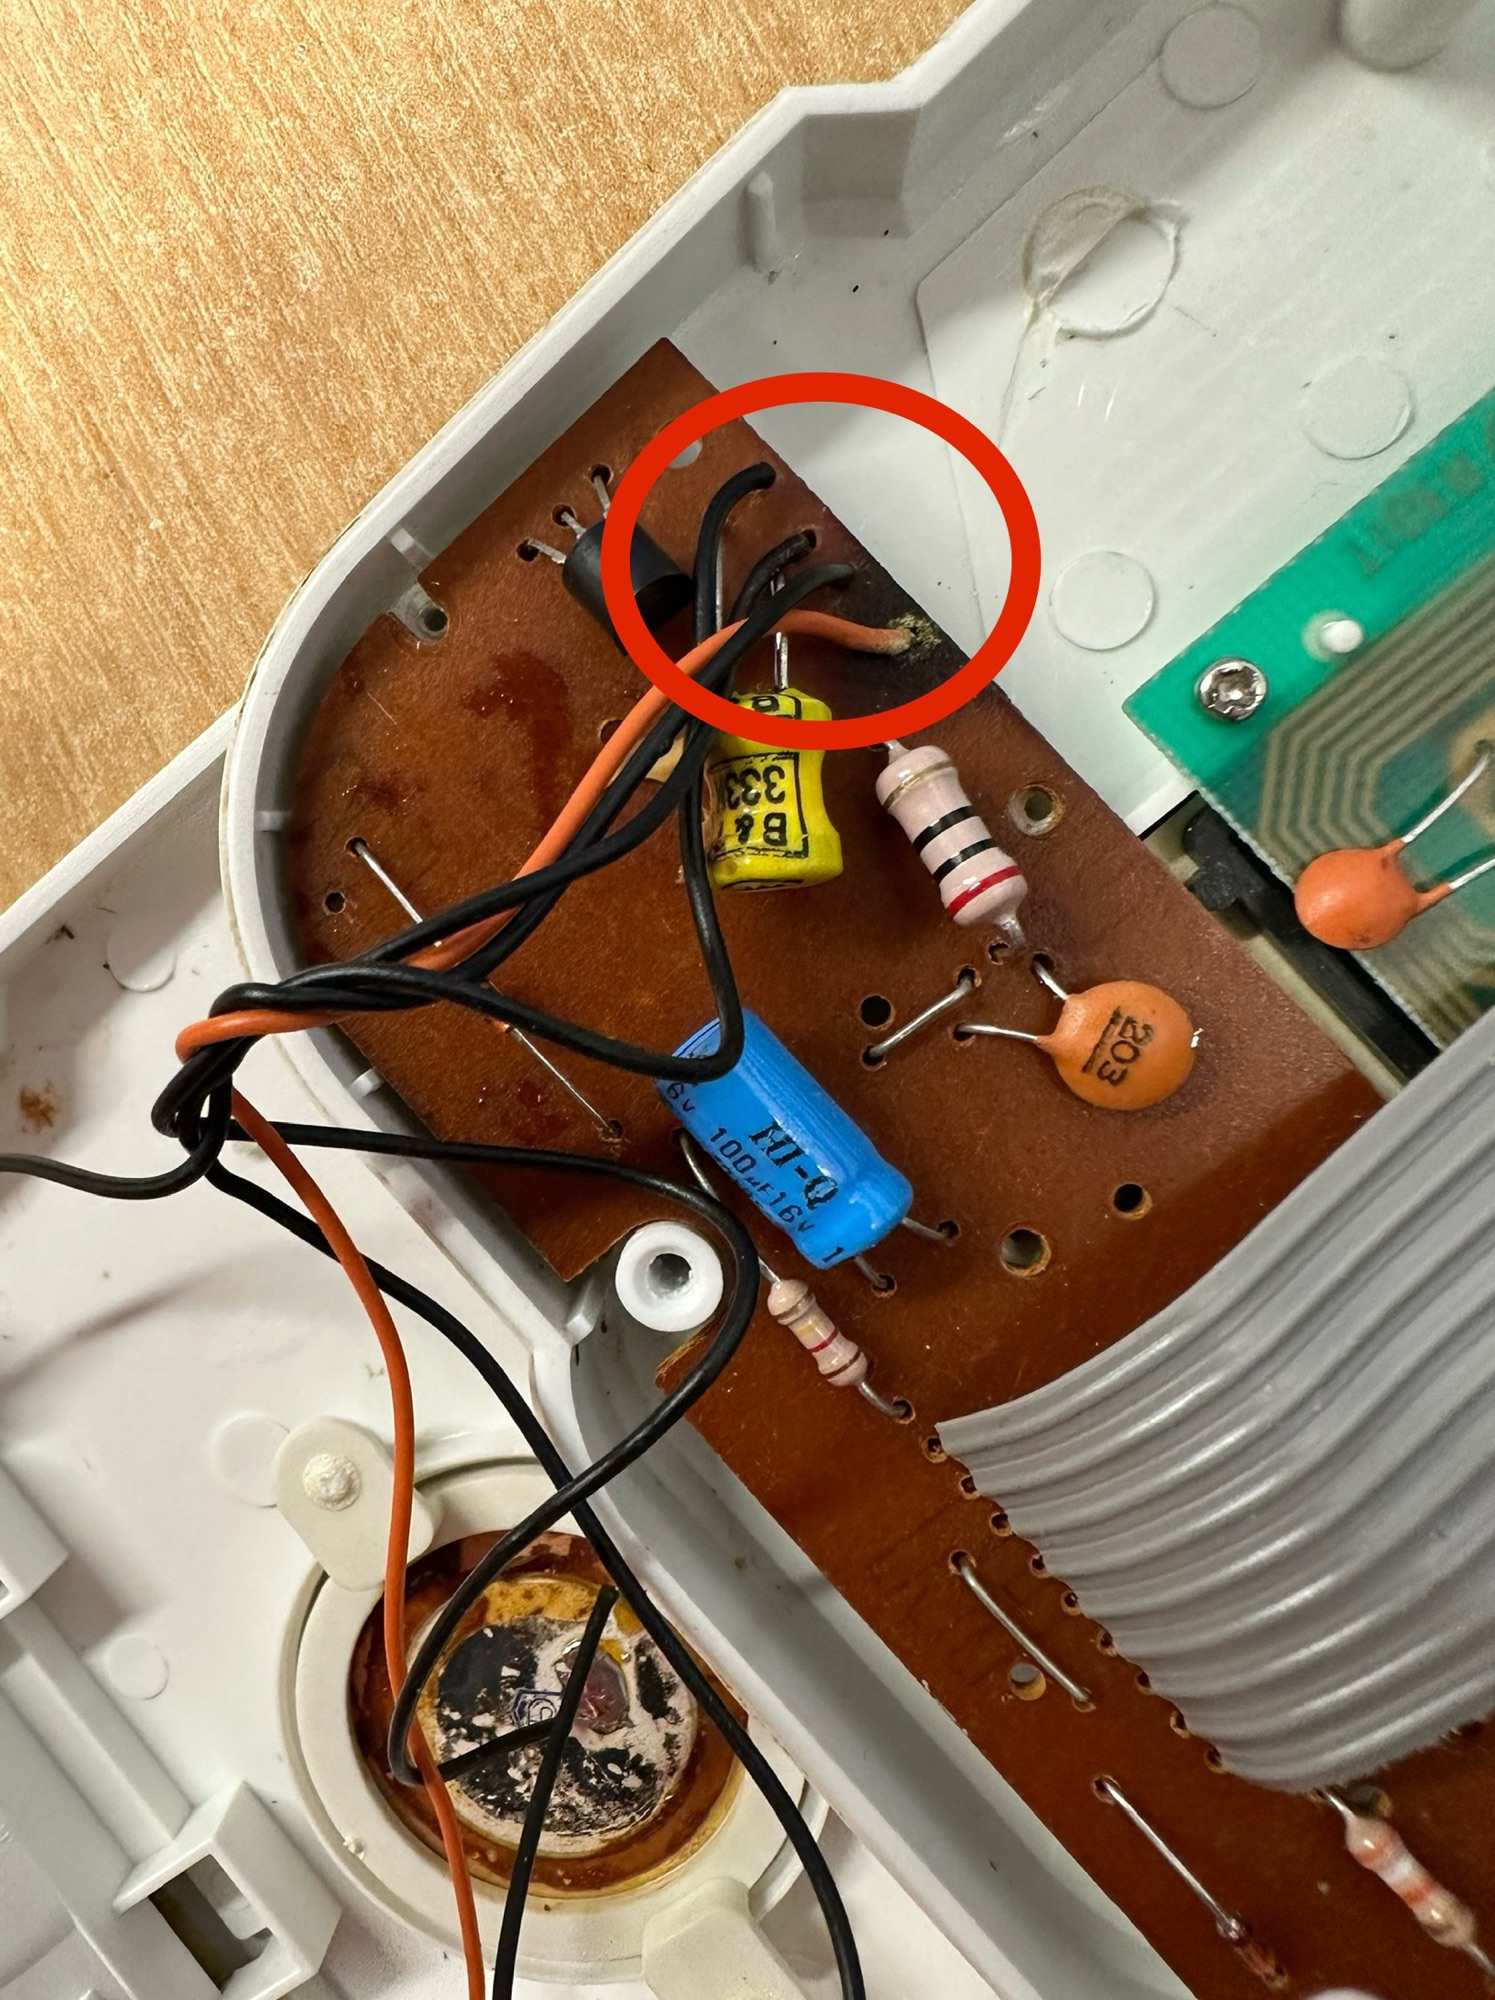
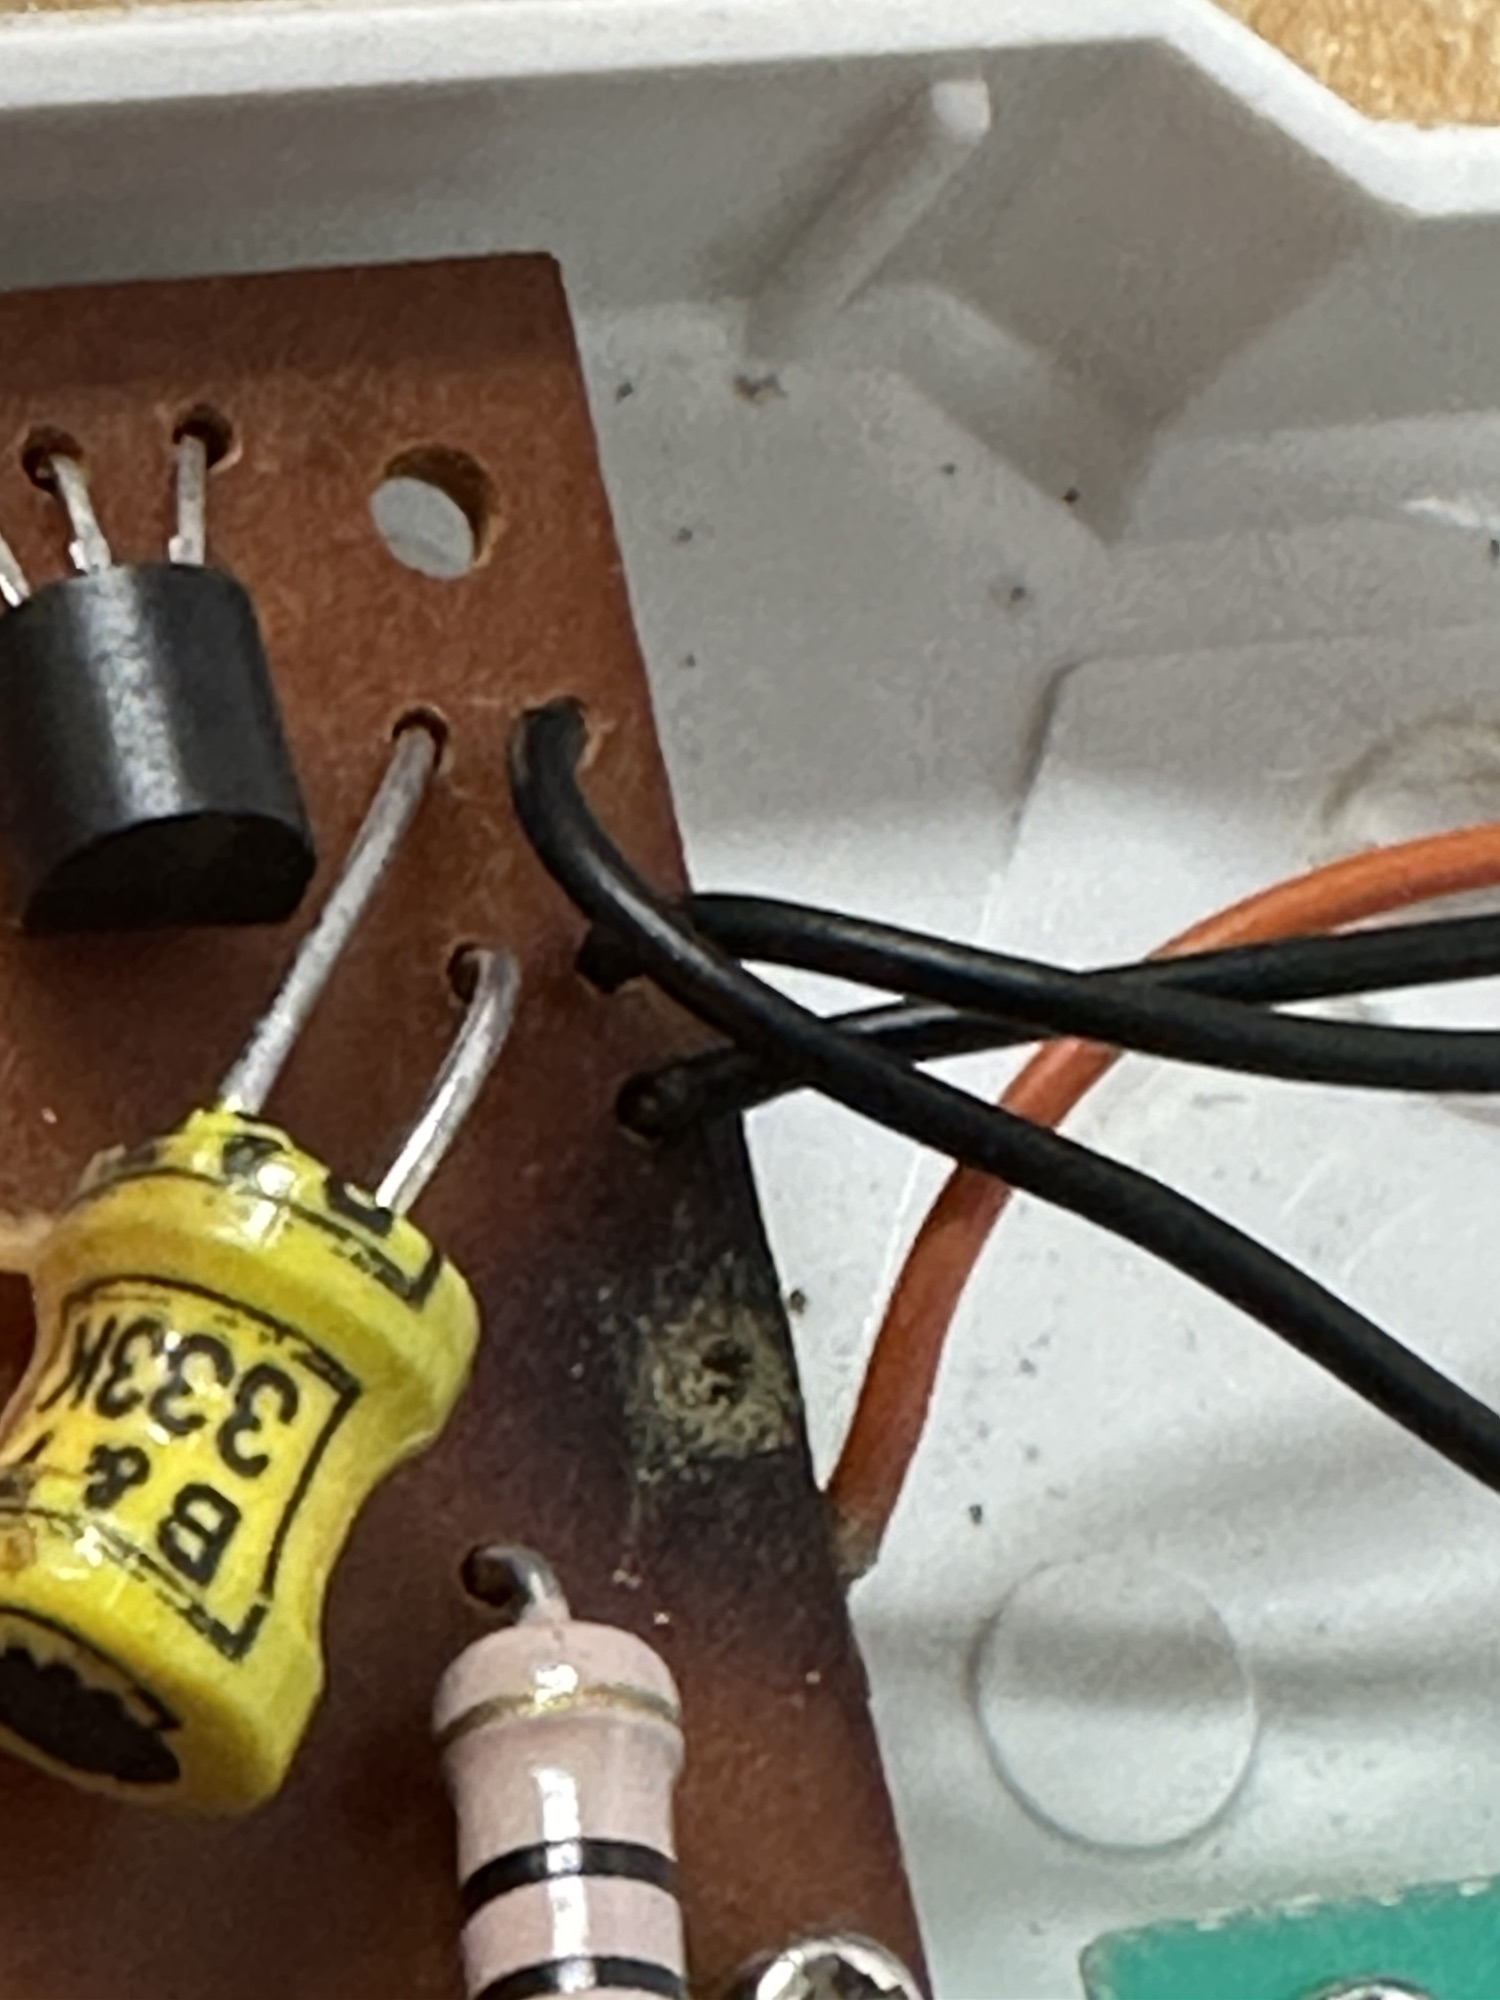
Where the corrosion is on the negative terminal, a wire is also disconnected, hooray I thought, an easy fix. Hold on tiger, it’s not that simple. it appears the corrosion has leaked down the wire to where the negative wire joins the circuit board, in fact all four wires at this point are holding on by threads of wire. These will need re soldering.

This game appears to be from 1992 according to the stamp on the main board.

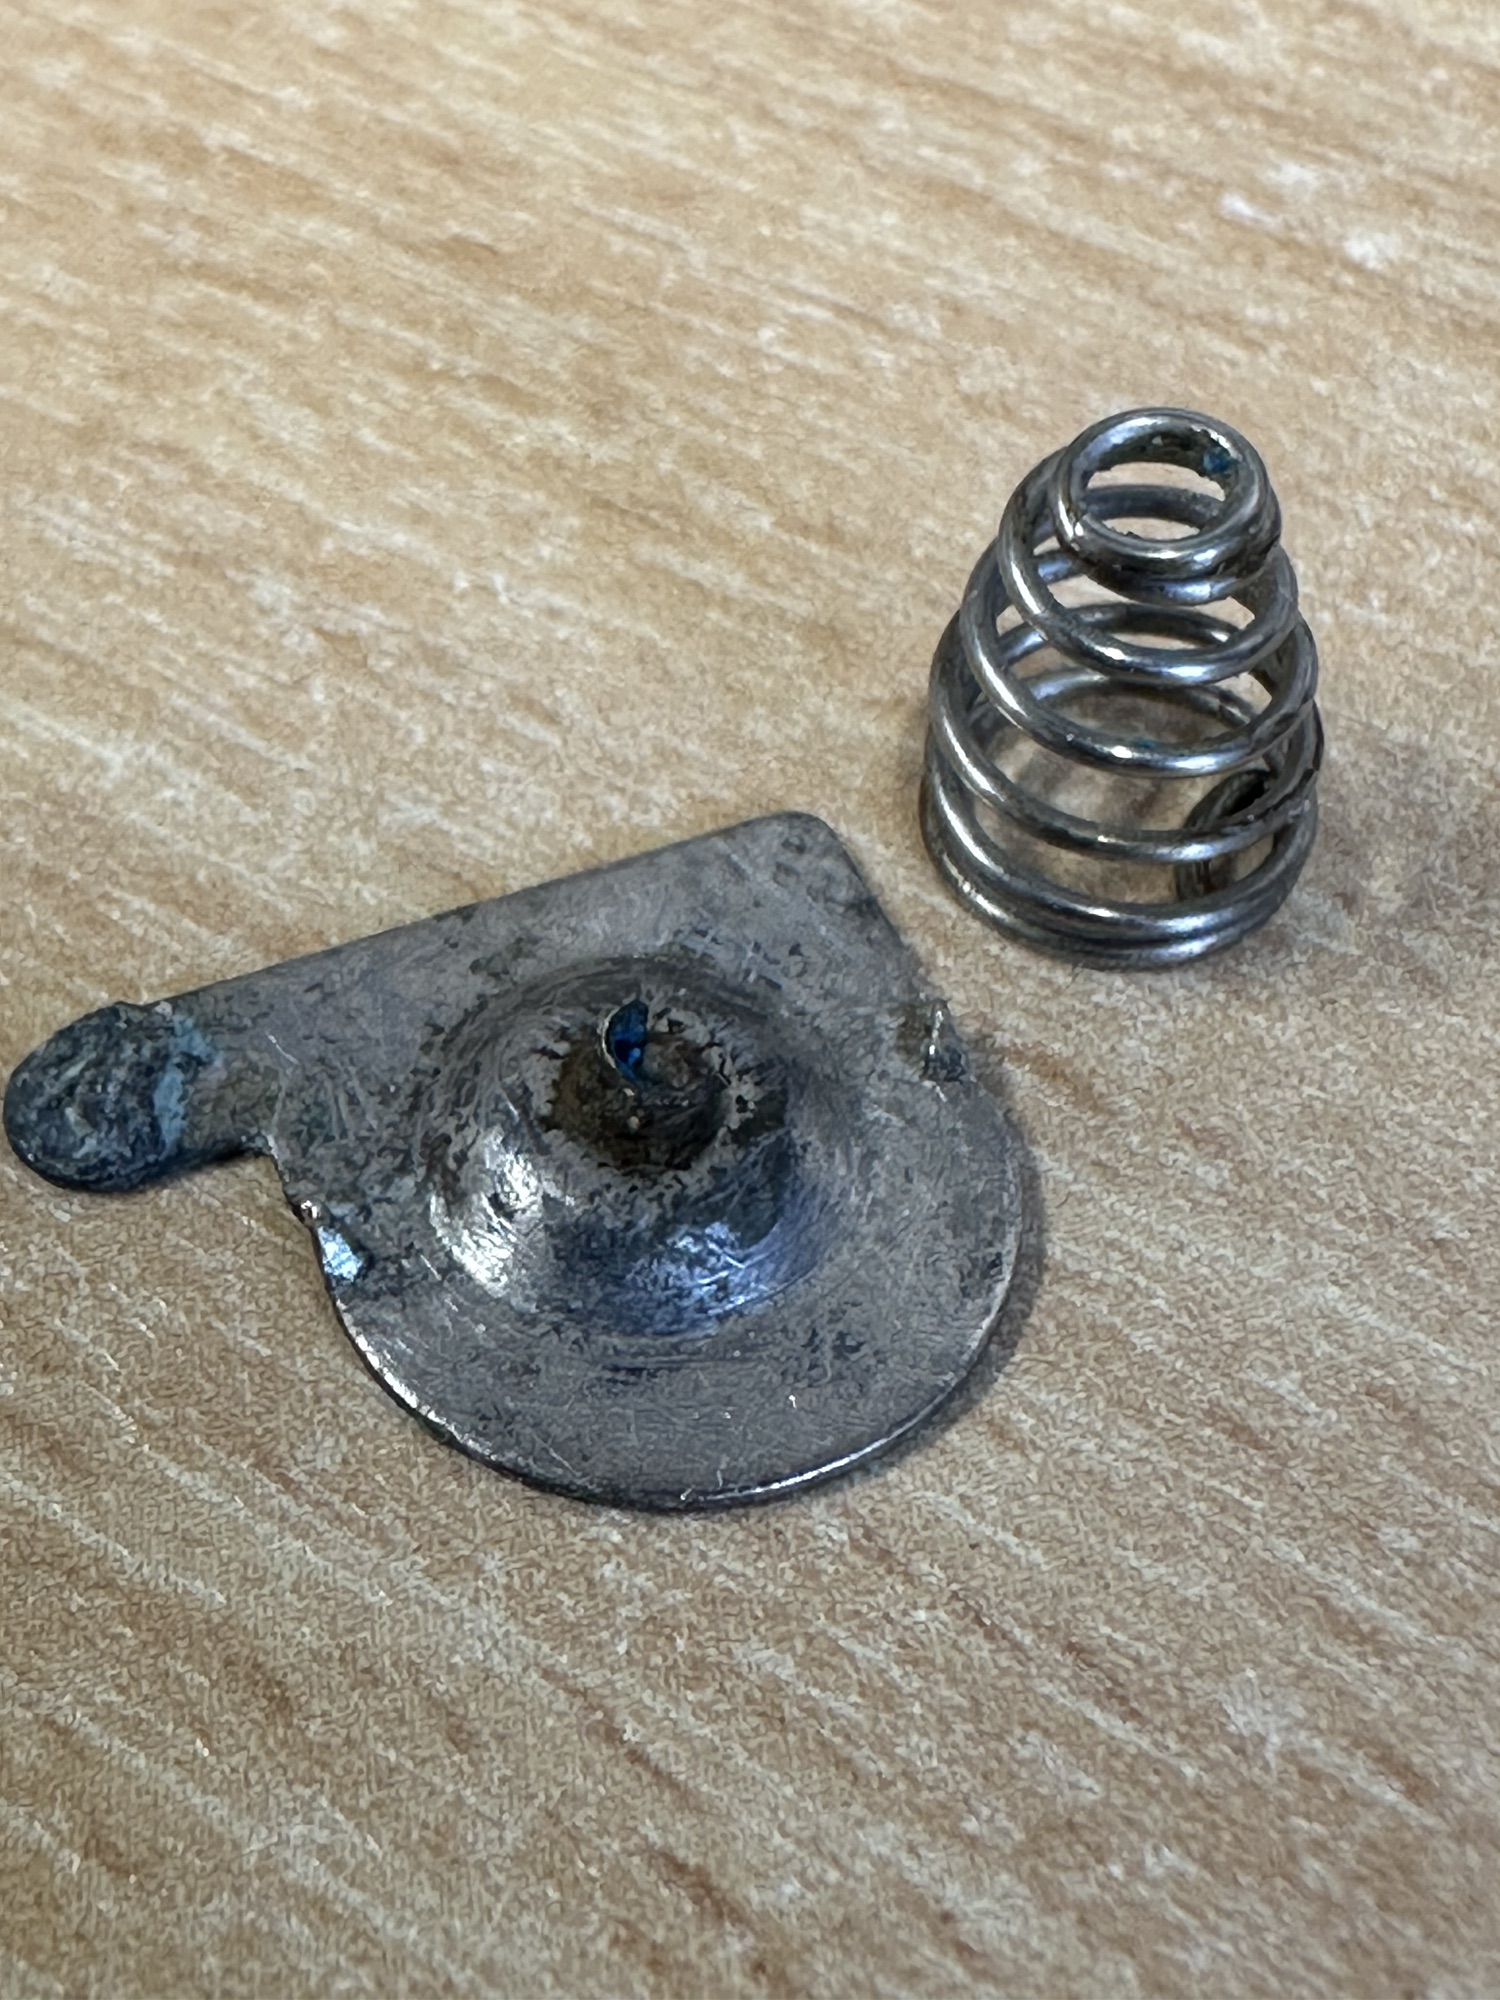
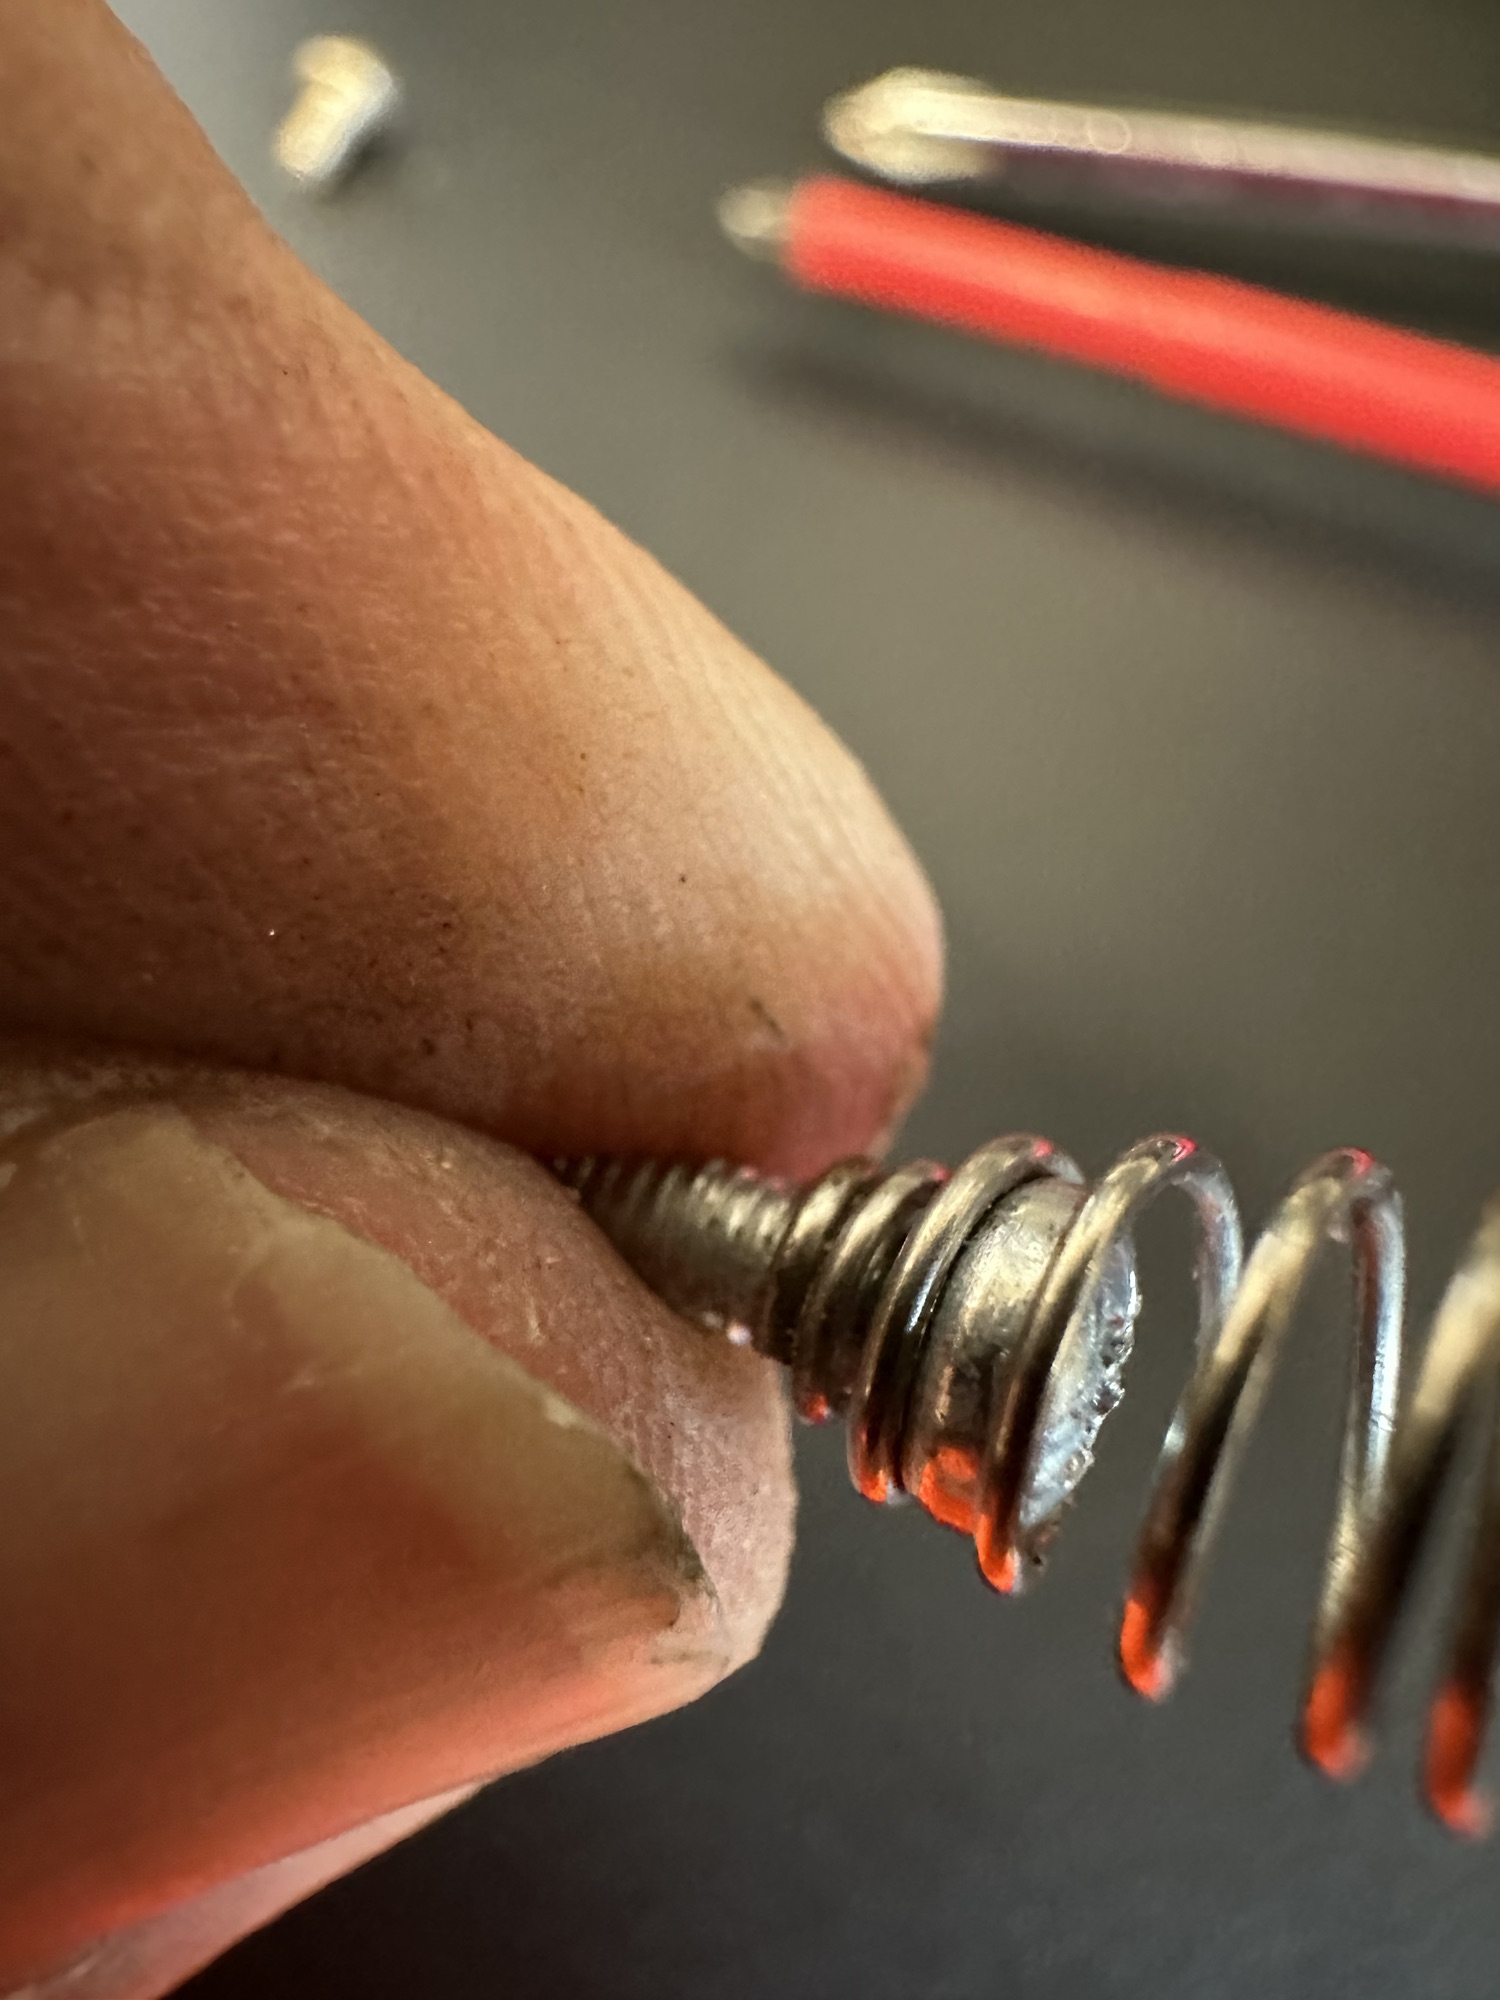
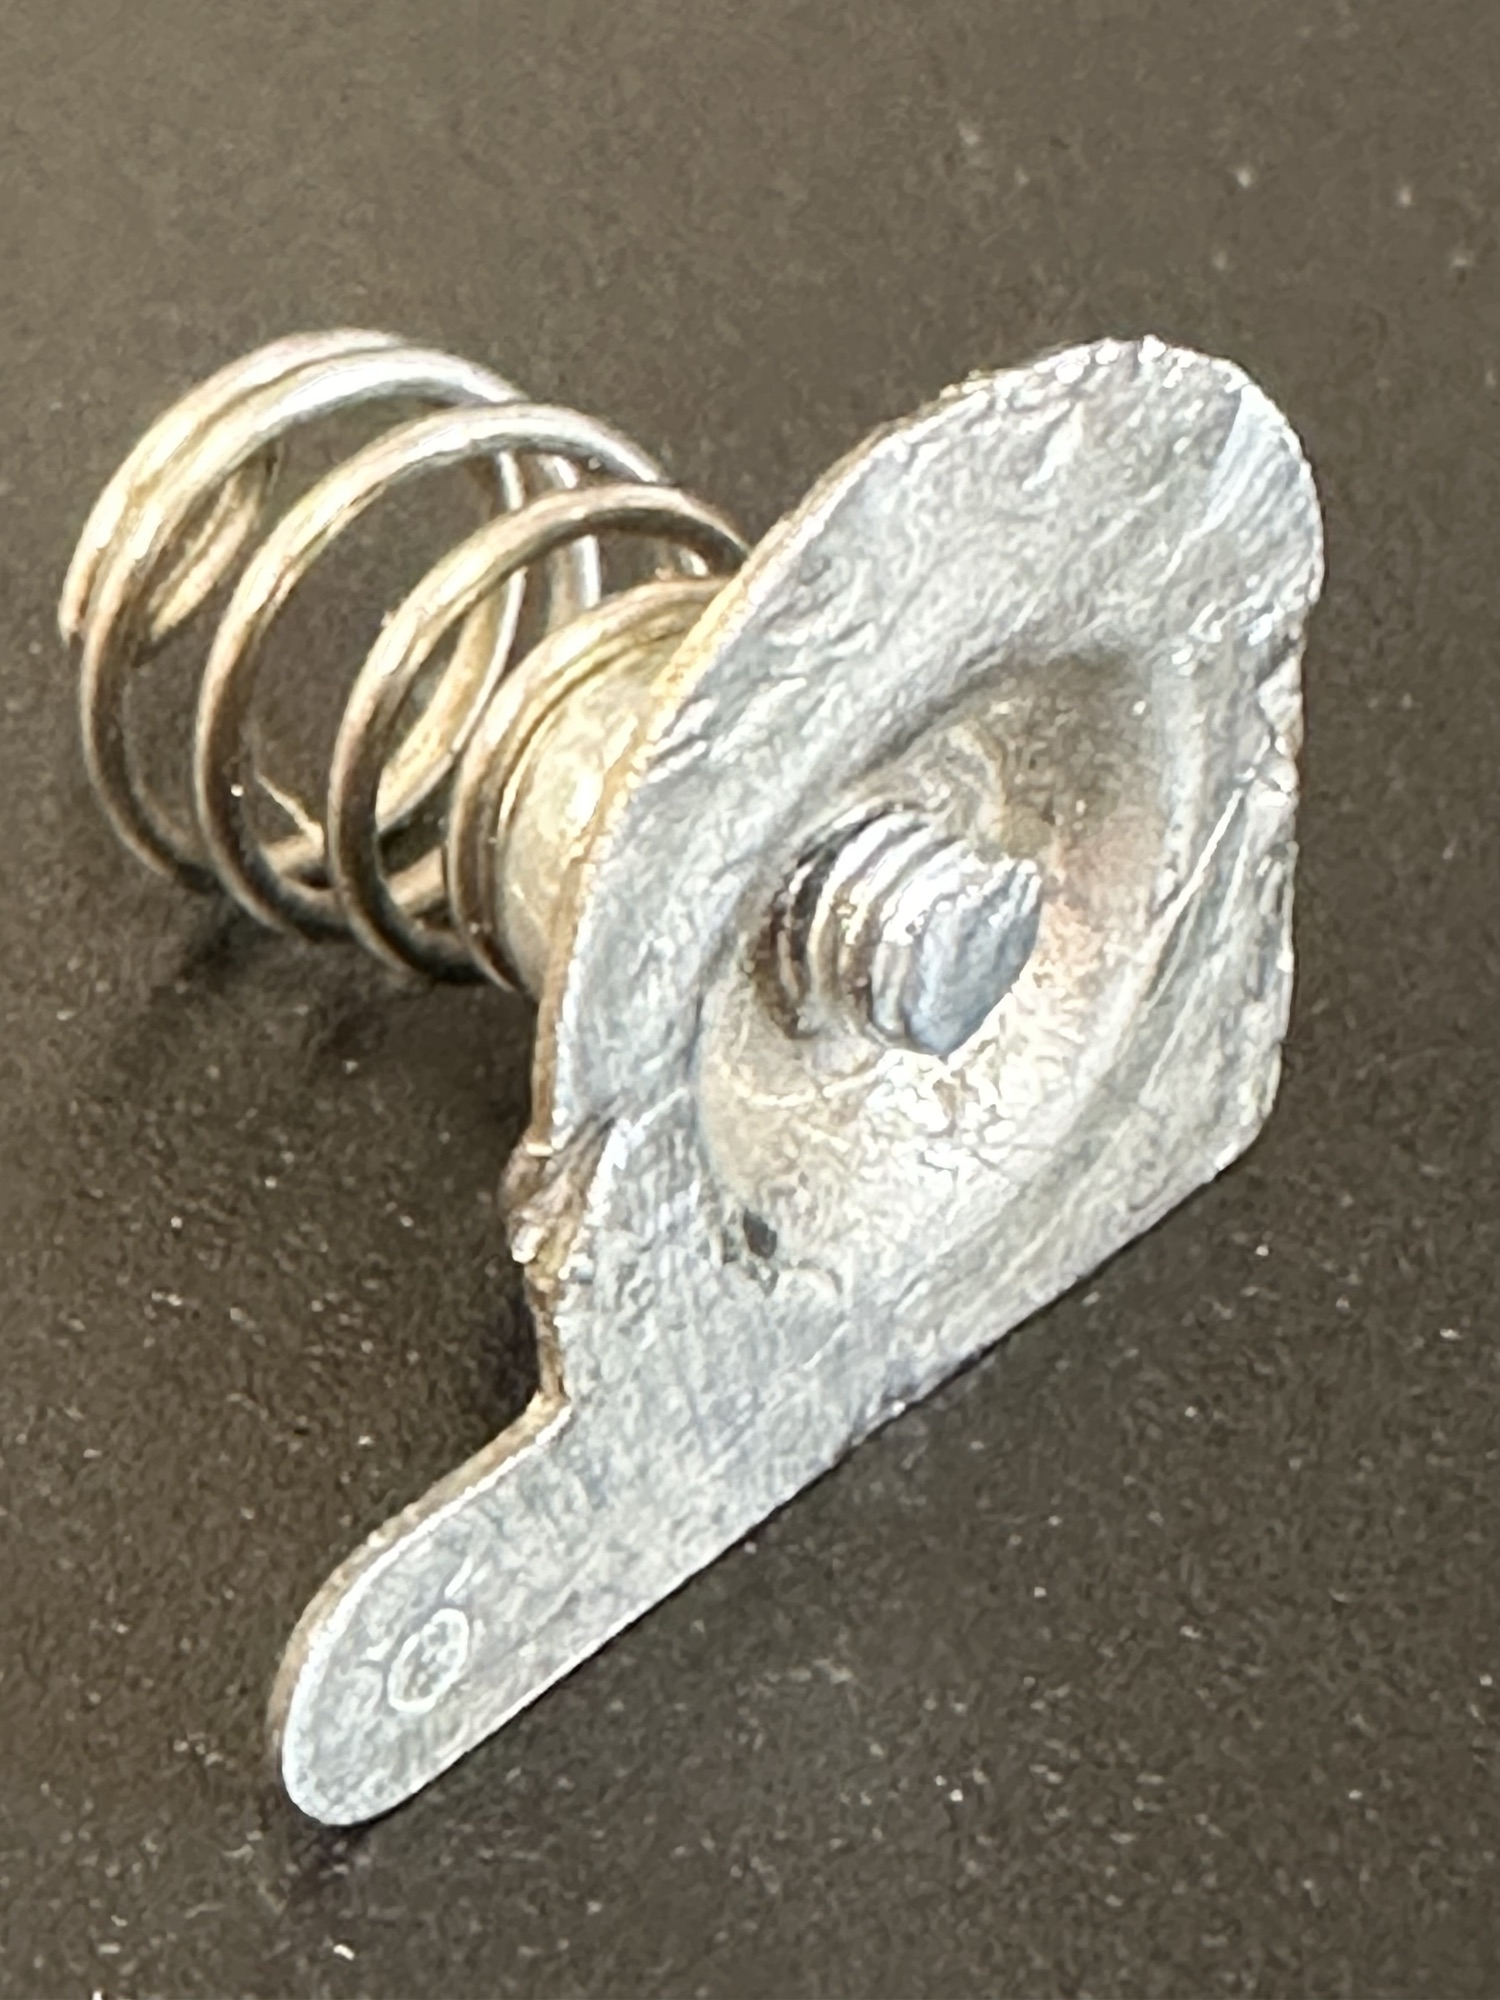
The negative terminal connector is broken, i have some replacements on order but I’m going to repair this one.

I’ve taken the corroded rivet out that held the spring. I’ve found a small screw and have used this to connect to the plate. I’ve cleaned the whole lot with wire wool and have cut off the excess screw and filed it all down. It now looks as good as new and no cost involved. I will finish it off with a dab of solder on the back to ensure good contact is maintained.

Peering underneath at the board it all looks ok, needing just a good clean with IPA. However, I’m not really going to be able to confirm this until I’ve re soldered and checked continuity from the batteries.

Signs of light corrosion under board

There could be some damaged tracks, again I’ll know that when all the basic setup and tests have been done. There is also a possibility the speaker could be damaged as the corrosion has reached there. I’ll test with the multimeter in the meantime. That all checked out ok and the speaker is fine.

I’ve given a good overall clean with some IPA and the entire unit inside and out looks as good as new.

I’ve replaced both the power cables from the battery unit as one had fallen off and the negative one had looked as if it had been crushed. I was changing so it made no odds to change the other.

New power cables

I ran some checks with the multimeter and everything is fine, all tracks are good and it looks as if the corrosion was localised, this unit has dodged a bullet.

Batteries in and it’s now working well, see this video short:

When you don’t know what you’re doing

However, as I’m not a gamer I have absolutely no idea what I’m doing, it makes a lot of noise and appears to work but god knows what I do. It certainly does a lot more than it did when I received it.

Another one saved from landfill.

Sony ICF-480L 3 band radio assessment and repair

I originally posted regarding the purchase of this item in this blog post Sony ICF-480L 3 band radio

The radio was received earlier today. Cosmetically it is a bit tatty, batteries were placed into it and apart from a quick flash from the power light when it was switched on there was no sign of life. So the original description was false as it stated that it powered up with a very low volume. Oh well, not to worry, it now gives us something else to look at.

Tatty appearance

Looking in the battery compartment there looks to be corrosion, this seems to be a common problem with items I’m buying at the moment. The screws have all been tampered with so I suspect others have been inside this radio prior to my purchase, this could be interesting to see what’s already been tampered with or attempted.
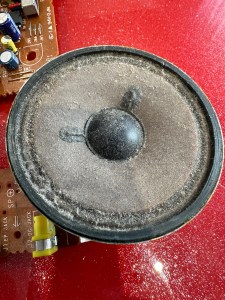
I’ve had the unit open and the first thing that comes to light is the utter filth inside. The speaker is thick with god knows what and the board and switches are also covered in the same filth. Before I do anything I’m going to get this cleaned up.

I’ve used IPA on the board and cover and on the (thankfully small) corrosion on the positive battery pole and this has cleaned up nice. I’ve used contact cleaner on all the switches and dials and these have also come up ok.

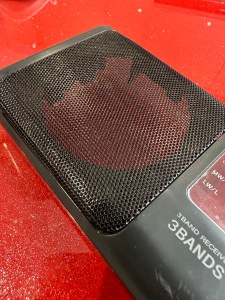
The speaker grill, I have tidied up and used permanent marker to get rid of the marks on this item. This has tidied it up really nicely.

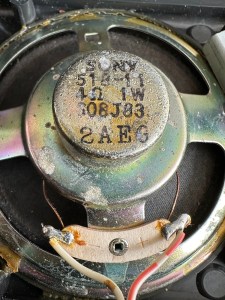
On the speaker I just used a dry cotton bud to wipe it over but I have my suspicions with this speaker, it looks quite worn and earlier reports on the lack and consistency of sound points to this being a potential issue with this unit. There are no clicks and pops when turning the unit on, there is a power and tuning light. Just no sound.

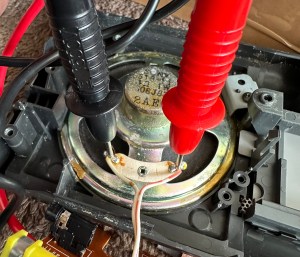
The speaker is a 4 ohm 1w speaker, I’ve used a multimeter to check its operation and it’s showing as dead, not registering at all, it should be looking at indicating something within its 4 ohm range. I’ve double checked it by putting a battery across the terminals and there are no pops or clicks so this confirms things. I now need to source a new speaker.

Trying to source this speaker in the uk is a tad problematic. There are items available but I’m not paying out two to three times the value of the whole unit. I’m going to try some thrift shops to see if there are any suitable donor units available if not I’ll have to purchase a few of them from China, and that will still be cheaper than purchasing here in the UK, crazy isn’t it? But it’s a long wait….

I did manage to get one from the Uk. Paid about £5.18GBP and it should be here in a couple of days. The annoying thing is that the postage is almost the same cost as the actual speaker and that only cost £2.69GBP. Annoying though that is, it has to be done if we want to get this fixed.
I couldn’t get a 1w 4 ohm speaker only a 1w 8 ohm speaker, this will be fine as at this level of use it will not affect output at all.

A small bit of desoldering, removal of the speaker clamp and the speaker comes away after a little persuasion. I take the opportunity to clean the board and all the battery contacts with some cleaner, and all corrosion marks and debris are now a thing of the past.

Corrosion cleaned

I put some contact adhesive on the speaker grill and put the new speaker in place, clamp is attached and I now solder the speaker wires back in place.

All screws back in place, new batteries in the rear and battery hat hatch closed, the unit looks good.
But does it work?

Radio works – have a listen

You betcha! Have a listen to the short video above to hear it as it should be.
I’m very pleased with this little project. Simple repair in the end but in my eyes it’s another item that isn’t going to landfill. And that’s a win for me, as it’s a nice little radio and I’m going to get some good use out of this.

Jobs a good ‘un 👍

Not just Dead….Fully dead

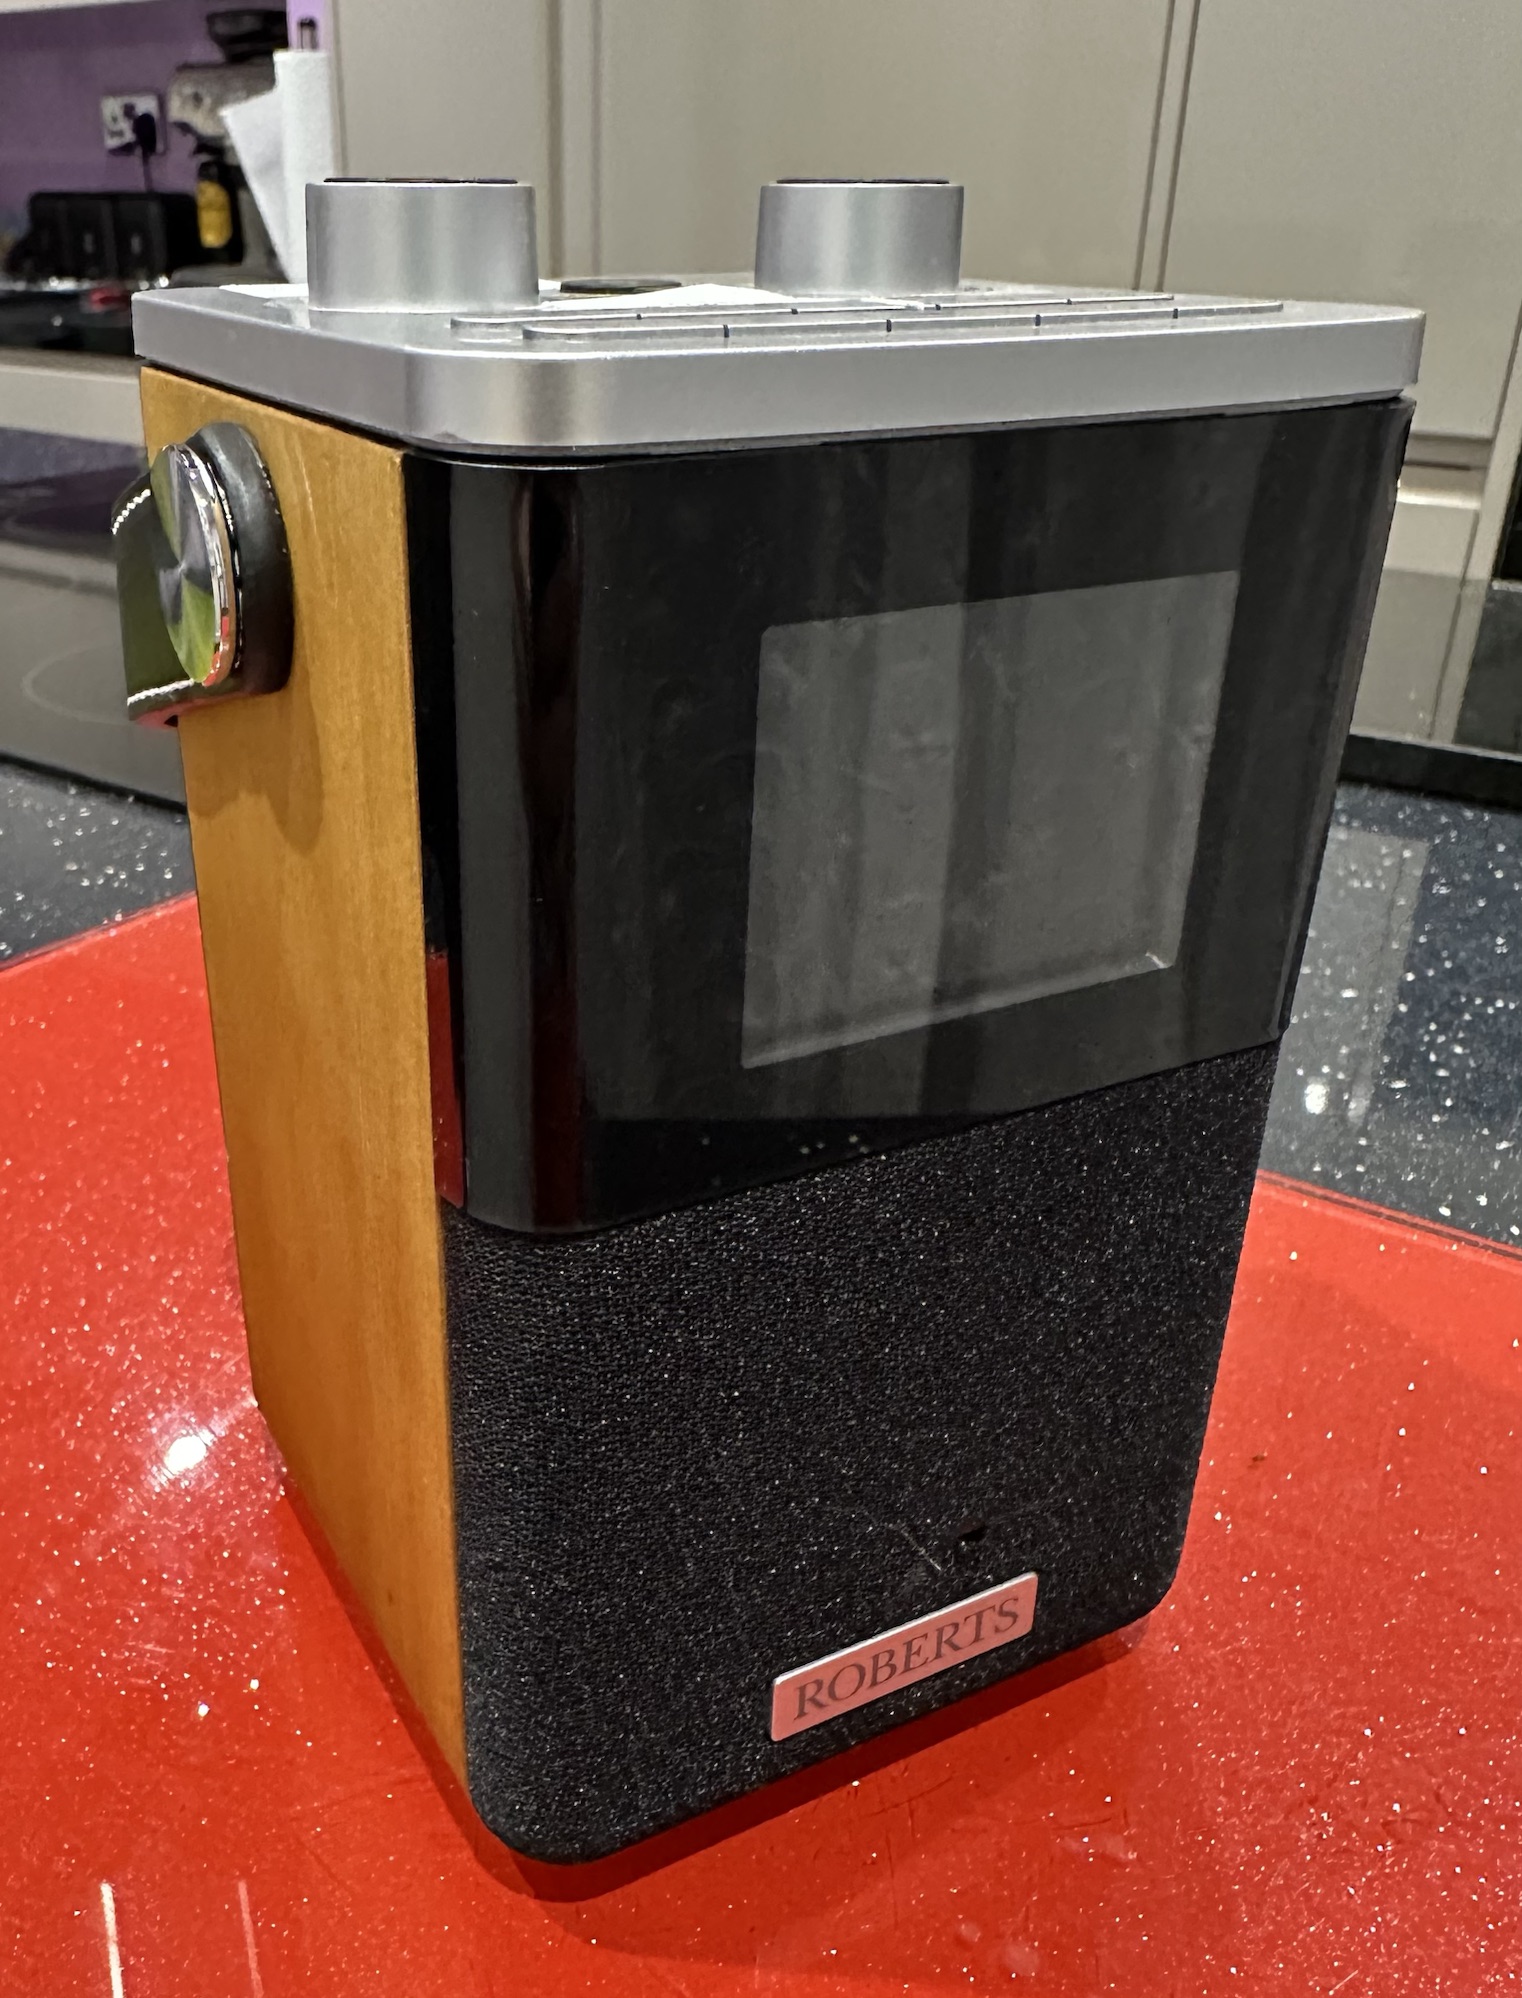
I have just brought this inoperative Roberts Dab Blutune T2 digital radio off of EBay for £8 (GBP). I managed to barter the price down a bit from £12 and I was quite pleased with myself for doing that.

So today I have received the package. A lovely little item cosmetically in good condition with the only external damage being that the speaker cover has a tiny tear in it , and the very tip of the aerial is broken along with the plastic stop that secures it when in the down position….no real issue, all easily dealt with.

The concern is the label on the top of the unit. Fully Dead!

Roberts Blutune T2

So what’s that then? Is there an in between? Some sort of purgatory for audio systems, or is it a way of saying that someone has ensured it will never work again?

Well, I’ll get the back off tomorrow and have a rummage to see what’s in store for me. Maybe my bartering of the price has meant the seller has removed all internal contents so that I now have a nice “Empty box”.

I just love some of these descriptions sellers use, makes me giggle and wonder what was going through their minds when they decided to sell an item that is fully dead.

Maybe there is just different grades of death that I was just not aware of.

You can find the assessment and repair attempt here: Roberts Blutune T2 breakdown and fault finding

Anyway, thanks for passing by, be safe, be happy.