

What the listing stated:
ALL ITEMS IN THIS LISTING ARE FAULTY
FAULTS MAY VARY BETWEENS ITEMSSOLD AS IS
NO RETURNS
EBay
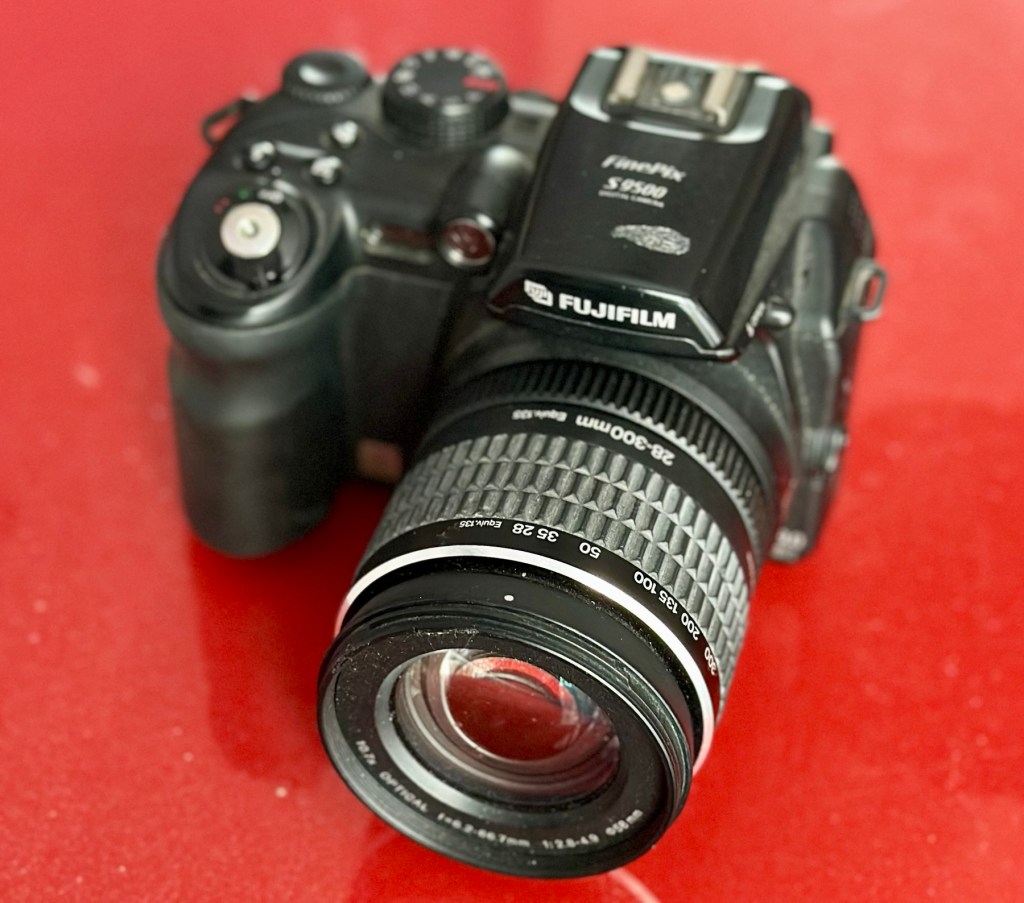
I’ve purchased three cameras as a job lot in an auction. All of them have issues but the issues have not been clarified. This is very much a “Suck it and see” auction where I get what I’m given. I’ve paid £24:22GBP for all three and that includes free postage. I’ve purchased from this seller before who is a bonafide Camera business based in South Wales. He has no time for faulty items though, quick in and out is his way of working, no time to fix stuff. I’ve got three good cameras in this bundle and this works out at just about £8:00GBP per camera. And where can you get cameras like this for those prices nowadays.
I’ve just read a blog where a guy had one of these cameras from new, and in 2002 he had paid £1550.00GBP for this camera. Wow, and here i am 23 years later paying the grand total of £8:00GBP for one. Even if I don’t get it working, I’m happy with that.
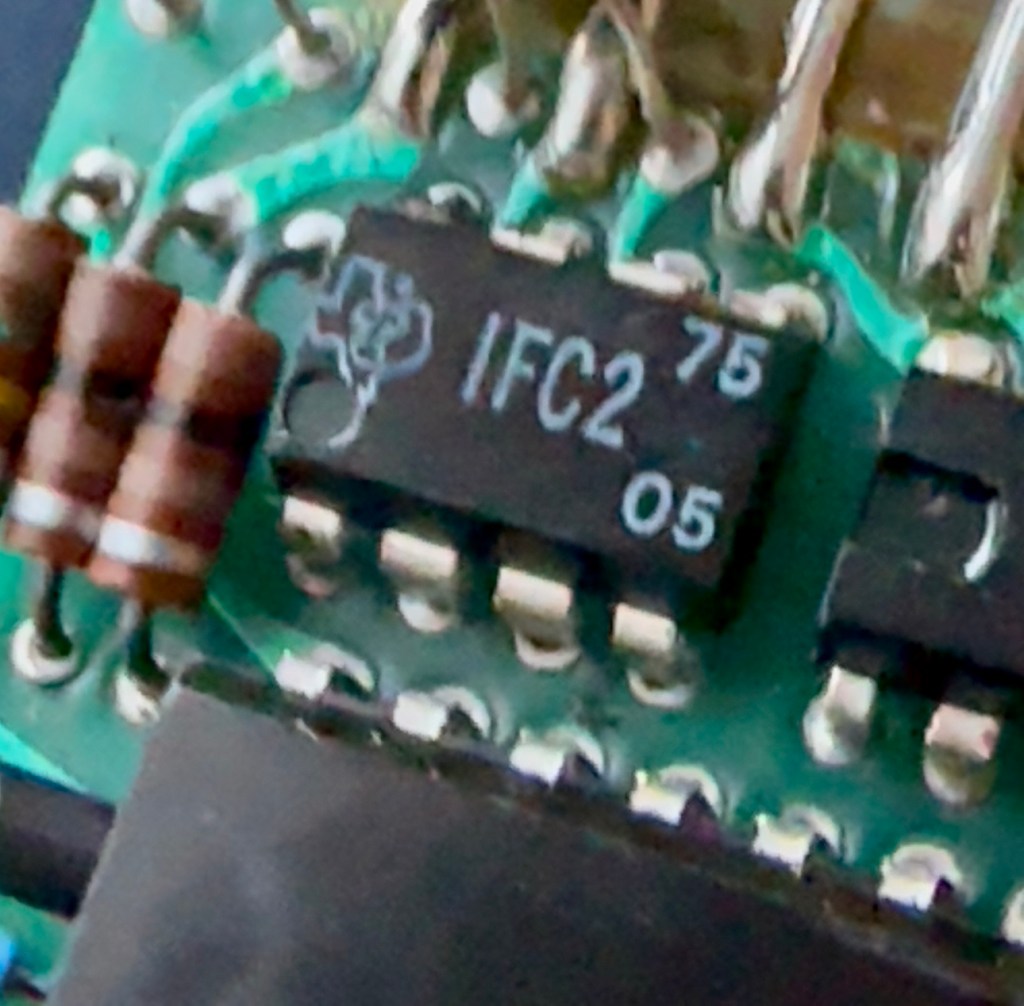
Now this particular camera had two issues in its lifetime that caused concern, and one of them meant it was pretty much game over, and that one was the CCD issue that used to plague this range of cameras. Fuji released a whole bunch of these cameras with a faulty CCD that had to be fixed under a recall. They built sufficient replacement CCDs to cover the recall and that was about it. There were no remaining CCDs left and at that point what was left had become as rare as hens teeth. If you suddenly developed that faulty a later date, then tough…you were stuffed.
Serial numbers affecting CCD problems are listed below:
Model Serial Number Range
FinePix S2 Pro 31A127**~31A143**
32A000**~32A039**
33A000**~33A007**
34A000**~34A004**
Fujifilm
The second issue was with a batch of these models that had a “bad” resistor in the power circuit that prevented lock up if there was a power spike, if this failed then the camera just stopped and you were stuck. There was another recall on the second issue but there is probably a lot of cameras out there that again weren’t part of this recall. And I guess owners were pretty fed up of recalls at this point and were off loading their equipment as quick as they could.
The serial numbers regarding the lock up problem are listed below:
Between serial numbers 24L00441 and 24L00680
Between serial numbers 24L01057 and 24L01256
Between serial numbers 24L01553 and 24L01863
Between serial numbers 24L10257 and 24L10608Fujifilm

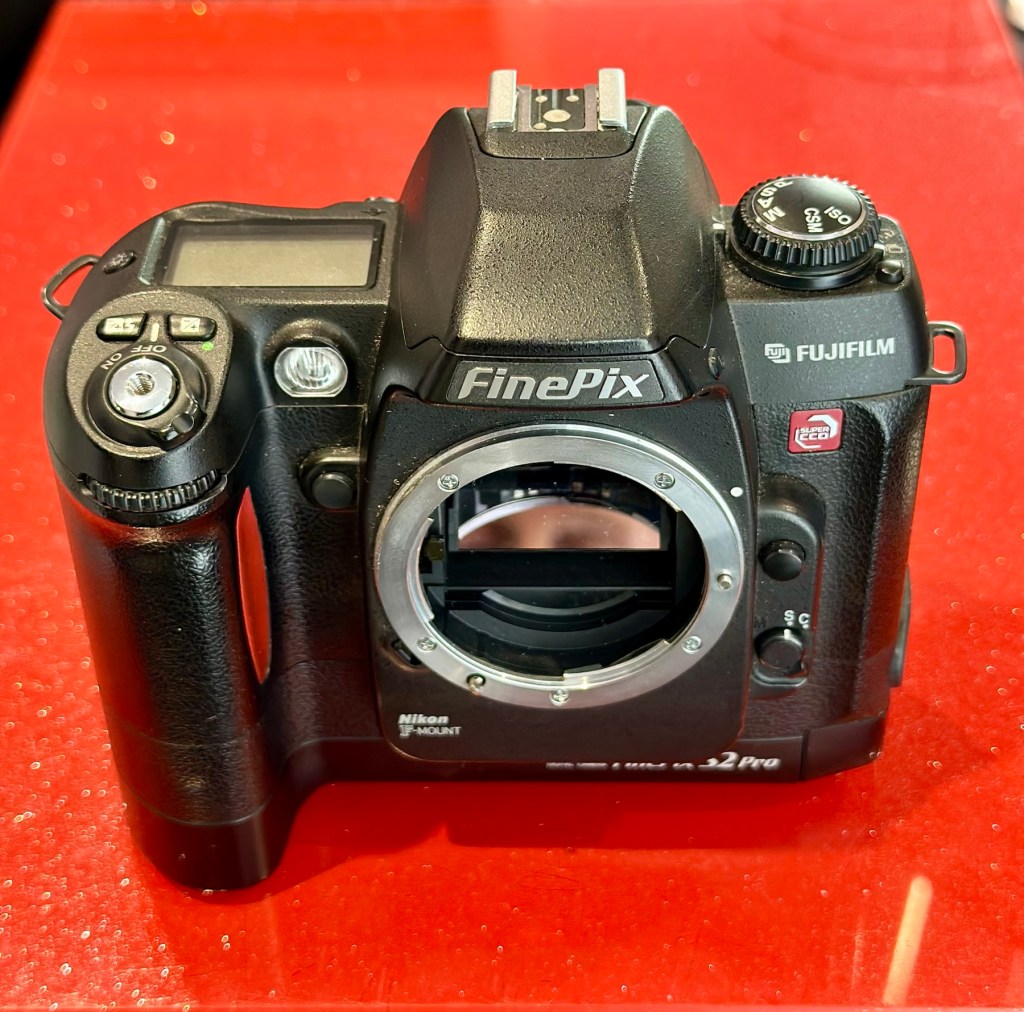
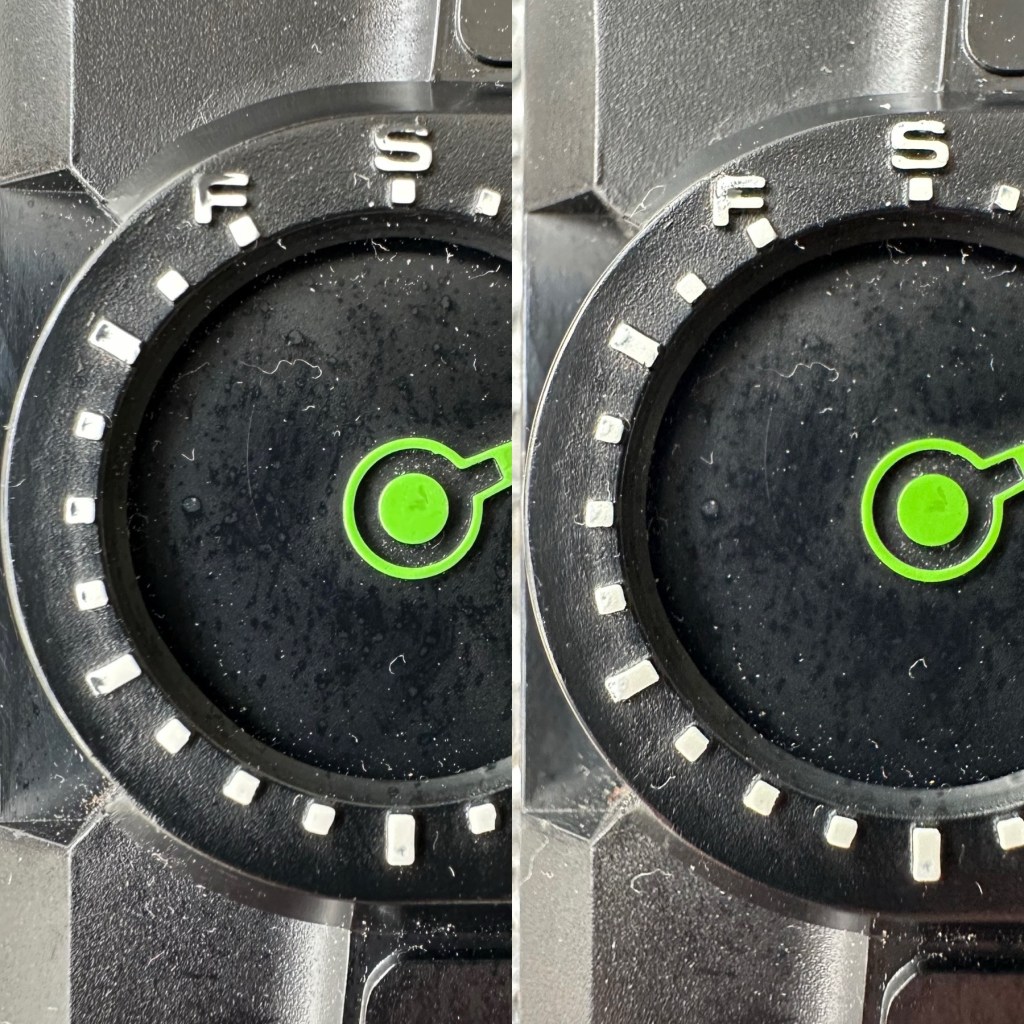
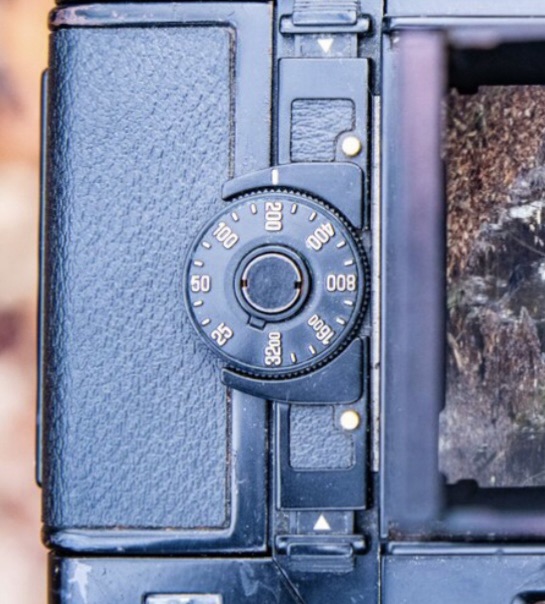
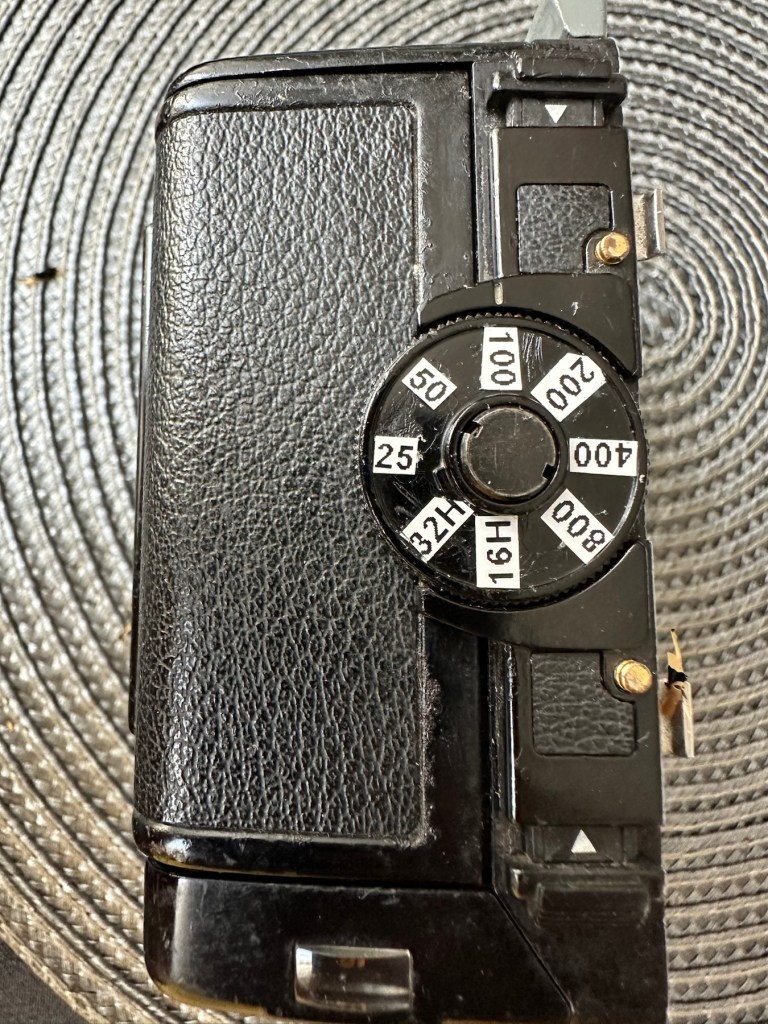
Above you can see the serial number for my camera. Thankfully my number falls outside the range of any of the cameras inflicted with either problem, so it’s fair to say (Fingers crossed 🤞) that I shouldn’t suffer with any of the known issues with this unit. In layman’s terms I think i may well have dodged a bullet here.
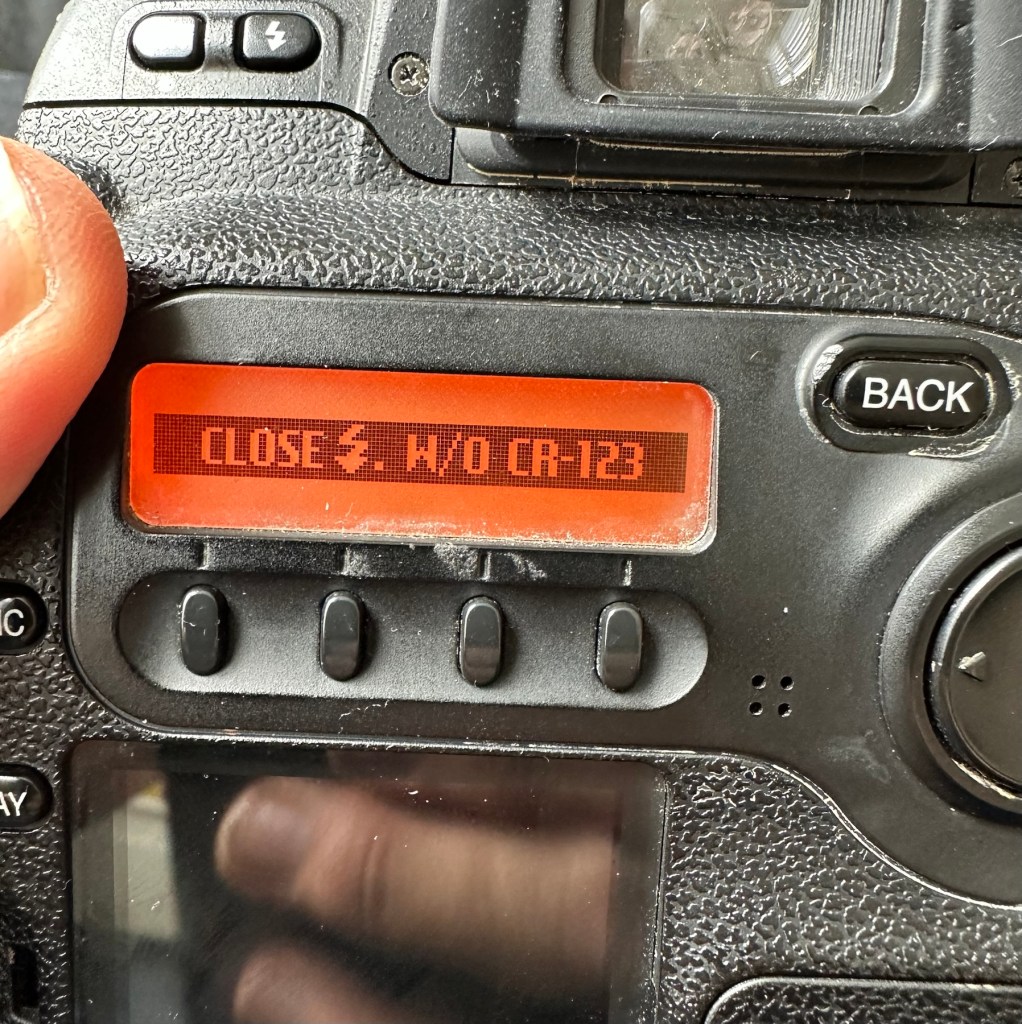
I did speak to the seller regarding the fault on this camera and he stated it was just a general error code on the top screen. There is a general error that arises occasionally regarding certain lenses where they have to be locked on their minimum aperture for the camera to work properly, however I’ve not attached a lens yet so this cannot be confirmed.
Here’s some history:
The Fujifilm FinePix S2 Pro is an interchangeable lens digital single-lens reflex camera introduced in January 2002. It is based on a Nikon F80 (N80 in the U.S.) film camera body that was modified by Fujifilm to include its own proprietary image sensor and electronics. Because of the Nikon body, it has a Nikon AF lens mount and so can use most lenses made for Nikon 35 mm cameras. It is autofocusing, with an electronically controlled focal plane shutter with speeds from 30 sec. to 1/4000 sec., built-in exposure metering and pop-up flash. Its ISO film speed equivalents range from 100 – 1600. The S2 Pro also has sound recording capability. The camera is no longer in production, having been superseded by the Fujifilm FinePix S3 Pro in February 2004.
Aside from the Nikon lens mount, the camera’s principal distinction is its 6.17 megapixel photo sensor. Known as the Super CCD, it is unique in having its photodiodes oriented diagonally rather than horizontally and vertically as in all other DSLR cameras. This allows the use of a sophisticated interpolation system that produces an output image equivalent to 12.1 megapixels. The apparent resolution of images in this interpolated mode lies somewhere between 6.17 megapixels and the 12.1 megapixel interpolated output.
A huge number of these cameras were built using a Sony sourced defective CCD that was subject to a recall by Fuji. The recall ended when the stock of these replacement CCD’s was depleted. There is word that no other stockpiles exist of this Super HAD CCD, making these cameras that are found with the purple or black tinted image problems extinct, only usable for parts. The Fuji F700 used a similar defective HAD CCD, but in 3.1/6.2Mp size. That camera has met a similar fate.
Wikipedia
So let’s hope that we can get some pictures out of this unit. We just have to wait and see what arrives.
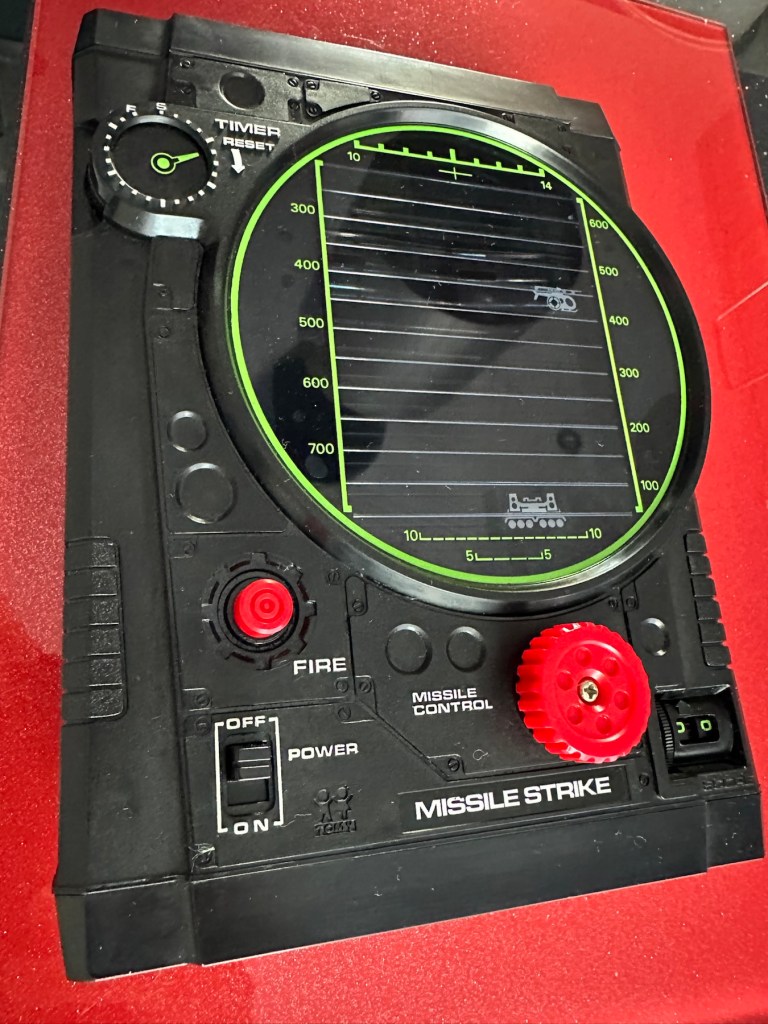
Assessment:
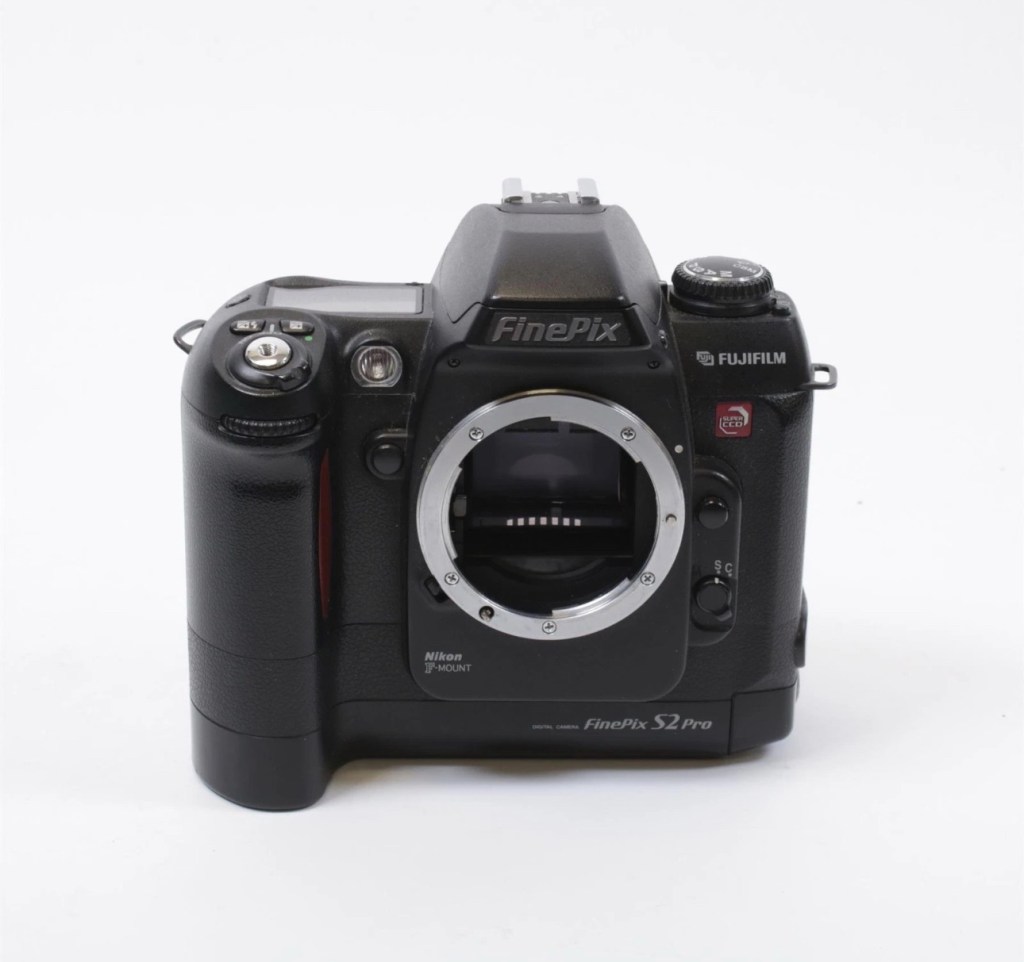
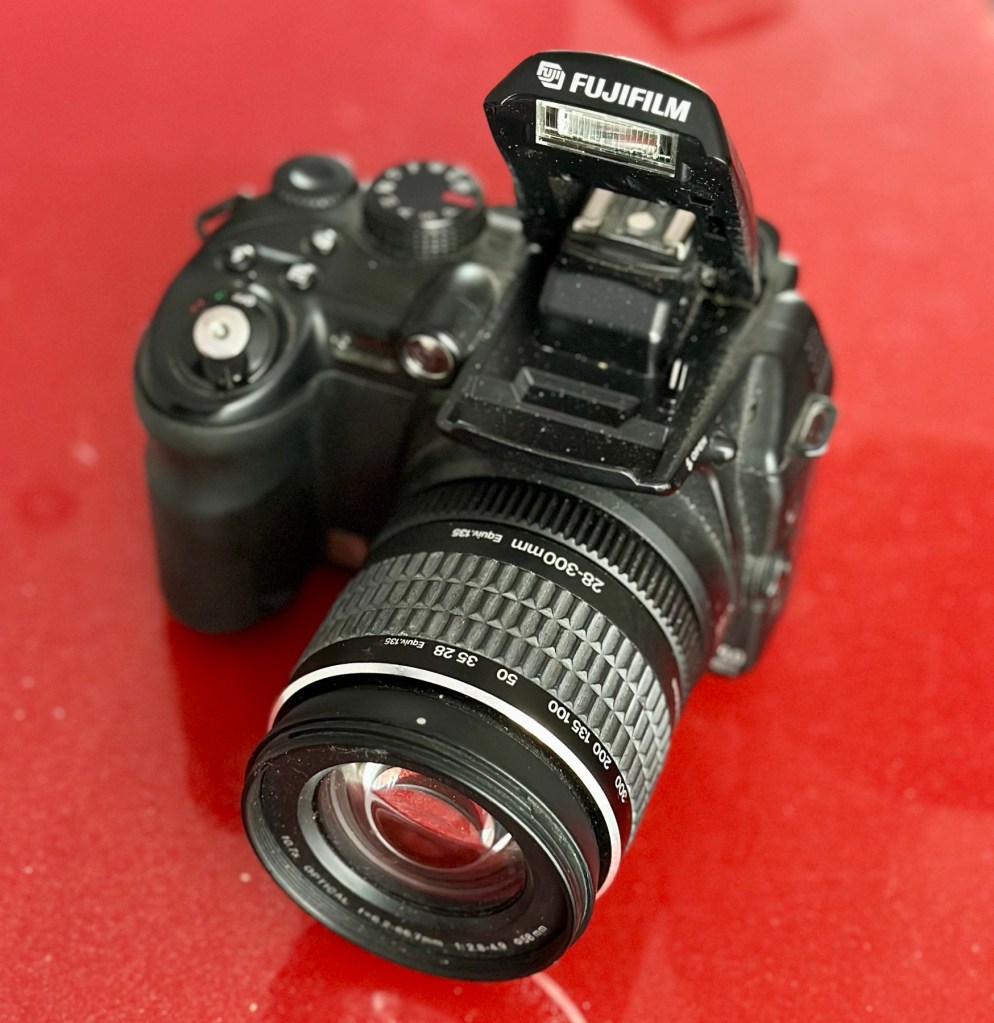
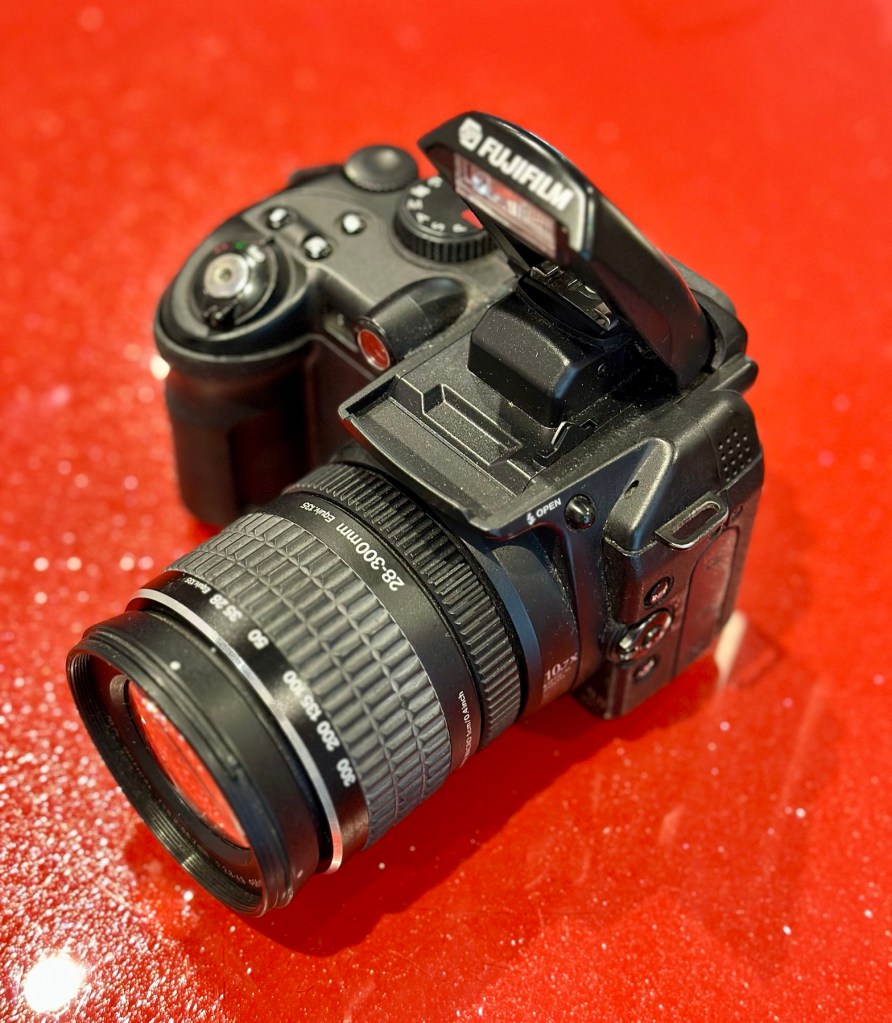
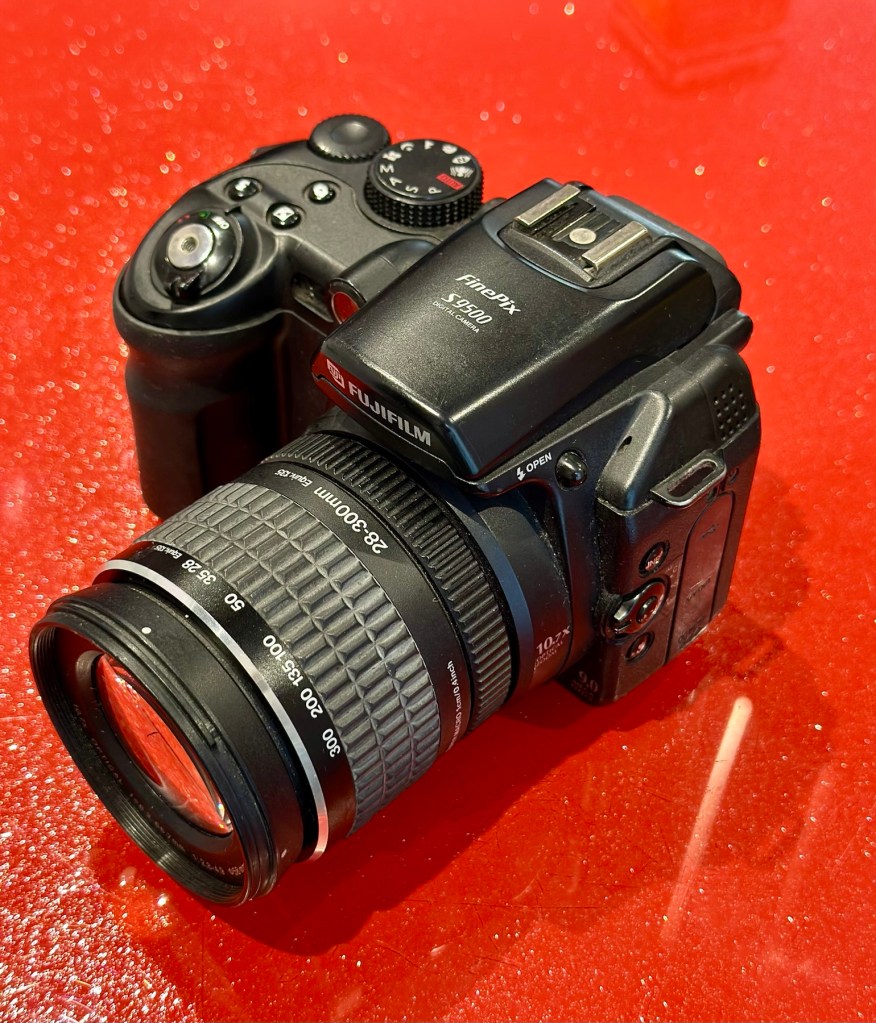
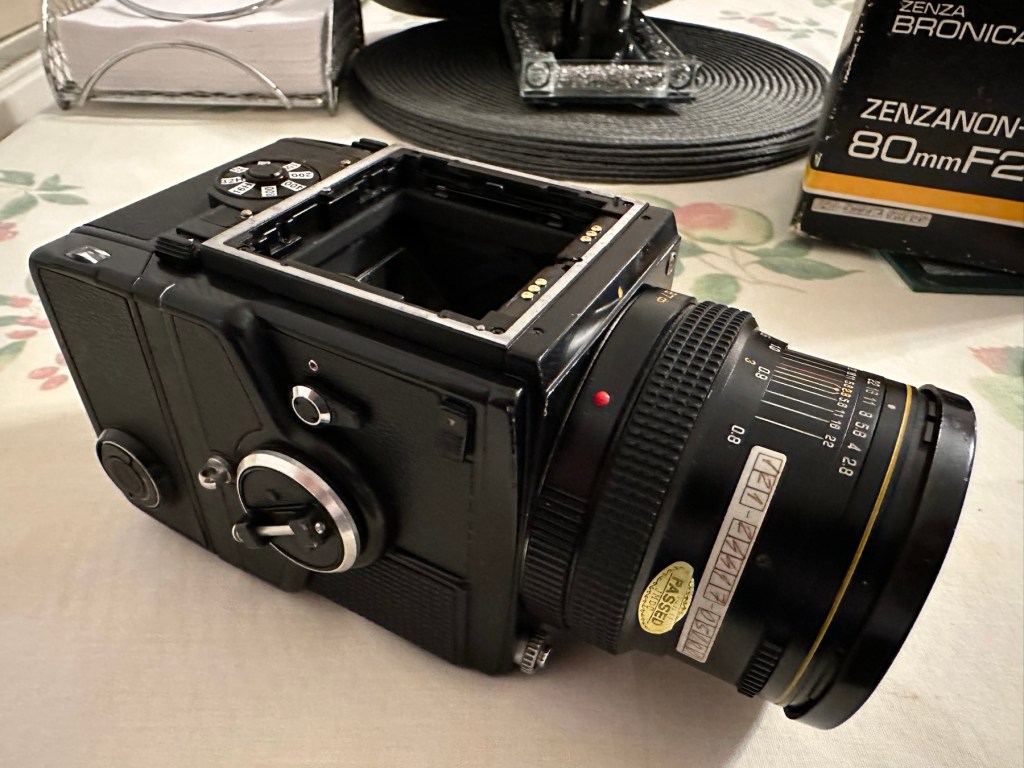
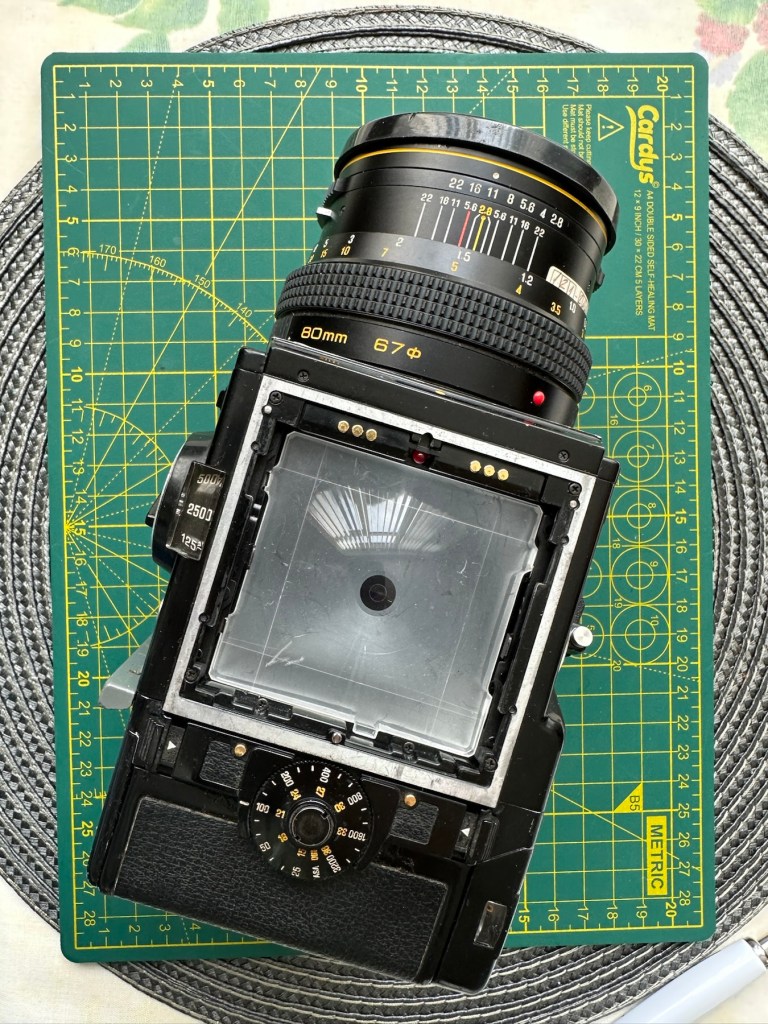
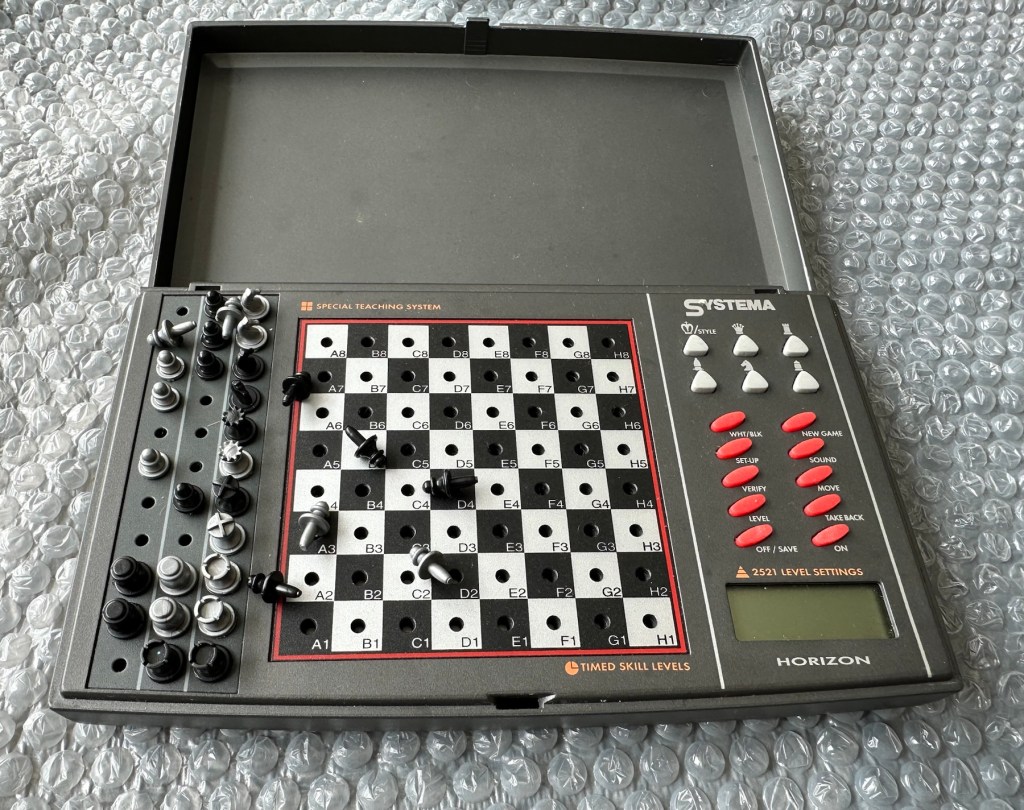
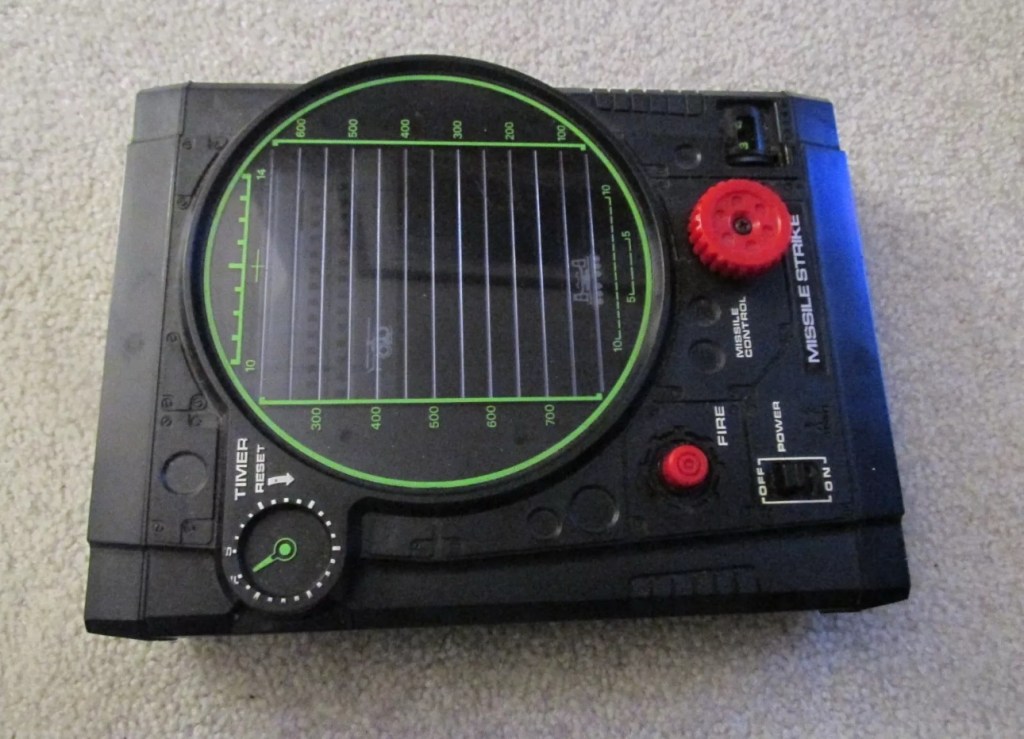
Well the camera has now arrived, and I must say it is in an absolutely beautiful condition. Cosmetically there isn’t a scrape or scratch, all screens are scuff free and it looks as if this unit has been well cared for. It just needs a wipe over to clean. The package is just the camera body with no extras such as a body aperture cover or neck strap, but who’s worried about that, they can be procured at a later date.


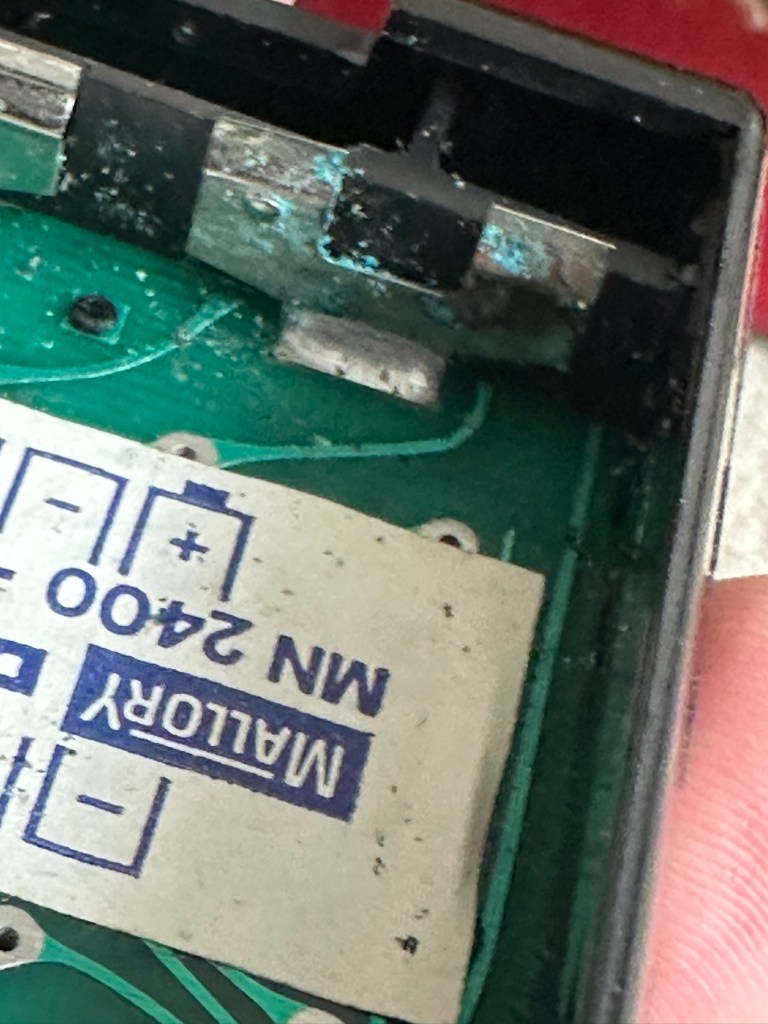
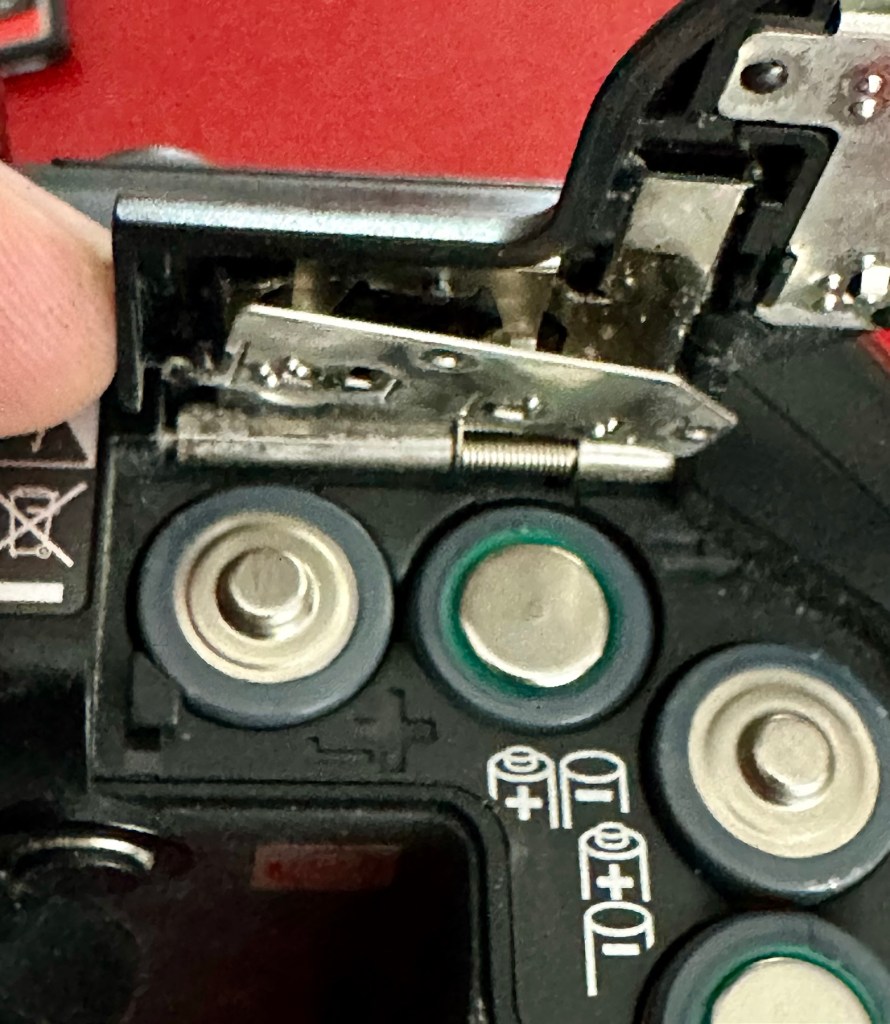
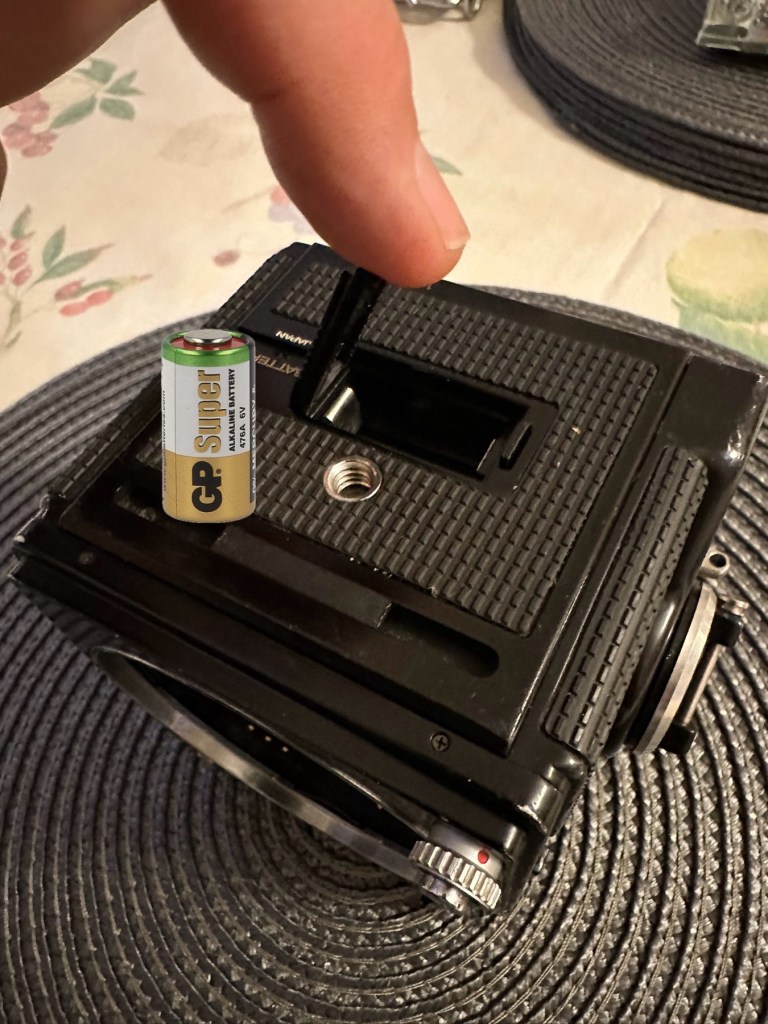
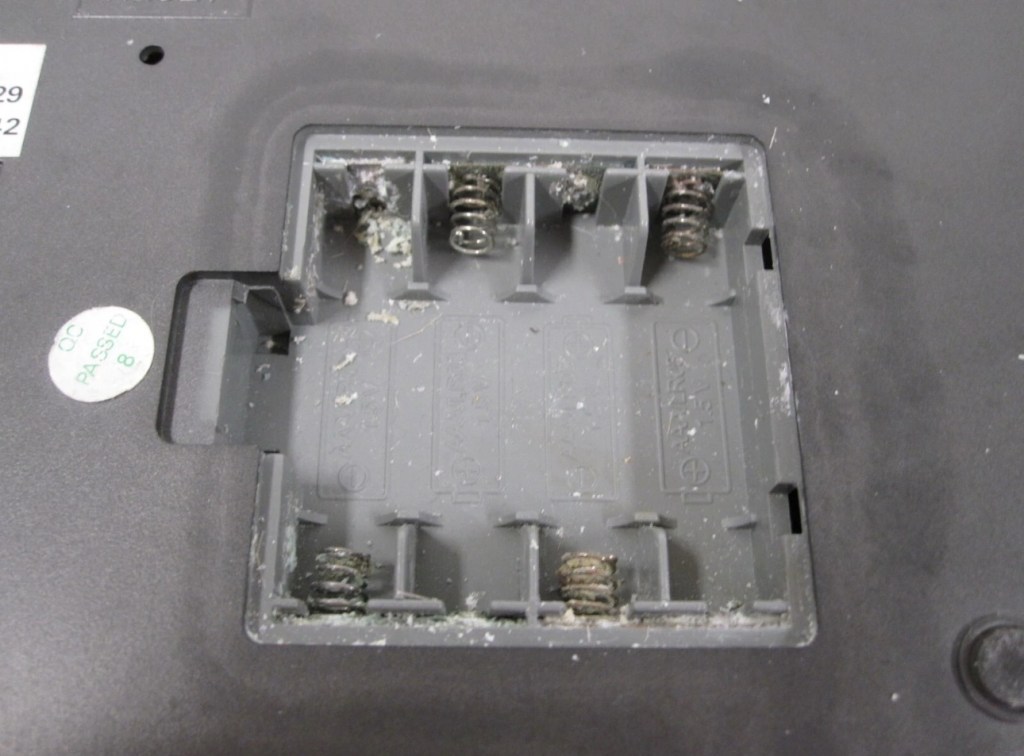
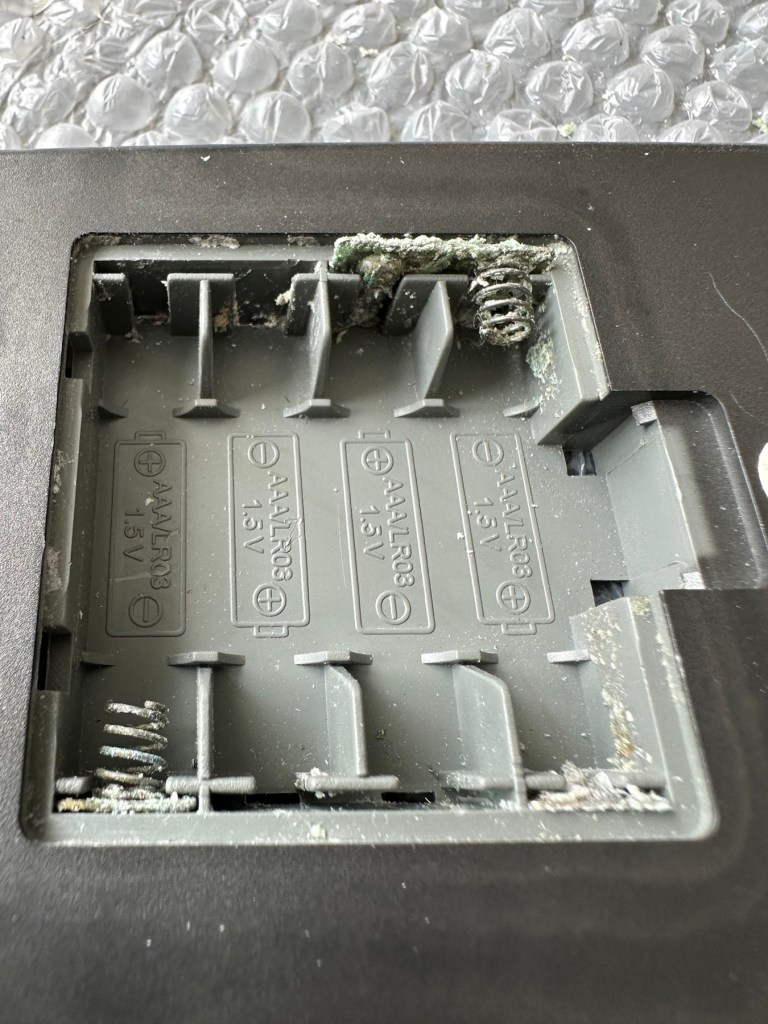
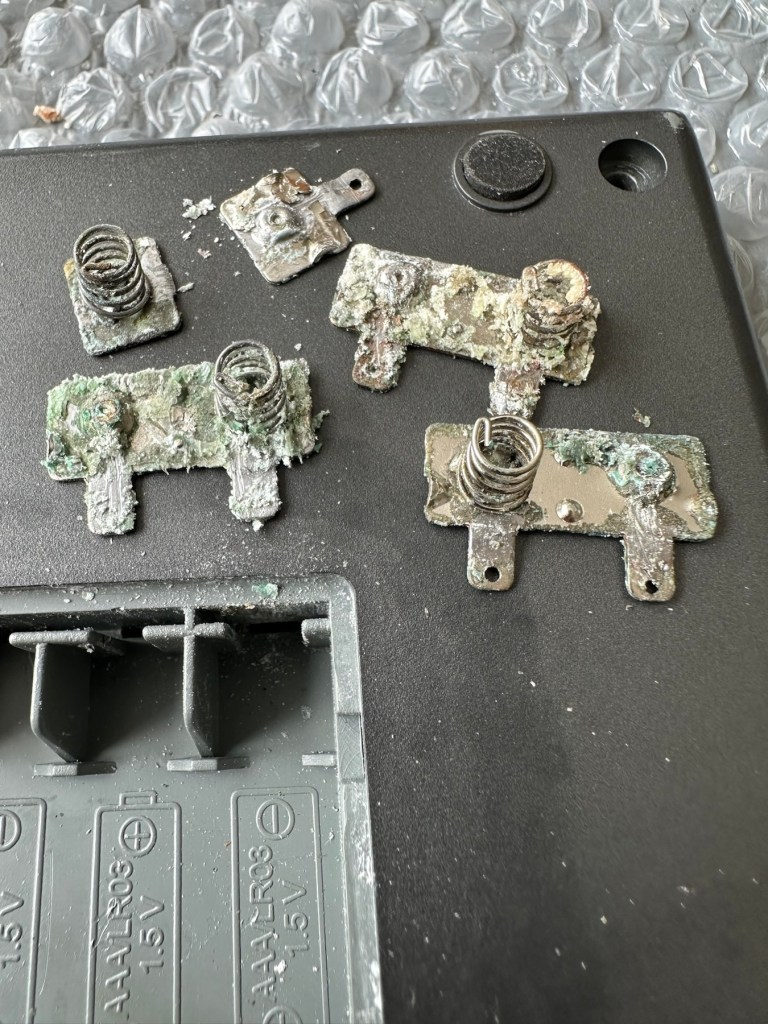
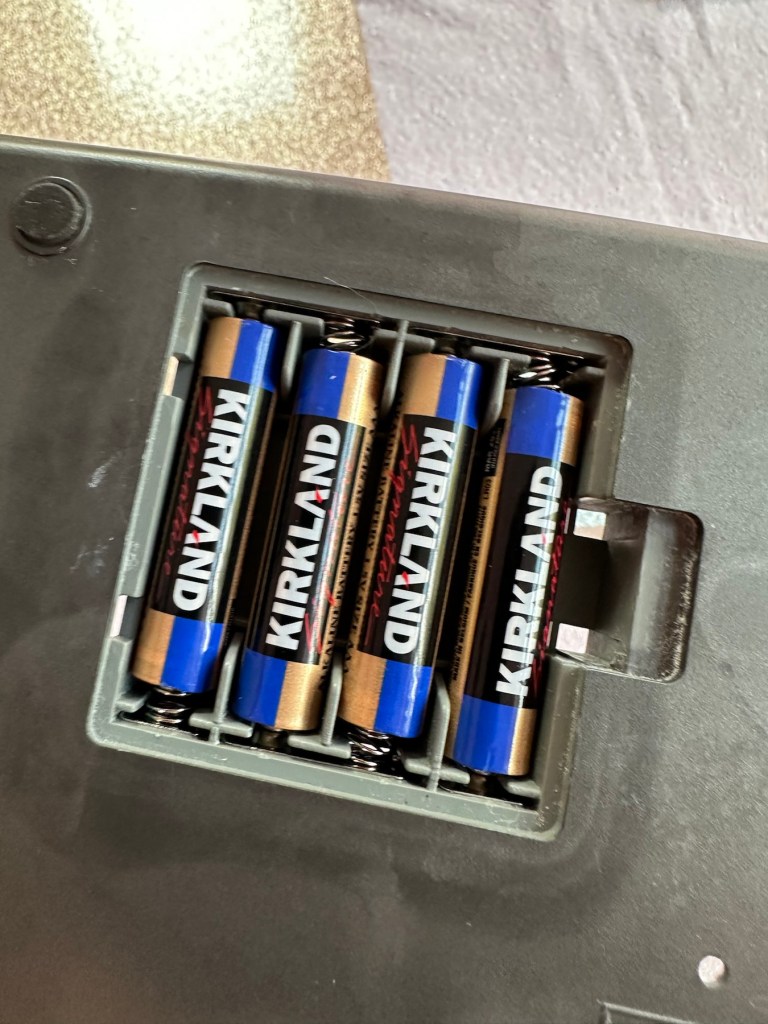
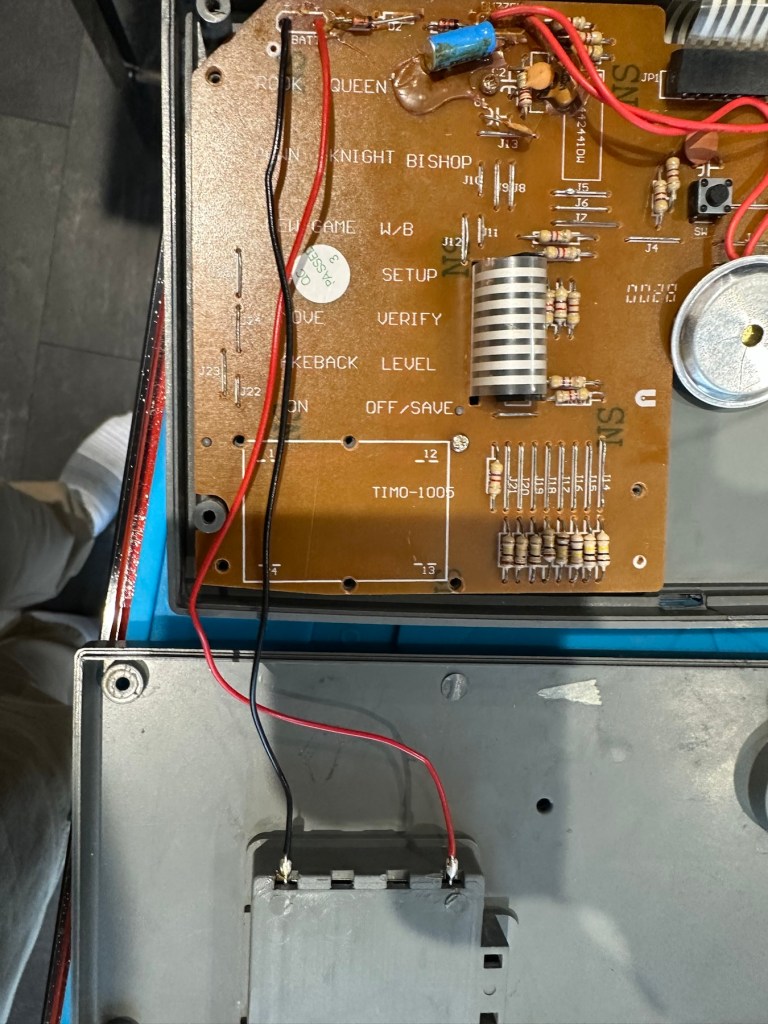
These units are quite power hungry requiring a total of six batteries. 4 AA cells go in the base and two Lithium CR123A batteries go in the grip. These batteries work in unison, one set handling the basic camera functions whilst the other deals with the capture and processing of images. It’s a strange affair, loosely based around the same setup that was originally on their film based camera counterparts.
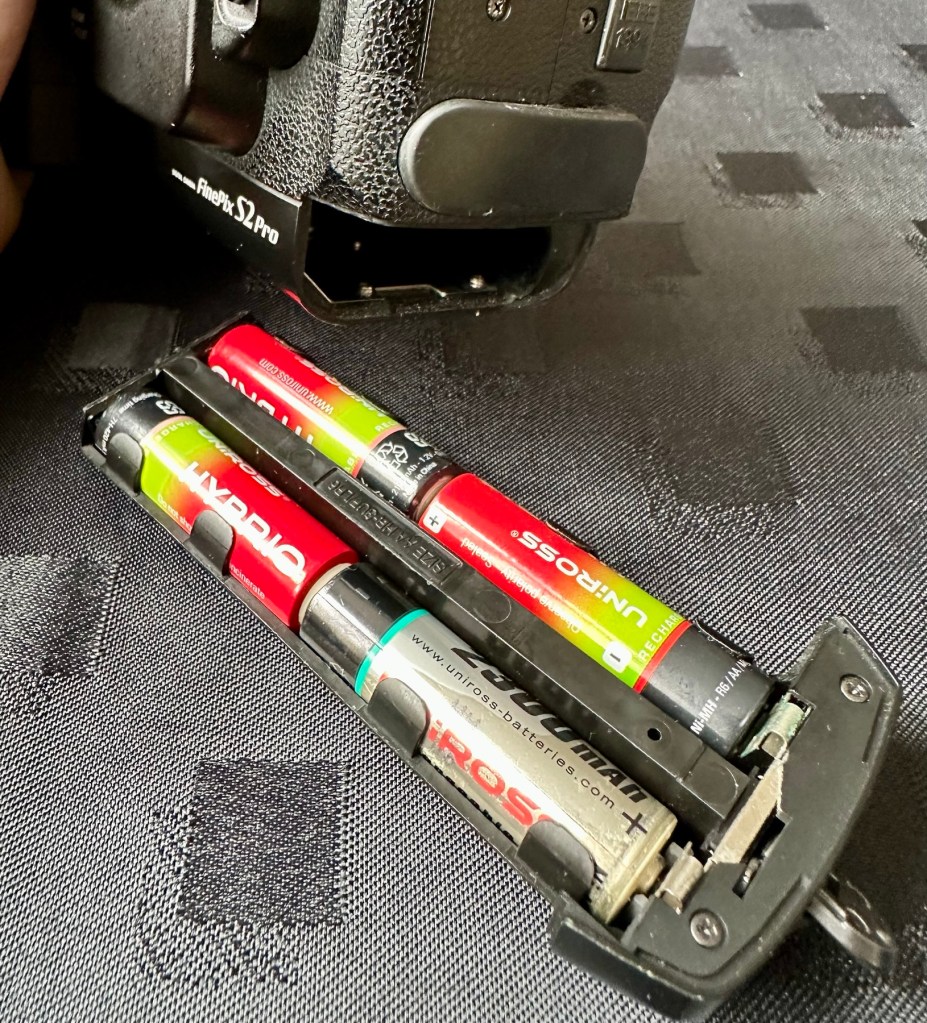

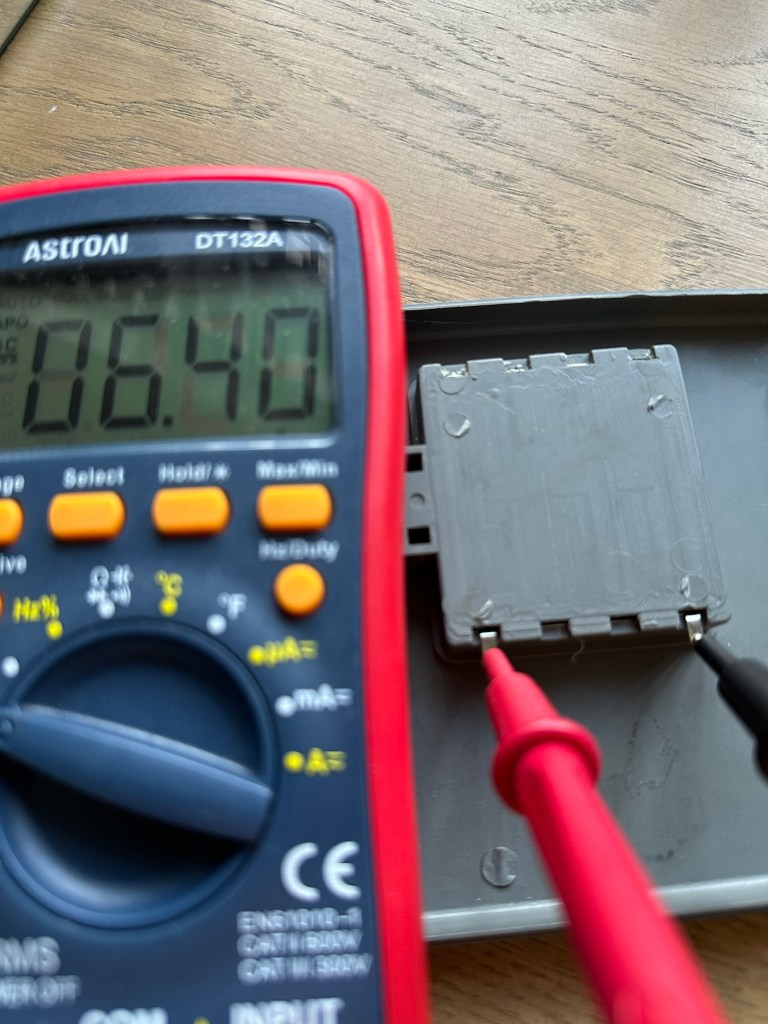
I’ve had to order the lithium batteries, however I can still get displays and Information using just the AA batteries in the base, basically it is semi functional in this situation.
The lens mount is a standard Nikon F mount, I’m going to have to search through my equipment to see if I have such a lens, I suspect I don’t, so I may well have to purchase a small lens purely for test purposes. I have some other Nikon repairs in the queue, so a lens to have for test purposes wouldn’t really go amiss.
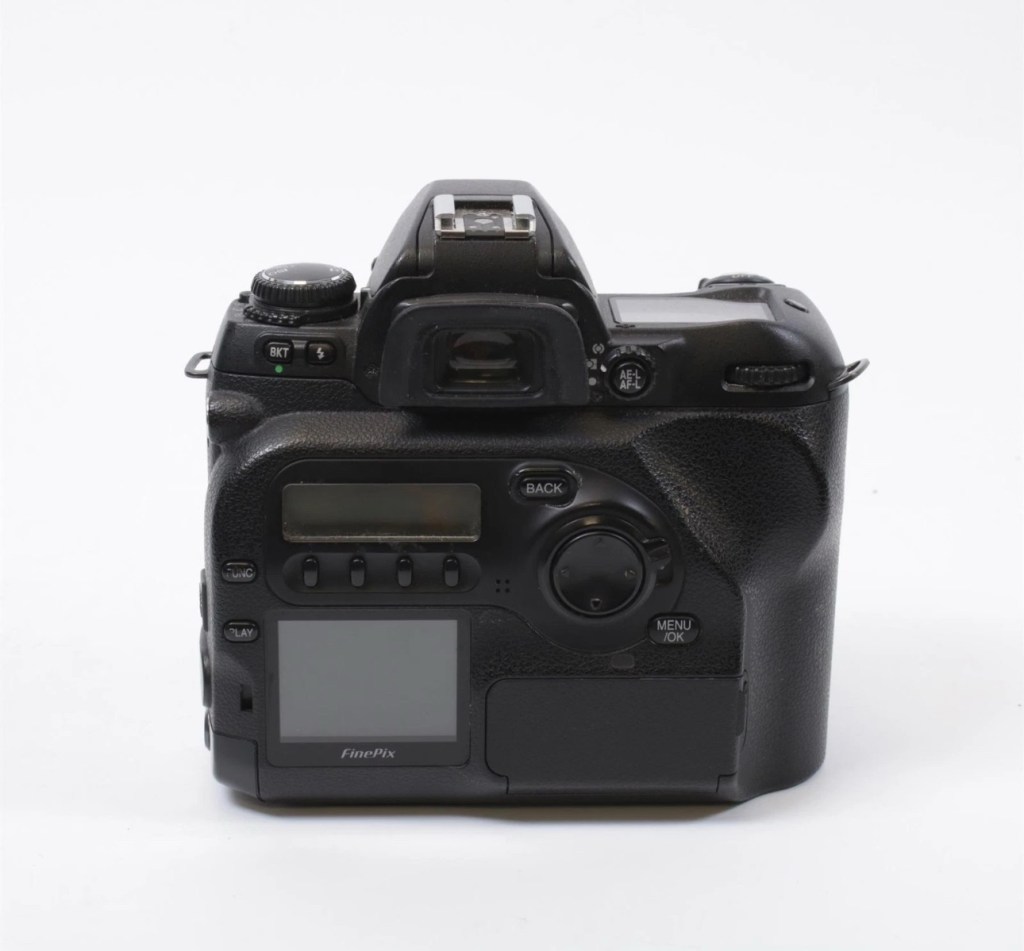
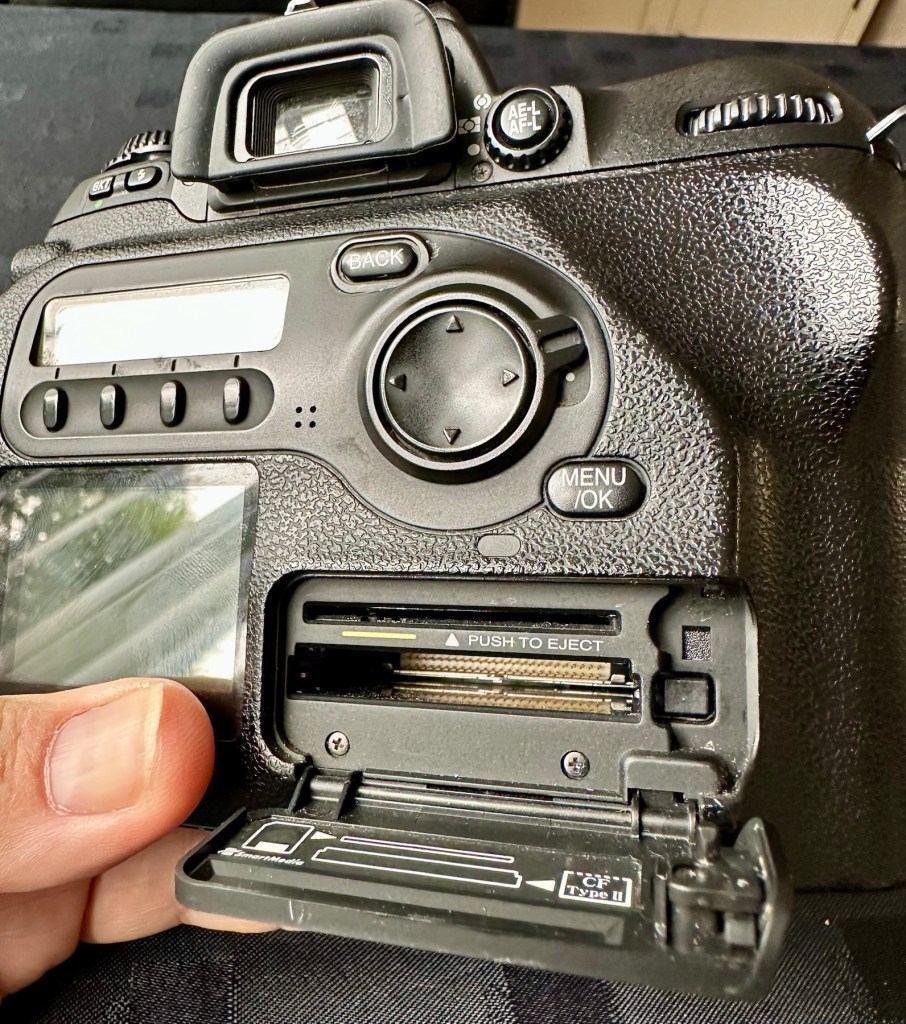
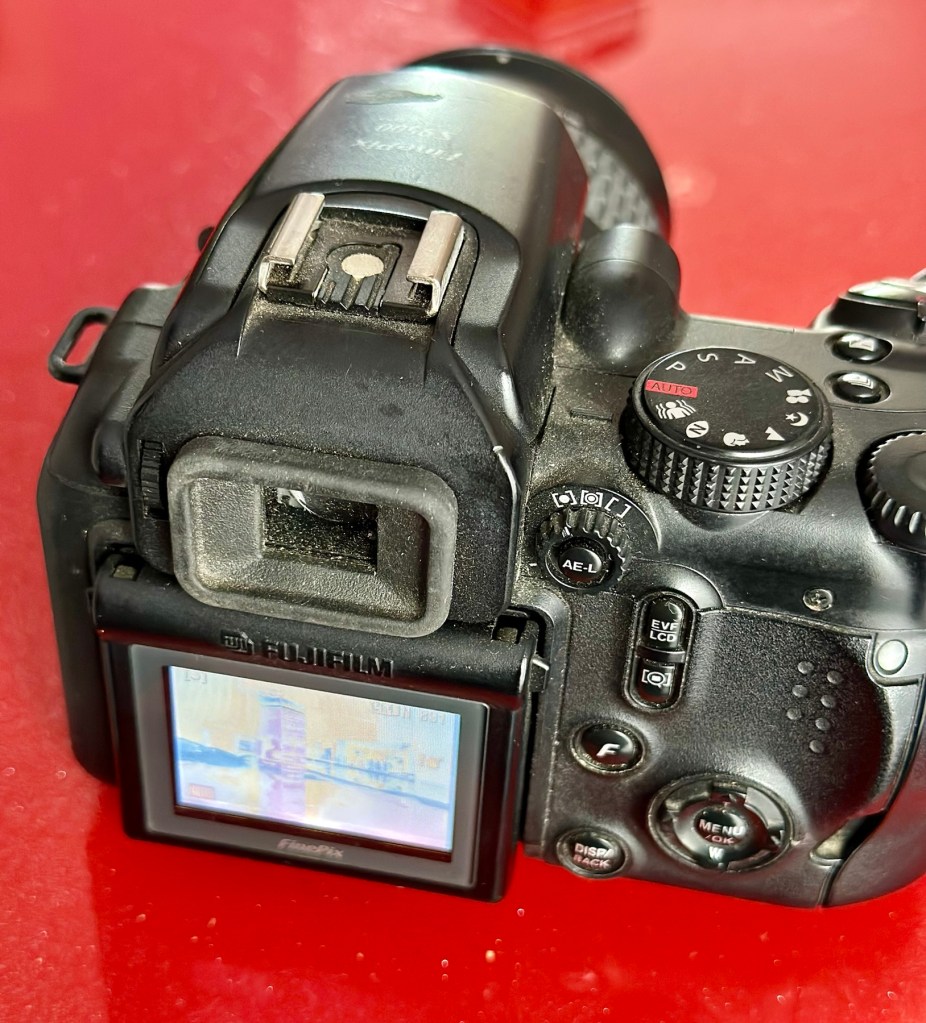
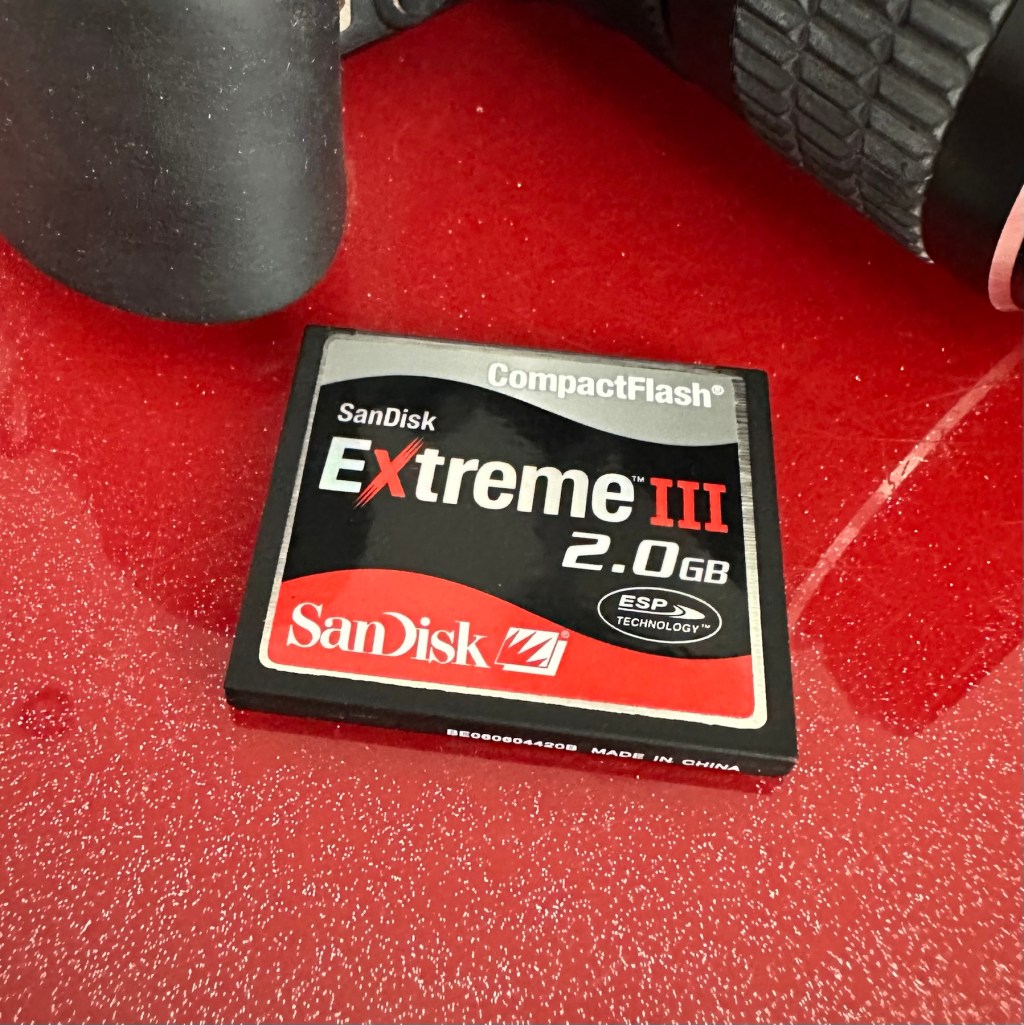
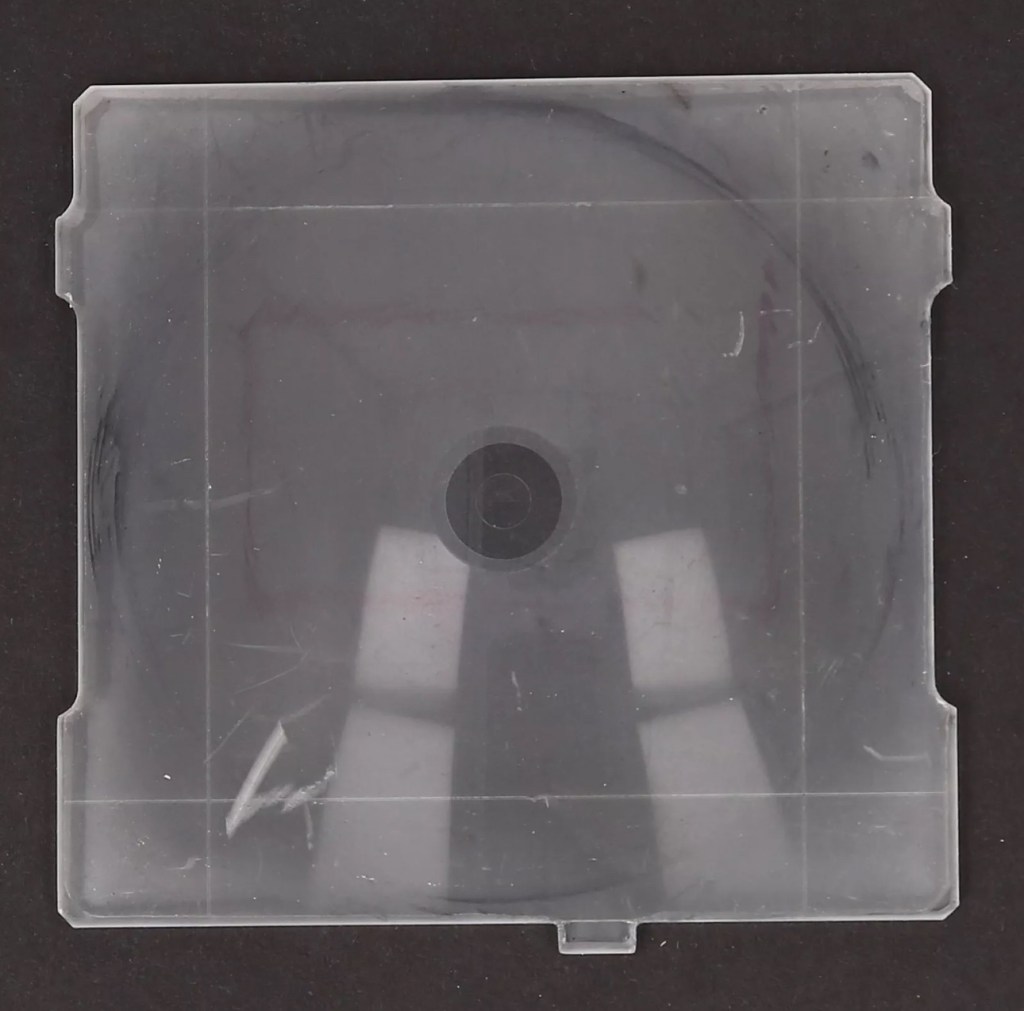
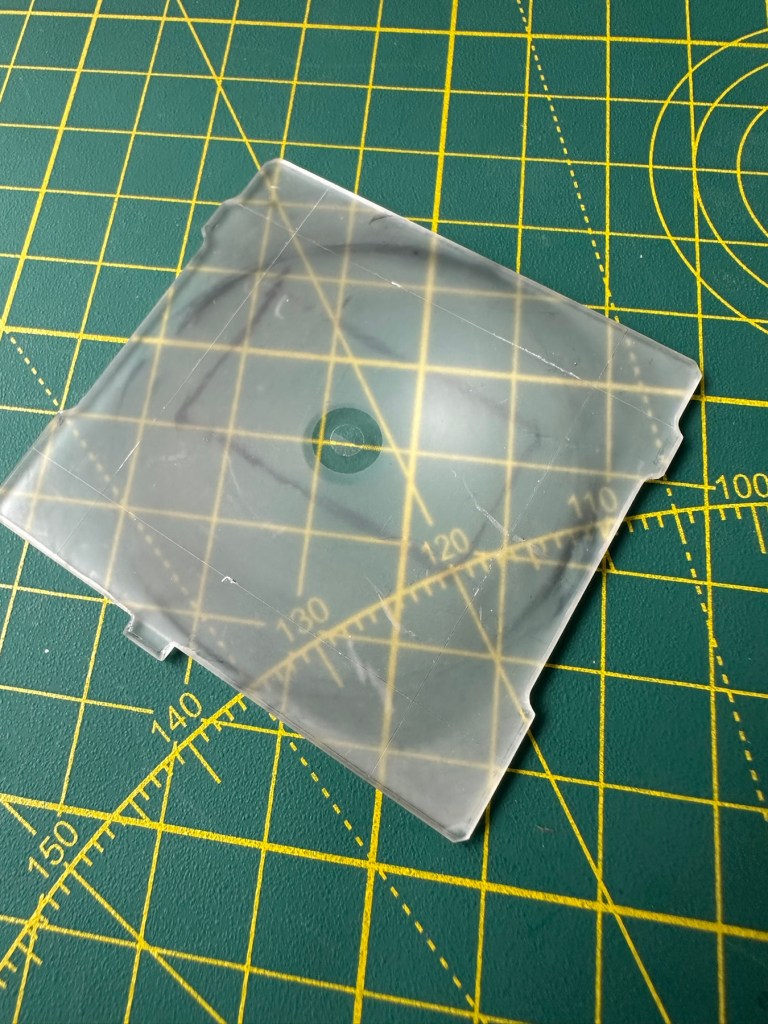
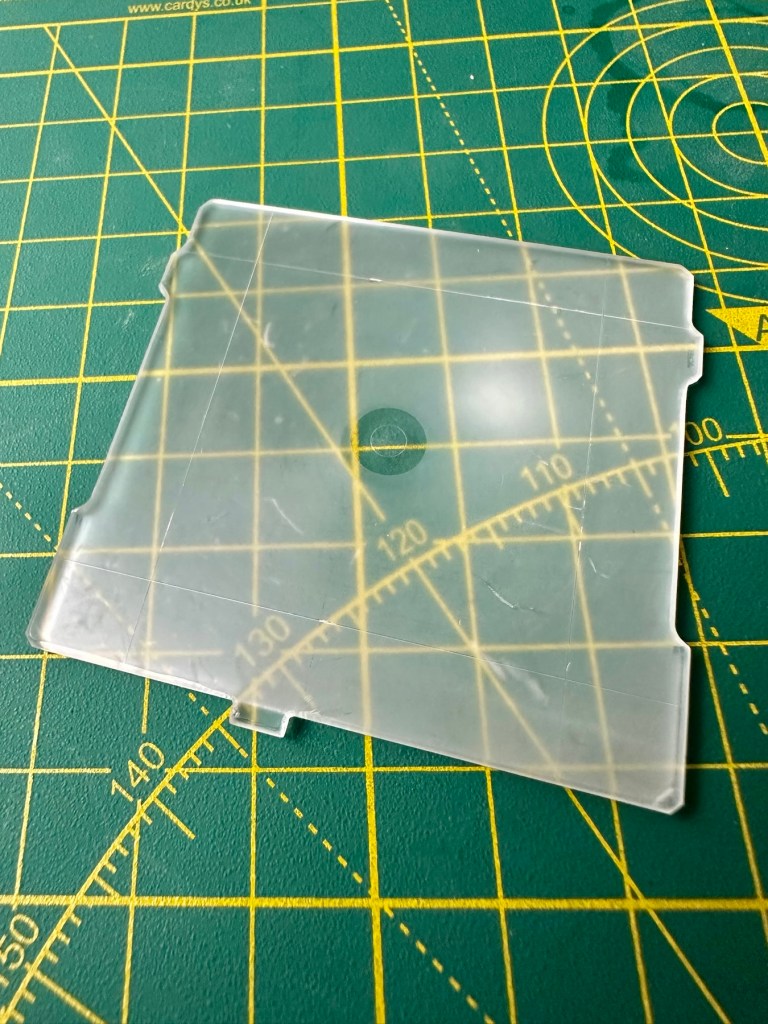
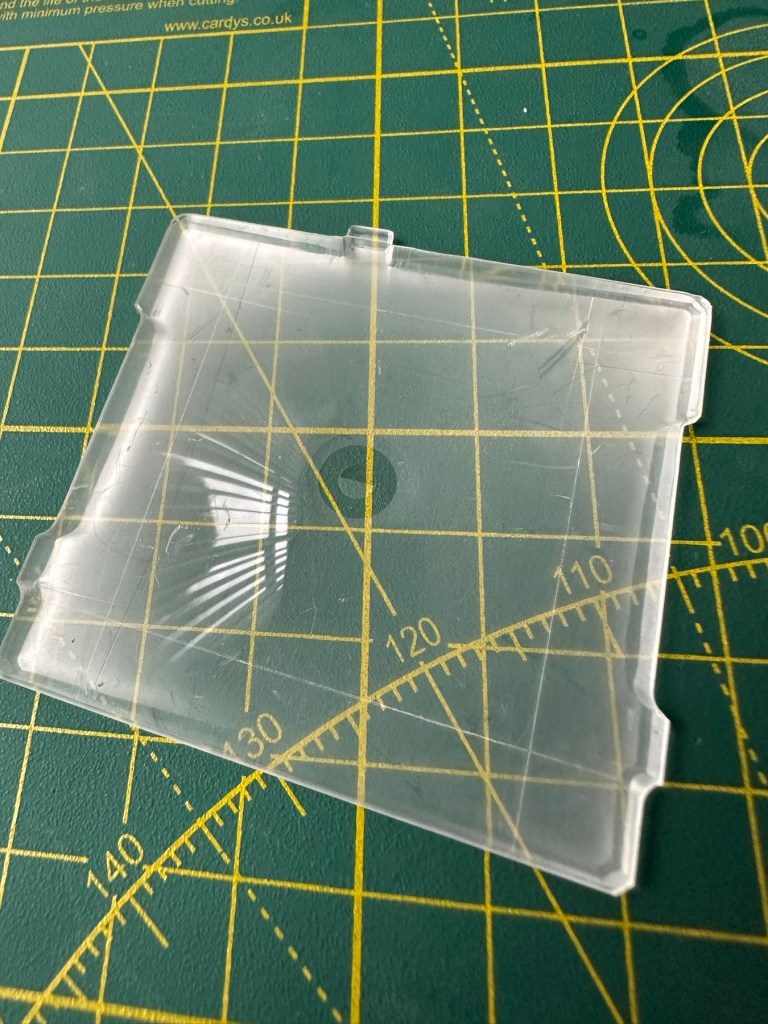
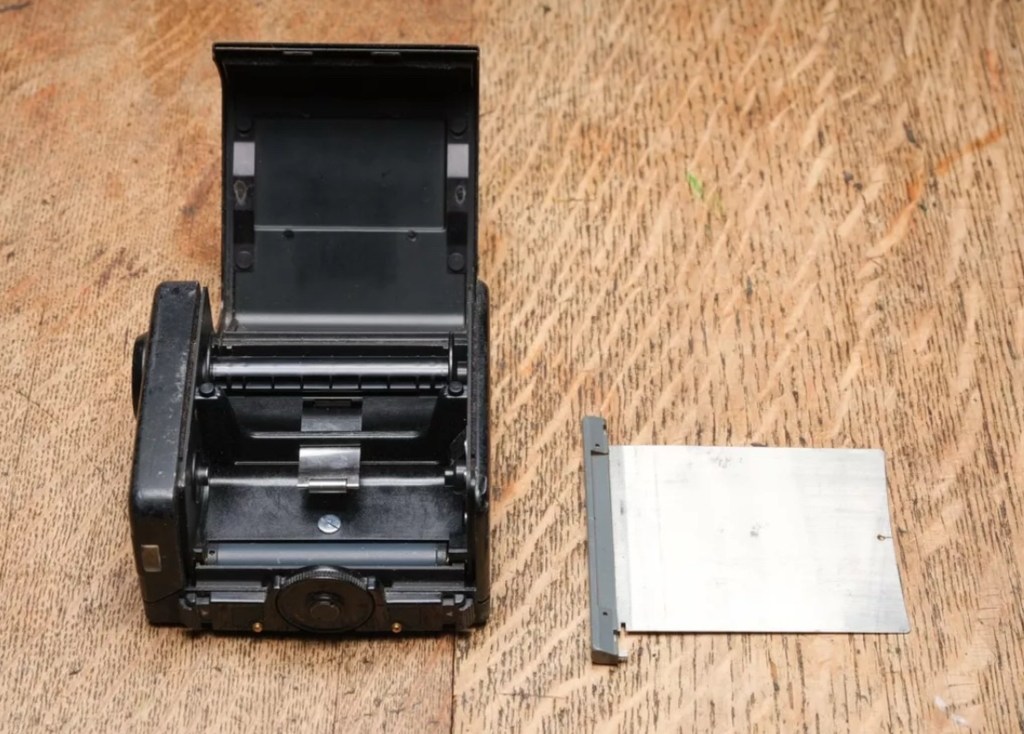
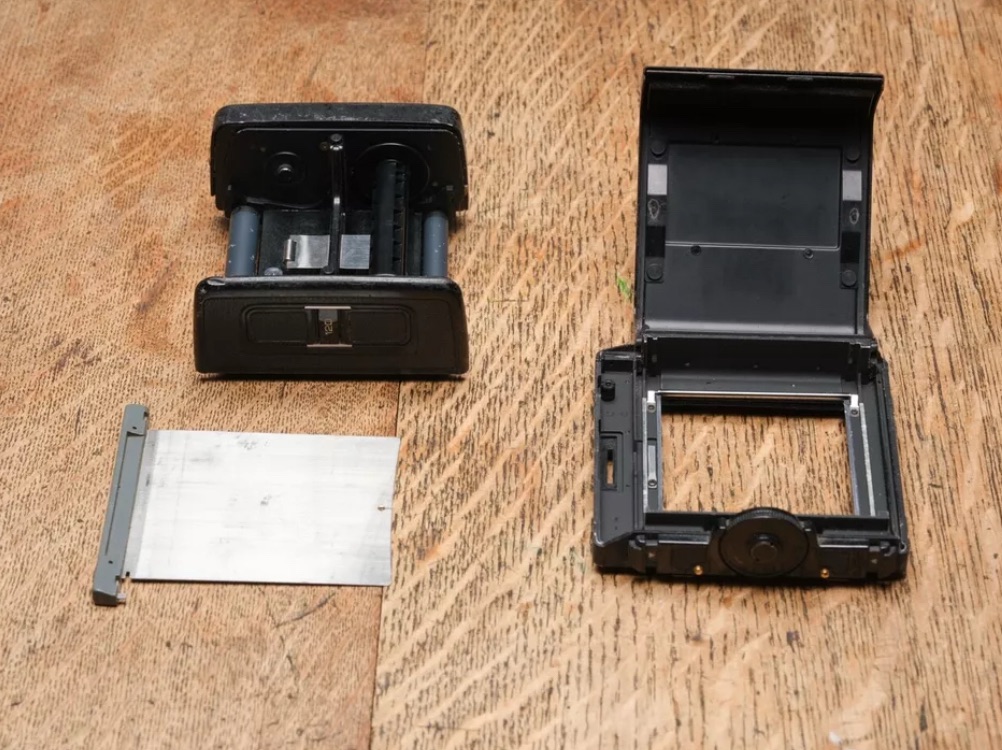
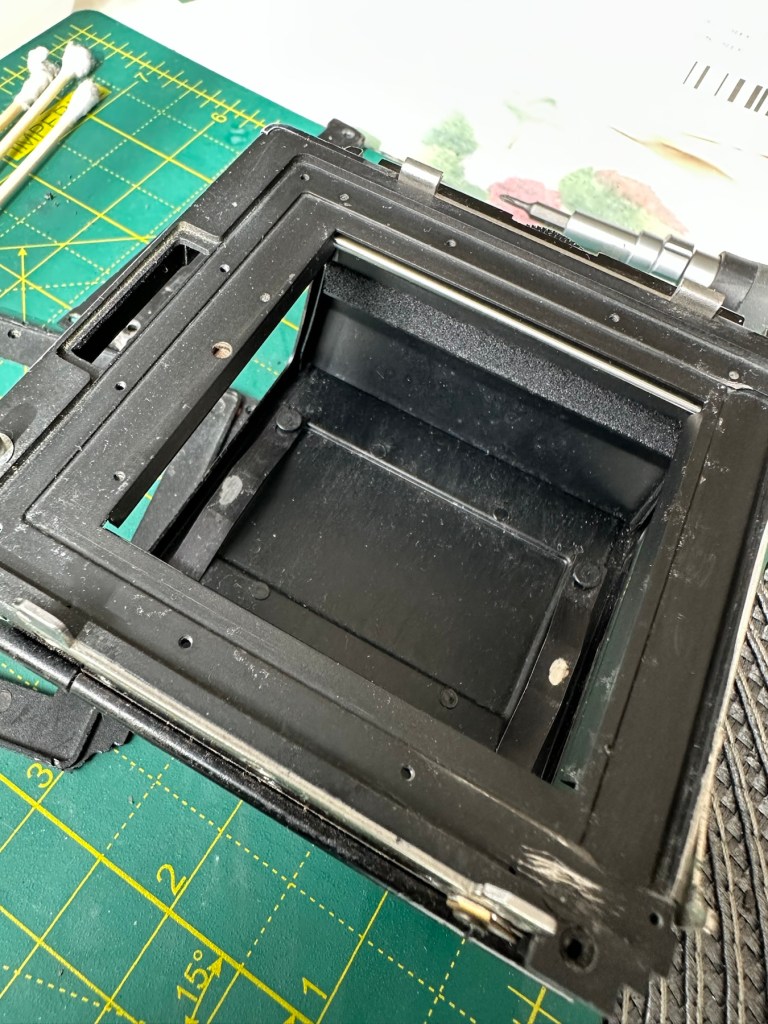
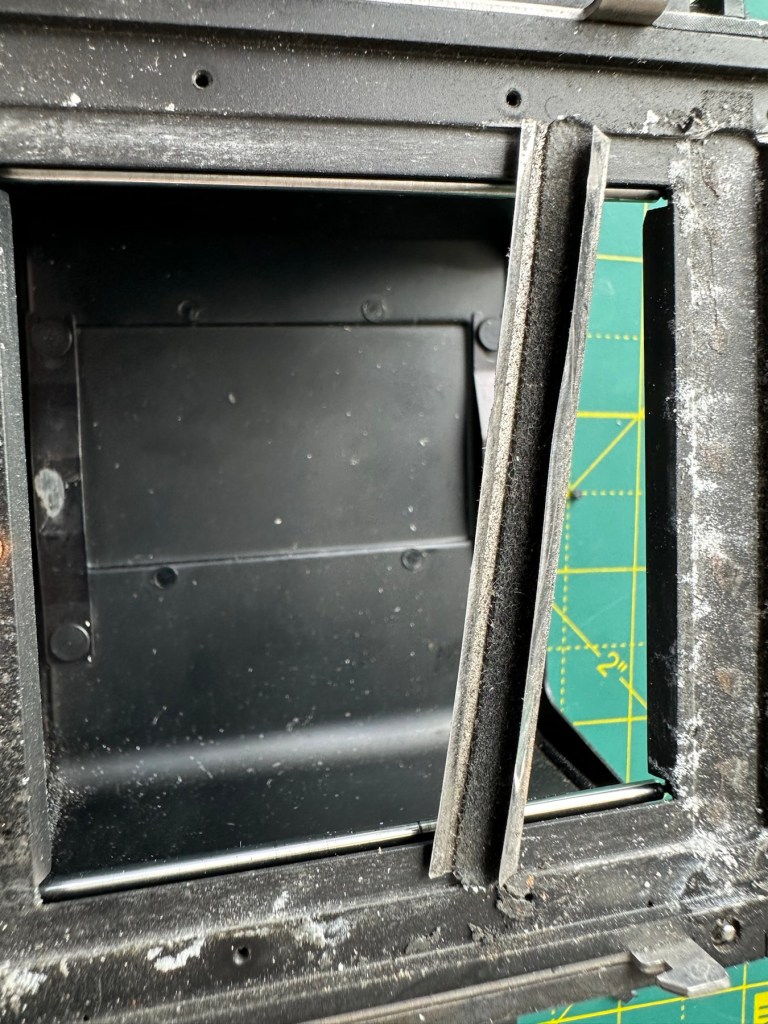
The unit takes either a CF card type II or a Smart-media card (Max size of 2Gb on both) that is located behind a hinged section on the rear of the camera, these work fine and have no bent pins.
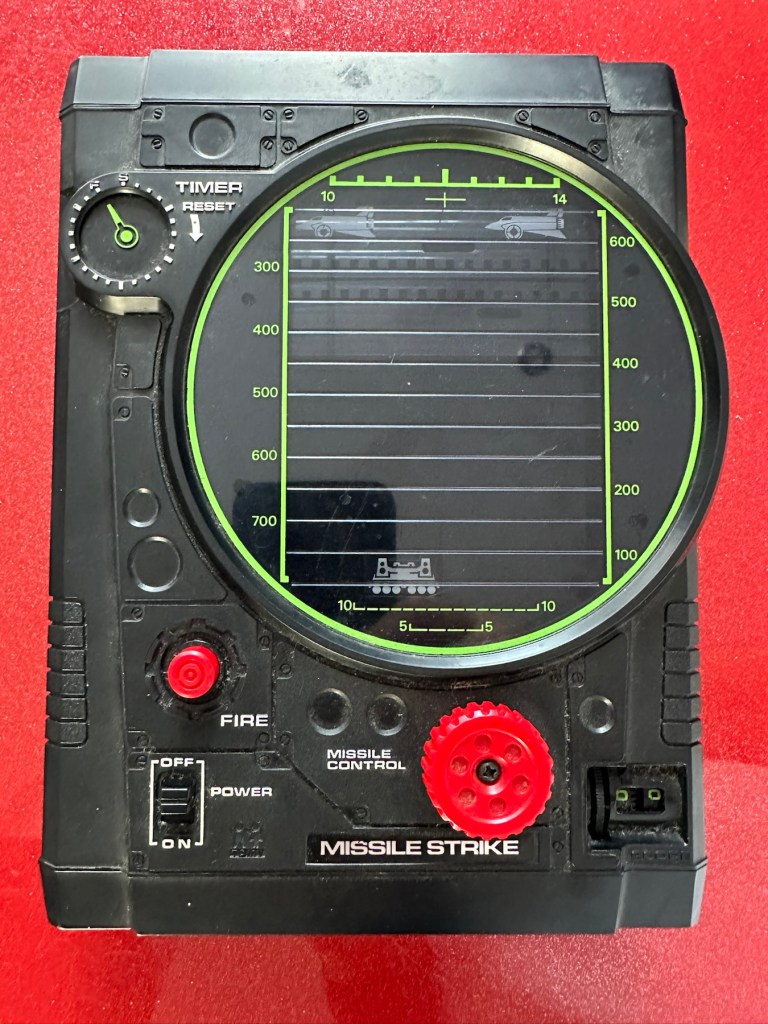
With batteries in place I get the full range of menus, and nothing comes across as suspect at all at this stage in the assessment.
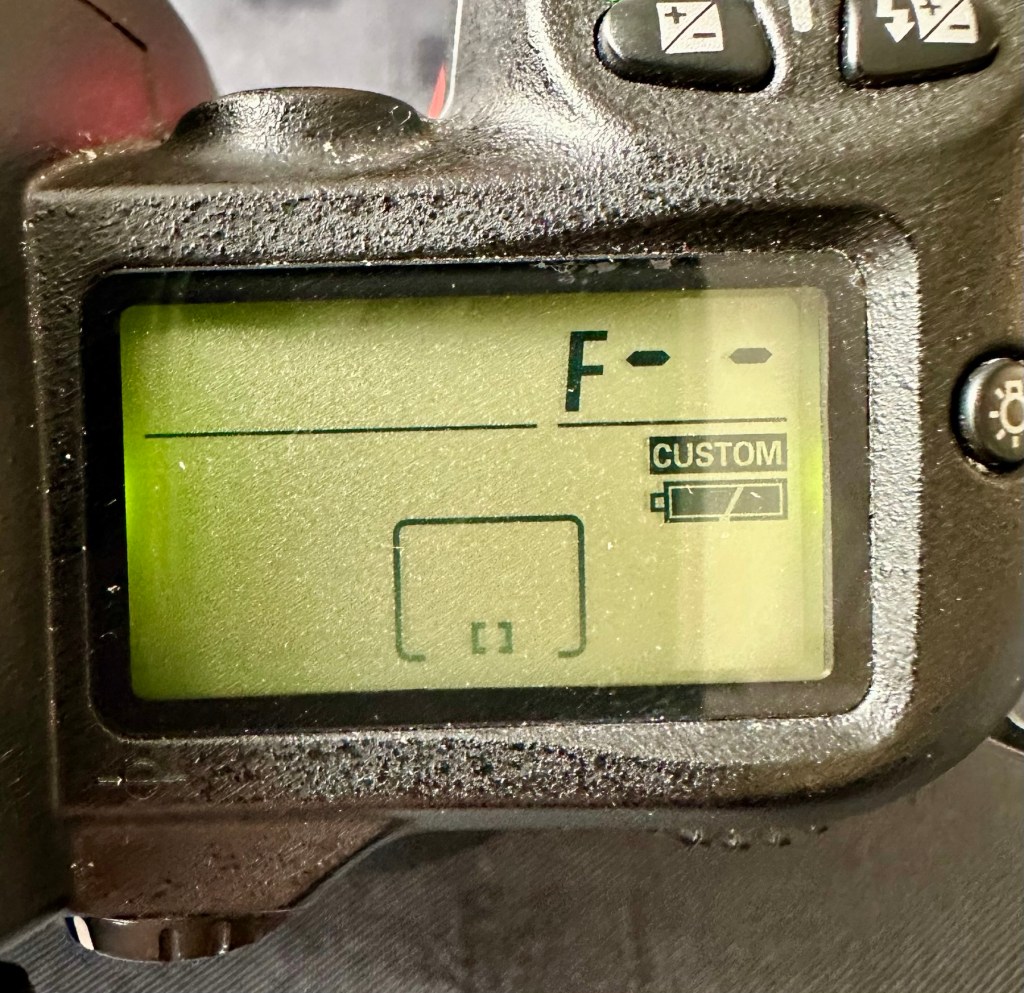
The top menu by the exposure button is the only “F” indication showing, I have no lens attached so this might be the reasoning for that, but if I do put the menu into manual mode I get the full range of shutter speeds and can even operate the shutter, the shutter seems to be working at all selected speeds with no issues as far as I can see.

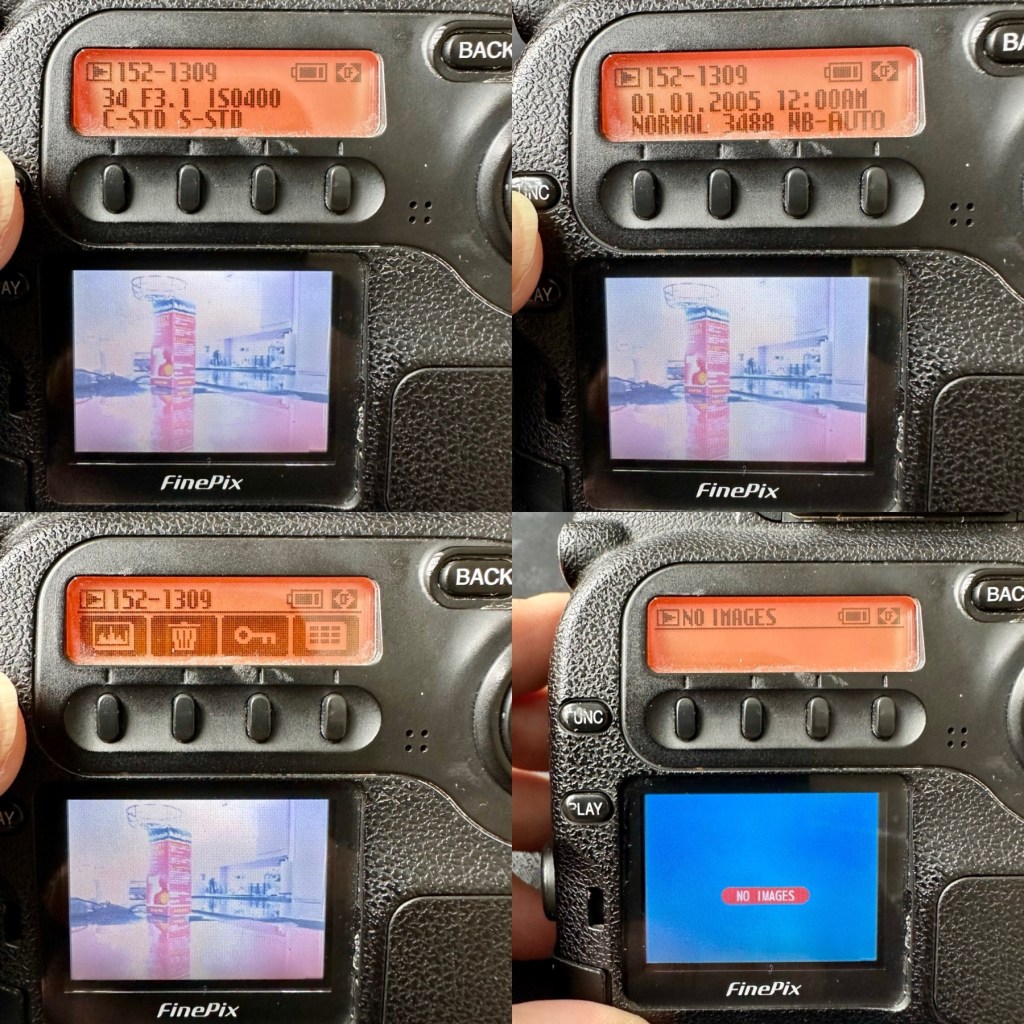
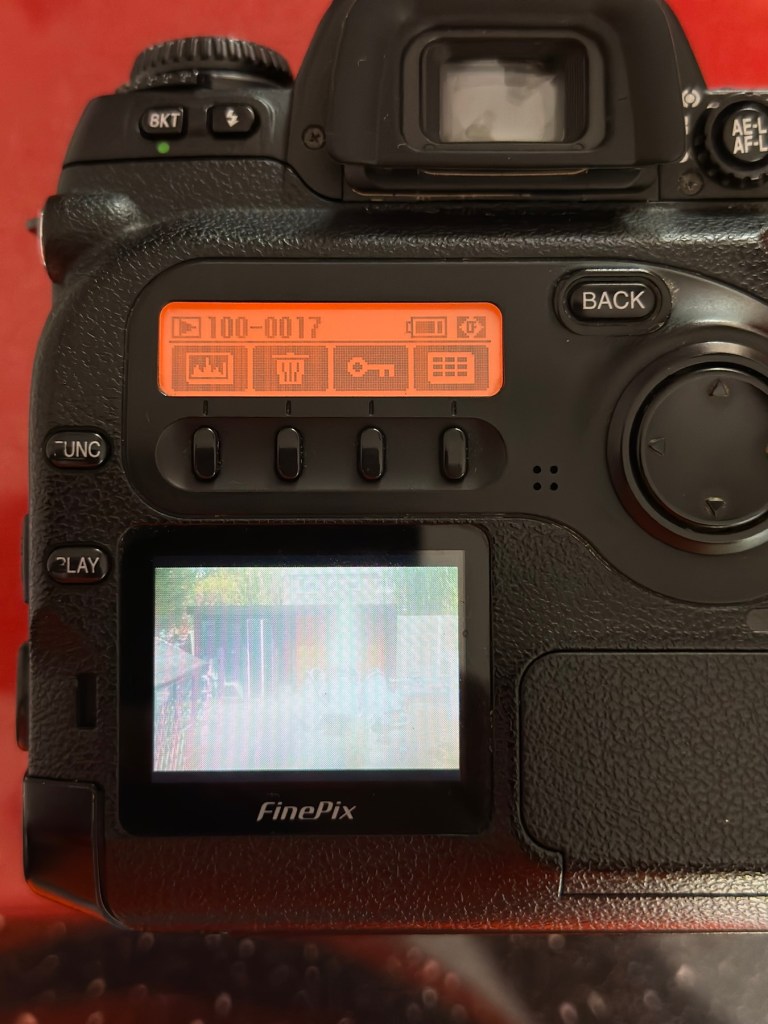
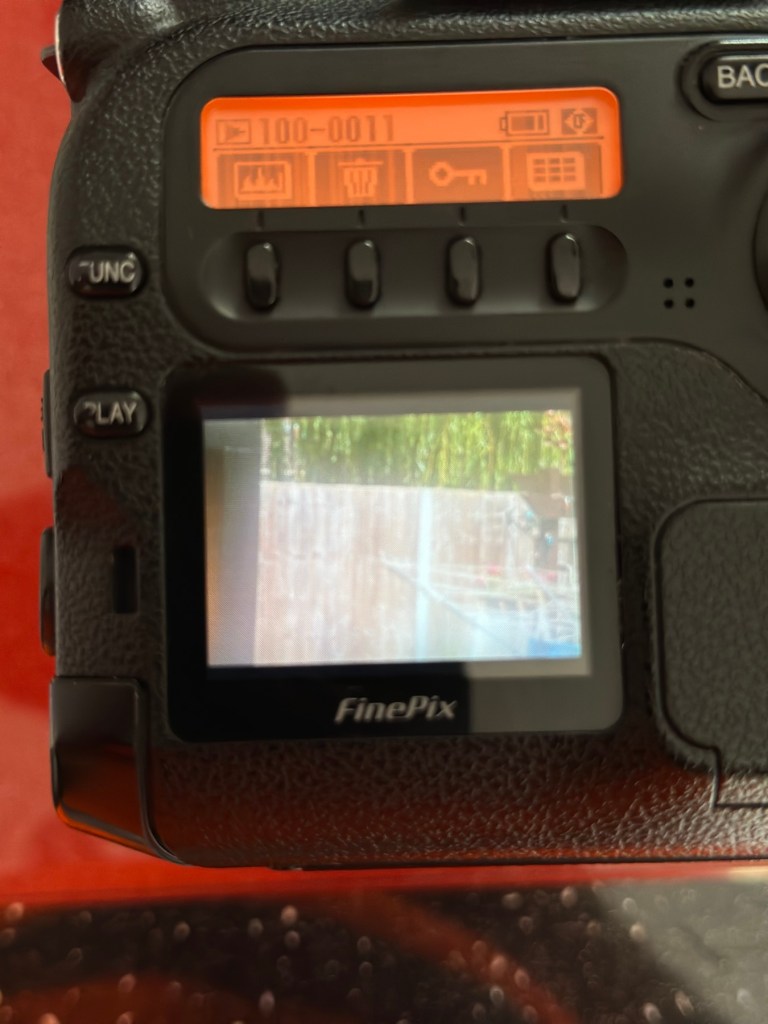
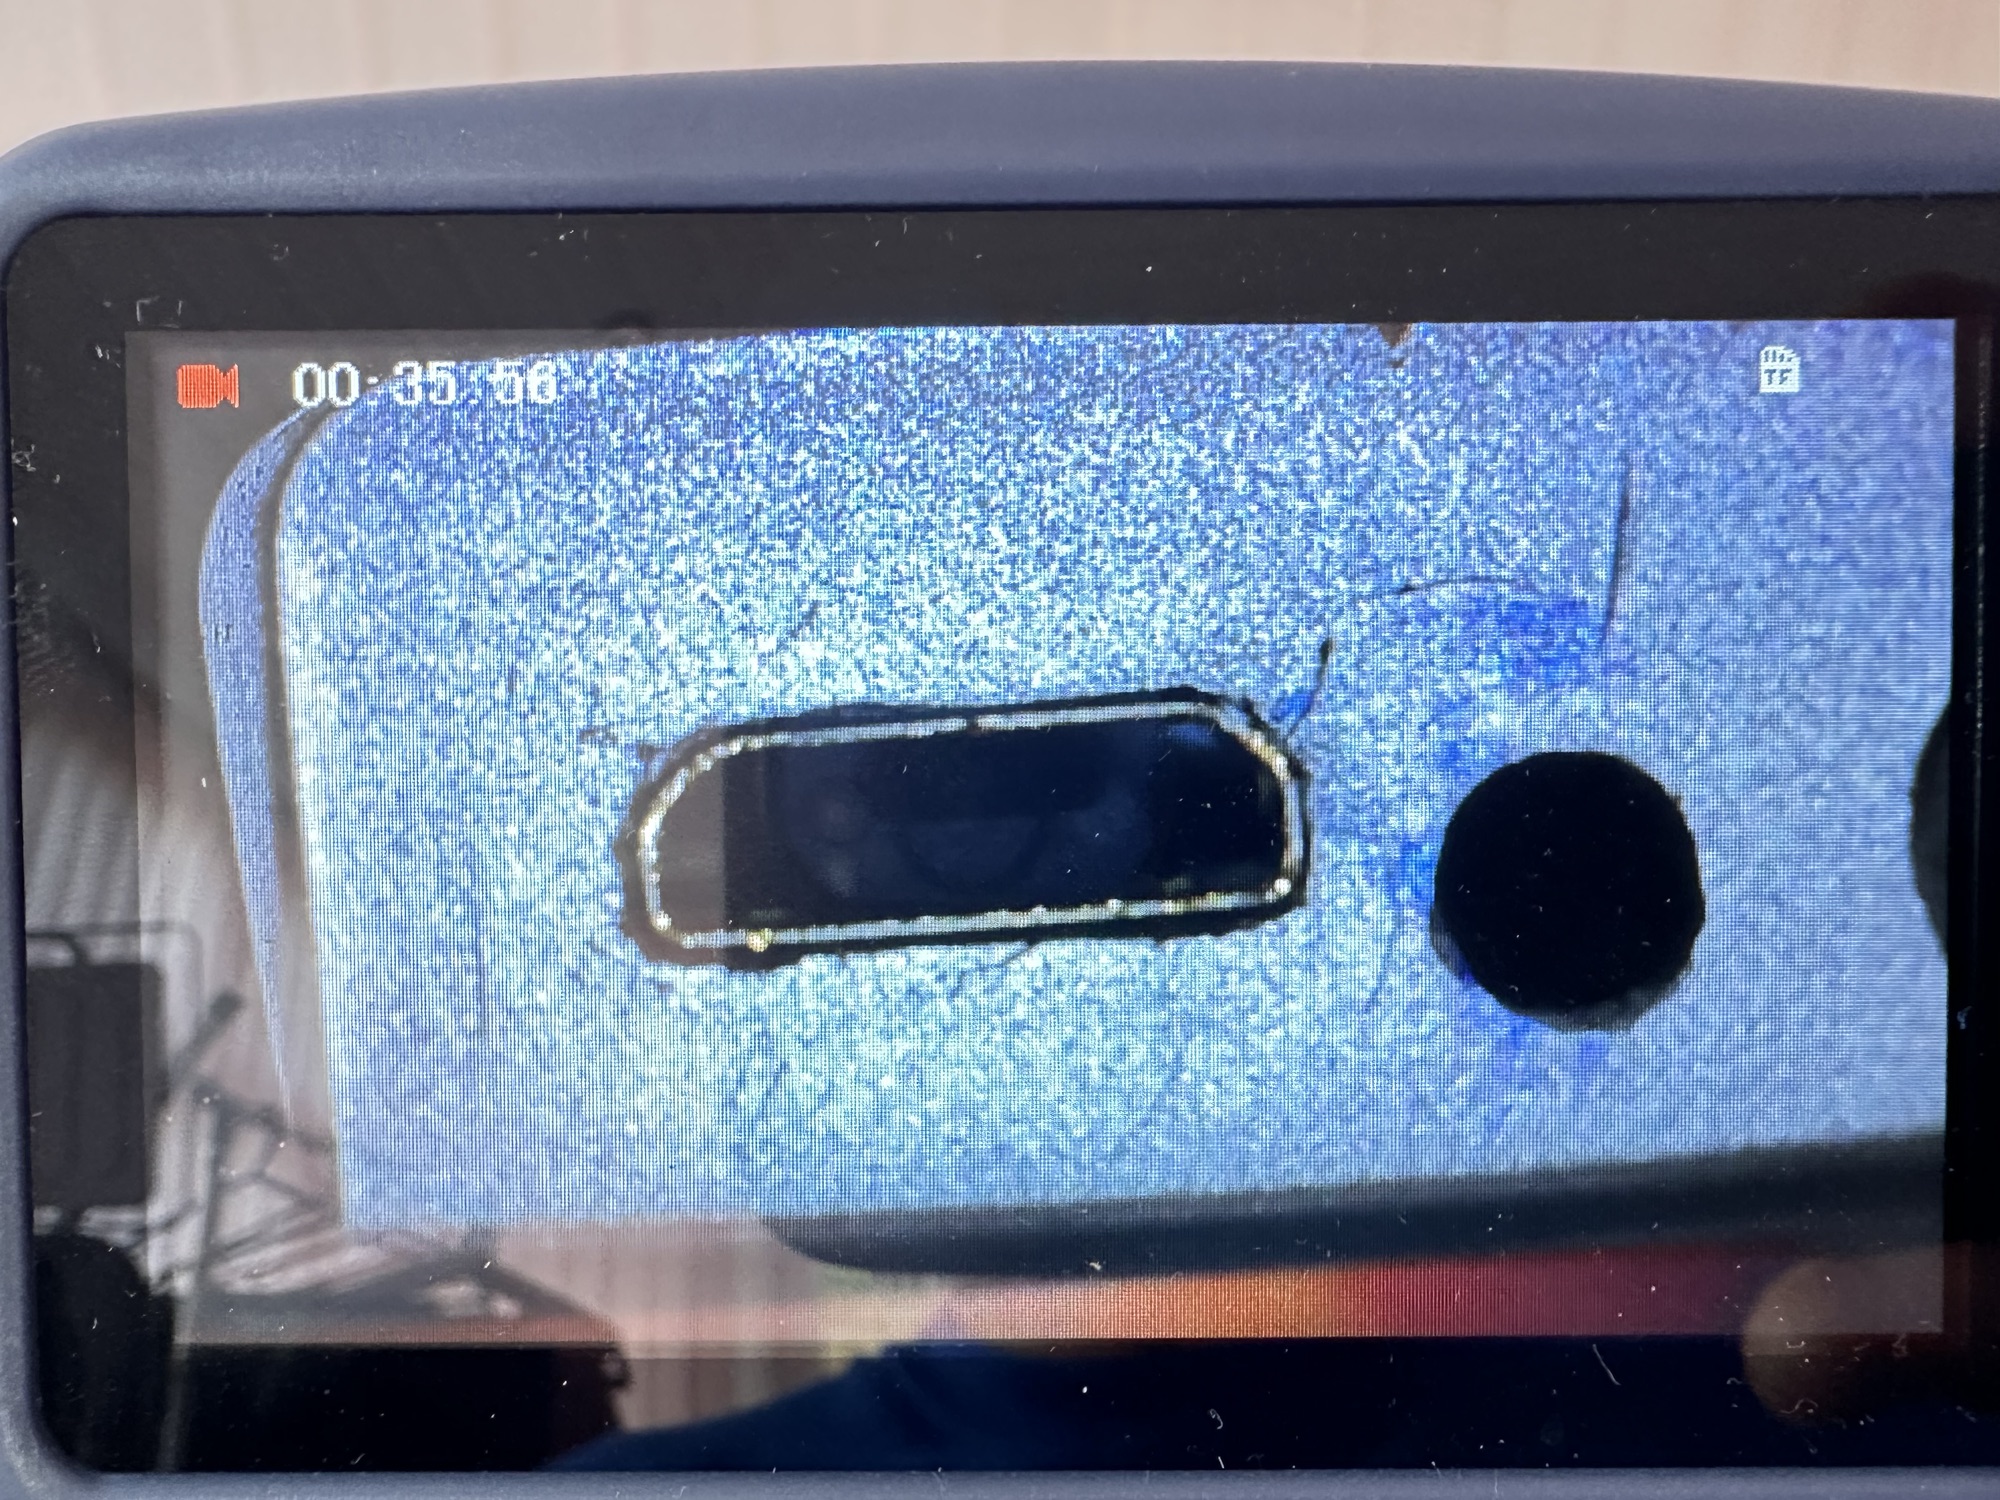
All other menus are available and I’m even able to format the CF card via the cameras menu. The picture you see on the screen was taken on another camera. It wiped fine so no issues here.
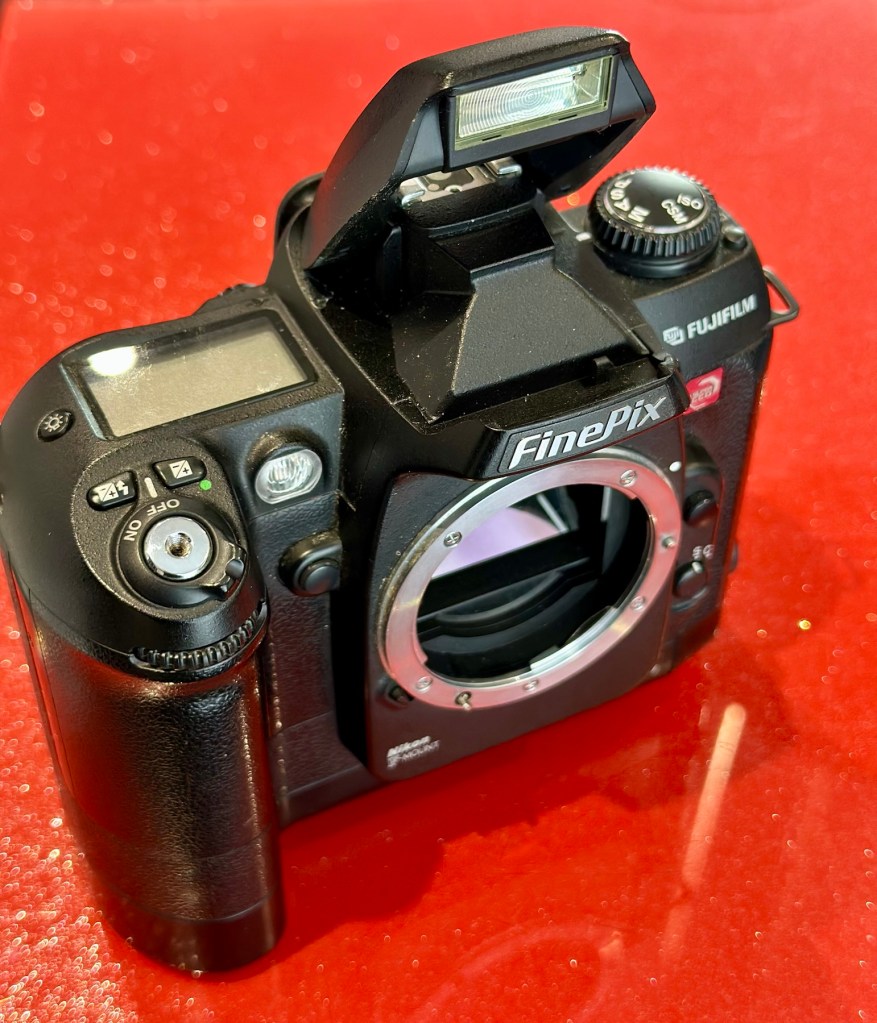
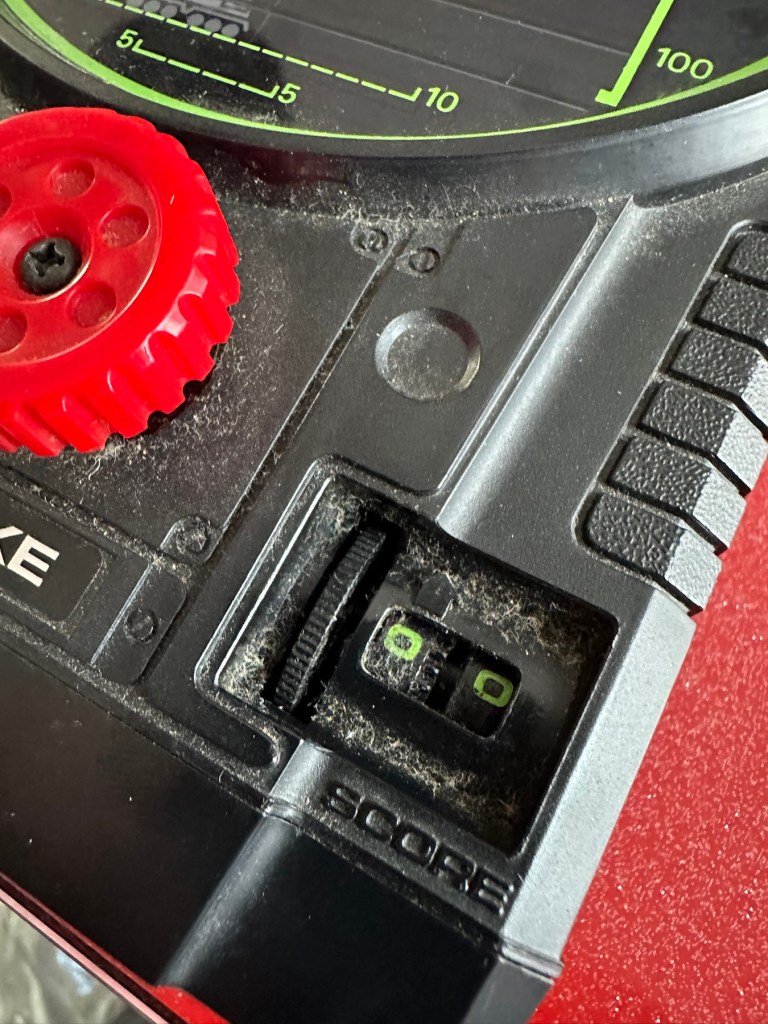
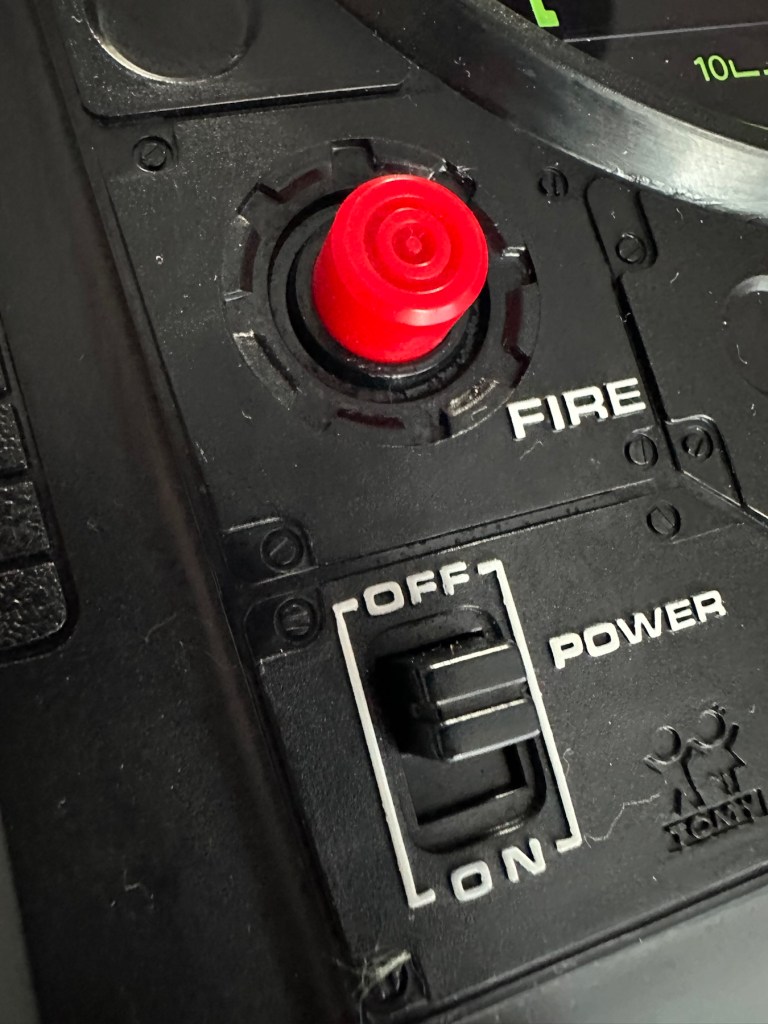
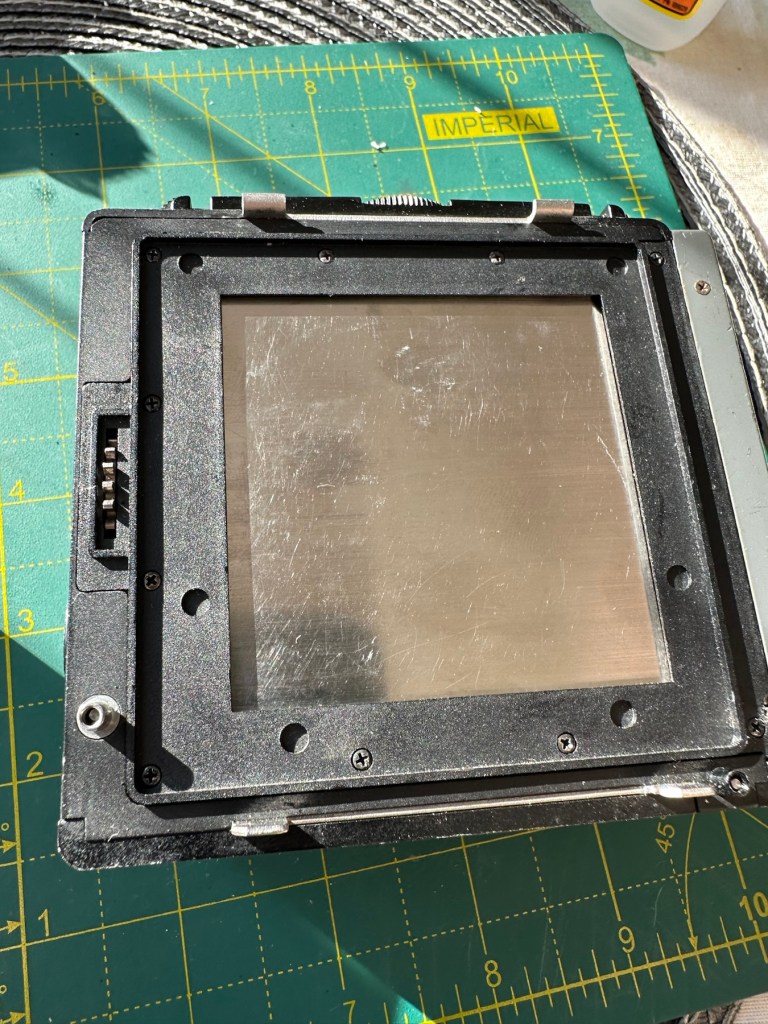
The camera seems to be working with no apparent communication issues as yet. When you try to use the flash it even informs you that you need to insert the correct batteries to test. As I’m awaiting the CR123A batteries I won’t be able to test the flash functionality until they arrive.
As I have stated the testing can only go so far until I have the missing items in my possession, for me that is the two missing batteries and a suitable lens. I’m currently in the process of procuring both. Physically there is nothing wrong with this camera after spending a good couple of hours going over it. I’m quite comfortable with it and believe it could be a lens communication error or just a failure to read the instructions properly by the previous owner. All I need now is that lens. I’ll let you know what occurs in the repair section.
Repair:
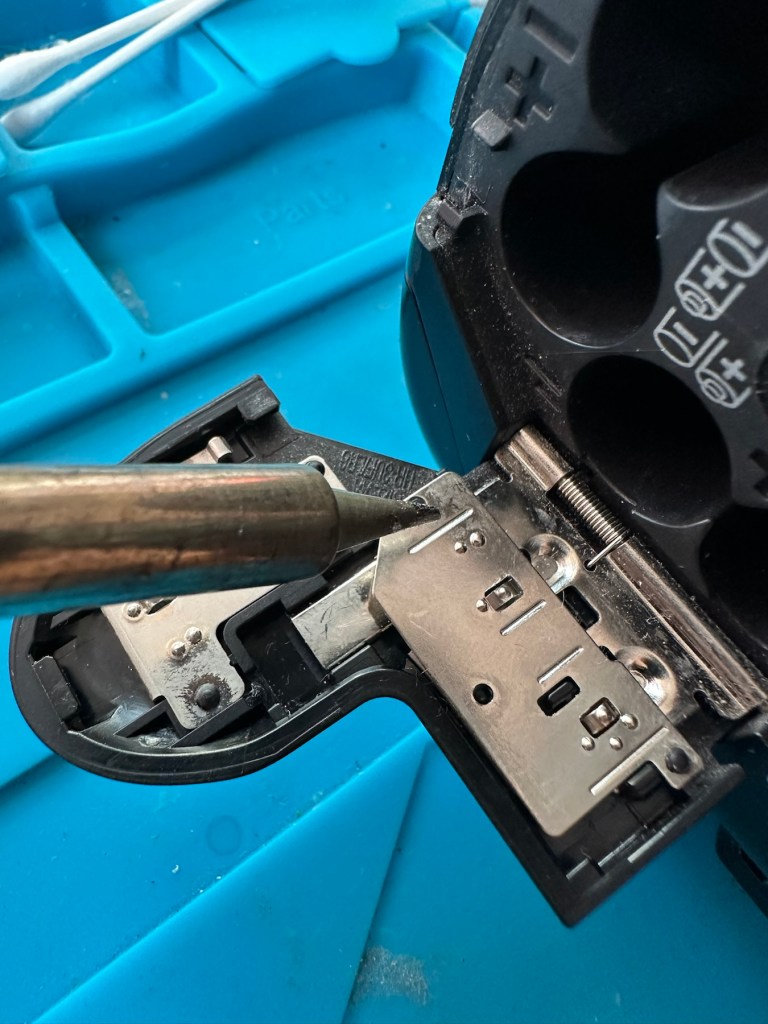
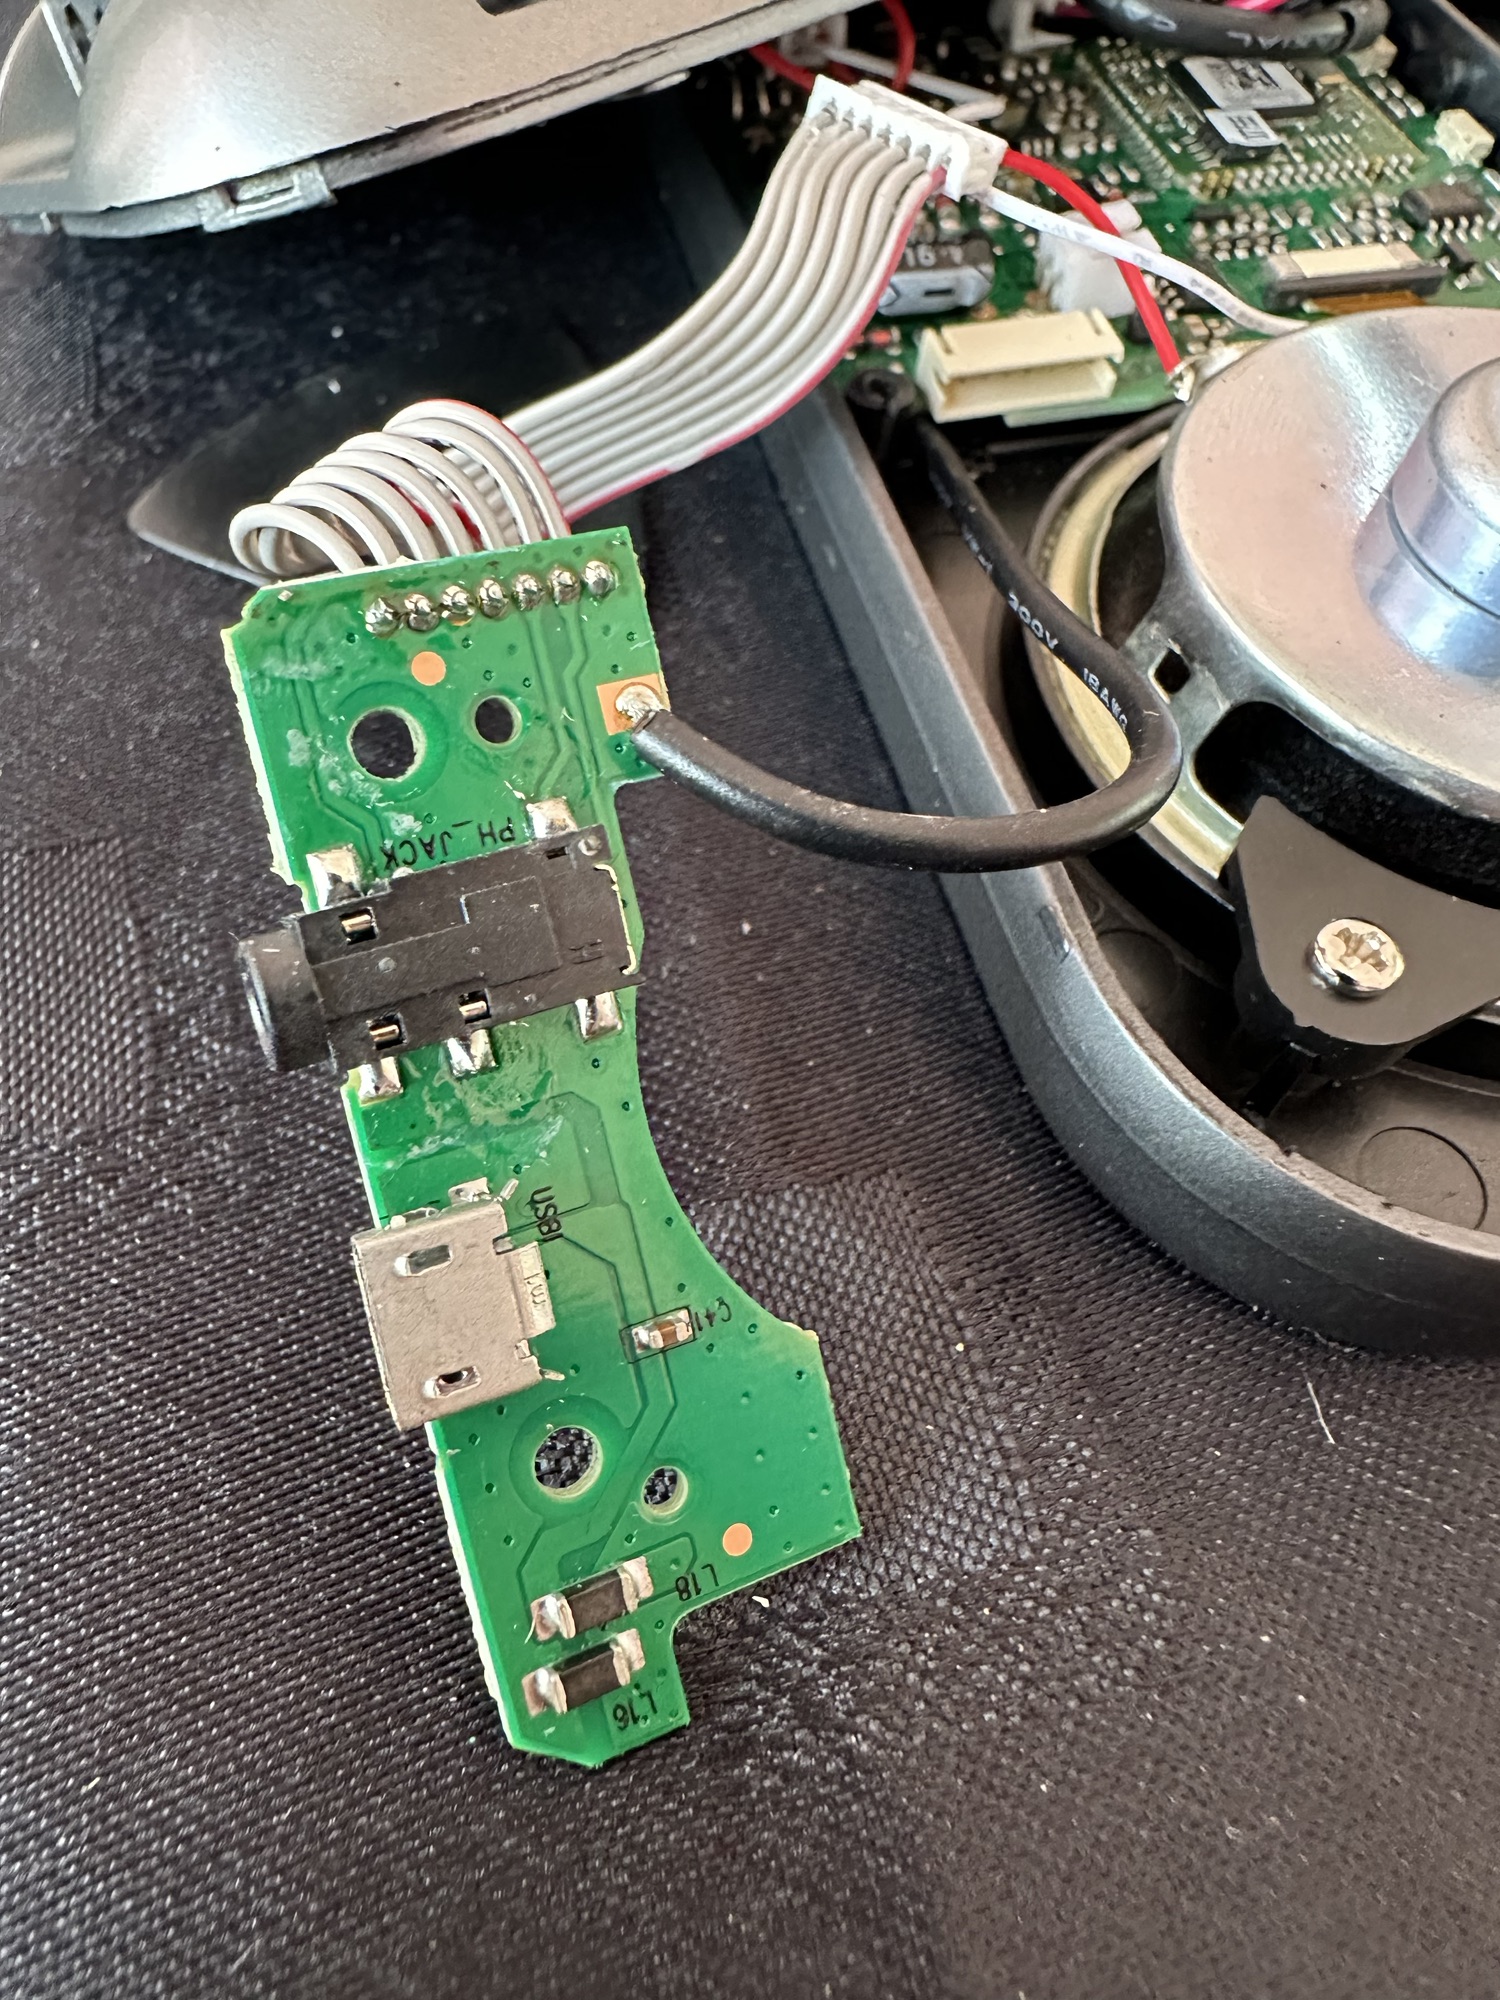
To be quite honest it’s not really been a repair, it’s been more of a “pre flight check” to collar a phrase, going through all of the cameras capabilities and ensuring that they are all functioning correctly. As the camera was listed as faulty, and the fault was not identified, I have had to do many hours of testing and Investigation to get to this point.
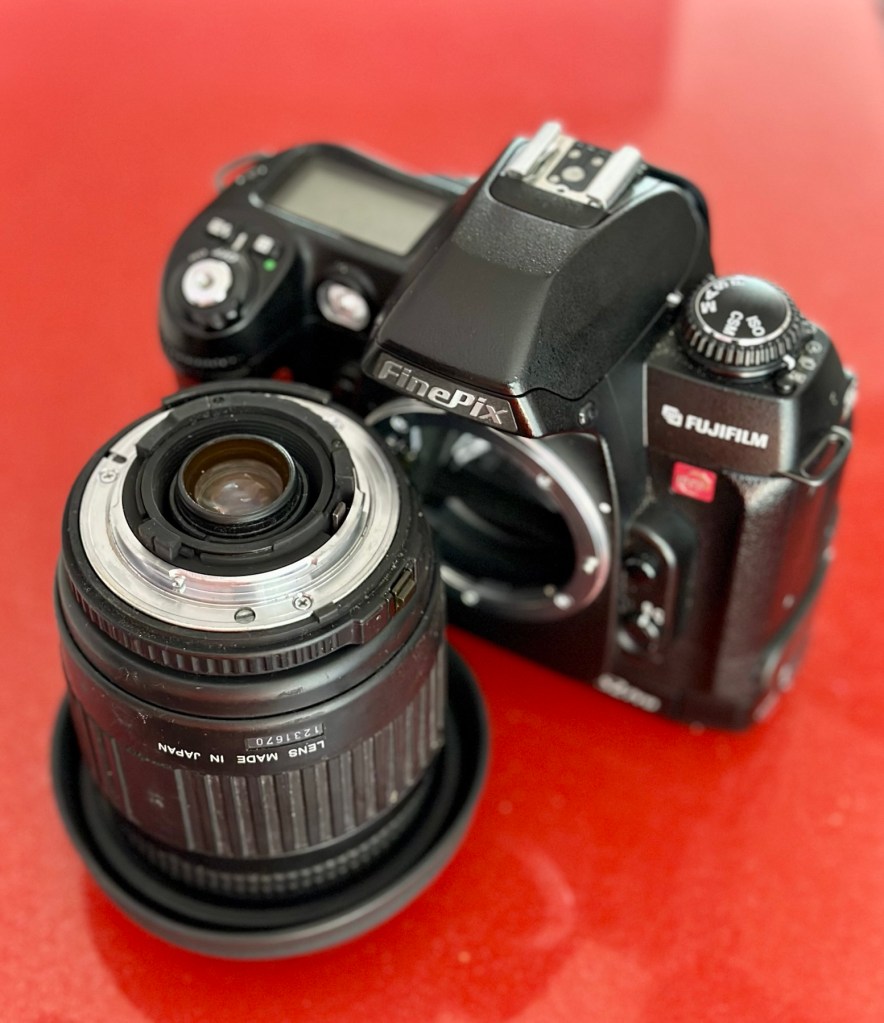
I’ve done a bit of shopping and managed to buy a nice little lens from the Southern hospice group. Always happy to help a charity and secured this at a good price of £15:50GBP, and that includes the postage, for a Sigma 28-200 f/3.8-5.6 Ø72 Zoom Lens Nikon F Mount. There looks like a bit of fungus on the outermost optic, however I can always clean this if it’s too bad. If not I’ll just leave as is for the moment and keep it vacuum bagged between uses, I can always do a separate post on cleaning up fungus in a lens at a later date. (I have done a basic fungus clean in the past : Canon EF lens 35-80mm)

I wasn’t looking at spending too much here, as I only wanted a lens to test a number of Nikon repairs I have upcoming as well as this S2 Pro. This lens will fit that role perfectly, and be added to my collection of other lenses that I have that allows me to test a range of different camera products. I have also purchased an “F” mount body cover for the camera to protect the unit when there isn’t a lens attached to it.
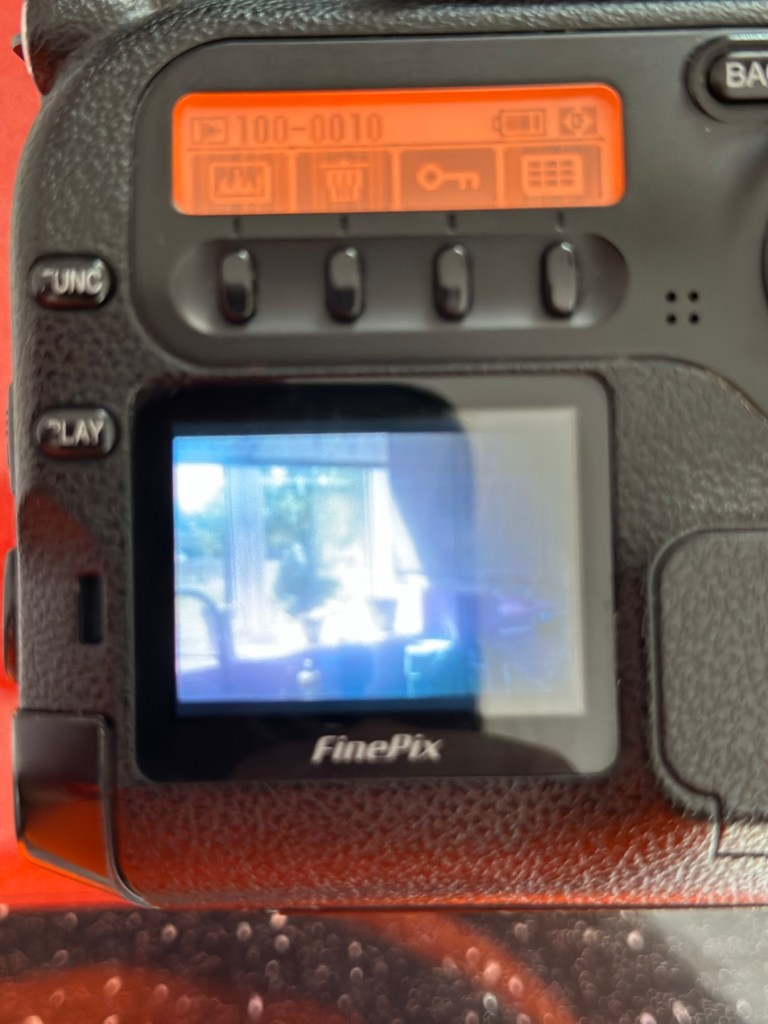
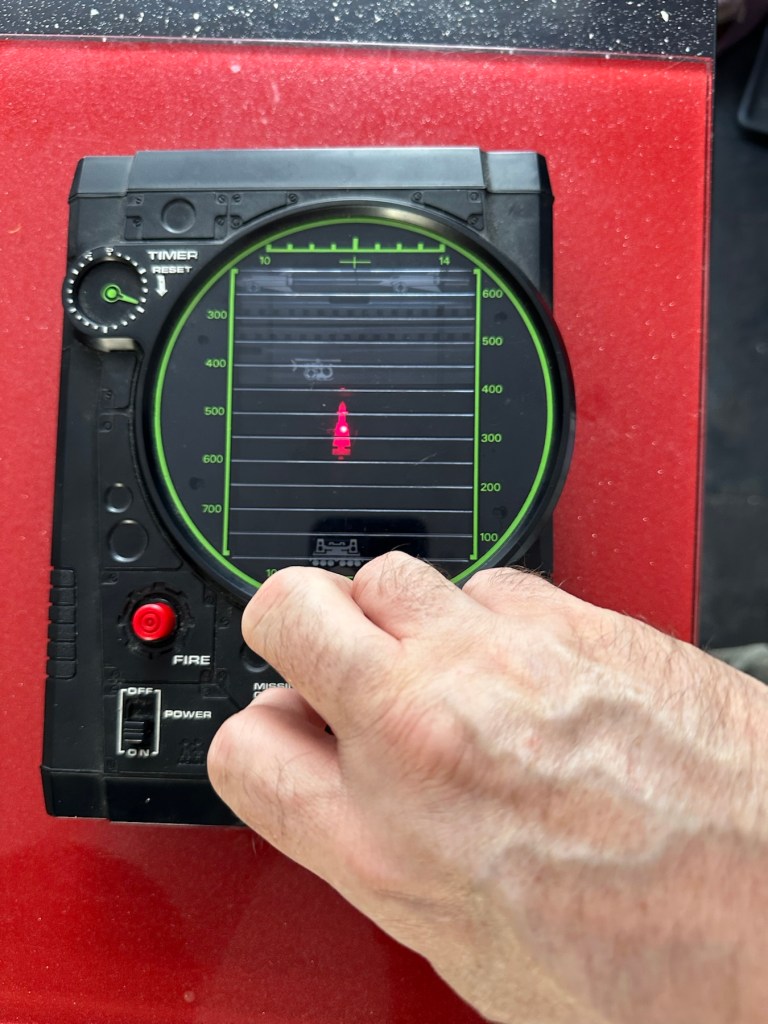
The two CR123A batteries have arrived and have been placed in the handle grip. The warning that was there before the batteries were installed (see picture above) has disappeared and when placed in manual mode the flash fires just perfectly, no issues here.
The Lens has arrived. Good point is that it fits fine and looks good, and all electrical contacts are good. Bad point is it has severe fungus throughout, and is just like looking through a fog.
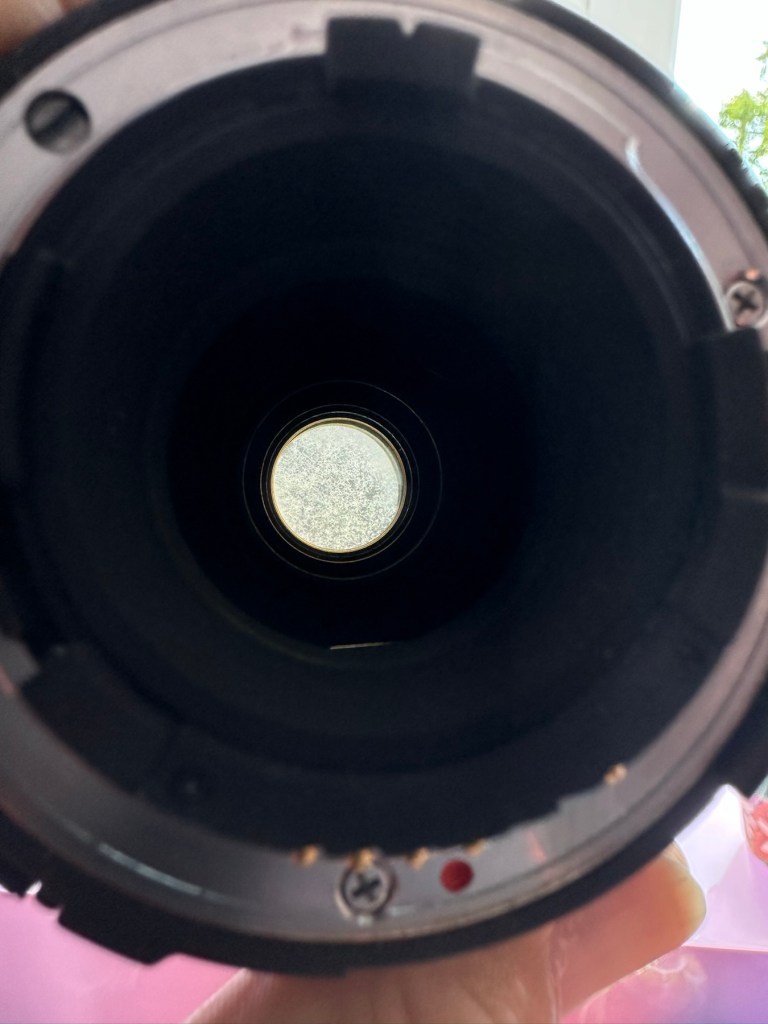

I will do a separate post on cleaning this problem up in a later post. However I’m not overly worried at this point, I paid a very low price so it was to be expected, I’m not complaining to the seller who was a Hospice, they need the money and I can fix it so there really is no problem.

The excellent news is that the lens does exactly what it should. The camera indications are good, all working exactly as expected . However the pictures via the screen are extremely hazy due to the fungus infection on the lens. There are no black or purple casts on the pictures so I am quite happy that we haven’t inherited the dreaded CCD issue discussed earlier in this post.

If I use the lens wide open and pop the camera into auto mode I do get an “ERR33” code and that is a communication issue between the lens and the camera. As I have stated earlier in this post, you have to have the lens set at its lowest aperture and locked for the error code to go. Fortunately this lens allows you to lock the aperture and once this is done the camera takes over the exposure when it is working in automatic mode. So as I also stated earlier, it appears the seller was probably not aware of this requirement/issue.
Result:
We have a fantastic working camera, it does all it was produced to do, it has its little quirks and oddities, but being familiar with these cameras and at least having some knowledge and awareness of how they operate is always a wise thing. Read the instructions and don’t just throw them in the drawer until you eventually sell the camera on as a damaged item, when in fact you were just lacking the knowledge on how it operates in the first place. Instruction manuals are good, they serve a purpose. Knowledge is king.
This camera cost me £8:00GBP. That is a superb price for a camera of this quality even though it is now 23 years old. It has a lot of life left in it, and I can’t wait to get it out and give it a real test.
So in theory I’m confident and happy that this camera is now in a fully operational order, it’s needed a clean, it’s needed a lot of research to find out how it works, and I’ve also downloaded the operating instructions and repair pack should they be required.
It’s taking pictures and storing them. It’s just the lens at the moment isn’t performing at its best due to its fungus on the optics issue. I’m keeping the pictures stored on the card to compare them with the new pictures that will be taken once I have another lens to use.
Once the lens clean up is complete, if I ever get around to it, I will link it through this post.
Edit:
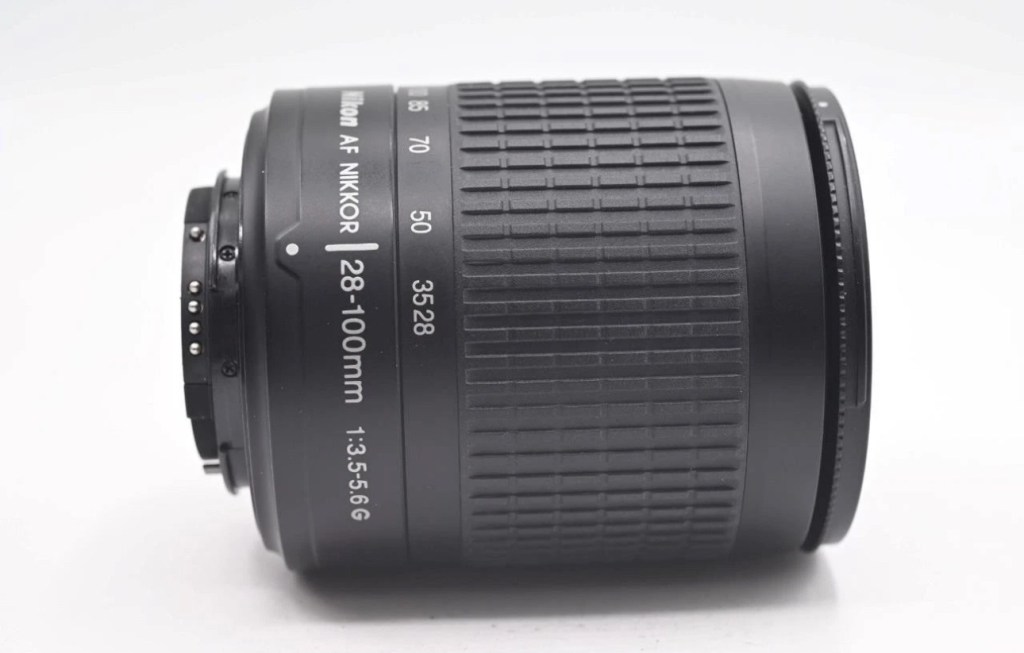
As 12/7/25 I have purchased a newer higher quality lens without any of the above issues to be able to get some instantaneous results, and as I have about seven other Nikon cameras requiring testing, some with sensor issues, it was wise to invest in a better quality lens. I have purchased a Nikon 28-100mm AF Zoom Nikkor Lens G AF-d, in perfect condition and the post regarding it can be found here: Nikon 28-100mm AF Zoom Nikkor Lens G AF-D
As previously stated I will add photos in this post once the new lens arrives, to show the difference from the fungus infected lens to a decent lens. The old lens is still a work in progress and I will post about it again as a separate post once the clean up is complete. It will probably be a job completed once the long winter nights are back in situ.
Below are comparison photos between the old lens with fungal issues and this new lens:


It’s just typical for me to manage to make another post from an issue that has arisen from fixing a different item. But isn’t that life? Continuous improvement is a factor we come across on an almost daily basis, and if you deal with old items as much as I do, then there is always something else that needs repairing, something that requires your attention and I just love that. The ability to improve or make something better, gives such a feeling of achievement and accomplishment, and total satisfaction. And that’s why I write this drivel. It’s for me, it’s what this blog was originally set up for. It’s my journal of what I do.
Many thanks for following this post. You know it is always very much appreciated.


You must be logged in to post a comment.